How to Make a Sign for a Party: Easy DIY Methods with Budget Tips
Making a sign for a party can be simple and affordable by choosing the right materials and methods. Start with a clear design idea, then select materials like cardstock or foam board based on your sign’s size and location. Use printable templates or hand lettering to create your message, and pick a mounting option that fits your space and budget.
Key Takeaways
- Measure the area where the sign will go before choosing your sign size and materials.
- Use 8.5″ x 11″ glossy photo paper for vibrant prints or sturdy cardstock for easy crafting.
- Print designs at 100% scale to fit standard frames or stands without resizing issues.
- Adhesive hooks or twine work well for hanging signs on most ceilings without damage.
- Consider two-sided signs by printing and attaching designs back to back for visibility from multiple angles.
- Use thicker paper like 120 lb cardstock for tent cards or signs that need to stand on tables.
Simple Step-by-Step Guide to Make a Party Sign
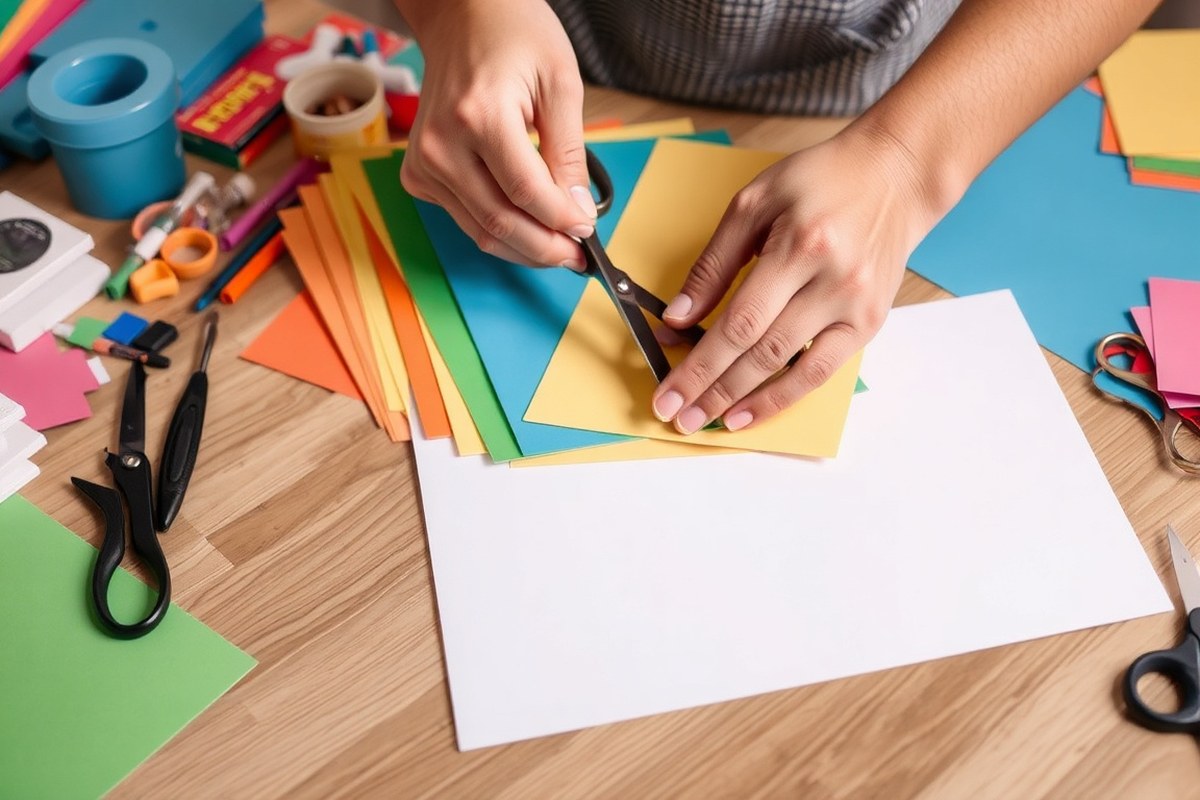
Starting your party sign from scratch means moving through a clear set of steps that take you from an idea to a finished product. For beginners, keeping the process simple helps ensure a great result without feeling overwhelmed. Create a sign that suits your event by focusing on straightforward tasks like choosing a design you like, preparing your materials, and adding your lettering or artwork carefully.
Making a simple sign typically takes between one and three hours, depending on your experience, the sign’s size, and the materials used. Quick projects like a printed poster or fabric sign might take less than an hour, while painting a wooden sign or creating a layered stencil might take a bit longer. Planning each stage helps you stay on track and enjoy the process.
Follow these essential steps from design choice to final display. Using templates or simple fonts for lettering makes the task easier if you want a neat, professional look without complicated tools. Always prepare your workspace with good lighting and clean surfaces to avoid mistakes and keep paint or ink from smudging.
- Choose Your Design: Pick a clear message that fits your party theme, like “Welcome to the Party,” “Happy Birthday,” or the event’s name. Use a simple font or design you like on paper or a computer to guide your work.
- Gather Materials: Depending on your design, gather signboard (wood, foam core, poster board), paint or markers, brushes, stencils (optional), tape, and a ruler. Keep materials ready before starting to avoid interruptions.
- Prepare Your Base: Cut your signboard to size if needed. Lightly sand wood signs for smoother paint application. Wipe off any dust to ensure paint sticks evenly.
- Transfer Design: Use a pencil to sketch your design onto the sign lightly. If you prefer, print your design and use tracing paper or create a stencil. This step helps keep letters and images aligned properly.
- Paint or Draw Your Design: Use paint or markers to fill in your letters and decorations. Work in thin layers to avoid drips, allow each layer to dry for about 15-30 minutes depending on your paint type.
- Add Finishing Touches: Outline letters with a fine brush or marker for crisp edges. Add small decorations if desired. Let everything dry completely before handling, usually 1 to 2 hours.
- Attach Display Hardware: Add string, hooks, or stands based on where the sign will hang or sit. Choose lightweight and secure fasteners to avoid damage.
- Set Up Your Sign at the Party: Place your sign where guests will notice it easily, such as the entrance or near the main activity area. Check stability and lighting so your message stands out clearly.
Choosing the Best Materials for Your Party Sign
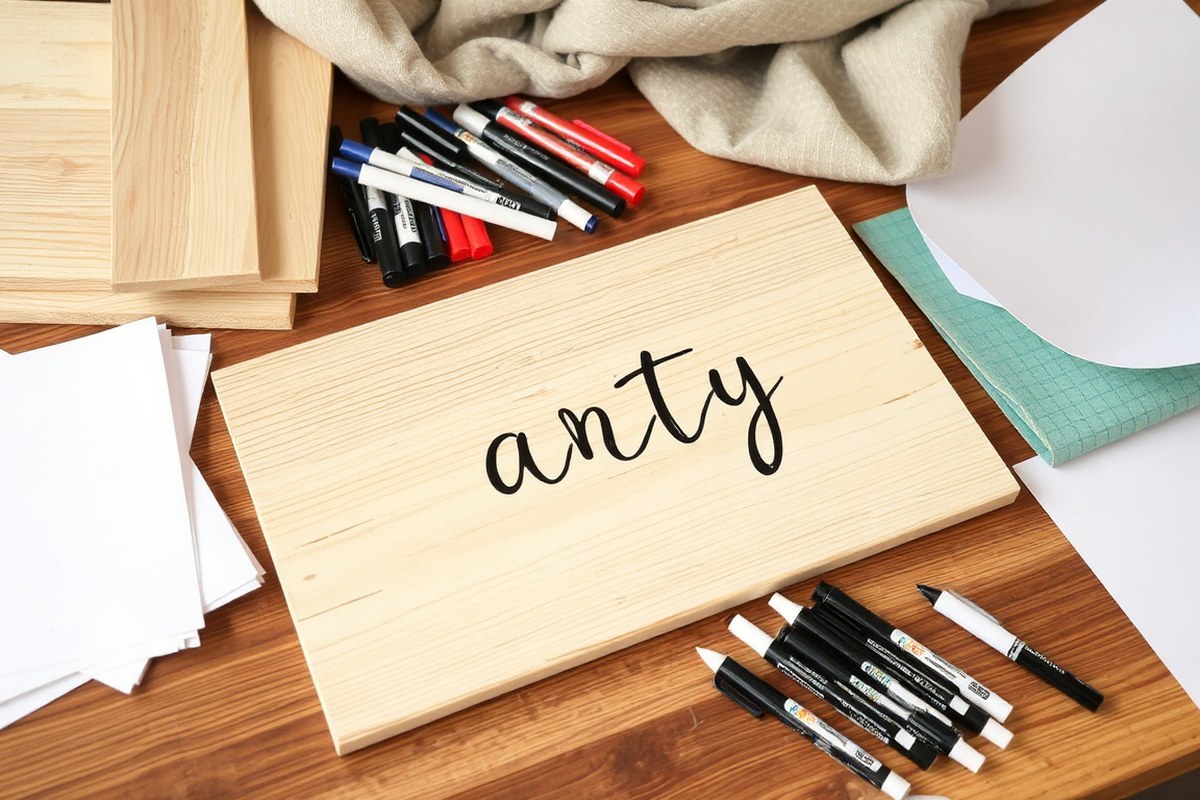
Choosing the right material for your party sign depends on where it will be displayed, how long it needs to last, and your budget. The most popular materials include wood, fabric, paper, cardboard, and sometimes lightweight plastic. Each has strengths and weaknesses for sign-making that affect cost, durability, and ease of use.
| Material | Cost Range | Durability | Ease of Use | Best Use |
|---|---|---|---|---|
| Wood (Plywood, Pine) | $5 – $20 per board (12″x12″ to 24″x24″) | High – Weather-resistant if sealed | Moderate – Requires tools like sandpaper, paint brushes | Long-lasting outdoor/indoor signs, photo props |
| Fabric (Canvas, Polyester) | $2 – $8 per yard | Medium – Flexible but can wrinkle or tear | Easy – Can be painted or printed; no cutting tools needed | Banners, welcome signs, lightweight displays |
| Paper/Cardstock (120 lb recommended) | $0.10 – $1 per sheet | Low – Susceptible to tearing and water damage | Very easy – Cut, paint, or print at home | Short-term indoor signs, tent cards |
| Cardboard (Double-layered recommended) | $1 – $3 per sheet | Low to medium – Can be reinforced to mimic wood thickness | Easy – Cut with scissors, paint or decorate | Temporary signs with dimensional look |
Wood signs offer a classy and durable option that suits many parties, especially outdoor ones. Types like smooth plywood or solid pine work best because they’re easy to sand and paint. You’ll need basic tools such as sandpaper and paintbrushes, but the extra effort pays off with a professional look that lasts. Sealing the paint with a clear coat protects the wood from moisture.
Fabric signs like canvas banners are popular for weddings or baby showers. They drape nicely and can be customized with fabric paint or printed transfers. Using sturdy fabrics like polyester improves durability, though these signs handle outdoor exposure less well than wood. Fabric is also light, making it easy to hang or display on frames.
Paper signs are the go-to for budget-tight events and short-term use. Using 120 lb cardstock adds weight and thickness, helping the sign stand upright if needed. Ideal for tent cards or small indoor signs, they won’t withstand wind or moisture. Reinforcing paper signs by layering or mounting them on cardboard can add stability.
Using double-layered cardboard can create dimension that mimics wood signs, a great budget-friendly alternative that still looks polished.
Knowing which type of sign you want helps narrow down best material choices. Use wood for lasting, stylish signs; fabric for flexible banners; paper for ultra-low cost projects; and cardboard when you want to add structure without heavy tools. Budget for expenses like paint, brushes, and any sealants or adhesives based on your chosen material.
Designing Your Party Sign: Tools, Sizes, and Layouts
Choosing the right tools, sizes, fonts, colors, and layouts ensures your party signs look great and are easy to read. Use accessible design programs with clear guidance on dimensions and font choices to make your signs stand out. Here’s how to pick the best options for your project.
Free and Paid Online Design Tools
For creating party signs, both free and paid design tools offer great features. Canva is a popular free online graphic design program that makes making signs straightforward. It includes plenty of fonts, templates, and a user-friendly interface, perfect for beginners and hobby crafters.
Aside from Canva, free online sign makers like Avery’s tool let you design signs that work with blank label sheets or packaged label products. Creating a free account saves your design and lets you reorder or edit it later. For more advanced features, Canva Pro offers premium fonts and additional templates but is not required for quality designs.
Paid options such as Adobe Spark and PicMonkey provide more customization and professional tools but come with monthly fees ranging from $8 to $20. Free tools suffice for most party sign needs, especially with available templates and straightforward editing.
Standard Sizes and Orientation Recommendations
Standard paper sizes like 8.5 by 11 inches (letter size) suit many party signs, especially if you plan to print at home or use printable sheets. This size fits easily in frames or on tables and is cost-effective for printing. Square sizes such as 6 by 6 inches work well for smaller signs or coordinating multiple signs with a consistent look.
Orientation depends on the type of sign and where it will be displayed. Landscape orientation (11 by 8.5 inches) fits signs placed above doors or on wide tables, while portrait (8.5 by 11 inches) suits directional or informational signs. Consider the viewing distance: larger signs (like 11 by 17 inches or posters) work better outdoors or in bigger rooms, so guests can see them from afar.
Frames and hanging options often dictate the size choice. Picture frames typically fit standard sizes, so choosing a common dimension simplifies framing and display.
Font and Color Choices for Readability
Selecting a font that’s clear and readable from a distance helps guests find information quickly. Sans-serif fonts like Arial, Helvetica, and Arimo avoid excess details and appear cleaner on signs. Use large font sizes, at least 18 points for small table signs and 48 points or more for signs meant to be seen across a room.
Color contrast is key. Dark text on a light background or white text on a dark background provides the best readability. Avoid busy patterns or gradients behind text. For example, black text on a white or pastel background works well and fits many party themes. Using two to three colors maximum helps maintain focus.
Highlight important words by using bold or slightly larger fonts and sticking to two font styles total. Too many fonts or colors can make the sign look cluttered and hard to read. Follow these steps to design your party sign effectively:
- Choose your design tool (Canva, Avery online sign maker, or others).
- Set your page size, typically 8.5 by 11 inches or your preferred dimension.
- Pick your sign orientation based on where it will be displayed.
- Select clear, sans-serif fonts and adjust the font size for the viewing distance.
- Choose high-contrast colors for the text and background.
- Arrange information logically, placing important details prominently.
- Add any graphics or borders carefully, maintaining readability.
- Save your design and preview it at full size before printing.
Printing Your Party Sign: Home vs Professional Options
Choosing between printing your party sign at home or using a professional print shop depends on the size, quality, and time you have. For small to medium-sized signs, home printing using suitable paper can produce vibrant, clear results. Larger signs often require professional services, especially if you want wide-format printing beyond standard 8.5×11 inch sheets.
When printing at home, select the right paper to match your sign’s purpose. Heavy cardstock is ideal because it offers sturdiness and a polished look, but first verify your printer supports the weight, check the manual or product specs. Printing on photo paper can improve colors and sharpness, especially Epson’s glossy photo paper available in sizes up to 13×19 inches. Matte cardstock works well if you want to avoid glare and still maintain good print quality. Regular printer paper generally won’t hold up well for party signs because it’s too thin and can look cheap or easily crease.
Professional print shops provide options for custom paper types and sizes that might not be possible with home printers. They can handle large formats, such as posters or vinyl banners, which are useful for outdoor or big indoor parties. Costs vary widely depending on size and material, for example, a 24×36 inch poster can cost anywhere from $15 to $50. When you’re short on time or printing very large graphics, a professional service can save effort and produce signs that last longer, especially with waterproof or laminated options.
For the best print quality whether at home or a shop, adjust your printer settings carefully. Use the highest resolution available, often labeled as “Photo” or “Best” quality settings. Selecting the correct paper type in the printer software ensures the ink applies properly for sharpness and color accuracy. When your sign contains large images, use the “scale to fit” option to ensure the entire design prints on your sheet size without cutting off parts of the image. Avoid low-ink warnings and allow the print to dry completely before handling.
When printing signs that include text and graphics, vibrant colors and crisp edges make a big difference in visual appeal. At home, make sure your ink cartridges aren’t low, and clean print heads if colors come out faded or uneven. Consider printing a test page first to check colors and alignment. For critical party decor, professional print shops use specialized equipment that consistently delivers sharp, fade-resistant prints ideal for party signs meant to last several days outdoors.
Start by determining your sign size and checking your home printer’s capabilities. When your design fits standard paper sizes and your printer can use thicker cardstock or photo paper, begin printing at home. Print smaller signs on 8.5×11 inch glossy or matte cardstock for a polished finish. For anything larger than 13×19 inches or requiring special durability, consult a print shop with your design file. Many shops accept custom sizing and can recommend paper types suited to indoor or outdoor use. This approach helps balance quality, convenience, and budget for your party sign printing.
Creative Ways to Display and Hang Your Party Sign
Displaying your party sign safely and attractively depends on the setting and materials available. Indoor signs usually rely on lightweight hanging methods, while outdoor signs require weather-resistant supplies and sturdier support. Freestanding signs or two-sided designs add versatility and visibility for arrivals from multiple directions.
Hanging Options for Indoor Use
For indoor displays, lightweight signs work best with temporary hanging supplies. Painter’s tape or removable hooks can hold paper or fabric signs without damaging walls. Command strips offer stronger support for wooden or thicker signs up to 1, 2 pounds, letting you avoid nails or screws. If you want to hang heavier signs, use picture hooks with nails, but check your wall type first to avoid damage.
Consider the sign’s height and visibility. Hanging a sign just above eye level near doorways or entry points helps guests notice it easily. Hooks or adhesive strips should be spaced evenly to keep the sign flat against the wall and avoid drooping corners.
Outdoor Hanging Materials and Safety Tips
Outdoor signs must withstand wind, rain, and sunlight. Use waterproof materials like laminated prints, metal, or treated wood. Select hooks, strings, or zip ties made of weather-resistant materials such as stainless steel, vinyl-coated wire, or heavy-duty outdoor twine to prevent rust and wear.
When hanging on trees, fences, or posts, avoid using staples or nails that can damage the structure or the sign. Instead, tie signs with reusable zip ties or soft garden wire to reduce harm. For wall surfaces like brick or siding, use outdoor adhesive hooks rated for your sign’s weight or drill pilot holes for secure screw hooks with rubber washers to prevent water infiltration.
- Use grommets on signs for easy hanging with zip ties or hooks
- Choose ropes or cables rated for at least twice your sign’s weight
- Pick bright colors or reflective tape for better visibility in low light
- Avoid hanging signs in direct wind tunnels without additional support
- Secure signs with extra fasteners to prevent sudden gust damage
Always check the weight limit on your hooks or hanging materials to avoid falls, especially outdoors where wind adds stress.
Using Stands and Freestanding Displays
Freestanding signs give you portability and can hold two-sided designs, perfect for directing guests or announcing party details from multiple directions. Use an A-frame sign holder or an adjustable metal stand sized to fit your sign’s dimensions. Many stands accommodate signs up to 3 feet wide and 4 feet tall, ideal for outdoor parties in open spaces.
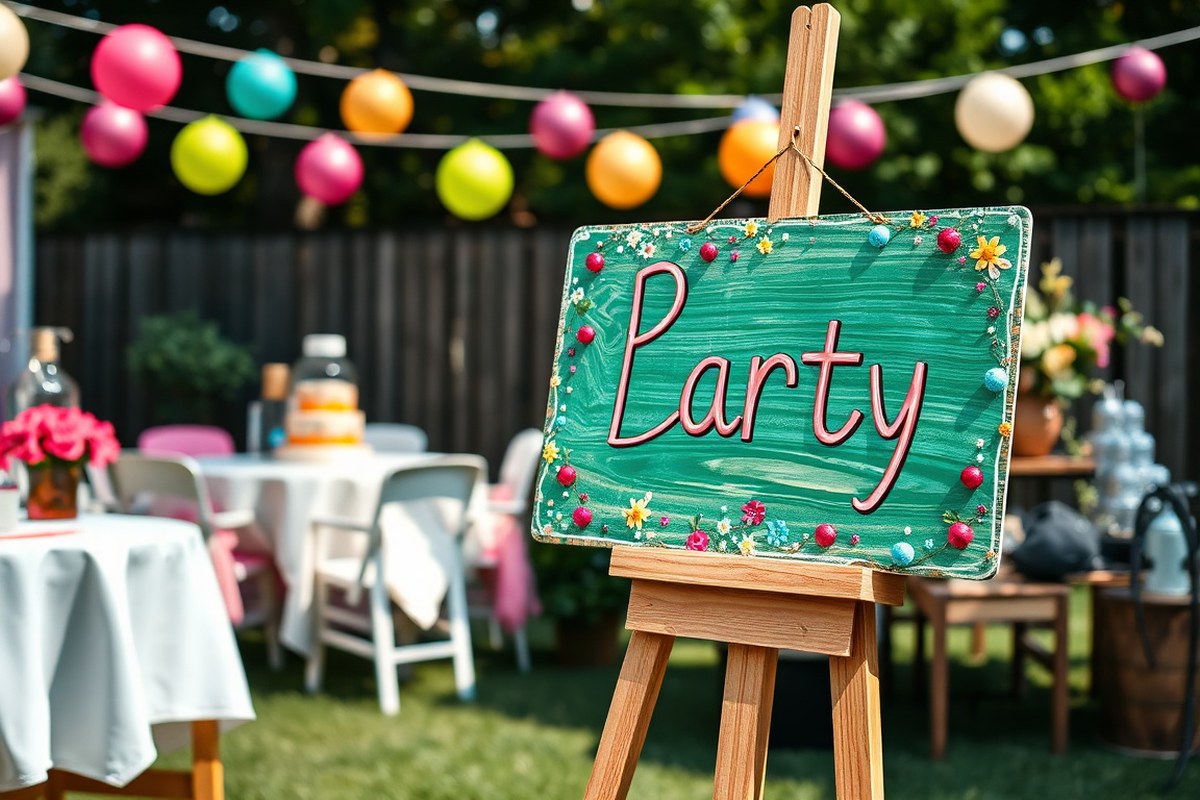
To make a stable freestanding sign at home, attach your party sign to a piece of rigid foam board or lightweight plywood, then secure it on a foldable easel or a heavy base with brackets. Two-sided signs need to be sealed with waterproof coating to protect both sides.
Budget-Friendly Tips for Making Affordable Party Signs
Reducing costs when making party signs starts with using recycled materials and finding free resources online. Cardboard from old boxes, leftover wood pieces, or even sturdy paper can serve as the base for your signs. These materials usually cost nothing and help cut expenses while keeping your signs lightweight and easy to handle. Using recycled materials also means less waste, which is a bonus for the environment.
Free printable templates can save both time and money. Several websites offer downloadable and customizable sign templates at no cost. Signing up for newsletters from DIY craft blogs often grants access to templates like “Home” or “Party” signs as welcome gifts. You can print these on regular paper or adhesive sheets, then apply them to your sign surface. This eliminates the need for expensive design software or hiring a professional.
Using multipurpose tools can extend your budget effectively. Scissors, craft knives, rulers, and basic paintbrushes are affordable and serve many crafting needs beyond sign making. These tools work for cutting recycled materials, painting letters, or applying templates, minimizing the need for specialized equipment. Maintaining a simple toolkit means one set of supplies can be reused for years of parties.
- Reuse cardboard boxes or wood scraps as sign bases
- Download free sign templates from craft sites and blogs
- Print templates at home using regular paper or printable vinyl sheets
- Use multipurpose scissors, craft knives, and paintbrushes
- Customize each sign with paint or marker pens over printed templates
- Store signs and materials for reuse at future events
When working with recycled materials, make sure they are clean and flat to prevent warping or uneven surfaces. Printing templates at home usually costs less than $0.10 per page, depending on your printer’s ink and paper prices. You want to check that your paint or marker colors show up clearly on your chosen material to avoid having to redo the sign. Being able to customize and reuse tools and materials keeps your costs down and gives you flexibility for multiple parties without repeated purchases.
Protecting and Finishing Your Party Sign for Durability
Protecting your party sign improves its lifespan and appearance, especially if it will face weather or frequent handling. Sealing, laminating, or framing your sign depends on the material and the event location. Proper finishing helps keep your message vibrant and prevents damage from spills, sun, or kids.
Sealing and Coating Wooden Signs
Wooden signs need protection from moisture and fading, especially outdoors. A clear sealant locks in paint or markers and shields the wood from rain or chips. A popular choice is a water-based polyurethane or acrylic sealer, which dries clear and won’t yellow over time.
To seal your wooden sign correctly, start with smooth, dry wood. Apply the sealant evenly with a synthetic brush and let it cure fully before use. Avoid oil-based sealers for outdoor signs used in heat, as they can discolor.
- Sand the wooden surface smoothly using 120-grit sandpaper to remove rough spots.
- Clean the surface with a damp cloth and let it dry completely, about 1 hour.
- Apply a thin coat of clear water-based polyurethane with a synthetic brush, following the wood grain.
- Allow the first coat to dry for 2 to 4 hours in a well-ventilated area.
- Lightly sand the dried first coat with 220-grit sandpaper to smooth it.
- Wipe off dust with a clean cloth before applying a second coat.
- Let the second coat dry completely (24 hours recommended) before handling or placing outdoors.
Costs for sealants run about $10 to $20 for a quart, covering multiple small signs. Signs sealed this way resist water and sunlight better and show less wear from handling. Signs sealed unevenly or without sanding between coats risk peeling or dull spots.
Laminating and Framing Paper Signs
Paper signs work well for indoor or short-term outdoor use and need protection from spills and creases. Lamination seals the paper in plastic, making it water-resistant and sturdy. Alternatively, framing protects signs while adding a polished look.
To laminate at home, use a thermal laminator or self-adhesive sheets available at craft stores. Framing fits best with signs printed on sturdy paper or cardstock and provides extra support. Using a tabletop frame with a built-in stand lets you place your sign on tables without additional hardware.
- Print your sign on thick photo paper or cardstock to prevent wrinkles.
- Trim the paper to the desired size, leaving a small border for laminating if using sheets.
- Feed the sign through a thermal laminator or place it between self-adhesive laminating sheets, smoothing out air bubbles.
- Allow the laminated sign to cool and set for 5 to 10 minutes before handling.
- Insert the laminated sign into a tabletop or wall frame sized to match or slightly larger than your sign.
- Secure the frame backing and place the sign where it will be displayed.
Cost for laminating sheets ranges from $10 to $25, depending on size and pack count. Basic frames run $5 to $15 at craft or dollar stores. Laminated and framed signs resist spills, people touching the print, and bending or tearing. Laminated signs without a frame might curl at the edges if stored improperly.
Caring for Fabric-Based Signs
Fabric signs, like welcome banners, require different finishing methods to keep them looking fresh. Heat transfer vinyl or printed designs applied with a Cricut can decay or fade without finishing. Adding a sewn edge or hemming prevents fraying, while a simple spray-on fabric protector boosts stain resistance.
If you intend to reuse fabric signs outdoors, applying a water-repellent spray designed for fabrics can improve durability. Framing fabric signs is less common but an option if stretched tightly over a frame to maintain shape. Rolling fabric signs for storage avoids creases better than folding.
- Apply your design to the fabric surface using your preferred printing or cutting method.
- Finish raw fabric edges by hemming or using fabric glue to prevent fraying.
- Spray the fabric evenly with a water-repellent or stain-resistant fabric protector, following label instructions and letting dry completely.
- Allow the sign to air dry flat to maintain shape.
- For display, you may sew or attach a lined rod pocket for easy hanging.
Fabric protector sprays typically cost between $8 and $15 per bottle and cover several signs. Properly finished fabric signs resist stains and water better, lasting through multiple uses. Avoid over-saturating with sprays to prevent stiffness or color changes.
Personalizing Your Party Sign with Photos and Lettering
Adding photos or logos to your party sign starts with selecting the right images at a clean, high resolution of 300 dpi for the best print quality. Print your photos on photo paper or regular printer paper if you plan to decoupage them onto wood or poster board. Cut the printed images to size and arrange them on your sign surface before attaching, so you can finalize the layout. Use spray adhesive or Mod Podge to adhere photos smoothly, avoiding air bubbles. This method works well for custom logos on cocktail or cheese labels, creating a professional look without needing a vinyl cutter.
Hand lettering adds a personal touch that stands out. Begin by sketching your text lightly with a pencil using simple block letters or cursive styles inspired by basic calligraphy. Choose tools like paint pens, chalk markers, or fine-tipped permanent markers depending on your sign material. A paint pen with a 1 to 2 mm tip offers control for neat lettering on wood or cardstock. Practice strokes on scrap paper to maintain even spacing and consistent letter size. For a classic look, try faux calligraphy by drawing thicker lines on the downstrokes and thinner on the upstrokes. Patience is key; slow, deliberate movements often produce better results than rushing.
Embellishments such as ribbons, small artificial flowers, buttons, and washi tape can add flair without overwhelming your sign’s design. Choose embellishments that match the party theme or color scheme. Apply them using hot glue or tacky glue for a secure hold. When your sign base is wood, add twine bow accents or small clothespins to attach tags or photos. Craft stores offer affordable supplies, often around $5 to $10 for various packs, allowing you to experiment without breaking your budget. Keep decorative elements moderate to ensure the text and images stay the focal point.
Test your hand lettering and embellishment placements on a scrap piece before committing to the final sign to avoid costly mistakes.
Combining photos with hand lettering and modest embellishments turns a simple sign into a one-of-a-kind decoration. The effort put into customizing by hand conveys care and creativity that store-bought signs can’t match. Use these methods to label party foods or personalize a welcome sign, letting you tailor your design while keeping the process easy for beginners and hobby crafters.
Step-by-Step Action Plan to Create Your Party Sign
Follow these clear steps to make a party sign that fits your event and style. Each step helps you move closer to a sign that looks great and lasts through your celebration.
- Before you start: Choose your party theme and message. Confirm your sign’s size by measuring the display area to ensure a good fit.
- Day 1: Select materials based on your budget and intended display location. Check if your materials are weather-resistant for outdoor use.
- Day 2: Design your sign using online tools or sketch it on paper. Make sure your text is readable from a distance and use contrasting colors.
- Day 3: Print your sign at home or send it to a professional service. Review the proof carefully to avoid errors before printing.
- Day 4: Add personal touches like photos or hand lettering. Use waterproof markers or adhesive letters for a clean look.
- Day 5: Protect your sign with laminating sheets, spray sealant, or mounting on foam board to keep it sturdy and weatherproof.
- Day 6: Hang your sign using hooks, string, or stands appropriate for your venue. Test its visibility from guest areas to make sure it’s clear.
- Day 7: Final check on the day of your party. Adjust the sign position if needed and keep spare tape or fasteners handy for quick fixes.
Frequently Asked Questions
What Materials Are Best for Outdoor Party Signs?
Weather-resistant materials like foam board or PVC work best outdoors for durability, protecting the sign from wind and rain.
How Can I Make a Party Sign Stand Out in Photos?
Use bright colors and bold fonts to catch attention and ensure it’s readable in pictures.
Is It Better to Make a Two-Sided Party Sign?
Two-sided signs show messages on both sides, increasing visibility from different angles and areas.
How Can I Make a Large Party Poster Without a Printer?
Use grid drawing or tracing methods to transfer your design to a large board by hand.
What’s a Simple Way to Reuse Party Signs?
Store them in protective frames or tubes, then refresh designs with overlays or removable decals.
Can LED Lights improve a Party Sign?
Adding LED lights around your sign can increase visibility in dim settings and add visual interest.
Before You Go
Creating a sign for your party becomes straightforward with a clear plan and attention to materials and design. Start by picking your message and size today, so you can move through each step with confidence. The right sign adds a polished touch that welcomes guests and guides them easy through your celebration.