How to Make a Cabin Sign by Hand: A Complete Guide for Perfect Rustic Results
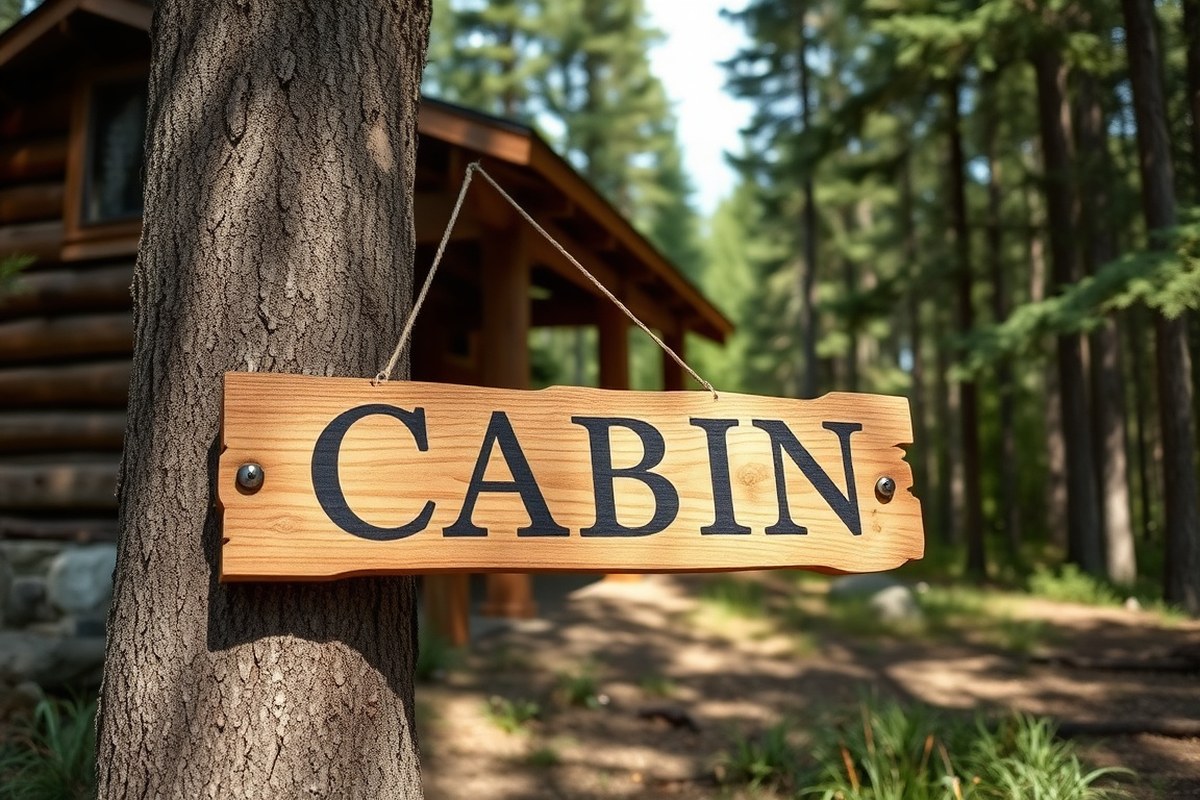
How to make a cabin sign by hand starts with selecting the right wood and tools that fit your vision and outdoor conditions. Carve, paint, or burn your design directly onto durable wood like cedar or pine for an authentic rustic look. Begin by measuring your wood precisely since lengths vary, even in standard 4-foot boards.
Key Takeaways
- Measure each wood board before starting to ensure your sign fits your desired size, especially near 4-foot lengths.
- Use Eastern Red Cedar for natural weather resistance and a classic rustic appearance without needing heavy finishes.
- Create your design on paper first, leaving about 1/2 inch border around edges to avoid crowding the lettering.
- Choose carving for depth and texture, burning for dark lines, or painting for color, each method alters the sign’s style.
- Apply a linseed oil and turpentine mixture to protect your sign outdoors, repeating every five years to maintain durability.
- Use wood lath or reclaimed wood to balance cost and authenticity, with inexpensive wood lath packs readily available.
Materials and Tools Needed for a Cabin Sign
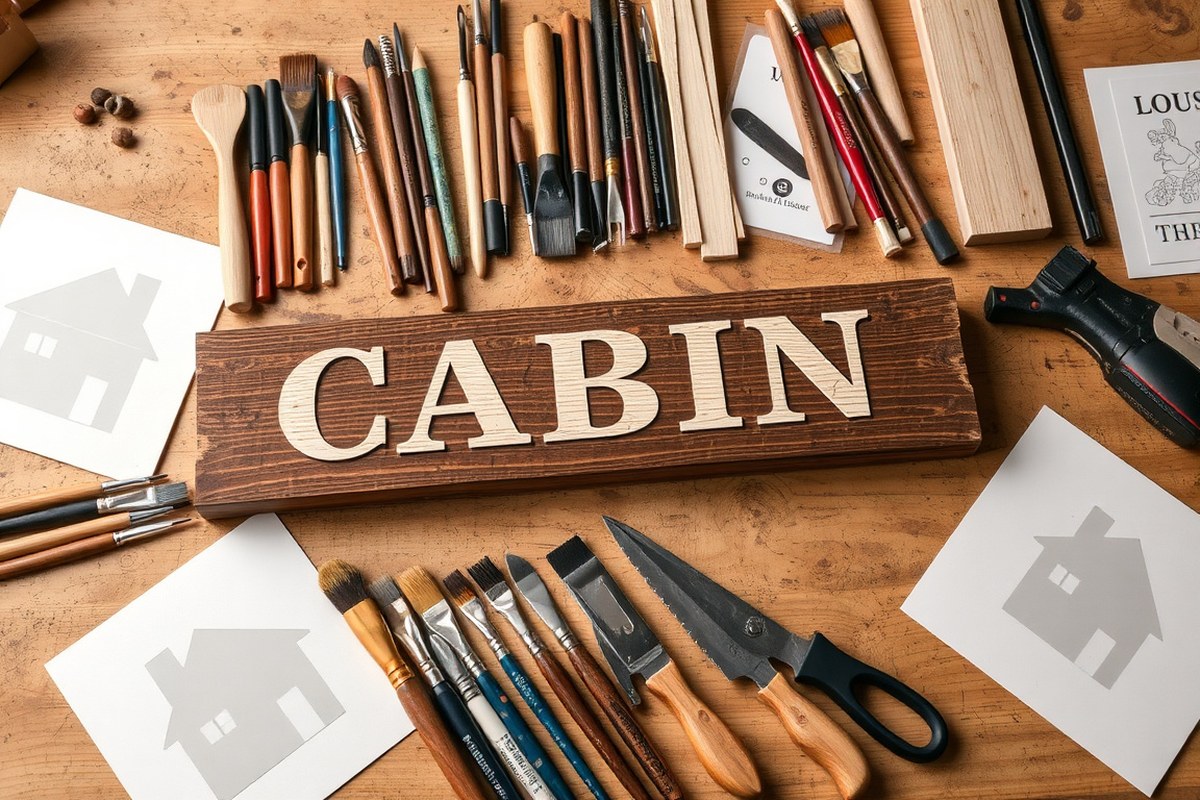
Creating a cabin sign by hand requires gathering the right materials and tools to ensure your project turns out both durable and charming. At its core, the essential material is wood, which you can choose new or reclaimed depending on your budget and style. Reclaimed wood from old fences, pallets, or barn boards offers a weathered, rustic look while keeping costs low and reducing waste. Select pieces that are flat and free of deep rot or excessive splitting; sanding will smooth out imperfections and prep the surface for lettering.
Budget-friendly wood options include pine or cedar boards, typically found for $10 to $20 per 1×6 foot board at home improvement stores. Pine is soft and easy to work with but less durable outdoors unless sealed, while cedar resists decay better but costs a bit more. Reclaimed wood is often free or inexpensive if you source locally, but it requires extra prep time to clean, sand, and possibly treat pests or mold.
Key tools include some form of saw to cut your wood to size, hand saws can do the job if power tools aren’t available, and sandpaper or a sanding block to smooth edges. For lettering, stencils can help you achieve clean, even letters, paired with brushes or paint pens. Wood burning tools offer a different look but require steady hands and an extra safety step. Other useful tools are clamps to hold pieces steady, measuring tape for layout accuracy, and painter’s tape to position stencils without smudging.
- Wood boards (pine or cedar for new; old fence or pallets for reclaimed)
- Sanding block or medium-grit sandpaper
- Hand saw or jigsaw (power saw optional)
- Lettering stencils and paint brushes or paint pens
- Wood burning tool (optional for carving letters)
- Clamps to secure wood in place
- Measuring tape and painter’s tape
When selecting reclaimed wood, check for nails or staples that need removal and avoid pieces too warped or cracked, which can weaken the sign. Thorough sanding improve paint adhesion and safety by removing splinters. Choosing the right type of paint or stain tailored for outdoor use helps the sign withstand weather. Entry-level toolkits with essential brushes, sandpaper, and basic hand saws can be found for under $30, making this a manageable and affordable project even for beginners.
Choosing the Right Wood: Durability and Appearance
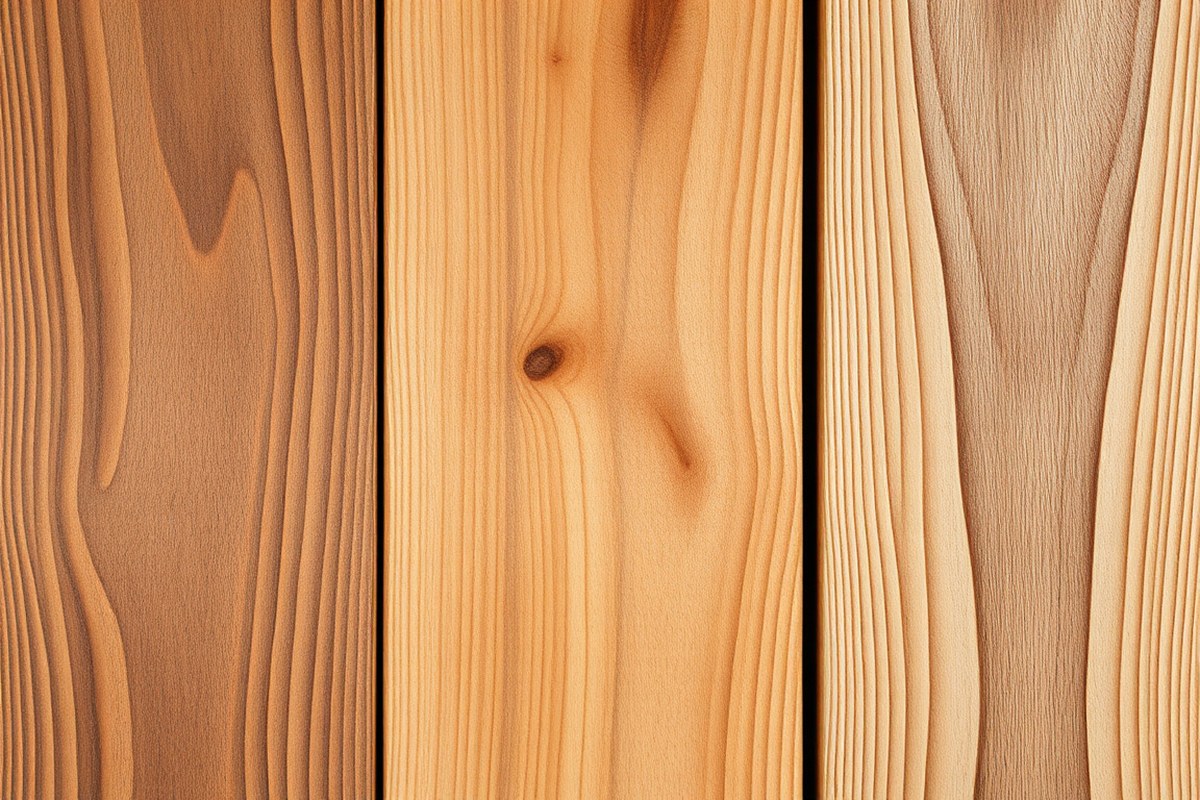
Choose wood that balances durability, weather resistance, and the rustic look you want for your cabin sign. Opt for wood types designed to last outdoors and match the aesthetic of natural cabin settings. Thickness affects how sturdy the sign is and how easy it is to carve or paint your design.
Common Wood Types Used
Some woods work better for cabin signs because of their natural resistance to weather and how well they take finishes. Eastern Red Cedar is a popular choice due to its clear finish and natural durability. Pine is affordable but less durable outdoors unless properly sealed. Reclaimed wood or pallet wood offers unique rustic textures and character but varies in durability depending on the source. Choose wood that complements your cabin’s setting and your desired look.
| Wood Type | Durability Outdoors | Appearance | Typical Cost per Board Foot |
|---|---|---|---|
| Eastern Red Cedar | High | Reddish tone, fine grain, clear finish | $3 – $5 |
| Pine | Medium (needs sealant) | Light color, knots add rustic charm | $1 – $2 |
| Reclaimed Wood | Varies (check condition) | Weathered, rough texture, unique markings | Varies (often free to low cost) |
| Cedar Pallet Wood | Medium to high | Varied grain and color, rustic look | Often free or low cost |
Choosing the right wood sets the foundation for a sign that lasts and looks authentic. Cedar’s natural oils make it more resistant to decay without heavy treatment. Pine’s affordability suits budget projects but requires protective finishes for longevity. Reclaimed wood adds character when you want a distinct weathered style but inspect it closely for damage before use.
Recommended Thickness and Size
Wood thickness influences how long the sign holds up and how easy it is to work with. A common dimension is around 1 inch thick, providing durability without being too heavy to handle. This thickness also offers enough depth for carving letters or shapes cleanly. For size, typical signs measure approximately 18 inches by 6 inches, but adjust based on your layout and visibility needs.
Thicker wood (1.25 inches or more) adds stability if your sign is large or exposed to strong wind. Thinner panels (less than 0.75 inch) are easier to carve but risk warping or breaking over time outdoors. Balance your tools and design detail with the wood’s thickness for the best results.
Tip: Leave about ½ to 1 inch of blank space around your design edges when cutting your wood so the sign doesn’t look cramped and you have room for mounting hardware.
Weather Resistance Factors
Your cabin sign will face sun, rain, snow, and temperature swings. Woods like Eastern Red Cedar resist moisture and insects naturally, reducing the need for heavy sealants. When using softer woods like pine or reclaimed wood, apply a good outdoor wood sealer or paint designed for exterior use. Regular maintenance every few years prolongs the sign’s life.
Also consider location. If the sign is sheltered under an overhang or porch, you have more leeway with wood choices. Fully exposed signs should prioritize weatherproof woods and thicker cuts. Applying a protective finish prevents cracking, splitting, and fading, maintaining the rustic appeal of your cabin sign.
Designing Your Cabin Sign: Layout and Lettering
Designing the layout and lettering for your cabin sign sets the stage for a clear, attractive, and personalized display. You’ll want to balance size, font choice, and spacing to suit the sign’s dimensions and your cabin’s style. Taking these steps ensures your hand-carved or painted letters look professional and welcoming.
Planning the Message and Text Size
Start by deciding what your sign will say, usually the cabin’s name or a warm greeting works well. Think about the sign’s location and size to determine how many words fit without crowding. Larger signs can handle longer names or extra lines; smaller signs call for simple, bold text.
Text size is key for readability. A good rule of thumb: letters should be at least 1.5 to 2 inches tall for every foot of viewing distance. For example, if your sign will be read from 10 feet away, aim for letters 15 to 20 inches tall. Adjust the text size so it fills about 60-70% of the sign’s surface, leaving margins for framing or decorative edges.
Choosing Fonts and Styles for Cabin Aesthetic
The font style you pick shapes the sign’s personality. Rustic cabins suit serif fonts with classic, hand-carved appearances such as “Times New Roman,” “Georgia,” or serif fonts designed for woodcraft. For a more casual or woodsy feel, consider slab serifs or simple block fonts that stay readable when carved or burned.
Avoid overly ornate fonts that add fine details, these can be tricky to carve cleanly. If your sign will have shadowing on the letter ends, block fonts help highlight this effect. You can also experiment with hand-drawn lettering if you’re confident sketching freehand. For digital design, apps like Canva offer several wood-friendly fonts and effects to preview your style before committing.
Creating a Scaled Template for Transfer
Crafting a properly scaled template organizes the layout and ensures your text fits perfectly on the wood. You can design this on a computer or by hand, depending on your tools and skills. Using a template makes it easier to transfer your design onto the sign surface with tools like a projector, stencil, or carbon paper. Follow these steps to create and scale your layout:
- Measure your sign’s surface (width and height) carefully, including any borders or space for decoration.
- Choose the number of text lines and decide the hierarchy, larger font for the cabin name, smaller for a subtitle or greeting.
- Open a design app like Canva or use graph paper to draft your text layout, keeping your size ratios consistent.
- Scale your digital or drawn design to match the sign’s dimensions; for example, set canvas size to the sign’s width and height in inches.
- Adjust letter spacing (tracking) and line spacing (leading) for clarity; letters should not touch but stay close enough for visual flow.
- Print the design or use a projector to display the layout onto your wood surface, or create a stencil.
- Trace your letters carefully to prepare for carving, painting, or burning.
Effective Ways to Transfer Designs Onto Wood
Transferring your design onto wood accurately is key for a clean and professional cabin sign. Some of the most effective methods include using stencils, freezer paper, carbon (graphite) paper, and freehand drawing. Each approach fits different skill levels, supplies, and equipment you might have on hand.
Stencils let you paint or burn your letters and shapes with a clear boundary. They are reusable and work well with paint or wood burners, giving crisp edges. Make sure your stencil is securely taped to prevent shifting and apply paint in thin layers to avoid bleeding.
Freezer paper transfers are popular if you have a printer. Print your design on the paper’s matte side, then place it design-side down on the wood. Using a warm iron briefly (about 2-3 seconds) melts the wax, creating a temporary bond. Peel off carefully. For durability, you might need to trace over the transferred design with a pencil before painting. Freezer paper costs about $5 for 50 sheets and can be found in most kitchens.
Carbon or graphite paper sits between your printed design and wood. Place the graphite side down on the wood, then the design on top. Trace over the design with a pencil, applying firm pressure. This transfers your design with clear, sharp lines. Graphite paper is inexpensive and reusable, usually $3, $7 per sheet. Avoid excessive tracing to prevent smudging. You can also do a pencil shading method by shading the back of your printed design heavily with pencil and then tracing over the front to transfer the graphite directly onto the wood. This method doesn’t require extra materials but takes careful tracing for clarity.
Freehand drawing works if you’re confident in your lettering. Sketch lightly with pencil, then burn or paint over the design. This method costs nothing but takes steady hands and some practice to get balanced results.
The table below compares these transfer methods on key factors that matter for cabin sign projects:
| Transfer Method | Supplies Needed | Cost Estimate | Use With | Pros | Cons |
|---|---|---|---|---|---|
| Stencil | Pre-cut stencil or cardstock, tape, paint or burner | $0-10 (depending on stencil) | Painting, burning | Reusable, clear outlines | Requires cutting precision, paint can bleed |
| Freezer Paper | Freezer paper, printer, iron | About $5 for 50 sheets | Painting | Easy, precise transfer | Limited to smooth wood, temporary adhesion |
| Carbon (Graphite) Paper | Graphite paper, printed design, pencil | $3, $7 per sheet | Painting, burning | Sharp lines, reusable | Can smudge, needs firm tracing |
| Pencil Shading Transfer | Printed design, pencil, wood surface | Free (if you have pencils and printer) | Painting, burning | No special materials | Needs careful tracing, less sharp |
| Freehand Drawing | Pencil, eraser | Free | Painting, burning | Total control over design | Requires skill, time-consuming |
To avoid smudges or unclear transfers, make sure your tracing tool is sharp and apply steady, even pressure. Use clean, dust-free wood surfaces to prevent marks from spreading. For graphite paper, place a firm backing under the wood to push accurately without bending. If the transfer looks too light, retrace carefully instead of pressing too hard at once, which causes smudging.
Keep your design aligned by taping all layers securely or using low-tack painter’s tape rather than duct tape to avoid residue or distortion. After transferring, allow any graphite or pencil marks to set a few minutes before painting or burning to reduce smears. Testing your chosen method on scrap wood first helps you adjust pressure and technique for sharper, cleaner results.
Carving, Painting, or Burning Letters: Pros and Cons
Carving letters into wood offers a classic, tactile result that stands out with depth and shadow. You’ll need wood carving tools or a rotary tool with fine bits, and patience to trace each letter carefully. For a sign measuring 18 by 8 inches, expect about 3 to 5 hours depending on skill level. The process starts by transferring your design onto the wood. Use sharp tools to carefully remove wood within the letter outlines, aiming for a uniform depth around 1/8 inch.
This method lasts long and holds character but can be unforgiving for beginners; a slip may gouge the wood too deeply. Fix minor slips by applying wood stain to darken the affected area and blend it with adjacent surfaces. Carving requires steady hands and slows your pace but creates a durable, professional look that catches the eye, especially outdoors.
Painting letters on a wood sign offers more flexibility in style and color while demanding less physical effort. The process can take as little as 1 to 2 hours plus drying time. First, transfer your design with stencils or a pencil outline. Use paintbrushes appropriate in size for the letter detail, with acrylic or outdoor craft paints preferred. Painting allows easy corrections with an eraser or light sanding before applying final coats.
While painting enables colorful or intricate designs, it may require touch-ups over time due to fading or chipping when exposed to weather. To achieve a sharp look, thin your paint slightly for smooth application and use painter’s tape to mask edges when needed. Beginners usually find painting more approachable but should be mindful of brushstrokes and drying conditions.
Woodburning letters, also known as pyrography, creates dark, crisp marks directly on the wood surface with a heated pen. This technique takes about 2 to 4 hours for a small sign, depending on complexity and steadiness. Start by tracing letters with a pencil, then slowly burn along the lines with the woodburning tool set to a medium heat. Consistent speed ensures uniform color without scorching.
Woodburning is permanent and weathers well, offering a rustic or vintage style, but it requires control to avoid uneven burns. Beginners should practice on scrap wood first to find a comfortable pace and pressure. Mistakes are harder to fix with burning, so proceed cautiously and consider testing your design in stages. The tool’s tip can cost between $20 and $50, making it a moderate investment if you plan multiple projects.
Take breaks to avoid hand fatigue and maintain steady control, especially during carving and woodburning, where slips can cause noticeable mistakes.
Techniques to Achieve a Rustic or Weathered Look
To create an authentic rustic or weathered look on your cabin sign, start with distressing techniques that imitate natural aging. This look adds character and blends well with cabin-style decor, making the sign feel like a lived-in, timeworn piece. Simple tools like sandpaper, wire brushes, and steel wool work best for distressing. Focus on rounding edges, creating shallow gouges, and exposing some underlying wood grain by sanding selectively.
Layering paint or stain correctly plays a key role in achieving depth and interest. Begin by applying a base coat of paint or a darker stain and letting it dry completely, usually 4 to 6 hours depending on product instructions. Follow with a lighter or contrasting top coat. Before the top layer fully dries, use fine sandpaper or a damp cloth to rub away spots, especially on raised areas or edges, to reveal the base coat beneath. This technique simulates the natural wear caused by years of exposure to sun and rain.
Whitewashing is another popular method that provides a rustic feel without heavy coverage. Dilute paint with water, roughly 1 part paint to 3 parts water, and apply with a cloth or brush. Then wipe off some of the paint immediately to keep wood grain visible. This approach works nicely on pine or cedar boards used in cabin signs. Here are some distressing and weathering techniques to try:
- Sand edges and corners unevenly to mimic natural wear
- Use a wire brush or steel wool to add texture and remove soft wood fibers
- Apply a dark wood stain and wipe off excess quickly to create a dirty look
- Layer different shades of paint, sanding between coats for depth
- Tap with a hammer or heavy chain gently to cause small dents and dings
- Whitewash with diluted paint to let the grain show through
- Use a heat gun briefly over paint to cause slight cracking or peeling (test on scrap first)
Common mistakes include using too much force when distressing, which can damage the wood beyond repair or create unwanted splinters. Avoid uneven paint application that looks accidental rather than intentional; blending and layering with patience works better. Applying varnish or sealer too soon can trap moisture, causing bubbling or discoloration. Always wait for paint or stain to dry fully, at least 24 hours under normal indoor conditions, before sealing.
Good rustic finishes show subtle variations in tone, evidence of handwork, and wood grain highlights rather than uniform, smooth surfaces. Budget around $10 to $30 for paint, stain, sandpaper, and distressing tools if you already have basic brushes. Time-wise, expect 2 to 3 days including drying times for a well-weathered look. These methods allow you to personalize your cabin sign, making it uniquely yours with a charming, timeless appeal.
Protecting and Finishing Your Cabin Sign for Outdoors
Protecting your cabin sign from moisture, UV rays, and everyday wear is key to preserving its look and durability outdoors. Using the right finishes and sealers designed for outdoor use extends the life of the wood and paint by preventing cracking, fading, and water damage. Regular maintenance will also keep your sign looking fresh year after year.
Choosing a Protective Finish
Select a finish that fits your local climate and the sign’s exposure to sunlight and moisture. In wet or humid areas, marine-grade polyurethane is excellent because it forms a hard, water-resistant coating. For sunny, dry climates, a finish with strong UV blockers, like spar varnish or outdoor polyurethane with UV inhibitors, helps prevent wood and paint from fading.
Outdoor or furniture-grade paint is another option if your sign has intricate painted details. These paints create a durable layer on top of the wood but still benefit from a protective clear coat over them to guard against wear.
Applying Sealers and UV Protection
Follow these steps for a finish that will protect your cabin sign effectively:
- Sand the entire sign with 220-grit sandpaper to smooth the surface and open the wood pores for better absorption.
- Remove all dust with a tack cloth or vacuum to ensure a clean surface.
- Apply the first coat of your chosen finish, such as marine-grade polyurethane or outdoor varnish, with a high-quality brush. Use long, even strokes in the direction of the wood grain.
- Let the finish dry fully according to manufacturer instructions (usually 4 to 6 hours for polyurethane).
- Lightly sand the surface again with 320-grit sandpaper to remove any raised grain or brush marks.
- Clean the dust, then apply 2 to 3 additional coats, allowing each to dry and sanding lightly before the next coat.
- Check the edges and backs of the sign too, since these areas absorb moisture quickly.
This layering system seals the wood against moisture while the UV blockers maintain the color and detail of your sign. Avoid applying finish during very humid or cold conditions, as this can affect drying and adhesion.
Routine Maintenance and Touch-Ups
Check your cabin sign once a year for signs of wear like fading, peeling, or cracks in the finish. Cleaning the sign with mild soap and water will remove dirt and prevent mold growth. After cleaning, allow it to dry completely before applying touch-up coats of finish.
If the finish starts to wear thin or the sign looks dull, lightly sand the surface and add one to two coats of your original finish. This quick refresh will prevent the wood from absorbing moisture and keep UV damage at bay. For painted letters or sections, retouch paint as needed before resealing.
Keeping up with this upkeep can add several years to your sign’s life, saving you from replacement costs. A quality finish and annual maintenance make your handmade cabin sign a lasting display piece on your property.
Mounting and Display Options for Your Cabin Sign
Adding mounting hardware or framing your cabin sign properly ensures it stays secure and looks great outdoors. Simple hardware options include sawtooth hangers, D-rings, and wire. Sawtooth hangers are easy to install and perfect for light signs, but they can loosen over time with outdoor exposure. D-rings offer a stronger hold and work well with screws, while wire lets you adjust hanging height but needs a sturdy anchor point. For freestanding displays, consider mounting the sign on a wooden post or attaching it to a stake that can be driven into the ground.
Frames add visual appeal and protect edges from damage. A basic frame uses 1×2 or 1×3 wood strips cut to size, mitered at the corners, then nailed or glued around the sign’s perimeter. Cedar and redwood resist rot outdoors better than pine. A recessed frame style, where the sign fits slightly inside the frame, prevents water pooling on edges. You can also try a floating frame that leaves a small gap between the frame and sign to improve airflow and reduce moisture buildup. Follow these steps for mounting your cabin sign securely:
- Choose mounting hardware based on your sign’s weight and location.
- Attach hardware or frame on the back using stainless steel screws to reduce rust.
- Pre-drill holes to prevent wood splitting.
- Use wall anchors or hooks rated for outdoor use when hanging on masonry or drywall.
- Confirm the sign hangs level before tightening fasteners fully.
- For post or stake mounts, ensure the post is set deep enough (at least 18 inches) for stability.
- Apply a water-resistant sealant to any cut frame edges to slow rot.
Signs left unsecured risk falling or becoming damaged from wind and weather. Avoid installing on surfaces exposed to heavy direct rain or persistent sunlight without adequate finish protection. Check the mounting hardware periodically for looseness or rust, especially after storms or seasonal changes. Using corrosion-resistant screws and hardware can add several years of durability. Freestanding signs need occasional checks to maintain vertical alignment and firmness.
Use stainless steel or galvanized screws for all outdoor mounting to prevent rust that damages wood and weakens the install.
Step-by-Step Action Plan for Making Your Cabin Sign
Follow these steps to create a rustic cabin sign that lasts. Each phase focuses on a key part of the process with a clear result you can check.
- Day 1: Select Your Wood and Tools. Choose a durable wood like cedar or pine and gather your carving or painting supplies. Confirm your wood is smooth and free of major defects.
- Day 2: Sketch Your Design. Draw your lettering and layout on paper, then adjust for size and style. Ensure your design fits well within your wood’s dimensions.
- Day 3: Transfer Your Design. Use carbon paper or a stencil to transfer the letters onto the wood surface clearly. Check that all lines are sharp and visible.
- Day 4: Carve, Paint, or Burn Letters. Carefully carve or burn your letters, or apply paint with a steady hand. Verify the letters are even and legible.
- Day 5: Create a Weathered Look. Lightly sand edges or use a wire brush to distress the wood for a rustic finish. Confirm the surface has an aged, natural appearance.
- Day 6: Apply a Protective Finish. Seal the wood with an outdoor polyurethane or spar varnish. Check that the coating is even and fully dry.
- Day 7: Mount Your Sign. Attach hardware appropriate for your chosen display location, like hooks or screws. Test that the sign hangs securely.
Frequently Asked Questions
How Do I Choose the Best Wood Type for a Long-Lasting Cabin Sign?
Choose wood like cedar or pine for their durability and natural resistance to weather. These woods also take paint and carving well, which helps your sign stay attractive over time. Always check wood dimensions carefully since sizes can vary even in standardized lengths.
What Is the Easiest Method to Add Lettering to a Cabin Sign?
Using stencils to trace letters is the simplest approach for clear, uniform text. This method saves time and lets you achieve professional-looking results without advanced skills. After tracing, you can carve, paint, or wood-burn the letters for added texture.
Can I Use a Power Tool for Carving My Cabin Sign?
Yes, a rotary tool or a small router works well for detailed carving and speeds up the process. They require some skill, so practice on scrap wood to avoid mistakes on your main sign. Safety gear is important when using power tools.
How Do I Protect My Cabin Sign from Outdoor Elements?
Apply a sealant like spar urethane or outdoor varnish for water resistance and UV protection. Reapply every few years to maintain the finish and prevent weather damage. Also, position your sign where it’s not fully exposed to direct sunlight for longer life.
What’s the Best Way to Create a Weathered Look on My Cabin Sign?
Lightly sanding edges and applying a dark wood stain unevenly gives your sign a worn, rustic feel. A wire brush can add texture to softer woods, making them appear naturally aged. Always test your technique on scrap wood first.
How Can I Mount a Heavy Wooden Cabin Sign Securely?
Use sturdy hardware like heavy-duty screws or brackets anchored into wall studs or posts. For freestanding signs, consider adding support legs or a frame. Proper mounting prevents wind damage and keeps your sign stable for years.
Key Points to Remember
Making a cabin sign by hand takes careful material choices and attention through each step. Start by selecting quality wood and practicing your design transfer to build confidence. Once your sign is finished and mounted, it will bring personalized charm to your cabin for years. Your next step is to gather your materials today and try sketching your design layout.