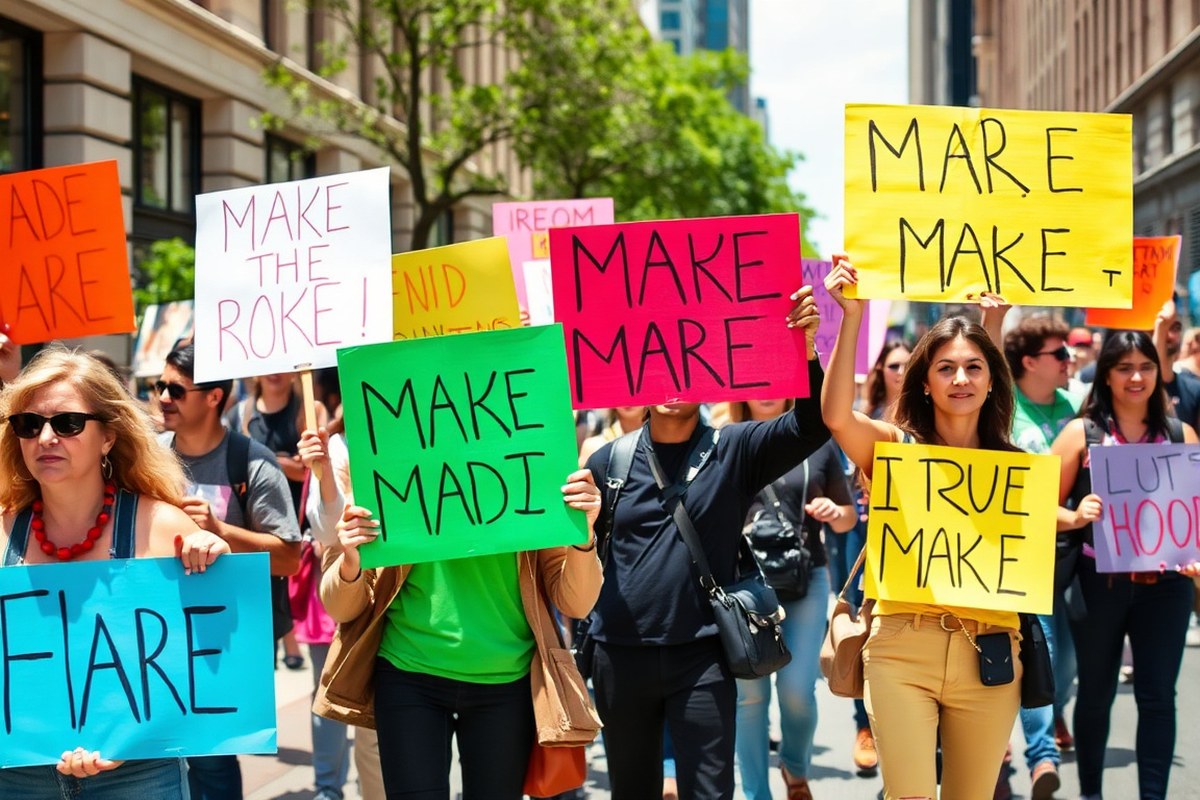
How to Make a Protest Sign That’s Clear, Durable, and Eye-Catching
Knowing how to make a protest sign means choosing sturdy materials, clear designs, and bold text to communicate your message loudly and visibly. Use lightweight, weather-resistant boards paired with contrasting colors for high readability. Start by selecting two matching boards to ensure durability and easy handling during your protest.
Key Takeaways
- Use two poster boards taped back-to-back for a durable and affordable sign structure.
- Limit your sign’s colors to two or three high-contrast shades for better visibility.
- Paint markers are ideal for creating bold, readable text on your protest sign.
- Ensure text letters are at least 4 inches tall for legibility from a distance.
- Test your sign’s readability by stepping back 10 to 20 feet before finalizing.
- Attach comfortable handles using strong tape or lightweight wooden dowels for easy carrying.
Which Materials Work Best for Making Protest Signs?
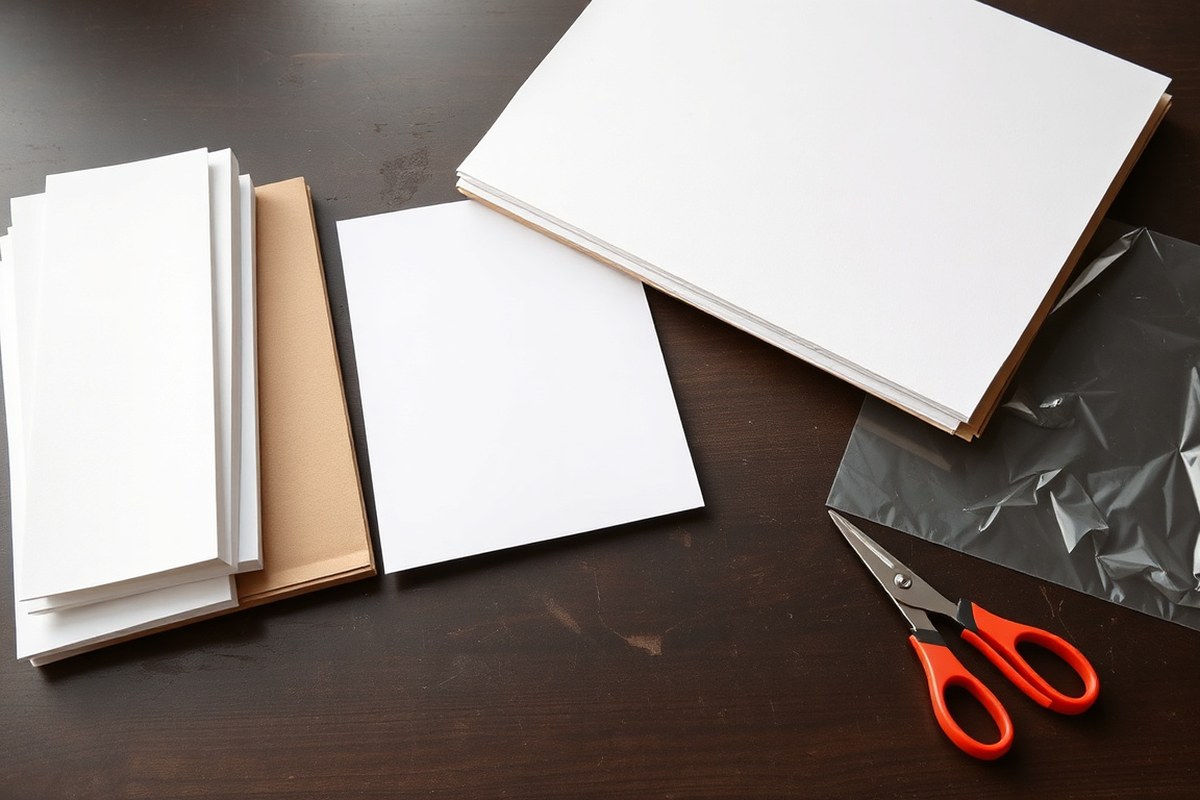
Choosing the right sign board depends on what matters most: strength, weight, price, and how easy it is to find. Foam board stands out by being tougher than cardboard while staying light and simple to cut with scissors or a utility knife. It holds up fairly well against brief exposure to bad weather but doesn’t do well in rain unless you add a protective layer. Poster board and cardboard cost less and are easy to get, though they don’t hold up as well, especially in wet or windy conditions. Cardboard softens and loses shape when wet, while poster board is thinner and may crease easily. Foam board usually lasts longer for events with unpredictable weather or repeated use. For quick and low-cost signs, cardboard or poster board bought from discount stores work fine.
Markers and paints are key to making your message visible. Paint markers are highly recommended for clear, bold text. They work well on foam board and cardboard because they dry fast and resist smudging. Choose darker colors like black or navy for outlines, and fill letters with contrasting colors to grab attention. Example colors such as yellow, orange, and black are proven to stand out in photos and crowds. Regular permanent markers are another option but might not cover large areas as effectively. Avoid water-based paints that might soak into cardboard and cause warping.
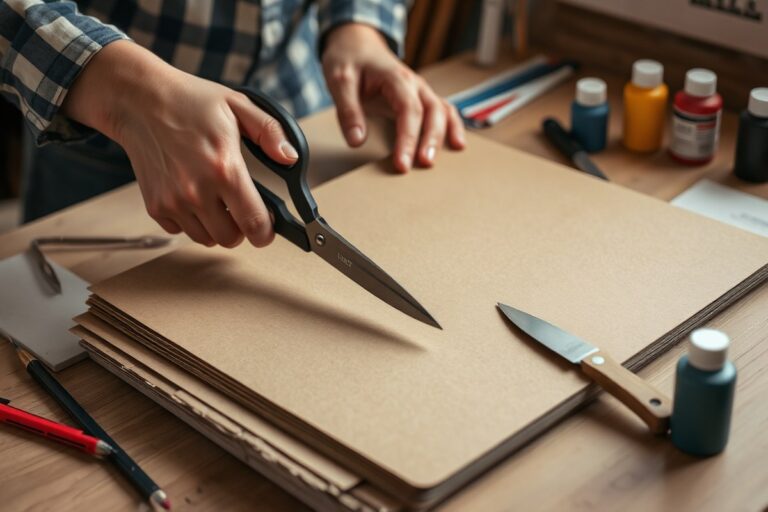
Before you start, prepare your materials by cutting the boards to a comfortable size, typically around 18 by 24 inches, which balances visibility with ease of carrying. Lightly sanding foam board edges can prevent chipping, while flattening cardboard under a heavy object can reduce curling. Gather supplies like paint markers, tape, scissors or a utility knife, and possibly stencils for consistent lettering. You will need two boards to make a double-sided sign. Tape can join boards back-to-back and also reinforce edges.
Affordable sign-making supplies can be found at craft stores, dollar stores, or online retailers specializing in art and signage materials. Foam board prices vary but typically range from $2 to $5 per sheet, depending on the size and thickness, while poster board often costs less than $1 per sheet. Cardboard can be free if reused from shipping boxes, but new corrugated cardboard from art supply stores or hardware stores might cost around $1 to $3 per large sheet. Consider picking up paints and markers in sets to reduce cost per color.
The right combination of materials greatly affects how your sign performs during a protest. Lighter materials like foam board reduce arm strain during long marches, while sturdier boards improve longevity in adverse weather. Pair your board choice with paint markers for sharp, readable text and prepare your materials carefully for best results. Keep a checklist handy: two boards for double sides, paint markers, tape, scissors or a knife, and stencils or rulers if needed. Preparing materials this way ensures your message stays clear and your sign holds up throughout your demonstration.
How to Design a Protest Sign That Grabs Attention
A protest sign must catch attention quickly, communicate a strong message, and be readable from a distance. Keep the text short, choose bold fonts with large sizes, and use high-contrast color pairs. Adding simple, relevant symbols can strengthen your message while maintaining clarity, especially in crowded or fast-paced protest settings.
Choosing a Clear and Concise Message
Limit your sign’s message to a single, short phrase or slogan. Words should be easy to read at a glance, ideally no more than five to seven words. For example, “Climate Justice Now” or “Equal Rights for All” are clear and impactful templates.
Focus on one main idea per sign to avoid confusion. To display multiple messages, make a separate sign for each one. Use strong, bold fonts that match the theme of your message, such as block letters for demands or script styles for calls to action, but avoid overly decorative fonts that reduce readability.
Using Color for Maximum Contrast
Choose color combinations that make your text or symbols pop against the background. High contrast is key: black text on white, white on black, or dark colors on bright backgrounds work best. Aim for two to three colors total to keep the design clean and readable.
Colors can also support your message. Red may evoke urgency or anger, while blue often suggests trust or calm. Avoid clashing or pastel tones that blend into the surroundings.
- Use black on white or yellow on black for the strongest visibility
- Limit the palette to 2 or 3 main colors to avoid clutter
- Match font color to the tone of your message
- Leave space between text and graphics to prevent overlap
- Consider the lighting conditions of your protest (daylight, street lights)
Keep the background simple and avoid patterns that make text hard to focus on from a distance.
Incorporating Symbols and Graphics
Adding symbols or images can improve your sign’s impact but keep them large and simple. Avoid detailed or small graphics that lose meaning when viewed from far away. For instance, pairing a female symbol next to “Women’s Rights Now” reinforces your message without extra words.
Mashups of existing symbols or unique icons draw eyes and convey emotion quickly. Prepare to space out your text so the image doesn’t crowd the words. When possible, test your design with and without images to see what communicates best.
Testing Design Visibility from Different Distances
After creating your sign, test its readability by holding it at various distances, 10, 20, and 30 feet. Ask a friend to read it without helping. Adjust your font size, colors, or image scale based on how easily the message is understood.
Simple layouts with plenty of blank space help readability. When your sign looks confusing or the text is too small from 20 feet away, increase the font size or shorten the text. Consider digital templates for quick visual trials before committing to physical materials.
What Size Should Your Protest Sign Be for Maximum Impact?
Choosing the right size for your protest sign is key to making sure your message is clear and easy to read from a distance. Common hand-held signs typically range from about 12 by 18 inches to 24 by 36 inches. Smaller signs can be easier to carry and less tiring on your arms, but if the sign is too small, your message might not be visible beyond a few feet. Larger signs provide more space for your message and visuals but can become heavy and cumbersome, causing arm fatigue over time.
Letter height plays a important role in legibility. Letters need to be large enough so people 10 to 20 feet away can read them easily. A good rule of thumb is to make your letters at least 2 inches tall for viewing at 10 feet, and about 4 inches tall for viewing at 20 feet. To make sure your sign is readable from various distances, using 3-4 inch letters strikes a good balance between visibility and space.
| Sign Size (inches) | Recommended Minimum Letter Height (inches) | Visibility Distance (feet) | Portability & Comfort |
|---|---|---|---|
| 12 × 18 | 2 | 10 | Very portable, minimal arm fatigue |
| 18 × 24 | 3 | 15 | Manageable weight, moderate arm fatigue |
| 24 × 36 | 4 | 20 | Heavier, risk of arm fatigue after extended use |
Double-sided signs increase your visibility as they can be read from multiple directions, which is helpful in moving crowds or stationary protests with onlookers on different sides. The added weight and extra materials can make the sign bulkier and harder to carry, so it’s best to consider the length and type of protest and whether you’ll be holding your sign for hours before deciding to go double-sided. For shorter events or when you want maximum reach, a double-sided sign is worth the effort. For longer walks or standing, a single-sided sign can reduce arm strain.
The balance between size and comfort means picking a size that fits your carry style and protest setting. Planning to hold your sign for hours or walk long distances means choosing a smaller sign with clear, simple text works best. Avoid crowding your letters or adding too many words, as cramped text lowers visibility. Testing your sign from the recommended distance before the protest helps ensure your message will be read. Take a few steps back, between 10 and 20 feet, to confirm the lettering size and spacing work effectively.
How to Write Bold, Readable Text on Your Sign
Clear, bold lettering makes your protest sign stand out and ensures your message reaches people even from a distance. Using high-contrast colors like black on white or bright colors on dark backgrounds helps letters pop. Paint markers are a solid choice for most materials, they offer opaque, vibrant coverage that dries quickly and resists smudging better than regular markers. For cardboard or poster board, acrylic paint or paint markers in wide tips produce thick, visible letters. Permanent markers work well on glossy or plastic surfaces but might require layering for good coverage.
Size and spacing are key. Letters should be at least 2 to 4 inches tall for visibility. Keep your letters evenly spaced, too crowded makes words hard to read, while too much space breaks the flow. Avoid busy or multicolored backgrounds behind your text; a solid or lightly textured background improve readability. Using simple, block-style fonts or hand-lettering with bold strokes keeps letters clear. Tape can improve visibility by creating clean edges or outlines, especially black or white tape around letters to boost contrast.
Prevent smudging and mistakes by working in a dry environment and allowing each layer of paint or marker to dry fully before adding details. Use light pencil sketches to plan spacing and letter shapes before applying paint or marker. If you make an error on paint, wait for it to dry and paint over it with background color to erase. With marker mistakes, use rubbing alcohol sparingly on a cotton swab or repaint the background after it dries.
- Plan your message and layout. Write your short, strong statement clearly on paper first, using block letters and spacing evenly. Consider using a free sign-making app to preview text placement and font choices.
- Sketch letters lightly on the sign surface. Use pencil to outline your letters at 2 to 4 inches tall with spacing equal to the width of one letter between words. Keep backgrounds simple.
- Trace letters with paint markers or acrylic paint. Use a wide-tip black paint marker or brush for bold letters on light backgrounds, or white/yellow for dark backgrounds. Apply steady, even strokes.
- Let paint or marker dry fully (about 10 to 20 minutes). Avoid touching letters during drying to prevent smudges.
- Use tape to outline letters for contrast (optional). Apply thin strips of black or white tape around letters to sharpen edges and improve legibility, especially on mixed-color backgrounds.
- Fix mistakes carefully. Cover paint errors with the background color after drying. Remove marker mistakes with a cotton swab dipped lightly in rubbing alcohol, then retouch with paint or marker once dry.
- Check readability from a distance. Hold your sign 6 to 10 feet away. Adjust letter size or color contrast if words blur together or fade into the background.
What Are the Best Methods to Attach Comfortable Handles?
Wooden sticks, dowels, and plastic handles each offer different benefits as protest sign handles. Attaching them securely and adding padding can reduce arm strain during long protests. Using double handles or straps can provide better balance and comfort. These methods make signs easier to hold for hours and help your message stay visible.
Wooden Stick Handles Attachment
Wooden sticks such as 3 by 1 inch (7.6 by 2.5 cm) lumber or thinner dowels work well for sign handles because they provide sturdiness and can be found easily in hardware stores. Dowels tend to be easier to grip for longer periods since their shape is rounded. Attach the handle at the vertical center bottom of your sign to maintain balance and minimize arm fatigue. To attach the handle securely:
- Align the wooden stick with the sign’s back center.
- Use strong adhesive tape, such as heavy-duty duct tape, wrapped tightly over and under the joint.
- Drive small nails or staples through the sign and into the wood for extra strength.
- Wrap the handle with electrical or hockey tape to improve grip and reduce slipping.
Adding these layers prevents the handle from shifting or detaching during use, especially in windy conditions or during movement.
Foam Grip and Padding Options
Holding a wooden or plastic handle for hours can cause discomfort. Padding the handle with foam or soft tape eases pressure on your fingers and palm. Foam pipe insulation sleeves, cut to the length of your handle, work well and cost only a few dollars at hardware stores.
You can improve comfort by wrapping the foam with grip tape or layered electrical tape to reduce sweat slippage. Another idea is to use cushioned bicycle grips or repurpose foam handles from sports gear, cutting and securing them around the sign’s handle with zip ties or tape.
- Cut foam pipe insulation to handle length.
- Wrap foam with electrical or grip tape for a secure hold.
- Add extra layers of tape at stress points.
- Use bicycle or sports equipment grips if available.
- Check for sharp edges beneath padding before wrapping.
- Replace padding if it becomes wet or worn during a protest.
Comfortable padding on handles prevents arm strain and blisters during long protests, making it essential for signs you’ll hold for hours.
Using Double Handles or Straps
Double handles or straps provide better balance and reduce fatigue by distributing weight evenly across both hands. You can attach two smaller handles on either side of a larger sign or add wide fabric straps to loop your hands through. For double handles:
- Position handles symmetrically on the back of the sign where your hands naturally rest.
- Secure handles with strong adhesive tape and staples or nails.
- Ensure the handles are comfortable to grip and do not pinch or rub the hands.
Straps are made by attaching wide strips of durable fabric or old belts horizontally across the sign’s back. Leave enough slack to slide your hands in and out comfortably. Straps reduce gripping effort and allow quick release if needed in a crowd. Choosing between single or double handles depends on the size and weight of your sign, as well as your personal preference for mobility and control.
How to Weatherproof and Reinforce Your Protest Sign
Protecting your protest sign against rain, wind, and wear is key to keeping your message clear and your display intact during outdoor events. Using weather-resistant materials like foamcore or corrugated plastic helps your sign hold up better than plain cardboard, which often tears when wet or bends easily in strong winds. Laminating your design or covering it with a clear plastic sheet keeps moisture out and prevents ink from running, which maintains readability throughout the demonstration.
Reinforcing edges and weak spots prevents tearing and bending, especially in gusty conditions. Applying clear packing tape around the edges or adding strips of hot glue can create a buffer against rough handling. Expecting harsh weather like heavy rain or wind means you should use heavier materials like corrugated plastic and attach your sign firmly to a sturdy handle with tape and glue for stability and ease of holding. Here’s a checklist of supplies you’ll need for weatherproofing and reinforcing your protest sign:
- Foamcore or corrugated plastic board
- Clear plastic sheet or laminating pouches
- Clear packing tape (wide and strong)
- Hot glue gun and glue sticks
- Scissors or utility knife
- Markers for touch-ups
- Sturdy wooden or PVC handle (optional)
Follow these steps to protect your sign from rain and damage while keeping it light enough to carry:
- Choose your base material. Select foamcore or corrugated plastic over cardboard for better durability against water and wind.
- Laminate or cover your design. Place your finished sign inside a laminating pouch or cover both sides with a clear plastic sheet, securing edges with clear packing tape to seal out moisture.
- Reinforce edges. Apply clear packing tape around all edges to prevent peeling. Add hot glue strips along the edges underneath the tape for extra strength.
- Attach handles securely. Use a strong adhesive like hot glue and wrap packing tape around where the handle meets the sign to avoid loosening or snapping.
- Perform a bend test. Gently flex your sign to identify weak areas; reinforce these spots with extra tape or glue as needed.
- Let all adhesives dry completely. Give glue and tape time to set before taking your sign outside, usually at least 30 minutes, to maximize hold.
Signs treated this way will resist rain and wind better and prevent the ink or paint from smudging. Not laminating your sign can be okay if you use clear tape and plastic sheeting for protection, though laminating gives a smoother finish and makes it last longer. Expect to spend around $10 to $20 on materials depending on size and quantity. Avoid flimsy cardboard if heavy rain is expected, as the sign may weaken quickly and become unreadable.
How to Test Your Protest Sign’s Visibility and Effectiveness
Follow these steps to perform a walk-back test and refine your protest sign: Find a location with enough space for a 15-foot distance, simulating common viewing angles at protests. Position your sign at eye level, either by holding it yourself or having a friend hold it. Start close and read the message aloud, checking if every word is clear. Step back slowly in 3-foot increments while continuing to read or ask your tester if the words remain easy to read. Note the farthest point where the sign’s main message is still confidently readable, aim for at least 10 feet in daylight. Change lighting by testing under bright sun, shade, and overcast conditions to see if readability varies. Adjust as needed . If letters blur or blend into the background, increase letter height by 20% or improve contrast by switching background or text colors. Repeat the test after making changes until readability meets your goal distance under multiple lighting setups. Signs with highly contrasting colors, such as black text on white or yellow backgrounds, tend to read best. Letters at least 3 inches tall help messages remain legible from a distance during crowd movement or moments of quick glance. Testing with a friend gives honest feedback on visibility you might miss yourself. Avoid overly busy designs or fonts with thin strokes that shrink readability. Costs for this testing process are minimal. It mainly requires time and a partner’s help. You can improve sign effectiveness before stepping into a protest, ensuring your voice is visually heard. Testing also helps avoid frustration from signs that fail to communicate clearly when it counts most.
When and Why to Use Digital or Alternative Protest Signs
Digital protest signs offer an alternative or supplement to physical signs by improving visibility and adaptability. They allow instant message changes and wider audience engagement but come with higher costs and logistical needs. Choosing between digital and physical options depends on your protest’s scale, location, and message flexibility requirements.
Benefits of Digital Signs at Protests
Digital signs can display bright, easily readable messages visible from a distance or multiple angles. Unlike physical signs, digital displays can update text and images instantly, which helps activists adapt messages to changing situations or react to audience responses on the fly. This flexibility is useful during long protests or events where information evolves rapidly.
Another advantage is the ability to show animated graphics or multiple messages in rotation, increasing the chance of capturing attention and deepening engagement. Digital signs also reduce the physical effort needed to hold or carry signs and avoid weather damage typical of cardboard or paper signs. They work well for fixed locations, like outside government buildings or on vehicles, where their stable setup allows for large, bright screens.
Setup and Operational Tips
Setting up digital signs involves several steps: choose a display device such as LED panels, tablets, or portable monitors; pick a template from digital signage apps; and customize your text and visuals to fit the protest’s themes and legibility needs. Costs vary widely, small tablet setups can start around $100-$300, while larger LED displays might exceed $1,000, not including power supply or mounting equipment.
Before deployment, check the battery life and weatherproofing of your digital hardware. Digital signs require reliable power sources, often batteries or portable generators, especially outdoors. Keep backup power ready to avoid interruptions. Also, ensure your content is easy to read with high contrast and clear fonts, testing visibility at various distances and lighting conditions.
Test your digital sign’s brightness and readability in bright sunlight before the protest to avoid wasted effort in low-visibility conditions.
Situations Best Suited for Digital Signage
Digital signs perform best in protests with stable locations, such as rallies or sit-ins, where screen placement can be safely secured. Large crowds benefit from the sign’s ability to be seen from different angles and distances. They work well for campaigns needing frequent updates or interactive features, such as displaying hashtags or live updates.
Mobile protests or marches may find digital signs less practical due to their weight, fragility, need for power, and limited viewing directionality. In these cases, lightweight physical signs remain preferable since they are easier to carry and handle over time and distance. Combining both types, such as personal signs alongside a stationary digital display, can maximize impact by mixing permanence with flexibility.
| Feature | Physical Protest Signs | Digital Protest Signs |
|---|---|---|
| Visibility | Good but fixed appearance, affected by light and weather | Bright, adjustable brightness, visible from multiple angles |
| Message Flexibility | Static message, requires manual changes | Instant updates, multiple messages, animations possible |
| Cost | Low ($5-$20 materials) | Higher ($100 to 1000+ for equipment, plus power) |
| Portability | Lightweight, easy to carry | Heavier, needs power source, less handheld |
| Durability | Susceptible to weather damage | Generally weather resistant with proper gear |
Your Step-by-Step Action Plan to Make a Protest Sign
Follow these steps to create a sign that stands out, lasts through the weather, and carries your message clearly in any crowd.
- Before You Start: Choose corrugated plastic or heavyweight poster board and pick one or two bold colors for your text and background. Check that your materials are lightweight enough to carry but sturdy enough to hold shape.
- Day 1: Sketch your design with large, simple fonts and minimal words on plain paper. Hold it at arm’s length to confirm readability and impact.
- Day 2: Transfer your final design onto your sign material using paint or markers, making letters at least 2 to 4 inches tall. Let each layer dry fully to avoid smudging.
- Day 3: Attach handles with strong tape or staples positioned at comfortable heights, then test holding the sign for at least 15 minutes to ensure comfort and stability.
- Day 4: Apply clear packing tape or laminate your sign edges and surface to protect it from rain or wind. Leave it outside for an hour to check durability.
- Day 5: Take your sign to a busy area and ask others if they can read it from 10 feet away. Adjust text size or colors if needed.
- Day 6: Explore digital alternatives like LED signs or smartphone displays if your protest will take place at night or require dynamic messages. Test battery life and visibility before the event.
- Day 7: Pack your sign in a dry, flat spot to keep it safe until your protest day. Have extra supplies ready to fix any last-minute issues.
Frequently Asked Questions
How Do I Choose Colors for a Protest Sign That Really Stand Out?
Pick two or three contrasting colors that match your message. Dark colors on light backgrounds or vice versa boost readability and impact.
Can I Use Images Instead of Text on My Protest Sign?
Yes, but combine images with clear text for stronger communication. Symbols related to your cause help viewers understand your message quickly.
Should I Make My Protest Sign Double-Sided?
A double-sided sign is ideal if you expect media coverage or want to be visible from both directions. This doubles your message’s reach without extra effort.
Is Humor Effective on Protest Signs?
Humor can be powerful if used carefully to engage people and ease tension. Avoid offensive jokes and keep messages respectful to maintain focus on your cause.
What’s the Easiest Way to Make a DIY Protest Sign Handle?
Use a sturdy wooden dowel or a PVC pipe that’s easy to grip. Attach it securely with staples or strong tape to withstand long protests.
How Much Time Should I Spend Preparing My Protest Sign?
Plan at least a few hours to design and assemble your sign carefully. Rushing can lead to less readable text or weak construction that may fail.
Before You Go
Creating a protest sign that grabs attention and endures weather conditions is a straightforward process when you pick the right materials and focus on clear design. Make one sign today using the steps above, then test it out in your neighborhood or a busy park. That first trial will boost your confidence and help you make your message heard loud and clear when it counts the most.