How to Make a Mirror Sign with Cricut: Complete Step-by-Step Guide
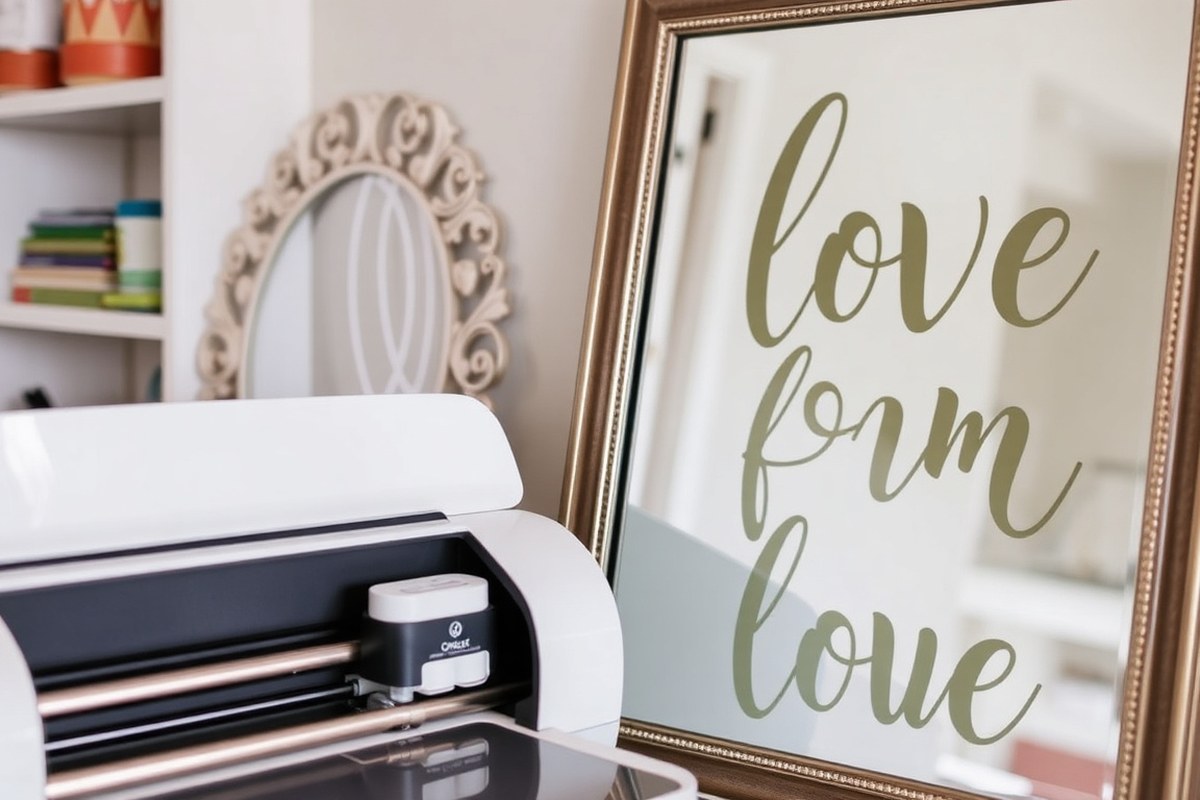
How to make a mirror sign with Cricut starts with choosing the right vinyl and machine for your mirror size. Use a Cricut Maker 3 with a 12×24-inch cutting mat for larger mirrors and apply frosted window cling for a smooth, professional finish. Begin by designing your layout in Cricut Design Space, ensuring your text or image fits well on your mirror surface.
Key Takeaways
- Select a cutting mat that matches your mirror size, like 12×24 inches for mirrors around 450×600 mm.
- Use Cricut Maker 3 for precise cuts on over 40 materials, including frosted window cling vinyl.
- Size your design carefully, aiming for about 16 inches wide per word on a medium-large mirror.
- Mirror your design in Cricut Design Space when using iron-on or window cling applied on the back side.
- Clean the mirror surface thoroughly before applying vinyl to improve adhesion and remove any dust or grease.
- Weed excess vinyl carefully after cutting to avoid damaging small details in your design.
How to Make a Mirror Sign with a Cricut Machine
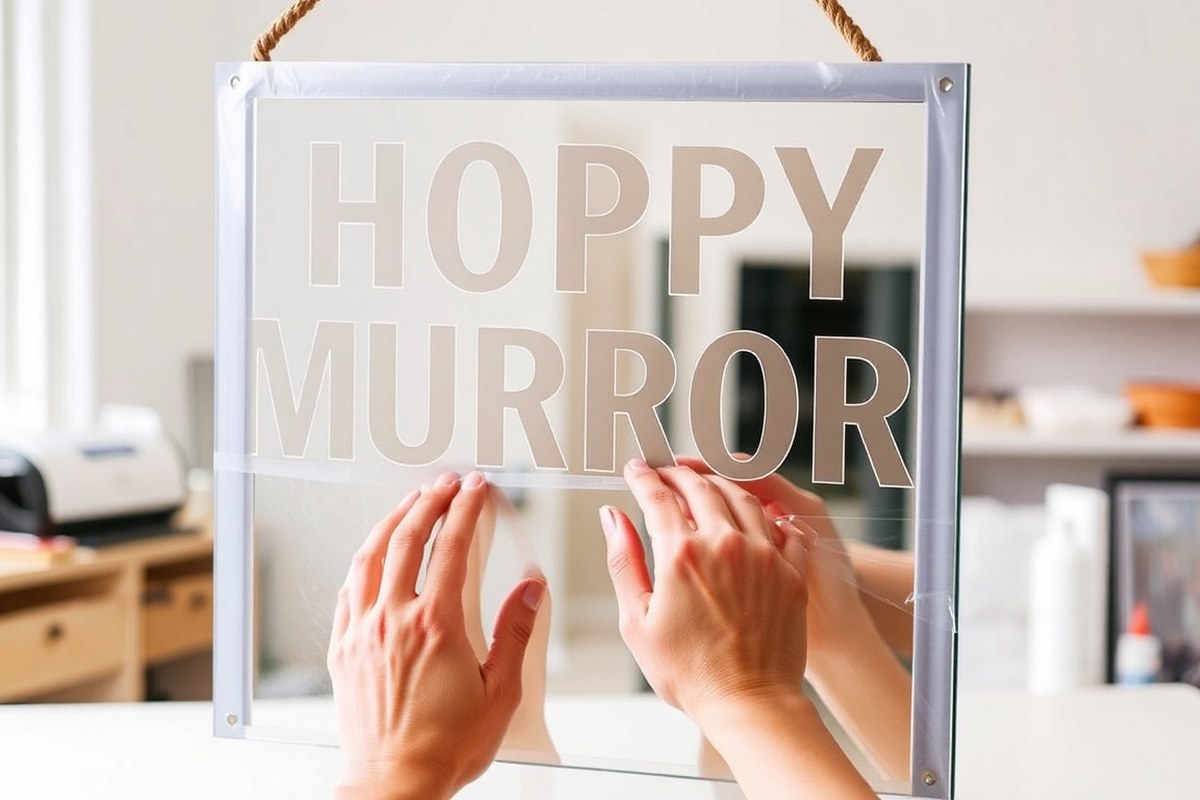
Creating a mirror sign with a Cricut machine involves precise cutting and careful application of vinyl to achieve a clean, durable design. The process starts after you have your design ready and your materials prepped. Transferring the vinyl properly is key to making sure the letters and graphics stick well and look sharp on the mirror surface. Using permanent vinyl is important because it adheres better to glass and mirror materials, compared to removable vinyl.
When applying vinyl onto a mirror, preparation and patience during transfer are essential to avoid air bubbles and misalignment. Using strong grip transfer tape helps keep your design intact and allows you to place it exactly where you want. After applying, peeling off the transfer tape slowly at a 45-degree angle protects the delicate vinyl edges and prevents tearing or lifting.
- Cut your vinyl design. Use your Cricut Maker 3 or compatible machine with a cutting mat that fits your design size (12×24 inch mat for large mirrors). Set the material type to permanent vinyl to get the right blade settings.
- Weed the design. Remove the excess vinyl around your design carefully using Cricut tools, leaving only the parts you want to transfer on the backing sheet.
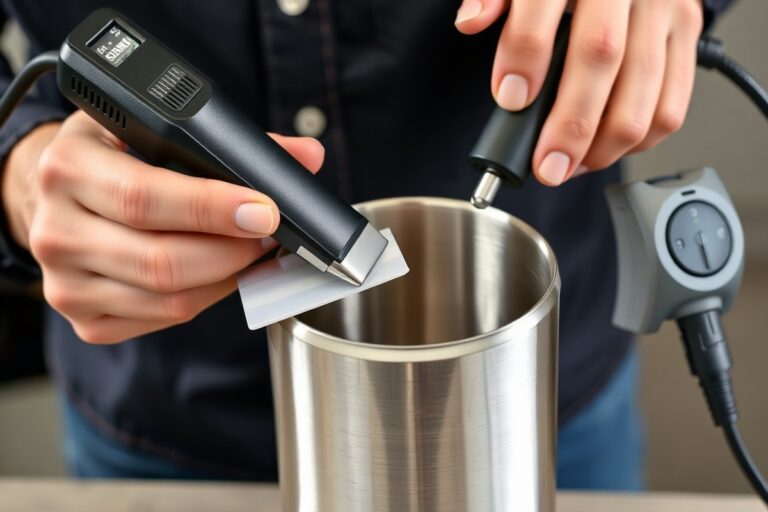
- Apply transfer tape. Cut a piece of strong grip transfer tape slightly larger than your design. Peel the backing off the tape and place it sticky side down over the vinyl design. Use a scraper tool to firmly press the tape onto the vinyl, ensuring it adheres completely.
- Clean the mirror surface. Wipe the mirror with rubbing alcohol and a lint-free cloth to remove dust, oils, and smudges. This step ensures the vinyl sticks properly and lasts longer.
- Position and stick the vinyl on the mirror. Carefully peel the vinyl backing off so the vinyl stays on the transfer tape. Align the design on the mirror where you want it. Once positioned, press down with your fingers and then firmly scrape to secure the vinyl to the mirror surface.
- Remove the transfer tape. Slowly peel the transfer tape away at a 45-degree angle. Go slowly to prevent the vinyl from lifting or curling up. When any part starts to lift, place the tape back down and press it firmly before moving on.
- Check for bubbles and smooth out.Spotting air bubbles means you should carefully poke them with a pin, then smooth the area using the scraper. This helps the vinyl adhere evenly and looks more professional.
Following these steps ensures your mirror sign looks polished and stays put. Costs mainly include permanent vinyl ($2 to $5 per 12×12 inch sheet) and transfer tape (around $8 per roll), investment well worth it to create custom decor. High-quality application prevents peeling, so avoid rushing the transfer and peel process. Good results feature crisp, fully adhered designs with no gaps or air trapped underneath.
Materials and Tools Needed for Mirror Sign Projects
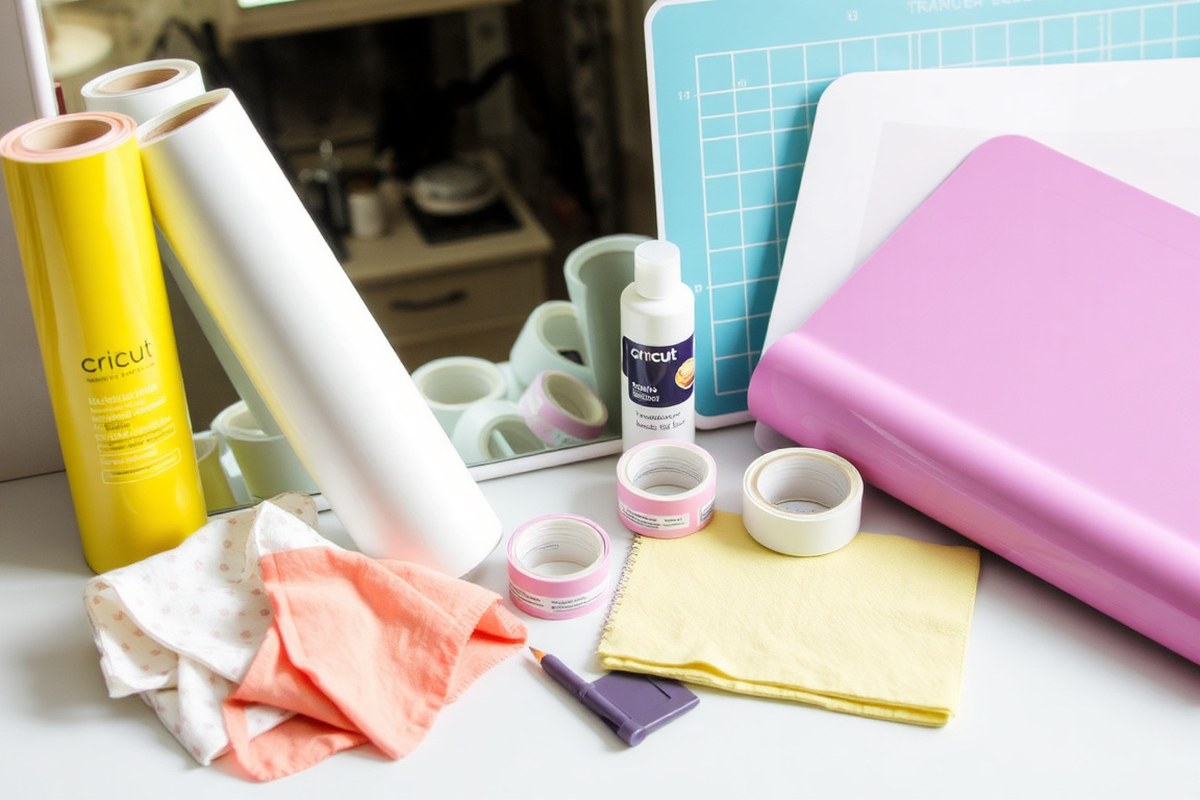
To make a mirror sign with a Cricut, gather the right vinyl, tapes, cutting tools, and cleaning supplies. Choosing the best materials and tools ensures clean cuts, easy application, and a lasting design. The selection varies based on your mirror size, design complexity, and surface type.
Vinyl and Transfer Tape Options for Mirrors
Brushed vinyl is ideal for mirror signs because it adheres well and resists smudging on reflective surfaces. Use strong grip transfer tape with it, which keeps the vinyl securely in place during application. Since mirrors have smooth, sometimes slick surfaces, the transfer tape should be cut to the exact size of your design to control placement precisely.
Standard adhesive vinyl also works but may require additional care to avoid bubbles and peeling. When working with multi-color designs, prepare separate mats for each vinyl color, matching each to its transfer tape layer. Take time to cut each piece accurately to avoid wasting material.
- Brushed vinyl for strong adhesion and durability
- Strong grip transfer tape, cut to size for mirror application
- Separate vinyl rolls or sheets if using multiple colors
- Protective backing sheets to keep unused vinyl clean
- Sharp Cricut blades or tips optimized for vinyl cutting
Tip: Always cut your transfer tape to size when working with mirrors to improve alignment accuracy during vinyl placement.
Cricut Machines and Cutting Mats Selection
Choose a Cricut machine that matches your mirror’s size. For example, the Cricut Maker or Explore Air 2 can handle standard to medium-size mirrors up to about 12 by 24 inches. If your mirror exceeds that, consider working in sections or upgrading to machines that support larger mats.
Mats come in various grips, with standard grip mats suited for most vinyl and strong grip mats recommended for heavier or textured materials like brushed vinyl. Using strong grip mats reduces vinyl shifting during cutting, improving edge precision. Remember to place vinyl liner-side down on the mat to ensure proper cutting without damaging the backing.
- Cricut Maker or Explore Air 2 for mirrors up to 12″ x 24″
- Strong grip cutting mats for brushed vinyl applications
- Standard grip mats for regular adhesive vinyl
- Split large designs into sections to fit smaller mats
- Use fresh mats to prevent slipping of material
Cleaning Supplies and Application Tools
Proper cleaning is critical to ensure vinyl sticks well to the mirror surface. Use lint-free cloths with rubbing alcohol or glass cleaner to remove oils, dust, and residues. Avoid ammonia-based cleaners that could damage the vinyl later.
For application, a scraper or burnishing tool helps press the vinyl onto the mirror evenly, avoiding bubbles and wrinkles. Keep a weeding tool handy to remove excess vinyl carefully before applying transfer tape. After applying transfer tape and positioning on the mirror, burnish firmly and peel the transfer tape slowly to secure the design well.
- Lint-free cloths and glass cleaner or rubbing alcohol
- Vinyl weeding tools for precise removal
- Burnishing or scraper tools to apply vinyl evenly
- Scissors or craft knives for trimming transfer tape
- Soft microfiber cloth for final polishing after application
Designing Your Mirror Sign in Cricut Design Space
Creating your mirror sign design in Cricut Design Space begins with selecting or uploading the artwork, sizing it to fit your mirror, and preparing it for cutting. Properly sizing your design ensures it fits well on the reflective surface, while choosing the right fonts and layering strategies makes your text and graphics stand out clearly. Using Design Space’s tools for slicing and attaching helps organize your design for a smooth cutting process.
Choosing and Sizing Fonts for Mirror Visibility
Fonts with clean, bold lines work best on mirrors because reflective surfaces can make intricate details hard to see. Sans-serif fonts like Arial or Helvetica provide clear readability and contrast well against the shine of the glass. Avoid very thin or script fonts that lose clarity on a mirror.
Size your font large enough to be easily read from a distance. For example, a welcome sign on a 24-inch mirror should use letters at least 2 to 3 inches tall depending on viewing distance. Leave space between letters to prevent overlapping when cutting vinyl.
Setting Up Multi-Layer or Multi-Color Designs
When using more than one color or layer, design each color on a separate layer in Cricut Design Space. This separation allows you to cut each color individually or use different vinyl types. Keep in mind the adhesive vinyl for mirror signs should have good contrast to the reflective background, like white or bright colors.
Because Design Space does not currently mirror multiple layers at once, mirror each layer individually if you are using iron-on or Infusible Ink materials. Align your layers carefully in the software before cutting to match your final design intent.
Using Slicing and Attaching Features in Design Space
Slicing helps you remove or reshape parts of your design, which is useful for fitting the design onto irregular mirror shapes or creating layered effects. Attaching holds different parts of your design in place relative to each other during cutting.
To prepare your design for cutting on a mirror, slice out any overlapping areas that might confuse the machine or look cluttered when applied. Use the attach tool to keep multiple elements aligned exactly where you want them on your material. Follow these steps to size and prepare your design in Cricut Design Space:
- Open Design Space and create a new project.
- Upload your design file or choose images and fonts from the library.
- Use the resize handles or enter exact dimensions to fit your mirror surface size.
- Separate multi-color elements into distinct layers.
- Mirror each layer if using iron-on or Infusible Ink vinyl.
- Use the slice tool to cut or modify any overlapping shapes.
- Attach elements that must be cut in place together.
- Select your material size and cutting type, then follow prompts to send to the Cricut machine.
When and How to Mirror Your Design in Cricut Design Space
Mirroring designs is essential when working with certain materials in Cricut Design Space, especially heat transfer vinyl (HTV). Mirroring flips your design horizontally, so it appears correctly once transferred onto the final surface. Skipping this step with HTV causes your design to be reversed after application, making letters and images unreadable.
Materials like iron-on vinyl or HTV always require mirroring. For regular adhesive vinyl, like permanent or removable vinyl, mirroring is not necessary unless you’re layering elements with a specific orientation. When cutting directly on a mirror or glass surface for a sign, usually standard, non-mirrored images are cut because they face the viewer directly. Knowing when to mirror depends on the type of vinyl and the way it will be transferred or displayed.
On a desktop computer, you mirror your design after uploading it to Cricut Design Space and arranging your layers on the canvas. Go to the “Make It” screen. Here you’ll see your design laid out on the virtual cutting mats. Each mat corresponds to a vinyl color or material. You must toggle the mirror button for each mat individually. It’s located near the top of the mat preview area. Clicking this flips the design horizontally. Skip this if you don’t work with HTV.
On mobile devices, like phones or tablets, mirroring works similarly but with a slightly different interface. After placing your design and proceeding to the preview of mats, scroll down through each mat preview until you locate the mirror toggle switch. Flip it on to mirror that mat’s design. You need to do this one mat at a time just like on desktop. Make sure to confirm that all mats needing mirroring are toggled before proceeding to cut.
The following table compares the mirroring process on desktop vs mobile:
| Aspect | Desktop | Mobile |
|---|---|---|
| When to mirror | At “Make It” screen before cutting | At mats preview screen before cutting |
| Mirroring location | Top of each individual mat preview | Toggle switch after scrolling each mat down |
| Mirroring scope | One mat at a time | One mat at a time |
| Default setting | Mirroring off | Mirroring off |
| Common materials requiring mirroring | Heat transfer vinyl, iron-on | Heat transfer vinyl, iron-on |
Proper mirroring prevents backwards text and designs on your final project. It only takes a few extra seconds to toggle each mat’s mirror option. Failing to mirror when using HTV means your design will be reversed once pressed, which usually means you’ll have to start over. Mirroring allows you to see exactly how your design will appear on transfer sheets and ensures alignment is correct.
Always double-check the number of mats in your project to ensure you toggled mirror for all applicable layers. Missing one can cause part of your design to be reversed while the rest appears normal. Mirroring doesn’t affect the actual cut apart from flipping; it won’t change cut quality or size. This step prevents headaches and wasted materials, especially on detailed or text-heavy designs for mirror signs or other personalized projects.
Preparing and Cleaning the Mirror Surface for Vinyl Application
Properly cleaning and prepping your mirror ensures the vinyl sticks firmly and lays smoothly without bubbles. Removing residue thoroughly and using the right cleaners helps vinyl adhesion last longer. A clean, dry surface prevents issues like peeling or uneven application.
Removing Residue and Prior Coatings
Stickers, glue, and residue can block vinyl from sticking well. Use lemon essential oil to dissolve sticky residue left by price tags or labels, rubbing it on gently with a soft cloth. Avoid harsh scrapers that can scratch the mirror’s surface, which creates uneven spots for vinyl.
Once residue is softened, wipe away any leftover oil or glue with rubbing alcohol. Some mirrors, especially vintage ones, may have coatings on the glass; if you notice peeling or flaking, gently remove these areas with a plastic scraper or replace the mirror since vinyl won’t adhere securely to damaged glass.
Cleaning with Rubbing Alcohol and Optional Oils
Rubbing alcohol is best for cleaning glass before vinyl application because it evaporates quickly and removes oils that block adhesion. Dip a lint-free cloth or cotton pad in 70% isopropyl alcohol and wipe the entire surface thoroughly. For sticky residue spots that remain, apply a small amount of lemon essential oil first, then follow with alcohol to finish the cleaning.
Avoid cleaning agents with ammonia or harsh chemicals like window sprays, as they may leave residues that weaken adhesive bonds or harm vinyl later. After cleaning, make sure the mirror is free of fingerprints or dust particles before moving on to application.
Drying and Prepping the Surface for Application
Let the mirror air dry fully after cleaning; do not use paper towels as they can leave lint behind. If necessary, blot dry with a clean microfiber cloth. The surface must be completely dry and free of any oils or dust before applying vinyl.
To avoid bubbles, work in a clean, dust-free area with moderate room temperature (between 60°F and 80°F). Place the mirror on a flat, stable surface to keep the vinyl from shifting during application. Press vinyl down slowly starting from the center and moving outwards with a scraper or squeegee tool, which spreads adhesive evenly and prevents trapped air.
- Remove all stickers or residue gently using lemon essential oil and a soft cloth.
- Wipe entire mirror surface with 70% isopropyl rubbing alcohol on a lint-free cloth to remove oils.
- Check for any damage to glass coatings and repair or replace mirror if flaking is present.
- Allow the glass to air dry completely or gently blot dry with a microfiber cloth.
- Set mirror on a clean, flat workspace free of dust and debris.
- Apply vinyl starting from the center, pushing out towards edges with a scraper tool to reduce bubbles.
- Use a pin or weeding tool to pop any small bubbles and smooth out the vinyl surface further.
Avoid touching the cleaned glass surface before vinyl application to prevent adding natural oils that cause poor adhesion.
Cutting and Weeding Vinyl for Mirror Signs
Cutting and weeding vinyl properly is key to making a clean, professional-looking mirror sign with your Cricut. Use the StandardGrip cutting mat to firmly hold your vinyl during the cutting process. Place the vinyl with the carrier sheet facing down and the vinyl side up on the mat so the machine cuts through just the vinyl layer. Select the correct cut settings for your vinyl type in Cricut Design Space to avoid not cutting all the way through or cutting too deep.
Weeding means removing the extra vinyl around your design. Use tools like a weeding hook or tweezers to carefully lift and peel away unwanted vinyl pieces without tearing the design. For complex cuts, work slowly and pull the vinyl back gently at a low angle. Layered or multi-color designs require cutting each color separately on its own mat and in the correct order. Keep track of which color cuts first (usually the last mat you selected cuts first) so you can layer vinyl smoothly later.
- Prepare your vinyl on the mat: Cut your vinyl to size and place it carrier sheet side down on the green StandardGrip mat, smoothing it out with a scraper tool to avoid bubbles.
- Select cut settings: In Cricut Design Space, tap “Make It,” choose your vinyl type to set the blade pressure and cut depth correctly, and confirm that mirroring is enabled if needed.
- Load and cut: Load the mat into your Cricut, then start the cutting process. The machine will cut one mat at a time based on your design’s colors.
- Unload and weed: Once the cut is complete, unload the mat gently. Use a weeding hook or tweezers to remove excess vinyl, carefully lifting small pieces and peeling at a shallow angle to prevent ripping.
- Repeat for each color: For layered signs, repeat these steps for each color, following the mat order so layering matches your design.
- Check your edges: After weeding, inspect your design for any missed spots or rough edges and trim or weed as needed for a clean, sharp look.
- Organize your layers: Keep the weeded vinyl pieces on their carrier sheets to prevent stretching or damage before transfer.
Using the right mat and settings helps your cuts come out clean and precise, reducing wasted vinyl and frustration. Weeding tools make this step easier and protect your detailed designs from damage. When dealing with layers, cutting and handling each color separately stops colors from mixing or peeling off incorrectly during transfer to the mirror.
Transferring and Aligning Vinyl on Your Mirror Sign
Transfer tape holds your cut vinyl pieces in place, making it easier to move the design from its backing paper onto your mirror without losing position or details. Using transfer tape effectively keeps the vinyl aligned and prevents parts from lifting or shifting during application. For mirrors, a low-tack tape or window cling works best because it sticks enough to hold the vinyl but won’t damage the glass or leave residue.
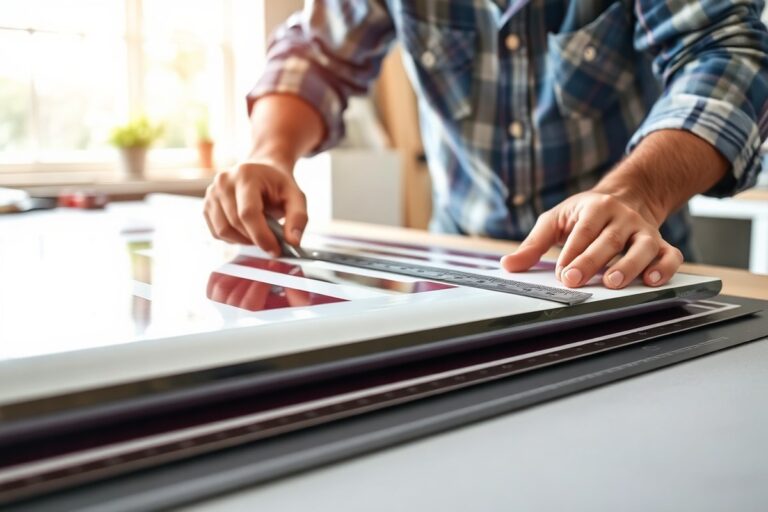
Aligning your design precisely on the mirror surface requires a mix of tools and methods. Start by cleaning the mirror thoroughly with rubbing alcohol to remove dust and oils, ensuring the vinyl will stick evenly. To center the design, use measuring tape and a level or a laser level device for the straightest placement. Mark faint pencil dots or use small pieces of painter’s tape on the mirror edges as guides.
Removing air bubbles and wrinkles demands a slow, careful application process plus the right tools. Use a plastic squeegee or a credit card wrapped in a soft cloth to press the vinyl onto the mirror steadily. Apply pressure from the center outward, which pushes trapped air out toward the edges. Avoid stretching or pulling the vinyl while applying since this can cause distortion or lifting.
- Cut and weed your vinyl design. Remove all the excess vinyl, leaving only your artwork on the backing. Make sure the design is cleanly weeded before transfer.
- Apply transfer tape over the vinyl. Carefully peel away the transfer tape’s backing and smooth the tape onto the vinyl using a squeegee or credit card to remove bubbles and ensure full contact.
- Trim excess transfer tape. Cut close to your design edges to avoid tape sticking where it’s not needed on the mirror.
- Position the vinyl design on the mirror. Use a tape measure and level to center and align the design. Place small registration marks with pencil or painter’s tape for accurate repositioning.
- Apply the vinyl to the mirror. Starting at one edge, slowly lay down the vinyl and press firmly with a squeegee, moving from the center outward to expel any air bubbles.
- Remove the transfer tape carefully. Peel it back slowly at a 45-degree angle, making sure the vinyl adheres fully to the mirror surface.
- Smooth over the applied vinyl again. Press down with the squeegee or cloth to secure the edges and remove any remaining bubbles.
For clear glass or when working with multi-color heat transfer vinyl, the backing can sometimes serve as the transfer medium, especially with window cling material. Using this method reduces static and misalignment risks. Take your time and inspect from different angles during application to catch any bubbles or wrinkles before the vinyl sets.
Troubleshooting Common Mistakes and Maintaining Your Mirror Sign
Vinyl bubbles or lifting on a mirror sign usually result from dust on the surface, insufficient adhesion time, or applying vinyl in less-than-ideal conditions. To fix bubbling, gently lift the vinyl from the corner nearest the bubble and use a credit card or scraper tool to press the vinyl flat again while smoothing out air pockets. Bubbles can be fixed by puncturing them with a pin and pressing out trapped air. For lifting edges, applying gentle heat with a hairdryer at low settings can activate the adhesive and improve bonding. Make sure the mirror is clean and dry before applying vinyl next time to reduce bubbles.
To remove or reposition vinyl without scratching the mirror, work slowly and carefully. Lift a corner with a fingernail or a plastic tool designed for vinyl removal and peel back at a low angle. When vinyl resists peeling, soften the adhesive with a hairdryer set to low heat before removing. Avoid sharp tools or forceful removal, which can damage the mirror surface or leave adhesive residue. Residue can be cleaned off using rubbing alcohol on a soft cloth, but test in a small area first.
Cleaning and maintaining your mirror sign keeps the vinyl looking sharp and fresh. Use a microfiber cloth and a gentle glass cleaner or a vinegar-water solution (1 part vinegar to 3 parts water). Avoid abrasive sponges or harsh chemicals that can wear down the vinyl edges over time. Wipe gently in one direction to prevent lifting the vinyl’s edges. Also, avoid exposing your mirror sign to excess moisture or direct sunlight for extended periods to preserve vinyl adhesion and color.
- Always clean the mirror with alcohol before applying vinyl to remove oils and dirt.
- Apply vinyl in a room with moderate temperature (65-75°F) to ensure better adhesive bonding.
- Use a plastic scraper tool to smooth vinyl immediately after application.
- Press out air bubbles with a scraper, or use a pin to pierce stubborn ones for easier removal.
- For repositioning vinyl, warm it slightly with a hairdryer before gentle removal.
- Maintain your mirror sign by cleaning with a microfiber cloth and mild solution only.
Do not use razor blades or metal scrapers to remove vinyl, as they can scratch the mirror permanently.
Firm application pressure immediately after transferring keeps vinyl secure. Expect a fully bonded vinyl to have a smooth finish without air pockets or lifted edges. Signs of poor adhesion include peels at corners or a flaky texture. Addressing these issues promptly prevents further damage and prolongs the life of your mirror sign.
Step-by-Step Action Plan for Your Mirror Sign Project
Follow these steps to create a custom mirror sign using your Cricut machine, ensuring a smooth and successful craft project.
- Before you start: Gather all materials and tools, including your mirror, vinyl, transfer tape, and Cricut machine. Double-check your supplies to avoid interruptions during crafting.
- Day 1: Design your mirror sign in Cricut Design Space. Use the mirror option if applying vinyl on the back of the mirror. Confirm the design previews correctly before cutting.
- Day 1: Clean the mirror surface thoroughly with glass cleaner and a lint-free cloth. The surface should be dry and free of dust or fingerprints to help the vinyl stick well.
- Day 2: Cut the vinyl design with your Cricut machine. Carefully weed out excess vinyl, checking for clean edges around letters or shapes.
- Day 2: Apply transfer tape over your vinyl design, press firmly, and peel back the backing slowly. Your design should lift completely without vinyl lifting off.
- Day 3: Position and align the vinyl on the mirror. Apply gentle pressure with a scraper tool to remove air bubbles and secure adhesion. Ensure the vinyl is flat and centered as planned.
- After 24 hours: Inspect your mirror sign for any loose edges or bubbles. Re-press or smooth out imperfections to maintain the vinyl’s longevity.
Frequently Asked Questions
What Size Cutting Mat Do I Need for Large Mirror Signs?
Use a Cricut 12×24 inch cutting mat for large mirrors to fit bigger designs. This mat size helps when your mirror plate exceeds the standard mat dimensions.
Can I Use Different Types of Vinyl on Mirrors?
Yes, permanent vinyl like brushed vinyl works best on mirrors for durability. It adheres well to the smooth surface and resists peeling over time.
Is a Cricut Maker Necessary for Mirror Signs?
A Cricut Maker is not necessary; the Explore series can also cut vinyl for mirror signs. Choose the machine based on the size of your mirror and design needs.
How Do I Avoid Bubbles When Applying Vinyl to a Mirror?
Apply vinyl slowly and use a squeegee to smooth out air bubbles. Clean the mirror surface well to help the vinyl stick evenly without trapping air.
Can I Reuse the Mirror After Removing the Vinyl Sign?
Yes, you can remove vinyl carefully using heat and adhesive remover. This lets you reuse the mirror or change designs without damage.
What Is the Best Place to Display a Mirror Sign?
Place your mirror sign where it gets good visibility and lighting, like an entrance or living room. These areas help your design stand out and catch attention.
Key Points to Remember
Making a mirror sign with your Cricut machine is a rewarding way to personalize home décor. The key is in careful design, preparation, and attention during application to achieve a professional look. Start your next mirror sign project by choosing a design that fits your style and follow through with careful surface prep and vinyl application for lasting results.