How to Make a Last Name Sign with Cricut: A Complete Step-by-Step Guide
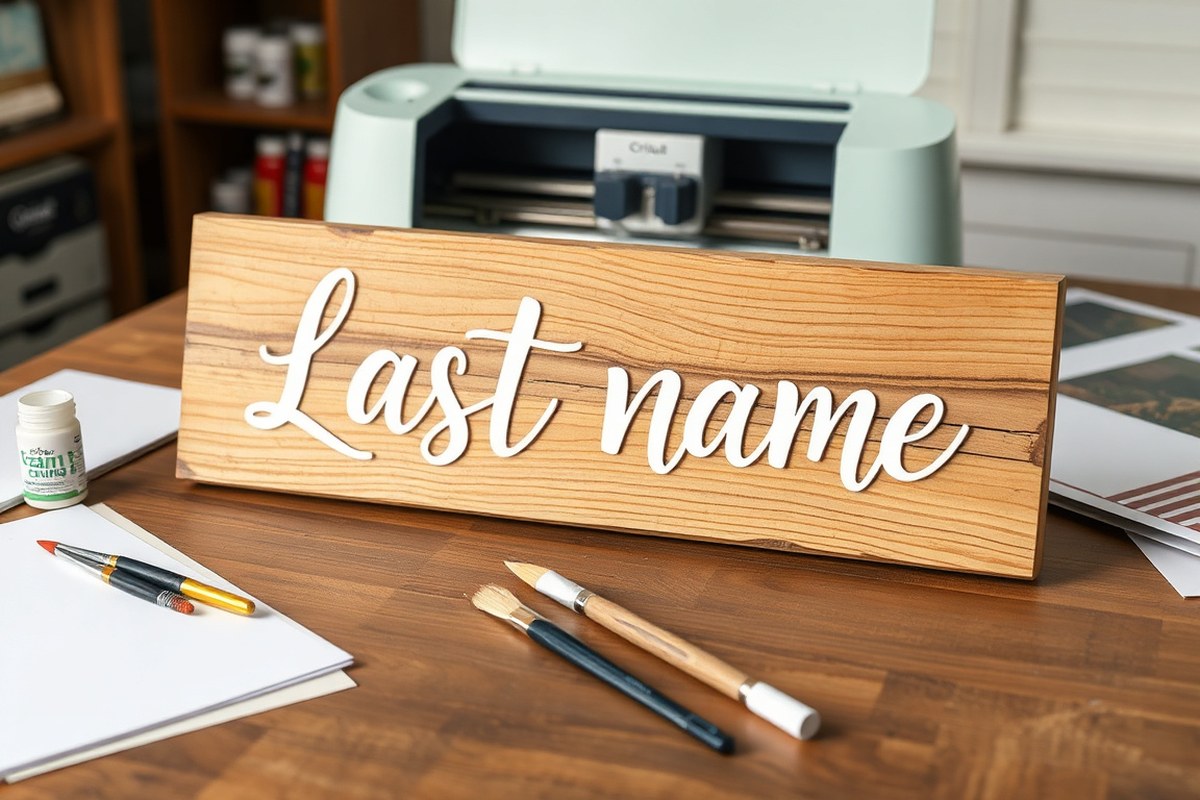
How to make a last name sign with Cricut is simple thanks to the machine’s precision and versatility. Start by preparing your design in Cricut Design Space to fit your sign’s dimensions, then choose the right materials like basswood and permanent Smart Vinyl. Cutting, weeding, and assembling become easy steps once your design matches your sign size.
Begin by measuring your sign’s usable area and creating a base shape in Design Space to fit those dimensions. This keeps your design accurate and ensures all letters fit perfectly.
Key Takeaways
- Measure your sign’s usable area before designing to ensure your last name fits well inside the frame.
- Use the Shapes tool in Cricut Design Space to create a canvas matching your sign’s dimensions for precise placement.
- Choose Cricut Smart Vinyl – Permanent for durable, high-quality lettering that sticks well to painted wood surfaces.
- Break long last names into smaller sections for cutting on standard-sized basswood sheets and Cricut mats.
- Select the correct mat size in Design Space, especially when using larger 12×24 mats for bigger cuts.
- Allow painted wooden sign blanks to dry at least 12 to 24 hours before applying vinyl letters for best adhesion.
Materials and Tools Needed for Cricut Last Name Signs
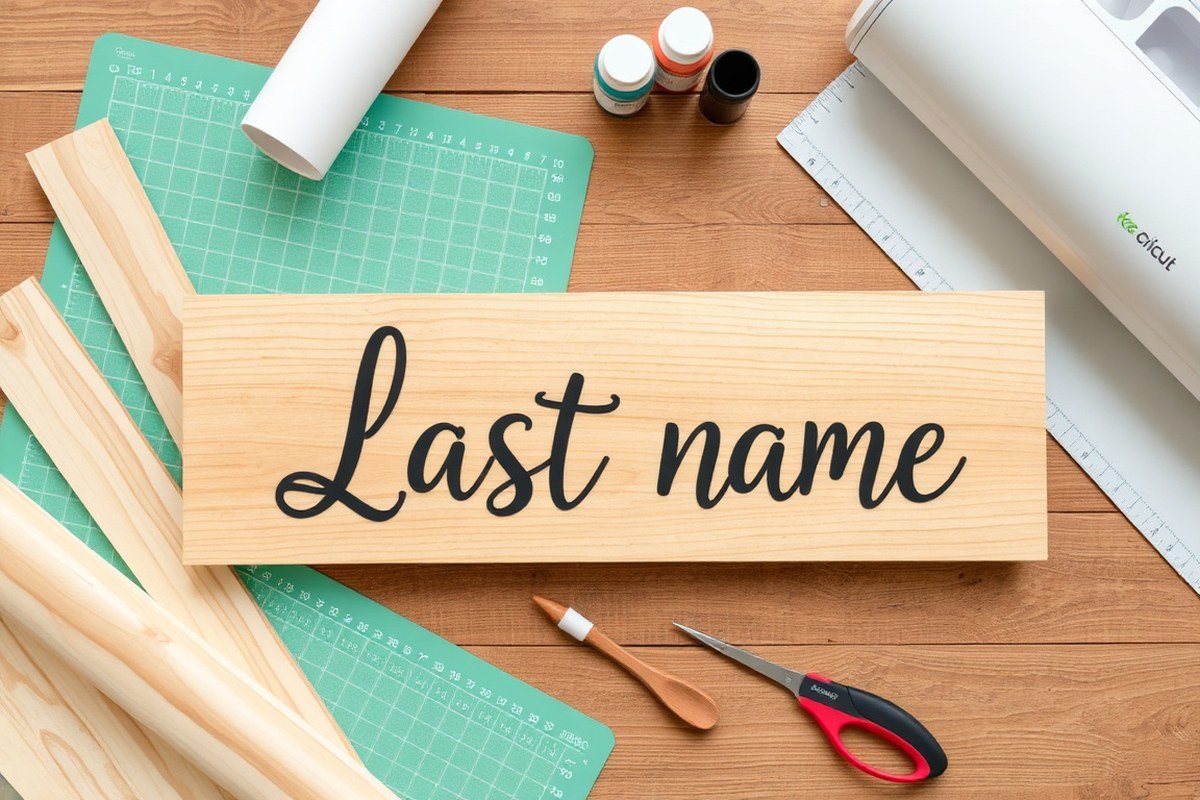
Making a last name sign with Cricut requires specific materials and tools that suit your project’s size, style, and budget. The essential supplies include a wooden sign base, adhesive vinyl, transfer tape, and basic Cricut tools such as weeding picks and scraper tools. Optional tools like a Cricut spatula help lift delicate cuts without damage, while a heat press or iron is useful if you opt for heat transfer vinyl (HTV) on wood surfaces. The choice of wood and vinyl significantly affects durability and appearance.
- Wooden sign bases (e.g., pine, birch plywood, or pallet wood)
- Adhesive vinyl or heat transfer vinyl (HTV)
- Transfer tape for vinyl application
- Cricut cutting machine and USB cable or Bluetooth connection
- Weeding tools and scraper tools
- Cutting mat compatible with your Cricut model
- Optional: heat press or iron for HTV
Wood is the foundation of most last name signs, and selecting the right type affects both aesthetics and longevity. Pine is a budget-friendly option costing around $10 to $15 for an 8×10-inch piece and offers a smooth finish perfect for paint or vinyl. Birch plywood has a finer grain and costs about $15 to $25 for the same size, giving a more professional look and better durability outdoors when sealed properly. Pallet wood provides a rustic, textured effect but may require more preparation like sanding and cleaning to avoid splinters or uneven surfaces.
| Material | Cost Range | Finish | Durability |
|---|---|---|---|
| Pine | $10 – $15 (8×10 in) | Smooth, paint-friendly | Moderate; best sealed for outdoor use |
| Birch Plywood | $15 – $25 (8×10 in) | Fine grain, professional | High; good for indoors and outdoors with sealant |
| Pallet Wood | Free – $10 (varies by source) | Rough, rustic | Variable; needs prep and sealing |
| Adhesive Vinyl | $8 – $20 per 12×12 sheet | Glossy or matte, many colors | High; weather-resistant when outdoor rated |
| Heat Transfer Vinyl (HTV) | $10 – $25 per 12×12 sheet | Matte, glitter, or metallic | High; requires heat application for bonding |
| Cardstock (optional for layered designs) | $5 – $15 per pack | Various textures | Low; best for indoor decorating and layering |
Adhesive vinyl is the most popular choice for Cricut last name signs because it offers strong adhesion, a range of colors, and weather resistance if you pick outdoor-rated vinyl. HTV can be applied with heat for a permanent bond on wood but may need more preparation and a good heat press to ensure adhesion. Cardstock works for temporary or indoor layered designs but lacks durability for outdoor signs. Your project’s scope and budget guide material choice: pine and adhesive vinyl work well for quick, affordable signs under $50, while birch plywood combined with high-quality vinyl suits longer-lasting, premium projects.
Preparing Your Last Name Design in Cricut Design Space
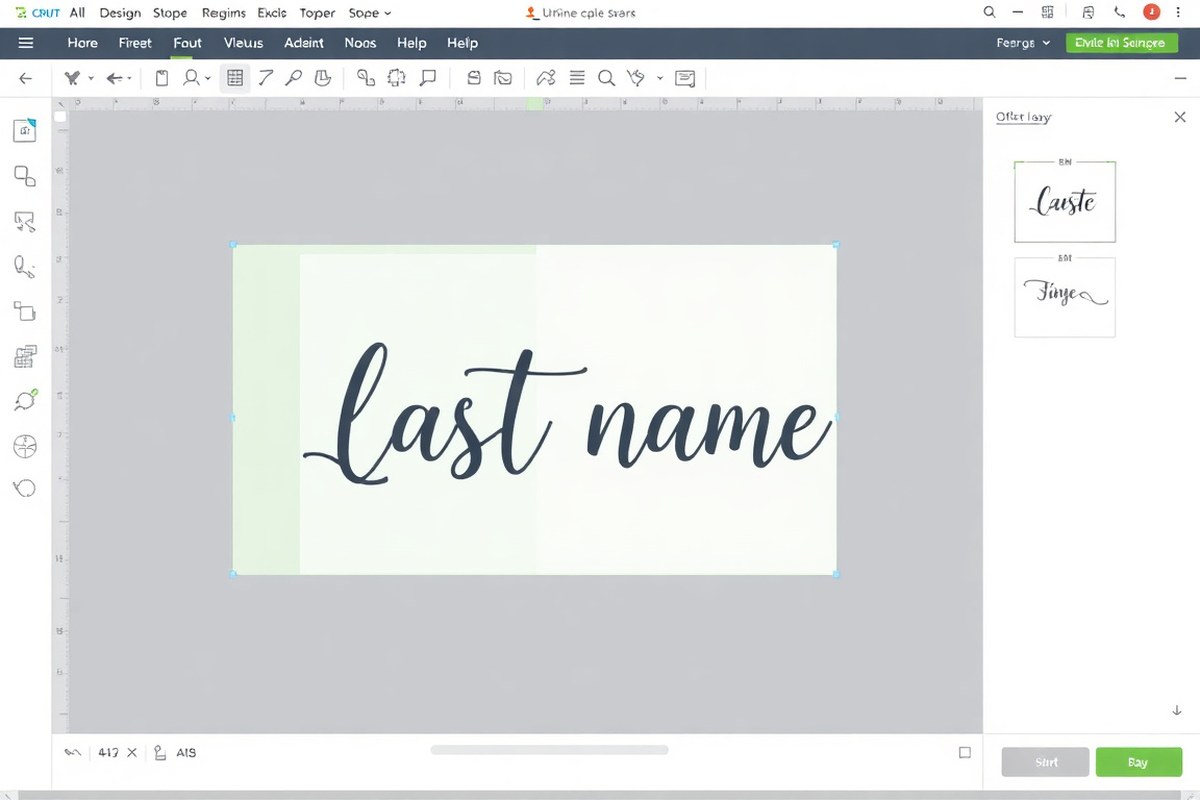
Creating your last name sign design in Cricut Design Space starts with setting up your text and then customizing it for your project size and style. Use the offset feature to add dimension or shadows, and carefully arrange your design elements to fit mat dimensions and material limitations.
Designing Your Last Name Text
Begin by opening Cricut Design Space and selecting the Text tool to type your last name exactly as you want it to appear on your sign. Choose a font that fits your desired style; Cricut Sans is a simple, free font to start with if you’re unsure. You can browse other fonts in Design Space or upload SVG cut files if you prefer custom scripts or shapes.
Keep in mind Cricut automatically spaces each letter evenly, which might not suit all fonts or styles. To fine-tune this, use the letter spacing adjustment to bring characters closer or further apart, especially if you want a cohesive or connected look. This step matters because spacing impacts how your text fits on your sign and how professional the final piece appears.
- Open Cricut Design Space and use the Text tool to type your last name.
- Select your font from the font menu or upload a custom SVG file.
- Adjust letter spacing to tighten or loosen gaps for better visual flow.
- Use the Size tool to scale your text so it fits your sign dimensions.
- Set letter alignment and arrange the text to your liking.
Applying and Adjusting Offset Effects
The offset feature in Design Space adds an extra layer around your text for depth or shadows, which can make your sign stand out. You can create a uniform outline or a shadow effect behind each letter. This also helps if you’re layering vinyl cuts or painting the sign for a multi-dimensional look.
To apply offset, select your text layer and click “Offset.” Adjust the offset size measured in inches, typical offsets range from 0.05 to 0.15 inches depending on your font size and desired thickness. Larger offsets give a bolder look but use more material. You can apply multiple offsets for a layered shadow effect by repeating the offset step and changing colors or materials for each layer.
Use smaller offsets for tight cursive fonts to avoid losing detail or making the design look too bulky.
Arranging for Large or Multi-Part Cuts
For large signs or longer names, you’ll need to break your design into sections that fit within your mat size, especially if you’re using 8×12-inch basswood sheets or the 12×24-inch Cricut Smart Mat. After sizing your text to the total sign dimensions, divide the text into smaller groups or individual letters that fit the cutting area.
Move each group onto separate mats virtually inside Design Space and arrange them within the mat boundaries with some margin from the edges. This prevents cutting errors and material waste. Use alignment tools to keep consistent spacing between parts for easier assembly after cutting.
- Measure your sign’s physical surface area to confirm sizing.
- Resize your last name text in Design Space to fit within this area.
- Split your design into smaller parts if the text is larger than your cutting mat.
- Place each part on its own mat preview, keeping within mat dimensions.
- Use the arrange tool to avoid overlaps and keep margins from the edges.
- Label or group mats logically for cutting order and assembly.
Optimizing Cutting Settings and Techniques for Materials
Choosing the right Cricut machine and adjusting cutting settings carefully is key to making clean cuts on wood, vinyl, or heavy cardstock for last name signs. The Cricut Maker 3 and Cricut Explore 3 work best for cutting various materials with precision. Both models handle longer cuts, up to 12 feet, allowing you to cut a full name sign without piecing parts together.
The best blade for wood is the Cricut Deep-Point Blade, which is designed to cut through thicker materials without shredding. For vinyl and cardstock, use the Fine-Point Blade. Setting the correct pressure and selecting the right blade ensure clean cuts and save material.
| Material | Compatible Cricut Machines | Recommended Blade | Pressure Setting | Additional Tips |
|---|---|---|---|---|
| Wood (thin plywood or craft wood) | Cricut Maker 3, Cricut Explore 3 | Deep-Point Blade | High to Max Pressure | Use multiple passes if needed; check blade depth carefully |
| Vinyl (Cricut Smart Vinyl, Permanent) | Cricut Maker 3, Cricut Explore 3 | Fine-Point Blade | Default to Medium Pressure | Cut full sign at once using Smart Vinyl rolls |
| Cardstock (up to 110 lb) | Cricut Maker 3, Cricut Explore 3 | Fine-Point Blade | Medium to High Pressure | Use repeat cuts on heavy cardstock |
For wood signs, test the blade depth before the final cut to avoid going too deep and ruining the material. Multiple light passes are better than one deep cut. The Deep-Point Blade is durable but replace it if cuts start to fray edges or don’t go through the wood cleanly.
Vinyl signs benefit from using Cricut’s Smart Vinyl, which comes in rolls up to 4 feet long. This lets you cut the entire last name sign in one go, improving alignment and reducing assembly work. Keep pressure at medium unless the vinyl isn’t cutting fully through.
Heavy cardstock (like 110 lb weight) might need you to increase pressure or perform a repeat cut. Monitor for tearing or incomplete cuts during the first attempt. If the cardstock tears, reduce pressure slightly or check blade sharpness. Common troubleshooting steps include:
- Check if the blade is clean and sharp. Replace if dull.
- Adjust blade depth manually for wood cuts.
- Increase pressure or apply a repeat cut for thick cardstock.
- Use a cutting mat with proper adhesive to keep materials stable.
- Make sure vinyl is firmly adhered before cutting to prevent curling.
Cutting, Weeding, and Assembling Your Last Name Letters
Cutting, weeding, and assembling your last name letters with a Cricut requires precision. Properly removing the excess material, aligning multiple pieces, and joining them cleanly ensures your sign looks professional and polished. Follow specific steps to avoid common pitfalls, especially when working with longer or multi-piece names.
Weeding and Cleaning Cut Letters
Weeding means removing the vinyl or cut material around your letters so only the desired design remains on the backing. This step is important for creating clean letters without extra bits that can ruin the look. Use a fine weeding tool to pick out small pieces and ensure curves and insides of letters like “O” or “A” are clear.
Work on a flat, clean surface with good lighting. Start peeling edges slowly, pulling the excess around the design away from the backing rather than the design itself. Gently sand any rough edges left from cutting wood veneer or thin wood cuts to smooth the pieces without breaking them.
Aligning and Taping Multi-Part Cuts
Long names or those split into several vinyl pieces need careful alignment to prevent gaps or overlaps. Using low-tack blue painter’s tape, create registration marks by placing small pieces across the edges of two adjoining vinyl strips. This method helps keep the pieces perfectly aligned when moving the design onto your sign.
First, position all sections on your work surface as they will appear on the sign. Apply painter’s tape on the joint edges, partially covering each adjoining piece. These marks act like a hinge to pick up and transfer multi-part designs as one unit. This reduces chances of misalignment during placement.
Final Assembly on the Sign Base
After weeding and taping, transfer your design carefully onto the painted wooden sign base. Using adhesive foam dots behind the vinyl can create dimension, especially for multi-layered elements or raised effects. Press each letter or segment down firmly, sliding off the painter’s tape slowly to reveal a smooth and even application. Follow these exact steps to weed and assemble the sign:
- Cut the last name letters using your Cricut machine with appropriate settings for your material.
- Peel the excess vinyl or wood veneer away gently using a weeding tool, focusing on small areas inside letters.
- Lightly sand wooden pieces to smooth bleed or splinter spots from cutting when needed.
- Arrange all letter sections face down on a clean flat surface to align spacing correctly.
- Apply blue painter’s tape over the seams, creating registration marks to hold the pieces aligned.
- Lift the entire taped design and position it onto your painted wooden sign base, confirming placement.
- Press each letter flat and slowly remove the painter’s tape, ensuring no parts lift.
- Add adhesive foam dots behind any raised sections to add dimension, then finish pressing firmly.
Video script example for assembling multi-part last name signs:
“Start by cutting your vinyl letters with the Cricut, then carefully weed out all the unwanted vinyl using a weeding tool. Lay out each piece of your multi-part name on a clean surface and line them up carefully. Use blue painter’s tape across each seam to create registration marks, this helps you pick up and transfer all pieces together in perfect alignment. Place the taped design onto your painted wooden base, press down firmly, then slowly and carefully remove the tape. Add adhesive dots if you want to create a layered effect, and press again to secure everything.”
Preparing and Painting Wooden Sign Blanks
Properly preparing a wooden sign blank before painting ensures the paint adheres well and creates a smooth surface for your vinyl letters. Sanding removes rough spots and opens the wood grain, allowing primer and paint to stick better. Priming seals the wood to avoid stains bleeding through and helps prevent peeling. You should sand both before and lightly after painting for the best finish.
Start with medium-grit sandpaper, between 120 and 150 grit, to smooth raw wood. After applying paint, wait at least 12 hours to dry, though 24 hours is ideal for a thorough cure. Then, gently sand with fine-grit sandpaper around 220 grit to break any raised grain and rough areas without removing paint. For indoor signs, acrylic latex paint works well because it dries fast and cleans easily. Outdoor signs benefit from exterior-grade acrylic paint for moisture resistance. Avoid cheap craft paints without primers to prevent peeling outdoors.
- Sand the wood: Use 120-150 grit sandpaper to smooth all surfaces until the wood feels even. Wipe away dust with a tack cloth or damp rag.
- Apply primer: Use a wood primer, especially if your wood is porous or stained, spreading an even coat with a brush or roller. Let dry fully, usually about 1 to 2 hours.
- Lightly sand the primer: Once dry, sand the primer with 220 grit sandpaper to create a smooth base. Clean off dust completely.
- Paint the base color: Apply acrylic latex paint for indoor signs or exterior acrylic paint for outdoor use. Use thin, even coats to avoid drips. Let the first coat dry 1 to 2 hours.
- Add a second paint coat: Repeat with a second coat for full coverage. Let this dry for 12 to 24 hours to cure completely before handling.
- Optional light sanding: Before adding vinyl, lightly sand with 220 grit for extra smoothness if desired, then remove dust.
- Dry completely: Wait at least 24 hours total drying time before applying vinyl or letters to ensure the paint is fully set.
Allowing paint to dry for at least 24 hours greatly improves vinyl adhesion and prevents bubbling or peeling down the road.
Applying Vinyl Letters and Sealing the Finished Sign
Applying vinyl letters to a painted wood surface requires careful preparation and steady technique to avoid bubbles and misalignment. After placing your vinyl, protecting your sign with a suitable sealant will improve durability, especially for outdoor use. Follow the steps below to transfer vinyl smoothly and choose the right sealant for lasting results.
Preparing and Using Transfer Tape
Transfer tape acts like a carrier to lift vinyl letters from their backing and place them precisely on your painted wood sign. Picking tape with moderate tack ensures letters stick without tearing or folding. To avoid bubbles and wrinkles during transfer, work slowly and press firmly. Here is a step-by-step vinyl transfer process:
- Cut a piece of transfer tape slightly larger than your vinyl letters.
- Peel the backing off the transfer tape and carefully place the sticky side onto your weeded vinyl letters, starting from one edge.
- Use a scraper tool or credit card to firmly burnish over the vinyl, removing air pockets and ensuring it adheres tightly to the tape.
- Slowly peel the clear transfer tape away from the vinyl backing at a 45-degree angle, making sure all letters lift off cleanly.
- Align the vinyl letters with your painted wooden sign, starting at one edge or corner.
- Lightly press the transfer tape onto the wood, then firmly burnish again with the scraper, moving over each letter.
- Carefully peel back the transfer tape at a 45-degree angle, leaving the letters adhered to the wood.
- Smooth out any small bubbles with a pin or scraper by gently pushing air toward the edges.
Working at room temperature (around 70°F) helps vinyl remain flexible. Avoid transferring vinyl to damp or dusty surfaces. Let painted wood dry at least 24 hours before applying vinyl to prevent lifting. Using clear transfer tape designed for outdoor vinyl usually costs about $5, $10 per roll of 12 inches by 25 feet, enough for multiple signs.
Sealing for Protection and Finish
Sealing your sign after vinyl application protects both paint and vinyl from moisture, UV rays, and abrasion. Polycrylic is a popular water-based sealant that dries clear, providing a durable finish without yellowing. It works well over enamel, outdoor, or house paints if you wait 24 hours after painting. Here are common sealants with pros and cons for outdoor use:
- Polycrylic: Fast-drying, low odor, water-based; clear finish; may leave brush marks if not applied evenly; best for smooth wooden surfaces.
- Polyurethane (oil-based): Highly durable and waterproof; may yellow over time; requires mineral spirits for clean-up; longer drying time (24, 48 hours).
- Clear spray sealant (acrylic): Easy to apply evenly; less control for thick coats; can be less durable long term.
Apply a thin coat of sealant with a foam brush or spray in a well-ventilated area. Let each coat dry fully before applying another, typically 2, 4 hours for water-based polycrylic. Two to three coats offer good protection. Avoid brushing sealant directly over vinyl edges too hard to prevent lifting.
Maintenance Tips to Prolong Life
Keep your last name sign looking sharp by regularly dusting with a soft cloth and avoiding direct water exposure. For outdoor signs, inspect the sealant yearly and reapply if you notice any peeling or dullness.
Storing signs indoors during extreme weather can extend their life. Avoid placing them in direct sunlight for prolonged periods to reduce vinyl fading and sealant breakdown. Spot clean marks gently with mild soap and water rather than harsh chemicals. By taking these simple maintenance steps, your customized Cricut last name sign will stay vibrant and secure for years, whether it hangs in your entryway or on your porch.
Handling Large or Multi-Part Last Name Sign Projects
Designing a last name sign that exceeds the size limits of a single Cricut mat or wood sheet requires strategic planning to split your project into manageable sections. Begin by measuring your intended sign space and the maximum cutting area of your Cricut, typically 12 by 24 inches for most machines. When your last name or design is longer, divide the text into parts that fit within these limits. For example, a last name like “Washington” could be split into “Wash” and “ington” to cut on two separate mats or wood pieces.
When laying out your design in Cricut Design Space, use the slice or duplicate tools to separate the letters into groups that fit each mat size. Arrange these groups exactly as they will appear on the final sign. You can create alignment guides by adding faint lines or shapes that extend across each section, helping ensure that the parts line up perfectly when assembled. Avoid cutting without these references because misalignment can lead to uneven spacing or crooked letters.
Assembling the sign after cutting requires a clear method for perfect alignment. Use registration tape, which acts like transfer tape but holds multiple pieces at once, to keep all sections aligned during transfer. Place the registration tape over your vinyl letters on one mat, peel carefully, and then position them on your wooden sign, using the alignment guides you designed to match each piece accurately. For wood signs made from multiple boards, prearranging the boards on a flat surface before adhering letters helps to confirm consistent gaps and spacing.
Longer names often need more material beyond what fits on a single wood piece or vinyl roll length. One typical wood size is an 8-inch by 48-inch by 1-inch pine board, readily available at stores like Lowe’s. Should your sign exceed this length, get a longer board or multiple boards cut to your desired size. For vinyl, use roll vinyl rather than sheets, since rolls come in longer continuous lengths. Measure your grouped letters’ total width and add a few extra inches for cutting errors or trimming. A good practice is to plan for about 20% more vinyl length than your design’s width to prevent shortages.
While cutting multi-part signs, remember each overlay or extension adds complexity. Monitor the cut mats carefully, cleaning the mat between cuts to avoid shifting materials. When your machine stops mid-cut because of length, check your design sizing and try cutting smaller sections. Using transfer tape over long vinyl pieces requires patience; smooth out bubbles slowly and use a squeegee or credit card to ensure strong adhesion.
Costs rise slightly with larger projects due to the need for extra wood or vinyl rolls and possibly longer transfer tape, which can cost between $8 to $15 per roll depending on length and brand. Time investment also grows as you handle multiple cuts, assemble parts, and align letters precisely. Good results feature clean letter edges, even spacing, and smooth transitions between sections without visible misalignment or gaps. Problems with alignment usually come from skipping the guides or rushing registration tape placement, taking the time to position and press carefully avoids these issues.
Common Mistakes and How to Fix Them When Making Signs
Cutting and weeding errors often happen because the blade setting is too high or too low for your material. Too deep a cut tears the base material, while too light leaves parts of the letters uncut. To fix partial cuts, reload the material and run the cut again, reducing or increasing blade pressure by one or two steps. Also, make sure your mat is clean and sticky enough to hold materials firmly during cutting. When small cuts or delicate fonts don’t weed easily, use a low-tack transfer tape to lift and reposition difficult pieces.
Paint smudges usually occur from applying thick layers or handling the sign before paint fully dries. Choose acrylic paints made for wood and apply thin, even coats with a foam brush or sponge. Wait at least 20 minutes between coats and ideally let the sign dry for 24 hours before handling. To fix smudges, lightly sand the area with fine-grit sandpaper (220 grit) once dry, then repaint that spot carefully. Uneven paint can be smoothed by spritzing a water mist before the paint dries and gently wiping it with a clean cloth.
Vinyl bubbles form if air gets trapped during application, especially on rough wood surfaces or if you apply the vinyl too fast. To smooth bubbles, use a pin to prick the bubble and then press it flat with a scraper or credit card. If vinyl lifts off edges, use a strong heat source like a heat gun on low setting to warm the vinyl while pressing down firmly. Be careful not to overheat, as this can cause further lifting. Selecting a vinyl type designed for outdoor or uneven surfaces increases adhesion and reduces peeling risks.
- Incorrect blade pressure or dull blades cause uneven cuts, adjust blade setting or replace blade.
- Rushing the painting process leads to smears, apply thin layers and dry thoroughly.
- Not prepping or cleaning wood causes poor paint and vinyl adhesion, sand and wipe clean before starting.
- Applying vinyl too quickly traps air, use a slow, steady squeegee motion.
- Skipping transfer tape on delicate fonts makes weeding harder, always use low-tack transfer tape.
- Ignoring humidity and temperature can affect paint drying and vinyl sticking, craft in a controlled environment.
Pressing vinyl firmly with a squeegee from the center outwards prevents bubbles and ensures stronger adhesion.
For wood that gets scratched or dented, fill small damage areas with wood filler or spackle, let it dry, then sand smooth. Touch up paint or stain around repairs for a uniform look. Vinyl that wrinkles beyond simple bubbles may need removing and reapplying; use a heat gun or warm water to soften adhesive for easier removal without damaging the wood underneath. Prevent damage in the first place by handling pieces gently and working on a stable, clean surface.
Step-by-Step Action Plan for Your Last Name Sign
Follow these steps to create a personalized last name sign with your Cricut. Each step ensures your project stays on track and looks great.
- Before you start: Gather your wooden sign blank, vinyl, transfer tape, and tools. Confirm all materials fit the size of your planned design.
- Day 1: Open Cricut Design Space and create or upload your last name design. Check spacing and size to match your sign blank.
- Day 2: Set your Cricut cutting machine to the recommended settings based on your vinyl type. Cut a small test to verify clean edges.
- Day 3: Weed out excess vinyl carefully. Make sure all letters are intact and look crisp before transferring.
- Day 4: Paint or finish your wooden sign blank if desired. Let it dry completely to prevent vinyl bubbles or peeling.
- Day 5: Use transfer tape to apply vinyl letters precisely onto the wooden blank. Press firmly and remove transfer tape slowly to avoid lifting.
- Day 6: Seal the sign with a clear coat to protect your vinyl and paint. Ensure the sealant is compatible with both materials.
- Week 2: Display your last name sign and check for any touch-ups needed on paint or vinyl edges.
Frequently Asked Questions
How Do I Create an Offset Around My Last Name in Cricut Design Space?
Use the Offset tool in Design Space by selecting your text and choosing the size of the offset. This adds a border around your letters, giving a layered look that makes your sign pop.
Can I Use Basswood on My Cricut Machine for Last Name Signs?
Yes, basswood works well and cuts cleanly on Cricut Explore Air 2 and Maker models with the right blade. Cutting in sections is necessary due to size limits of the cutting mat.
What’s the Best Way to Align Multi-Part Last Name Signs Cut in Sections?
Use registration marks or alignment guides created in Design Space to help piece the parts together accurately after cutting. This ensures letters line up evenly on your sign.
Can I Use Cardstock Instead of Vinyl for Last Name Signs on Wood?
Cardstock can be used for a layered effect but is less durable than vinyl. Seal cardstock well to protect it if the sign will be handled or displayed outdoors.
How Do I Seal a Finished Wooden Last Name Sign to Protect the Vinyl?
Apply a clear acrylic sealer over the vinyl and wood surface to protect the design. Use a spray or brush-on sealer suited for your paint and vinyl type for best results.
What’s a Simple Fix If My Vinyl Letters Peel Off the Wooden Sign?
Make sure the wood surface is clean, smooth, and primed before applying vinyl. Use a strong adhesive vinyl and press firmly for better adhesion.
Wrapping Up
Your last name sign is now ready to personalize your space or gift to someone special. Make sure you work carefully through each step to avoid damage or errors. Start by selecting the perfect design and materials, then enjoy crafting your unique sign with your Cricut.