What Is a Wall Sign: A Complete Guide to Types, Design & Installation
What is a wall sign? It’s a sign mounted flat against a building’s exterior wall, not extending more than 16 inches from the surface. Wall signs identify businesses or offices effectively by being visible and aligned with the building’s façade. To comply with accessibility standards, position the sign’s center about 60 inches above the floor for easy viewing by all.
Key Takeaways
- Mount wall signs parallel to the building surface without projecting over 16 inches to meet regulations.
- Set the sign’s center height at 60 inches from the floor to follow ADA visibility rules.
- Mount signs close to doors on the side with the latch, keeping them approximately 2 to 3 inches away from the door jamb to ensure easy access.
- Restrict the size of wall signs to no more than 1.5 square feet for every linear foot of the building’s length facing a public road.
- Use at least one-inch tall letters for every 10 feet of expected viewing distance to ensure readability.
- LED illuminated signs lose brightness after about two years due to half-life of the lighting components.
What Is a Wall Sign and How Does It Work?
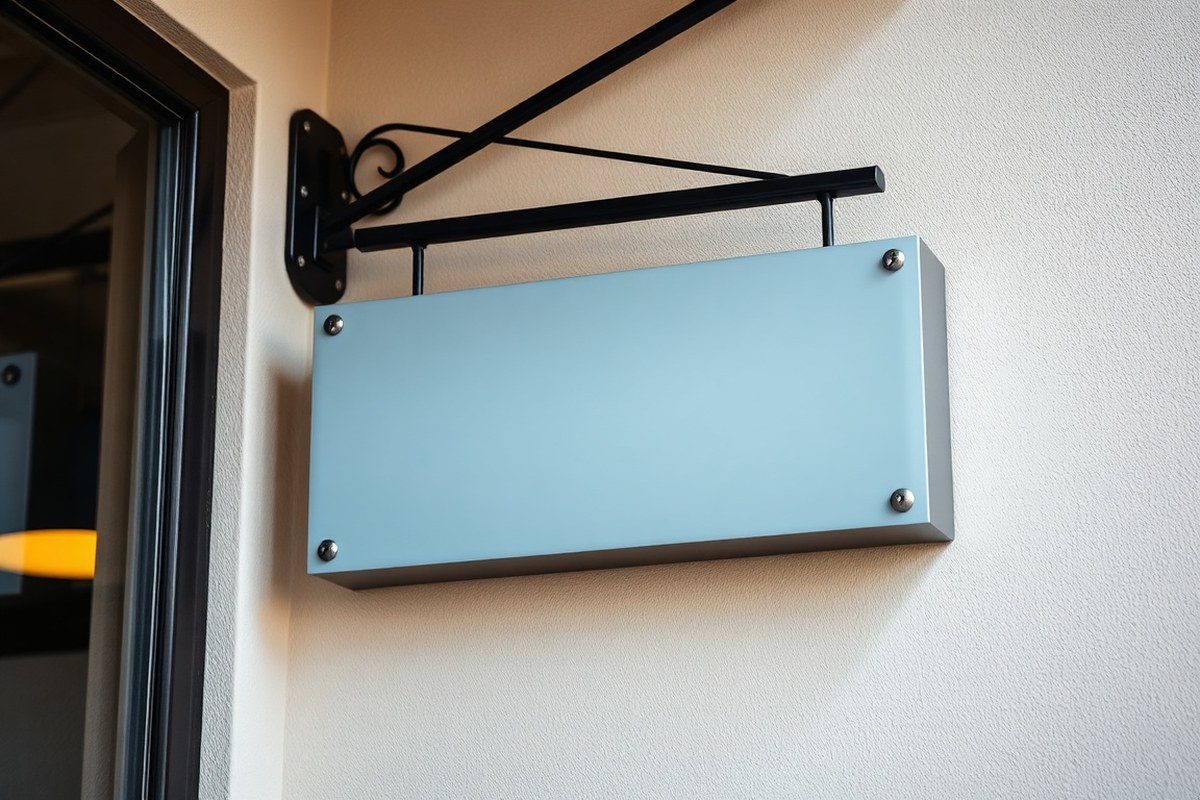
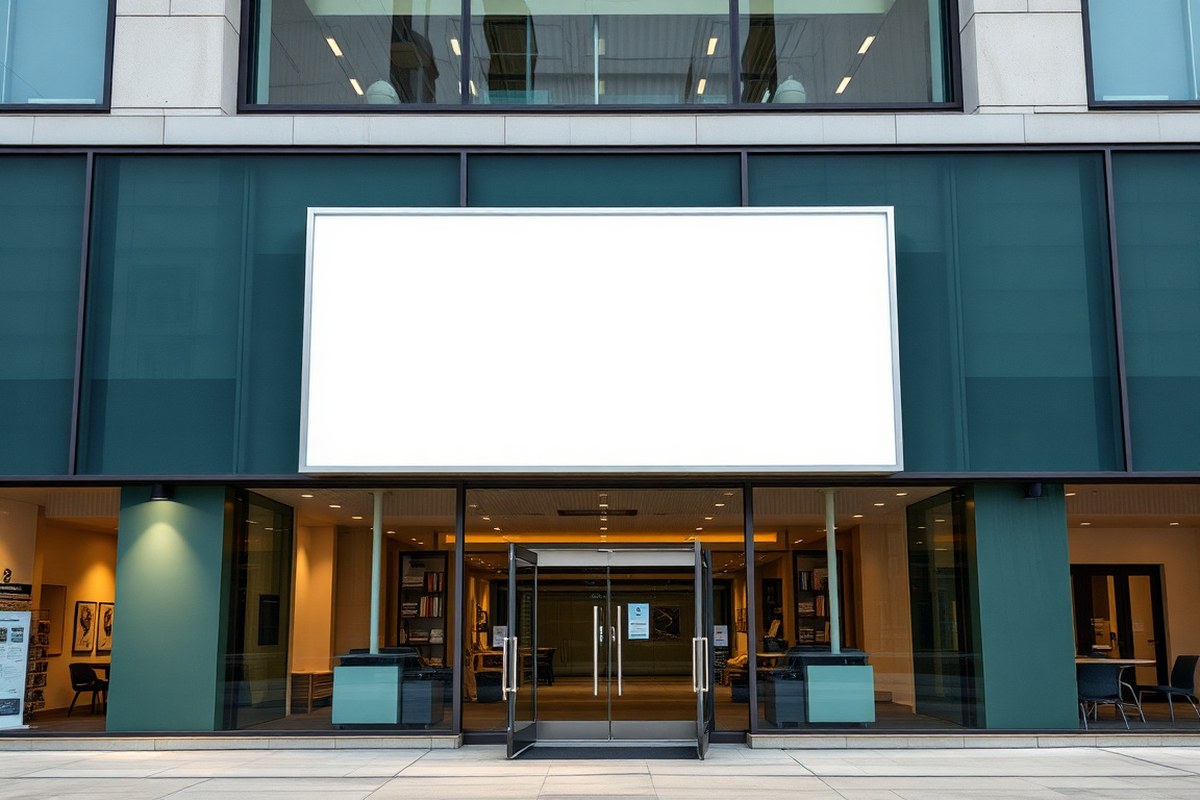
A wall sign is a type of building-mounted signage affixed directly to an exterior wall of a building. It lies flat against the wall surface and does not project out more than 16 inches. Wall signs include painted logos or lettering applied onto the wall itself, 3D lettering made from materials such as acrylic or metal, and illuminated signs mounted with raceways that enclose electrical components. For example, a retail store might use a large acrylic wall sign with raised letters attached parallel to the storefront façade to identify the business clearly to passersby.
This type of mounting differs from other signage styles by its attachment and orientation. Wall signs are fastened flush against the wall, typically using screws and anchors for heavier pieces or strong adhesive tape for lighter indoor signs. When mounting outdoors, ensuring proper anchoring is important to withstand weather conditions and maintain durability. For illuminated wall signs that use LED elements, positioning the AC transformer within about 16 feet in a weather-protected box with cooling holes helps optimize electrical connections and heat management.
Wall signs are distinct from projecting or freestanding signs in orientation and placement. Projecting signs extend perpendicular to the building façade and often feature dual faces for visibility from both directions, like hanging signs over sidewalks. These require at least 84 inches of clearance from the ground floor to prevent pedestrian head injury, a rule set by the Americans with Disabilities Act (ADA). In contrast, wall signs rarely interfere with pedestrian pathways since they remain close to the wall. Freestanding signs do not attach to a building at all; instead, they stand independently supported by posts or bases, commonly used for roadside identification or directions.
The exact style of wall sign you choose depends on your business needs and the installation site. Painted wall signs are cost-effective and integrate well with building surfaces but can fade over time. Acrylic and metal signs offer a modern look and better weather resistance though they require more secure mounting systems. When planning a wall sign near doors, ADA guidelines suggest positioning it 2 to 3 inches from the door jamb on the latched side to ensure accessibility. Limits on wall signs include a maximum of two signs on the building’s front facade and one on each side facade, which influences placement strategy.
Common Materials Used for Wall Signs
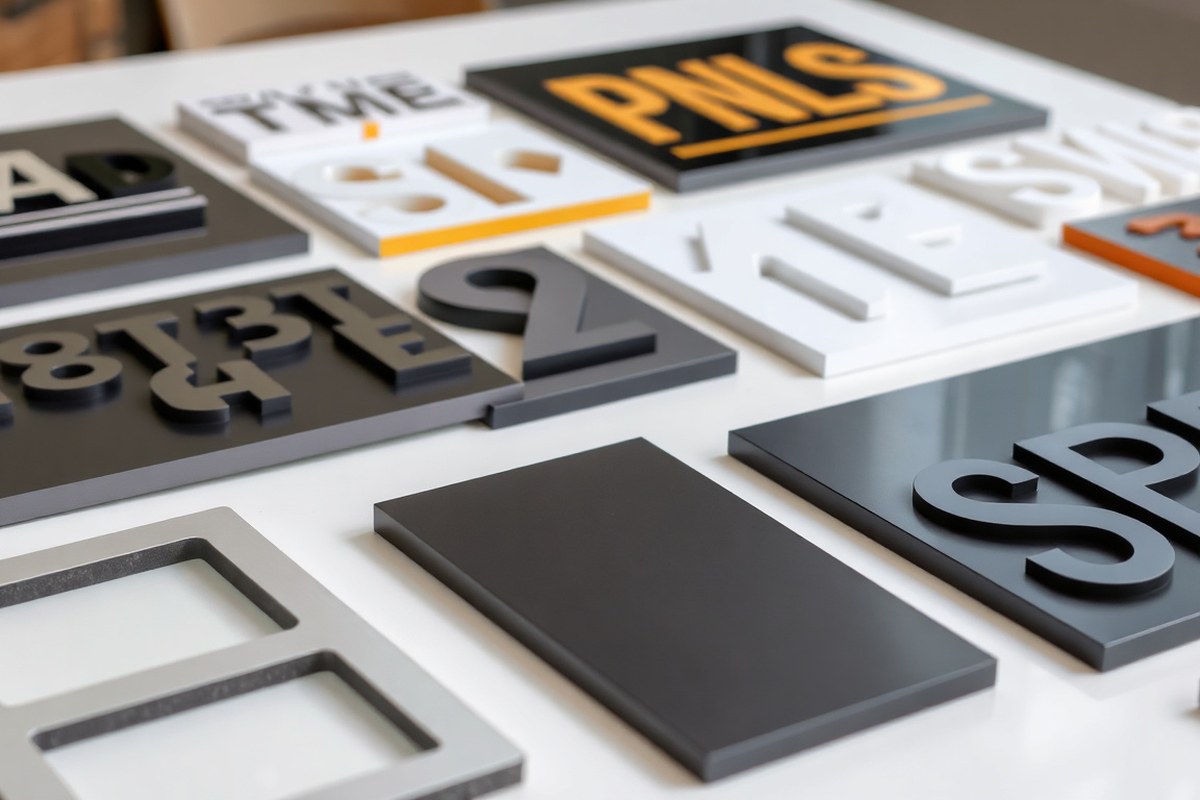
Choosing the right material for a wall sign affects its durability, appearance, and cost. Common materials include acrylic, metal, PVC, and foam core. Each has strengths that suit different environments like indoor lobbies or outdoor storefronts.
Acrylic signs feature a glossy, glass-like surface and stand out for their durability indoors. They cost more than foam core but deliver a polished, professional look that lasts. Metal signs, often engraved, convey permanence and prestige. They are strong and weather-resistant, making them excellent for outdoor use or high-traffic indoor areas. PVC signs offer a smooth finish and moderate toughness. They are affordable and frequently used for menu boards or directories. Foam core is lightweight and low-cost but less durable, suitable mainly for temporary indoor signs in low-traffic areas.
| Material | Durability | Appearance | Cost Range (per sq ft) | Best Use |
|---|---|---|---|---|
| Acrylic | High (Indoor, moderate outdoor) | Glossy, glass-like | $20, $50 | Indoor lobbies, branding signs |
| Engraved Metal | Very High (Indoor & Outdoor) | Elegant, professional | $30, $70 | Prestige signs, durable outdoor |
| PVC | Moderate (Indoor, limited outdoor) | Smooth, matte or semi-gloss | $15, $35 | Menu boards, directories |
| Foam Core | Low (Indoor only) | Matte, lightweight | $5, $15 | Temporary indoor signs |
Using more durable materials like metal or thick acrylic is advisable for signs exposed to frequent handling or outdoor elements. PVC and foam core are better for budget-friendly, indoor applications with less wear. Proper installation on the nearest adjacent wall applies if designated space is limited. Keep in mind, the sign’s size and complexity can increase costs beyond material prices.
Choose metal or acrylic for signs that require long-term durability and a professional appearance in high-traffic or outdoor areas.
Different Types of Wall Signs Explained
Wall signs come in several types, each offering different visual effects, material choices, and costs. You can pick from flat signs and vinyl graphics for a clean, two-dimensional look. Alternatively, dimensional lettering adds depth and sophistication. Illuminated options boost visibility when lighting is needed, while painted graphics allow for custom designs directly on your surface.
Flat Wall Signs and Vinyl Lettering
Flat wall signs include vinyl lettering and graphics that lie flush against the building surface. These are made by cutting vinyl into letters, logos, or full images. They provide a sleek, modern appearance and work well for simple branding or informational displays.
Vinyl wall logos are affordable and quick to install, often costing under $100 for smaller signs. They are good for temporary signage or indoor use but can fade or peel outdoors within a few years depending on sunlight exposure and wall conditions. Flat signs do not cast shadows, which might limit their visual impact from a distance.
3D Dimensional and Raised Letter Signs
Dimensional letters and signs stand out by being raised off the wall surface, creating depth and visual interest. Materials like acrylic, metal, or wood are common for these signs. Mounting letters slightly off the wall yields subtle shadows that add sophistication and make the sign easier to read.
These signs generally cost more than flat vinyl because of fabrication and installation. The premium look is well suited for professional environments like law firms or corporate headquarters.
- Raised letters create a shadow effect for improve readability
- Common materials include acrylic, metal, and wood
- Installation requires mounts that hold letters slightly away from the wall
- Typically more expensive due to materials and labor
- Works well for branding where a high-end appearance matters
- Can include ADA-compliant tactile lettering with Braille
Dimensional signage is ideal when you want your business name or logo to stand out physically with a premium appeal. Avoid this style if budget is tight or if the location doesn’t allow mounting hardware.
Illuminated Wall Signs with LED Options
Illuminated signs use internal or external light sources to improve visibility at night or in low-light conditions. LED lighting is the most popular, offering bright, energy-efficient illumination with a lifespan averaging two years before brightness degrades significantly due to LED half-life. Examples include backlit acrylic signs or reverse channel letters with halo lighting where letters mount off the wall, showing a glow behind.
You should consider illuminated signs if your business operates after dark or is located in busy areas where standing out visually is critical. Illumination increases costs considerably, often running into the thousands depending on size and complexity.
- LED lighting provides bright, consistent illumination
- Reverse channel letters create a halo light effect behind the sign
- Regular maintenance may be needed as LED brightness reduces over time
- Installation is more complex, often requiring electrical work
- Effective for 24/7 businesses, retail stores, and entertainment venues
- City or landlord permits may regulate brightness and color temperature
Illuminated signs should be avoided in locations with strict lighting restrictions or when the budget does not support higher upfront and maintenance costs.
Painted Wall Graphics and Murals
Painting directly on the wall allows the most customization and artistic flexibility. Painted signs or murals can cover entire building facades or smaller sections for unique, eye-catching branding. These are often hand-painted or created using stencils and specialized outdoor paints designed to resist weather fading and cracking.
Painted graphics have a long lifespan if maintained properly but require skilled painters and surface preparation. Modern alternatives include large-format adhesive vinyl printed to look like murals, which lowers costs and speeds installation but may lack the texture and depth of true paint.
- Custom designs can scale from small logos to full-wall murals
- Paint types resist outdoor fading and weather damage
- Higher cost and longer installation time compared to vinyl
- Requires professional painting skills for best results
- Can incorporate branding with artistic flair and detail
- Vinyl mural alternatives offer faster, cheaper installation
Painted wall signs work well for businesses wanting a distinctive, creative look but may not suit locations where permits or surface conditions limit painting. They also need occasional touch-ups to maintain appearance over time.
Design and Size Guidelines Including ADA Requirements
Wall sign design and size must balance visibility with legal requirements, particularly the Americans with Disabilities Act (ADA). Letter height depends on viewing distance, while mounting height follows ADA rules to ensure accessibility. Careful placement and sizing help your sign communicate clearly and comply with regulations.
ADA Compliance Basics for Wall Signs
Wall signs that fall under ADA requirements must be accessible and readable for individuals with disabilities. For example, signs with tactile characters must be mounted where users can easily touch them. The ADA requires that the sign’s baseline is placed between 48 and 60 inches above the finished floor.
Mounting location is specific: signs identifying rooms or spaces must be placed on the wall adjacent to the latch side of the door. Placement too high or too low can result in non-compliance, which may lead to fines or costly replacements. A checklist to ensure ADA compliance includes:
- Mount signs on the latch side of doors.
- Position tactile text so its base sits between 48 and 60 inches above the floor.
- Provide Braille and raised characters on the sign.
- Use sans serif fonts and simple wording for readability.
- Ensure signs contrast visually with backgrounds for low-vision users.
- Mount signs so they do not protrude more than 4 inches into walking paths.
- Use durable materials to withstand wear and tactile use.
Recommended Letter Size and Viewing Distance
The size of letters must match how far viewers stand from the sign. A common guideline is to use 1 inch tall letters for every 10 feet of viewing range. For instance, letters should be roughly 3 inches tall if people read the sign from 30 feet away.
Another common guideline considers the proportional relationship between letter height and viewing distance. Typically, the maximum readable distance is about 100 to 120 times the letter height. For instance, a 2-inch letter height is readable up to 200 to 240 feet, but that applies mainly outdoors or in wide open spaces. Indoor applications usually require smaller letters due to closer viewing distances.
Optimal Mounting Height and Placement Tips
Proper mounting height improve both ADA compliance and overall sign visibility. For ADA-required tactile signs, keep the baseline between 48 and 60 inches above the finished floor, with the center of the sign close to 60 inches for optimal reach and visibility. Non-ADA signs can be positioned higher but should consider the average sightline of your audience.
Spacing around your sign is important to avoid visual clutter. Leave at least a 6-inch buffer zone from nearby obstacles such as door frames, corners, or other signage. Mounting signs too close to walls’ edges or above sightlines can reduce their effectiveness. Keep signs perpendicular to the typical viewer’s path to increase legibility. Additional practical tips include:
- Use high-contrast colors between letters and background.
- Avoid glossy materials that create glare under lighting.
- Consider lighting placement to illuminate the sign without shadows.
- For multi-tenant buildings, verify any restrictions on exterior wall sign placement.
Step-by-Step Wall Sign Installation Process
Installing a wall sign correctly ensures it looks professional, lasts long, and stays secure. The right steps include preparing the surface, selecting suitable mounting hardware, leveling the sign carefully, and following safety precautions. This process varies based on wall material and sign weight but follows a clear order.
Preparing the Wall Surface
Start by cleaning the wall thoroughly to remove dirt, grease, or loose paint that could weaken adhesion or mounting. For drywall, fill any holes or cracks and smooth the surface. Brick or concrete surfaces may require brushing or washing to remove dust and debris. Moisture levels should be low to prevent issues with adhesive or fasteners.
Confirm the wall can support the sign’s weight; heavier signs may need reinforcement or backing plates. Mark the exact desired location for the sign, taking into account visibility and accessibility. Use a pencil or painter’s tape to outline the placement before drilling or mounting.
Choosing and Installing Mounting Hardware
Select hardware based on the sign’s size and the wall type. For drywall, toggle bolts or anchors that expand behind the wall offer strong support. Masonry walls require hammer drills and masonry anchors or sleeve anchors to secure screws firmly. Heavy signs often use metal brackets or French cleats, which distribute weight evenly and allow some adjustability.
- Measure and mark the mounting points on both the wall and the sign, ensuring they align properly.
- Drill pilot holes suited to the type of wall and anchor being used.
- Insert wall anchors or mounting hardware securely, verifying they are flush with the surface.
- Attach mounting brackets to the sign, following the manufacturer’s instructions.
- Lift the sign into position and engage it with the mounted hardware.
- Double-check that fasteners are tight and the sign is held firmly.
Leveling and Securing the Sign
Use a high-quality level, either a laser level or bubble level, to make sure the sign is perfectly straight before fully tightening it. A crooked sign not only looks unprofessional but can also create stress points that risk damage or detachment. Adjust mounting brackets or anchor points slightly as needed.
Secure all screws and bolts once leveling is confirmed. For larger signs, consider using a second person to hold the sign while adjustments are made to avoid accidents or damage. Check the sign’s stability by gently testing for any movement or wobble after installation.
Always double-check your level measurements before drilling; mistakes at this stage can be costly and difficult to fix.
Safety Tips During Installation
Wear protective gear such as gloves and safety glasses to prevent injury from drill bits, screws, or debris. Use a sturdy ladder with someone to hold it steady if installing above shoulder height. Never carry heavy signs alone, team lifting reduces injury risk and damage to the sign.
Before drilling, check for electrical wires or plumbing inside the wall using a stud finder with live wire detection. Follow all local regulations for securing exterior signs and, for important or heavy installations, consider hiring a licensed professional. Using correct tools and preparation minimizes accidents and ensures a lasting result.
How Lighting Affects Wall Sign Visibility and Lifespan
Choosing the right lighting for your wall sign significantly influences both its visibility and lifespan. Exterior illuminated signs typically use direct illumination, where light fixtures shine onto the front face of the sign. This method is straightforward but depends heavily on proper placement of lighting fixtures to avoid shadows or glare. Backlighting or halo lighting options employ LEDs behind the sign or around its edges to create a glowing effect, which can make your wall sign stand out in lower light conditions or at night. Deciding between these illumination types depends on your desired aesthetic, location, and budget. For example, direct illumination is often simpler and more cost-effective for smaller signs, whereas halo lighting suits premium branding with softer light effects.
LED lighting is the preferred choice for illuminated wall signs due to its energy efficiency and long service life. Typically, LED half-life ranges from 35,000 to 50,000 hours, meaning your LEDs will maintain about half their initial brightness after this time. This amounts to roughly 7 to 11 years if the sign runs 12 hours daily. However, environmental factors such as temperature extremes and moisture can reduce this lifespan. When the brightness dips below your visibility requirement, it’s time to replace the LEDs to keep your sign attention-grabbing. Routine inspections every 1 to 2 years help identify when illumination intensity declines, preventing your sign from appearing dull.
Proper electrical setup is important for illuminated wall signs. Your system will need wiring that meets local electrical codes, including outdoor-rated cables if the installation is outdoors. The power source typically connects to a transformer, converting standard voltage to the low voltage used by LEDs. Transformers should be placed in accessible, weather-protected areas, often inside the building or behind the sign cabinet, to allow easy maintenance without dismantling the entire sign. Using waterproof connectors and sealing junction boxes ensures the electrical components stay safe from moisture damage, extending the sign’s operational life.
Brightness, or luminance, must be balanced to meet visibility needs without causing glare or excessive power consumption. Brightness requirements vary with location and purpose; signs near busy roads or large open spaces need higher luminance to compete with ambient light. For example, a sign visible from a highway may require a brightness level of 2,500 to 5,000 nits, while a retail storefront sign can be effective at 1,000 to 2,000 nits. Overly bright signs can be distracting or lead to complaints from neighbors, so it’s wise to consider local ordinances regulating sign brightness. Using dimmable LED drivers or timers can help adjust illumination based on time of day, reducing energy costs and light pollution.
Maintenance tips for illuminated signs include cleaning the fixtures and sign face to prevent dirt buildup that reduces brightness. Verify the wiring and connections annually to detect corrosion or wear. Scheduled LED replacements aligned with the half-life estimate prevent sudden brightness loss and maintain consistent presentation. While upfront costs for LED components and wiring can add 20% to 40% to your sign budget, the extended lifespan and lower energy use typically offset these expenses over time. This investment ensures your wall sign remains a vibrant, long-lasting asset that effectively attracts attention day and night.
Costs and Factors Influencing Wall Sign Pricing
Wall sign costs vary widely depending on size, material, and complexity. On average, small signs under 12 square feet can cost between $300 and $1,000. Larger signs or those made with premium materials, such as metal or push-through letters, often range from $1,000 to $5,000 or more. Installation fees typically add $200 to $600, depending on mounting difficulty and height. Budgeting for permits and inspections is important, as many municipalities require permits for exterior signage, which may cost $50 to $500 or require additional documentation.
Key factors influencing pricing include the sign’s size, chosen materials, lighting options, and installation conditions. For example, acrylic signs are generally cheaper than those with metal or dimensional letters, while push-through designs tend to be pricier due to more intricate fabrication. Installation on uneven or high walls can increase labor costs. Local regulations might call for anchor testing or specialized hardware, raising expense. Before ordering, check local zoning laws and building codes to avoid unexpected permit fees or rework.
| Wall Sign Type | Typical Cost Range | Installation Fee | Permit Cost |
|---|---|---|---|
| Small Vinyl or Acrylic Under 12 sq ft | $300 – $1,000 | $200 – $400 | $50 – $200 |
| Medium Metal or Push-Through Letters (12-30 sq ft) | $1,000 – $3,000 | $300 – $500 | $100 – $350 |
| Large Illuminated Signs Over 30 sq ft | $3,000 – $5,000+ | $400 – $600+ | $200 – $500+ |
Hidden fees can quickly add to your budget. Watch out for design charges, artwork revisions, electrical hookups for lighting, and structural engineering if the sign is heavy. Some installers charge extra for permits or inspections, while rush orders often cost more. Clarify what is included in your quote and get detailed estimates to avoid surprises.
To budget effectively, start by measuring the wall space accurately and identify the best material based on weather exposure and brand style. Contact your local permitting office early to confirm requirements and fees. Ask several sign companies for itemized quotes covering materials, installation, permits, and possible extras. Factor in a 10, 20% contingency for unexpected costs.
Common Wall Sign Mistakes and When to Call a Professional
Wall signs often suffer from common design and installation errors that reduce their effectiveness. Poor contrast between the sign text and background makes the message hard to read from a distance, limiting visibility and impact. Inconsistent fonts, overcrowded information, or wrong sizing relative to the mounting surface can create confusion or clutter. These mistakes make the sign fail to communicate clearly or catch attention.
During installation, alignment and mounting errors frequently occur. Signs mounted unevenly or crookedly can appear unprofessional and damage brand perception. Using incorrect fasteners or failing to anchor the sign securely risks damage from wind or vibration. Moisture trapped behind the sign may cause warping or deterioration over time. Checking levels and spacing carefully before securing the sign prevents many of these issues.
- Low contrast between text and background
- Overcrowded or cluttered design elements
- Improper sign size for the viewing distance
- Crooked or uneven mounting
- Inadequate or mismatched mounting hardware
- Failure to seal or weatherproof installation points
- Ignoring local building codes or ADA compliance
Fixing these issues involves revisiting the design with simplicity in mind. Use high-contrast colors such as dark lettering on a light background or vice versa. Opt for readable fonts and balance the text size with viewing distance, larger letters for signs viewed from 20 feet or more. Measure the wall and use a level and plumb line during installation to ensure the sign is perfectly straight.
For mounting, select the right fasteners for the wall type, masonry anchors for concrete, toggle bolts for drywall. Weatherproof mounting holes with sealant to avoid moisture damage. It’s wise to test on a small section before final installation to confirm appearance and stability.
Always double-check your measurements and level marks before drilling to avoid unnecessary holes or reinstallation costs.
Deciding between DIY installation and hiring a professional depends on your skill level and the complexity of the wall and sign. Uneven, fragile, or hard-to-reach wall surfaces require the experience and appropriate tools that professional installers provide to complete the job safely. Also, professionals can ensure your sign meets local regulations and ADA requirements to avoid legal issues and costly replacements.
Professional installation typically costs between $100 and $300 per sign depending on size, location, and mounting difficulty. This investment often saves money by preventing damage and ensuring a polished final look. For signs with electrical lighting or that need permits, hiring a licensed installer is strongly recommended.
Your Wall Sign Installation: Quick-Start Action Plan
Follow these steps to choose, prepare, and install a wall sign that suits your business needs and complies with all relevant rules.
- Before you start: Measure your wall space and review any local signage codes, including ADA guidelines, to ensure your sign will be compliant.
- Week 1: Select the sign material and type best suited for your location and budget, like durable metal for outdoor signs or acrylic for interior displays.
- Week 2: Design your sign with clear fonts and lighting considerations; getting a professional design review helps confirm visibility and branding impact.
- Week 3: Order your sign from a reputable manufacturer and prepare the mounting surface by cleaning and repairing any damage.
- Week 4: Install your wall sign using the recommended hardware and follow safety instructions closely; test lighting if applicable to verify visibility day and night.
- After installation: Document your sign’s location and specifications for maintenance and future upgrades, and schedule regular cleaning to keep it visible.
Frequently Asked Questions
What Defines a Wall Sign Compared to Other Building-Mounted Signs?
A wall sign is mounted parallel to the wall surface and does not project more than 16 inches from it. This distinguishes it from projecting or rooftop signs, which extend further from the building or are mounted differently.
Can a Wall Sign Be Used Indoors as Well as Outdoors?
Yes, indoor wall signs are mounted inside buildings, often for reception or directional purposes. Materials and lighting choices may differ to suit interior conditions and visibility needs.
What Are Some Recommended Materials for Durable Indoor Wall Signs?
Acrylic and engraved metal are common indoor wall sign materials, valued for durability and aesthetics. Metal signs convey prestige, while acrylic offers a clean, modern look at a moderate cost.
How Important Is the Placement Height of a Wall Sign?
Placement height follows ADA guidelines requiring the sign’s center at 60 inches above the floor for accessibility. Proper height ensures visibility and compliance with regulations.
What Is a Raceway in Relation to Electrical Wall Signs?
A raceway is an enclosure that houses electrical components and structurally supports the sign when mounted on a wall. It keeps wiring protected and simplifies installation and maintenance.
Are There Limits to How Many Wall Signs a Business Facade Can Have?
Yes, typically you can have two signs on the front facade and one additional sign on each side, according to standard signage guidelines. This controls clutter and preserves aesthetics.
Final Thoughts
Choosing the right wall sign and installing it properly helps your business stand out and stay compliant with regulations. Start by confirming your signage requirements and measuring your available space today. Taking these steps now will save time and money while boosting your brand presence effectively.