What to Put on an Open House Sign: Complete Guide with Proven Tips
Knowing what to put on an open house sign is key to attracting visitors and guiding them effectively. Include clear event details like date and time, your name, and contact info, along with directional arrows when needed. Use bold, easy-to-read fonts and keep wording concise to capture attention and ensure quick comprehension.
Key Takeaways
- Always include date and time in short, readable phrases like “Today 1, 4pm” on every open house sign.
- Use sans-serif fonts with letters at least 2 inches tall for visibility up to 30, 40 feet.
- Feature your name and phone number prominently on the main lawn sign to encourage direct contact.
- Incorporate arrows on smaller 12×18 inch directional signs to guide visitors through neighborhoods.
- Keep main lawn signs around 18×24 inches for visibility up to 150 feet at yard edges and intersections.
- Limit text to essential info only, avoiding clutter that can distract or confuse potential visitors.
Essential Elements to Include on Every Open House Sign
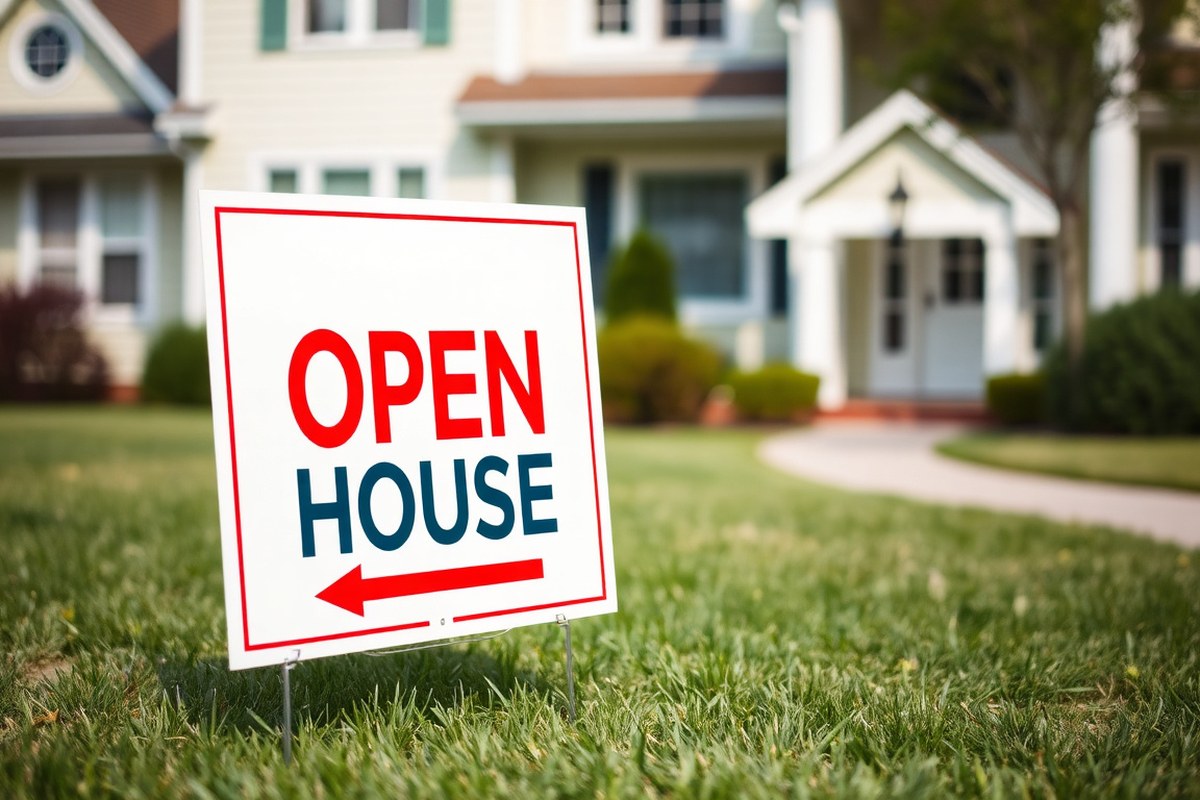
The headline on every open house sign should be “OPEN HOUSE” in large, bold letters, typically between 4 to 6 inches tall. This grabs attention quickly and makes the purpose of the sign clear to passing drivers or pedestrians. Placing this headline at the top or center of the sign ensures it stands out. You want the most important message to be legible from 50 feet or more, so use high contrast colors like white text on dark backgrounds or vice versa.
The date and time should definitely be included on most open house signs, but keep it short and straightforward. Phrases like “Today 1, 4 PM” or “Sat 2, 5 PM” are ideal because they read quickly and reduce clutter. If the sign remains up multiple days before the event, substituting “This Weekend” or “Open House Sat-Sun” works well. Overloading the sign with excessive date details makes it harder to read at a glance.
Essential contact info includes a phone number or website linked via a QR code. Choose one clear method for visitors to reach you or learn more without crowding the sign with details. For example, a small line of text below the time might say “Call Jane at 555-4321” or “Scan for Details” with a QR code beneath. Avoid placing multiple phone numbers or full addresses that detract from readability.
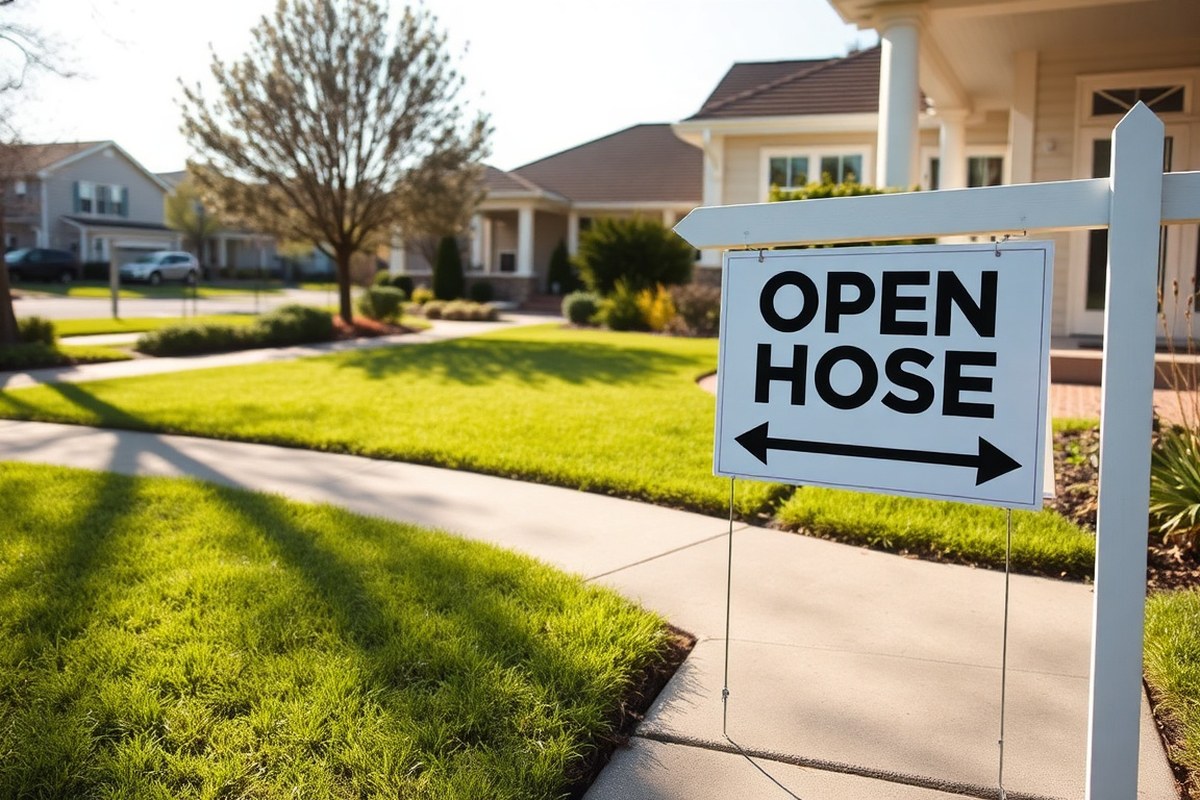
Directional arrows help guide visitors safely from main roads or intersections to the property. Use smaller 12×18 inch arrow signs spaced along the route to prevent getting lost. Arrows should be large, bold, and contrast sharply with the background. Pair them with minimal text like “Open House →” or “This Way →” so drivers quickly understand where to turn without slowing down. Avoid cluttering arrows with too many words.
- “OPEN HOUSE” as headline in 4, 6 inch high, bold text
- Include date and time: use short formats like “Today 1, 4 PM” or “Sat 2, 5 PM”
- Add contact info in simple form: phone number or QR code for details
- Use large contrasting directional arrows on 12×18 inch signs for guidance
- Limit text to essential info only for easy, quick reading
- For bigger signs, consider adding a call to action like “Scan for Details” with QR code
Using standard sign sizes helps keep the message clear and consistent. Main signs are often 18×24 inches, a size that fits well in yards and catches eyes without overwhelming space. Smaller 12×18 inch signs suit directional use well. Begin setting up signs about a week before the event by placing “Open House This Weekend” signs or updating existing property signage with dates. This builds awareness ahead of time and reduces last-minute stress.
Good results look like easy-to-read signs from passing cars and a steady flow of visitors who find the property without confusion. Signs cluttered with too many details or weak contrast can cause people to miss the event entirely or turn away. Clear headlines, simple date/time info, and well-placed arrows work together to make your open house welcoming and easy to navigate.
Types of Open House Signs and Their Specific Uses
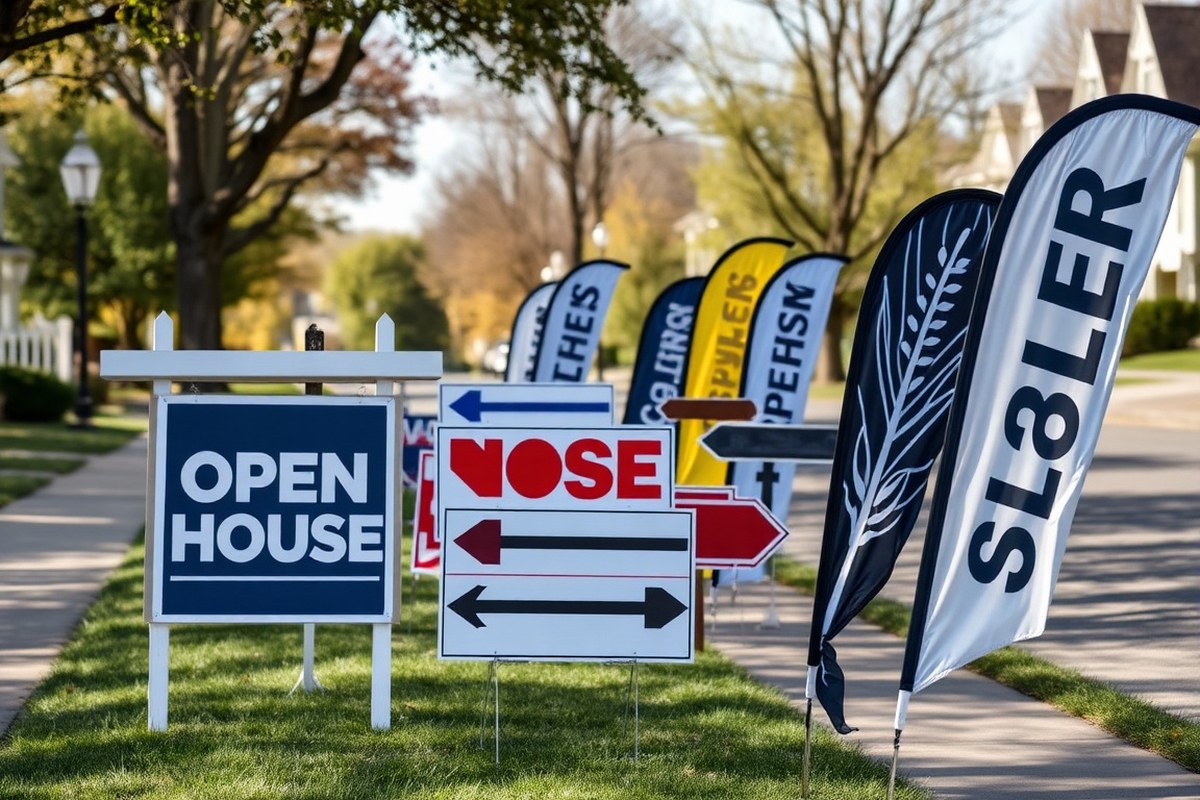
Different types of open house signs serve specific roles to guide visitors and attract attention. Main lawn signs create visibility at the property, directional arrow signs lead buyers along the route, and specialty signs like feather banners add extra flair to catch eyes. Using these strategically improves visitor traffic flow and engagement.
Main Lawn Signs for Visibility
Main lawn signs are the primary markers at the property itself. Typically 18 by 24 inches, they balance size and visibility, standing out in yards and at intersections. Their clear display of “OPEN HOUSE” and the house number helps potential buyers recognize the location from about 150 feet away. These signs often feature high-contrast colors and consistent branding, but the focus remains on clear messaging rather than heavy branding.
Place your main lawn sign near the front edge of the property or close to the entrance to catch the attention of both pedestrians and cars passing by. Durable materials that hold up throughout the full showing weekend are essential to maintain a professional look.
Directional Arrow Signs for Routing Traffic
Directional arrow signs are critical for guiding visitors to homes tucked away in neighborhoods or not easily visible from main roads. These signs rely on simple, bold arrows pointing the way, coupled with minimal text like “OPEN HOUSE →” to reduce reading time for drivers. A typical open house setup includes 10 to 15 directional signs, placed at intersections, neighborhood entrances, and major traffic points.
Directional signs are usually smaller and cost-effective, designed for quick installation and removal. They form a routing chain that makes finding your open house easier and can increase the number of visitor conversations. Local rules often limit how many signs you can place and require signs to be removed during nighttime hours, so check regulations carefully before deployment.
| Sign Type | Typical Size | Best Usage Location | Key Features | Estimated Visibility Range |
|---|---|---|---|---|
| Main Lawn Sign | 18″x24″ | Front yard or entrance | Clear “OPEN HOUSE,” house number | Up to 150 feet |
| Directional Arrow Signs | Small, variable | Road intersections and neighborhood entrances | Bold arrow with “OPEN HOUSE →” | Visible for quick driver recognition |
| Feather Banner | 8-12 feet tall | Front edge of property or busy streets | Eye-catching movement, bright colors | High visibility, attracts attention |
| Sign Riders | Small, attaches to yard signs | On existing signs or posts | Additional info or branding | Supplemental to main signs |
Integrating these signs into a clear routing plan maximizes visitor traffic and keeps your branding consistent across all touchpoints.
Specialty Signs: Feather Banners and Riders
Feather banners and sign riders provide extra visibility and branding elements. Feather banners, also known as flag signs, are tall, free-standing signs that move with the breeze. They attract attention from a distance and work well at the front edge of the property or busy nearby streets. Their vibrant motion draws eyes from passing traffic, especially during weekends.
Sign riders are small, supplementary signs attached above or below yard signs. They can highlight special features, brand logos, or additional directions. Though not the main sign type, riders add clarity or reinforce messaging without cluttering your primary signs. Together, feather banners and sign riders complement main lawn signs and directional arrows to create a professional, attention-getting setup.
Put your arrow-based directional signs out before setting up main lawn signs to ensure drivers can find your open house and follow the route easily.
Design Tips for Readable and Attractive Open House Signs
Creating open house signs that grab attention and communicate clearly depends on simple design choices. Use bold fonts, high-contrast colors, and proper sizes to ensure visibility from a distance. Thoughtful layout and consistent branding make your signs both attractive and effective.
Best Font Styles and Sizes
Choose plain sans serif fonts for maximum legibility at a glance. Fonts like Arial, Helvetica, and Futura work well because their clean lines are easy to read from the street, even at speed. Avoid decorative or script fonts that can blur or confuse drivers passing by.
Use font sizes that prioritize the headline “Open House” to be readable from at least 50 feet away. A minimum height of 3 to 4 inches for headline letters is recommended. Secondary details like dates or agent names can be smaller, around 1 to 2 inches, but should remain clear.
Keep text to a minimum to avoid clutter. Limit the total word count on the sign to 10, 12 words so readers capture the essential message quickly. Bold all text elements that are key to your message for extra impact.
Choosing High-Contrast Colors
Pick two or three strong contrasting colors to make your sign pop without overwhelming the eye. High contrast between text and background improves readability, especially for drivers.
For example, white text on a navy blue or dark green background offers strong contrast while remaining professional and appealing. Bright colors like red or yellow can stand out but use them sparingly, background or accent colors only, to avoid visual fatigue.
Keep the color palette consistent with your brokerage’s branding to build recognition. Using the same colors and fonts on all signs in your route helps drivers quickly associate your signs with your listings.
- Background and text colors should differ sharply (e.g., black on white or white on blue)
- Use neutral backgrounds with bold-colored lettering for legibility
- Avoid too many colors; limit to 2, 3 per sign for clarity
- Reserve bright accent colors for arrows or call-to-action elements
- Test your sign colors outdoors at different daylight times before printing
Consistent color contrast makes your sign readable under various weather and lighting conditions, ensuring more prospective buyers see it clearly.
Optimal Sign Dimensions and Placement Height
Size your open house sign so it’s easily readable by drivers traveling 25 mph or faster. A common yard sign dimension is 24 by 18 inches, which balances visibility and cost. For busy intersections or streets with fast traffic, larger signs or feather banners (6 to 10 feet tall) can boost visibility.
Place signs between 3 to 5 feet above ground level to keep text in the normal sight lines of pedestrians and drivers. Signs too low risk being hidden by grass or parked cars.
Use directional arrows on all signs to guide visitors smoothly. Ensure the layout leaves enough white space around text so letters don’t blend together.
- Standard yard signs: 24″ x 18″ size; feather banners for high traffic
- Text headline letters: 3, 4” minimum height
- Sign mounting height: 3, 5 feet off the ground
- Place signs within 2, 3 blocks of the listing and at all major turns
- Maintain consistent font and color scheme across all signs in the chain
Following these size and placement recommendations helps ensure your open house signs attract more eyeballs, even at a distance or from a moving car.
How to Plan the Placement and Quantity of Open House Signs
Using the right number of signs and placing them strategically can make a significant difference in attracting visitors to your open house. You generally need between five and ten signs to cover the route effectively while avoiding clutter. Two large signs work best at primary locations like the main road and the immediate street of the property. Smaller directional signs with clear arrows should guide visitors at every key turn. Directional signs spaced about 100 to 200 feet apart work well in residential areas to keep the route clear and easy to follow. Proper placement helps prevent confusion, reduces missed turns, and increases foot traffic.
Follow this step-by-step plan to position your open house signs for maximum impact. The goal is to create a clear path from the busiest roads to your listing, ensuring each sign is visible to drivers making decisions about where to turn next.
- Identify main traffic points: Locate your property, the main road that leads to it, and all intersections or turns along the route. These are your key sign locations.
- Place two large signs: Set one large sign at the main road entrance or busiest cross street that brings people in from the closest highway or arterial road. Place the second near the street closest to your home to catch local drivers’ attention.
- Add directional signs at every turn: Position smaller signs with bold arrows about 100 to 200 feet before each turn, so visitors can spot them early and safely adjust their route.
- Use consistent design and arrow styles: Ensure all directional signs feature matching arrows and fonts to reduce confusion and reinforce that the signs belong to your open house.
- Double-check line of sight and visibility: Mount signs high enough above hedges or parked cars and angle them toward the oncoming traffic for easy viewing. Avoid obscure locations or spots blocked by foliage.
- Include a final sign at the driveway or front yard: Mark the exact location of the open house to confirm visitors have arrived. This sign can be slightly larger to signal the finish line.
- Plan for removal: Arrange to take down all signs immediately after the open house ends to comply with local ordinances and avoid fines.
An illustrated example would show a main road with a large sign placed near a stoplight, followed by smaller arrow signs spaced roughly every 150 feet leading right or left turns through neighborhoods. The last sign stands at the curb of the open house itself. Keeping signs too close together risks visual clutter, and too far apart can lose visitors on the way. Following this spacing guide ensures clear, professional guidance while maximizing your event’s visibility.
When and How to Include Contact Info Without Cluttering Signs
Including contact information on your open house sign boosts inquiries but requires balance to avoid clutter. Your goal is to make it easy for potential buyers to reach you without overwhelming the sign’s primary message. A good rule is to feature either a phone number or a QR code, but not both in a way that competes with your “OPEN HOUSE” headline or directional arrow.
Agent photos can personalize the sign, making it relatable and increasing trust. However, photos should only be used when they fit the sign size without crowding essential elements. On smaller yard panels (around 24 inches by 18 inches), skip the photo to keep text legible from a distance. On larger panels or freestanding signs, a small, clear headshot, about 3 inches square, placed in a lower corner maintains visual balance without clutter.
Deciding between a phone number and a QR code depends on your location and audience. Phone numbers guarantee immediate contact for those who prefer calling or texting. QR codes connect visitors to your digital landing page or listing, offering detailed info without clutter. A QR code about 1 inch square positioned in the corner avoids competing with other text. In neighborhoods with tech-savvy buyers, QR codes can increase digital engagement, while areas with older demographics might respond better to a visible phone number.
A common and effective sign layout places the “OPEN HOUSE” headline and arrow prominently at the top half of the sign. Below, you can add the agent’s name aligned left and either a phone number or QR code on the opposite side, keeping each element at least 3 inches apart for clarity. Avoid stacking too many details in one area. Including the brokerage name is often a legal or brand requirement but place it discreetly at the bottom or along the edge in smaller type.
Overloading signs with contact information diminishes readability and effectiveness. Signs crowded with agent names, photos, multiple phone numbers, multiple QR codes, and office addresses confuse potential buyers and reduce quick comprehension. Instead, focus on essential contact info that prompts immediate action. You can supplement signage with table flyers or digital channels that carry more extensive details.
Costs vary by sign provider and size but expect a standard open house sign with your contact info to start around $12 to $21, depending on shipping and customization. Adding a QR code is low-cost if you generate it yourself online. Agent photos on signs might increase design complexity, possibly raising production costs if professional graphics are required.
Good results look like increased direct inquiries or scanning rates without distracting from the event’s purpose. Signs lacking clear contact info or visually cluttered tend to be ignored or fail to capture leads. Local sign codes also affect your options, some areas limit the number or size of signs, influencing how much info you can include. Always verify rules before finalizing your signage plan.
Put only one direct contact method on your sign, either a clear phone number or a scannable QR code, to keep messaging clear and encourage more inquiries.
Regulations and Common Restrictions on Open House Signs
Local laws and homeowners association (HOA) rules often set clear boundaries on what you can put on your open house signs. These rules matter because noncompliance can lead to fines, removal of your signage, or a poor impression with potential buyers. Typically, cities and counties limit sign size, placement, and timing to prevent visual clutter and maintain safety on public roads.
Local rules often require open house signs to fit within specific dimensions, typically around 24 inches wide by 18 inches tall. In many locations, signs off the property, such as A-frame boards, are restricted to roughly 3 feet in height and face areas between 4 and 6 square feet. Some places do not allow signs on public features like utility poles or medians. There may also be limits on how many signs you can place near busy roads or intersections, and signs must usually be positioned so they are visible from the street without obstructing sidewalks or driveways.
Permit requirements depend on the jurisdiction. Many cities and counties do not require a permit for temporary open house signs as long as they meet size and placement rules. However, HOAs frequently have their own approval processes and stricter standards. Failing to get HOA approval can result in sign removal or penalties, so review your association’s signage guidelines before setting up signs.
Timing restrictions often dictate when you can place signs and how quickly you must remove them. A common rule limits sign placement to daylight hours only and requires removal immediately after the open house ends. You may need to put signs out no earlier than the morning of the event and remove them before dusk. Quick removal helps avoid clutter, reduces neighborhood complaints, and keeps your marketing professional.
Before placing any open house signs, use a regulation checklist: verify sign size limits (often around 3 feet tall and 4-6 square feet per side), identify allowable locations (off private property but not on medians or utility poles), confirm timing rules (use during daylight hours, removal same day), and check if agent presence is required during the open house. Confirm whether a permit or HOA approval is necessary, request it in advance if so.
Compliance tips include selecting signage materials that meet HOA rules and local ordinances to avoid last-minute replacements. Check city or county websites for sign codes or call planning departments to clarify confusing rules. Place your signs just off the roadway but within allowed zones to maximize visibility without breaking laws. Keeping a mental or physical record of your sign deployment schedule ensures timely removal and prevents fines or complaints.
Common Sign Mistakes and How to Fix Them
Open house signs often fail because they try to say too much at once. Overloading a sign with long sentences, multiple phone numbers, or excessive details like neighborhood history makes it hard for potential visitors to quickly understand it’s an open house and when to visit. Keep text concise, focusing on the property’s address, “Open House,” and clearly stated date and time. Excess information can be saved for brochures or your website.
Poor color choices and font selections also reduce readability. Signs with low contrast, such as dark blue text on a black background or red text on brown, force drivers to squint or ignore the sign altogether. Using fonts that are too ornate or too thin complicates reading from a distance. Stick to bold, simple sans-serif fonts like Helvetica or Arial, with high-contrast colors such as white text on a dark background or black on bright yellow. Aim for at least 2-inch tall letters for the address and 1.5-inch for the “Open House” text to ensure visibility from 50 feet away, where cars typically slow down.
Improper placement frequently causes confusion or missed opportunities. Signs placed too far from the property, hidden behind bushes, or inside private driveways don’t guide visitors correctly. Parking lot signs can be missed if they’re not near main roads or at clear decision points like intersections. Use a layered system, a combination of directional signs, street corner arrows, and yard signs at the property itself. Place signs about 3 to 5 feet off the ground so they’re easily seen by drivers and pedestrians alike.
- Remove excessive text, sticking to essential info only: address, “Open House,” date, time.
- Use simple, bold fonts with high-contrast colors to boost legibility.
- Place signs within clear sightlines, near road intersections and property entrances.
- Maintain at least 2-inch tall letters for main text, adjust size based on expected viewing distance.
- Ensure signs are clean and upright, free from fading or damage before the event.
- Avoid cluttering signs by limiting contact info to a single phone number or URL when necessary.
- Include directional arrows only if they clearly lead visitors without causing second guesses.
Before and after shots provide the clearest illustration of these fixes. A sign overloaded with multiple contact numbers and dense text can be trimmed to bold “OPEN HOUSE,” the street number in large font, and a concise date and time beneath. For example, a sign first showing a red script font on a dark green background switched to black text on bright yellow with a basic Arial font increased foot traffic by making the event easier to spot and understand in passing.
Quick corrections might take just 10 to 20 minutes and cost only a few dollars if you adjust an existing sign’s layout on a computer before printing. Signs that follow these guidelines help turn passing drivers into visitors, avoiding the common mishap of ignoring unclear or confusing signage.
How to Create a Consistent Branding System Across All Signs
Consistency in fonts, colors, and graphics across all your open house signs builds brand recognition and instills confidence in visitors. When every sign echoes the same visual identity, it reinforces your professionalism and helps potential buyers trust your services even before they speak with you. This consistent look also creates a mini navigation system that guides people efficiently from the street to the property.
Start by preparing a font and color style guide that spells out exactly which fonts and colors you will use on every sign. Choose one or two easy-to-read fonts, such as a clean sans serif for headlines and a simple serif or sans serif for body text. Pick your brand’s primary and secondary colors and specify their exact shades using HEX or Pantone codes to avoid inconsistencies across printed and digital formats. This guide should be shared with your sign vendors or anyone designing materials, so they replicate your style perfectly.
Adding your logo in the same position across all signs helps visitors instantly recognize your brand. Use graphics sparingly to avoid clutter; focus on key branding elements such as your logo, a consistent icon or symbol, and your chosen color background or borders. Too many visuals or bright contrasting elements can distract visitors and dilute your brand message.
Maintain a branding checklist that includes your approved fonts, colors, logo usage rules, sizing guidelines, and spacing requirements. For example, ensure your logo never drops below 2 inches wide on signs to keep it legible from a distance. Avoid mixing fonts or introducing new colors for different sign types. This checklist will prevent costly reprints and maintain a polished professional image.
Design contracts for custom signage often cost between $50 and $200 per sign, plus printing fees that range widely based on size and material. Investing upfront in a style guide and quality signs pays off because it prevents confusion and increases visitor trust, making your open house marketing more effective.
Good results show when buyers easily spot your signs in different neighborhoods and quickly associate the style and colors with your brand. This leads to more open house attendees and, eventually, more offers. Inconsistent signage can confuse potential buyers or make your marketing look amateur, causing missed opportunities.
Different situations may require slight adaptations; for example, directional signs can be simpler but still use the same colors and font families. Larger signs can feature more graphical elements than small directional stakes, but all should feel unified. A digital version of your style guide helps keep everyone on the same page when you hire new designers or make changes.
Use a branding checklist to verify each sign matches your defined fonts, colors, and logo placement before ordering to avoid last-minute redesigns and inconsistent appearance.
Creative Open House Signs and Alternative Marketing Ideas
Unique signage ideas can catch the eye and make your open house stand out. Repurposing everyday objects into signs adds charm, while combining physical signs with printed flyers and digital posts creates a consistent, multi-channel marketing push. Feather banners and vinyl banners serve well in heavy-traffic areas where yard signs might be overlooked, though they come with higher costs.
Using Everyday Objects for Signs
Using unconventional objects as signs increases curiosity and draws attention in residential neighborhoods. Old wooden crates or pallets painted with “Open House This Way” can be placed along sidewalks. Repurpose vintage ladders by hanging directional arrows or flyers from the rungs. Chalkboard signs mounted on easels offer a customizable option that invites handwritten messages or updates about open house times.
These alternatives also allow you to reuse materials from other home staging projects or find low-cost options at thrift stores. While weather resistance is lower than corrugated plastic yard signs, placing these objects in covered or sheltered spots mitigates problems like rain or wind damage. Expect to spend $20 to $50 on supplies for DIY objects versus $15 to $30 for a basic yard sign.
Pairing Physical Signs with Flyers
Combining yard signs with matching flyer distribution expands your reach. Attach small, clear pouches with flyers to signs or place stacks near entry points to the neighborhood. Coordinate design elements like logo, colors, and fonts between signs and flyers to build visual recognition. Flyers should include more detailed information than signs, such as interior photos, floor plans, or agent contact info. Flyers can be handed out door-to-door in adjoining streets or placed at community hubs. Include a clear call to action, for example:
“Visit the Open House Sunday, 1, 4 PM. Scan the QR code or call (555) 123-4567 for details.”
This script encourages interaction beyond quick sign viewing, making the flyer a bridge to further engagement.
- Hang flyers in sealed pockets on yard signs
- Distribute flyers at nearby businesses and coffee shops
- Use color-coordinated graphics between flyers and signs
- Include clear open house times, directions, and contact info
- Print flyers on sturdy paper to withstand outdoor display
- Offer digital flyer versions via QR codes on signs
Keep in mind that flyer printing costs typically range from $0.10 to $0.50 per piece, depending on volume and paper quality. Budget this alongside sign production for total marketing spend.
Digital Sign Promotion and QR Code Integration
Physical signs double as digital assets when paired with social media posts and online ads. Upload photos of your yard signs placed at strategic spots to your socials and real estate listing pages. Use the same branding and message for consistency across platforms. Embedding QR codes on open house signs links directly to listing pages or virtual tours, offering instant access to detailed information.
Feather banners and tall vinyl banners work best on busy arterial roads where they can compete with visual clutter. Feather banners cost between $100 and $200 each but stand out due to their height and movement in the wind. Vinyl banners offer durability and flexibility for repeated use over the entire listing duration, often costing $150 to $300 depending on size and printing details.
A cost-benefit analysis should consider local foot and vehicle traffic. Arterial signage typically yields higher visibility but has upfront costs. Smaller, inexpensive yard signs paired with digital outreach reduce initial spending but may not attract drive-by traffic at high volume.
Step-by-Step Setup and Removal Process for Open House Signs
Setting up open house signs at the right time and removing them promptly is key to effective promotion and compliance with local regulations. Usually, signs should be placed on the morning of the open house or at the latest the evening before, especially if your event starts early. This timing ensures visible, fresh signage that attracts potential visitors without encouraging late-night traffic or trespassing.
During the open house, check that your signs remain upright, visible, and clean. Weather conditions like wind or rain can cause signs to fall or become unreadable, deterring visitors. A quick walk-through every hour or two can safeguard your investment and maintain a professional appearance.
Removing signs immediately after your open house closes prevents fines or complaints from neighbors and local officials. Many cities have strict rules about how long open house signs can remain on public or private property, often requiring removal within hours or by the end of day. Here is a practical timeline and step-by-step process for sign setup, monitoring, and removal:
- Place signs 2-4 hours before the event start time. Start by positioning your primary sign at the property entrance, then place directional signs at nearby intersections. This timing balances visibility with preventing unauthorized late visits.
- Secure signs firmly in the ground or on stable posts. Use stakes or weighted bases to avoid tipping. Check that lettering faces oncoming traffic for maximum impact.
- Inspect signs hourly during the open house. Reposition any fallen or blocked signs. Wipe dirt or water droplets off sign surfaces for continual readability. Delegate this task if you have help.
- Remove signs within 1 hour after closing the open house. Collect all signage, including directional arrows, to avoid any left behind. Prompt removal minimizes local violations and prevents confusion about ongoing events.
- Dispose or store signs carefully. Clean any mud or debris off signs before storage. Store in a dry, flat location to maintain sign condition for future use.
This process usually takes less than 30 minutes for setup and removal each if you plan ahead and use a checklist. Adding a reminder on your calendar or phone can help keep your timing on track. Failing to remove signs timely can result in fines around $50 to $200 depending on local rules, according to typical municipal code enforcement data.
Adjust placement based on weather and neighborhood layout. For open houses in busy urban areas, placing signs slightly earlier may be necessary to compete with traffic. In quiet neighborhoods, a tighter schedule reduces risk of complaints.
Step-by-Step Action Plan for Your Open House Signs
Follow this plan to create effective open house signs that attract visitors and guide them clearly to your property.
- One week before the open house: Design your signs including essential info like property address, date, and time. Verify readability by viewing from 15 feet away.
- Five days before: Choose sign types and sizes based on location, such as directional arrows for busy intersections. Confirm you comply with local sign regulations.
- Three days before: Print and prepare your signs, ensuring consistent branding elements like logo and colors are uniform across all signs.
- Day before: Map out the placement plan for sign locations along main routes to the property. Check visibility and make adjustments as needed.
- Early morning of open house: Set up all signs following your mapped plan, placing them securely. Test visibility from various points to confirm they can be easily seen.
- During the open house: Monitor signs periodically and adjust if any are obstructed or damaged. Use creative, attention-getting signs near the property entrance if visitor flow is low.
- After the open house: Remove all signs promptly to comply with regulations and maintain neighborhood goodwill.
Frequently Asked Questions
What Font Size Should I Use for the Main “OPEN HOUSE” Text?
Use the largest font size on the sign for “OPEN HOUSE” to grab attention from a distance. This makes sure passersby quickly understand the purpose of the sign without having to stop or strain their eyes.
Can I Include a QR Code on My Open House Sign?
Yes, including a QR code on yard signs can connect visitors to online listings or contact info. Place it clearly, usually near the house number, so people can easily scan it without cluttering the sign.
Should Colors on Open House Signs Match the Property’s Style?
Colors don’t have to match the property but should maintain readability and brand consistency. Use contrasting colors so text stands out, helping your signs catch the eye on busy streets or neighborhoods.
What Is the Ideal Size for Directional Open House Signs?
Directional signs usually measure around 12×18 inches, known as bandit signs. Their smaller size and affordable cost make them perfect for guiding traffic through neighborhoods to your listing.
How Can I Make My Open House Sign More Personable?
Adding a name and a photo of the agent helps create a personal connection with potential buyers. It builds trust and lets visitors know who to contact during or after the open house.
Can an Open House Sign Include Event Details Like Time and Date?
Yes, the main sign commonly includes “OPEN HOUSE” plus the day and time, like “SAT 2-5 PM.” Clear event details encourage timely visits and reduce confusion.
The Bottom Line
Clear, well-designed open house signs with the right information guide visitors smoothly and increase attendance. Start by crafting a sign layout that highlights essential details and fits local rules. Your next move is to finalize your sign designs today and schedule their placement to maximize your open house turnout.