Post and Panel Sign Ideas: Custom Designs and Durable Materials That Work
Post and panel sign ideas can solve your need for clear, durable, and cost-effective outdoor signage. These signs work well by mounting a display panel between two sturdy posts, creating a visible, professional message near your property edge. Start by choosing materials and designs that balance budget, longevity, and the style that fits your location.
Key Takeaways
- Choose powder-coated steel posts to resist rust and extend your sign’s outdoor lifespan.
- Use aluminum or Dibond panels with premium coatings to keep colors vibrant for over 10 years.
- Consider sandblasted cedar panels up to 7 inches thick for a natural, upscale appearance.
- Pick PVC post sleeves and hardware kits for a fast, economical sign installation.
- Select single-post systems for smaller signs and double-post for added stability and size support.
- Plan sign size around your message visibility and allowable zoning dimensions on your property.
What Are Post and Panel Signs and How Do They Work?
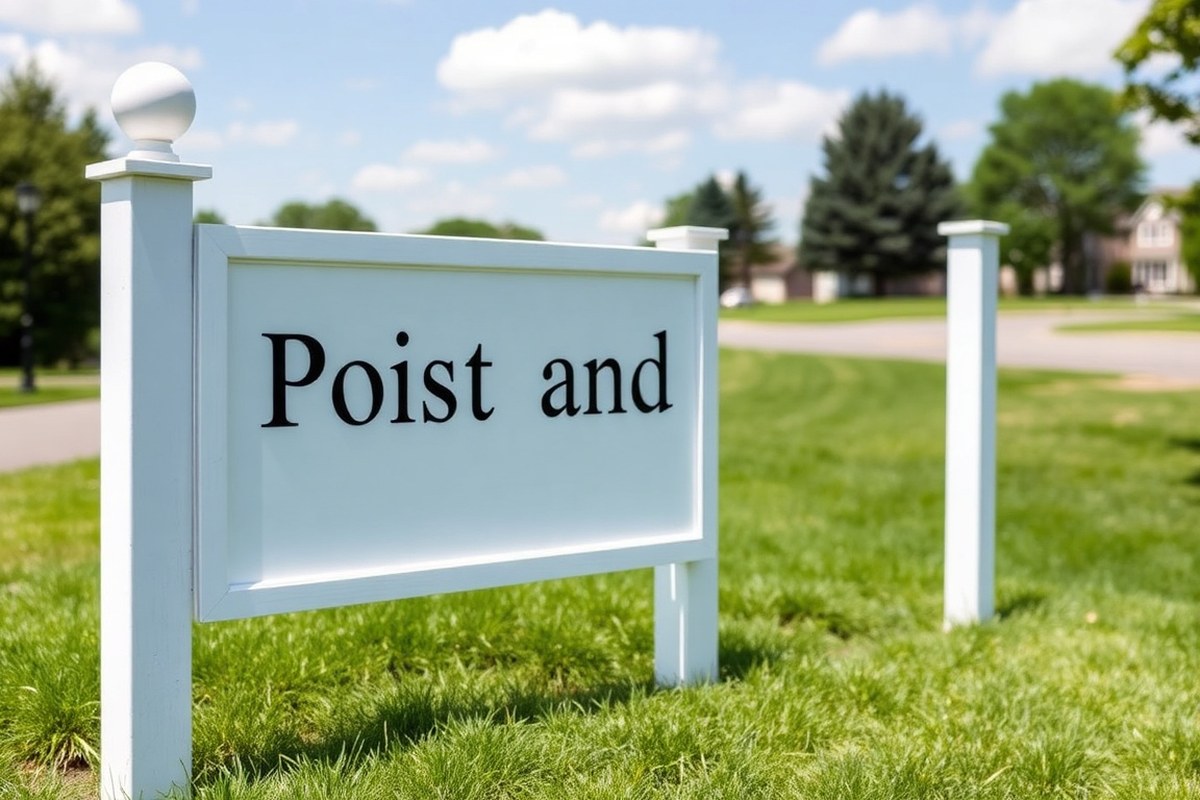
Post and panel signs consist of one or more flat panels that are attached to sturdy posts or poles installed into the ground. These signs serve as a durable frame to hold the message panels securely at a visible height. The posts are usually made from materials such as powder-coated steel or wood, providing long-term outdoor resistance against rust, fading, and weather damage. The panels fit between or are bolted onto the posts using brackets, screws, or an adjustable band bracket assembly, ensuring they stay aligned and steady even in wind or rain.
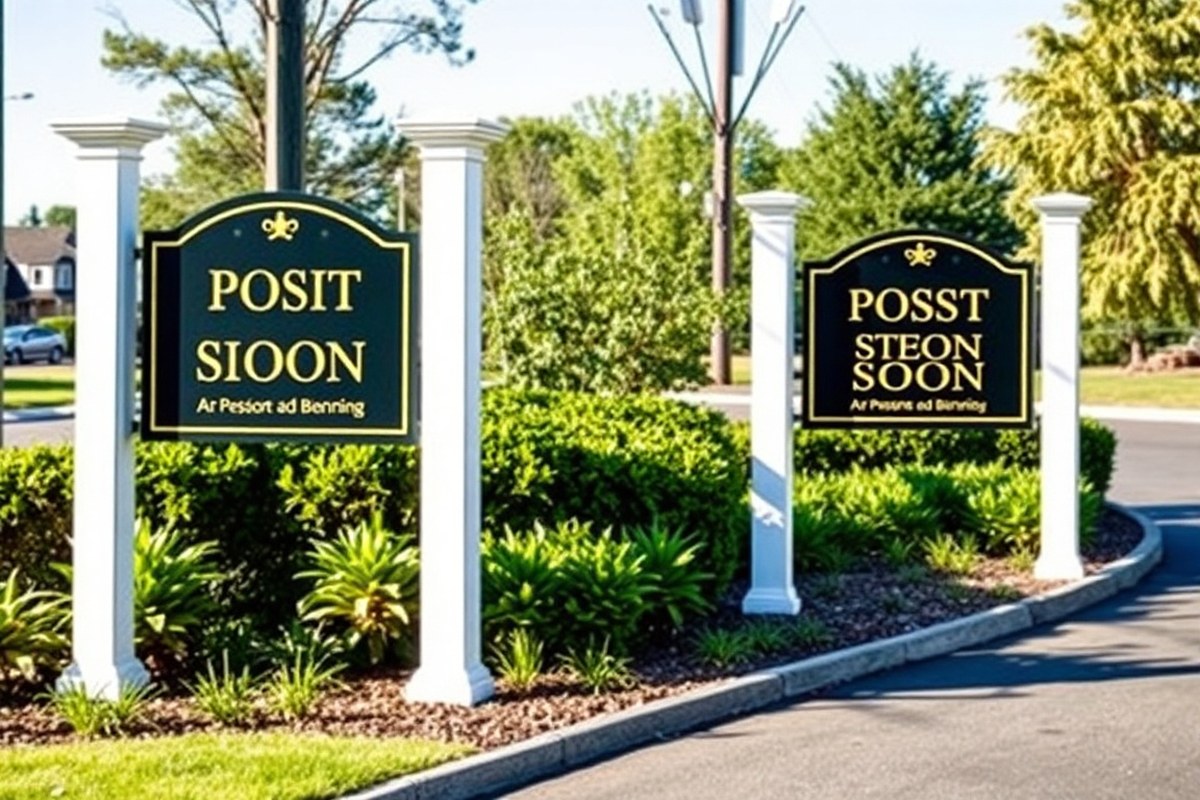
This sign structure creates a clean, framed visual effect that clearly separates your message from surrounding elements. Often installed near property edges, post and panel signs act like a framed canvas that draws attention without being overpowering. The posts on either side give a classic, symmetrical look that defines the space around the signage panel, helping to highlight the text, graphics, or logos displayed. You can choose stationary signs for permanent placement or opt for swinging panels attached with hardware that allows motion to attract attention.
The basic setup usually includes two vertical posts anchored firmly into the ground and one or more horizontal panels mounted between them. These panels may be made of materials like PVC, aluminum, alumalite, or specialized composite boards, depending on the level of durability and weather resistance needed. PVC panels often provide a budget-friendly option, while aluminum and composite materials offer longer-lasting protection with weatherproof coatings rated for 10 years or more. Installation requires setting the posts in concrete or with a ground sleeve system for stability, followed by mounting the panels using brackets or bands designed for easy adjustment or replacement.
Using post and panel signs works well for clear and professional outdoor messaging, typically for commercial properties, real estate signs, parking instructions, or wayfinding on campuses. The design flexibility allows you to display anything from simple business names and addresses to full-color graphics and even digital displays. This signage type keeps the message highly visible at eye level or slightly higher, making it easy to read from a distance. Most important, post and panel signs offer an affordable yet attractive way to identify your property or communicate key information without the cost or complexity of monument or pylon signs.
Popular Materials for Post and Panel Signs Compared
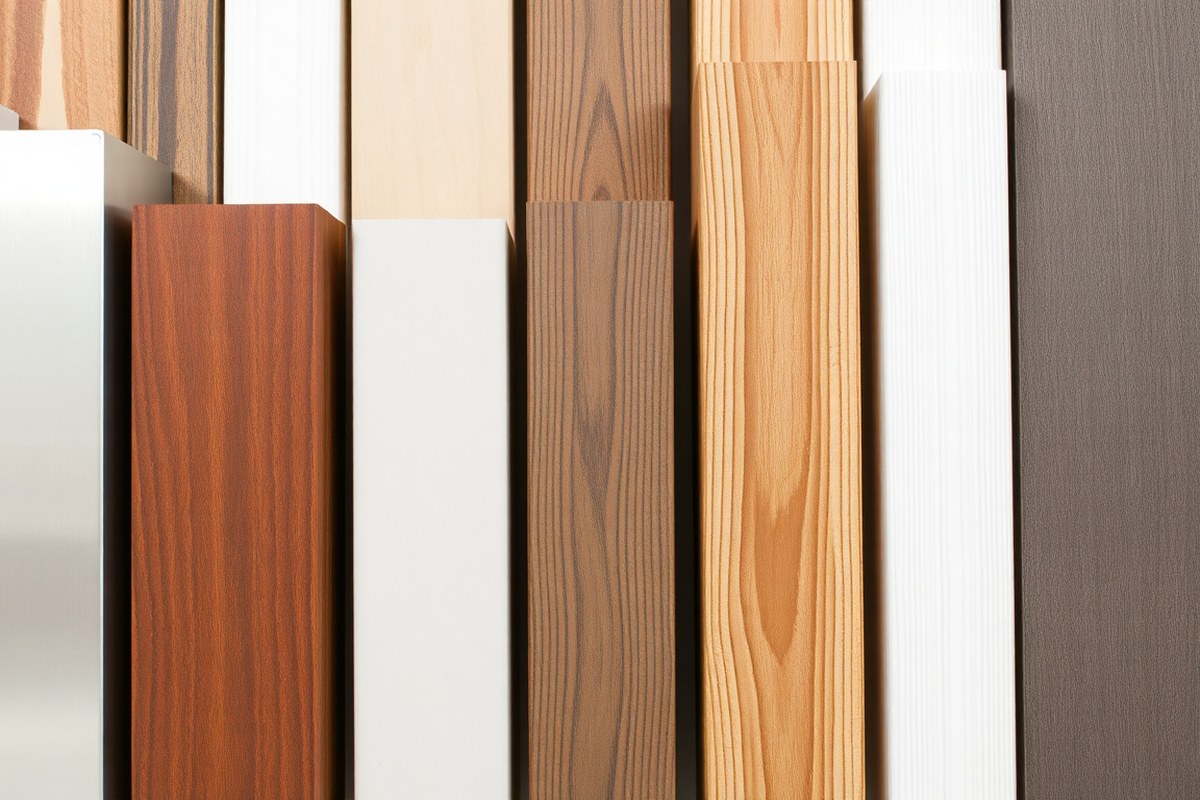
Choosing the right material for your post and panel sign affects its durability, appearance, weather resistance, and overall cost. Aluminum, PVC, wood, and composite panels each bring different strengths and trade-offs depending on your project’s needs and environment. Understanding these can help you pick the best fit for your business and outdoor conditions.
Aluminum signs offer a modern look with strong all-weather durability, making them ideal for permanent wayfinding signs or commercial developments. They resist rust and fading, lasting several years with minimal maintenance. PVC is a budget-friendly alternative that still handles weather well, especially when paired with painted wood posts to add an upscale appearance without the higher metal cost. Wood posts and panels provide a traditional, natural look but typically require more upkeep and don’t withstand harsh weather as long as synthetic materials. Composite panels combine materials to achieve specific effects, such as improve durability or customizable finishes.
| Material | Durability | Weather Resistance | Typical Cost | Appearance |
|---|---|---|---|---|
| Aluminum | High (rust-resistant, lasts 5+ years) | Excellent (handles rain, sun, snow) | $$ to $$$ (mid to higher range) | Modern, sleek, professional |
| PVC | Moderate to High | Good (resists moisture, UV-treated available) | $ to $$ (budget-friendly) | Smooth, clean, can mimic other materials |
| Wood | Moderate (requires sealants, repainting) | Fair (prone to rot, fading without care) | $ to $$ (material varies) | Traditional, upscale when painted |
| Composite Panels | High | Good to Excellent (depends on composite type) | $$ | Customizable, blend of finishes |
When cost is the main concern and you want a clean professional look, PVC posts and panels combined with painted wood offer a good compromise. For locations where weather exposure is intense or permanent signage is needed, aluminum remains the best option for longevity and minimal maintenance. Wood suits properties aiming for a classic or rustic image but plan on periodic sealing or repainting every 1 to 3 years to keep it protected. Composite materials serve commercial uses requiring specific aesthetics and durability, such as multi-tenant directories that might be updated frequently.
Tip: Use UV-resistant finishes on PVC and aluminum signs to extend color longevity, especially in full sun environments.
Customization Options: Design, Size, and Shape
Post and panel signs offer extensive customization options in design, size, and shape, allowing you to create signage that fits your brand and property well. You can choose from various colors, fonts, graphics, and additional features like lighting to improve visibility. Many sign providers also offer panel replacement options, making it easier to update your sign without a full replacement.
Designing the Panel Graphics
The panel of your post and panel sign can display nearly any design, artwork, photo, or logo. This flexibility lets you incorporate your business’s branding with custom fonts, colors, and graphic elements that align with your marketing strategy. Using high-quality digital printing technology ensures vibrant colors and sharp images, which improve the visual impact of your sign on passersby.
Consider including your company logo, a clear message, and any regulatory or directional information needed. Keep the design simple and readable from a distance, with contrasting colors and clean fonts. Many suppliers provide design templates or galleries to help you visualize your sign before production.
Choosing Sign Dimensions
You can select from a wide range of sizes for your sign to suit your site and budget. Typical post and panel sign sizes range up to 48 inches by 60 inches for the panel, with post heights adjusted accordingly for visibility. The maximum panel size often depends on the thickness and materials used because larger signs require thicker panels and stronger posts to remain stable.
Post sizes such as 2-1/4 inches square posts are common for mid-sized panels up to 20 square feet, offering a balance between durability and cost. Smaller signs work well for directional or temporary notices, while larger panels create a strong presence for commercial properties or real estate developments.
- Panel size options typically range from 24” x 36” up to 48” x 60”
- Post height can vary, usually from 3 to 6 feet for optimal eye-level viewing
- Panel thickness increases with size to maintain rigidity
- Custom shapes like rounded corners or cutouts are available for branding
- Colors are fully customizable to match your branding palette
Choosing the right size improves both recognition and durability, so discuss your location and budget with the sign provider to get the best fit.
Incorporating Lighting and Effects
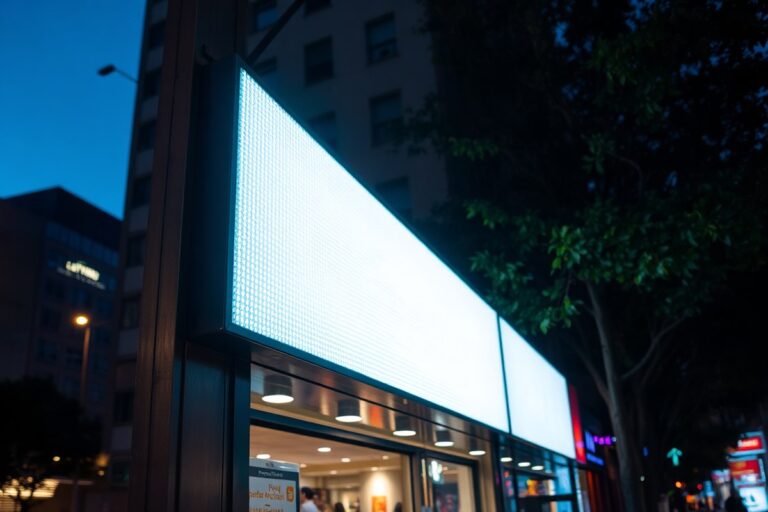
Adding lighting to your post and panel sign improves visibility during low-light conditions and improve curb appeal. Options include solar-powered lights, LED strips, or external spotlights mounted above or below the sign. Choose lighting that fits your property layout and power availability.
Some signs can incorporate backlighting or halo effects directly behind the panel for a more dramatic and professional look. These options usually require premium-grade materials and a slightly higher budget but provide excellent 24/7 visibility. Always ensure that lighting complies with local ordinances regarding brightness and placement.
Options for Panel Replacement
Post and panel systems are designed with maintenance in mind, especially for situations like real estate where messaging changes frequently. Many signs feature removable panels or inserts that slide or bolt into the posts. This means you can update the sign’s content without replacing the entire structure.
Panel replacement typically requires only basic tools and takes about 15-30 minutes, depending on the design. Ordering additional panels in advance allows you to swap out messages quickly, reducing downtime. Keep in mind that replacement panels should match the original size and mounting style to fit properly and maintain sign stability.
Common Uses and Applications for Post and Panel Signs
Post and panel signs often mark business entrances, parking areas, and property boundaries, making them highly visible along sidewalks, roadsides, and building perimeters. Commercial properties like strip malls and business parks use these signs near main driveways or walkways where customers first look for direction or identification. Large outdoor spaces such as healthcare campuses, schools, and stadiums benefit from post and panel signs placed at key decision points to guide visitors efficiently through sprawling grounds. These locations need clear wayfinding to prevent confusion or delays, which the signs provide with their sturdy double-post construction and ample display area.
The real estate sector is one of the biggest users of post and panel signs. These signs display property listings, agent information, or development branding outside residential subdivisions, apartment complexes, or commercial projects. Real estate signs often feature bold colors and full-color graphics to capture attention from passing drivers. They can be large for high visibility but remain cost-effective compared to monument signs. Because property details or availability change frequently, some post and panel signs use interchangeable panels or slots for inserts, allowing updates without reinstalling the entire unit. This feature works well for Realtor open house signs and construction project updates.
Construction sites commonly use post and panel signs as temporary markers to identify the project, contractor, safety rules, and schedule information. Economical materials like MDO plywood fit temporary needs, and quick installation supports the frequent changes typical on building sites. After construction completes, signs can be removed or repurposed elsewhere. This flexibility makes them a popular choice for contractors and project managers who require clear, up-to-date communication on site. For example, changing weather conditions or project phases may require signage updates several times during a build.
Wayfinding is the most common use for post and panel signs on large properties. Healthcare facilities with multiple buildings use them to direct patients and visitors to parking, entrances, or departments. Schools rely on these signs near athletic fields or parking lots to prevent congestion during events. Stadiums and event centers place post and panel signs at outer lots and entrances to guide traffic flow and visitor movement. The double-post design helps maintain visibility even in windy conditions, and the signs typically include clear, legible fonts sized for drivers. Single post versions offer a simpler, space-saving option for smaller directional needs or parking signage, like marking accessible spaces or visitor lots.
Post and panel signs also provide consistent branding and informational messages at commercial locations. They frequently show business names, logos, office directories, hours of operation, or parking rules. Adding a panel with removable letters or clips allows swapping messages such as seasonal hours or event notices without fabricating new signs. For instance, visitor information signs may illustrate entry policies or safety instructions that change periodically. These applications work well in retail centers, office parks, and public facilities. The typical costs for a durable, custom post and panel sign installation range from several hundred to a few thousand dollars, depending on size, material, and complexity, but the investment improve visitor experience and reduces confusion.
Installation: DIY Tips and When to Hire Professionals
Installing a post and panel sign involves precise site preparation, having the right tools, and following a step-by-step procedure to ensure stability and visibility. The difficulty depends on factors like soil type, sign size, and local regulations. Simple signs can be a DIY project with some effort, but complex or large installations often require professional help to guarantee durability and compliance.
Preparing the Site
Selecting and preparing the installation site is key to the sign’s longevity and visibility. Choose a level area free of underground utilities by calling local utility locating services before digging. Clear debris, rocks, or roots to create a smooth surface where the posts will go. Ensure the site has good visibility from the intended viewing angle and access remains unobstructed.
Soil composition affects how deep posts must be set; denser soil allows shallower holes, while sandy or loose soil requires deeper holes for stability. Typical post depth ranges from 2 to 3 feet below ground level to withstand wind load and weather conditions. Confirm local zoning or sign permit requirements that may dictate installation specifics.
Tools and Materials Needed
Preparation involves gathering essential tools and materials to complete the installation efficiently and safely. The list includes:
- Post hole digger or auger
- Level and measuring tape
- Shovel and tamper for backfilling
- Concrete mix to secure posts
- Wrenches or power drill for fastening
- Protective gloves and safety glasses
- Marking paint for positioning
For larger signs, heavy equipment may be necessary to move panels or posts safely. Always have a helper when handling heavy materials to avoid injury and maintain precise alignment.
Step-by-Step Installation Process
Following a clear plan helps complete the project accurately and efficiently. The procedure below assumes a standard wooden or metal post and panel sign:
- Measure and mark the exact location for each post using marking paint, confirming distances and alignment.
- Dig holes 2 to 3 feet deep depending on soil type and sign height, typically about 10 to 12 inches in diameter.
- Position posts vertically in the holes, using a level to ensure they are perfectly upright.
- Pour concrete mix into each hole around the posts and tamp down soil above to secure them, allowing 24 to 48 hours for curing.
- Attach the panel to posts using bolts or brackets, tightening securely to prevent rattle and movement.
- Check level and alignment again, making final adjustments while the concrete is still workable if necessary.
- Clean up the site, removing excess materials and smoothing disturbed ground.
Never skip the curing period for concrete; premature attachment can weaken the sign’s stability.
Professional Installation Benefits
Choosing a professional installer can save time and reduce risks, especially if local permits, building codes, or difficult terrain are involved. Professionals bring specialized equipment, experience with soil conditions, and knowledge of best practices that increase the sign’s lifespan under outdoor conditions.
Work with professionals when signs are large, located on busy roadways, or must meet strict regulatory standards. Installation costs vary based on complexity but can range from a few hundred dollars to over a thousand, depending on size and site challenges. Investing in experts helps avoid costly repairs, compliance issues, or safety hazards from incorrect installation.
Choosing Single vs Double Post Systems: Stability and Style
Single post systems typically involve one post placed at or near the center of the sign panel, which can provide a cleaner look with less visual interruption. These systems suit smaller signs, usually up to around 24 to 30 inches wide, as the single post needs to support the panel evenly without bending or swaying. The single post option is less expensive and uses less material, making installation quicker and more straightforward.
Double post systems use two vertical posts set on either side of the sign panel. This arrangement offers greater stability, especially for larger or heavier signs that measure over 36 inches wide. The two posts distribute the weight more effectively, reducing the chance of wind damage or structural wear. Double post signs allow for larger or uniquely shaped panels and are common in commercial settings where visibility from a distance and durability are priorities.
Each system affects visibility and style differently. Single post signs often look more modern or minimal, while double post signs signal permanence and boldness. Double post systems can host larger fonts and graphics without sagging, improving sign readability from various angles.
| Feature | Single Post System | Double Post System |
|---|---|---|
| Typical Size Limit | Up to 30 inches wide | Over 36 inches wide |
| Stability | Moderate, risk of sway in high winds | High, more resistant to wind and weight |
| Cost | Lower, fewer materials and faster install | Higher, requires more posts and hardware |
| Aesthetic Style | Clean, minimal, modern look | Bold, traditional, professional |
| Common Applications | Small directional, real estate, or business ID signs | Large commercial signs, wayfinding, directory signs |
| Visibility Impact | Better for compact signs close to path | Better for large signs needing distance clarity |
Choosing between single and double post systems depends largely on your sign’s size, location, and purpose. Use a single post for smaller panels that face foot traffic or limited vehicle speeds to save on cost and maintain a streamlined look. Opt for double posts when your sign is large, typically over 3 feet wide, or exposed to strong winds and heavier traffic, where structural support is non-negotiable.
This decision rule can be stated simply: select one post if your panel is smaller than 30 inches wide and the sign is meant for close-range viewing. Choose two posts for anything larger or in high-exposure outdoor settings to ensure safety and maintain sign integrity. Installing a double post sign often involves digging two post holes at least 24 inches deep and setting the posts in concrete for secure footing. Single post signs require one hole of similar depth but take less time and effort to install.
Maintenance and Upgrades: Keeping Your Sign Visible and Fresh
Maintaining your post and panel sign involves regular cleaning, timely panel replacements, applying protective coatings, and considering upgrades like LED lighting or decorative finishes to keep your sign clear and attractive. Routine care helps your sign resist weather damage and ensures it stays highly visible, supporting your business image effectively.
Routine Cleaning and Inspection
Start maintenance by inspecting the sign monthly, checking for dirt, fading, cracks, or loose hardware. Clean the panels with mild soap and water using a soft cloth or sponge to avoid scratching surfaces. Avoid harsh chemicals, especially on foam-core or painted signs, to prevent damage. For stubborn spots like bird droppings or tree sap, use a plastic scraper gently before washing.
Keep an eye on the posts and fasteners. Tighten bolts or screws to prevent the panel from wobbling. Remove vegetation growing around the base to improve visibility and avoid moisture buildup that can cause wood posts to rot or metal posts to corrode.
Panel Replacement Procedures
Most post and panel signs are designed for quick panel swaps, which is convenient for changes in business information or seasonal updates. Before purchasing a replacement panel, measure your existing sign panel’s dimensions precisely. Typically, panels are attached with screws, bolts, or brackets that are accessible from the front or back. To replace the panel, lay out these steps:
- Gather tools: screwdriver, wrench, and possibly a ladder.
- Loosen and remove fasteners securing the old panel.
- Carefully lift and detach the panel from the posts.
- Align the new panel and secure it using the existing hardware or recommended fasteners.
- Check stability and visibility once reinstalled.
Costs vary depending on material, basic foam-core panels may range from $30 to $80, while high-end carved or metal panels can be several hundred dollars. Timely replacements prevent weather damage and keep your sign professional looking.
Protective Coatings and Weatherproofing
Protective coatings extend the lifespan of your post and panel sign, especially outdoors. Use UV-resistant clear coatings to prevent fading caused by sun exposure. A clear acrylic or polyurethane finish applied every one to two years can safeguard painted or foam-core panels. For wooden posts or panels with carved elements, apply weatherproof sealants that repel water and resist mildew.
Metal posts benefit from rust-inhibiting primers and paints, which cost around $10 to $20 per quart and cover 100 to 150 square feet. Examine your sign annually to identify peeling or cracking coatings, which signal the need for touch-ups. Climate influences coating choice; humid or coastal areas need moisture-resistant products, while sunnier regions prioritize UV protection.
Adding Lighting and Decorative Elements
Integrate lighting to improve nighttime visibility. LED strip lights or solar-powered spotlights mounted on or near the posts create effective illumination without high energy costs. Choose LED options for long lifespans (up to 50,000 hours) and low heat output, limiting damage risks to panels. Installation typically requires a low-voltage power source, but solar options offer simple setups without wiring.
Decorative finishes like metal or natural wood trims, textured paints, or routed foam designs add style and improve branding. These upgrades usually involve professional application to ensure durability. Reflective vinyl overlays are another option, improving visibility in low light without electrical hookups. Budget between $100 and $500 for lighting and finishes depending on materials and complexity.
Design Best Practices to Maximize Impact and Visibility
Choosing the right font and colors for post and panel signs directly affects how easily the message is read. Use sans-serif fonts like Helvetica, Arial, or Futura to ensure clarity from a distance. Avoid script or overly decorative fonts, which can reduce legibility. Text height should follow the rule of thumb: for every 10 feet of viewing distance, use at least 1 inch of letter height. For example, if your sign is meant to be read from 50 feet away, letters should be at least 5 inches tall.
Color contrast helps your sign stand out against its environment. Pair dark text with a light background or vice versa. High contrast combinations such as black on white, yellow on black, or white on blue are effective. Keep the color palette simple, two or three colors maximum, to avoid visual clutter. Align your color choices with your branding so passersby can quickly associate the sign with your business.
Size and placement are critical to visibility. Generally, the panel should be large enough so that the entire message is easily seen within the viewing distance. For directional signs in plazas, malls, or hospital campuses, place signs near entrances, intersections, or decision points where visitors need guidance. Mount the sign at eye level or slightly above (five to seven feet from the ground) for optimal viewing without obstruction.
- Use sans-serif fonts with at least 5-inch letter height for 50 feet distance
- Choose high contrast colors that match your brand identity
- Limit fonts and colors to two or three for clarity
- Place signs at key decision points like entrances and intersections
- Mount signs 5 to 7 feet high for best visibility
- Keep the message brief with essential information only
- Plan for panel swaps to update branding or messages easily
Branding alignment matters because consistent visuals build trust and recognition. Incorporate your logo, brand colors, and fonts consistently across your signage. Avoid overloading the sign with too much text or multiple logos, which can confuse viewers and dilute your message. Simple, focused design highlights your business and directs visitors clearly.
Make sure your signs use high contrast colors and letters at least 1 inch tall per 10 feet of viewing distance to prevent messages from blending into the background.
Common mistakes include using fonts that are too small or ornate, placing signs in low-traffic or obstructed spotlights, and cluttering the panel with excessive information. These errors reduce readability and diminish the sign’s intended impact. Stick with straightforward design, strategic placement, and proper sizing to maximize your signage’s effectiveness and return on investment.
Your First Steps: A Quick-Start Plan for Post and Panel Signs
Start your post and panel sign project with clear priorities and practical steps to ensure a successful outcome.
- Before You Begin: Assess your property and business needs to determine the most effective size and location for your sign. Confirm local regulations allow your proposed sign type. Successful navigation here avoids costly changes later.
- Week 1: Choose your sign material based on durability and appearance preferences; for example, select PVC for budget-friendliness or aluminum for longevity. This choice ensures your sign meets environmental demands.
- Week 2: Design your sign layout focusing on simple, bold fonts and contrasting colors to maximize readability. A quick test by viewing from a distance verifies impact.
- Week 3: Decide between single or double post mounting depending on sign size and desired style. Confirm post spacing and stability to support the sign weight safely.
- Week 4: Arrange for sign fabrication and installation. Consider professional installers if your sign is large or on a busy street to meet safety standards. A properly installed sign becomes immediately effective advertising.
- Month 2: Set up a maintenance schedule including cleaning and inspecting for damage to keep the sign fresh and visible. Early detection of issues reduces replacement costs.
- Ongoing: Monitor foot and vehicle traffic near your sign location to evaluate visibility and adjust the surroundings if needed, such as trimming vegetation or adding lighting.
Frequently Asked Questions
How Do Post and Panel Signs Handle Extreme Weather Conditions?
Post and panel signs made with powder-coated steel or protected aluminum resist rust and damage from harsh weather, lasting 10 years or more. Choosing the right material and coating is key to ensuring your sign holds up outdoors for the long term.
Can I Use Post and Panel Signs for Temporary Events?
Yes, post and panel signs are budget-friendly and often used for short-term needs like construction or real estate events. Their ease of installation and removal makes them practical for temporary promotions or site identification.
What Is the Best Location for Placing Post and Panel Signs on Commercial Property?
Place post and panel signs near property edges or entrances for maximum visibility to passersby. Positioning your sign strategically helps attract the intended audience, like customers or visitors, right as they approach your site.
Are Swinging Post and Panel Signs More Effective Than Stationary Ones?
Swinging post and panel signs can draw more attention due to their motion but may require more maintenance. Stationary signs offer a classic look with less upkeep, so choose based on your signage goals and environment.
How Can Real Estate Agents Benefit from Post and Panel Sign Frames?
Real estate sign frames allow quick updates and easy sign swaps on listings, making them practical for changing properties. Their versatility supports frequent message changes without needing a new sign each time.
What Options Exist for Lighting Post and Panel Signs?
External lighting, like spotlights or solar-powered LEDs, improve visibility after dark. Adding lighting can increase traffic to your business but check local regulations before installation.
Before You Go
Choosing and installing post and panel signs can significantly boost your business’s curb appeal and visibility. Start by focusing on the right materials and design choices that suit your property’s environment and branding. Next, take action to secure permits and professional help when necessary to ensure your sign makes a positive, lasting impression.