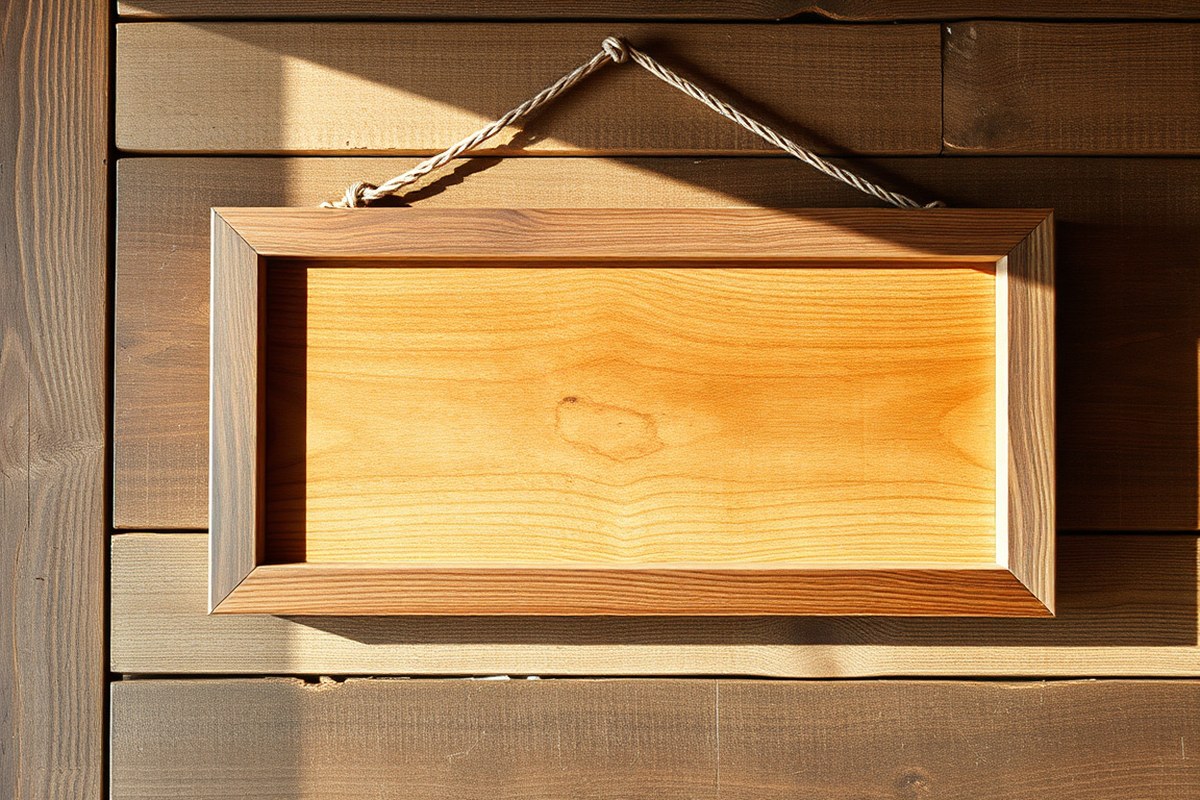
How to Make a Framed Wood Sign with 8 Easy Steps for Lasting Results
How to make a framed wood sign involves selecting sturdy wood for the base, transferring your design clearly, sealing with paint or stain, and securely attaching a frame for durability. Start by choosing 3/4-inch birch plywood as your sign base for lasting results and a smooth surface that’s easy to work with. Cut frame pieces slightly longer than the sign edges plus the thickness of the wood to create a clean, professional finish that holds together well over time.
Key Takeaways
- Use 3/4-inch birch plywood as the base for a durable and smooth wood sign surface.
- Cut wood frame pieces to the sign length plus twice the frame wood thickness for proper fit.
- Transfer your design onto the wood with carbon paper or tracing to ensure accuracy.
- Seal your sign and frame with paint or stain to protect against wear and weather.
- Attach the frame with wood glue and 1¼-inch brad nails for a sturdy hold.
- Clamp frame pieces during assembly to keep edges aligned and prevent gaps.
1. What Materials and Tools You Need for a Framed Wood Sign
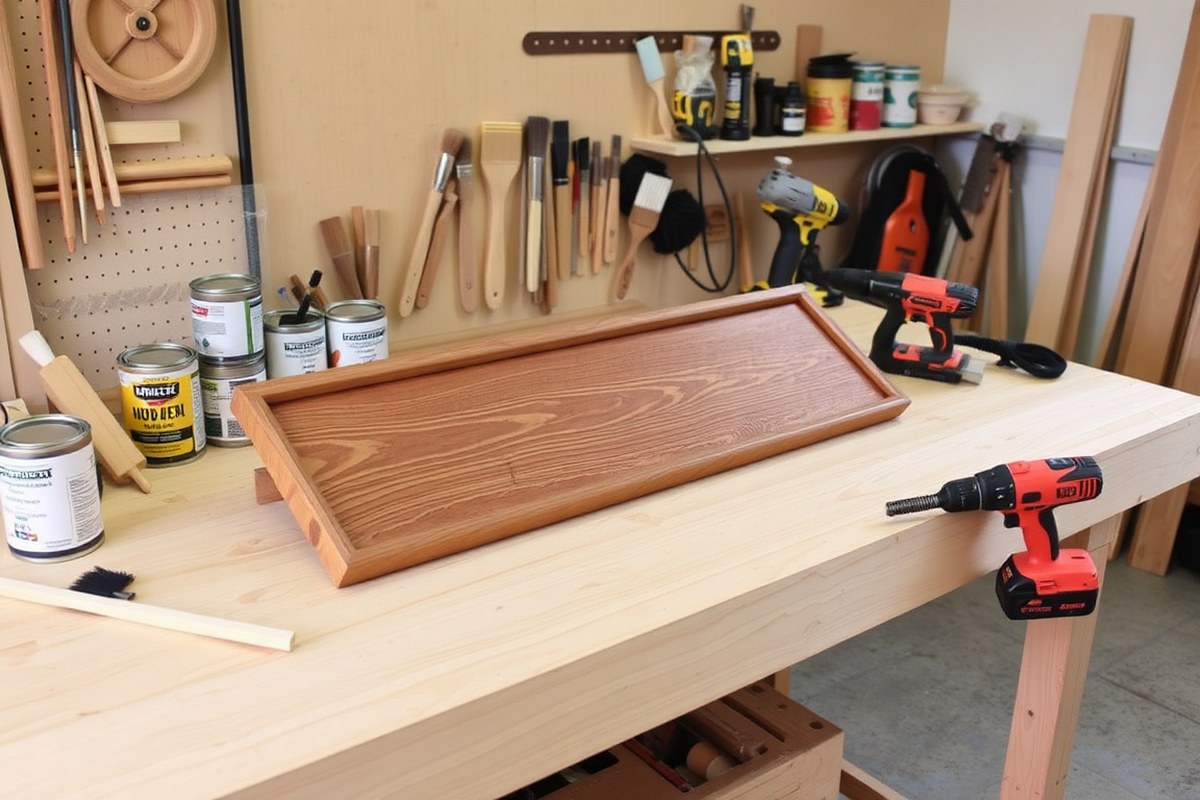
For a framed wood sign, start with a sturdy wood base, ideally 3/4-inch birch plywood or solid pine. These wood types are smooth, easy to cut, and accept paint well, giving your sign a clean, professional finish. Pine offers a natural look with visible grain, while birch plywood is stable and less prone to warping. Avoid softwoods like cedar unless you want a rustic look and are prepared for some surface irregularities.
The frame pieces typically match the thickness of the base, around 3/4 inch thick. Cut four frame pieces: two pieces equal to the width of your sign and two pieces that measure the height plus twice the thickness of your frame material. For example, if your sign is 12 inches wide and your frame material is 3/4 inch thick, the length of the vertical frame pieces will be the height of the sign plus 1.5 inches (2 times 3/4 inch).
Attach the frame to the sign with strong wood glue and fasteners like 1 ¼ inch brad nails or 1 ¼ inch Kreg screws. Clamps are essential to hold frame pieces securely while you drill or nail them. Clamping ensures square corners and a flush fit. Work on a flat surface and keep your pieces lined up to avoid misalignment.
- Wood base: 3/4-inch birch plywood or solid pine
- Frame pieces: matching thickness wood, cut to size (width and height plus frame thickness)
- Fasteners: 1 ¼ inch brad nails or Kreg screws
- Wood glue for strong joints
- Clamps to hold frame pieces while attaching
- Basic tools: saw (miter or circular), drill or nailer, measuring tape, pencil
- Paint and brushes or small foam rollers for finishing
Basic tools include a saw to cut your wood pieces to size, a drill for screws, or a brad nailer if you prefer nails. Measuring tape and a pencil help ensure accuracy before cutting. For painting, use a good quality brush or a small foam roller to get even coverage without streaks. The choice of paint depends on your finish preferences; acrylic or latex craft paints work well for indoor signs and dry quickly.
Using clamps significantly improves your results by preventing shifting during assembly, which can lead to uneven frames. Applying both glue and fasteners strengthens the bond and reduces the chance of frames separating over time. Plan to spend about 30 minutes cutting and assembling the frame for a medium-sized sign, and allow glue to dry for at least 30 minutes before painting or handling the sign.
2. How to Choose and Prepare Wood for Your Sign and Frame
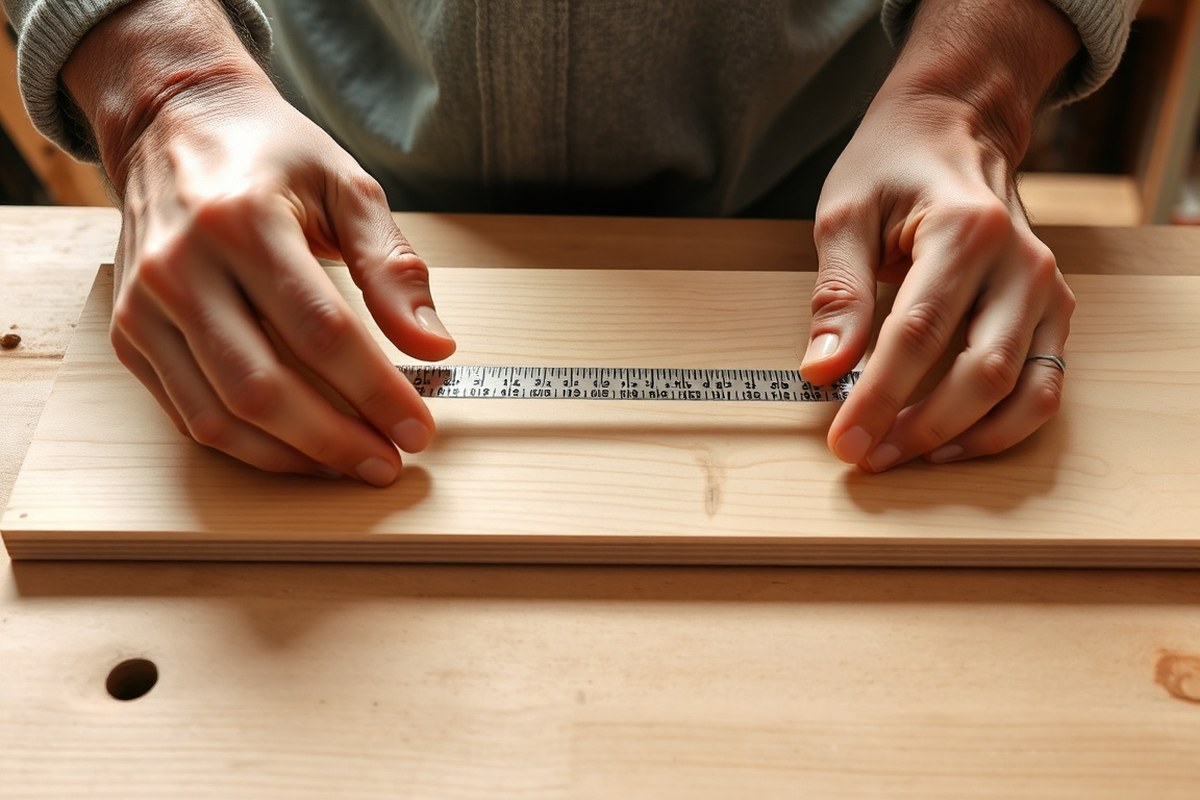
Choosing the right wood and preparing it correctly are critical to creating a durable and attractive framed wood sign. Start by selecting a sturdy plywood base and frame wood that matches your desired size and style, then cut and smooth all pieces precisely for a clean, professional look. Accurate measurements and sanding prevent warping and improve finish quality.
Selecting Plywood for the Sign Base
Opt for 3/4-inch birch plywood to make the sign base. This thickness offers good stability and prevents warping over time, making it ideal for framed wood signs. Birch delivers a smooth surface that takes paint and stain evenly, which helps your design stand out. Avoid thinner plywood, like 1/2 inch, unless your sign is very small or will hang in a protected area.
Measure your desired sign size carefully. Common sign bases might be around 12 by 12 inches for small projects, or larger, like 24 by 48 inches, for bigger displays. Choose plywood sheets slightly larger than your target size, then cut down precisely.
Measuring and Cutting Frame Pieces Precisely
For the frame, select 1×2 wood strips to give your sign a balanced border without overpowering the design. Accurate cutting is key, especially if you’re mitering corners to create neat joints. Use a miter saw to cut frame pieces to exact lengths, allowing the frame sides to overlap the edges of the plywood base slightly for a clean fit.
As an example, for an 11 ¾-inch square sign base, cut two frame pieces at 11 ¾ inches (to match top and bottom) and two longer pieces at 13 ¼ inches (to run along the sides, overlapping the top and bottom). This method ensures the frame pieces fit securely and allow nails to penetrate both the frame and the sign backing. Here’s a step-by-step approach for cutting the frame:
- Measure the dimensions of your plywood sign base accurately with a tape measure.
- Mark the lengths on your 1×2 wood strips, adding extra length for overlap on the longer sides.
- Set your miter saw to a 45-degree angle to prepare for mitered corners.
- Cut the top and bottom frame pieces straight to the width of the sign base.
- Cut the left and right frame pieces slightly longer to overlap top and bottom pieces by about 3/4 inch each side.
- Dry fit all frame pieces around the plywood base to check for accuracy and fit.
- Adjust as needed before sanding and finishing.
Always double-check your measurements before cutting, small errors get magnified in frame corners and can ruin the fit.
Sanding and Smoothing Wood Edges
After cutting, sand all edges of the plywood base and frame pieces thoroughly. Use 220-grit sandpaper for a smooth finish that allows stain or paint to apply evenly and reduces splinters. Sanding also cleans up saw marks that can show through paint.
Focus on removing any rough spots and rounding over sharp corners to give your sign a refined look. For the frame, sanding faces and edges ensures clean joints align well and glue bonds strongly. Finish sanding with a soft cloth to remove dust before applying stain or paint.
3. How to Transfer Your Design or Lettering Onto Wood
Transferring your design or lettering onto wood can be done cleanly and accurately using transfer paper, stencils, or freehand methods with paint pens. These approaches help you avoid mistakes that come with drawing directly on the wood. Each method suits different levels of detail and experience, from precise tracing using carbon paper to more creative, hand-painted lettering. Choosing the right transfer technique will improve the look of your wood sign and make painting easier.
Using Carbon Paper for Tracing Designs
Carbon paper, also called graphite or transfer paper, is a popular choice for transferring detailed designs onto wood. It allows you to trace over a printed design and leave a clear graphite outline on the wood surface. This method works best on a smooth or lightly sanded wood surface so the graphite transfers evenly. It’s affordable, typically costing between $5 and $15 for a pack that lasts several projects.
Start by placing the carbon paper with the graphite side down on the wood. Tape your printed design on top to keep it from shifting. Using a pencil, trace firmly over the outlines of your design. The graphite will transfer onto the wood, creating a guide for painting or woodburning. This method captures intricate details that might be difficult with stencils and keeps your design accurate.
Cutting and Applying Stencils
Stencils can simplify the transfer process for signs with bold lettering or repeated patterns. You can buy pre-cut stencils or create your own with a craft cutting machine or by hand. Stencils work well when you want consistent shapes or when the design contains simple, large letters. They’re especially useful for beginners because you don’t need to freehand anything during painting.
Before painting, secure the stencil on the wood using painter’s tape to prevent slipping. Apply paint with a stencil brush or sponge in light, dabbing motions to avoid bleeding under the edges. For a cleaner finish, remove the stencil immediately after painting. Stencils cost more upfront if you buy or make elaborate designs, but they save time with repetitive lettering.
- Print your design and cut out a stencil using a craft knife or vinyl cutting machine, or purchase a ready-made stencil that fits your project.
- Position the stencil on wood and tape it firmly in place.
- Use a stencil brush or sponge to apply paint lightly within the stencil openings.
- Carefully remove the stencil before the paint dries to avoid smudging.
Freehand and Paint Pen Lettering Techniques
Painting freehand or using paint pens offers full creative control and personal style but requires a steady hand. Paint pens make transferring designs easier by combining tracing with immediate painting, you trace over a pencil design or use the pen freehand to fill in letters. Paint pens work well on porous, chalky, or lightly sanded wood that absorbs paint evenly.
To transfer your design without a stencil or carbon paper, shade the back of your printed design with a pencil, tape it to the wood, and trace over the lines firmly. This transfers a faint pencil outline that you can paint over with a paint pen. This method is cost-effective and versatile for beginners but may require some practice to get clean lines. Always allow paint pen ink to dry fully before handling the sign to avoid smudges.
4. Different Methods to Frame Your Wood Sign and How to Choose
Framing a wood sign can be done in three main ways: using a brad nailer with wood glue, attaching corner braces, or joining with pocket holes using a Kreg jig. Each method varies in ease, cost, and durability. Your project size, available tools, and how professional you want your sign to look will help you choose the best approach.
Framing with a Brad Nailer and Wood Glue
Using a brad nailer combined with wood glue is a quick and effective way to frame a wood sign. Start by applying a thin layer of wood glue along the edges of your sign backing. Then align your frame pieces tightly around the sign. Hold the frame steady and use the brad nailer to shoot nails through the frame into the backing at several points, spacing nails about every 6 to 8 inches for a secure hold.
This method is favoured for its speed and clean look since brads leave small holes that are easy to fill or hide. It’s best suited for small to medium-sized signs because large frames might require additional reinforcement. Brad nailers typically cost around $30 to $80 for a basic model, but if you already own one, the cost is mostly for nails and glue, under $10 total.
Using Corner Braces for Quick Framing
Corner braces, also called mending plates, offer a simple way to frame a wood sign without specialized tools. First, position the flat corner braces on each corner of your frame, ensuring the frame pieces meet squarely. Drill pilot holes to prevent the wood from splitting, then secure the braces with wood screws. Use more braces for larger signs; around 4 to 8 corner braces are recommended for bigger projects to maintain stability.
This method is ideal if you don’t have a brad nailer or Kreg jig, or if you only occasionally make wood signs. Corner braces and screws are inexpensive, with a pack costing under $15. The downside is that braces are visible on the corners and don’t provide as smooth a look as other methods. Still, they’re strong and straightforward, especially for rustic or industrial decor styles that suit exposed hardware.
Attaching Frames with Kreg Jig Pocket Holes
Pocket holes made with a Kreg jig create strong, clean joints hidden on the back of the wood frame. Begin by drilling pocket holes along the inside edges of your frame pieces using the Kreg jig. Apply wood glue along the edges of the sign backing, then clamp the frame parts in place. Drive Kreg screws through the pocket holes into the backing, which pulls the frame tightly together and ensures durability.
This method offers professional-looking results with no visible screws or nails on the frame edges to fill. The Kreg jig costs about $40 to $100 depending on the model, plus screws and glue, so it has a higher initial cost. However, it’s worth the investment if you plan to make multiple signs or larger projects, since the joints hold up well over time. Each framing method offers a balance between ease, strength, and appearance. The table below compares them across key factors:
| Method | Tools Needed | Ease of Use | Durability | Cost Range | Visual Finish |
|---|---|---|---|---|---|
| Brad nailer and wood glue | Brad nailer, wood glue | Easy and quick | Moderate, good for small-medium signs | $10-$90 (if nailer owned) | Low visibility nails, small holes to fill |
| Corner braces and screws | Drill, corner braces, screws | Easy, no special tool needed | Strong, especially with multiple braces | Under $15 | Visible hardware on corners |
| Kreg jig pocket holes | Kreg jig, wood glue, screws | Moderate, requires jig setup | Very strong, long lasting | $50-$120 (initial jig cost) | Clean, no visible side holes |
Choosing a framing method depends on the tools you have, how many signs you want to make, and the style you prefer. Use corner braces for quick builds or if you want a rustic look, the brad nailer for simple projects with clean results, and the Kreg jig when you need strong, professional joints without visible hardware.
5. How to Paint and Stain Your Wood Sign and Frame for Best Results
Begin by choosing a stained or painted background for your wood sign. Staining brings out the natural patterns in the wood and usually dries faster than paint. Test the stain color on a scrap piece first to make sure it matches your vision. Use a cloth or brush to apply the stain along the wood grain, then wipe off excess after around 5 minutes. Stains typically become touch-dry in 1 to 2 hours but wait at least 24 hours before sealing or heavy handling to prevent smudges.
Acrylic paint works well for wood signs if you go with a painted background. It dries quickly, often in 15 to 30 minutes, depending on thickness and humidity, allowing faster progress. You can use craft paints, paint samples, or chalk paint depending on the finish you want. Apply with a brush or small roller for smooth coverage, and do multiple thin coats rather than one thick coat to reduce drying time and avoid drips. Let each coat dry fully before adding the next, usually about 30 minutes.
To paint lettering on your sign, use Sharpie oil-based paint pens for best results. They deliver precise lines and a durable finish that resists fading and chipping. These pens dry in about 30 minutes and allow for clean hand-lettering or tracing over transferred designs. Avoid standard paint brushes for lettering unless you have strong brush control skills, as pens improve accuracy and reduce mistakes. Give the lettering at least one hour to cure before sealing.
When staining or painting the frame, choose a color that either complements or contrasts nicely with your sign’s background. Use the same drying guidelines, stains usually need 24 hours, paints dry faster at 30 minutes to an hour per coat. Apply at least two coats on the frame, whether you use stain or paint, to get a smooth, long-lasting finish. Seal all painted or stained surfaces with a clear protective sealer, like a water-based polyurethane or a spray sealer, once fully dry. Sealers typically require 2 to 4 hours per coat for drying and improve durability against handling or environmental wear.
Always let each layer of paint, stain, or sealer fully dry according to the manufacturer’s instructions, rushing this step can lead to smudging, uneven color, or peeling over time.
6. How to Assemble and Attach the Frame to the Wood Sign
Securing your frame precisely around the plywood sign is key to a clean, professional look. Using both wood glue and nails ensures the frame stays firmly attached over time, even with handling or humidity changes. The process starts with laying your wood sign backing upside down and clamping it to prevent movement. This setup helps keep the frame tight against the sign, avoiding gaps.
Aligning the frame carefully before fastening guarantees all sides meet at the corners with no uneven spacing. Including corner braces with ¾” wood screws adds extra strength, especially if the frame is large or will hang vertically. Nail placement should be frequent enough to hold the frame without splitting the wood, small nails spaced about every 4 to 6 inches usually work well. Wood glue provides the initial bond to hold the frame securely while you nail it in place.
- Place your plywood sign face down on a flat work surface and secure it with clamps to keep it from sliding.
- Dry-fit the frame pieces, lining them up around the sign’s edges to confirm correct fit and flush corners.
- Remove the frame and spread a thin, even layer of wood glue along the plywood edges where the frame will sit.
- Reposition the frame pieces onto the glued edges, pressing firmly to ensure good contact without gaps.
- Attach the frame with small finishing nails spaced about every 4 to 6 inches; use a hammer or nail gun carefully to avoid splitting.
- For added durability, especially at corners, install a corner brace on the backside of the sign, securing it with ¾” wood screws.
- Wipe away any excess glue before it dries to keep the edges clean for staining or painting later.
Using staples instead of nails can work for lighter frames but nails hold better long term. Avoid excessive force when nailing near edges to prevent cracks. Wood glue sets in about 30 minutes, but wait at least an hour before handling to avoid loosening the frame. This method usually costs under $10 in materials if you have glue, nails, screws, and corner braces on hand.
7. Common Mistakes and How to Fix Them When Making Wood Signs
Accurate measurements are key when making wood signs. Even a difference of ⅛ inch in height or width can throw off your frame alignment. Double-check each side of your wood sign backing before cutting frame pieces. When you cut too short or long, pipe clamps and gentle sanding or trimming can help fix small errors without replacing parts. For larger mistakes, recutting or getting a new frame piece may be necessary.
Warped or uneven wood affects not only the look but also how well your frame fits. To correct slight warping, place the wood in a warm, humid environment for several hours, then clamp it flat until dry to hold the shape. Severe warping calls for replacing that section or flipping it so the curve shows less. Using ¾ inch plywood can reduce warping compared to solid, thinner wood.
Paint bleed under stencils or uneven lettering can ruin a sign’s neat appearance. To prevent bleeding, secure stencils firmly with painter’s tape and apply paint in thin layers using a stencil brush or sponge. Dab off excess paint before applying. Bleed requires light sanding once dry and careful touch-up with a small brush. For uneven strokes, use a steady hand and consider multiple light coats rather than one heavy coat.
- Measure twice, cut once, and adjust frame pieces to fit exactly.
- Clamp warped wood flat after moistening it to straighten.
- Use ¾ inch plywood for a more stable sign base.
- Secure stencils tightly and apply paint in thin, dabbed layers.
- Sand and touch up paint bleed or lettering mistakes once dry.
- Trim or sand frame edges to fix minor fitting issues before assembly.
- Use painter’s tape on edges to keep paint lines clean.
Fixing these common mistakes early saves time and material costs. For example, recutting a frame piece takes minutes and a few extra wood scraps, far less than redoing the entire frame. Minor paint corrections require only a small amount of paint and fine-grit sandpaper. Achieving a crisp finished sign means taking the time with these small corrections instead of rushing through steps. A well-measured, straight frame and clean painting bring out the full charm of your wood sign project.
8. How to Hang, Display, and Maintain Your Finished Wood Sign
Hanging your framed wood sign securely starts with choosing the right hardware. For indoor signs weighing under 10 pounds, use picture hanging hooks rated for that weight, placed about two-thirds down from the top of the frame. Drill pilot holes and screw in D-rings or sawtooth hangers on the back of the frame, spacing them evenly on opposite sides for balance. Larger signs or outdoor pieces require stronger anchoring, such as heavy-duty wall anchors or mounting brackets, to prevent damage or falling. Always hang the sign on a wall stud or use the proper drywall anchors based on your wall type. Measuring and marking both the hanging hardware and wall ensure a straight, level display.
Protecting your wood sign extends its lifespan and appearance, especially for outdoor use. Apply a clear, outdoor-grade sealant like spar urethane or a marine varnish after your paint and stain have fully dried, typically 24 to 48 hours. Use a foam brush or spray for even coverage, applying two to three coats with light sanding in between each coat to ensure adhesion. Indoor signs benefit from a clear polyurethane finish for protection against dust and wear, which can take about 4 hours to dry between coats. Avoid high-gloss finishes indoors if you want a vintage or rustic look; satin or matte finishes work better for that style.
Maintaining your wood sign involves gentle cleaning and occasional touch-ups. For indoor signs, dust regularly with a soft cloth and avoid exposure to direct sunlight that can cause fading. Outdoor signs require wiping with a damp cloth to remove pollen or dirt, and inspecting the finish yearly to reapply sealant as needed, especially in humid or rainy climates. Check the hanging hardware periodically to ensure it remains tight and replaces any rusted or weakened parts promptly. If your sign shows wear, light sanding on rough spots followed by touch-up stain or paint and resealing keeps it looking fresh and sturdy for years.
Adding decorative embellishments can personalize your framed wood sign even after finishing. Distressing the edges with sandpaper creates a soft vintage effect that complements farmhouse or rustic styles. Attach small decorative hooks or knobs to the frame edges for hanging lightweight items like keys or dried flowers, increasing functionality. Faux flowers or small wreath accents glued at corners add seasonal charm, but ensure they don’t block the sign’s message. Simple metal or wood scroll accents can also be nailed or glued onto the frame to improve its style without overwhelming the design.
Always choose hanging hardware rated above your sign’s weight to avoid accidental falls and damage to your walls or sign.
Step-by-Step Action Plan for Your Framed Wood Sign
Follow these steps to create your framed wood sign with confidence and see your project come together smoothly.
- Before you start: Gather all materials and tools listed for your sign and frame. Confirm everything is on hand so you won’t stop mid-project.
- Day 1: Choose and prepare your wood by sanding smooth and cutting to the desired size. Check that edges are clean and surface is even for the best finish.
- Day 2: Transfer your design or lettering using your preferred method. Review your transfer for clarity and accuracy before painting.
- Day 3: Apply paint or stain to the sign and frame, allowing sufficient drying time between coats. Your finish should be even and free of drips.
- Day 4: Assemble and attach the frame carefully. Ensure all corners fit well and the frame is securely fixed to the sign backing.
- Day 5: Hang your sign using the appropriate hardware. Test the stability to make sure the sign is well-supported and level.
Frequently Asked Questions
How Do I Avoid Paint Bleeding When Applying Lettering on a Wood Sign?
Use painter’s tape or a stencil with sharp edges and apply paint in thin layers to prevent bleeding. Lightly tap the paintbrush instead of brushing to keep the lines clean and sharp.
Can I Use Reclaimed Wood for My Framed Wood Sign?
Yes, reclaimed wood can add character but may require extra sanding and sealing to remove roughness and dirt. Check for nails or hardware before starting.
What’s the Best Way to Seal a Wood Sign for Outdoor Use?
Apply a clear exterior polyurethane or spar varnish to protect the wood and paint from weather damage. Reapply every 1-2 years depending on exposure.
How Do I Make a Large Wood Sign Without the Backing Warping?
Use birch plywood at least 3/4 inch thick for stability and keep the wood sealed and framed to prevent warping over time. Thin wood lacks rigidity.
Can I Mix Stains and Paints on the Same Wood Sign?
Yes, using paint for lettering and stain for the background is common. Make sure to let the stain dry fully before painting to avoid smudging.
How Do I Fix Uneven Frame Corners on a Wood Sign?
Lightly sand the corners to smooth gaps or use wood filler to fill uneven joins before painting or staining the frame. Clamp tightly when assembling for accuracy.
The Bottom Line
Your framed wood sign will add a personalized touch to your space when made with attention to detail. Start by preparing your workspace and materials to keep your project organized. Taking that first step today will bring your creative vision to life one careful phase at a time.