Front Door Sign Ideas: Creative Designs and Practical Tips That Work
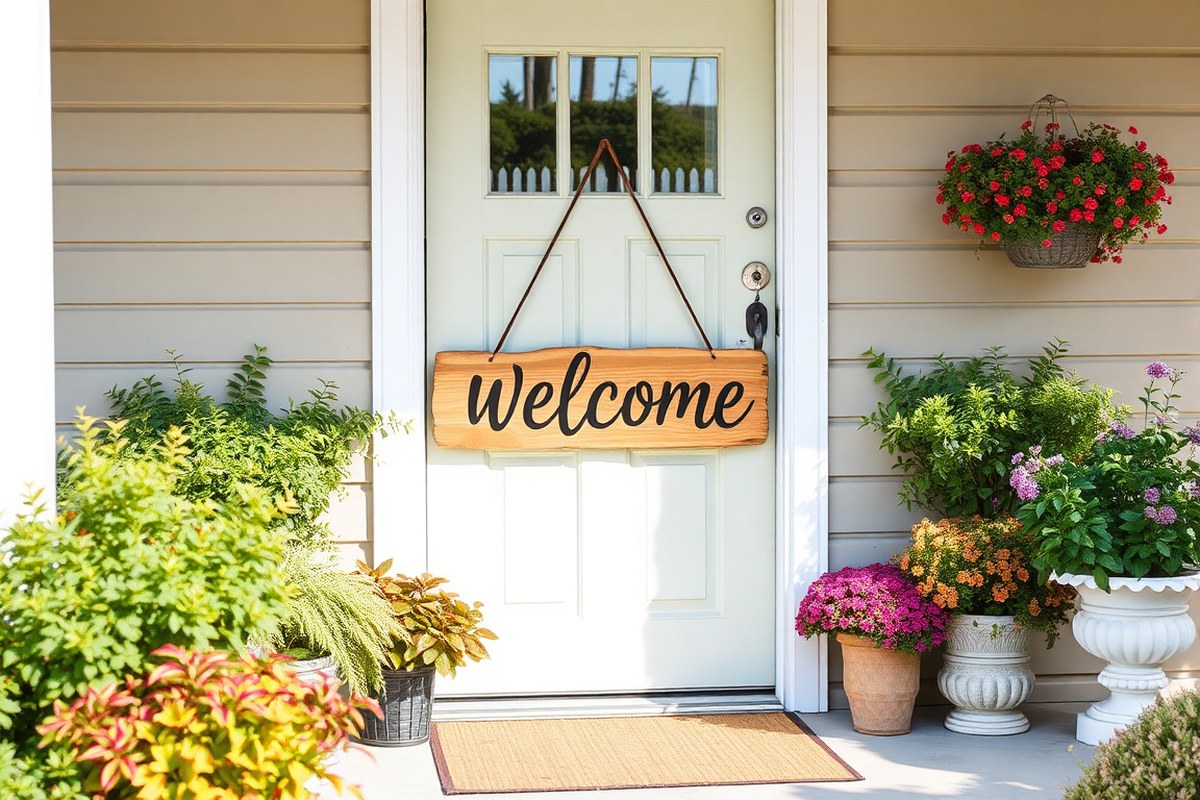
Front door sign ideas can transform your entryway by combining style and functionality. Choosing the right design means balancing size, material, and placement to suit your home’s look. Begin with a sign size that fits your door proportionally for an inviting, practical display.
Key Takeaways
- Select a front door sign between 18 and 24 inches in diameter to maintain proportional balance for most standard doors.
- Use durable materials like 100% solid wood for eco-friendly and long-lasting welcome signs.
- Place house numbers at least 4 to 6 inches tall for clear visibility from the street.
- Consider a 4-foot-tall sign for a warm, eye-catching porch statement.
- Personalize signs with handcrafted details or painted stripes to add unique appeal.
- DIY projects can use 3/4-inch screen molding to create distinctive patterns on signs.
Choosing the Perfect Front Door Sign Style
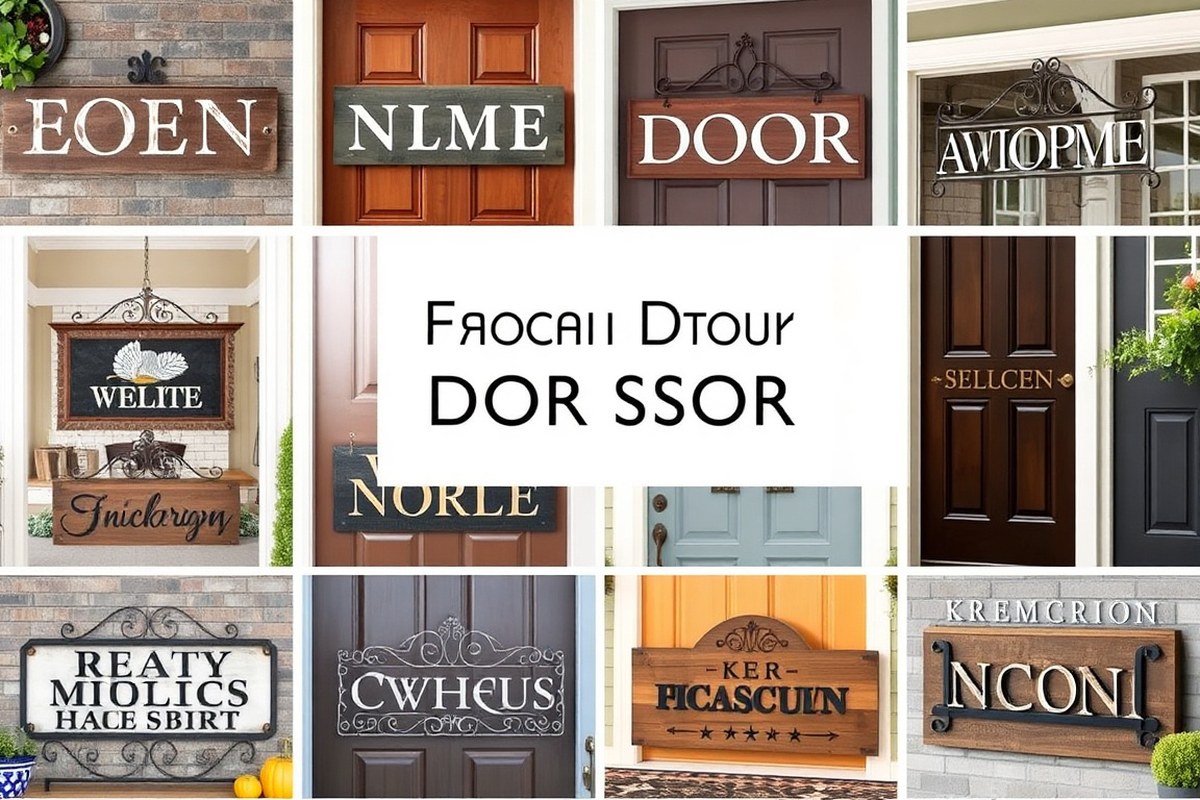
Choosing a front door sign style that complements your home’s design and personality plays a key role in boosting curb appeal. Different architectural styles pair naturally with certain sign aesthetics, so matching your sign to your home amplifies its charm and sets the right tone for guests. For example, modern homes suit sleek, minimalist signs, while rustic properties look best with handmade wooden or metal signs that carry warmth and texture.
The material and design of the sign influence not just looks but also durability and maintenance. Materials like metal offer a contemporary feel and can withstand outdoor elements longer than untreated wood, which, while classic for rustic designs, may need sealing or periodic upkeep. Likewise, fonts and graphics convey different vibes, the simplicity of a minimalist sign speaks to modern tastes, while ornate or vintage lettering highlights tradition and nostalgia.
Popular front door sign styles reflect current trends and timeless aesthetics. Rustic signs often use reclaimed wood and distressed metal with handcrafted details, creating a cozy, inviting atmosphere. Modern styles lean toward smooth finishes, geometric shapes, and muted colors, fitting today’s clean architectural lines. Vintage signs typically feature weathered paint and classic typography to evoke a sense of history and charm. Minimalist signs use simple shapes, sans-serif fonts, and neutral palettes, ideal for understated elegance.
Below is a table comparing common front door sign styles to help you identify which fits your home best. This way, you can select the style that aligns with your preferences and your home’s architecture, improving curb appeal through a coordinated look.
| Style | Typical Materials | Pros | Appeal |
|---|---|---|---|
| Rustic | Reclaimed wood, distressed metal | Warm, inviting, handcrafted look | Complements country, farmhouse, cabin homes |
| Modern | Metal, acrylic, polished wood | Sleek, durable, low-maintenance | Fits contemporary and minimalist homes |
| Vintage | Weathered wood, metal with patina | Nostalgic, classic, adds character | Great for traditional and historic houses |
| Minimalist | Painted wood, metal, acrylic | Simple, elegant, easy to integrate | Works well with modern and urban styles |
Choosing a style matching your home’s architecture ensures harmony in appearance and lets your sign highlight your home’s personality. A handcrafted rustic or vintage sign conveys warmth and tradition but may require weatherproofing to last. Modern and minimalist signs suit homeowners seeking a clean look with materials that require less maintenance. Picking materials wisely also helps the sign endure your local climate, preserving both appearance and curb appeal over time.
Determining the Right Size and Placement for Your Sign
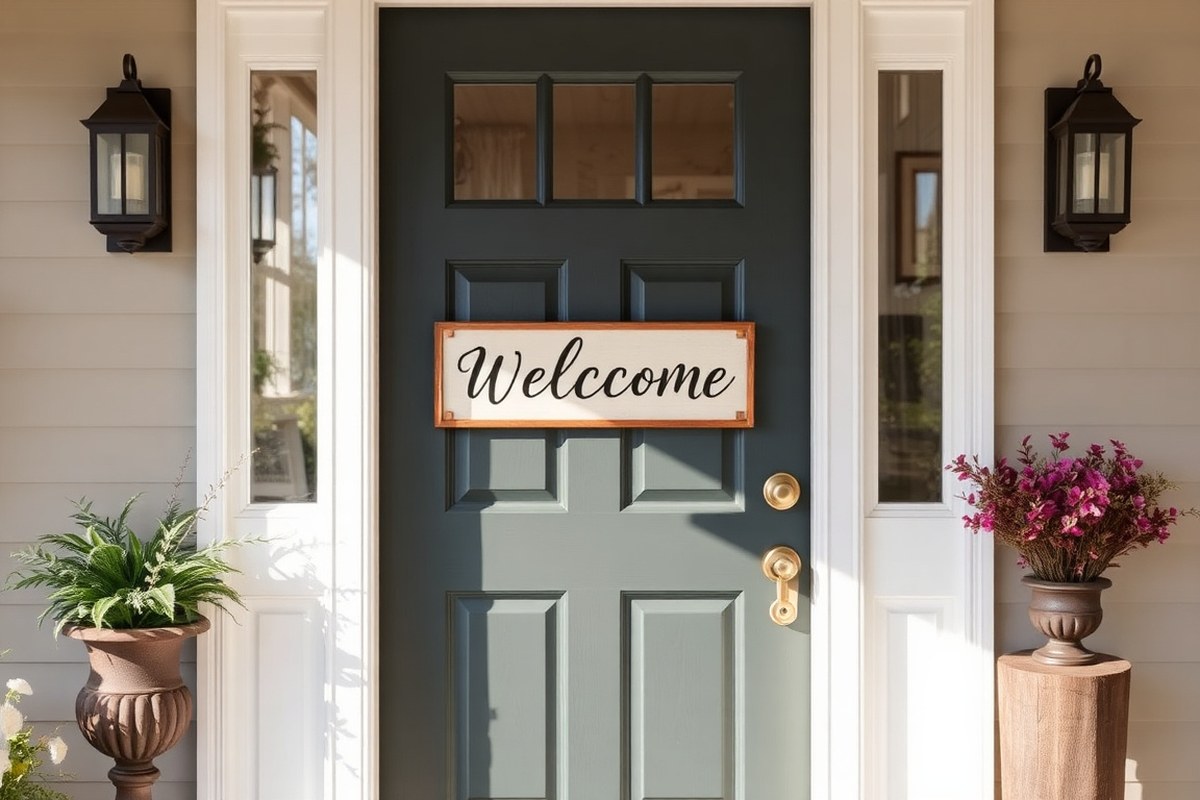
Choosing the right size and placement for your front door sign makes it easy to see and fits well with your door and porch space. Aim for signs between 24 and 36 inches wide for most porches to balance visibility from the street and proportion with your entryway. Position your sign at eye level, centered on the door or adjacent wall, to maximize impact and welcome visitors.
Measuring for the Best Fit
Start by measuring your front door and the surrounding porch space to determine how large your sign can be. Note the width and height of the door and the area around it where the sign will hang. Keep at least a 4 to 6 inch margin on all sides so the sign doesn’t feel cramped. This checklist can help you avoid sizing mistakes:
- Measure door width and height in inches
- Measure available wall or door space beyond the door if you plan to hang the sign nearby
- Note how far your porch extends outward toward the street
- Consider any door features like windows, handles, or mail slots that limit sign placement
- Check overhead porch clearance to avoid blocking doorbells or lights
Typically, a standard front door is about 36 inches wide. A sign width from 18 to 24 inches offers proportional balance when centered on the door, while larger porches or wider doors may handle 24 to 36 inch-wide signs well.
Determining Ideal Sign Size for Visibility
Your sign’s size affects how easily neighbors and visitors see it from the street. Most homeowners choose signs between 18 and 24 inches wide for standard doors, while signs up to 36 inches wide work well in bigger spaces or where visibility distance is greater.
Signs smaller than 18 inches may be missed or hard to read from the sidewalk or driveway. Larger signs can overwhelm the entry area if the space is tight, appearing bulky or awkward.
Consider the viewing distance to the street. Signs should be legible from 15 to 30 feet away, depending on how close your porch is. Larger streets or courtyards where visitors approach from farther away call for bigger signs.
Height and Precise Placement Tips
Hang your sign at eye level, usually between 57 and 65 inches from the ground, to create a welcoming and easy-to-see focal point. Placing the sign too low may cause it to go unnoticed, while placing it too high can make it difficult to read without straining.
Center the sign horizontally on the door or directly above the door handle for natural attention. If your door has decorative panels or windows, position the sign to avoid covering these features to maintain aesthetic balance.
Signs can also hang to the side of the door if space is limited on the door itself. In that case, choose a spot within two to three feet of the door to keep the entry cohesive.
Adjusting for Different Door Styles and Porch Sizes
For doors with integrated windows or sidelights, opt for narrower or vertically oriented signs to fit the space without blocking light. A vertical “Joy” sign or a slim welcome plaque works well on narrower wall sections.
On large or wrap-around porches, you might use multiple signs or a broader welcome board to fill the space without crowding. Large porches also allow signs up to 36 inches wide for visibility. Rental homes or apartments with small, recessed porches might benefit from smaller (around 18-inch) signs that don’t interfere with lighting or entryway clearance.
Choose a sign size and hanging height that respects door features and porch clearance to keep your entryway functional and visually appealing.
Materials and Finishes for Durable Front Door Signs
Wood, metal, chalkboard, and composite materials each offer different benefits and challenges for front door signs. Durable signs need to withstand sun, rain, wind, and temperature changes. Choosing the right material and applying proper finishes can protect your sign and keep it looking great for years.
Wood signs made from 100% solid wood provide natural charm and strength. They hold up well outdoors but require sealing with a weather-resistant finish to prevent warping, cracking, or fading. An oil-based exterior polyurethane or spar varnish works well. Reclaimed wood is an eco-friendly choice but may need extra sanding and sealing. Expect to reapply finishes every 1 to 2 years depending on climate.
Metal signs bring high durability and a modern or classic look depending on the metal type. Powder coating offers chip-resistant protection, preserving color and texture through multiple seasons. However, metal can be prone to dents, and rust may develop if coatings scratch. Stainless steel or aluminum resists rust better but can cost more.
Chalkboard signs excel in customization because you can change messages easily. They usually consist of a painted wood or composite base with chalkboard paint coat. They need to be sealed with a clear waterproof sealer for outdoor use. Keep them sheltered from direct heavy rain to extend life. These signs require regular maintenance to prevent chalk weathering.
Composite materials combine wood fibers and plastic, offering excellent weather resistance and low maintenance. They do not warp or rot but can fade under intense sun without UV protection. Painting with outdoor acrylic paint and sealing with a clear topcoat helps maintain color. Composites usually cost between wood and metal options and are eco-friendly due to use of recycled materials.
| Material | Durability | Cost | Maintenance | Eco-Friendliness | Sealing/Painting Tips |
|---|---|---|---|---|---|
| Wood | Good with sealing; can warp/crack | Low to medium | Reapply finish every 1-2 years | High with reclaimed/solid wood | Use oil-based exterior polyurethane or spar varnish |
| Metal (powder coated) | Excellent; rust-resistant if coated | Medium to high | Inspect for scratches; repaint if needed | Low to medium | Powder coating preferred for outdoor durability |
| Chalkboard (wood/composite base) | Moderate; sensitive to heavy rain | Low to medium | Seal with waterproof clear sealer; avoid constant moisture | Medium if composite base used | Apply chalkboard paint then clear outdoor sealer |
| Composite | Very good; resists rot/warping | Medium | Low; touch up paint and seal every few years | High with recycled content | Use outdoor acrylic paint plus clear UV-resistant topcoat |
Sealing wooden or composite signs before installation protects against moisture and sun damage. Start by sanding smooth, then apply primer if staining or painting. Follow with two thin coats of exterior paint or stain. Finish with one or two coats of clear sealer, allowing 24 hours drying between coats. Signs with intricate designs benefit from spray application for even coverage.
Metal signs often come pre-coated for outdoor use, but any exposed areas from drilling holes or wear warrant touch-up with paint meant for metals. Avoid harsh cleaners to protect coatings. Check signs seasonally for damage or rust to fix early. Chalkboard signs require reapplication of chalkboard paint and sealer every few years, especially if exposed to rain often.
Eco-friendly options include signs made from reclaimed wood or composites containing recycled plastics. These reduce environmental impact and still provide strong durability outdoors. Choosing finishes labeled low-VOC or water-based can minimize harmful fumes during application.
Personalizing Your Front Door Sign for Unique Appeal
Adding a personal touch to your front door sign can make your home feel more inviting and reflect your style clearly. Customization often starts with including names, monograms, or friendly messages that greet visitors warmly. You can personalize a purchased sign by using paint pens to add your family name or initials. Choose a font that matches your home’s vibe, script fonts give an elegant look, block letters feel modern and bold, while handwritten styles add warmth and approachability. Use stencils or vinyl letter decals for clean, professional results without needing advanced painting skills. Popular messages for front door signs often include simple greetings like “Welcome,” “Hello There,” or “Come On In.” Seasonal variations work well too, such as “Happy Holidays,” or “Spring Greetings.” You could also express your personality or interests with phrases like “Home of the Book Lovers” or “Dogs Welcome, People Tolerated.” For a monogram, placing a single large initial or combining family initials in a decorative font centered on the sign adds a classic and unique touch that never goes out of style.
Creating a sign from scratch offers even more control over personalization. Start with a wooden or metal blank cut to the size you want, typically around 12 by 18 inches for standard visibility. Sand the surface smooth, then apply a base coat in a color that complements your home’s exterior. Use painter’s tape to mark off sections for lettering or design layouts. Sketch your message or monogram lightly in pencil before painting to avoid mistakes. Allow the paint to dry overnight, then seal with a clear outdoor polyurethane to protect from weather damage. Expect basic materials to cost between $15 and $40 depending on size and quality.
For a quicker project, you could print your message or design on waterproof adhesive vinyl and apply it directly to your sign base. This method delivers crisp, graphic results and can be replaced easily. Try practicing your lettering on paper before applying it to your sign when working by hand. Mistakes in hand-painted letters often occur due to uneven strokes or rushed drying. Use fine-tip paintbrushes or paint markers for better control and detail.
Adapting a purchased sign or making your own calls for choosing a message and style that feel welcoming and true to your home. Adding seasonal or occasional updates is easy when your sign is designed with personalization in mind. This approach transforms a simple decorative piece into a meaningful part of your home’s entry experience.
DIY Front Door Sign Projects: Tools and Step-by-Step Guide
Creating a DIY front door sign from scratch involves selecting the right tools and materials, preparing your wood base carefully, and applying your design with paint and decoration. Each step is essential for a durable and attractive sign that suits your home’s style. Following a clear process can save time and improve the final look.
Gathering Your Tools and Materials
Start by collecting basic woodworking tools like a power drill, brad nails or finishing nails, and wood glue. For materials, choose plywood or scrap wood for the base and two 1×2 boards for framing, usually available at hardware stores for under $15. You’ll also need wood letters, white chalk paint for contrast, wood stain for finishing, wired burlap ribbon, and a small wreath for decoration.
These supplies are enough to make a rustic farmhouse-style sign without complex woodworking skills. Optional items include screen molding if you want a patterned design and wrought iron brackets to display your sign with dimension. For outdoor durability, select treated wood or seal your sign with a water-resistant finish and use waterproof adhesive to attach elements securely.
Preparing the Sign Base and Surface
Preparing the base involves cutting the wood to your desired sign size, sanding thoroughly, and applying your stain or paint.
- Cut your plywood or scrap wood to the front door sign size, commonly around 18 to 24 inches wide by 12 to 18 inches tall.
- Sand the wood surface evenly with medium-grit sandpaper to remove roughness and splinters.
- Apply a wood stain or primer coat with a brush; allow it to dry for at least 12 hours for the best seal.
- Optionally, seal the stained surface with a polyurethane finish to add durability and water resistance.
Drying times depend on temperature and humidity; aim for 70°F and low humidity to avoid tacky finishes. Surface preparation impacts paint adherence and longevity, so be thorough.
Always sand with the grain of the wood to prevent surface scratches and achieve a smooth finish.
Adding Letters and Decorative Elements
After preparing the base, place your wood letters or stencil your design onto the sign. White chalk paint works well for lettering because it contrasts clearly and dries quickly.
- Arrange your letters on the sign’s surface to check spacing and alignment before attaching.
- Apply a small amount of wood glue on the back of each letter, then press firmly onto the sign.
- Secure letters further with brad nails for long-term durability, placing 2-3 nails per letter to prevent shifting.
- Paint the letters with white chalk paint using a fine brush, allowing two coats for solid coverage.
- Attach decorative items such as wired burlap ribbon along the edges or a small wreath at the corner using glue or small nails.
- Let everything dry for 24 hours before hanging to ensure the adhesive sets fully.
Taking care with precise painting and secure attachment prevents peeling or damage from weather. For weatherproofing, applying a clear sealant coat over painted and glued areas can extend your sign’s life outdoors.
Incorporating Seasonal and Themed Elements
Changing your front door sign to match the seasons or holidays adds charm and keeps your home looking fresh year-round. To do this effectively, use signs designed with removable or interchangeable panels. These allow you to swap out the message or decoration without needing multiple full signs. Signs made from weather-resistant materials like treated wood, metal with powder coating, or durable plastics handle outdoor conditions well while supporting easy updates.
Seasonal decorations often require temporary changes in color, text, or imagery. Using weatherproof panels that slide or snap into place prevents damage from rain, snow, or sun exposure. For example, a porch sign with a frame that holds panels slipped in and out lets you switch from a pumpkin-themed autumn panel to a snowy winter scene quickly. Avoid paper or thin cardboard panels that can warp or dissolve outdoors unless sealed inside a clear plastic cover.
- Fall themes with pumpkins, leaves, and warm colors
- Winter designs featuring snowflakes, pine trees, or holiday greetings
- Spring panels showing flowers, birds, or pastel patterns
- Summer signs with beach motifs, suns, or bright colors
- Holiday variations like Halloween, Christmas, or Independence Day
- Special event panels for birthdays or welcoming guests
- Neutral transitional panels for in-between seasons
One popular choice is the Monjita standing porch sign, which accommodates up to 10 seasonal panels you can easily swap. You’ll spend less on creating multiple signs and still get a cohesive look all year. When creating your own, look for materials such as PVC or acrylic that resist moisture and fading. Use mounting hardware designed for quick panel changes, like magnetic strips or simple hooks. This method protects your investment and ensures panels stay secure during wind or storms.
Good results come from panels cut to fit snugly in the frame with thin weather seals to prevent water intrusion. Signs that offer clear instructions or templates for replacement panels save time and reduce frustration. Avoid signs with overly complicated locking mechanisms that make changing panels a chore. A well-made interchangeable sign looks polished and inviting, no matter the season.
How to Hang and Maintain Your Front Door Sign Safely
Hanging your front door sign securely and maintaining it well ensures it looks great all year round while protecting your door from damage. Choosing the proper hardware and applying weather-resistant care are key to preserving both your sign and the door surface. Follow practical steps to hang and keep your sign safe outdoors without leaving marks or wear.
Choosing the Right Hanging Hardware
Select hardware based on your sign’s weight and material. For lightweight signs under 2 pounds, adhesive hooks or Command strips designed for outdoor use can hold well without drilling. Medium-weight signs (2 to 10 pounds) work best with screw-in hooks or wall anchors attached to the door frame, distributing weight safely. Heavy signs over 10 pounds require heavy-duty hooks, toggle bolts, or mounting brackets paired with pilot holes to avoid door warping or cracking.
Consider the finish of the hardware to match your sign’s style and resist rust. Stainless steel or coated hooks typically last longer. Avoid nails or tape that can peel paint or leave holes that collect moisture. By matching hardware weight limits to your sign, you’ll prevent accidents or damage to your door and sign.
Installing Hooks and Mounting Safely
Follow these steps to hang your front door sign while protecting the door surface and ensuring stability:
- Measure and mark the exact spot on the door or frame where the sign will hang, keeping it centered at eye level or slightly above, typically 57 to 60 inches from the ground.
- Choose hardware suited to your sign’s weight and door material (wood, metal, fiberglass).
- For screw-in hooks or anchors, drill pilot holes slightly smaller than the screw diameter to prevent wood splitting or surface damage.
- Screw the hooks or anchors into place using appropriate tools, making sure they’re secure but not overtightened to avoid cracking the door surface.
- Hang your sign and test the stability by gently tugging downward. Adjust placement or use additional hooks if it feels loose or unbalanced.
- For adhesive hooks, clean the door surface with rubbing alcohol and let it dry fully before applying the hook. Press firmly for the recommended time on the package and allow curing time (usually 1 hour) before hanging.
Hanging a flower basket or other accessories near the sign on separate hooks adds depth to your display and reduces load on any one hook, which helps avoid damage. Always check hardware for rust or wear once a season and replace as needed.
Routine Cleaning and Weather Protection
Protect your sign from sun, rain, and temperature changes by cleaning and sealing it regularly. Dust and wipe down your sign with a damp cloth every 2 to 4 weeks to prevent dirt buildup, which can degrade materials. Avoid harsh chemicals that strip finish or paint.
Apply a clear outdoor sealant, such as polyurethane or spar varnish, at least once per year on wooden signs to preserve the finish and prevent water absorption. Metal signs benefit from a light coat of anti-rust spray or paint touch-up. Signs made from durable materials like acrylic or aluminum typically need less maintenance but still should be cleaned and checked for damage.
Winter protection includes removing the sign if possible or covering it to prevent ice damage. Ensure your mounting hardware stays tight and replace worn parts before heavier weather arrives. Taking these steps keeps your front door sign looking sharp and helps your door stay damage-free over time.
Integrating House Numbers and Names into Door Signs
Integrating house numbers and names into your front door sign improves both function and curb appeal. House numbers should be at least 4 inches tall to ensure visibility from the street during the day and illuminated at night. If your home sits far from the road, consider numbers up to 6 inches high. Use contrasting colors between numbers and the sign background to maximize readability.
Design balance is key when combining names and numbers. Position the house numbers on the right or bottom right of the sign, placing the family name or welcome message on the opposite side or centered above. For example, a rectangular sign might feature the name in an elegant font at the center, with large bold numbers below. For a circular sign, place the numbers along the bottom curve with the name or words “Welcome” centered inside. This placement keeps the sign attractive without crowding either element.
Check local regulations or HOA rules before choosing number styles and sign size. Some communities require reflective numbers, specific fonts, or height limits, especially in historic areas. Choose styles that comply while complementing your home’s exterior. Simple sans-serif fonts are often easier to read and more likely to meet requirements.
Customizable designs allow you to include multiple family members’ names individually on smaller signs near the door, adding a personalized touch without cluttering the main number sign. For example, you might add vertical name plaques on either side of the door frame or a small hanging sign with first names in smaller text.
Materials and paint colors also affect visibility and durability. Metal numbers with a matte finish reduce glare and weather well. Paint the door a contrasting color, such as navy or deep red, to make the sign stand out more. Some homeowners have successfully combined large, funky-font numbers with a background image scaled to the door for drama and style, ensuring the numbers remain clear and readable.
Use at least 4-inch-high numbers in high-contrast colors for street visibility, and always verify your local codes before choosing fonts or sizes to avoid costly replacements.
Creative Sign Ideas That Combine Decor and Lighting
Lighting can significantly boost the impact of your front door sign, making it visible and inviting even after sunset. Good options include solar-powered LED spotlights, string lights, and lantern-style fixtures. Solar LEDs cost around $10 to $30 each, require no wiring, and are easy to install above or beside the sign using simple hooks or adhesive mounts. String lights can wrap around wreaths or nearby plants, adding warmth and charm when plugged into an outdoor outlet with weatherproof extension cords. Lanterns with LED candles bring a cozy feel and pair well with rustic or farmhouse-style signs, but these usually need to be manually turned on and off or equipped with battery-operated timers.
Combining your sign with wreaths and plants increases curb appeal by layering textures and colors. For example, placing a wreath around a “Welcome to our porch” sign automatically refreshes the entry’s look. Choose wreaths that complement your sign’s style, greenery or seasonal flowers work well for a casual design, while dried florals or monochrome accents suit modern styles. Flanking the doorway or sign with potted plants like ferns, succulents, or small shrubs adds a natural frame, making the whole setup feel welcoming. Use lightweight planters with drainage holes to prevent root rot and choose plants that thrive in your porch’s sunlight exposure.
Low-maintenance decor choices reduce the time and effort needed to keep your entryway attractive year-round. Artificial wreaths made from weather-resistant materials save you from replacing or refreshing them each season. Opt for silk or plastic plants in decorative pots for a permanent green touch that won’t wilt or require watering. Select solar or battery-powered lighting to avoid electrical work and minimize operating costs, which are generally under $1 per month for solar LED lights.
- Use adjustable solar spotlights for flexible illumination angles on signs up to 4 feet tall.
- Wrap waterproof string lights around wreaths or plant pots, securing them with clear twist ties.
- Place LED lanterns on the porch floor or hang them at eye level for ambient light.
- Match wreath colors and textures to your sign’s finish and style for a cohesive look.
- Choose potted plants suited for your porch’s sun or shade conditions to keep them healthy.
- Use artificial greenery if you want zero maintenance and year-round greenery.
- Install lighting fixtures with timers or motion sensors for convenience and energy savings.
Position lighting fixtures so they highlight the sign without glare that makes reading difficult. Attach signs securely with mounting hardware rated for outdoor use to avoid wind damage. A 4-foot tall sign paired with complementary lighting and natural elements can create a warmly welcoming entryway that stands out in your neighborhood.
Budget-Friendly vs Premium Front Door Sign Options
Choosing between budget-friendly and premium front door signs depends largely on how much you’re willing to invest, the style you want, and how durable the sign needs to be. Affordable signs often involve DIY projects using materials like wood, metal, or even cast concrete, which can achieve a unique industrial look without a high price tag. Premium signs typically mean custom designs made from high-quality materials that last longer and provide a polished appearance but come with a higher cost and sometimes a longer wait time for fabrication and delivery.
For example, a DIY welcome sign made from reclaimed wood or a simple painted metal sheet can cost under $30 in materials and take a few hours to complete. These are perfect if you enjoy hands-on projects and want to control the design and finish yourself. On the other hand, custom signs made from materials like carved stone, cast metal, or specialized composites start around $150 and can go up to several hundred dollars depending on size and detail. They often come with options for integrated lighting or weatherproof coatings that add to their durability and style.
| Type | Cost Range | Durability | Appearance | Effort Required |
|---|---|---|---|---|
| DIY Wood or Metal Sign | $20 – $50 | Medium (dependent on finish) | Casual, customizable | Moderate (few hours of work) |
| Cast Concrete Sign (DIY) | $40 – $70 | High | Industrial, modern | Requires molding and curing time |
| Custom Carved Stone or Metal Sign | $150 – $500+ | Very high | Elegant, polished | Minimal (often turnkey, with lead time) |
| Composite or Acrylic Sign (Premium) | $100 – $300 | High | Bright, modern | Minimal |
To balance cost and durability, think about your climate and how much exposure to weather your sign will face. For dry, sheltered front doors, a budget-friendly wood sign sealed with outdoor varnish can last several years. If your door faces rain or direct sun, investing in a premium, weather-resistant material like acrylic or carved metal makes more sense as it stands up better to fading and warping. A cast concrete sign offers durability and a unique look but requires curing time and some physical effort during installation.
When deciding, use this simple script: “Choose DIY or budget-friendly options if you want a personal touch and can spend time crafting your sign, especially when cost is a priority and your sign is somewhat shielded from weather. Go premium if you want a easy, long-lasting sign with precise detailing and have the budget to support it. Consider your local climate and how much wear the sign will face to pick materials that hold up well.” This approach helps you select a sign that fits your style and budget without sacrificing quality.
Step-by-Step Action Plan for Your Front Door Sign
Get started on upgrading your front door with a sign that fits your style and home. Follow these steps to create an inviting entrance that lasts.
- Day 1: Measure your door to determine the ideal sign size and placement. Mark spots lightly with pencil to visualize scale and check visibility from the street.
- Day 2: Choose a material that suits your climate and style, such as weather-resistant wood or metal. Test durability by noticing any water spots or wear after a brief rain.
- Day 3: Decide on personalization details like your family name or house numbers. Sketch the layout on paper and confirm readability from a distance.
- Day 4: Gather necessary tools for DIY, such as a drill and paint, or pick a ready-made sign that fits your budget. Ensure your tools work by testing them on a spare piece.
- Day 5: Hang your sign securely using anchors or hooks suited for your door material. Check stability by gently pulling the sign after installation.
- Week 2: Add seasonal decorations or lighting accents to improve your sign’s charm year-round. Confirm the safety of electrical elements before use.
- Week 3: Maintain your sign by cleaning with mild soap and inspecting for damage. Note improvements in curb appeal or compliments from visitors as signs of success.
Frequently Asked Questions
What Type of Font Works Best for Front Door Signs?
A clear, easy-to-read font works best for front door signs to ensure visibility from a distance. Simple serif or sans-serif fonts make a clean and welcoming impression on guests.
Can Plants Complement Front Door Signs Effectively?
Yes, placing plants around your front door sign can improve curb appeal and soften the look. Choose low-maintenance greenery to keep the entryway fresh year-round.
How Often Should Front Door Signs Be Cleaned?
Clean front door signs every few months to remove dirt and dust. This helps maintain their appearance and longevity, especially for outdoor materials.
Are Illuminated Front Door Signs Practical for All Homes?
Illuminated signs add charm but may not suit every home style or local regulations. Check your neighborhood rules before installing any lighting features.
Can Front Door Signs Prevent Package Theft?
Front door signs alone won’t prevent package theft but can discourage casual thieves if paired with security cameras or neighborhood watch signs.
What Is the Best Season to Change Front Door Signs?
Changing signs with seasons keeps your entryway fresh; spring or fall works well for swaps to match weather and holiday themes.
Before You Go
Your front door sign sets the tone for your home’s curb appeal. Start by picking a style that matches your personality and use durable materials suited for your environment. Take that first step today by measuring your door so you have a clear plan for your sign’s perfect size and placement. Little updates to your entryway make a big difference in welcoming guests and showing off your home’s character.