How to Use a Router Template Guide for Precise Cuts: A Complete Trusted Guide
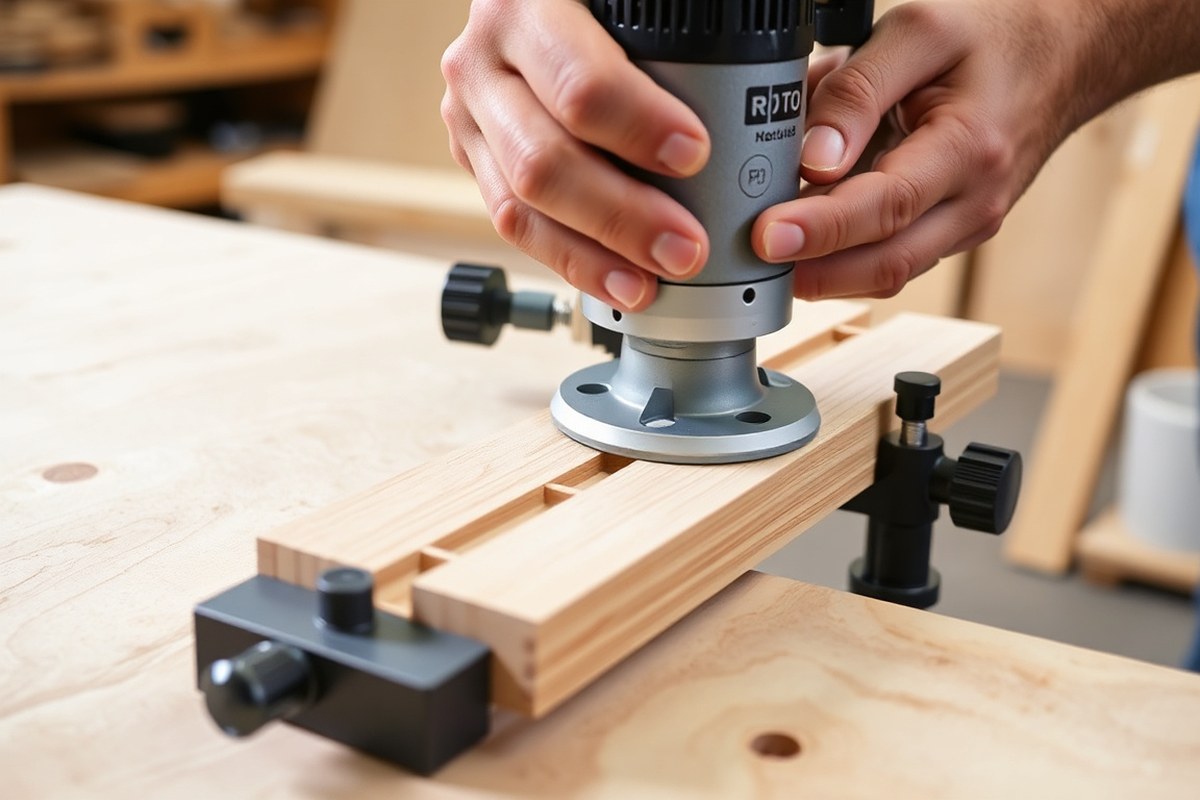
Knowing how to use a router template guide helps you achieve precise, repeatable cuts for woodworking projects. The key is to secure a well-made template and match it with the correct router bit and guide bushing. This ensures the router bit follows the template edge accurately, producing clean and consistent shapes every time. Start by selecting a sturdy template material, typically 1/4″ to 3/4″ thick, to guide your router smoothly and avoid vibration.
Key Takeaways
- Choose a router bit and guide bushing combination that fits closely for precise guidance and less material waste.
- Calculate the bit-to-guide bushing offset by subtracting bit diameter from the bushing’s outside diameter, then dividing by two.
- Standard guide bushings come in fixed sizes and are widely available, making them easy to replace or upgrade.
- Keep your template edges smooth and accurate to ensure the router follows the intended path without deviations.
- Never have more than half the router bit’s diameter of extra wood beyond the template edge to maintain control.
- Use clamps or jigs to secure both workpiece and template firmly during routing to avoid movement and uneven cuts.
What Is a Router Template and How Does It Work?
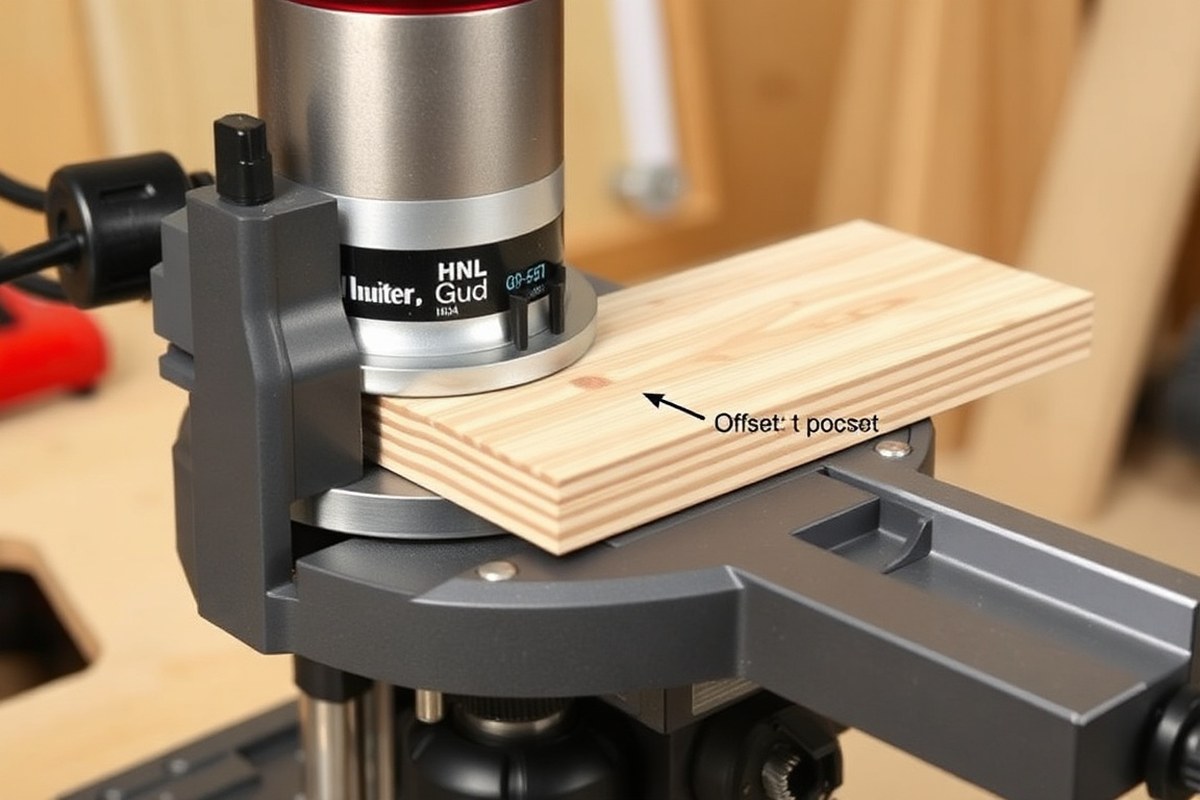
A router template serves as a precise guide that helps reproduce shapes consistently and accurately with a router. Essentially, it is a physical pattern made from materials like 1/2-inch MDF that you clamp to your workpiece. The router uses a guide, either a guide bushing or a bearing, to follow the edges of this template. This setup ensures the router bit cuts exactly along the intended shape, eliminating the need to freehand the cut.
The important part of this system is the guide bushing, which mounts around the router bit. A guide bushing features an outer rim that rides along the template edge and an inner bore that holds the router bit. This design physically constrains the router’s path to match the template’s outline. As a result, your router bit cuts the shape without the risk of wandering off course, providing precise and repeatable results.
The router bit itself does the cutting but does not contact the template directly. Instead, the router bit is centered inside the guide bushing, and their sizes create what’s called the offset. This offset is the space between the edge of the template and the router bit’s cutting edge, which is necessary so the guide bushing can touch the template while the bit cuts slightly inside or outside the template line.
Calculating this offset is critical for accuracy. The formula for offset is the guide bushing’s outside diameter minus the router bit diameter, divided by two. For example, if the guide bushing outer diameter is 1 inch and the router bit diameter is 1/2 inch, the offset equals (1″ – 0.5″) ÷ 2 = 0.25 inches. This means your template must be 0.25 inches larger on all sides than the final cut size to produce an exact match. Not accounting for offset leads to cuts that are consistently too large or too small.
For some applications, you might use a flush-trim bit that includes a bearing guide instead of a separate guide bushing. The bearing is mounted directly on the bit and follows the template edge, also ensuring the router bit cuts precisely along the pattern. This method effectively has zero offset, so the template matches the final size exactly without adjustment.
Templates should be made with smooth, accurate edges to ensure clean guidance, as any roughness or inaccuracy transfers directly to the workpiece. The thickness of the template should suit the shank length of your guide bushing, typically between 1/4 and 3/4 inch, to provide stable contact and prevent wobbling. Finally, securing both the template and workpiece firmly before routing is essential, especially when using handheld routers, to avoid movement that could spoil the cut.
How to Choose the Right Router Bit and Guide Bushing
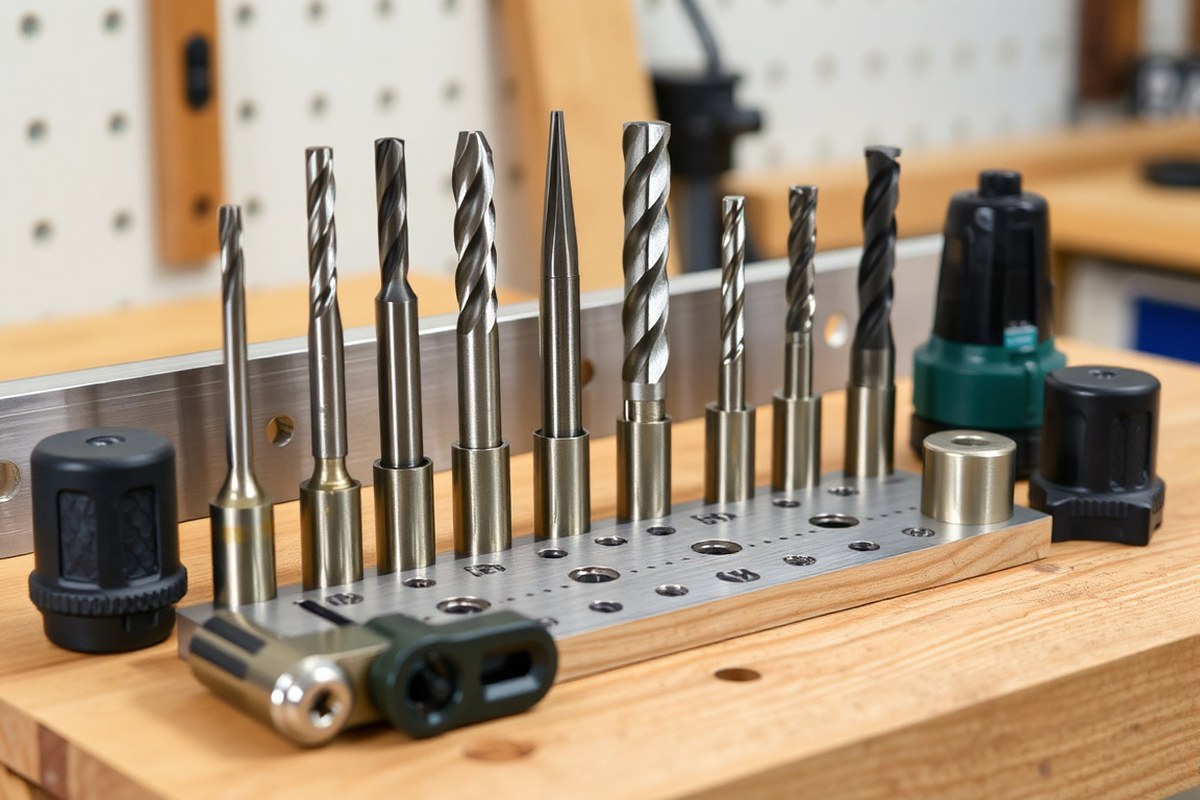
Choosing the right router bit and guide bushing is essential for precise and consistent template routing. You want to select bits and bushings that fit both your router and the template’s purpose to avoid mismatched cuts or damage. Compatibility, bit type, and guide size all affect the quality of your work and the ease of setup.
Types of Router Bits for Templates
Router bits designed for template routing typically fall into two main categories: those with guide bushings and those with built-in bearings. Flush trim bits or pattern bits feature a bearing that rides along the template edge, allowing you to shape edges or create recesses with precision. These are ideal for external routing or trimming operations where you follow an outside guide.
On the other hand, standard straight or spiral bits are used in combination with guide bushings attached to the router base plate. This setup works well for internal cuts and detailed inlays, as the bushing directs the router along the edge of the template while the bit removes material inside the guide’s path. Matching the bit size to the guide bushing ensures clean, accurate cuts.
Standard Guide Bushing Sizes and Compatibility
Guide bushings come in several diameters, which lets you match them precisely to your router bit and template thickness. Most industry-standard router templates are 1/4″ thick, balancing strength and router bit height availability. Guide bushings often have an outside diameter larger than the router bit, typically allowing 1/8″ to 1/4″ of offset, depending on the model.
Compatibility matters because bushings must fit securely onto your router and work smoothly with its base plate. Many standard guide bushings are designed to fit a range of routers, but it’s always important to double-check your router model before purchasing a set. Using an incompatible bushing can cause instability, leading to uneven cuts or increased wear on your tool.
| Guide Bushing Diameter | Common Uses | Template Thickness | Typical Offset | Router Compatibility |
|---|---|---|---|---|
| 3/4″ (19mm) | General purpose internal routing | 1/4″ (6.35mm) | ~1/8″ (3mm) | Fits most standard routers |
| 1″ (25mm) | Larger template designs | 1/4″ (6.35mm) | ~1/4″ (6mm) | Requires compatible base plate |
| 1-1/4″ (32mm) | Wide routing with larger bits | Up to 3/8″ (9.5mm) | ~1/4″ to 3/8″ (6-9.5mm) | Less common, check router model |
Picking the right size involves considering the bit diameter and the depth of your cut within the material. Your choice affects the stability of the router pass and the achievable precision around intricate template edges.
Guide Bushing Versus Bearing Guides: Which to Use
Guide bushings and bearing guides both serve to direct the router along a template, but they suit different situations. Bushings are best for internal routing and work well with templates that need to be reused or adjusted frequently. They allow for easy swapping of bits and bushings, making them versatile for various woodworking tasks.
Bearing guides, which come with the bit itself, cut precisely to the template size. They are preferable when working on edge shaping or when you want a clean trim around the template perimeter without worrying about bushing offset calculations. The tradeoff is less flexibility if you need to change routing paths or use multiple bit sizes since the bearing is fixed to the bit.
Tip: Secure the template firmly regardless of guide type to minimize vibration and improve cut accuracy during routing.
Calculating and Accounting for Bit-to-Guide Bushing Offset
Offset in router template routing is the difference between the diameter of the guide bushing’s outer edge and the router bit’s cutting diameter. This offset causes the actual cut to be larger or smaller than the template opening, which directly affects the accuracy of your final piece. Calculating this offset ensures you adjust your template size correctly to achieve the desired cut dimensions.
Offset Calculation Formula
To find the offset, subtract the router bit diameter from the outer diameter (OD) of the guide bushing, then divide by two since the offset occurs on both sides of the bit. Offset per side = (Guide Bushing OD – Router Bit Diameter) ÷ 2 This formula reflects the gap the guide bushing creates between the router bit and the template edge. The calculated offset must be accounted for when sizing your template to maintain accuracy in your final routing.
Common Guide Bushing and Router Bit Combinations
Using common pairings helps you predict the offset and plan your template dimensions more easily. The table below summarizes typical guide bushing outer diameters, corresponding bit diameters, and resulting offset values per side:
| Guide Bushing OD | Router Bit Diameter | Offset (per side) | Template vs. Finished Size |
|---|---|---|---|
| 5/16″ | 1/4″ | 1/32″ | 1/32″ smaller (inside cut) or larger (outside cut) |
| 1/2″ | 3/8″ | 1/16″ | 1/16″ per side |
| 5/8″ | 1/2″ | 1/16″ | 1/16″ per side |
| 5/8″ | 9/16″ | 1/32″ | 1/32″ per side |
| 3/4″ | 5/8″ | 1/16″ | 1/16″ per side |
Pairs with minimal or zero offset are rare. Generally, the guide bushing outer diameter exceeds the router bit diameter to create a buffer zone, essential for guiding the router along the template without damaging it. Some specialty bushings and bits reduce offset but check manufacturer specs for exact values.
Adjusting Template Dimensions for Offset
Accounting for offset is critical when making your template. When your cut is on the inside edge (such as a mortise or inlay recess), subtract the offset from the template hole size to keep the finished cut accurate. For outside cuts (like trimming a shape), add the offset to the template dimension. Follow these steps to correctly adjust your template for offset:
- Measure the outer diameter of your guide bushing with calipers.
- Measure the cutting diameter of your router bit.
- Calculate the offset per side using the formula: (Guide Bushing OD – Bit Diameter) ÷ 2.
- Decide if the cut is inside or outside the template edge.
- Adjust the template hole size by subtracting the offset per side for inside cuts or adding for outside cuts.
- Mark the template with bushing size, bit size, offset value, and date to avoid confusion later.
- Test the setup on scrap wood before cutting your final workpiece to verify accuracy.
For example, say you have a 5/8″ guide bushing and a 1/4″ router bit. The offset per side is (0.625″ – 0.25″) ÷ 2 = 0.1875″ or 3/16″. Routing a mortise inside the template requires reducing the template opening by 3/16″ on all sides. This adjustment ensures your mortise fits precisely as intended.
Comparing Common Materials for Router Templates
Selecting the right material for a router template affects durability, cost, ease of shaping, and the quality of the final cut. Different materials suit different woodworking needs, from short runs to repeated long-term use. Thickness also matters; most templates range from 1/4 inch to 3/4 inch, adjusted based on complexity and wear resistance.
| Material | Thickness | Durability | Workability | Cost | Best For |
|---|---|---|---|---|---|
| MDF | 1/2″, 3/4″ | Moderate | Excellent | Very low | Short-run, curved shapes, one-off fixtures |
| Baltic birch plywood | 1/2″ | High | Good | Low | Long-term production templates |
| Hardboard/Masonite | 1/4″ | Moderate | Good | Very low | Hinge mortises, shelf-pin templates |
| Acrylic/polycarbonate | 1/4″ | Very high | Moderate | High | Master templates; transparent for workpiece visibility |
MDF templates are easy to cut and shape with common woodworking tools, making them ideal for curved or complex one-off designs. Their moderate durability means they wear faster under repeated use or heavy routing, often limiting them to short-run projects. MDF’s low price is appealing for beginners or when creating temporary templates.
Baltic birch plywood offers higher durability and holds up well for many template uses before showing wear. It works well for long-term production since it resists delamination and maintains shape over time. It is slightly more expensive than MDF but balances cost and longevity effectively.
Hardboard is thinner, usually 1/4 inch, and works well for shallow cuts like hinge mortises or shelf-pin holes where limited thickness is better. It costs very little and cuts cleanly, but it doesn’t hold up well to heavy routing or deep cuts.
Acrylic or polycarbonate templates provide the highest durability and resist chip-out or abrasion from router bits. Their transparency lets you see the workpiece underneath, which is helpful for precise alignment. These templates cost more and require special cutting tools like carbide cutters or laser cutting but are excellent for master templates or highly repetitive jobs requiring consistent accuracy.
Thickness is a tradeoff: thicker templates (3/8 to 3/4 inch) resist damage and glue squeeze-out but add weight and material cost. Thinner templates (1/4 inch) are easier to handle and better for delicate, shallow cuts but may wear out faster or deform under pressure. Match your material thickness to your project needs, balancing durability versus ease of handling.
Step-by-Step Guide to Making and Securing Router Templates
Designing and securing a router template involves carefully cutting the template to the desired shape, attaching it firmly to your workpiece, and adding marks to help with precise alignment. Using the right tools and clamps ensures the template won’t shift during routing, which helps you achieve a smooth, consistent cut on your wood projects.
Cutting the Template to Shape
Start by selecting a stable template material like MDF or plywood, known for their smooth surface and durability. Draw the exact outline of the shape you want to route onto the template material, making sure it matches your project dimensions.
Cut the template close to the final size using a bandsaw, jigsaw, or scroll saw to follow your drawn lines. After cutting, smooth the edges with sandpaper or a file to remove any roughness. A clean edge on your template allows the router guide bushing to follow the shape precisely without catching or wandering.
Methods to Secure the Template
Keeping your template securely attached to your workpiece is essential for accuracy. You can use clamps, double-sided tape, screws, or even hot glue, depending on the situation and your project needs.
For most template work, woodturner’s double-faced tape offers strong hold without leaving residue. Toggle clamps provide very high hold strength, ideal for production runs where you route many parts consistently. If your template has waste areas, screws drilled into those spots can offer very secure attachment for heavy cuts or large templates.
- Cut the template from your selected material, following the drawn shape.
- Smooth the edges to remove splinters and burrs.
- Clean the surface of both the template and workpiece for better adhesion.
- Apply double-faced tape or position clamps strategically around the template edges.
- Press the template firmly onto the workpiece, ensuring no gaps exist.
- Double-check the stability by gently trying to move the template before routing.
- Position and lock the router with the guide bushing aligned to the template’s edge.
- Adjust the router depth and proceed with routing, keeping the base flat and the guide touching the template at all times.
Never route with a loose template; it can shift unexpectedly and ruin your workpiece or the router bit.
Adding Registration and Alignment Features
Registration marks help you quickly and correctly position the template each time you use it. Adding notches, tabs, or holes to your template can serve as guides when aligning it on the workpiece.
Mark matching reference points lightly on the workpiece using pencil lines or spacers to ensure the template seats perfectly every time. For repeatable setups, some woodworkers create small “pilot holes” in the template and align them with pins or dowels on the workpiece, preventing any chance of shifting before clamping.
How to Safely Use a Router Template Guide
Always wear personal protective equipment when using a router template guide. Safety glasses protect your eyes from flying debris and wood chips, while hearing protection reduces the risk of hearing damage caused by router noise. Consider a dust mask to avoid inhaling dust, especially when cutting hardwood or MDF. Gloves should be avoided as they can snag in the router bit, increasing injury risk. Proper PPE is a simple and effective step to prevent accidents.
Set the router depth and speed before starting to route. Adjust the cutting depth to just slightly deeper than the thickness you need to remove, usually no more than about 1/8 inch at a time to avoid overloading the bit. Slower feed rates and moderate router speeds help maintain control and prevent scorching or tear-out, especially with hardwood or dense materials. Check the router’s manual for recommended speeds based on bit diameter; for example, larger bits (over 1 inch) require slower speeds to avoid dangerous vibrations.
Make sure the template is securely fastened to your workpiece. Use clamps or double-sided tape designed for woodworking to hold the template in place, preventing any shifting during routing. The router itself needs a firm grip and smooth, controlled motion along the template edge. Rest your hands comfortably on the router handles, apply steady pressure, and move the tool forward with a fluid motion to avoid jerking or stalling. Stability helps achieve clean cuts and reduces the chance of the router slipping off the guide.
Avoid common unsafe practices such as routing with dull bits or forcing the router too quickly along the edge. A dull bit increases heat and stress on the tool, which can cause kickback or damage the workpiece and template. Also, never try to remove too much material in a single pass; multiple shallower passes yield better results and keep you safer. Be aware of your body position, keep your hands behind the bit and clear of the cutting path, and don’t wear loose clothing or jewelry that could catch on the tool. Staying focused and stopping the router before making adjustments preserves safety.
Best Practices for Routing Accurate and Consistent Results
Run your router at a moderate speed suited to the bit size and material. For most template routing, speeds between 16,000 and 24,000 RPM provide a balance that minimizes burning or tear-out. Larger bits generally require slower speeds to avoid excessive heat and dulling. Always check the router and bit manufacturer’s recommendations to match speed with your specific setup.
Maintaining consistent pressure against the template ensures smooth, accurate cuts. Apply steady, moderate force without pushing too hard, which risks wandering or damaging the workpiece. Moving the router evenly along the template’s edge keeps the cut uniform. Anchoring your hands and standing in a stable position helps control your motion and speed.
Burning and tear-out usually occur when the bit is too dull, the speed is too fast, or the feed rate is uneven. To avoid these problems, use sharp bits and keep your hand moving at a steady pace. Routing in multiple light passes rather than one deep cut reduces stress on the bit and material. Always move the router in the correct direction: against the bit spin, ensuring the bit cuts cleanly without grabbing the workpiece.
Finishing routed edges often requires sanding to remove minor roughness left by the bit or template edges. Use fine-grit sandpaper, like 220-grit, and gently smooth the edges by hand or with a sanding block. For projects needing a polished look, a light application of wood finish or sealant will protect and improve the routed surface.
- Set router speed based on bit diameter; slower for bits over 1 inch
- Keep a steady feed rate and consistent pressure to the template
- Make multiple shallow passes rather than one deep cut
- Always move the router against the bit’s rotation direction
- Sand edges with 220-grit sandpaper after routing for smoothness
- Use sharp router bits to reduce burning and tear-out
- Secure the template firmly before routing to prevent shifts
Controlling these factors together helps produce clean, repeatable results that match your template precisely. Checking the setup before each pass and taking your time avoids costly mistakes. Following this checklist will lead to consistently sharp, smooth edges that improve the overall quality of your woodworking projects.
Common Router Template Mistakes and How to Fix Them
A common mistake that leads to cuts larger or smaller than your template is an incorrect offset. The template should be sized smaller or larger to match the offset between the bit and the guide bushing. For example, when routing outside edges, make your template larger by the offset amount on each side; for inside cuts, the template should be smaller. Typically, offsets range from 1/32″ to 1/16″ depending on your bit and bushing combination, for instance, a 1/4″ bit paired with a 5/16″ bushing requires about a 1/32″ offset per side.
Poor clamping or an unstable template causes movement during routing, ruining precision. Make sure your template is firmly clamped with enough pressure to prevent any wiggle but not so tight that it damages the template material. Use multiple clamps spaced evenly and check that the workpiece sits flat on the bench. When clamping is tough due to your workpiece shape, try double-sided tape made for woodworking or place non-slip pads under the workpiece.
Chip-out and uneven edges often result from using the wrong router bit or poor routing technique. Always choose bits designed for template routing, such as spiral or compression bits, which cleanly cut the wood fibers and reduce tear-out. Rout at a steady, moderate feed rate, and avoid forcing the router or rushing the cut. Make shallow, multiple passes instead of one deep cut to maintain cleaner edges.
Using a bit that is too large for the guide bushing can cause binding, inaccurate cuts, or tool damage. The bit diameter should always be smaller than the inner diameter of the guide bushing. For example, a 1/2″ bit requires at least a 5/8″ guide bushing to work properly. Having a smaller bushing now means you should get the right guide bushing size instead of forcing the wrong one.
- Incorrect template size not accounting for bit-to-bushing offset
- Inadequate clamping causing movement
- Using dull or wrong type of router bit for clean cuts
- Routing too fast or in deep passes
- Bit diameter larger than guide bushing inside diameter
Double-check your template size and offset before each project to avoid costly mistakes and wasted material.
Follow the recommended offsets from your bit and guide bushing pairing and always test on scrap wood before routing your final piece. Secure the template and workpiece firmly and use appropriate bits for your material to achieve smooth, clean, and precise routing results every time.
Step-by-Step Action Plan for Using a Router Template Guide
Follow these steps to set up and use your router template guide effectively and achieve accurate cuts.
- Before you start: Choose the right template material and router bit with guide bushing that match your project needs. Confirm compatibility by test-fitting the bit and bushing into the template opening.
- Day 1: Calculate the bit-to-guide bushing offset accurately. Mark the offset on your template and router for consistent positioning during routing.
- Day 1: Make or secure your router template firmly to the workpiece using clamps or screws. Check for any movement by lightly tapping the template before routing.
- Day 1: Adjust router depth and speed settings appropriate for your wood type. Test routing on scrap wood to verify clean, precise cuts without tear-out.
- During routing: Hold the router steady and move it consistently along the template edge. Pause often to inspect your cuts and ensure alignment stays accurate.
- After routing: Remove the template carefully and examine edges. Use sanding to clean up any minor imperfections for a smooth finish.
- After each project: Store templates flat to prevent warping. Note any adjustments or errors to improve accuracy in your next routing session.
Frequently Asked Questions
What Is the Main Difference Between Guide Bushings and Bearing Guides?
Guide bushings have a set outer diameter that rides along the edge of a template, whereas bearing guides feature a ball bearing on the router bit that rolls smoothly over the template, making them better suited for intricate curves. Your project will determine which option fits best.
How Do I Determine the Proper Feed Rate When Using a Router Template Guide?
Feed rate depends on the bit size and wood type, but generally feed at a steady, moderate speed. Too fast causes tear-out, while too slow heats the bit, so practice on scrap wood first for best control.
Can I Use a Router Template Guide on Curved as Well as Straight Edges?
Yes, router template guides work on both straight and curved edges. The key is to move the router steadily, allowing the guide bushing or bearing to follow the contours precisely without forcing the tool.
What Is the Impact of Template Material Thickness on Routing Accuracy?
Thinner templates can flex and affect accuracy, while thicker templates provide better stability. Using a stable, flat material like MDF around 1/4 to 3/8 inch thick helps keep routing consistent and resist wear.
How Can I Reduce Tear-Out When Routing with a Template Guide?
Use sharp, carbide-tipped bits and make multiple shallow passes to reduce tear-out. Applying painter’s tape along the cut line can also help minimize splintering on the wood surface.
Is Clamping the Template Necessary When Routing?
Clamping the template firmly is essential to prevent movement during routing, which ensures accurate cuts and safety. A loose template can cause mistakes or even damage the workpiece or router bit.
Before You Go
Mastering router template guides lets you make repeatable, precise cuts that improve your woodworking results. Start by practicing on simple templates and gradually move to more complex shapes. The key is to double-check your setup before routing. This habit will help you build confidence and get the consistency you want in every project.