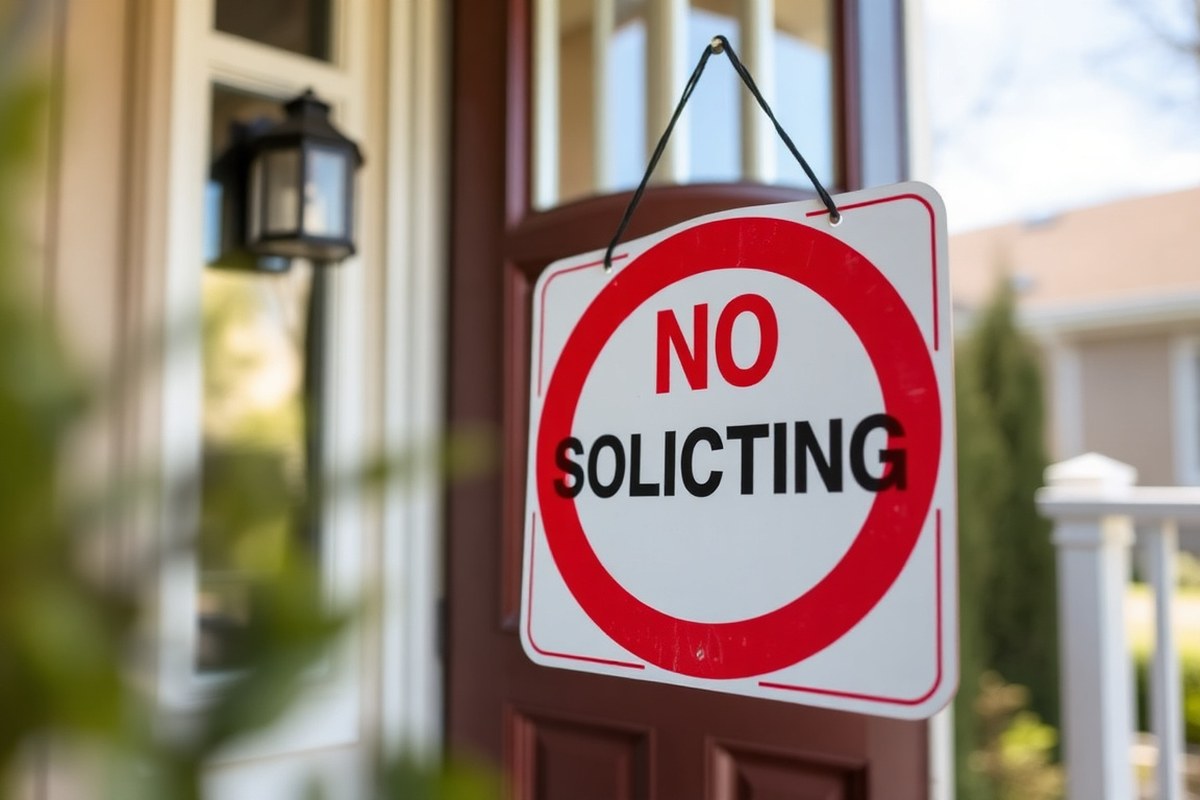
How to Make a No Soliciting Sign That Actually Works: Complete DIY Guide
How to make a no soliciting sign starts with choosing clear, readable text and durable materials that withstand weather. Use letters at least 2 inches tall to ensure visibility from 50, 100 feet away, helping to stop solicitors before they reach your door. Starting with a simple wood plank and weatherproof paint creates a strong foundation.
Key Takeaways
- Use 2-inch-tall letters on your sign for optimal readability from a distance of 50, 100 feet.
- Buy unfinished wood planks around 6×12 inches as an ideal base material for homemade signs.
- Print text on standard US letter-size paper to transfer clear lettering easily onto your board.
- Seal your sign with weatherproof paint or finish to protect it from rain and sun damage.
- Check your local municipal code to see if a no soliciting sign alone is enforceable.
- Place the sign near your front door or on the porch at eye level for best visibility.
How to Make a No Soliciting Sign for Your Home
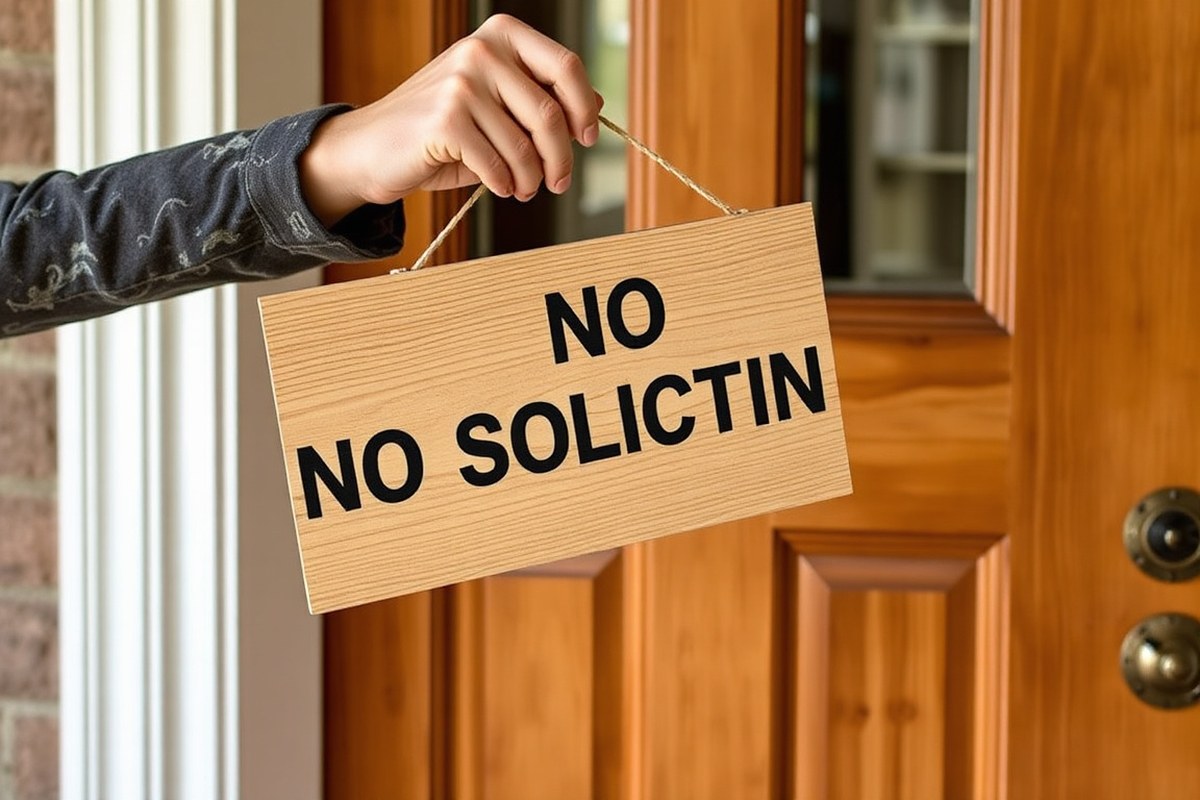
Making a no soliciting sign for your home is a simple project that you can finish in under an hour using basic materials. The goal is to create a clear, visible sign that communicates your preference to visitors and delivery people clearly and politely. Start with a sturdy base, select easy-to-read wording, and finish with a protective coating so it lasts outdoors. Proper sizing and placement also help ensure your message gets noticed and respected. Follow these steps to produce an effective DIY no soliciting sign:
- Choose your sign base. An unfinished wood plank about 10 inches wide by 4 inches tall works well for a small sign. You can also use a lightweight plastic or metal plate if you want more durability. Sand the edges and surface smooth if using wood.
- Plan your wording and font. A simple phrase like “No Soliciting” or “Please No Soliciting” is best. Use large, bold letters at least 2 inches tall to ensure visibility from 10 feet or more. Download a free stencil printable or use letter stencils for neat painting.
- Apply your letters. Position your stencil or vinyl letters on the sign and secure them with painter’s tape. Paint over them with weather-resistant acrylic craft paint, ideally in black or dark colors on a light background for contrast. Let the paint dry for at least 30 minutes.
- Add finishing touches. Paint a simple decorative border or a small floral accent to make your sign more attractive and welcoming without distracting from the message. Avoid busy backgrounds behind the text.
- Seal the sign. Spray or brush on a clear outdoor polyurethane or acrylic sealer. Apply two coats, allowing 2 hours drying time between coats. This protects the paint from fading, rain, and sun exposure.
- Attach hanging hardware. Screw small eye hooks into the top corners or attach adhesive mounting strips compatible with your door or wall surface. Make sure your method supports the sign’s weight and can withstand wind if outdoors.
- Mount the sign in a visible spot. Place your sign near your main entrance where it’s easily seen at eye level from the street or sidewalk. Avoid locations where glare or foliage might obscure the view.
Cost for materials generally runs under $15 if you already have basic paintbrushes and sandpaper. Buying vinyl letter stencils or printable templates online can add a few dollars but improves the lettering quality. A weather sealant spray often costs around $7 to $10 at craft stores. Following these steps ensures a legible, lasting no soliciting sign that fits your home’s style while keeping unwanted visits to a minimum.
Materials and Tools Needed for DIY Signs

Choosing the right materials and tools is key to making a no soliciting sign that lasts outdoors and clearly communicates your message. For durability, rigid materials like weather-resistant plastic or metal hold up best against rain, UV rays, and wind. Plastic signs, such as those made from corrugated plastic or PVC, typically cost $1 to $5 per square foot and resist moisture well. Metal options like aluminum offer excellent longevity but can be pricier and require rust-resistant coatings.
Wood is a popular choice for its natural look but needs proper sealing with outdoor-grade clear sealer to prevent warping and fading. Signs made from untreated wood often deteriorate within a few months exposed to sun and rain, so sealing should be applied and reapplied every 1 to 2 years. For paint, acrylic outdoor paints withstand weather better than standard craft paints.
Tool choice depends on how you plan to create your text and design. If you have access to a cutting machine like a Cricut, vinyl cutter, or silhouette, you’ll only need the machine, vinyl sheets, transfer tape, and weeding tools. These machines cut precise letters and shapes, producing professional-looking signs quickly.
Without cutting machines, basic tools include stencils, paint brushes, permanent markers, or paint pens. Sharpie paint markers are a simple, affordable option for adding vivid, fading-resistant text but require a steady hand. Stencils help keep letters uniform and reduce mistakes.
- Weather-resistant plastic or PVC sheets, lightweight, affordable, and water-resistant
- Aluminum sheets, highly durable, rust-resistant, but more expensive
- Wood boards, attractive but must be sealed to prevent damage
- Vinyl sheets and transfer tape, necessary for machine-cut signs
- Sharpie paint markers or acrylic paints, durable text options for hand-painted signs
- Stencil sets, ensure neat lettering without special machines
- Cutting machines like Cricut (optional), speed up precise lettering work
Clear outdoor sealer is essential if you paint or write on your sign to protect colors and materials from elements. Applying two coats with drying times ranging from 1 to 4 hours between layers is typical. For backyard or porch use exposed to sun and rain, choose a sealer rated for UV resistance.
Keep in mind the size and weight of the sign when picking materials. Heavier signs require sturdy mounting hardware to prevent damage to surfaces or the sign falling. Lightweight plastic pieces might need reinforcement if placed in windy spots.
Apply at least two coats of outdoor clear sealer on painted or wooden signs, allowing full drying time to ensure proper protection against weather damage.
Best Practices for Designing Sign Text and Size
Choosing clear, direct text and using large, readable fonts ensures your no soliciting sign effectively deters unwanted visitors. Text should leave no doubt about what behavior you prohibit, and letter size must allow easy reading from a reasonable distance. Avoid vague phrases to maintain legal and practical impact.
Recommended Letter Sizes for Visibility
Letter size plays a key role in sign readability. For a standard door or window sign, using letters at least 1 inch tall helps passersby read the message without strain. Letters between 1 and 1.5 inches high are ideal for front doors, where people stand close. If signs are placed farther away, such as on gates, increase letter height to 2 inches or more.
Fonts should be simple and bold, like Arial or Helvetica, to avoid confusion. Avoid intricate or script fonts that reduce legibility, especially outdoors where lighting varies. Black letters on a white or light-colored background maximize contrast, improving visibility in different conditions and times of day.
Comparison of Popular No Soliciting Phrases
The exact phrase you choose affects both the clarity and the strength of your sign’s message. Specific wording greatly reduces the chance of misinterpretation or legal loopholes. The following table compares common phrases based on their typical effectiveness and legal standing.
| Phrase | Clarity | Legal Backing | Recommended Usage |
|---|---|---|---|
| No Trespassing | Very Clear | Strong, Used in legal contexts | When legal enforcement is desired |
| No Soliciting | Clear | Varies by city ordinance | Residential areas with local support |
| No Flyers or No Salespeople | Specific | Varies | Focused deterrent for particular solicitation types |
| Please Respect Our Home | Vague | None | Avoid for deterrent use |
| Unsolicited Visitors Not Welcome | Soft / Vague | None | Not recommended for clear deterrent |
Signs that include phrases like “No Flyers” or “No Salespeople” clarify exactly what is prohibited, preventing common excuses solicitors might use. Use “No Trespassing” if you want stronger legal backing and it applies in your area. Avoid soft wording like “Please respect our home” because solicitors are less likely to comply.
Design Tips to Maintain Clarity and Respectfulness
Keep your wording simple and direct to avoid confusion. Avoid multiple negative commands on the same sign, which can dilute the message. Instead, choose one strong phrase that fits your needs, such as “No Soliciting,” paired with “No Flyers” if flyers are common in your area.
Use uppercase letters for the main message to improve recognition at a glance. Avoid decorative elements that distract from the text. While you want your sign to be firm, maintaining a respectful tone like “No Soliciting Thank You” can reduce the chance of escalating tension if someone ignores it.
The sign’s condition is important too. Replace faded or sun-bleached signs every few years, as worn signs lose authority and solicitors may treat them as ignored or abandoned guidance. Durable ink and protective coatings help maintain legibility for 3 years or longer outdoors, reducing maintenance costs over time.
How to Make Signs Without Special Cutting Machines
You can make an effective no soliciting sign without a Cricut or any cutting machine. Manual methods using printable stencils, hand-painting, and scissors to cut vinyl letters provide clear, professional-looking results without needing high-tech tools.
Using Printable Stencils and Transfer Tape
Printable stencils let you create neat letter outlines that can be transferred onto wood or other sign material. You only need printable stencil sheets, a craft knife, and transfer tape or even clear packing tape. This method gives you crisp edges like those from machines but without expensive equipment.
First, print your “No Soliciting” phrase on stencil paper or plain cardstock. Cut inside the letters with a craft knife, creating openings to paint through. Then use transfer tape or packing tape to lift the stencil from the paper and place it precisely on your sign surface.
Hand-Painting Letters with Stencils
After attaching the stencil to your sign, use a small foam brush or a stencil brush to dab paint inside the letter openings. This technique produces clean lines without paint bleeding under the stencil if you avoid brushing paint on too thickly.
Choose outdoor acrylic paint for durability. Let each color layer dry 20 to 30 minutes to prevent smudging. Remove the stencil slowly once the paint is dry to keep edges sharp. This manual painting method takes about 15 to 30 minutes depending on your sign size.
Cutting Vinyl Letters with Scissors
Vinyl sheets with adhesive backings are available at craft stores and are a low-tech way to add lettering. Print your lettering out on paper as a guide, then place vinyl over it and cut around the letters carefully with scissors.
Peel the backing off the vinyl letters and press them onto your sign surface. Use a credit card or flat edge to smooth out air bubbles. This method suits smaller signs or simple phrases and costs about $5 to $10 for a vinyl sheet. It requires patience and steady hand control for clean letters.
- Print your “No Soliciting” phrase on stencil paper or plain paper to create a template.
- Cut inside the letter shapes with a craft knife to make a stencil.
- Apply transfer tape over your stencil to lift and place onto your sign base.
- Secure the stencil firmly on the sign surface to prevent paint bleed.
- Use a foam or stencil brush to dab outdoor acrylic paint inside the letter cutouts.
- Allow the paint to dry 20 to 30 minutes before applying additional coats as needed.
- Slowly remove the stencil and touch up any paint smudges with a small brush.
- Optionally, seal the sign with a clear weatherproofing spray after the paint fully cures.
How to Weatherproof and Finish Outdoor Signs
For outdoor signs, using the right paint and sealant is key to keeping them looking good and readable for years. Acrylic latex paint is a solid choice because it holds up well against fading and moisture. After painting, wait about 4 to 6 hours to ensure the paint is dry to the touch before applying a sealant coat. This drying time helps the paint cure so the sealant can adhere properly, improving durability.
Sealants come in spray or brush-on types formulated for outdoor use. Look for a clear, UV-resistant spray sealer to protect your sign from sun damage and rain. These sealants form a protective barrier, reducing peeling, cracking and water absorption. Your sign material, especially wood or vinyl text, needs to be sealed thoroughly to resist temperature changes and moisture exposure.
Before sealing, make sure your sign’s surface is clean and smooth. Lightly sanding rough spots or edges improves sealant adhesion. Dust off all sanding residue before applying the finish coat. Here is a checklist to prepare your sign before sealing:
- Allow painted surface to dry fully, 4, 6 hours minimum
- Lightly sand uneven or rough areas, then remove dust
- Choose a clear, UV-resistant outdoor sealant spray
- Apply sealant evenly in light coats, avoiding drips
- Let each sealant coat dry as per label instructions (usually 1, 2 hours)
- Apply a second sealant coat for extra protection, especially on wooden signs
- Check sign edges and joints for gaps; seal or caulk if needed
Periodic maintenance extends the life of your sign. Check the sealant’s condition once or twice a year, especially after harsh weather. Notice fading, cracking, or peeling paint? Lightly sand those spots and then add a fresh layer of paint and sealant. This can cost as little as $5 to $15 per maintenance session for paint and sealant, saving you the expense of replacing the sign. In cold or wet climates, more frequent checks help prevent water damage and warping.
Always follow the sealant manufacturer’s instructions for application and drying times to get the longest lasting protection for your sign.
Where and How to Place Your No Soliciting Sign
Place your no soliciting sign in a spot where it will catch a visitor’s eye well before they reach your door. The ideal location is at eye level on your front entrance door, ensuring anyone approaching can clearly read the sign without straining or missing it. A storm door allows you to apply an adhesive-backed vinyl sign on either the inside or outside surface. This keeps the sign visible while protecting it from weather damage. A sign near the mailbox also works but should not replace a door sign for best visibility.
Mount the sign on a separate post near your mailbox to avoid adding permanent fixtures to your door or mailbox. Place the post close to the sidewalk or driveway so visitors can clearly see it as they approach. Set the height around 5 to 6 feet for easy visibility without straining the neck. Choose a sturdy, weather-resistant post, such as treated wood or metal, and attach the sign using weatherproof screws, zip ties, or outdoor-rated tape made for rough surfaces. Make sure the post is firmly anchored in the ground to stop it from leaning or tipping over.
Attaching a sign directly to the mailbox can be practical but comes with caution. Metal mailboxes handle adhesive vinyl well, and you can apply a vinyl sticker with transfer paper for a clean, peel-and-stick finish. Using an easier to remove vinyl type, like indoor 631 vinyl, can prevent damage to painted surfaces if you worry about peeling paint when removing the sign. Keep in mind mailbox placement varies, so make sure the sign faces foot traffic clearly and does not get obscured by plants, vehicles, or other objects.
For renters, putting a no soliciting sign on a storm door or inside the door with a small adhesive sticker usually complies with lease agreements. Alternatively, hanging a removable sign on the inside doorknob works well as long as it doesn’t conflict with your lease. Avoid permanent mounting methods like drilling holes. Use lightweight, non-damaging adhesives or suction cup hooks if local rules permit.
Neatness matters for effectiveness. Avoid crooked placements or signs that flap in the wind because they draw less attention and can look unprofessional. Weatherproofing your mounting method ensures the sign stays in place through rain, snow, or wind. Using outdoor-rated screws, zip ties, or waterproof adhesives designed for exterior use helps signs maintain their appearance and message clarity over time. Periodically check for damage or fading, especially if your sign is exposed directly to sun or severe weather, and replace or remount as needed to keep your no soliciting message clear and respected.
Legal Considerations and Local Regulations for Signs
Not all no soliciting signs carry the same legal weight, and local regulations often dictate what wording you should use to make your sign enforceable. In many places, a plain “No Soliciting” sign serves as a polite request but offers limited protection if someone ignores it. To have legal backing, your sign might need to include stronger language such as “No Trespassing” or reference specific local ordinances. This stronger wording can provide grounds to involve law enforcement when necessary.
Checking local rules is a critical first step before putting up a no soliciting sign, especially if you live in an apartment or condo where additional codes may apply. Many municipalities require signs to meet size, placement, or wording criteria. Property management or homeowners associations could also have their own restrictions. If your community has rules, complying with them avoids complaints or removal of your sign.
The best way to verify the legal backing of your sign starts with a simple online search or a call to your local city hall, police department, or code enforcement office. You can ask about ordinances related to solicitation and trespassing, sign regulations, and any registration you may need. Some communities require you to register your no soliciting or no trespassing sign for enforcement purposes.
- Use wording like “No Trespassing” if you want stronger enforcement options.
- Contact your local police non-emergency line for advice on allowed sign language and reporting violations.
- Review municipal codes online or in person for signage laws in your area.
- Check your lease agreement or HOA rules if you live in a managed property.
- Register your sign with local authorities if required by your city or county.
- Position your sign visibly where visitors approach your property, meeting any size or height restrictions.
- Update or replace signs regularly to keep wording clear and legible.
Local legislation can vary widely, so the cost of compliance involves the time it takes to research plus the price of printed signs that meet specific standards, often ranging from $10 to $50 for durable, official-style signage. A good result comes when your sign clearly communicates your property rules in a legally recognized way, reducing unwanted visits and enabling enforcement through local agencies if those rules are ignored.
Avoiding Common Mistakes That Undermine Sign Effectiveness
Many no soliciting signs fail to stop unwanted visitors because they contain common mistakes in design, placement, wording, or maintenance. Fixing these issues improves your sign’s visibility and the respect it receives from solicitors, helping you keep your home free from interruptions.
Common Design and Size Errors
Small signs or overly fancy fonts reduce the chances someone will read your no soliciting message. Typical printer-sized signs measuring 8×10 inches can work well if the text is large and clear. Using fonts smaller than 18-point or script styles makes your sign less readable from a distance.
The sign’s color contrast matters too. Black text on a white background or white text on a dark background is best for legibility. Avoid pastel tones or color combinations that blend in with the environment. Also, printing on paper alone without lamination or stiff backing causes the sign to droop or crease.
Placement and Visibility Problems
Signs placed too high, too low, or behind objects get ignored. The sign should be installed near your main entrance or on your front door where it is easily visible at eye level, about 4 to 5 feet from the ground. Make sure it is not blocked by vegetation or decorations.
Using a reflective background or UV-resistant materials can help ensure the sign is visible throughout the day and during changing weather. A faded or wrinkled sign can look like it no longer applies, inviting visitors to ignore it.
Maintenance and Weather Damage Issues
Outdoor signs often suffer from sun damage, rain, wind, and temperature changes. Paper signs without weatherproofing will deteriorate in weeks, appearing unprofessional and unreadable. You can prevent this by laminating your sign or using weatherproof materials like aluminum or plastic sheets.
Check your sign regularly, especially after storms or strong winds. Replace or reattach it if it bends, tears, or becomes loose. Fastening a sign with durable screws or heavy-duty tape reduces the chance that it will blow away or be removed. Expect to renew your sign every 6 to 12 months for best results, depending on your local climate.
Use clear packing tape over paper signs for a quick weatherproofing solution that extends their usable life by several months.
Wording That Confuses or Offends
Vague wording such as “No Visitors” or “Off Limits” can confuse guests or delivery people. Use straightforward phrases like “No Soliciting” or “Solicitors Please Leave.” Including a polite tone helps maintain goodwill, for example, “Thank you for respecting our no soliciting request.” Avoid aggressive or threatening language. It may backfire and cause solicitors to ignore the sign or escalate unwanted interactions. Keep the message simple, clear, and respectful to increase its effectiveness and reduce misunderstandings.
- Use large, simple fonts of at least 18-point size
- Place signs at eye level near your main door or gate
- Choose high-contrast colors for text and background
- Laminated or plastic signs last longer outdoors
- Check and renew the sign every 6 to 12 months
- Use polite, direct wording without threats
- Secure with screws or strong tape to prevent removal
Step-by-Step Action Plan for Your No Soliciting Sign
Create your no soliciting sign with confidence by following these clear steps to ensure it is visible, durable, and effective.
- Day 1: Choose Your Materials, Select sturdy materials like weather-resistant wood, metal, or plastic to ensure longevity outdoors. Confirm the material feels solid and fits the needed size.
- Day 2: Design Your Text and Layout, Use clear, simple wording with large, legible fonts. Print a test copy on regular paper to check readability from the street or driveway.
- Day 3: Create Your Sign, Use stencils, permanent markers, or paint to apply your design. Make sure the letters are evenly spaced and fully dry before handling.
- Day 4: Weatherproof the Sign, Apply a clear outdoor sealant or several coats of waterproof spray. The surface should dry to a smooth, durable finish without sticky residue.
- Day 5: Position the Sign Properly, Mount the sign near your main entrance or driveway at eye level. Stand at the street and verify it is easily visible and not blocked by plants or decorations.
- Day 7: Monitor for Effectiveness, Notice if solicitors decrease after displaying your sign. Adjust placement or visibility if unwanted visitors continue to approach.
Frequently Asked Questions
Can I Add a No Soliciting Sign to My Rental Property Door?
Usually yes, but check your lease and landlord rules before installation to avoid violations.
How Can I Make My No Soliciting Sign More Noticeable at Night?
Use reflective paint or add battery-operated LED lights near your sign for better nighttime visibility.
What Are the Best Materials for a Durable No Soliciting Sign?
Weather-resistant materials like aluminum, acrylic, or treated wood last longer outdoors without fading or warping.
Is It Okay to Include Specific Groups in a No Soliciting Sign?
Including groups can clarify intent, but local laws may restrict exclusions, so review your city’s rules first.
Can I Use My No Soliciting Sign to Stop Delivery Drivers?
No, these signs target solicitors, but you can add a separate note for deliveries to avoid confusion.
Should I Put My No Soliciting Sign Inside or Outside My Front Door?
Place the sign outside at eye level near entrances where solicitors approach for maximum effectiveness.
Wrapping Up
A well-made no soliciting sign is a simple way to reduce interruptions and protect your privacy. Start by choosing durable materials today and placing your sign where it catches attention. This small project can provide peace of mind and help maintain your home’s tranquility.