How to Make Wooden Signs: A Complete Guide for Easy DIY Success
How to make wooden signs starts with choosing the right wood and design. Cut or purchase a wood piece sized 10 by 12 inches for easy handling. Using a paint pen simplifies adding lettering, making your sign neat and professional with minimal effort.
Key Takeaways
- Select plain 3/4″ birch plywood for a sturdy, smooth base ideal for painting and finishing.
- Cut your wood pieces slightly larger than the final size to allow sanding and trimming.
- Use a paint pen instead of a brush for quicker, more accurate lettering on your sign.
- Allow primer or paint to cure for at least 24 hours before applying additional coats or sealer.
- Consider using a LaserPecker LX2 for precise cuts and engraving on wood signs.
- Start with a wooden sign about 10×12 inches for manageable workspace and project control.
How to Make Wooden Signs Step by Step
Making wooden signs from start to finish involves a clear sequence: selecting the wood, preparing the surface, transferring your design, painting, and finishing with a protective seal. A simple sign project can take between 6 to 8 hours, depending on your experience, the tools you use, and the complexity of your design. Signs can be made fully by hand if needed, using hand tools and paint pens, making this accessible even without power tools.
Choosing and Preparing Your Wood
Selecting the right wood is the foundation for a durable and attractive sign. Birch plywood, 3/4 inch thick, is a popular choice for its smooth surface that accepts paint well. Pallet wood or leftover fence pickets are affordable options but may require extra sanding to remove rough spots or nails.
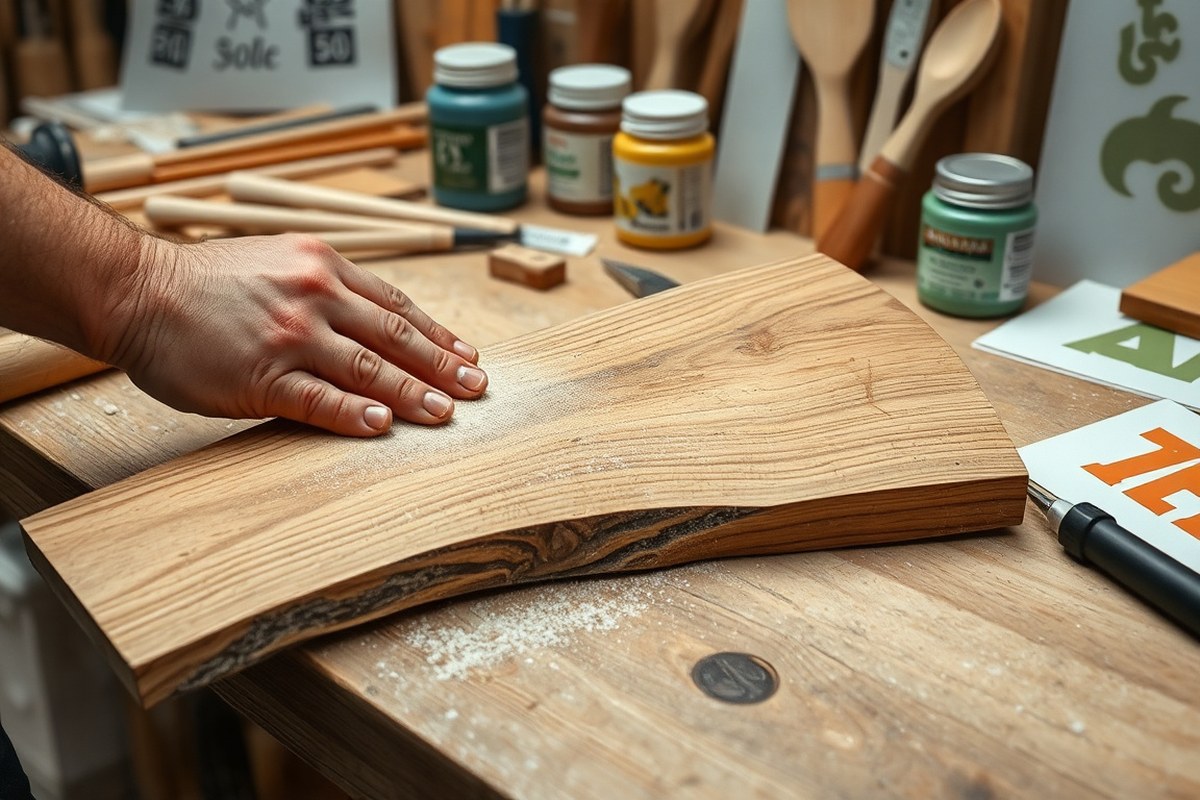
Once you’ve chosen wood roughly the size and thickness you want, prepare it by sanding with medium-grit sandpaper (around 120 grit) to smooth out roughness and remove splinters. A finer grit (220) will leave the surface ready to accept paint without soaking too much. Sanding by hand is entirely possible and can take about 30 to 60 minutes depending on the board size.
Transferring and Painting the Design
Transferring your design accurately ensures your sign looks professional. You can sketch your design on paper first, sizing it to fit your wood. For transferring, use carbon paper to outline your design on the wood, or freehand draw directly if confident. Stencil painting is a beginner-friendly option, requiring only scissors and craft paper to create reusable templates.
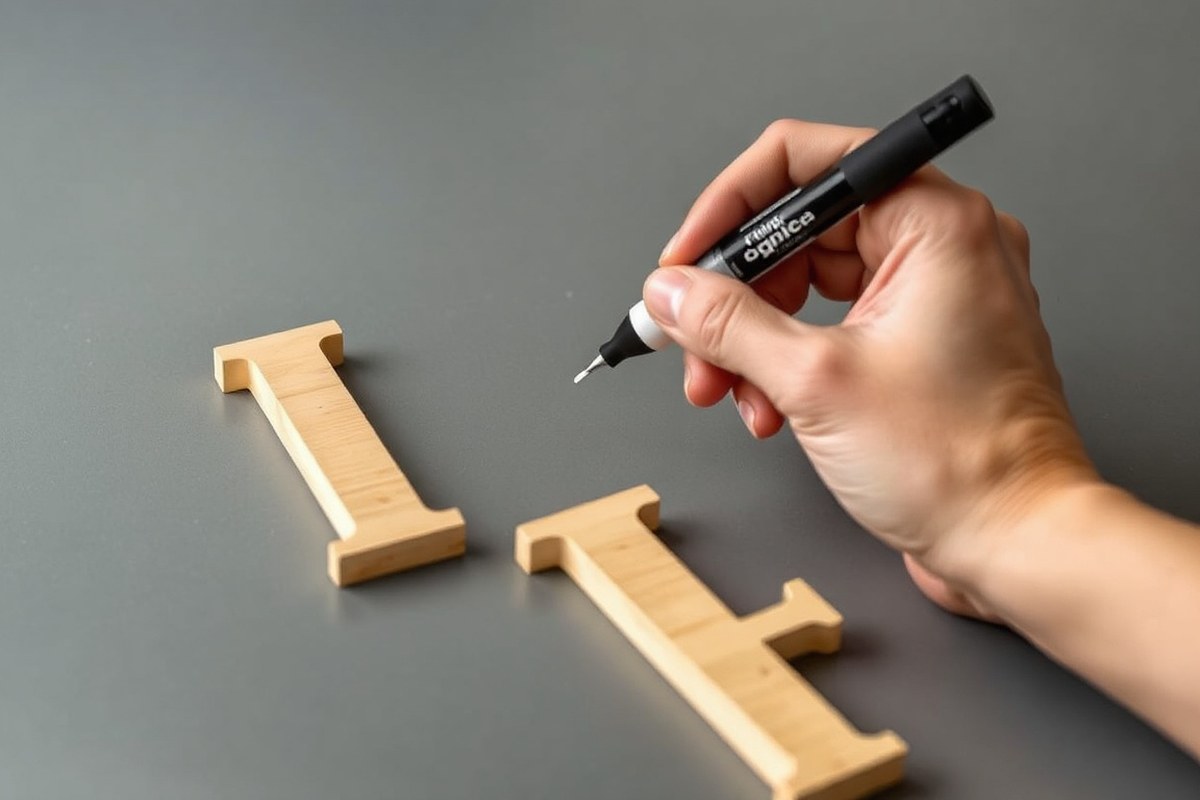
Painting the lettering or graphics is easiest with oil-based Sharpie paint pens, which provide clean lines and durability. Use acrylic paint and fine brushes for larger or decorative sections. Painting the design may take 1 to 2 hours, depending on complexity and drying times. Stencil painting requires less time but offers less freedom for customized artwork.
Finishing and Displaying Your Sign
After painting, protect your sign by applying a clear sealer or varnish. A water-based polyurethane spray or brush-on finish works well to prevent moisture damage and fading. Apply 2 to 3 thin coats, allowing each coat to dry for 2 to 4 hours. Sand lightly with 220 grit between coats for a smooth finish.
Adding hanging hardware or a frame is optional but recommended for display and durability. Use picture hangers, sawtooth hooks, or attach a simple wooden frame with nails or glue. This last step ensures your sign is ready to hang or place outdoors without damage.
- Choose wood of the desired size and type, such as 3/4″ birch plywood or reclaimed pallet wood.
- Sand the wood with 120 grit, then 220 grit sandpaper until smooth.
- Create or select your design, size it to fit your wood surface.
- Transfer the design to the wood using carbon paper, a stencil, or freehand drawing.
- Paint the design with oil-based paint pens or acrylic paint and brushes.
- Allow the paint to dry fully, usually 1-2 hours.
- Apply 2-3 coats of clear sealer or polyurethane, sanding lightly between coats.
- Attach hanging hardware or frames to prepare the sign for display.
Best Wood Types and Sizes for Durable Signs
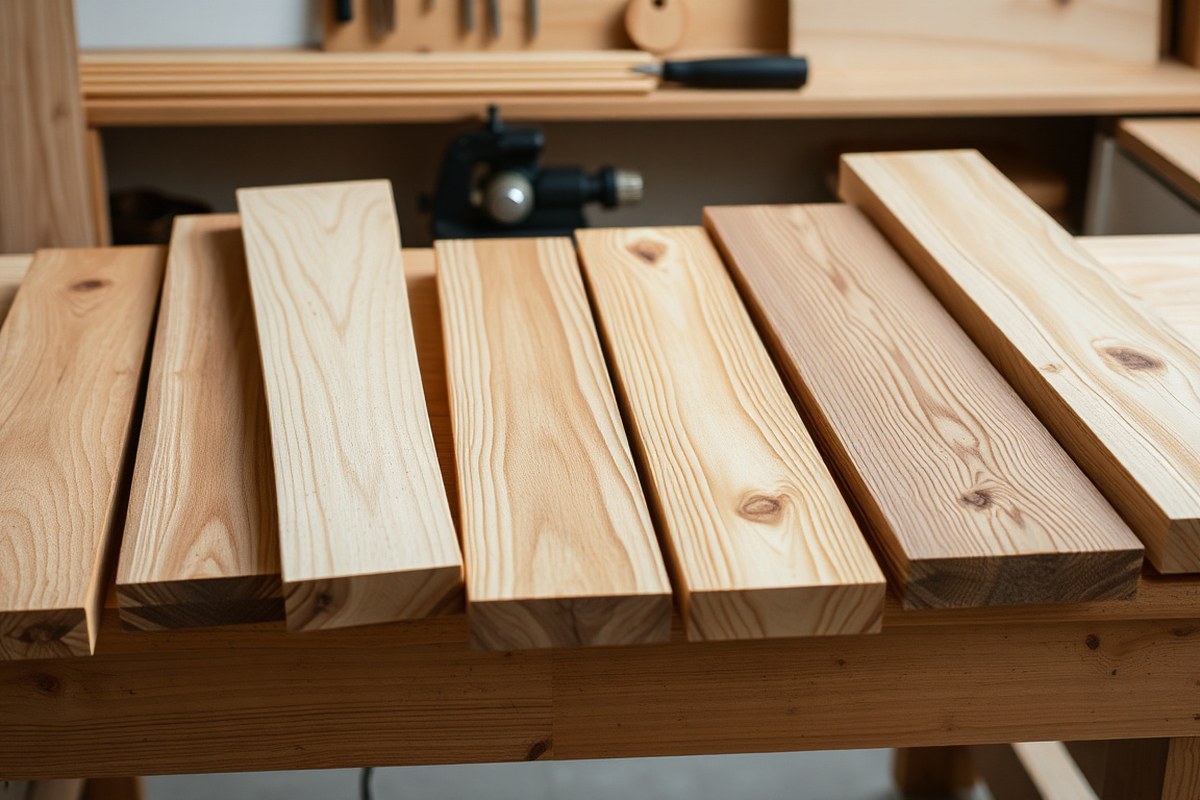
Choosing the right wood type, size, and thickness is essential for creating wooden signs that last and look great. Your selection can change based on whether the sign stays indoors or faces weather outdoors. For indoor signs, pine or smooth plywood works well because they are easy to paint and affordable. Outdoor signs need woods like cedar or cypress, which resist rot, moisture, and insect damage, keeping the sign durable for years.
Thickness also affects durability and appearance. Thin plywood around 1/4 inch might be tempting because it is lighter and easier to handle, but it is less stable and more likely to warp or crack. Using 1/2 inch or 3/4 inch plywood offers better stability and strength. For solid wood signs, thickness in this range also helps with your paint or carving work, providing a sturdy surface that holds detail and resists bending.
The size of your sign depends on where you plan to display it, but standard thicknesses usually go hand in hand with common sizes, like 12×24 inches or 18×24 inches for entryway signs. Larger outdoor signs should use thicker, weather-resistant wood to prevent damage from wind or rain.
| Wood Type | Characteristics | Best For |
|---|---|---|
| Pine | Softwood, easy to work with, affordable | Beginner projects, indoor signs |
| Cedar | Durable, resistant to rot and insects, aromatic | Outdoor signs, decorative projects |
| Cypress | Durable, resistant to moisture, attractive grain | Outdoor signs, rustic designs |
Plywood is a popular wood sign choice because it’s affordable and stable, making it easy to cut and paint. However, avoid anything thinner than 1/2 inch for lasting signs. Using 3/4 inch plywood is even better when you want durability and a more professional look. Thicker plywood reduces the risk of warping and provides a smoother surface for painting or carving.
When selecting wood for outdoor signs, check the material carefully for natural resistance to weather. Cedar and cypress hold up well against moisture and insect damage, essential for signs exposed to sun, rain, or snow. After choosing your wood, sealing with a durable finish like polyurethane helps protect your work even further.
Using plywood thinner than 1/2 inch for outdoor signs often leads to warping and damage, so choose thicker plywood or solid wood types designed for weather resistance.
Tools and Materials You Need for Successful Sign Making
Making wooden signs requires a few essential tools and materials, but you don’t have to invest in everything at once. Starter kits often include hand tools like brushes and sandpaper, which are affordable and perfect for learning. Power tools can make the process faster and allow more detailed work, but they aren’t strictly necessary for beginners. For example, hand painting is a rewarding method that only needs paint, brushes, and a sanding block, while laser cutters or CNC machines provide sharp details and precision for experienced sign makers.
The wood you choose acts as your canvas, so pick smooth, flat pieces like pine or cedar that are easy to paint or carve. For a 12-by-5.5-inch sign, which is a common size, a single wood board will do. Sand the surface before painting to help the paint stick better and to avoid rough textures. Using a sanding block or power sander speeds this up. Expect to spend around $5 to $20 for suitable wood boards.
Paint plays a key role in the look and longevity of your sign. Any paint can work for the background, including craft paints, chalk paint, or regular wall paint. Use brushes sized accordingly: small round brushes for fine details and flat brushes for filling in backgrounds. For lettering, stencils and paint pens improve accuracy without needing artistic skill. Sealing the sign with a clear finish protects your work, especially if the sign will be outdoors. Polyurethane spray or brush-on sealers come in satin or glossy finishes and cost about $8 to $15 per can.
- Wood boards: pine, cedar, or plywood, sanded smooth
- Paint: acrylic craft paint or chalk paint for backgrounds and details
- Brushes: flat and round sizes for different painting tasks
- Sandpaper or sanding block (120-220 grit) to prepare wood
- Stencils, paint pens, or marking pencils for lettering
- Clear sealers: spray or brush-on polyurethane or varnish
- Optional power tools: orbital sander, scroll saw, or laser cutter
Power tools like orbital sanders speed prep by quickly smoothing wood, and scroll saws help cut custom shapes, but you can also hand sand and pre-cut boards from home centers. Laser and CNC machines cost more upfront but improve detail and efficiency. Choose tools based on your budget, skill level, and desired finish. Invest in quality brushes since cheap ones lose hairs and deliver uneven strokes.
For your first wooden sign, limit tools to basics like sandpaper, paint, and brushes to get comfortable with handling wood and paint. Add stencils or pens for lettering help. Seal your sign only after paint fully dries, usually after 24 hours, to avoid smudging. This process ensures your sign looks polished and lasts longer.
How to Transfer Your Design Onto Wood Accurately
Transferring your design onto wood accurately can be done using tracing, stencils, or carbon paper methods. Each method fits different design types and skill levels, impacting how clean and precise your painted sign will look. Choosing the right approach depends on the detail you want and whether the design repeats or stands alone.
Tracing Designs Freehand
Tracing involves using a pencil to draw your design directly onto the wood surface. You can do this by shading the back of a printed design with pencil graphite and then placing it face-up on the wood. Trace over the front lines with a sharp pencil or stylus, pressing firmly to transfer the pencil graphite onto the wood. This method works well for simple designs or when you want a freehand look.
The key is to use a chalky, porous wood surface, which allows pencil marks to adhere better for easier painting. Avoid tracing on rough or resinous wood, as the graphite may not transfer cleanly. Tracing is cost-effective since you only need a pencil and printout, but it’s less ideal for very detailed or repetitive patterns due to the risk of smudging or inaccuracies.
Using Stencils for Painting
Stencils provide a reusable template to paint clean, bold letters or repetitive designs. You can buy pre-made stencils or create custom ones by cutting your design out of stiff plastic or cardstock. Secure the stencil firmly onto the wood with painter’s tape to prevent shifting. Then, use a stencil brush or sponge with paint, applying it gently to avoid bleeding under the edges.
This method excels with repetitive, bold letter styles or geometric patterns where consistency matters. It also reduces freehand errors and is beginner-friendly. However, making your own stencil takes patience, and small, intricate details may be difficult to cut or hold in place. Using multiple stencils allows for layering colors or complex designs.
Carbon Paper Transfer Method
Carbon paper offers precise design transfer and suits detailed, complex artwork. Position graphite-side down on the wood, then tape your printed design on top to prevent movement. With a sharp pencil or pen, trace over the design’s lines. The pressure transfers the graphite accurately onto the wood, ready for painting or carving.
This method provides cleaner results than freehand tracing and can capture fine lines better than stencils. It’s ideal for signs requiring exact lettering or detailed imagery. Keep the wood surface smooth and lightly sanded for best results. Carbon paper costs around $5 to $10 for a pack and lasts for multiple projects, making it a practical investment. Here’s a simple comparison of these three transfer methods:
| Method | Description | Best For |
|---|---|---|
| Tracing | Using a pencil to draw the design directly on wood | Simple designs, freehand artists |
| Stenciling | Creating and painting through a cutout template | Repetitive designs, bold letters |
| Carbon Paper | Using graphite paper to transfer detailed designs | Detailed designs, precise transfers |
Select a method based on your design’s complexity, the need for repetition, and your comfort level with the tools. Secure your templates well, maintain steady pressure when tracing, and test on scrap wood first to avoid errors. Proper preparation ensures the best paint adhesion and a sharp final look.
Painting and Decorating Your Wooden Sign with Ease
Choosing the right paint is important for a wooden sign that looks good and lasts. Acrylic latex paint works well for most indoor and outdoor signs since it dries quickly and resists cracking and peeling. For finer details like lettering, oil-based paint pens, especially Sharpie oil-based paint pens, deliver sharper, more durable lines than standard paintbrushes. White paint tends to show up best with these pens. When painting larger areas or background colors, use a good paintbrush or a small foam paint roller to save time and maintain smooth coverage.
Painting clean, sharp lettering requires steady hands and good preparation. Start by transferring your design onto the wood using stencils or transfer paper. To achieve crisp edges, apply painter’s tape carefully along the outlines of your letters if you are painting freehand. Thin brushes work best for letter edges; dab gently instead of brushing hard to prevent paint bleed. Let each paint layer dry completely before adding another to keep colors from mixing unintentionally. For smaller details, use paint pens after the base coat is dry.
Mistakes happen, but you can fix most of them without ruining your sign. If paint spills over or smudges, wait for it to dry fully, then lightly sand the spot with 220 grit sandpaper until smooth. Repaint the corrected area carefully. For small touch-ups, a fine brush dipped in matching paint works well. It’s easier to prevent mistakes by working slowly, especially around edges, rather than rushing through the project.
Adding decorative details makes your sign unique. Once the paint is fully dry, you can distress edges with light sanding to give a vintage or rustic look. You might also glue on small embellishments like faux flowers or hooks for functional charm. Painting layers in contrasting colors or adding shadows and highlights can add depth and interest to the lettering. Plan for extra drying time, usually at least 24 hours, to ensure all paint and decorations set properly before handling or sealing.
Always allow each paint layer to dry completely before applying the next to avoid smudging and unwanted color blending.
Sealing and Finishing Options to Protect Your Sign
To protect your wooden sign and help it last, applying a clear finish is essential. For indoor signs, polyurethane, wax, and varnish all work well. Polyurethane offers a durable, water-resistant coat and is ideal when the sign might get handled or exposed to moisture like kitchen humidity. A wipe-on polyurethane or spray version makes application simple and requires less sanding between coats. Wax gives a soft sheen and is great for signs meant for low-traffic indoor areas, but it doesn’t provide strong water or scratch protection. Varnish provides a slightly glossy, hard finish that protects wood from scratches and dirt, suitable for indoor or covered outdoor spaces. Polyurethane usually costs $10 to $20 per quart, while wax and varnish are in a similar price range but vary by brand.
Outdoor wooden signs demand finishes designed to withstand sun, rain, and temperature changes. Use exterior-grade polyurethane or spar varnish, which include UV blockers and flexible resins to prevent cracking. Applying two to three coats is common for strong protection. Each coat should dry for 4 to 6 hours before lightly sanding with 220-grit sandpaper and wiping off dust. Avoid applying finishes below 50°F or above 90°F as drying issues can occur. Weatherproofing ensures your sign maintains color and integrity for years, but even the best sealants usually need reapplication after 1 to 3 years depending on exposure. Outdoor-grade paint underneath helps with color retention as well.
Apply finishes with a synthetic bristle brush or clean, lint-free cloth for wax. For polyurethane and varnish, brushing along the wood grain prevents bubbles and streaks. Always start with clean, dry wood free of dust. After the first coat dries, sand the surface lightly to remove raised grain and improve adhesion for the next coat. Repeat this process for each additional layer. Waiting 4 to 6 hours between coats allows proper curing, but check the product label because drying times can vary with humidity and temperature. A well-sealed sign will feel smooth, have even color, and resist water beading on the surface.
A final tip: test your finish on a scrap piece of the same wood before applying it to your sign. This reveals how the wood reacts and helps avoid an unwanted finish color or texture. When sealing outdoor signs, plan enough time to apply multiple coats with drying time in between. Skipping sanding or applying thick coats too quickly can cause bubbling or a cloudy look. Following these steps helps you create a wooden sign that stays attractive and protected regardless of where you hang it.
Adding Frames and Hanging Hardware for Display
Adding a frame to your wooden sign improve its appearance and protects the edges, giving it a polished, finished look. Frames also provide a solid base for attaching hanging hardware, which allows you to display your sign securely and easily. Proper measuring, cutting, and mounting are key to making sure your sign looks balanced and hangs safely.
Measuring and Cutting the Frame
Start by deciding if you want a narrow or wider frame based on the style you prefer. A common frame width is between 1 to 2 inches. To get the right dimensions, measure the width and height of your wooden sign precisely with a tape measure.
For a basic frame, cut four frame pieces: two horizontal (top and bottom) and two vertical (sides). The vertical pieces should match the sign’s height, and the horizontal pieces should be the width of the sign plus twice the frame width to fit snugly around the sides.
- Measure the height of your sign and mark this on two 1×2 or 2×2 wood strips for the vertical frame pieces.
- Measure the width of your sign and add twice the chosen frame width to that number for the horizontal pieces.
- Use a miter saw or hand saw to cut your four frame pieces. Cut the ends at 45-degree angles for corner joints that fit together cleanly.
- Double-check all measurements before cutting to avoid mistakes that waste wood.
Attaching the Frame to the Sign
Attach the frame pieces securely using wood glue and nails or a brad nailer. Begin with the side pieces, then add the top and bottom pieces. Clamping the frame in place while the glue dries will increase strength and alignment.
A well-attached frame should sit evenly around the edges without gaps. Using finishing nails and wood glue keeps the frame sturdy and helps prevent separation over time, especially if your sign will be hung outdoors.
- Apply wood glue along the edge of your sign where the frame pieces will attach.
- Position one vertical piece flush with the edge and nail it in place with finishing nails every 6 to 8 inches.
- Repeat for the other vertical side piece.
- Attach the horizontal top and bottom pieces the same way, aligning corners at mitered joints.
- Clamp or hold the frame firmly while the glue dries, usually about 30 minutes, for best adhesion.
Installing Hanging Hardware
The hanging hardware you select should match your sign’s weight and dimensions, as well as its intended placement. Common choices are sawtooth hangers, D-rings paired with wire, screw-in hooks, or twine for a vintage style.
For smaller signs under 5 pounds, a sawtooth hanger nailed in the center back works well. Heavier signs benefit from D-rings with picture wire, hung on sturdy nails or hooks. Attach hardware centered and about one-third down from the top edge to create balanced hanging and prevent tilting.
- Determine the hanging location on the sign’s back, typically near the top edge.
- For sawtooth hangers, center and nail it directly to the back of the sign.
- For D-rings, screw one on each side about one-third down from the top, then attach picture wire tightly between them.
- Alternatively, screw in two hooks on each frame side near the top and tie twine or rope between them for a handcrafted style.
- Test the hanging by placing the sign on a wall hook or nail to ensure it hangs level and securely.
Common Mistakes and How to Fix Them
Beginner wood sign makers often face issues like paint bleeding, uneven sanding, and wood splits. Paint bleed happens when paint seeps under stencils, ruining crisp lines and the design’s clarity. Uneven sanding leaves rough spots or an inconsistent surface, affecting both aesthetics and paint adherence. Splits in the wood weaken your sign and make finishing difficult.
Fixing these problems starts with careful preparation and technique adjustments. For paint bleeding, the solution is sealing your stencil edges before applying paint. Use a clear acrylic medium or a thin layer of the base paint on the areas covered by the stencil. Wait for it to dry fully so the stencil sticks well, preventing paint from sneaking underneath.
Uneven or rough sanding can be corrected by starting with a 120-grit sandpaper on edges and surface to smooth bumps or splinters, then finishing with 220-grit sandpaper for a fine, even surface ready for paint or stain. Avoid aggressive, uneven pressure which can gouge the wood or change its shape.
Wood splits are best prevented by using the right type of wood and handling it gently during sanding and painting. If splits occur, apply quality wood glue carefully into the crack, clamp it if possible, and let it dry 24 hours before sanding and painting over. This stabilizes the wood and preserves your sign’s structure. Here’s a checklist to prevent and fix common mistakes:
- Seal stencil edges with clear acrylic or base paint to stop paint bleed.
- Sand first with 120-grit and finish with 220-grit sandpaper for smoothness.
- Use light, even strokes when sanding to avoid gouges or roughness.
- Choose stable, split-resistant wood and inspect for flaws before starting.
- Fix wood splits promptly with wood glue and clamp for 24 hours.
- Let each paint layer dry completely to prevent smudging and uneven texture.
- Repaint areas with bleeding using a small brush and matching paint after sanding.
Make sure to lightly sand between paint layers to remove raised wood grain and ensure the next coat sticks evenly without bumps.
Addressing these issues early on saves time and yields a professional-looking sign. Sanding evenly and sealing stencils help keep your lines sharp and surfaces smooth. Repairing any wood damage before finishing prevents problems later. Taking these steps produces wooden signs that hold up well and look great.
Step-by-Step Action Plan
Follow these steps to create your wooden sign from start to finish. Each phase builds on the last, so take your time and check your progress as you go.
- Before you start: Gather your wood, tools, and materials listed, ensuring your workspace is clean and well-lit. You’re ready when everything is within easy reach.
- Day 1: Prepare the wood by sanding it smooth and cutting to size. The surface should feel even and free of splinters.
- Day 2: Transfer your design onto the wood using tracing paper or a stencil. Check that the design aligns with your planned layout.
- Day 3: Paint or decorate the sign carefully, applying multiple thin coats for even coverage. Let each layer dry fully; the colors should look solid and neat.
- Day 4: Seal the sign with an outdoor-grade clear finish to protect it from weather. It’s ready when the finish feels smooth and no longer tacky.
- Day 5: Attach any frames or hanging hardware securely. The sign should hang straight and stable when tested.
- After 1 week: Check your sign for any chipped paint or rough edges and fix them with touch-up paint and sanding as needed.
Frequently Asked Questions
Can I Use a Laser Cutter for Custom Wooden Signs?
Yes, laser cutters like the LaserPecker LX2 offer precision and efficiency. They can cut or engrave plywood, hardwood veneers, and MDF up to 60W power, making detailed designs easier and faster than hand tools.
What Type of Finish Is Safest for Outdoor Wooden Signs?
Water-based exterior varnishes protect wood without harmful fumes. They preserve your sign’s look and resist weather damage for reliable outdoor display.
How Do I Avoid Warping in Wooden Signs?
Use stable, dry wood like plywood or hardwood veneers. Sealing all sides evenly and avoiding direct prolonged moisture helps keep signs flat and prevents warping over time.
Can I Use Recycled Wood for Making Signs?
Yes, recycled wood can work well if it’s smooth, clean, and free of nails or chemicals. It provides a rustic look but requires proper sanding and sealing to prevent damage.
Are Vinyl Decals a Good Alternative to Painting Signs?
Vinyl decals are quick and precise for lettering or designs. They’re less messy than paint but may peel outdoors unless properly sealed with a clear topcoat.
How Do I Repair Scratches on Painted Wooden Signs?
Light scratches can be touched up with matching paint or marker pens. For deeper damage, sanding and repainting the affected area before resealing restores the finish.
Final Thoughts
Creating wooden signs combines straightforward steps with attention to detail, and the reward is a beautiful, personalized piece you can display proudly. Take on your next project by planning your first design and gathering materials today to get started. The more you practice, the better your technique and finished signs will become.