How to Make Glass Signs: 8 Essential Methods with Step-by-Step Guides
Learning how to make glass signs involves selecting the right materials and mastering techniques like painting, vinyl application, or etching. The key is to prepare the glass surface thoroughly to ensure durability and clarity. Starting with a clean, smooth glass allows paint and vinyl to adhere better, resulting in lasting and professional signs.
Key Takeaways
- Choose glass types based on sign use, such as tempered for safety or lead crystal for decorative detail.
- Gather essential tools like glass cleaners, brushes, vinyl cutters, and etching kits before starting.
- Clean glass surfaces with traditional powders like Bon Ami for optimal paint and vinyl adhesion.
- Use guides and templates printed at 100% scale to ensure precise designs on glass signs.
- Consider plexiglass for lightweight, durable signs that resist breakage better than standard glass.
- Control kiln temperatures carefully when melting glass mixtures, which range from 1,500 to 2,500°C.
1. Common Types of Glass Signs and Their Uses
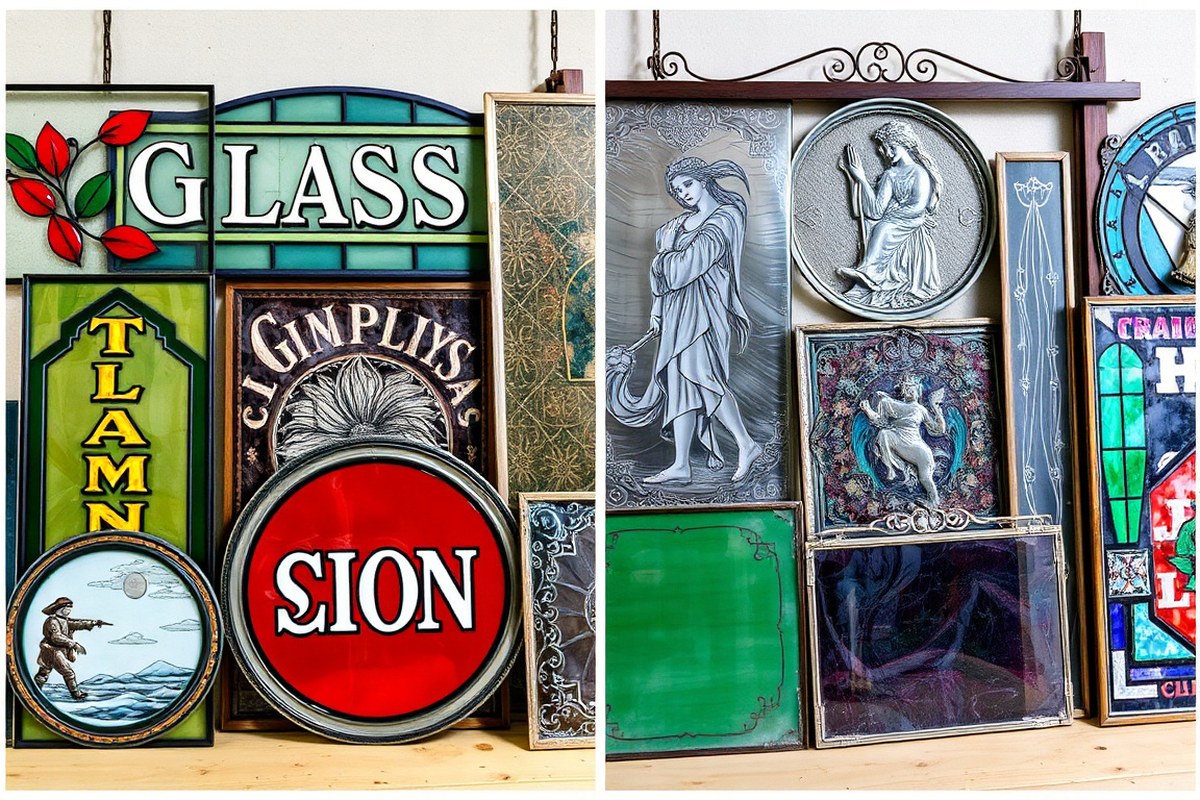
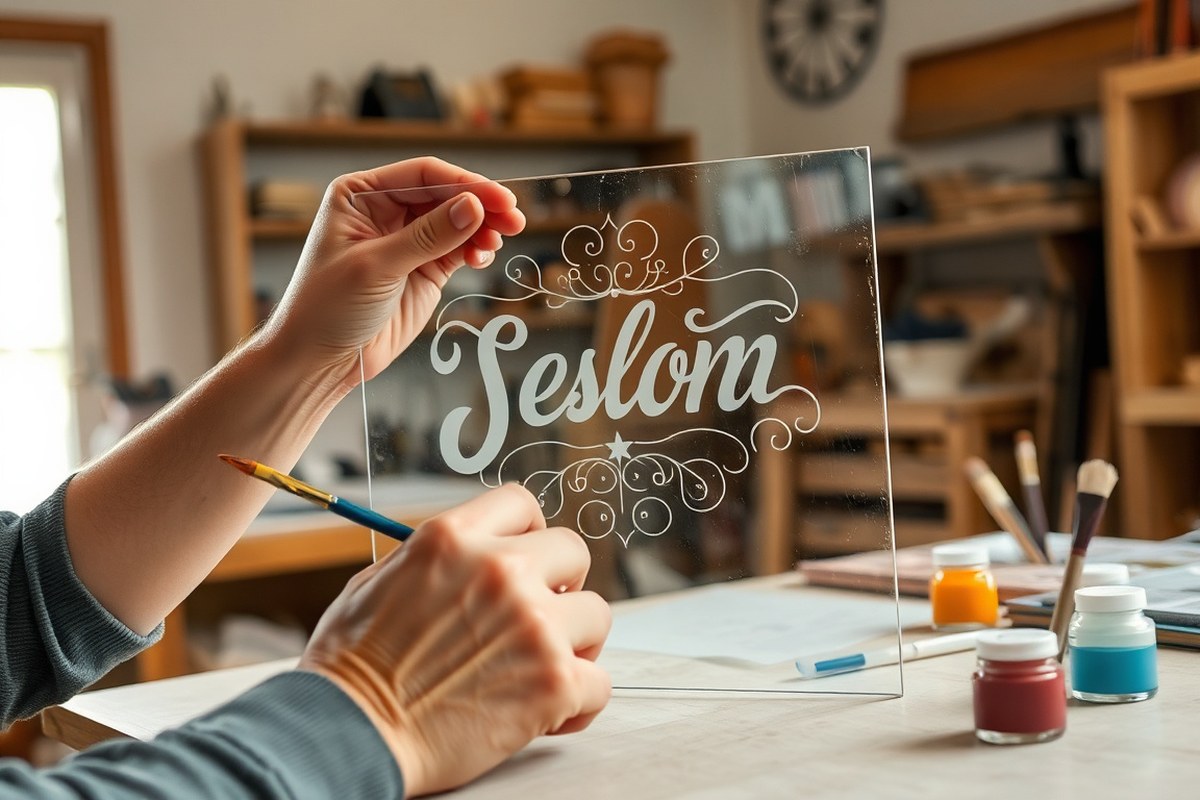
Glass signs come in several main types, each suited for specific uses and styles. Painted glass signs use special glass paints applied to the back or front of a glass surface. This method creates an elegant, smooth finish with vivid colors. It works well for both indoor and outdoor settings, though outdoor signs may require a protective sealant to prevent weather damage. Paints like enamel or acrylic designed for glass offer durability, and the key is to paint on the back for a mirror effect. Typical examples are decorative store signs, menus in restaurants, or wedding signs with custom lettering.
Vinyl graphic signs involve cutting designs or letters from adhesive vinyl sheets and applying them to the glass surface. This method is great for temporary or semi-permanent signs and offers crisp, clean edges. Vinyl works well for indoor signs or outdoor signs sheltered from harsh weather. Application requires careful surface preparation to avoid bubbles and ensure adhesion. Common uses include office door signs, promotional messages on glass windows, or branding on storefronts.
Etched or sandblasted glass signs provide a professional, textured look by removing a layer of glass to create frosted designs. Sandblasting requires specialized equipment that blasts abrasive material at high speed to carve the glass surface. Etching cream offers a less intense alternative for DIY projects but yields less permanent results. These signs are ideal for privacy panels, nameplates, or upscale business signage. Because the process permanently alters the glass, it is suited to both indoor and outdoor use, especially where a classic, understated appearance is desired.
Stained glass signs use colored glass pieces assembled into patterns or images, held together by lead came or copper foil. This technique is more complex and time-consuming but results in striking, decorative signs that catch and diffuse light uniquely. These signs are typically used indoors, in places like boutique shops, galleries, or homes to add artistic flair. Creating stained glass signs requires cutting glass accurately and soldering seams, which takes more skill and can be pricier due to materials and tools.
For outdoor and heavy-duty use, tempered glass signs are a solid choice. Tempering involves heating glass to at least 1,112 degrees Fahrenheit and then rapidly cooling it, which increases strength and safety. Tempered signs resist breaking under stress and are often used for storefronts or public displays. This method requires access to professional tempering ovens, so it’s usually done by manufacturers rather than DIYers.
Acrylic or Plexiglass signs are a practical alternative to traditional glass. Plexiglass is 20 times stronger and lighter than glass, making it easier to handle and less prone to breaking. It can be painted or used with vinyl graphics, offering versatility and durability for both indoor and outdoor signs. These signs are common for light boxes or illuminated signage where less weight and impact resistance matter.
Choosing which type of glass sign to make depends on your project’s location, budget, and desired style. Painted and vinyl signs are straightforward and cost-effective for custom looks, with paint offering more artistic freedom. Etching adds a timeless professional touch, while stained glass brings color and artistry at a higher cost and time commitment. Tempered glass suits safety and durability needs, generally requiring professional services. Plexiglass offers a lightweight, strong alternative suitable for many applications where traditional glass is impractical.
2. Essential Materials and Tools for Glass Sign Making
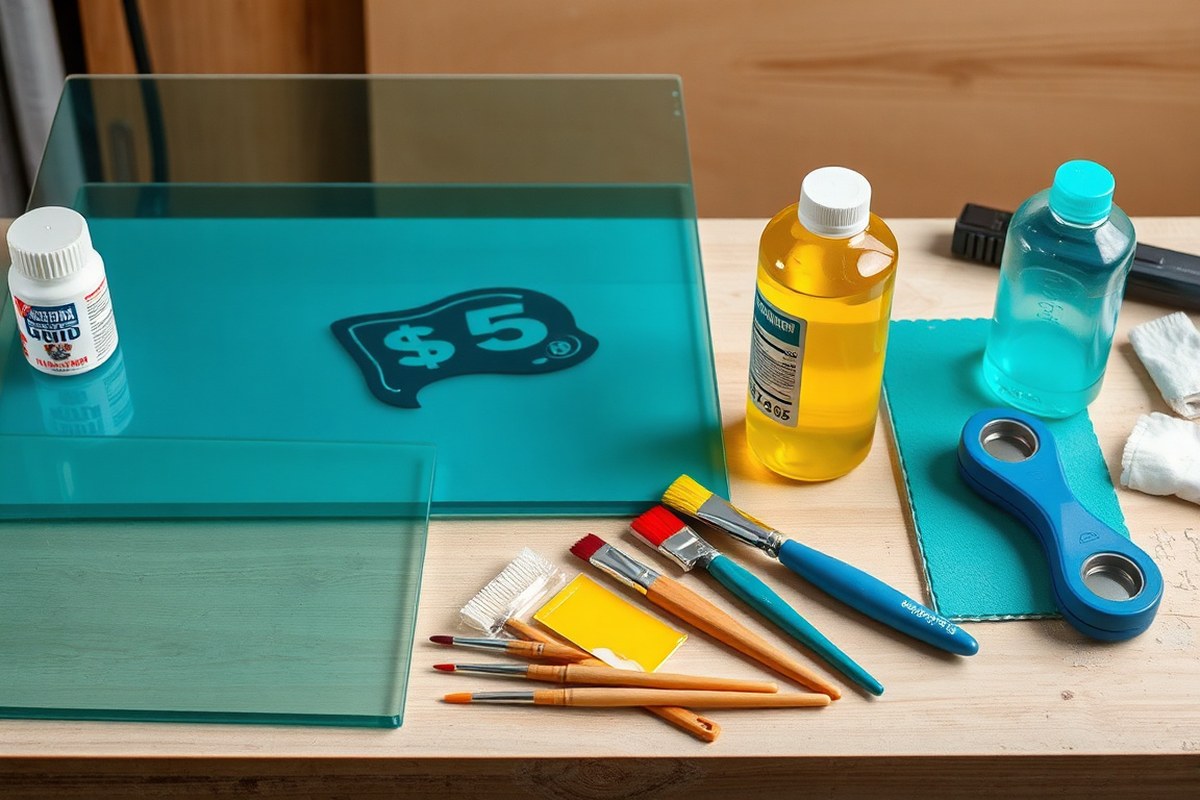
Choosing the right type and size of glass depends on the sign’s purpose. For larger signs, like welcome displays, use tempered glass or acrylic sheets sized at least 18 by 24 inches to ensure durability and ease of handling. Smaller table signs typically require pieces around 8 by 10 inches. Tempered glass resists breaking but costs more, ranging from $30 to $60 for a piece this size, while acrylic offers a lightweight, shatter-resistant alternative at about $15 to $30.
Different methods require distinct materials. Painting glass signs necessitates glass-specific acrylic or enamel paints and paint pens that offer good adhesion and vibrant colors. For vinyl application, use high-quality outdoor adhesive vinyl designed for glass surfaces to prevent peeling and fading. Etching or sandblasting requires stencils, etching cream or a sandblaster, plus safety equipment to handle chemicals and fine particles safely. Stained glass demands colored glass sheets, a glass cutter, copper foil or lead came for joining pieces, and soldering tools.
Safety gear is essential across all glass sign projects. Always wear goggles to protect your eyes from glass shards and dust. Gloves prevent cuts when handling glass edges or soldering equipment. A dust mask is important when sandblasting or applying etching cream to avoid inhaling harmful particles or fumes.
- Glass or acrylic sheets sized to your sign’s needs (larger for display, smaller for table use)
- Glass-specific acrylic or enamel paints and paint pens for painted signs
- Outdoor adhesive vinyl for crisp, durable decals
- Glass cutter, sanding block, and design stencils for cutting and tracing
- Etching cream or sandblaster and stencils for etched signs
- Colored glass sheets, copper foil/lead came, soldering iron for stained glass
- Safety goggles, cut-resistant gloves, and dust masks for all cutting and finishing steps
Always secure your workspace and double-check that tools like sandblast hoses are firmly attached before starting to avoid accidents.
Choosing quality materials boosts your chances of a professional look. Use paint pens labeled for glass to avoid colors that flake off, and select vinyl rated for UV resistance if the sign will face sunlight. When selecting glass or acrylic, inspect for blemishes or warping, which can distort your design or weaken the sign. Tempered glass is safer but harder to cut yourself, so pre-cut sizes or acrylic may be better for beginners. For stained glass, buying pre-colored sheets with consistent thickness simplifies assembly and soldering.
3. Preparing Glass Surfaces for Painting and Vinyl Application
Properly cleaning and preparing glass surfaces is essential for paint and vinyl to adhere well and last. This means removing all dirt, grease, and dust, and setting up your workspace to avoid contamination. Curved or textured glass surfaces need special attention to maintain adhesion and avoid smudges.
Cleaning with the Right Materials
Use gentle but effective cleaning methods to avoid scratching or leaving residue. Traditional powders like Bon Ami or whiting work well for deep cleaning because they remove oils and dust without harsh chemicals. Avoid ammonia-based cleaners, which can leave a film that paint and vinyl won’t stick to properly. Follow these cleaning steps to get a perfectly prepared surface:
- Clear your workspace of dust and air currents to prevent particles from settling on wet surfaces.
- Sprinkle Bon Ami or whiting powder onto a damp microfiber cloth or a soft sponge.
- Rub the glass gently in circular motions to lift oils and residues.
- Rinse the glass thoroughly with warm water to remove all powder.
- Dry the surface using a lint-free cloth or paper towel. Avoid cloths that shed fibers.
- Wipe once more with isopropyl alcohol (70%) on a clean lint-free cloth to remove any last traces of oils.
- Let the glass air dry for a few minutes in your dust-free workspace.
These steps tend to take about 10 to 15 minutes per pane and require only affordable materials costing under $5 for typical household quantities. Proper cleaning prevents peeling or flaking paint and vinyl.
Prepping with Transfer Paper or Guides
Using transfer paper or stencils guarantees that your design lines are accurate and that paint or vinyl goes exactly where you want it. Transfer paper holds your cut vinyl or stencil so you can place it carefully without stretching or misalignment. Prepare your design by printing or cutting it precisely, then follow this process:
- Place a piece of newspaper or scrap paper underneath the glass to protect your work surface.
- Clean the glass surface again with a lint-free cloth to remove dust.
- Peel away the backing from your vinyl or stencil and apply the sticky side to the transfer paper.
- Align the design over the glass, then press firmly onto the surface with a squeegee or credit card, working out air bubbles.
- Slowly peel the transfer paper away at a sharp angle, leaving the vinyl or stencil perfectly adhered.
- When painting, you can trace or paint directly onto the stencil. When applying vinyl, press down edges again for better adhesion.
This method helps especially when working on large, clear signs or detailed designs to avoid mistakes and smudges. It takes extra time upfront but makes the final result look professional.
Handling Edges and Curved Glass
Edges and curves require care because paint and vinyl can lift or bubble if stressed. For curved glass, warm it slightly with a hairdryer to make vinyl more flexible before application. Use stretchable transfer tape designed for curves where available.
Trim vinyl slightly inside the edges to prevent catching and peeling. When painting, use fine brushes and apply thin, even layers to avoid drips along curved or textured surfaces. Allow each coat to dry fully before the next.
For textured glass, use a stencil adhesive spray to keep guides in place and prevent bleeding. Sand lightly with a very fine (800 to 1000 grit) sandpaper if paint adhesion is poor, but skip this for delicate textures where damage is possible. These additional actions reduce common problems such as smudging, bubbling, and cracking on more complex glass shapes and should be done just before applying paint or vinyl for best results.
4. Painting Glass Signs: Step-by-Step Process for Lasting Results
Painting a glass sign by hand requires careful planning, layering, and sealing to make the artwork last. You start by selecting or creating a design, transferring it precisely onto the glass, then painting with the right products. Proper layering and a protective finish help ensure the paint adheres well and resists damage over time.
Selecting and Creating Your Design
Your design sets the foundation for the entire project, so choose one that fits your intended style and message. Use graphic software like Photoshop for precision or draw freehand if you prefer a personal touch. Print the design to the desired size and tape it behind the glass. This makes tracing easier and helps maintain accuracy during painting.
Before painting, clean the glass thoroughly to remove any oils or dust. Place the printed design on a flat surface and secure the glass over it using removable tape. Trace the outlines with a fine-tipped paint pen or permanent marker designed for glass surfaces. This step clarifies paint boundaries and guides your hand for lettering or detailed freehand work.
Applying Paint Layers and Effects
Use paint specifically formulated for glass, such as enamel-based glass paint or acrylic paint mixed with a glass medium. These types stick well and resist chipping. Start with thin, even coats and allow each layer to dry completely, usually 30 to 60 minutes, before adding the next. Multiple layers build depth and vibrance without risking runs or uneven color.
To create effects like shading or drop shadows, apply darker or lighter tones in separate layers after the base color dries. For lettering, use fine brushes or paint pens to maintain crisp edges. Work from top to bottom to avoid smudging. Keep your workspace dust-free and avoid touching wet paint. Let the paint cure 24 to 72 hours before sealing.
- Prepare your design and print it to size.
- Clean the glass with isopropyl alcohol and dry it.
- Secure the design behind the glass with tape.
- Trace the design’s outline using a paint pen or permanent marker.
- Apply the first thin layer of glass paint and let it dry.
- Add additional paint layers for color and effects, allowing each to dry fully.
- Include details like drop shadows or highlights using fine brushes.
- Allow the paint to cure for at least 24 hours before sealing.
Sealing and Finishing the Painted Sign
Sealing your painted glass sign protects the artwork from scratches and fading. Use a clear spray sealer or a specially formulated glass topcoat. Apply thin, even coats in a well-ventilated area, allowing 15 to 30 minutes drying time between layers. Two to three coats will offer good durability.
For extra protection, especially on exterior signs, paint the design on the glass’s reverse side and seal it. This shields the paint from direct contact or weather exposure. Avoid using household sealants not designed for glass, as they may yellow or peel. Carefully follow product instructions and cure times to ensure long-lasting results.
5. Applying Vinyl Graphics and Decals on Glass Signs
Applying vinyl graphics to glass signs delivers sharp, professional results that improve visibility and style. It requires designing precise graphics, cutting vinyl accurately, and carefully applying it to avoid bubbles or wrinkles. Proper technique ensures durable, standout signage that lasts outdoors and indoors.
Designing Graphics with Cutting Software
Start by creating your vinyl graphic using vector-based software like Adobe Illustrator or free tools such as Inkscape or Cricut Design Space. Vector graphics allow clean cutting lines important for crisp signage. Set your artwork to the actual size of the glass sign to reduce errors. Use simple shapes and avoid overly fine details smaller than 1/8 inch, as thin vinyl parts can tear during application.
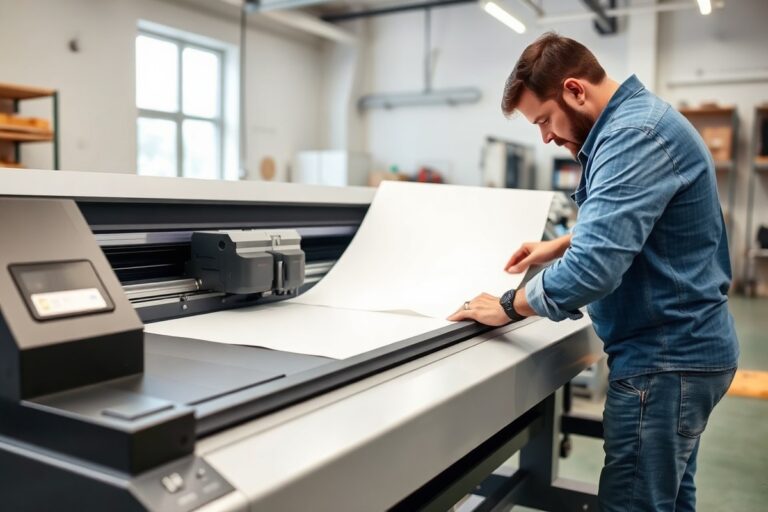
Choose a 30-degree angled blade in your vinyl cutter for precise cutting of most vinyl types. Import your design into the cutter software and adjust cutting pressure and speed based on your vinyl brand’s recommendations, usually around 40-50 grams pressure and 10-15 centimeters per second speed. Preview the cut to check paths and minimize waste.
Cutting Vinyl and Preparing Transfer Tape
Select adhesive vinyl rated for glass use, especially outdoor-rated or cast vinyl for maximum durability. Load the vinyl into your cutting machine aligning it straight and tighten rolls to avoid slipping. Cut the graphic using the configured blade settings, then weed out the excess vinyl, removing all unwanted parts with weeding tools to reveal the design.
Cover the cut vinyl graphic with transfer tape, a clear adhesive film that holds the design together during application. Smooth the transfer tape over the vinyl using a squeegee or a credit card to eliminate air pockets. This step ensures the entire graphic lifts from the backing paper without stretching or distorting parts.
Applying Vinyl to Glass Smoothly
Clean the glass surface thoroughly with isopropyl alcohol to remove dust, grease, and oils. Avoid using soap or glass cleaners with ammonia, as these can interfere with vinyl adhesion. Let the glass dry completely before application. Peel back the transfer tape with your graphic from the backing paper, holding it close to the top edge of the sign.
Position the vinyl graphic on the glass starting from one edge or corner, then slowly lay it down while pressing firmly with a squeegee to avoid trapping air. Work outward and downward with overlapping strokes. After applying the entire graphic, carefully peel away the transfer tape at a low angle, leaving the vinyl adhered to the glass.
Maintain vinyl signs by cleaning gently with a soft cloth and mild detergent; avoid scrubbing or using abrasive materials. High-quality vinyl on glass can last 5 to 7 years outdoors before needing replacement, but this varies with climate exposure.
- Design your graphic in vector software at actual size, keeping details above 1/8 inch.
- Set up your vinyl cutter with a 30-degree blade and appropriate pressure/speed settings.
- Load vinyl and cut your design, then weed away excess material carefully.
- Apply transfer tape smoothly over the vinyl graphic using a squeegee.
- Clean the glass surface completely with isopropyl alcohol and dry it well.
- Position and stick vinyl to the glass, pressing with a squeegee to remove bubbles.
- Slowly peel off the transfer tape, ensuring vinyl stays on the glass.
Always apply vinyl on just one side of the glass and confirm that your design looks correct from the viewer’s side to avoid mirror-image errors.
6. Etching and Sandblasting Glass Signs for Professional Looks
Etching and sandblasting are two common methods for permanently altering glass signs to create professional, durable designs. Both produce a frosted or textured surface by removing tiny amounts of glass, but they differ in technique, equipment, and complexity. Etching usually involves applying a chemical cream that reacts with the glass, while sandblasting uses compressed air to shoot abrasive particles onto the surface.
| Method | Equipment | Process | Result | Suitability for Beginners | Approximate Cost |
|---|---|---|---|---|---|
| Etching Cream | Etching cream, stencil material, gloves | Apply cream to stencil-covered glass, wait 5-15 minutes, rinse off | Shallow frosted design, less depth | Yes, safe for home use with precautions | $10-$20 per small bottle |
| Sandblasting | Sandblaster, air compressor, abrasive media, protective gear | Blast abrasive at high pressure onto masked glass | Deeper, more textured etchings | No, better for experienced users or professionals | $300-$1,000+ for equipment |
Beginners can safely create etched glass signs at home using etching cream, which contains mild acids that remove the clear surface layer. Always wear chemical-resistant gloves and work in a well-ventilated area. Avoid skin contact with the cream and follow the label instructions exactly. Start with simple stencil designs cut from waterproof vinyl or contact paper to protect areas of the glass you want to keep clear. Apply the cream with a brush, leave it on for 5 to 15 minutes depending on the brand and desired depth, then rinse off with water to reveal the frosted design. Avoid leaving the cream on too long or applying it unevenly to prevent blotchy results.
Sandblasting requires specialized equipment and safety gear, including a respirator, gloves, and protective eyewear, because the abrasive particles can be hazardous if inhaled or if they contact skin. This method delivers more control for detailed or deep etching, making it ideal for business owners creating high volumes of signage or intricate artwork. It also works well on thicker or textured glass surfaces that do not respond well to cream.
Designs with bold lines, clear shapes, and strong contrasts work best for etched signs. Avoid very fine details that may not transfer well with either method, especially etching cream, which typically produces less precise edges. Letters, logos, and simple geometric shapes stand out clearly. Using vector-based software to create your stencil and printing it on adhesive vinyl can help achieve crisp edges. For example, a wedding sign might feature large, cursive lettering surrounded by a simple floral border, with the vinyl stencil securing the design during etching.
Basic steps for creating an etched glass sign with cream start by thoroughly cleaning the glass, then applying your stencil securely. Next, wear safety gloves and carefully brush on a thick, even layer of etching cream, avoiding drips onto unprotected glass. Leave the cream for the recommended time, then rinse under running water while removing the stencil. Dry the glass with a soft cloth and inspect your design. For deeper or layered etching, you can repeat the process with clean stencils or masks.
Safety measures include working on a stable surface, keeping your skin and eyes protected, and never leaving etching cream unattended. Store chemicals out of children’s reach and dispose of used stencils safely. Sandblasting requires a dedicated, well-ventilated workspace and strict adherence to equipment manuals. Considering cost and safety, beginners should stick to etching cream until comfortable with the process.
7. Creating Stained Glass Signs: Design and Assembly Basics
Designing and assembling stained glass signs demands careful planning and precision. The design should suit your message and brand, using simple shapes to maintain readability. Choose colors that contrast well and create visual interest, leaving some sections clear to help the sign stand out. Start with a hand-drawn pattern or use free templates available online. Making photocopies or scanning your drawing allows you to experiment with the layout and color choices without risking the original design.
For cutting and soldering, you’ll need specific tools: a glass cutter with a carbide or diamond wheel, running pliers to crack the glass along scored lines, copper foil tape to wrap the edges of each piece, and a soldering iron with 100-watt power or higher. Use lead-free solder and flux for safer and cleaner joints. Don’t forget safety equipment such as gloves, safety glasses, and a well-ventilated workspace to avoid fumes and glass shards.
Assembly involves accurately following the pattern to piece together your stained glass sign. The copper foil acts as the base for soldering, which binds everything securely. Good solder joints are smooth and shiny, holding the pieces firmly without excess solder blobs. Incorrect soldering causes weak joins or messy build-up, reducing the sign’s durability and appearance. Follow these steps to design, cut, and assemble your stained glass sign:
- Create or select a pattern: Draw a simple design, focusing on clear shapes and colors. Use free templates or design software if preferred. Make several copies to practice color placement and cutting lines.
- Prepare and clean the glass: Choose glass sheets in your desired colors and textures. Clean them thoroughly with glass cleaner to remove dust and fingerprints, ensuring clean cuts and adhesion.
- Score and cut the glass pieces: Use the glass cutter to score along your pattern lines, applying steady pressure only once per line. Snap the pieces carefully with running pliers to avoid rough edges.
- Apply copper foil tape: Wrap each piece’s edges with copper foil, pressing firmly and smoothing wrinkles. This foil enables solder to adhere during assembly.
- Arrange pieces on the pattern: Lay all foiled glass pieces on a flat surface following your design. Double-check the fit and adjust edges by grinding if necessary.
- Flux and solder the joints: Apply flux to the copper foil edges where pieces meet. Use the soldering iron to melt solder along these joints, forming strong, neat connections.
- Clean and polish the sign: Remove flux residue with a suitable cleaner to prevent corrosion. Optionally, add patina for color effects on the solder lines, then polish the entire sign for a finished look.
8. Safety Precautions and Common Mistakes to Avoid with Glass Signs
Working safely with glass requires essential personal protective equipment (PPE) to prevent injuries. Always wear safety glasses with side shields to protect your eyes from shards. Use cut-resistant gloves to prevent hand cuts and a face mask if grinding or sanding to avoid inhaling glass dust. Long sleeves and closed-toe shoes add extra layers of protection. These items typically cost between $10 and $30 each but are worth the investment to avoid costly injuries.
Glass is fragile and can break easily if mishandled. To prevent breakage, store glass vertically on padded racks or lean it against a soft surface with foam or rubber padding. Avoid dragging glass across hard surfaces; instead, lift and move it with care. When cutting or grinding, secure the glass with clamps to minimize vibrations. Handle glass panels slowly and avoid sudden impacts or temperature shocks. For example, don’t expose glass heated from etching or painting to cold outside air immediately, as this can cause cracking.
- Wear safety glasses, cut-resistant gloves, and a face mask when working with glass.
- Store glass vertically with padding to prevent scratches and breakage.
- Lift glass; avoid dragging it across surfaces.
- Clamp glass firmly during cutting or etching.
- Allow painted or etched glass to cool gradually before moving.
- Use alcohol or glass cleaner for vinyl adhesion, not oil-based cleaners.
- Wait recommended drying times (24-48 hours for paint, vinyl adhesion varies) before handling signs.
Common mistakes in glass sign making include poor adhesion, paint peeling, and alignment errors during assembly. Using the wrong cleaner like oil-based products or silicone sprays will prevent vinyl decals from sticking. Clean the surface with isopropyl alcohol for best results. Applying paint too thickly or not allowing it to cure fully can cause bubbling or cracking. Thin coats and drying at room temperature for at least 24 hours help avoid this. Misaligned vinyl or templates often result from rushing the application; use a level and measure carefully before sticking graphics.
Fixing adhesion issues usually means removing decals with a plastic scraper and cleaning the surface again before reapplying. Peeling paint spots can sometimes be salvaged by sanding lightly and repainting only the damaged areas. For assembly problems such as uneven edges or loose fittings, trim excess material carefully and use clear silicone adhesive for secure bonding without damaging the glass.
Always check the work area is clean and free of dust before applying paint or vinyl to ensure the finish adheres properly and lasts longer.
Step-by-Step Action Plan for Your First Glass Sign
Use this plan to start making your own glass signs right away with the right materials and safety practices.
- Day 1: Choose your glass type and design. Pick the style of glass sign you want to make, such as painted, vinyl, or etched, based on your intended use. Confirm the glass is clean and free of defects.
- Day 2: Gather tools and materials. Collect paint, vinyl decals, etching cream or abrasive equipment, brushes, stencils, and safety gear. Verify you have all supplies before beginning work.
- Day 3: Prepare the glass surface. Clean the glass thoroughly with rubbing alcohol and dry it completely. Check that no residue remains for best adhesion or etching results.
- Days 4-5: Apply your artwork. Use the chosen method, paint, vinyl, or etching, following product instructions closely. Make test pieces first to ensure the finish meets your expectations.
- Day 7: Allow proper curing or drying time. Let paint dry fully or vinyl set without disturbance. Confirm durability by gently checking the edges or surface adhesion.
- Day 8: Add protective coating if needed. Apply a clear sealant compatible with your artwork type to extend the sign’s lifespan. Follow the product’s drying times.
- Day 9: Install or display your sign. Mount using appropriate hardware, avoiding direct stress on the glass. Inspect the installation for stability and appearance.
Frequently Asked Questions
What Type of Glass Is Best for Outdoor Signs?
Tempered glass is best for outdoor signs because it’s stronger and safer, breaking into small pieces instead of sharp shards. It withstands weather exposure better, reducing breakage risk.
Can I Reuse Glass Pieces from Old Windows for Signs?
Yes, you can reuse old window glass for signs, but check for damage or cloudiness. Clean thoroughly and prepare the surface well to ensure paint or vinyl adheres properly.
How Do I Protect Painted Glass Signs from UV Fading?
Use a clear UV-resistant topcoat to protect painted glass signs from fading caused by sun exposure. It slows color wear and extends the sign’s lifespan. Reapply every year for best results.
Are Glass Signs Suitable for Lightbox Displays?
Yes, but consider using plexiglass panels because they’re lighter and 20 times stronger than glass. Plexiglass works well in lightboxes and resists breakage better.
What’s the Best Way to Clean Glass Signs Without Damaging Them?
Use a soft microfiber cloth with mild soapy water or glass cleaner. Avoid abrasive pads or harsh chemicals that can scratch or dull paint and vinyl.
Can I Combine Etching and Vinyl Techniques on the Same Glass Sign?
Yes, layering etched designs with vinyl graphics can create depth and visual interest. Apply vinyl after etching and ensure surfaces are clean for proper adhesion.
Before You Go
Making glass signs at home or in a small workshop takes careful preparation and attention to detail to achieve professional-looking results. Start with a simple project and build your skills by following safety steps and recommended methods. Try creating a small painted or vinyl glass sign today to get hands-on experience and confidence working with glass.