How to Make Framed Wood Signs with Simple Steps and 8 Proven Framing Methods
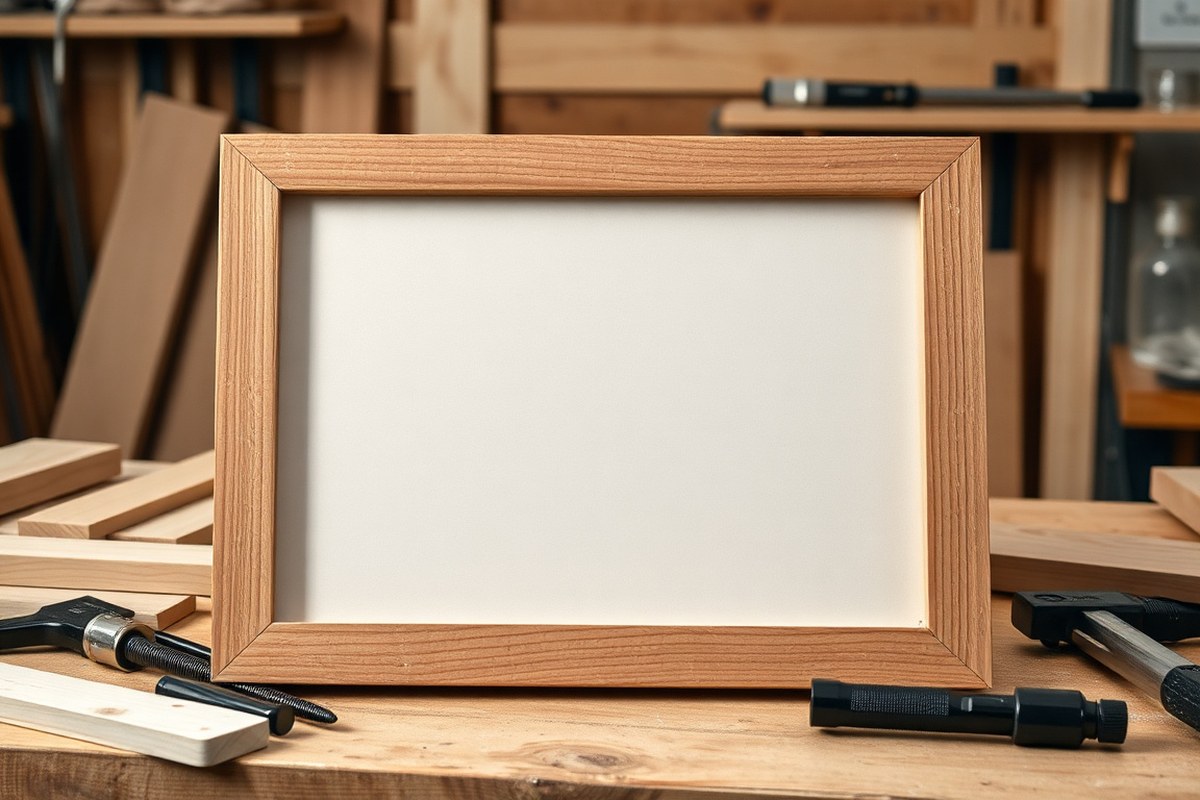
How to make framed wood signs starts with choosing sturdy, easy-to-work-with materials like 3/4″ birch plywood for the base and 1×2 boards for the frame. Using simple tools and basic supplies, you can create a professional-looking sign with secure, perfectly squared corners. Starting by cutting precise wood pieces helps ensure your frame fits snugly and your sign stays durable.
Key Takeaways
- Use 3/4″ birch plywood as a strong, smooth base for your wood signs to prevent warping and give a polished look.
- Cut 1×2 boards (actual width 3/4″) carefully for the frame to match the sign’s dimensions perfectly.
- Invest in a carpenter’s square to achieve exact 90-degree corners in your frame assembly.
- Wood lath packs priced around $17 for 50 pieces offer an affordable framing option for multiple signs.
- Mod Podge and wood stain are cost-effective finishing materials that improve durability and appearance.
- Plan sign dimensions based on plywood sheets sold at 4 feet by 8 feet to use material efficiently.
1. Materials and Tools Needed for Framed Wood Signs
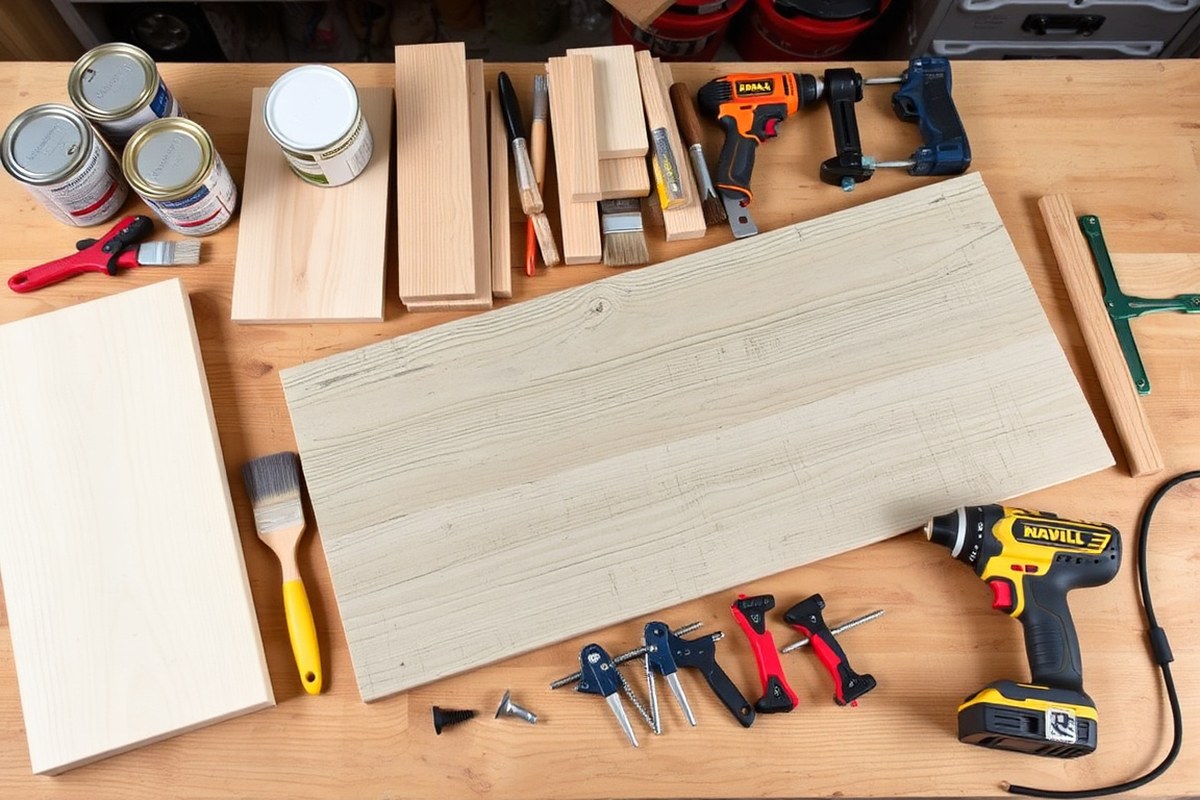
To make a framed wood sign, you need a few key materials and tools that fit both budget and quality needs. Start with the wood base, ideally 3/4-inch birch plywood, which offers smoothness and durability without splintering. For the frame, 1×2 lumber or wood shims work well, depending on the look you want. Budget alternatives include repurposed pallet wood or scrap wood pieces, which can reduce costs but may require extra sanding or preparation.
Your finishing materials typically include wood stain or paint, and Mod Podge or another sealant to protect the wood and give it a polished look. These add color and help the sign last longer, especially if it will hang in a spot exposed to humidity or light. Mod Podge is affordable and simple to apply with a brush, generally costing around $5 to $10 for a small bottle.
Essential tools for crafting a framed wood sign include a saw for cutting the wood pieces, either a miter saw or a hand saw for budgets. A cordless drill with screws or a hammer and nails will secure the frame. Sandpaper or a sanding block smoothes edges and surfaces. For painting or staining, brushes or foam applicators are necessary. Budget-friendly kits combining these tools can be found for $30 to $50, while individual basic versions may cost less but require more manual effort.
- 3/4″ birch plywood for the sign base or budget pallet wood
- 1×2 inch lumber or wood shims for framing
- Wood stain or paint and Mod Podge for finishing and sealing
- Saw (miter saw, hand saw, or circular saw)
- Drill or hammer with nails for assembly
- Sandpaper or sanding block (120 to 220 grit)
- Paintbrushes or foam applicators
For budget-conscious crafters, start with hand tools and scrap wood collected from local sources, then upgrade to power tools as you gain experience. Using pallet wood may save money but plan extra time for cleaning and sanding it smooth. Choosing a good sealant and finishing product can prevent peeling and fading, resulting in a sign that looks professional and lasts for years.
2. Choosing and Preparing the Wood Base and Frame Pieces
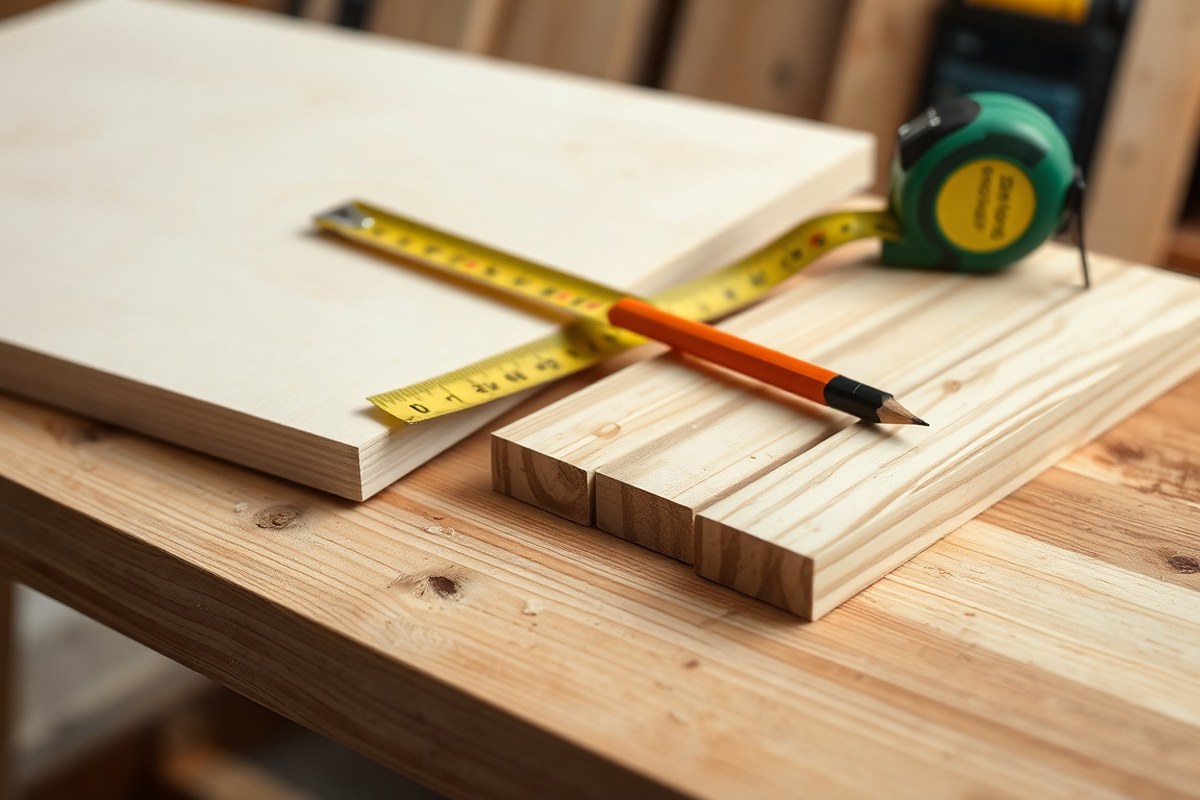
Choosing the right wood and preparing it properly ensures your framed wood sign not only looks professional but also lasts longer. Selecting the best wood types makes cutting, sanding, and finishing easier while measuring and cutting accurately guarantees a perfect fit. Sanding smooths the surfaces so paint or stain adheres evenly for a polished look.
Selecting Wood Types for Base and Frame
Pick smooth plywood or solid pine for your sign base. These woods are easy to cut, sand, and paint, making them popular choices for beginners and experienced crafters alike. Pine has a natural grain that adds character, while plywood offers a flat surface that resists warping.
For the frame, choose straight wood lathe pieces, reserving the straightest and most uniform for best results. Wood with minimal knots and straight grain avoids gaps and warping when assembling the frame. Hardwoods like oak or maple can work but require more effort to cut and sand.
Measuring and Cutting Frame Pieces Accurately
Accurate measuring and cutting produce clean corners and a tight frame fit. Aim to cut your frame pieces with 45 degree mitered ends that fit together to form 90 degree corners. Use a miter saw or a miter box to cut these angled edges precisely. Follow these steps for cutting your frame pieces:
- Measure the length of each side of your wood sign base carefully.
- Mark the wood lathe pieces to match the measurements for the frame sides.
- Set your saw to a 45 degree angle and position the wood securely in a clamp or miter box.
- Cut the bottom frame piece first, making sure the angle slopes inward toward the sign.
- Cut the opposite frame piece to the same specification, matching the angle and length.
- Repeat for the two longer side pieces, ensuring each 45 degree cut forms a clean 90 degree corner when joined.
- Test fit all four frame pieces around the sign base to verify corners align perfectly before assembly.
Tip: Clamps help keep wood frame pieces lined up during cutting and assembly, minimizing gaps and uneven edges at corners.
Sanding and Preparing Wood Surfaces
Sand all wood pieces with medium-grit sandpaper (around 120 grit) to remove rough spots and splinters. Then finish with fine-grit sandpaper (220 grit) for a smooth, even surface. Smooth wood absorbs stains and paints more evenly, preventing blotchy finishes.
Sand in the direction of the wood grain to avoid scratches. Wipe all surfaces with a damp cloth to remove dust after sanding. For a more professional finish, sealing the wood with a wood conditioner before staining can help reduce uneven color absorption on softer woods like pine.
3. Three Effective Methods to Frame Your Wood Sign
Framing a wood sign can be done securely using nails, screws, or corner braces. Each method has distinct advantages and drawbacks based on tools, strength, and durability. Following step-by-step instructions ensures your frame holds tight and looks professional.
Method 1: Brad Nailer Frame Attachment
This approach uses a brad nailer with 1 ¼-inch brad nails and wood glue to join the frame pieces to the sign. It’s a quick and clean method ideal for smaller to medium signs. Brad nails are thin, minimizing wood splitting and nail visibility.
Start by applying wood glue along the edges of the sign where the frame will go. Clamp the frame pieces in place around the sign’s perimeter. Use the brad nailer to shoot nails through the frame into the sign backing, spacing nails roughly every 6 to 8 inches. The nails hold the frame tightly while the glue dries, typically within 30 minutes.
This method is cost-effective if you already have a brad nailer, but nail holding strength is moderate. For larger signs or heavy use, consider reinforcing with extra nails or another method.
Method 2: Corner Braces for Framing
Corner braces, also called mending plates, provide a simple way to attach the frame without specialized tools. This method suits occasional projects or if you lack a brad nailer or pocket hole jig. It involves metal braces fastened inside the frame corners.
Begin by clamping the frame pieces tightly around your sign. Position flat corner braces on the frame’s inner corners. Drill pilot holes and secure each brace to the frame with screws. Then attach the other side of each brace to the wood sign backing using ¾-inch wood screws. Use 4 to 8 braces for large signs to maintain stability.
While corner braces add solid support, they can slightly shift the frame’s look and may be visible inside the corners. This method is inexpensive and easy but less smooth than nails or pocket hole screws.
Method 3: Kreg Jig Pocket Hole Screws
The Kreg Jig creates angled “pocket holes” for screws that join frame pieces invisibly and strongly. Use wood glue on the frame edges before screwing to increase bonding strength.
Set up a Kreg Jig and drill pocket holes in the frame pieces that will attach to the sign backing. Clamp the frame to the sign firmly, then insert 1 ¼-inch Kreg screws through the pocket holes into the sign. This method provides a very strong joint and a clean look without visible screws on the front or sides. It works best with a drill and some Kreg Jig experience. Though a bit more complex, this provides the most durable frame attachment and reduces risk of the frame loosening over time. Below is a comparison of key points for the three framing methods to help choose the best fit for your project.
| Method | Tools Needed | Strength | Cost | Ease | Best For |
|---|---|---|---|---|---|
| Brad Nailer | Brad nailer, nails, wood glue | Moderate | Moderate (if no brad nailer owned) | Easy | Small to medium signs, quick projects |
| Corner Braces | Drill, screws, clamps | Good | Low | Easy | Occasional use, no power nailer or jig |
| Kreg Jig Pocket Holes | Kreg Jig, drill, screws, wood glue | Very strong | Moderate to high (if jig is new) | Moderate | Furniture-quality finish, large signs |
Each method should be supported by appropriate clamps during assembly to keep frame pieces aligned. Use wood glue along edges before fastening to improve joint stability. Avoid overdriving screws or nails, which can split the wood or damage the sign surface.
4. Techniques for Lettering and Decorating Wood Signs
Transferring designs or lettering onto wood for signs can be done cleanly using stencils with paint pens, vinyl decals cut by machines like Cricut, or simple hand painting techniques. Each method offers precise control, depending on your tools and the level of detail you want. Knowing exactly how to apply these materials keeps your letters sharp and your signs looking professional.
Using Stencils and Paint Pens
Stencils provide a reliable way to get crisp edges on letters and designs. Using Sharpie oil-based paint pens gives you smooth, durable lines that resist fading or peeling. These pens are especially good for small lettering or details where brushes might be tricky to control.
To transfer a stencil design cleanly, first secure the stencil firmly on the prepared wood surface with painter’s tape. Sharpie oil-based paint pens dry quickly, reducing smudging, and work well on smooth or lightly textured wood. Avoid pressing too hard to prevent bleeding under the stencil edges.
- Choose or create a stencil with your design, cutting it from plastic or vinyl for reusable use.
- Place and tape the stencil firmly onto your wood, making sure it is flat and won’t shift.
- Use Sharpie oil-based paint pens to fill in the stencil carefully, applying light, even strokes.
- Allow the paint to dry for at least 15 minutes before removing the stencil slowly to avoid smearing.
- Touch up any small imperfections with a fine brush or pen once the stencil is removed.
Applying Vinyl and Cricut Decals
Vinyl decals cut with machines like Cricut make lettering fast and neat without freehand painting. Oracle 631 vinyl is a common choice for stencils and decals because it adheres well and peels off cleanly after painting or stays as the finished design.
Before applying, use transfer tape to pick up the vinyl letters or design. Then, position and press them onto your wood. This method ensures proper spacing and alignment, avoiding crooked text. Smooth out air bubbles with a plastic card and peel back the transfer tape carefully.
- Create or purchase a design and cut it on Oracle 631 vinyl with a Cricut or Silhouette machine.
- Weed out excess vinyl around your letters or shapes, leaving only the design on the backing.
- Place transfer tape over the vinyl and press down firmly to pick up the design.
- Position the design on your wood surface, then rub gently with a plastic scraper or credit card to avoid bubbles.
- Slowly peel off the transfer tape at a low angle to keep letters stuck to the wood.
- Optional: Paint over the vinyl stencil if creating a painted design, then remove the vinyl after the paint dries.
Hand Painting Tips and Common Mistakes
Hand painting letters or designs is rewarding but requires practice and a steady hand. Start with a light pencil sketch or trace your design using graphite transfer paper for accuracy. Use a small, fine brush and thin layers of paint to avoid drips and patchiness.
Common mistakes include pressing too hard, causing paint to bleed under edges, or using too thick paint. Let each layer dry before adding another to maintain sharp edges. Clean brushes and a steady grip help avoid shaky lines.
Good results have smooth, even lines with consistent stroke widths. Mistakes can often be fixed by lightly sanding the wood and repainting after the paint fully dries.
5. Painting, Staining, and Finishing for Durable Signs
Start by sanding your wood surface with fine-grit sandpaper (around 220 grit) to create a smooth base. Wipe the dust off with a damp cloth or tack cloth before painting or staining. Preparing the wood like this ensures better paint or stain adhesion and a more even finish. Avoid painting or staining rough or dirty wood because it can cause blotchy color and peeling later.
Acrylic paint is ideal for most wood signs because it dries quickly and can adhere well to wood. Choose colors based on your room’s décor or the style you want, soft neutrals for a rustic look or bright colors for something bold. For the background or large areas, a good-quality paintbrush works well, but a small foam roller can speed up covering bigger signs evenly. Apply the paint in thin, even coats to avoid drips and brush marks.
If you prefer wood grain to show through, opt for a wood stain instead of paint. Use a clean brush or soft cloth to apply an even coat of stain along the wood grain. Be sure to wipe off excess stain within a few minutes to avoid blotches. Stains come in transparent, semi-transparent, or solid colors, so select based on how much of the wood’s texture you want visible. A lighter stain offers a subtle tint, while a solid stain provides color similar to paint but with the wood texture still slightly visible.
Once painted or stained, let your sign dry in a dust-free area at 65 to 75 degrees Fahrenheit. Acrylic paint typically dries to the touch in about 30 minutes but allow at least 1 to 2 hours between coats. Full curing might take up to 24 hours before adding a protective seal or handling extensively. Stains generally dry in 6 to 8 hours but can take up to 24 hours depending on wood type and humidity. To prevent damage, avoid stacking or pressing anything on the sign during drying and curing.
Once dry, consider sealing your sign with a water-based polyurethane or clear outdoor sealer if it will hang outside or in humid areas. This protects paint or stain from fading, moisture, and wear. Apply the sealer with a clean brush and allow 2 to 4 hours of drying time between coats, applying 2 or 3 coats for best durability. Indoor signs might need only a light sealing layer for dust protection.
Work patiently with thin coats of paint or stain, and always let each layer fully dry; rushing this step often leads to peeling or uneven finishes that ruin your wood sign’s look.
6. Planning Sign and Frame Sizes for Perfect Fit
Planning the size of your sign and frame ensures the finished piece looks professional and fits together without gaps or overhangs. Start by measuring the plywood base, commonly 3/4-inch birch plywood for strength and durability. The standard approach adds 1.5 inches to each dimension of the plywood to determine the frame pieces’ length. This extra length allows the frame to overlap the edges of your sign base by 3/4 inch on each side, helping the frame sit flush and securely around the edges.
Frame width typically matches common lumber sizes, like 1×2 inch boards, which are about 3/4 inch thick and 1 1/2 inches wide. The width affects the frame’s visual balance and depth relative to the sign. A 1 1/2 inch width looks substantial on an 11 3/4-inch square sign, but can be adjusted wider or narrower to match larger or smaller signs. Thickness matters less for fit but affects stability and how much the frame stands out from the wall.
Follow these steps to calculate and cut frame pieces to fit a plywood sign base perfectly. The example below uses a plywood base measuring 11 3/4 inches square, a common size for wall decor signs.
- Measure your plywood sign base carefully, confirming both length and width with a tape measure. For example, 11 3/4″ by 11 3/4″.
- Add 1.5 inches to both the length and width measurements to determine the frame’s outer edge dimensions. For 11 3/4″ plywood, the frame pieces will be 13 1/4″ long on two sides and 11 3/4″ long on the other two, accounting for miter cuts.
- Choose your frame lumber, usually 1×2 boards roughly 3/4″ thick and 1 1/2″ wide. This width creates a sturdy border that fits well around the plywood edge.
- Mark the boards for cutting on a miter saw. Cut two pieces to the longer length (13 1/4″) and two pieces to the shorter length (11 3/4″). Make 45-degree miter cuts at the ends for tight, angled corners.
- Dry-fit the frame pieces around the plywood base to check the fit. The frame should sit flush against the edges without forcing or gaps. Adjust any cuts slightly if needed.
- Sand the cut edges of your frame to remove splinters or roughness. This step ensures a clean look and safer handling when assembling.
- Attach the frame to the plywood using wood glue and small nails or finishing pins. The 3/4 inch overlap gives enough surface area for a secure bond.
Adjust these measurements for larger signs by selecting the straightest wood lath for frame pieces and keeping the 1.5-inch addition consistent. For smaller signs, a slightly narrower frame can help maintain proportions. Avoid using bowed or warped wood on the longer sides, which can cause misalignment. Keeping measurements accurate ensures a clean fit and professional appearance without the frame overpowering or undersized relative to the sign base.
7. Common Mistakes in DIY Wood Signs and How to Fix Them
Common mistakes when making wood signs can affect both their appearance and durability. One frequent issue is uneven or rough sanding, which leads to a bumpy paint or stain finish and shortens the sign’s lifespan. To fix this, sand with progressively finer grits, from 120 up to 220 grit, until the surface feels smooth to the touch. Light sanding between paint or stain coats also helps achieve a clean look.
Another problem is warping or cracking of the wood, often caused by not acclimating the wood to your workspace’s humidity or by applying finishes unevenly. Prevent this by storing your wood flat in the room where you’ll work for a few days before starting. Applying a sealant or finish evenly on all sides protects the wood, slowing moisture changes that cause warping.
Lettering mistakes like uneven spacing, smudges, or bleeding paint can ruin a sign’s design. Using stencils or transfer methods can improve accuracy. Painting can bleed under stencils; try sealing the edges with a clear coat before applying thinner paint and use a foam brush for best results. Practice on scrap wood helps you avoid errors on your final sign.
- Skipping primer or base coats: leads to poor paint adhesion and fading
- Using too thick paint: causes drips and uneven texture
- Neglecting to test the fit of the frame: results in gaps or pressure that damages the sign
- Ignoring drying times: causes smudges or tacky finishes
- Over-tightening frame screws or nails: splits the wood
- Choosing the wrong wood type: soft woods dent easily, while hardwoods may be tough to work with
Not allowing sufficient drying time between painting, staining, and sealing layers is a common mistake that can result in tacky or peeling finishes. Follow recommended drying times on product labels, typically 24 hours for paints and 2 to 8 hours for stains, depending on temperature and humidity. Proper ventilation speeds drying and reduces dust settling on wet surfaces.
Fitting frames incorrectly damages both the frame and sign edges. Before assembly, dry-fit the frame pieces around the sign to check spacing. When the frame feels too tight, lightly sand the edges to help it fit more easily. Avoid forcing parts together, which can crack the wood or warp the sign.
Investing a little extra time in prep work, practicing your lettering on scraps, and following manufacturer instructions for finishes ensures your wood signs look great and last longer. Avoid rushing steps to prevent needing repairs or touch-ups that add time and cost later on.
8. Safety Tips and Best Practices for Wood Sign Projects
Using power tools for making framed wood signs increases efficiency but requires attention to safety. Always wear protective gear such as safety glasses and a dust mask to prevent injury from wood chips and dust. Secure your wood firmly with clamps before cutting to avoid slips that can cause accidents. Keep your hands clear of blades and use push sticks with saws to maintain safe distances. Unplug tools before changing blades or bits to prevent accidental starts.
Sanding wood creates fine dust that can damage lungs and irritate skin. Use a dust mask and work in a well-ventilated area. Sand with the grain of the wood to avoid scratches that show after painting. Choose the right grit: start with 80-120 grit for rough surfaces, then progress to 220 grit for a smooth finish. Clean the surface thoroughly after sanding to ensure proper paint adhesion.
Nailing or screwing the frame together demands precision. Pre-drill holes for nails or screws to prevent the wood from splitting. Use a hammer or drill with care, striking or driving nails straight. Wearing gloves can protect your hands from splinters and accidental hammer strikes. Check nails and screws are flush or slightly below the surface to allow for painting without bumps.
Painting sealed wood signs improve durability, especially outdoors. Applying a clear sealant after the paint dries protects the wood from moisture and UV damage, which can cause fading and warping. For the best results, use at least two coats of sealant, allowing 2 to 4 hours of drying time between coats. Choose a sealant labeled for outdoor use if your sign will be exposed to weather.
- Wear safety glasses and a dust mask when cutting and sanding.
- Clamp wood securely before cutting to prevent movement.
- Sand with the wood grain and use progressively finer sandpaper.
- Pre-drill nail or screw holes to avoid splitting wood.
- Use gloves when handling nails and frames.
- Apply 2+ coats of outdoor-rated clear sealant for protection.
- Allow adequate drying time between paint and sealant coats.
Keep your workspace clean and clutter-free to avoid tripping hazards and ensure tool control.
Following these safety measures helps prevent injuries and ensures a more professional finish. Improper tool handling can lead to splinters, cuts, or damage to your project. Proper sealing keeps your wood sign looking good for years by preventing moisture damage and fading. Selecting quality materials and maintaining your tools also contributes to smoother work and safer results.
Step-by-Step Action Plan for Making Your Framed Wood Sign
Follow these steps to create a wood sign with a well-fitted frame that looks professional and lasts long.
- Before you start: Gather all materials and tools, including wood panels, frame pieces, paint, brushes, and safety gear. Confirm you have what you need to avoid interruptions.
- Day 1: Choose and prepare your wood base and frame. Sand all surfaces smooth and cut frame pieces to planned sizes. Check that edges fit flush with the base wood.
- Day 2: Decide on your lettering or design method (stencils, hand-painting, or vinyl). Test a small area to ensure you like the look and adhesion.
- Day 3: Apply your lettering or decoration carefully, allowing complete drying to avoid smudges.
- Day 4: Paint or stain the sign and frame as planned. Use thin coats and check for even coverage before applying a second coat.
- Day 5: Seal the entire sign and frame with a clear coat to protect against wear and moisture. Let it dry completely between coats.
- Day 6: Assemble the frame around the sign using your chosen framing method (nail, biscuit joints, or corner brackets). Verify the frame is tight and square.
- After one week: Inspect your finished sign for any touch-ups or loose parts. Store it properly if not displaying immediately.
Frequently Asked Questions
What Type of Wood Works Best for Making Framed Wood Signs?
The best wood for framed wood signs is smooth plywood or solid pine. These woods are easy to cut, paint, and finish, making them ideal for beginners aiming for smooth, professional-looking signs.
Can I Use Recycled Wood for My Wood Sign Frame?
Yes, you can use recycled wood, but ensure it’s clean, smooth, and free from damage. Recycled wood might have nails or paint you need to remove before use to avoid splinters or uneven surfaces.
How Do I Prevent the Paint from Peeling on Outdoor Wood Signs?
Use a primer before painting and apply a clear outdoor-sealer finish. These steps protect your sign from moisture and sunlight, extending its lifespan and keeping colors vibrant longer.
What Is the Easiest Lettering Technique for Beginners?
Stenciling is the easiest technique for beginners because it provides clear, consistent letter shapes. It reduces mistakes compared to freehand painting and helps achieve polished results.
How Can I Hang a Framed Wood Sign Securely on Drywall?
Use wall anchors or toggle bolts rated for the sign’s weight. This prevents damage to drywall and keeps your sign safely mounted without sagging or falling.
Can I Make a Framed Wood Sign Without Power Tools?
Yes, but it requires more time and effort with hand tools like saws and clamps. Power tools make cuts and assembly faster and more precise but beginners can still complete a project manually.
Before You Go
Creating a framed wood sign from start to finish takes careful planning and attention to detail, but the results are rewarding. Start today by preparing your wood base and frame pieces, making sure they fit perfectly. With patience and the right techniques, your homemade wood sign can add a personal touch to your space or gift well to others.