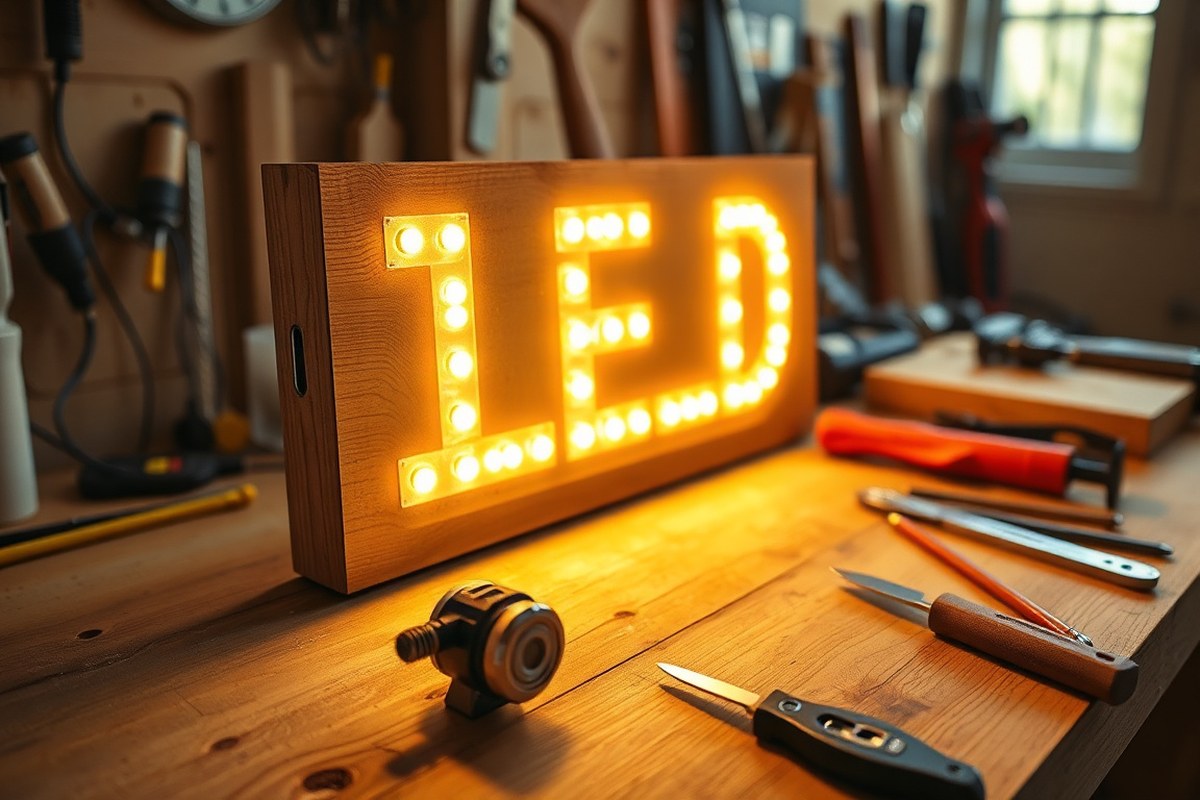
How to Make an LED Sign: A Complete Guide for Beginners with Expert Tips
Knowing how to make an LED sign means you can create eye-catching custom lighting for your space using materials like LED strips, wood, and acrylic. The key steps involve designing your sign, calculating power needs, and carefully assembling each part with the right tools. Starting with a clear design and the proper materials ensures your sign works safely and looks professional.
Key Takeaways
- Calculate your power supply by multiplying the LED strip’s watts per meter by total strip length plus 20% extra for safety.
- Choose simple, non-cursive fonts with letters at least 3-4 inches tall for clear LED sign visibility.
- Use wood like 3/4″ walnut for a sturdy and attractive LED sign frame that’s easy to work with.
- Plan for LED neon flex to have a 2 to 3-inch bending radius to maintain smooth curves without damage.
- Expect to spend 2 to 6 hours assembling depending on your sign’s size and design complexity.
- Check and ensure inside corners are exactly 90 degrees before gluing or letting your frame dry to avoid misalignment.
What Is an LED Sign and How Does It Work?
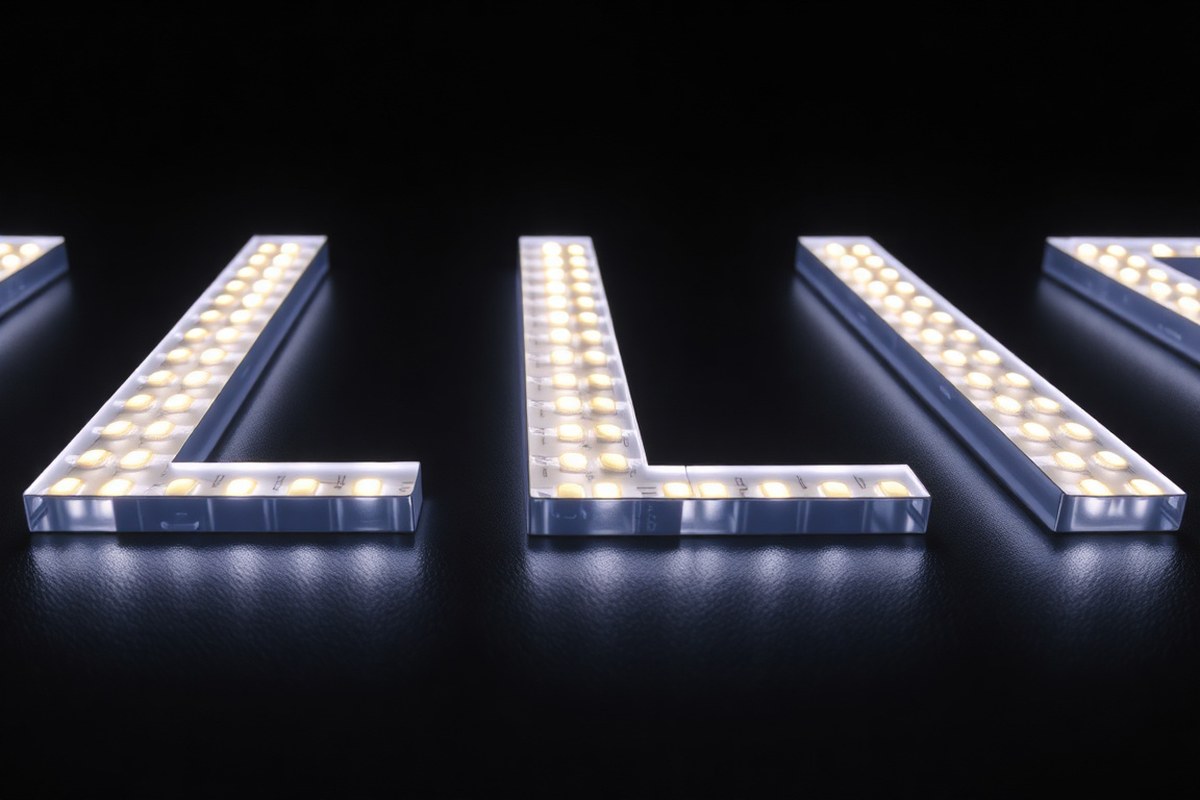
An LED sign uses light-emitting diodes (LEDs) to show text, images, or logos with bright, energy-saving light that stays clear in daylight and darkness. Many people prefer these signs for home projects or business needs due to their efficiency and visibility. You can create a personalized LED sign with unique shapes and styles that suit your design goals and material preferences.
LED lighting works by passing electrical current through semiconductor diodes, which then emit light. This process is highly efficient and produces very little heat, making LED signs safer and more durable than older neon signs. To create a glowing sign, you often use LED strips or LED neon flex, flexible plastic tubes that house LED lights arranged continuously. These LED strips or tubes are attached behind or along the edges of a sign’s base material, such as acrylic, to create a bright and even glow.
There are several types of LED signs you might consider for your project. One common type is a DIY LED acrylic sign, where clear acrylic panels or letters are cut with a laser cutter. LED strip lights are then installed along the edges of the acrylic. The light refracts through the acrylic, highlighting the precise shapes or text you’ve created. This style works well with thick, rounded letterforms that are easier to cut and fill with LED strips or bend flexible neon-style tubes around.
Another popular option is the LED neon sign, which mimics the look of traditional neon lamps without the fragility or high power consumption. LED neon flex tubes bend smoothly into shapes or letters and emit a continuous, even glow. Many DIY neon LED sign kits come with all necessary components including backing materials and connectors, helping beginners mount and finish the sign properly. Proper soldering and securing of the LED neon flex is important to ensure the sign lasts longer and operates reliably.
Both types require attention to color choice and alignment for the best results. Contrasting colors between the acrylic base and LED lighting improve visibility and improve the glowing effect. Smooth and accurate mounting helps achieve even illumination, preventing dark spots or uneven brightness. The cost of materials varies but generally, LED strips and acrylic sheets for small signs start around $20 to $50, while LED neon flex kits can reach $80 or more depending on size and complexity.
Essential Tools and Materials Needed for DIY LED Signs
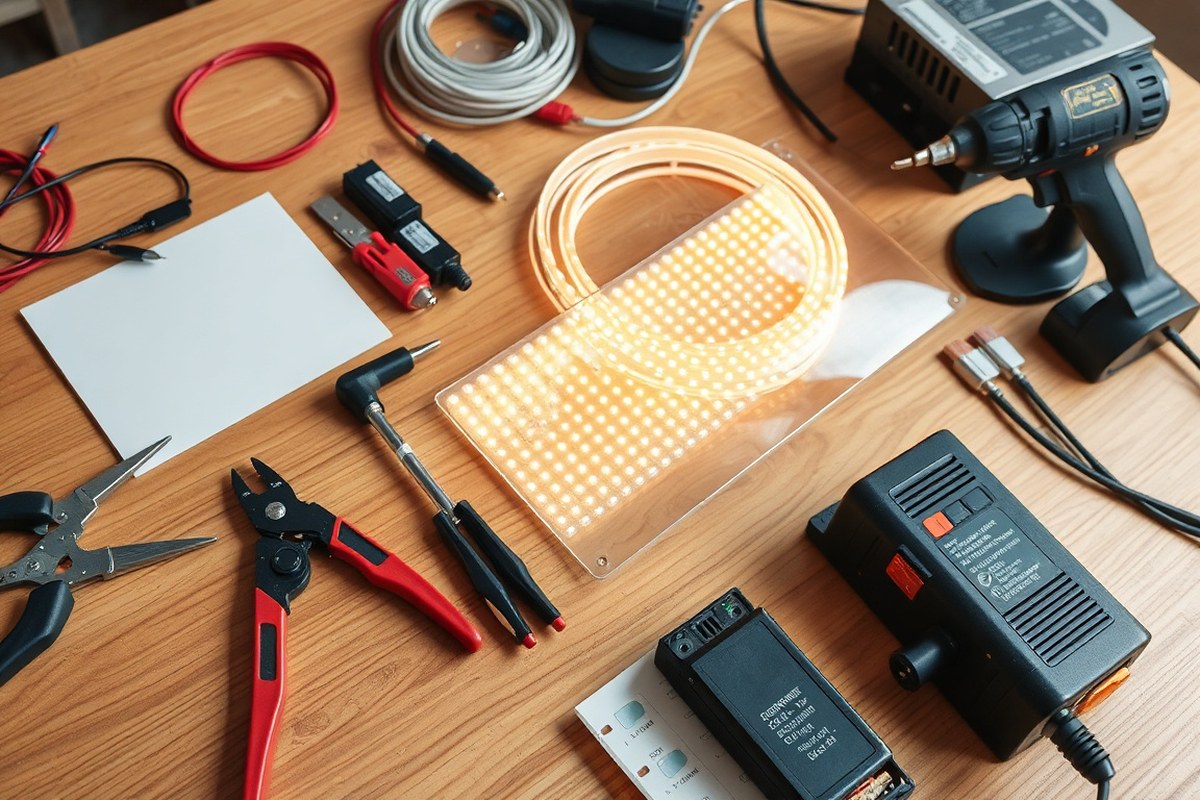
To create a DIY LED sign, you need specific tools and materials that suit the design and ensure safety and quality. For cutting and shaping your base material, common tools include a laser cutter for acrylic or a jig saw and clamps if you work with wood like MDF or walnut. A ruler and pencil help mark precise measurements. For wiring and assembly, you’ll require a soldering iron, wire cutters, and a screwdriver. Insulated tools minimize electrical risks. Gloves and safety glasses protect your hands and eyes during cutting and soldering.
Choosing the right LED strips is key for good illumination. Most DIY LED signs use 12-volt or 24-volt LED strips with adhesive backing to fit securely inside channels cut into your base. Pick strips designed with clearly marked solder pads every 3 centimeters to make wiring easier. For power, select a DC power supply that matches the voltage of your LED strips and can provide enough current, oversized by about 20% to avoid dimming or early LED failure. Bundles containing remotes and controllers can simplify operation, especially for beginners.
Base materials vary depending on your sign style and budget. Acrylic sheets are popular for bright and modern signs, cut by laser for precise edges and channels for the LED strips. Wood like 3/4-inch walnut or MDF boards provide sturdy, attractive support but require careful cutting and finishing. Foam board can be used for lightweight projects but isn’t as durable. Be sure the base allows room to cut holes for the power switch and wiring before assembly. Channels should fit the LED strips snugly to avoid uneven lighting or hot spots.
During assembly, test all electrical connections before gluing or fastening the frame to the base. Use wires of proper gauge and keep connections solid to prevent flickering or dim areas. Heat management is important; aluminum profiles or heat sinks help dissipate heat and extend LED life. Leave space for airflow around your components. Proper insulation around wires and solder joints avoids shorts and improves safety.
Gathering your tools and materials ahead of time saves hours and prevents interruptions. Expect 3 to 4 hours to complete a typical DIY LED acrylic sign, depending on design complexity and your experience level. Remember, safety gear and attentive wiring practices significantly reduce risks. Preparing your workspace with good lighting, ventilation, and an organized layout of tools also speeds up the project.
Never connect the power supply before finishing all wiring; unplug it during soldering to avoid electric shock and damaged components.
Designing Your Custom LED Sign for Best Results
Designing your custom LED sign starts by choosing the right fonts, sizes, and colors to ensure clear visibility and style. Creating an accurate 1:1 template for tracing or cutting makes assembly cleaner and saves time during construction. Clear planning prevents costly mistakes and results in a sign that looks professional and lights up as intended.
Choosing Fonts and Letter Size
Selecting the right font and letter size is key to readability and aesthetic fit. For simple or block fonts, letter heights of 3 to 4 inches usually provide good visibility, especially for close viewing. Script or cursive fonts need to be slightly larger, around 4 to 5 inches tall, because their curves and strokes are harder to read at smaller sizes.
Consider the viewing distance and lighting conditions. Signs intended for indoor use in well-lit rooms can have smaller letters, while outdoor signs require bigger letters and bolder fonts for maximum impact. Avoid overly thin or ornate fonts that make it hard to place LED strips neatly or cause dim lighting effects when lit.
Selecting LED Colors and Strip Types
Pick LED strip colors based on your sign’s purpose and setting. Standard single-color white or neon colors are best for signs highlighting text or logos clearly. RGB color-changing LED strips add vibrant effects and customization options, controlled remotely, but cost more and need more complex wiring.
For outdoor signs, choose LED strips rated for outdoor use to withstand moisture and weather exposure. Consider the LED type: flexible neon-style strips work well for channel letters and smooth curves, while standard rigid strips fit straight-line designs better. The wattage and brightness should match your design size; for example, 10 to 15 watts per meter is common for visible brightness in medium-sized signs.
Creating and Printing a 1:1 Design Template
Accurate templates are essential for cutting materials and positioning LEDs precisely. Using graphic design software, draw your sign at actual size, including letter shapes, spacing, and any embellishments. Print the design on paper or multiple sheets tiled together to form a full-scale layout. Follow these steps to create your printable template:
- Sketch your sign concept on paper to finalize design and layout.
- Digitally draft the design at 100% scale using free or paid software like Adobe Illustrator or Inkscape.
- Set the document size to match your intended sign dimensions.
- Choose fonts and adjust letter spacing to ensure proper fit and legibility.
- Print on standard letter or ledger paper, attaching sheets together with tape if the design is larger than one page.
- Tape the printout directly onto your cutting material (acrylic, MDF, or foam board).
- Trace the outlines onto the material carefully with a pencil or fine-tip marker before cutting or etching.
Tracing from a full-scale template results in smoother edges and proper alignment of LED strips, especially helpful for curved or complex shapes. Avoid freehand drawing because minor inaccuracies can accumulate, causing issues fitting LEDs or uneven lighting.
Choosing and Preparing the Base and Frame Materials
Choosing the right base and frame material for your LED sign depends on your project’s purpose and location. Acrylic is popular for indoor signs because it offers a smooth finish and excellent light diffusion, usually available in 3-5mm thickness. Wood provides a natural, warm look but may need sealing if exposed to moisture. Metal is durable and suited for outdoor use but requires more specialized cutting tools. PVC is lightweight and budget-friendly, working well indoors but less sturdy outdoors.
Preparing the base starts with cutting it to size. Acrylic sheets should be cut with a fine-toothed blade on a jigsaw or a CNC cutter to produce clean edges. Leave the protective film on the acrylic during cutting to avoid scratches and maintain a clean surface. Wood can be cut with standard saws and may require sanding and sealing for smoothness. Metal cuts best with a metal cutting saw or laser cutter and often needs deburring to avoid sharp edges. PVC cuts easily with a utility knife or saw but may need light sanding on edges.
Building a frame or backing helps stabilize the sign and improves its look. For acrylic signs, cutting a groove matching the sheet’s thickness ensures the LED neon flex fits snugly. To secure glass or acrylic panels, use 1/4-inch strips of wood or matching material cut to fit the sides. Frames can be as simple as a wooden box or metal channel around the edges of the base. Outdoor signs require sturdier framing materials resistant to weather conditions.
| Material | Pros | Cons | Cutting Method | Preparation Tips |
|---|---|---|---|---|
| Acrylic (3-5mm) | Good light diffusion; professional finish; easy to groove | Scratch-prone; breaks if mishandled | Jigsaw with fine blade, CNC cutter | Keep protective film on during cutting; cut groove for LED fit |
| Wood | Warm look; easy to cut and shape | Needs sealing for moisture; less precise look | Standard saws | Smooth edges with sanding; seal for durability |
| Metal | Durable; weather-resistant | Requires specialized tools; sharp edges | Metal cutting saw, laser cutter | Deburr edges; wear safety gear |
| PVC | Lightweight; budget-friendly | Less sturdy outdoors; scratches easily | Utility knife, saw | Sand edges lightly; avoid moisture exposure |
Cost varies by material and size. Basic acrylic sheets typically cost between $20 and $50 depending on thickness and size, while wood might run similar or less. Metal framing or backing tends to be more expensive, reflecting tool needs and durability. Adding a frame increases stability and improve sign appearance, especially outdoors.
Accurate cutting and preparation of your base affect how well your LED flex fits and how professional the sign looks. Grooves cut precisely to match the acrylic thickness ensure LED strips hold firmly, reducing movement or damage over time. Avoid removing the acrylic’s protective film too early to prevent scratches, which can dull the sign’s appearance. For framing, cutting 1/4-inch strips from scrap material and fitting them tightly around the sign edges creates solid support for mounting or wall attachment.
Power Supplies and Wiring: How to Calculate and Connect Safely
Calculating the right power supply wattage and wiring your LED sign correctly prevents damage, flickering, and uneven brightness. Start by adding up the total wattage of your LED strips, then choose a power supply that exceeds this by at least 20 percent to handle the load safely. Wiring should match the voltage of your strips, maintain secure connections, and avoid voltage drop to deliver consistent brightness along the entire sign.
Calculating LED Strip Wattage and Buffer Margin
First, find the power consumption per foot or meter listed on your LED strip’s packaging or datasheet. Multiply this by the total length of strips you plan to use. For example, if a 12V LED strip consumes 4 watts per foot and you use 10 feet, your total wattage is 40 watts. Add a 20 percent buffer by multiplying 40 watts by 1.2, giving you 48 watts. This buffer helps handle power surges, prevents stressing the supply, and compensates for potential wiring losses.
Check that your calculation accounts for all sections, especially if your sign has multiple segments or bends. Plan for extra wiring and controller power needs when using RGB or addressable LED strips. Remember, underpowering your sign causes flickering and uneven performance. Overestimating slightly is better than choosing a supply that barely meets your needs.
Power Supply Selection and Voltage Matching
Match the output voltage of your power supply exactly to the LED strips you use, usually 12V DC or 24V DC. Many LED strips run on 12 volts, while 24V options reduce voltage drop over longer distances, improving brightness consistency. Always confirm the voltage rating on both the strips and the power supply before connecting.
Select a power supply rated for slightly higher wattage than your calculated total power plus buffer. For a 48-watt load, choose a power supply rated for at least 50 to 60 watts. This margin prevents overheating and extends the supply’s service life. Choose a power supply that manages the total load of all three RGB colors in your sign. Incorporating an inline PWM dimmer or RGB controller can allow brightness and color adjustments without changing hardware.
Essential Wiring Safety Tips and Tools
Use wires rated for your calculated current and the sign’s environment to avoid overheating. Connect the power supply’s line (input) and load (output) terminals according to labels on the device to prevent wiring errors. Secure all connections firmly with solder or appropriate connectors to prevent flickering or intermittent signals.
Place the wire feed close to the power supply to reduce voltage drop, which causes the strips near the supply to appear brighter than those at the far end. For long runs, use 24V strips or add power injection points at intervals to maintain even brightness. Avoid sharp bends when mounting LED strips; instead, make gradual curves to protect the circuitry.
Always switch off power before connecting or adjusting wiring. Use insulated tools and wear safety glasses when soldering or handling electrical components. When unsure about wiring practices or local codes, hire a licensed electrician to reduce shock and fire hazards.
Verify connections twice and ensure your power supply’s wattage exceeds your total LED strip draw by at least 20 percent to prevent flickering and damage.
Step-by-Step Assembly and Installation Process
Start by thoroughly preparing your base surface, then carefully attach and wire the LED strips according to the correct order. Finally, secure your sign in place with a suitable mounting method so it is safe and visible. Testing comes after the sign is fully assembled and mounted.
Preparing the Base Surface for LEDs
The base must be clean, dry, and flat to ensure good adhesion of LED strips. If using materials like wood or acrylic, lightly sand the surface to remove dust or oils, which can prevent the adhesive on the LED strips from sticking well. Make sure the base fits the design dimensions exactly, trimming or sanding edges if needed.
For better durability and easier wiring, paint or seal the base before applying LEDs. This also provides a solid contrast background, improving the brightness and visibility of your sign.
Attaching and Wiring the LED Strips
Start by laying out the LED strips on the base without peeling off the backing to confirm the fit and alignment. Mark the ends and bends you need to make to shape the sign accurately. Remove the backing and carefully press the LED strips onto the base, pressing evenly for 30 seconds for secure adhesion. Next, follow this sequence for wiring and soldering to avoid mistakes and damage:
- Cut the LED strips to the desired lengths at marked points, usually indicated by small scissor icons on the strip.
- Solder connecting wires between segments where joins are necessary, ensuring solid solder points with no cold joints.
- Connect all positive (+) wires together in parallel, and all negative (-) wires together, maintaining polarity.
- Attach the power leads to the grouped wiring, checking correct polarity to prevent LED damage.
- Test the LED circuit with a low-voltage power supply before final installation to catch any wiring errors early.
Allow the solder joints to cool fully before moving the sign. Use heat shrink tubing or electrical tape to insulate soldered areas, reducing the risk of shorts.
Mounting and Finalizing the Sign
Choose a mounting option based on the sign’s size and location. Wall mounting is common: use screw hooks, brackets, or stand-off hardware. Ensure the hardware can safely support the sign’s weight and that the sign is level for maximum visibility.
For framed signs, insert the base into your custom frame, securing it with clips or glue. Adding a clear acrylic cover protects the LEDs from dust and damage without reducing brightness.
Once mounted, power the sign and visually inspect it for uniform light distribution and secure attachment. Address any loose wires or dim spots before positioning the sign in its final location.
Troubleshooting Common LED Sign Problems and Fixes
Flickering or dim lighting in your LED sign usually points to wiring issues or power supply problems. Loose connections allow current to jump or drop inconsistently, causing flickering. To fix this, first use a multimeter to test all wiring joints before final assembly. Make sure every connection is secure and properly soldered or twisted with electrical tape. Your sign may be dim because the power supply isn’t providing enough voltage and current for your LED count, so check that first. An underpowered source can cause sections to dim, especially at the sign ends.
Uneven lighting and hotspots often stem from improper LED placement or diffuser issues. For plexiglass signs, ensure the engraving depth aligns well with the diffuser material to spread light evenly. Walk along the sign face and look for bright spots or sections that appear darker. Adjust the position of LEDs or add diffusion layers like frosted acrylic. Spreading the lights evenly at consistent distances avoids the harsh glows that hotspots create.
When no part of the sign lights up, start by checking basic electrical issues. Confirm the power source is on and supply cables are connected correctly. Use the multimeter to check continuity through the circuit. Damaged LED strips or blown fuses could also cause total failure. Replace any damaged segments and check all safety fuses or circuit breakers.
| Issue | Cause | Fix |
|---|---|---|
| Flickering | Loose wiring or poor solder joints | Use multimeter to test, re-solder or secure connections |
| Dim sections | Insufficient power or LED aging | Check power supply specs; upgrade if underpowered; replace LEDs |
| Hotspots | Uneven LED spacing or diffuser mismatch | Reposition LEDs; add diffuser; ensure engraving depth matches diffusion |
| Sign won’t light | No power, faulty wiring, damaged LEDs | Check power source; test wiring continuity; replace damaged parts |
Perform these checks before permanently mounting your sign or sealing it. Testing early saves time and prevents having to disassemble later. A neat, fully lit sign without flickering or dark patches means you achieved solid electrical connections and precise LED placement. These small fixes typically cost only time and basic tools like a multimeter, rather than additional materials. When everything is wired correctly, the finished sign shines evenly and reliably for long-term use.
When to DIY or Hire a Professional for LED Signs
Creating a DIY LED sign can take anywhere from a few hours to several days, depending on the design’s complexity and your experience level. Simple signs with straightforward acrylic bases and pre-cut LED strips might be completed in a weekend, while more intricate designs, especially those mimicking neon effects, can stretch into multiple days. Professionals, on the other hand, typically craft a similar-sized neon sign within 30 to 45 minutes, ensuring a polished and durable finish.
Cost and time are key deciding factors. DIY projects often save money upfront, especially if you already own some tools and materials. However, beginners might spend more time troubleshooting wiring, soldering, or mounting LEDs securely. The DIY route suits hobbyists who want to experiment and customize without rushing. Hiring a pro proves valuable when the sign needs to look flawless for commercial purposes or withstand prolonged outdoor use, as experts incorporate precise measurements, high-quality finishes, and optimized electrical connections.
Safety is another critical consideration. Working with power supplies and wiring involves risks like electric shock or short circuits if not done properly. Professionals understand the necessary precautions, including correct voltage selection (often 24V LED strips for less voltage drop) and secure insulation, reducing hazards. They also have experience dealing with local electrical codes and can ensure your installation meets those standards. For beginners, simpler designs that avoid complex wiring lower safety risks and make the project more manageable.
Design details notably impact the final quality. Clean mounting methods and proper sealing prevent LED strips from peeling or moisture damage, which often separates amateur projects from professional work. An uneven or loose sign can look unprofessional and fail over time. Professionals use specialized tools to cut materials precisely and integrate components neatly, achieving smooth, consistent lighting effects. When choosing between DIY and pro help, weigh the intended use: a personal bedroom sign can embrace slight imperfections, but a storefront sign demands reliability and visual appeal to attract customers.
Ultimately, decide based on your patience, skill level, and project goals. Start DIY with a clear, basic pattern and plan for extra time to refine wiring and mounting. Consider hiring a professional if the sign must be completed quickly, look flawless, or comply with safety regulations. This approach minimizes mistakes and often results in a sign that lasts longer and performs better.
Test all electrical connections with a multimeter before final assembly to avoid hidden shorts that can cause fire hazards or damage your LED strips.
Step-by-Step Action Plan
Follow this plan to build your custom LED sign efficiently and safely.
- Before you start: Gather all your tools and materials, including LEDs, wiring, power supply, and frame components, to avoid interruptions during assembly. Double-check your power calculations to ensure safety.
- Day 1: Finalize your design and transfer it to the base or frame material. Verify the layout matches your wiring plan and that LEDs fit correctly.
- Day 2: Prepare the base and frame by cutting, sanding, and cleaning surfaces. Confirm the frame is sturdy and base material is ready for LED installation.
- Day 3: Begin wiring your LEDs according to the schematic. Test each string of LEDs with a multimeter or test power source to confirm functionality before soldering or securing.
- Day 4: Attach LEDs to the base/frame securely. Check that all LEDs light up evenly and there are no loose connections.
- Day 5: Complete final wiring connections to the power supply, ensuring polarity and voltage are correct. Use insulated connectors or heat shrink tubing to avoid shorts.
- Day 6: Test the entire sign by powering it on in a controlled environment, looking for flickering, dim areas, or non-working LEDs. Troubleshoot as needed, replacing faulty components.
- Day 7: Install your LED sign in its desired location, verifying the power source is accessible and secure. Turn it on for a final check under real lighting conditions.
Frequently Asked Questions
How Long Does It Usually Take to Make a Custom Acrylic LED Sign?
Creating a DIY acrylic LED sign usually requires two to six hours, varying with how complex the design is. Laying out your plan and getting materials ready beforehand makes it easier to complete the project on schedule.
Can I Use Any Type of Wood for My LED Sign Frame?
Yes, you can use any wood, such as 3/4″ thick walnut or what you have on hand. The key is to ensure the frame is sturdy to keep the sign balanced and stable.
What Thickness Should the Acrylic Sheet Be for a Good LED Glow Effect?
Acrylic thickness typically matches the groove cut in the base to fit snugly, often around 1/4 inch. This fit helps create a clean glow effect by evenly distributing the LED light through the sign.
Are DIY Neon LED Sign Kits a Good Alternative to Acrylic LED Signs?
DIY neon LED sign kits offer a glowing tube look with smooth, continuous light and can be easier for certain designs. Choose them if you want a neon effect instead of the sharp edges acrylic signs provide.
When Is It Better to Hire a Professional for Making an LED Sign?
For commercial use or complex signage, hiring a professional sign maker is safer to ensure high quality and compliance with local regulations. DIY works well mostly for personal projects or decorative signs.
What Is the Most Rewarding Part of Assembling an Acrylic LED Sign?
Mounting the lighting is the most rewarding as it brings your design to life with illumination. Taking care to secure LEDs correctly improve the overall appearance and longevity of your sign.
The Bottom Line
Building your own LED sign gives you full control over design, materials, and functionality. Start with a clear plan and take each step carefully to avoid common wiring and mounting issues. Your next move should be drafting a detailed wiring schematic to guide your assembly and ensure everything connects safely and correctly.