How to Make a Yard Sign: A Complete Guide with Expert Tips and Material Choices
How to make a yard sign starts with choosing the right weatherproof materials, designing clear text for visibility, and selecting the ideal size. Using durable coroplast or aluminum ensures your sign lasts through rain and snow. Begin by deciding on your message and headline letter size to fit the viewing distance.
Key Takeaways
- Use 4 mm UV-resistant corrugated plastic for yard signs to withstand outdoor weather for about one year.
- Design headlines at least 2 inches tall on 18×24 inch signs for readability from 20 feet.
- Choose larger signs like 24×36 inches with 5-inch letters when greater visibility at 50 feet is needed.
- Customize and proof your design online using free tools to avoid errors before ordering.
- Order custom yard signs starting at $20 for cost-effective, single-sided options.
- Select delivery speed based on timing needs: rush (2 days) to economy (8 days) available.
How to Make a Yard Sign Step by Step
Making a yard sign from start to finish involves clear planning, careful design, selecting the right materials, printing, and proper mounting. You can choose to DIY or order printed signs, depending on your budget, time, and available tools. A professional print shop typically uses durable 4 mm UV-resistant corrugated plastic, offering signs that last about a year outdoors, and prices start around $20 per sign for a standard 18 by 24 inch size. Preparing to print or handcraft the sign yourself requires specific supplies and tools along with attention to weatherproofing and visibility when you choose to DIY.
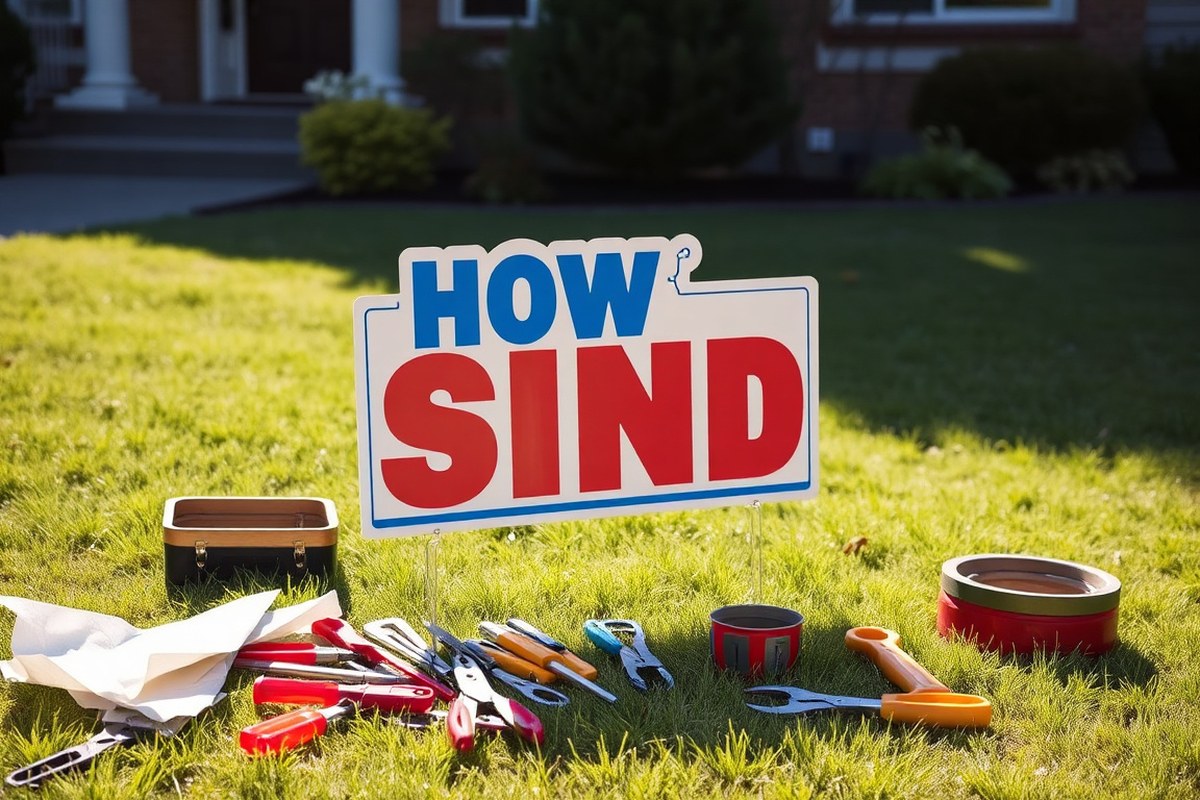
Before you begin, make a checklist of supplies and tools. For DIY, you’ll need corrugated plastic sheets or other weatherproof material; outdoor-rated paints or waterproof markers; stencils or printable design files; a sharp utility knife or scissors; mounting stakes such as 9-gauge metal H-stakes; measuring tape; and a surface to work on. For ordering printed signs, digital design files in the correct format and dimensions, either created from online templates or custom design software, are essential. Follow these steps to complete your yard sign project:
- Define your message and goal. Decide what the sign needs to say and what action you want from viewers. Keep the message clear and simple to read from a distance.
- Create or choose your design. Use a free online tool or software to design your sign on a standard template, typically 18 x 24 inches. Ensure headline letters are at least 2 inches tall for readability from 20 feet.
- Select weatherproof materials. For DIY, get UV-resistant corrugated plastic known as Coroplast. It withstands rain and sun exposure for up to a year outdoors. Confirm the printer uses similar durable material when ordering your sign.
- Print or paint your design. When printing yourself, use a large-format printer with waterproof inks or spray-seal your paint job if hand-painting. For ordered signs, upload your approved design and let the company handle printing.
- Cut the sign to size. Trim any excess material using a utility knife or scissors, ensuring clean edges for mounting.
- Attach mounting stakes. Slide sturdy 9-gauge metal H-stakes into the corrugated plastic’s flutes for ground placement. Stakes should firmly hold the sign upright and stable.
- Place your yard sign strategically. Choose visible, level ground with good lighting and minimal obstructions for maximum impact.
DIY signs often save money but require time, tools, and care to ensure durability and visibility. Professional printing provides consistent quality and fast turnaround, making it ideal for larger quantities or when you lack printing equipment. Planning well and using the right materials will lead to a durable, eye-catching yard sign that serves your purpose effectively.
Choosing the Best Weatherproof Materials for Outdoor Signs
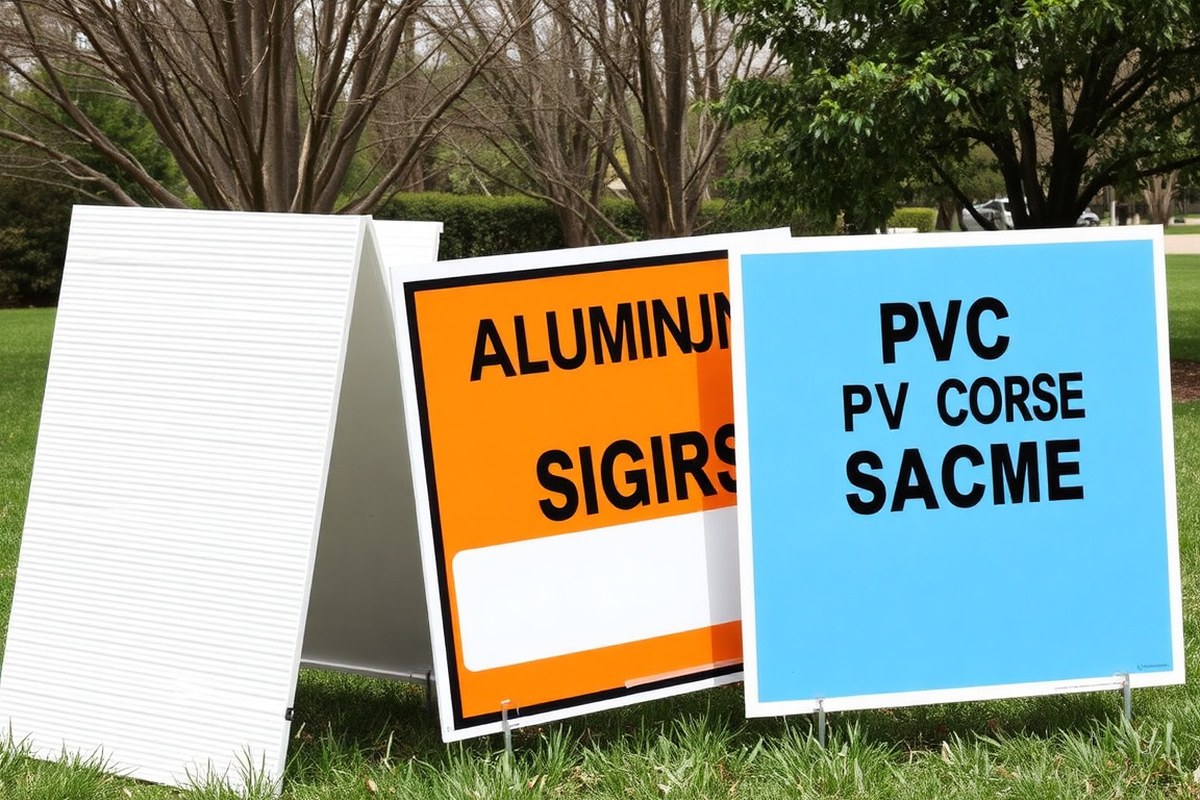
Choosing the right material for your yard sign depends on how long you want it to last outdoors, where it will be placed, and your budget. Corrugated plastic, often known as Coroplast, is the most popular choice for weatherproof yard signs because it balances cost and durability well. It is lightweight, weather-resistant, and typically lasts about 6 to 12 months outside before colors start to fade due to sun exposure. Applying a clear protective coat over the print can extend its appearance but won’t stop natural wear completely.
Aluminum signs offer the most durability and can withstand harsher weather conditions for years without rusting or warping, making them the best option for long-term signage. However, aluminum signs cost significantly more than plastic options and are heavier to transport and install. For indoor use or protected outdoor spots, PVC or foam board signs provide a sturdy, weather-resistant surface but are usually not as durable outdoors as corrugated plastic or aluminum.
When deciding which material to use, consider the sign’s purpose and location. Use corrugated plastic for most yard signs, especially those meant for short-term events or promotions that last a few months. Choose aluminum for permanent signs or those exposed to harsh weather year-round, such as in full sun, heavy rain, or strong winds. PVC and foam board can serve for indoor use or places shielded from direct weather but might warp or discolor quickly outdoors.
| Material | Typical Thickness | Weather Resistance | Typical Lifespan Outdoors | Cost | Weight | Best Use |
|---|---|---|---|---|---|---|
| Corrugated Plastic (Coroplast) | 4 mm | Good, water- and UV-resistant | 6, 12 months | Low ($5, $15 per sign) | Lightweight | Short-term yard signs and promotions |
| Aluminum | 0.040, 0.063 inches (thin sheet) | Excellent, rustproof and durable | Years (3+) | High ($20+ per sign) | Heavier | Long-term outdoor signs |
| PVC Foam Board | 3, 6 mm | Moderate, some water resistance | Several months outdoors | Moderate ($10, $20) | Moderate | Indoor or protected outdoor use |
Besides material choice, attaching the sign properly to a sturdy stand or frame matters for longevity. A plastic yard sign stand can protect edges by keeping the sign off the ground and improving stability, helping it maintain its shape through storms and wind. Signs printed on 4 mm corrugated plastic with UV-resistant inks generally stay sharp inside and withstand light rain, but strong sunlight accelerates color fading after 6 months.
Applying a clear protective coat over a printed corrugated plastic sign can reduce fading but does not make it permanent; planning for sign replacement based on event length is key.
Designing Yard Signs for Maximum Visibility and Impact
Maximizing yard sign visibility and impact depends on using bold fonts, high-contrast colors, and concise messaging placed strategically for easy reading. Keeping your text large and legible from a distance ensures passersby can quickly grasp your message, even with only a glance. The design should focus on clarity and a single compelling call to action.
Selecting Bold Fonts That Read Easily
Choose a clean sans-serif font because these styles are easier to read from a distance than serif or decorative fonts. Your text should be bold and straightforward, avoiding complicated letter shapes. For most yard signs, the minimum letter height for the main message is about 3 inches to be readable from around 10 to 25 feet. If your sign will be viewed from 50 feet away, increase the letter height to at least 5 inches. Keep to one or two font styles on the sign to avoid clutter, which reduces readability.
For example, using a font like Arial Black or Helvetica Bold works well because they remain legible even in small print sizes and retain clarity at large sizes. Avoid script or fancy fonts which can look attractive up close but become a blur from the road or sidewalk. Make your main message the largest and most prominent text on the sign to immediately catch attention.
Choosing High-Contrast Colors
Color dramatically affects how easy it is to see your sign. Use high-contrast combinations like bright white or yellow text on a dark blue or black background for maximum readability. Conversely, dark text on a bright background also works well. For instance, white letters on a dark green background stand out clearly. Avoid color pairs with low contrast such as light gray text on a white background or red on green, which are difficult to distinguish quickly, especially for color-blind viewers.
Bold colors not only grab attention but also improve legibility. Fluorescent or neon colors can work if balanced properly but generally keep your palette to two to three colors to maintain a clean look. High-contrast colors reduce eye strain and make your message pop even in dim or bright outdoor lighting conditions.
Placing Your Message for Quick Understanding
Your message needs to be short and focused. Use a clear call to action like “Call Now,” “Visit Our Website,” or “Sale Today” on the sign. Keep the total word count between five and seven to ensure the text can be read in a second or two as people pass by. Place the key message at eye level and in the central area of the sign, with any additional details below in smaller text.
Arrange your text so the most important information is where the eye naturally falls: top or center. Avoid clutter and unnecessary elements like long sentences or multiple calls to action, which can confuse readers. A good example of a call to action is: “Free Estimates, Call 555-1234.” This both directs and prompts immediate response without overcrowding the design. Tracking responses like calls or visits helps you measure your sign’s effectiveness over time.
Picking the Right Yard Sign Size and Letter Height
Choose your yard sign size by considering how far away people will be when reading it, what kind of message you need to include, and local rules. A common size for residential yards is 18 by 24 inches, since it balances easy carrying with clear visibility. Larger signs like 48 by 48 inches or bigger require sturdier posts and are better for high-traffic areas or driving distances but can be harder to move and install.
Letter height is important for readability. Bigger letters help drivers or bicyclists notice your sign quickly, but very large letters may crowd your design or exceed local size limits. For signs viewed from short distances (10 to 20 feet), letters about 1 to 2 inches tall usually work. For viewing distances around 50 feet or more, letters should be 4 inches or taller. Balancing sign size with letter height ensures your message is readable without making the sign too big or bulky.
Before picking your size and lettering, check local regulations. Rules can limit sign size, dictate where you can place signs, or how long you can keep them up. Ignoring these can lead to fines or having to remove your sign.
| Viewing Distance | Recommended Letter Height | Suggested Sign Size |
|---|---|---|
| 10 – 20 feet | 1 – 2 inches | 18″ x 24″ (Standard residential) |
| 30 – 50 feet | 3 – 4 inches | 24″ x 36″ |
| 50 – 100 feet | 4 – 6 inches | 48″ x 48″ or larger |
| Over 100 feet | 6+ inches | 48″ x 72″ / 48″ x 96″ |
Using these size and letter height guidelines helps you design a yard sign that catches attention without overwhelming your space or breaking local laws. For example, if you want to advertise an event that people will see from a sidewalk, an 18″ by 24″ sign with 1.5-inch letters should suffice. If the sign targets passing cars on a busy street, choose a larger size and letters at least 4 inches high. Large signs measuring 48″ by 48″ or bigger will need posts that can be anchored into the ground, such as U-Channel or wooden posts from the hardware store, for stability.
Keeping your sign portable matters too. Larger signs can be heavy or awkward to transport and install. Resist the urge to make a very large sign unless you expect viewers to be far away and need tall letters. A smaller sign with high-contrast letters will often be easier to manage and still visible enough for pedestrians or slow-moving traffic.
Always start by deciding who your audience is and where your sign will be placed. Measure or estimate the average distance your sign will be viewed from, consult local sign ordinances, then pick a size and letter height using the table above. This careful planning will make your yard sign effective and compliant, helping your message stand out in any small business or community setting.
Using Yard Sign Templates and Preparing Design Files
Creating your yard sign design file starts with choosing whether to use a template or design from scratch. Use high-quality, print-ready files in accepted formats like JPEG, PNG, PDF, or AI. Before sending your file for printing, thoroughly proof the design to avoid costly mistakes and ensure your message comes across clearly.
Where to Find Free Yard Sign Templates
Many online sign printing services offer free yard sign templates compatible with their platforms. These templates include the correct size, bleed areas, and safe zones, making it easier for you to create a professional-looking sign. You can customize text, colors, and images directly in online editors or download blank templates for use in design software.
Using a template saves time and reduces the risk of design errors, particularly if you’re new to graphic design. For example, Yard Sign Plus provides free downloadable templates with bleed lines for popular sizes like 24″x18″. These help ensure your graphics extend properly to the edges of the sign after trimming.
Design tools linked to the templates often include stock images, fonts, and simple drag-and-drop features. This helps you produce a clean layout without needing advanced skills or software.
File Format and Resolution Requirements
Your design files must be in a format that printers accept and at a high enough resolution for crisp printing. Common accepted formats for yard signs include JPEG, PNG, PDF, and AI files. Each has its ideal use: JPEG and PNG for images, PDF and AI for vector-based designs that scale without losing quality.
Resolution should be at least 300 dpi (dots per inch) at the final print size. Lower resolution files often print blurry or pixelated. Use CMYK colour mode, and include a 0.125-inch bleed area beyond your sign’s finished size to avoid unsightly white edges after cutting.
Before finalizing your file, outline all fonts to prevent text substitution or formatting issues in printing. Keeping your file size manageable (usually under 50 MB) helps with smooth uploading to online print services.
Proofing Tips to Avoid Printing Errors
Proofing protects you from mistakes that could ruin your yard sign’s effectiveness or cost extra to fix. Start by checking spelling, grammar, and all copy for accuracy. Next, verify layout elements, font sizes, colours, and image quality, especially at 100% zoom.
Ask the printer to send you a digital or physical proof. This lets you see the actual colours and placement before final production. Carefully review safety margins, bleed lines, and the sign’s orientation. If your sign has both front and back sides, ensure both are correct and aligned.
- Spellcheck all text and have a second pair of eyes review it
- Check the sign size matches your intended use
- Use CMYK colours rather than RGB
- Confirm fonts are outlined or embedded
- Include at least 0.125-inch bleed on all edges
- Verify images are 300 dpi or higher at print size
- Review proofs carefully before approving print
Allow extra time for multiple proof revisions if you’re ordering in bulk or for a critical campaign. Digital proofs are usually free and included in the ordering process.
Tip: Don’t approve your proof if any text or logos look blurry or incorrectly placed; correcting these issues early saves time and money.
Effective Placement and Mounting of Yard Signs
Placing yard signs both legally and visibly ensures your message reaches the right audience without causing problems. Avoid locations where signs are prohibited, such as on public utility poles, traffic signs, or in right-of-way areas controlled by local governments. Before placing your sign, check municipal codes or homeowner association rules to confirm the legal zones and rules about size, height, and duration of display.
For visibility, pick high-traffic areas like busy street corners, near intersections, or along sidewalks where pedestrians and drivers can easily see your sign. Position the sign at eye level, generally about 3 to 5 feet off the ground, and angle it toward the flow of traffic. Avoid placing signs behind bushes, fences, or parked cars. Keep the sign clean and well-lit during dusk hours, if possible.
- Confirm local placement laws with city or county offices before installing signs
- Choose high-traffic spots visible from the main road or sidewalk
- Place signs 3 to 5 feet off the ground for optimal sight lines
- Avoid blocking signs with landscaping, parked cars, or other objects
- Remove signs promptly after your event or promotion ends to avoid fines
Mounting yard signs securely protects your investment and keeps the message intact. Most yard signs fit into metal stakes designed for coroplast, a common corrugated plastic material. Start by sliding the metal stake into the slots or holes built into the bottom of the sign. Push the stake firmly into the ground, using your foot for added pressure. Make sure the ground is firm; if the soil is loose or sandy, consider using longer stakes or additional stabilizing supports at the back of the sign.
For tougher surfaces like concrete, mount your sign on a weighted base or use zip ties to attach it to a nearby fence or railing. Check the sign regularly for wind damage or loosening, especially during storms. Securing yard signs properly not only keeps them upright but also avoids safety hazards or violating city codes that might require stable mounting.
Cost and Time Estimates for Making Yard Signs
The typical cost of making a yard sign varies significantly between doing it yourself and ordering one from a professional printer. DIY costs mainly come from purchasing materials like corrugated plastic sheets, weatherproof markers or paint, and stakes. Materials for a single DIY yard sign often total between $15 and $30, depending on quality and size. Professional printing usually runs from $20 to $60 per sign, depending on volume, size, and complexity of the design. For a straightforward 24″ x 18″ sign, expect to pay around $25 if ordering from a local or online print shop.
Time is another important factor. Making a yard sign yourself can take anywhere from 1 to 3 hours for designing, cutting, painting or applying vinyl letters, and allowing paint or adhesive to dry. Professional printers typically require 1 to 5 business days to produce and ship a custom yard sign. Rush services can speed this up to 24 to 48 hours but usually add to the cost. The overall timeline from start to finish depends on how complex your design is and how quickly you can access materials or a printing service.
Ordering a printed yard sign is generally faster if you start with a fully prepared design file. The steps from uploading a design to receiving the sign can be completed in about 3 to 5 days under standard turnaround times. DIY signs offer quicker control since you can start immediately and finish by the same day, but this depends on your crafting skills and the drying times for paints or adhesives.
| Task | DIY Yard Sign | Professional Printed Yard Sign |
|---|---|---|
| Material Cost per Sign | $15, $30 | $20, $60 |
| Time to Complete (Design + Creation) | 1, 3 hours | 1, 5 business days |
| Additional Cost for Rush Service | N/A | $10, $25 (varies by printer) |
| Tools Needed | Paint or markers, cutting tools, stakes | Ready to display upon delivery |
| Typical Delivery Time | Immediate after creation | 2, 7 days depending on service |
Consider that DIY projects give full creative control and faster access, ideal for last-minute needs or personal touches. Printed signs provide professional finishes and durability, better for multiple identical signs or large-scale events. Planning ahead allows you to match your budget and timing to your event schedule, ensuring the yard sign is ready and effective.
Creative DIY Yard Sign Ideas and Decorative Techniques
Making homemade yard signs lets you add personality and a creative touch to your outdoor space. Using a mix of painting, stickers, and 3D elements can help your sign stand out. These techniques work well for simple signs or more detailed projects for special occasions.
Painted Wooden Signs with Stenciling
Wood provides a sturdy base for yard signs and is ideal for painting and stenciling. Start with a smooth wooden board, pine or cedar works well and costs about $10 to $20 for an 18×24 inch piece at most hardware stores. Sand the surface to remove rough spots, then apply a primer suitable for outdoor use to protect the wood from moisture.
Use stencils to create clean letters or shapes. Position the stencil on the wood, then paint over it with outdoor acrylic paint. Two coats ensure solid color and durability. Let each coat dry fully, about 1 hour, before adding more paint or removing the stencil. Seal your design with a clear, weatherproof spray to extend its life outdoors.
Using Vinyl and Stickers for Quick Décor
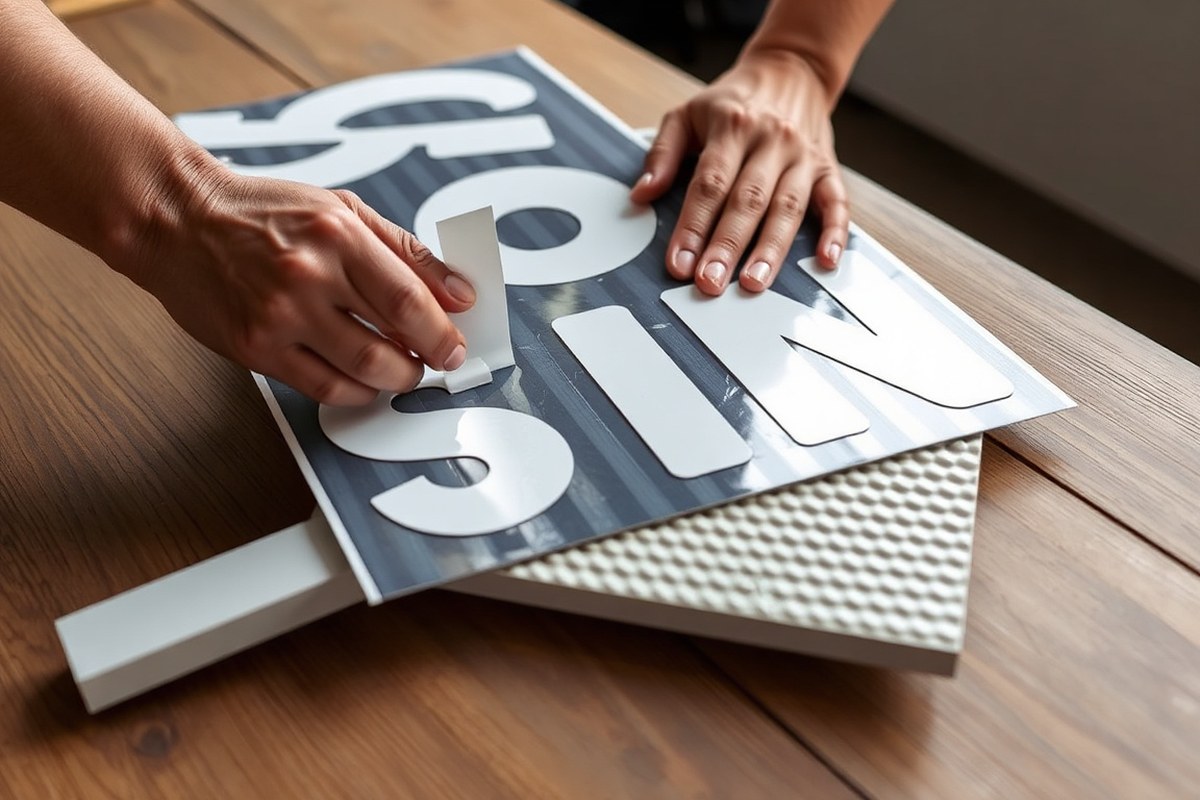
Vinyl letters and stickers are excellent for speed and precision, especially if you want a professional look without freehand painting. You can buy adhesive vinyl sheets or pre-cut letters at craft stores for around $5 to $15. These materials stick well to many surfaces like plastic, corrugated plastic, or smooth wood.
Apply the vinyl by cleaning the sign surface first, then carefully positioning the decals. Use a plastic squeegee or old credit card to press down air bubbles for a smooth finish. For added effect, choose weatherproof vinyl that resists fading and peeling. Simple upgrades include adding themed stickers or metallic accents to complement your message.
Adding 3D Elements and Textures
Three-dimensional touches draw eyes and add a tactile layer to your sign. Attaching small objects like wooden cutouts, artificial flowers, or flags creates depth. Use strong adhesive such as outdoor-rated epoxy or mounting tape designed for exterior use. These elements should be lightweight and weather-resistant to prevent damage or safety hazards.
Another option is using textured paint or layering materials like burlap or mesh for a distinct look. Glitter and reflective elements add sparkle, but remember to seal them with a clear coat to keep grit from washing away. Incorporating solar-powered lights or spotlights can highlight your sign after dark, increasing visibility during evenings and cloudy days.
- Use sandpaper and primer before painting on wood for a smooth, lasting finish
- Choose outdoor acrylic paint for vibrant, weather-resistant colors
- Clean surfaces thoroughly before applying vinyl or stickers to improve adhesion
- Secure 3D items with epoxy or mounting tape rated for exterior use
- Seal glitter or sparkly details with clear spray to prevent flaking
- Add solar spotlights to illuminate your yard sign at night
Always weatherproof your sign by sealing paint and adhesives, especially if you live in areas with heavy rain or strong sun exposure.
Maintaining, Storing, and Reusing Yard Signs
Proper care and storage of yard signs help you get the most use from them, saving time and money. Signs made from durable materials like corrugated plastic stand up better to weather, but all yard signs benefit from routine maintenance and thoughtful storage. Protecting your sign means fewer repairs and a clearer message over repeated uses.
To keep your yard signs in good condition, clean them after each use with a mild soap solution and a soft cloth to remove dirt and debris. Avoid harsh chemicals that can degrade printing or materials. Wipe gently to preserve the protective layer when the sign has a laminated coating. Check for bent frames or stakes and straighten them carefully to maintain proper display structure.
- Clean signs gently with mild soap and water after use
- Store flat or hung in a dry, cool place away from direct sunlight
- Remove stakes or frames before storage to prevent bending
- Use clear packing tape to reinforce minor tears on plastic signs
- Touch up scratched or faded areas with permanent outdoor markers
- Laminated signs get extra weather resistance and easy cleaning
- Keep wooden signs dry and reseal them yearly to prevent rot
Storing yard signs flat avoids warping or cracking, especially for materials like plastic or wood. Find a shelf or closet with stable temperature and low humidity to reduce the risk of fading or moisture damage. Detach stakes from signs to prevent bending when they are separate pieces. Signs laminated with a weatherproof coat hold up longer in storage and outdoors.
Simple repairs can extend the life of your signs. Small rips or holes in plastic material can be patched by applying clear packing tape over the damaged area on both sides. For wooden signs, sanding rough edges and applying an outdoor sealant annually prevents decay. Permanent outdoor markers can refresh faded text or graphics. Laminated signs rarely need sealing, but keep edges clean to maintain adhesion.
Step-by-Step Action Plan to Make Your Yard Sign
Follow these key steps in order to create an effective yard sign that attracts attention and lasts outside.
- Before you start: Choose weatherproof materials like corrugated plastic or aluminum to ensure durability. Confirm your material choice by checking if it resists water and sun damage.
- Day 1: Use a yard sign template to design your sign with clear, large lettering and contrasting colors. Verify your design by printing a test on paper to check readability from 10 feet.
- Day 2: Finalize and prepare your design file in a high-resolution digital format (PDF or PNG) matching your sign size and layout. Confirm file accuracy and dimensions before printing.
- Day 3: Print your sign at home using weatherproof ink or order a professional print for better longevity. Check print quality by inspecting color vibrancy and clarity.
- Day 4: Attach your sign to a sturdy frame or H-stake suitable for your yard’s soil type. Test stability by gently pushing on the mounted sign in different directions.
- Day 5: Place your sign in a high-visibility location, avoiding shadows and obstructions. Walk around from different angles to ensure maximum visibility.
- Ongoing: Inspect your sign weekly for damage or fading. Replace or repair as needed to maintain a sharp, professional look.
Frequently Asked Questions
How to Make a Yard Sign?
Start with a durable material like corrugated plastic, design your message for visibility, and attach it to a sturdy stake or frame for outdoor display. Make sure the letters are large enough to be read from a distance relevant to your audience.
What Is the Best Weatherproof Sign Material for Outdoor Use?
Corrugated plastic, also called Coroplast, is the top choice for weather resistance and lightweight handling. It works well for most yard signs, withstanding rain and sun without degrading quickly.
Can I Put Yard Signs Anywhere?
Placement depends on local laws and property ownership; always check rules before installing signs. Avoid obstructing sidewalks, driveways, or public rights-of-way to prevent fines and safety issues.
How Much Does a Happy Birthday Yard Sign Cost?
A typical custom yard sign starts around $20 for single-sided designs, with pricing varying slightly based on size and material. Specialty or larger signs may cost more depending on your supplier.
What Is the Standard Size of a Yard Sign?
Common sizes include 18 by 24 inches, which provides enough space for a clear headline readable at about 20 feet. Larger 24 by 36 inch signs work better for longer distances or larger crowds.
How Long Does It Take to Set Up a Yard Sign Outdoors?
Setting up a yard sign with a stand typically takes under 90 seconds. This quick installation is ideal for event organizers who need efficient setup and removal.
The Bottom Line
Your yard sign’s success depends on material choice, clear design, and strategic placement. Start by picking the right weatherproof material and designing with visibility in mind. Take a test print now to see what your finished sign will look like before moving on to production. This one step will save time and improve your sign’s impact in the long run.