How to Make a Metal Sign: Complete DIY Guide with Pro Tips and Tools
Learning how to make a metal sign starts with picking the right metal and tools. Metal signs work best when your design fits the metal sheet size, ensuring clear and balanced visuals. Begin by measuring your metal blank accurately so your design matches perfectly for a professional look.
Key Takeaways
- Choose aluminum for lightweight, weather-resistant signs suitable for indoor and outdoor use.
- Use a 12 x 12-inch metal blank for small, versatile signs with pre-drilled holes for easy hanging.
- Scale text to 2, 3 inches tall on a 12 x 18-inch metal sign to maintain readability and impact.
- Set design canvas size to match your metal sheet dimensions at 300 DPI for sharp, high-quality prints.
- Adjust sublimation temperature to about 356°F (180°C) for optimal ink transfer on coated metal signs.
- Sandblast or sand metal surfaces with P500 grit paper and steel wool to create an even, washed metal finish.
Choosing the Right Metal for Your Sign
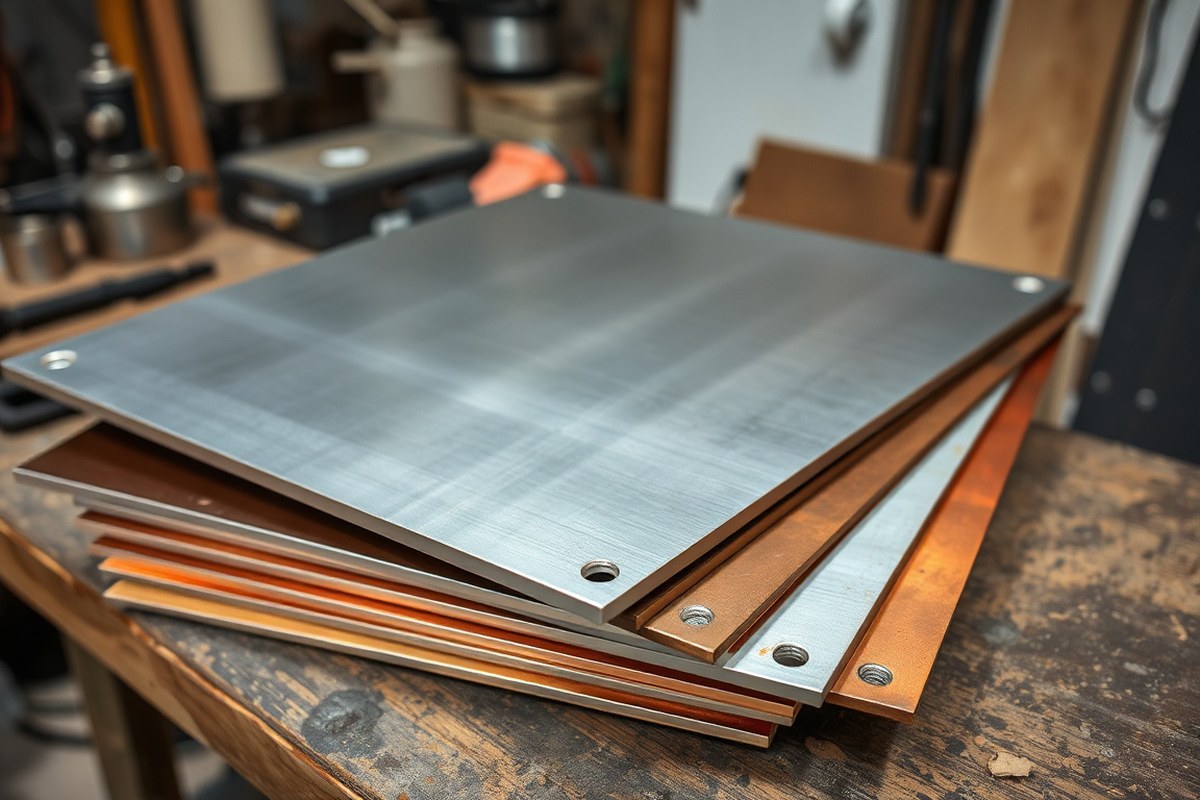
Aluminum is the best all-around choice for most metal signs, especially outdoors. Its natural rust resistance keeps signs looking good longer, and it’s lightweight enough to handle easily and mount without heavy-duty hardware. For typical business or decorative signs, aluminum sheets in 16 to 22 gauge thickness offer a good balance of durability and ease of cutting. Thicker metal adds strength but raises cost and challenges when shaping or engraving your design.
Steel works well for indoor signs or outdoor signs that get a protective coating like paint or powder coating to stop rust. Steel is heavier and less costly than aluminum but needs sealing to maintain durability. Stainless steel resists corrosion very well and fits premium signs or coastal locations, but it’s heavier and more expensive. Copper and brass provide a decorative, aged look since they patina naturally, but they have moderate rust resistance and higher costs, making them best for artistic or specialty signs rather than general outdoor use.
Choosing the right metal thickness depends on the size and expected wear of your sign. For a smaller indoor sign, 20 to 22 gauge is sufficient. Larger or outdoor signs exposed to wind and weather should lean toward 16 to 18 gauge to resist bending or dents. Thicker metal can handle more outdoor abuse, but it requires stronger tools to cut and shape. Here is a comparison of common metals for metal sign making:
| Metal Type | Rust Resistance | Weight | Relative Cost | Best For |
|---|---|---|---|---|
| Aluminum | High (natural) | Light | Moderate | Standard outdoor business signage |
| Steel | Low (needs coating) | Heavy | Lower | Indoor or coated outdoor signage |
| Stainless Steel | Very High | Moderate-Heavy | Higher | Premium or coastal outdoor signage |
| Copper/Brass | Moderate (patinas) | Moderate | Higher | Decorative or premium signage |
Your sign’s location dictates the most suitable metal. Outdoor signs must withstand moisture, sun, and temperature changes. Aluminum’s rust-proof nature and moderate thickness usually make it the best choice in these conditions. Indoor signs can use steel or copper if weight and cost are concerns, and you want a specific look. Always confirm the metal thickness fits your design tools and the sign’s size, 16 to 22 gauge covers most needs effectively.
Essential Tools for Making Metal Signs at Home
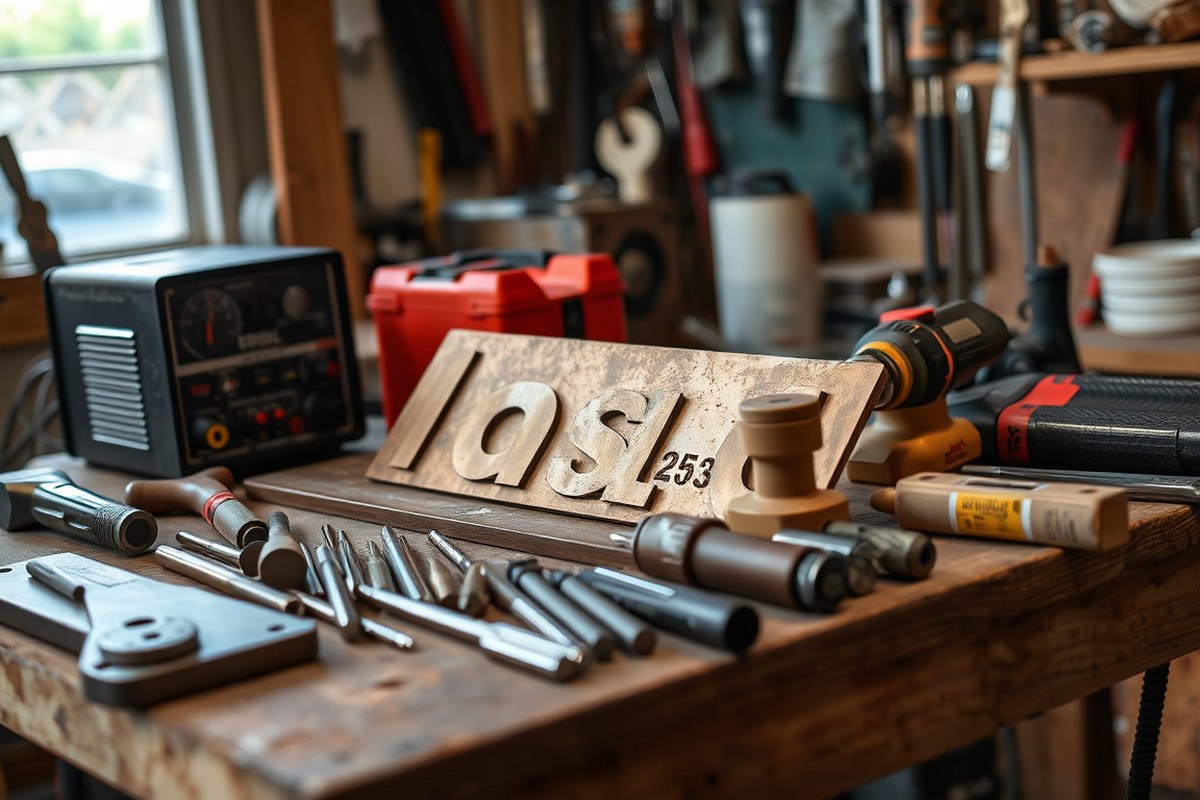
Tools for cutting, shaping, drilling, and finishing metal vary depending on your project’s scale, complexity, and how much you’re willing to spend. Every metal sign requires a cutting tool. Plasma cutters provide accuracy for detailed designs but cost several hundred dollars. A budget-friendly choice under $100 is a jigsaw with a metal-cutting blade, suitable for straight cuts and smooth curves but less effective on intricate patterns.
After cutting, shaping tools like metal benders help create curves and angles in your sign. A handheld mallet and dolly set can substitute for bending but demand skill and patience to avoid unwanted dents. These sets cost around $30 to $70, fitting smaller budgets and simpler bends.
| Tool Category | Key Item | Primary Purpose & Selection Tip |
|---|---|---|
| Cutting | Plasma Cutter or Jigsaw (with metal blade) | Plasma cutter is best for intricate, complex curves; jigsaw works well for simpler cuts and is beginner-friendly |
| Shaping | Metal Bender or Mallet/Dolly Set | Bender efficiently creates precise curves; mallet/dolly suits light shaping but needs more time and care |
| Drilling | Metal Drill Bits (Cobalt or Titanium coated) | Required for precise holes; cobalt bits are durable and recommended for harder metals |
| Abrasive | Deburring Tool, File, Sander | Used to smooth edges and prepare surface; files handle rough edges, while sanders finish for painting or coating |
Drilling holes for mounting or decorative purposes demands the right drill bits. Choose cobalt or titanium-coated bits for cleaner holes and longer lifespan, especially when working with steel or stainless steel. These bits generally cost between $10 and $20 each. Always mark your drilling points accurately and start drilling at a low speed to prevent slipping or overheating.
For finishing, abrasive tools like files, deburring tools, and sanders remove sharp edges and surface imperfections. Using a file to smooth cut edges costs under $15 and is straightforward. Electric sanders accelerate surface prep but may cost $30 or more and require caution to avoid over-sanding. After sanding, your sign surface is ready for painting or other finishing steps.
Always wear eye protection and gloves when cutting or drilling metal to avoid injury from sharp edges or flying debris.
Designing Your Metal Sign for Size and Impact
Planning your metal sign’s size and layout ensures your text and graphics fit well on the metal sheet and read clearly from the intended viewing distance. Proper scaling and accurate transfer of your design onto the metal surface make the final sign look professional and striking. Using digital tools helps create precise layouts that match the metal blank, saving time and reducing material waste.
Setting Canvas Size and Resolution
Start your design by setting the canvas size to match the dimensions of your chosen metal blank. For example, if you have a 12 x 12-inch aluminum sheet, set your workspace in the design software to exactly 12 x 12 inches. This prevents resizing mistakes later, which can affect image quality and the fit of text or graphics.
Choose a resolution of 300 DPI (dots per inch) to maintain sharp image quality, especially if you plan to print or sublimate the design. Higher DPI ensures crisp details, essential for fine lines in graphics or text. Many design programs, such as Adobe Illustrator, Canva, or Cricut Design Space, allow you to set these parameters before starting your layout.
Scaling Text and Images Properly
Scaling determines how well your sign’s message is communicated. As a rule, the larger the viewing distance, the larger the text and images should be. For a sign viewed from 10 feet away, letters should be at least 1.5 to 2 inches tall. For distant viewing, scale letters up to several inches.
Maintain the balance between text and images by adjusting both at the same rate, unless your layout highlights certain parts. Use software rulers and gridlines to center your design accurately on the canvas. Print a prototype of the design at true size on ordinary paper, then attach it to the metal sheet to evaluate the proportions before applying the final design.
Techniques for Transferring Designs
Transferring the design from paper or software to metal requires precision to keep alignment and details intact. The method you choose depends on your tools and intended finish:
- Print your design to scale using a laser or inkjet printer.
- Position the printed design face down onto the metal sheet if using sublimation paper or stencil method.
- Secure the design with heat-resistant tape to prevent movement during transfer.
- When using a marker, apply masking tape to the metal surface first, then trace your design onto the tape. This method makes cleaning up afterward much simpler.
- For engraving or cutting with software like Cricut, digitize your design and load it into the machine software, setting material type and cut depth accordingly.
- Check alignment carefully by measuring edges and using center marks on both the metal sheet and design.
- Apply heat or pressure as needed for sublimation, following manufacturer instructions (typically 375°F for 60 seconds), ensuring even contact across the metal surface.
- Remove transfer materials gently once cooled or cut to reveal the final design.
Cutting and Shaping Metal Sheets Safely and Precisely
Cutting metal for your sign requires both the right tools and strict safety precautions to get clean, precise edges without injury. Use gloves, safety goggles, and ear protection to shield yourself from sparks, sharp edges, and loud noise. Cutting metal by hand with a jigsaw or using tools like a plasma cutter or CNC router involves key steps: precise measuring and marking, maintaining a steady cut, and carefully removing sharp edges afterward to avoid injuries.
Preparing Metal and Work Area
Start by selecting metal thickness and type compatible with your tools. Thin metal foil sheets work well with home tools like Cricut machines, but standard sign-grade metals require plasma or laser cutters. Set up your workspace with good lighting and a sturdy surface that can handle sparks and debris. Clear the area to avoid tripping hazards and have plenty of room to maneuver your metal sheet.
Always use safety equipment before starting to cut. Thick work gloves protect your hands, safety glasses guard your eyes from flying metal bits, and ear plugs or earmuffs help reduce loud noise. Wearing a dust mask is advisable when sanding or working where air circulation is limited.
Cutting with Hand and Power Tools
Cutting metal involves careful step-by-step work to maintain accuracy and safety. Here’s a basic process you can follow, accommodating manual and power tool use:
- Mark the cut line clearly on the metal using a permanent marker and a straightedge or stencil.
- Secure the metal sheet firmly on your work surface using clamps to prevent slipping.
- Choose your cutting tool based on metal thickness: use tin snips or metal shears for thin metals, a jigsaw with a metal cutting blade for moderate thickness, or a plasma cutter or CNC router for thicker sign metals.
- Using a power tool requires adjusting to the right speed setting and following your marked cut line smoothly. Avoid applying too much pressure to keep the blade from binding or breaking.
- For plasma cutting, hold the torch steadily and keep a consistent distance as you guide it along the design line.
- Complete the cut fully, then turn off the tool and remove the metal carefully.
For do-it-yourself cutting without professional equipment, a jigsaw with a fine-tooth metal blade is affordable ($30, $100) and can handle most thin to medium metals. Plasma cutters start around $200 but provide cleaner, faster cuts on heavier gauge metals. Always follow manufacturer guidelines for your tools.
Sanding and Deburring Edges
Cut metal edges are often sharp or rough, so smoothing them is essential to avoid injury and give your sign a polished look. Use a metal file or a deburring tool to remove burrs and sharp points. Follow this by sanding the edge with medium-grit sandpaper (around 120 grit) and finish with a finer grit (220 grit) for a smooth surface.
Wear gloves during this step to avoid cuts. Work slowly, checking edges by touch to ensure no sharpness remains. Taking the time to deburr and sand your sign edges improves both safety and aesthetics, preventing accidental cuts while handling or installing the finished sign.
Adding Designs: Painting, Engraving, and Sublimation
Painting, engraving, etching, and sublimation each offer distinct ways to decorate metal signs, with varying durability and visual effects. Painting is a flexible method that allows for vibrant colors and designs but requires proper surface prep to last. Start by cleaning the metal thoroughly, then apply a metal primer to improve paint adhesion and prevent rust. Use spray paint or brush-on metal paints and let each coat dry fully before adding another. This process can cost as little as $10 for primer and paint, making it affordable. Paint durability depends on exposure; outdoor signs may need a clear protective coat to resist weathering.
Engraving involves physically cutting or etching designs into the metal surface. It’s highly durable since the design is part of the metal, making it ideal for signs exposed to rough conditions or frequent handling. Hand engraving tools or rotary engravers can work for small-scale projects, while laser engravers offer precision at a higher price, starting around several hundred dollars. Chemical etching is another technique, where acid-based solutions selectively remove metal to create a design. This method takes about 30 minutes per etching session and requires safety precautions like gloves and ventilation.
Sublimation is a heat transfer process that permanently bonds dye into a special coated metal surface, resulting in high-resolution, colorful images. You can use common sublimation printers and a heat press suitable for metal signs to achieve professional results. For example, the ProWorld TransPro 16×20 Heat Press works well for 12-inch signs, providing consistent heat distribution. Begin by peeling off any protective film from the metal’s coated side. Place the sign on butcher paper with the coated side face-up. Secure the sublimation paper on the sign with heat-resistant tape on all sides to avoid shifting during the press. Set the heat press temperature to about 400 degrees Fahrenheit and press for roughly 60 seconds. After pressing, gently lift the sublimation paper and tape to reveal the finished design. This method yields long-lasting, fade-resistant images but requires coated metal blanks, which can cost between $5 and $15 each.
Always wear protective gloves and ensure good ventilation when using chemicals for etching to avoid skin irritation and inhaling fumes.
Finishing Techniques to Protect and improve Your Sign
Applying the right primers, sealants, patinas, and protective coatings is essential to protect your metal sign from weather damage and ensure it looks great for years. To weatherproof your sign, start by cleaning and sanding the surface to improve adhesion. Use a rust-inhibiting primer for steel or aluminum, brushing or spraying a thin, even coat. Allow primers to dry for at least 24 hours before applying any additional layers or finishes.
Creating a rustic or aged look involves encouraging a controlled rust patina using a diluted vinegar and salt solution lightly brushed onto bare or lightly coated steel. Keep the metal wet with the solution until you reach the desired patina depth, which usually takes several hours to a day. Apply multiple thin coats rather than a heavy one for consistent rust development. After achieving the look, seal the surface promptly with a clear protective coating to prevent further corrosion from spreading uncontrollably.
- Use rust-inhibiting primers suited for your metal type to block moisture exposure
- Apply diluted vinegar and salt solution in thin layers for an even patina effect
- Choose clear polyurethane, enamel, or acrylic sealants for outdoor durability
- Allow each coating to dry for 24 hours between applications
- Consider UV-resistant sealants to protect painted or natural metal finishes
- Work in well-ventilated areas and follow manufacturer instructions on temperature and humidity
- Reapply protective coatings every 1-3 years depending on environmental exposure
Sealants like clear polyurethane, enamel spray, or acrylics protect your sign from moisture and UV damage, prolonging the life of both the metal and its finish. These coatings typically dry to the touch within 1 to 2 hours but require 24 hours or more to cure fully. Plan for several days of drying if you apply multiple layers or if temperatures are below 60°F, as cooler conditions slow curing. Applying light, even coats avoids runs and pooling, which can lead to uneven protection or finish flaws.
Good results show no flaking or bubbling of paint or rust spots beneath the sealed surface. Signs with sealed patinas retain their aged charm without further degradation. Without sealing, rust will continue to eat the metal, eventually causing holes or structural failure. Choosing the appropriate sealant and allowing enough curing time are keys to making your metal sign both attractive and durable over time.
Installing and Mounting Your Metal Sign Securely
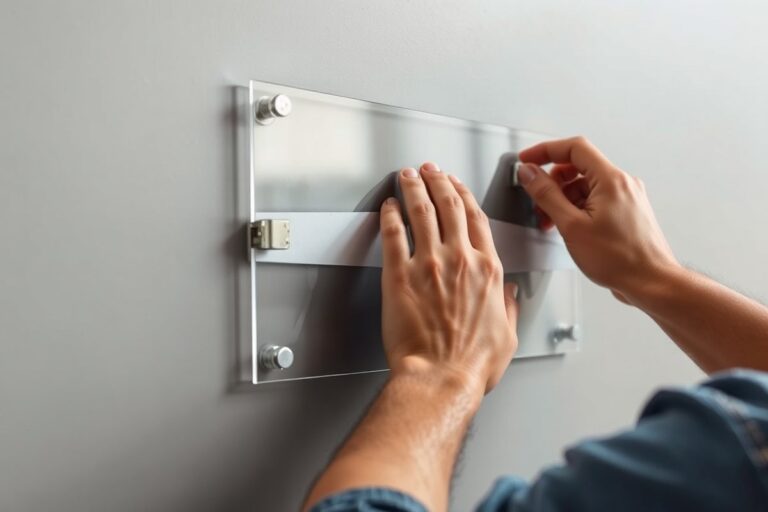
Drilling holes and choosing the right mounting hardware ensure your metal sign stays secure and looks professional. Safe hole placement, corrosion-resistant fasteners, and proper techniques keep your sign sturdy whether it’s indoors or exposed to weather. Select hardware based on the mounting surface and plan hole locations to avoid damaging the metal or design.
Measuring and Marking Hole Locations
Marking precise hole locations is the first step to a well-mounted metal sign. Common practice is to space holes about 5/8 inch from the edges and use a 3/8 inch diameter hole for mounting. When using wall clamps, leave about 0.44 inch from the edge to accommodate grooves without cutting into your design elements.
Use a ruler or measuring tape and a pencil or fine-tip marker to mark drill points. Double-check the measurements and ensure the marks align with your intended mounting surface. Planning hole placement before finalizing the sign prevents design interference and structural weakness.
Drilling Mouting Holes Properly
Proper drilling prevents metal warping, cracking, or rough edges that weaken mounting points. Use a drill with sharp drill bits appropriate for metal; cobalt or titanium-coated bits are good for lathes and stainless steel. Clamp the sign securely to a stable surface to avoid movement and injury during drilling.
Start with a smaller pilot hole, about half the diameter of your final hole, to guide the larger bit smoothly. Drill at medium speed and apply even pressure without forcing the bit. After drilling, deburr the holes with a metal file or deburring tool to remove sharp edges.
Mounting Hardware and Installation Tips
Choosing hardware depends on surface type and exposure to elements. For outdoor signs, use rust-resistant stainless steel screws, bolts, or standoffs to prevent corrosion and ensure longevity. For wood or drywall mounting, anchors can provide a stronger grip than screws alone.
Wall clamps hold signs without drilling into the mounting surface and can add a decorative touch if grooves are pre-cut. They are worth using if you want to avoid damage to walls or have a removable sign. However, clamps require precise groove spacing, usually 0.44 inch from edges. Follow these steps for secure installation:
- Confirm your mounting surface type (wood, concrete, drywall, metal).
- Gather rust-resistant mounting hardware suitable for your surface (screws, bolts, anchors, wall clamps).
- Measure and mark hole locations on both the sign and mounting surface.
- Drill pilot holes in the metal and mounting surface as needed.
- Deburr metal holes to ensure smooth edges and prevent sign damage.
- Attach the sign using your selected hardware, tightening firmly but without over-tightening to avoid bending the metal.
- Check for level and make adjustments before fully securing all fasteners.
- If outdoors, seal wood surfaces or apply weatherproof coatings around holes for added protection.
Common Mistakes and Safety Tips for Metal Sign Making
Working with metal to create your sign requires attention at every step to avoid common mistakes and keep yourself safe. Sharp edges often cause injuries after cutting metal sheets. Metal usually develops burrs, small, rough, and sharp protrusions, that can tear skin or snag clothing. Always smooth these edges using a hand file or a sanding tool rated for metal, working evenly along the full edge to eliminate jagged points.
Design errors can ruin your finished sign. For example, fonts that are too thin may not cut cleanly or be visible from a distance. To fix this, choose bold, simple fonts with at least 1/4 inch line thickness. Avoid intricate details smaller than 1/8 inch, as these often get lost or break during the cutting or finishing stages. Double check dimensions to ensure your design fits the metal sheet without overlapping edges.
Finishing mistakes often involve paint or protective coatings. Applying paint too thickly leads to runs and uneven drying, while using incompatible primers can cause peeling. For the best results, apply thin, even coats with a fine spray or brush, allowing at least 30 minutes to dry between layers. Select primers and paints formulated for metal surfaces to ensure good adhesion and weather resistance. Working safely is just as important as getting good results. Here’s a checklist to help you stay protected and avoid damage:
- Wear cut-resistant gloves to protect from sharp edges and burrs
- Use safety goggles to shield eyes from metal shards and dust
- Wear ear protection when using power saws or grinders above 85 dB
- Keep a clean, clutter-free workspace to prevent trips or falls
- Use a respirator or mask when sanding or painting to avoid inhaling dust and fumes
- Disconnect power tools when changing blades or making adjustments
- Follow all product label instructions for chemicals and tools
Handling chemicals, such as paint thinners, requires ventilation and proper storage. Store these products away from heat sources and never mix chemicals unless the instructions specify it’s safe. Many metalworking tools have sharp blades that can kick back or catch on clothing if not handled correctly. Keep firm grips on power tools, use clamps to stabilize your workpiece, and always cut away from your body.
Always file and sand metal edges after cutting to prevent cuts and snags before moving on to painting or mounting your sign.
Lower your risk of design faults, physical injury, or damage to your materials by planning your cuts carefully, wearing the right safety gear, and treating each finishing step with care. Taking these precautions will help your metal sign last longer and look better.
Step-by-Step Action Plan for Making Your Metal Sign
Follow these clear steps to create a durable, custom metal sign from start to finish. Each step includes a way to check your progress.
- Day 1: Choose Your Metal, Select a metal type based on your sign’s location and style; test its weight and flexibility to confirm it fits your needs.
- Day 2: Gather Your Tools, Assemble cutting, shaping, and finishing tools; verify you have safety gear to protect yourself during the process.
- Day 3: Create Your Design, Sketch or use software to design your sign with clear, bold elements; print or view the design to ensure correct size and legibility.
- Day 4: Cut and Shape the Metal, Use appropriate cutting tools and protective equipment; check edges for smoothness and shape accuracy.
- Day 5: Add Your Design, Apply your chosen method like painting or engraving; inspect the sign for detail clarity and coverage.
- Day 6: Apply Protective Finish, Use sealants or coatings suited to your metal and environment; test the finish for evenness and adhesion.
- Day 7: Install Your Sign, Mount securely with suitable hardware for the sign’s weight and location; confirm stability by gentle pressure or a test hold.
Frequently Asked Questions
What Type of Paint Works Best for Metal Signs?
Oil-based or enamel paints offer great durability and weather resistance for metal signs. They provide good adhesion and lasting color outdoors, unlike water-based paints that may peel or fade quickly.
How Do I Prevent My Metal Sign from Rusting over Time?
Apply a clear sealant or protective coating after painting to block moisture and air. Proper sealing stops rust, especially for signs with a weathered look. Reapply every few years for best protection.
Can I Create Raised or 3D Designs on My Metal Sign?
Yes, embossing or using metal applique adds texture and depth. These methods require specialized tools, so start with small projects until you perfect the technique.
What Is the Easiest Way to Add My Logo to a Metal Sign?
Sublimation printing on pre-coated aluminum blanks is simple and produces vibrant, durable images. Make sure to align the print carefully and use a heat press for best results.
How Do I Safely Drill Holes in Metal for Mounting?
Use a metal drill bit suited for your sign’s thickness, and secure the metal with clamps. Start with a small pilot hole to avoid slipping and drill at low speed.
Can I Make a Metal Sign Without Power Tools?
Yes, but expect more manual work with hand tools like metal snips and files. Power tools speed cutting and shaping but beginner signs can be made with basic hand tools and patience.
Key Points to Remember
Making a metal sign is a rewarding project that combines creativity with practical skills. Taking time to follow each step carefully ensures a durable and professional-looking sign that stands out. Start by choosing the right metal and prepare your workspace today to begin your metal sign-making journey.