DIY Beach Sign Guide for Beautiful Coastal Decor: Materials, Steps & Tips
DIY beach signs add a personal, coastal touch to your home or outdoor space without costing a fortune. Creating one yourself uses affordable materials like old wood and paint, making a charming and custom piece. Start by choosing sturdy, weather-resistant wood to ensure your sign lasts by the shore or in your backyard.
Key Takeaways
- Use old wood 1 to 2 inches thick for an authentic beach sign base with durable texture.
- Choose paint colors inspired by coastal themes for a vibrant, beachy look.
- Apply a weathered effect with cinnamon or sanding to create rustic charm inexpensively.
- Dig holes 1 to 2 feet deep plus extra width for sturdy outdoor beach directional posts.
- Seal your finished sign with waterproof paint or sealant to protect from sun and moisture.
- Consider customizable designs like names, directions, or distances to favorite beaches or towns.
What Is a DIY Beach Sign and Why Make One?
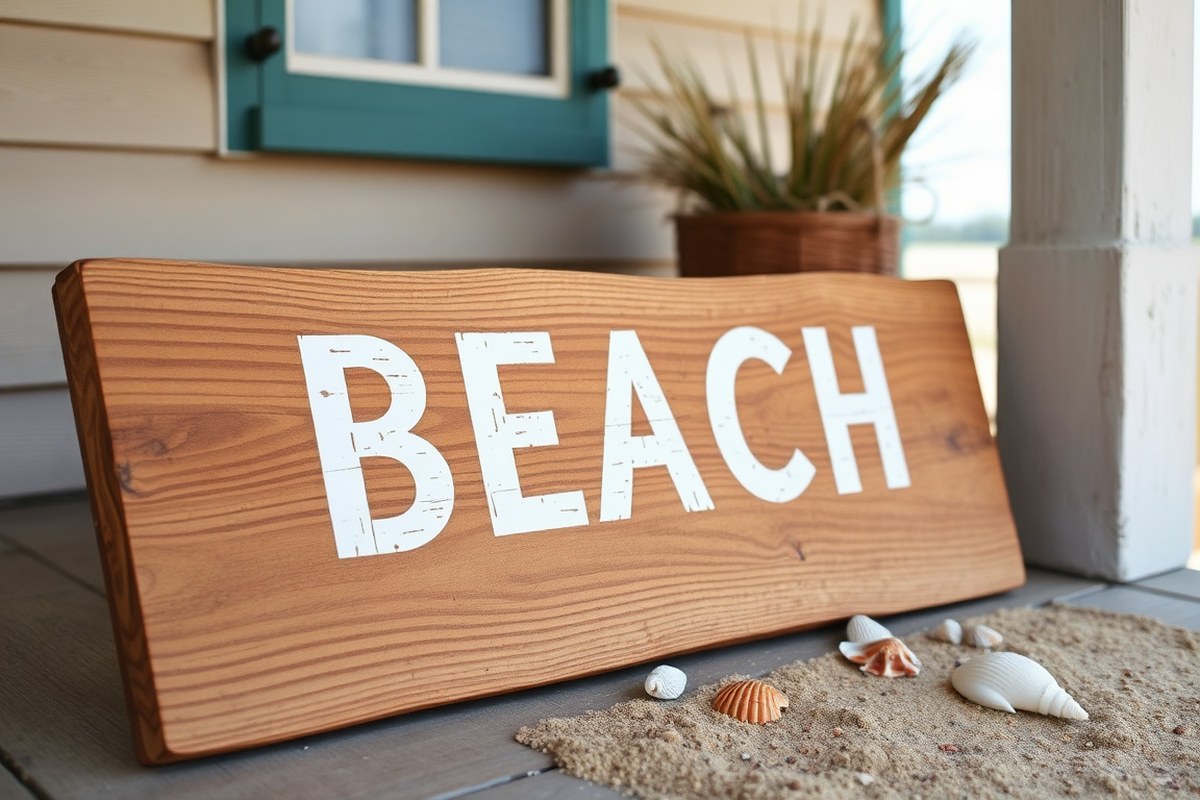
A DIY beach sign is a homemade decorative piece designed to capture the relaxed and coastal vibe of the beach. Typically crafted from wood, canvas, or reclaimed materials, these signs feature beach-inspired words, directions, or images. They serve as charming accents that bring a bit of seaside atmosphere into your home or outdoor space. By making your own, you tailor the style, message, and aging effect to fit your taste and decor perfectly.
Choosing to create a DIY beach sign instead of buying one offers several advantages. First, it can be much more affordable. You can reuse leftover paintbrushes, store-bought paints, and inexpensive wood or canvases, usually spending under $25. This makes it accessible even for beginners or casual crafters looking for a weekend project. Second, customization sets your sign apart from mass-produced versions. You decide exactly what wording, colors, and weathering effects to use, ensuring it matches the exact look and feel you want. Also, crafting the sign can be an enjoyable activity that doubles as a family project, with opportunities each summer to add new signs and create lasting memories together.
You can display your DIY beach sign in a variety of places, both indoors and outdoors. Indoor options include entryways, living rooms, bathrooms, or bedrooms, particularly rooms styled with coastal themes. Outdoors, these signs look great on patios, decks, porches, garden fences, or even attached to a beach-style directional post in the yard. Signs exposed to the elements should be sealed properly to protect against sun and moisture damage, extending their lifespan to several seasons.
Creating a beach sign yourself does not require specialized skills. Start with a wood plank around 12 to 24 inches long and 6 to 8 inches wide, which fits well for both indoor and outdoor use. Sketch your design lightly with pencil, then use weatherproof acrylic or latex paint to add colors and letters. For a rustic, weathered look common with beach decor, sanding edges or applying diluted paint washes helps achieve that faded finish. Drying time varies, but plan to wait at least 24 hours between coats and another day before sealing with a clear protective finish. Avoid smudging by handling the boards gently during this curing phase.
Buy inexpensive materials from craft or hardware stores, and consider repurposing scrap wood, old fence boards, or leftover paint to keep costs low and waste minimal. Successfully making a sign will leave you with a personalized statement piece that feels like a snapshot of the beach. Problems often arise from rushing drying times or skipping sealants, which can cause paint to peel or fade quickly when placed outdoors. Taking your time on each step ensures your DIY beach sign stays vibrant and welcoming through sun and rain, adding coastal charm wherever you display it.
Choosing Materials and Tools for Your Beach Sign
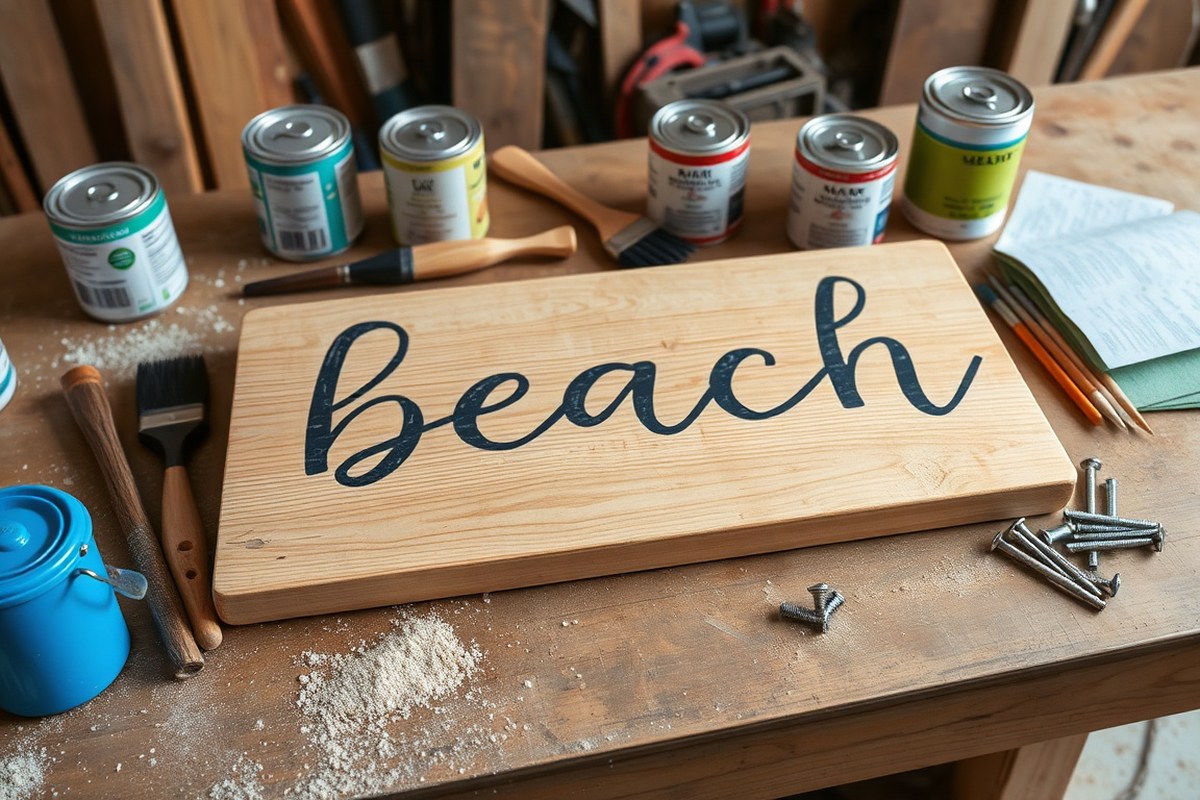
Wood remains the top choice for crafting durable and attractive beach signs. Solid wood, including craft boards or reclaimed wood pieces about 1 to 2 inches thick, offers a sturdy base that can withstand outdoor conditions better than canvas. While canvas can be used for lightweight or indoor signs, it lacks the resilience needed for exposure to sun, wind, and moisture common at the beach. Reclaimed wood adds character with its weathered look but should be inspected for rot or pests before use.
Paint choice directly affects the sign’s longevity and vibrancy. Exterior acrylic or latex paints work well. These paints resist fading and provide bright colors typical of beach themes. Bright colors like turquoise, coral, and sunny yellow complement beach vibes. Using brushes with synthetic bristles, sized between 1 to 3 inches, helps achieve smooth coverage for both broad strokes and fine lettering.
Essential tools include a saw for cutting wood to size, sandpaper for smoothing edges, painter’s tape for crisp lines, and optionally, graphite paper for transferring designs or lettering. For free-standing directional signs, a sturdy base or pedestal and a post are needed, plus a hole dug at least 1 to 2 feet deep and 6 inches wider than the post for stability.
| Material | Thickness | Durability | Ease of Use | Cost | Best For |
|---|---|---|---|---|---|
| Craft Board | About 1 inch | Moderate (needs sealing outdoors) | Easy to cut and paint | Low ($5, $15 per board) | Indoor signs, wall hangings |
| Solid Wood (pine, cedar) | 1 to 2 inches | High (natural weather resistance) | Moderate (requires sanding, sealing) | Moderate ($15, $30 per piece) | Outdoor signs, directional markers |
| Reclaimed Wood | Varies (1-2 inches typical) | High if sound (locks in weathered charm) | Varies, prep time longer | Often free or low cost | Rustic-style, budget-friendly signs |
| Canvas | Thin (not applicable) | Low (not suited for outdoor use) | Very easy | Low ($5, $10) | Indoor decorative signs |
Sanding wood before painting smooths rough edges and helps paint adhere better. Use a fine-grit sandpaper (around 120-150 grit). After painting, weatherproof your sign with a clear sealant designed for outdoor use to guard against moisture and UV damage. Applying paint in 2 coats ensures even coverage and a vibrant look.
To avoid warped signs, choose wood pieces with minimal knots and store your wood flat and dry before starting.
Gather tools such as a hand saw or power saw, sandpaper, variety of synthetic paint brushes, painter’s tape, and a sealant brush or spray. For lettering, transfer designs using graphite paper beneath your template. Cut your wood to about 2 feet by 5 inches for signs with clear, readable text. Costs will vary but can stay budget-friendly by using craft boards or reclaimed wood instead of pricier solid wood.
Selecting and Designing Your Beach Sign Message
Choosing the right message, font, and design elements for your beach sign sets its tone and ensures it fits your space perfectly. Start by selecting a catchy beach-related phrase, pick fonts that match your decor, and consider arrows or icons to guide or decorate. Deciding between stencils and freehand painting will affect your sign’s personality and ease of creation.
Popular Beach Sign Phrases
Simple, fun, and inviting phrases work best for beach signs because they catch attention and create a relaxed feel. Typical messages include “Beach this way,” “Seas the day,” or “Sandy toes & salty kisses.” For directional signs, use names of actual places or playful pointers like “Surf’s up →” or “Lighthouse 2 miles.” Mixing humorous phrases with functional directions adds charm to your sign.
Consider the location and purpose of each sign. Signs for your yard might use comforting words like “Welcome to our beach house” while directional signs in your family vacation home could list places like “Pier →” or “Boardwalk 1 mile.” Keep phrases short, ideally under 20 characters, so letters remain large and readable from a distance.
Choosing Fonts and Lettering Styles
Fonts influence the mood your beach sign sends. Casual handwritten or script fonts suggest relaxation and fun. Bold block fonts increase readability, especially for directional signs. Fonts resembling chalkboard writing or beach scripts work well to evoke a handmade feel.
Pick at least two fonts: one for the main message and one for smaller directions or numbers. This contrast helps with clarity and style. Limit fonts to two to avoid clutter. Use paint markers or brushes that accommodate your chosen font size. Test on scrap wood to see if spacing and strokes look right before painting your actual sign.
Adding Directional Arrows and Icons
Arrows and icons give your sign both function and personality. Arrows direct attention while beach-themed icons like shells, starfish, or palm trees add visual interest. Choose arrow styles that match your fonts, simple, clean arrows suit block fonts, while hand-drawn arrows pair better with script fonts.
Placement matters. Position arrows immediately after or below directional text, sized proportionally so they’re noticeable but not overwhelming. Use bright or contrasting colors for arrows for quick visual recognition. For multiple directions, stack arrows vertically or arrange them like a classic directional post.
Using Stencils vs Freehand Painting
Choosing between stencils and freehand painting depends on your skill level, desired style, and the look you want. Stencils offer precision, especially for detailed fonts and icons, ideal for beginners or those wanting consistent results. Freehand painting allows more creative expression and rustic charm, but requires steady hands and some practice.
Stencils can be homemade with cardstock or ordered online; they cost around $5 to $15. To use, tape the stencil to your sign board, apply paint with a sponge or brush, then remove carefully for crisp lines. Freehand lets you adjust designs on the spot but might need touch-ups or practice on scrap wood first. Mix both methods by stenciling main words and freehanding small icons or decorative elements.
- Decide on the main message or phrase you want, choose something short and fitting your beach style.
- Select one or two fonts that match your desired mood, testing readability on scrap wood.
- Sketch the lettering layout on paper to visualize spacing and alignment before transferring to your sign board.
- Design or select directional arrows and beach-themed icons that complement your fonts and phrases.
- Choose whether to use stencils for precise shapes or freehand paint for a relaxed look.
- Transfer your layout lightly onto the sign board using graphite paper or a pencil sketch.
- Paint your message, arrows, and icons carefully, letting paint dry fully between colors, expect longer drying times near humid or seaside environments.
- Add any finishing touches like weathered effects after painting, then seal your sign for durability outdoors.
Step-by-Step Painting and Assembling Instructions
Start by sanding and cleaning your wood surface to ensure the paint adheres smoothly. Apply at least two coats of a chalk paint base to achieve a vibrant background. After the base coat dries, carefully paint your lettering with a fine brush. Finally, drill holes if needed, add hanging materials, and securely mount your sign where it can be appreciated.
Preparing and Sanding Your Wood
Begin with rough wood such as pine, cedar, or reclaimed wood boards. Sand the surface evenly using 120-grit sandpaper to remove splinters and rough patches. This step helps the paint stick better and prevents peeling or chipping. Wipe away dust with a damp cloth and allow the wood to dry completely before painting. Proper surface preparation takes about 15 to 30 minutes per board and makes a noticeable difference in the finished look.
Painting the Base Coat and Letters
Apply a base coat of chalk paint in your chosen color using a wide brush or foam roller. This coat will serve as the background for your beach sign. For a bright, bold finish, paint at least two solid coats, allowing each coat to dry fully according to the paint label, usually 1 to 2 hours. Adding a third coat is optional for rich coverage.
Once your base is thoroughly dry, lightly draw your letters with a pencil. Use a fine paintbrush for painting the letters carefully, applying two thin coats to avoid smudging. Allow each coat to dry before adding more paint. This method ensures sharp, clear lettering that stands out against the background. Reapplying a thin base coat after lettering will help seal your design and prevent peeling.
Drilling, Stringing, and Hanging Methods
For multi-board signs that hang vertically or horizontally, drill small, evenly spaced holes at the corners of each board using a 1/8-inch drill bit. Thread jute twine, rope, or metal chain through the holes to string the boards together. Knot securely on the back side to prevent slipping.
If your sign will be mounted on a post outdoors, attach a sturdy wooden base or stand to stabilize it. Use exterior-grade screws and make sure the paint can withstand summer heat, rain, and humidity to avoid weather damage. For porch or deck display, attach hanging hardware like picture hooks or D-rings to the back, then hang on a nail or hook. Proper assembly protects your work and keeps the sign securely in place.
- Sand the wood surface with 120-grit sandpaper and wipe clean.
- Apply the first coat of chalk paint base and let dry for 1-2 hours.
- Apply a second coat of base paint and dry completely.
- Lightly sketch your lettering with a pencil.
- Paint letters with a fine brush, applying two thin coats with drying time between.
- Optionally, add a thin final coat of base paint to seal the lettering.
- Drill holes at corners for stringing or attach mounting hardware.
- Hang or assemble your sign securely in the desired location.
How to Create Weathered and Rustic Effects
Creating a weathered and rustic effect on your beach sign brings out that charming, worn look coastal decor is known for. Using techniques like sanding, layering paint, stains, and vintage washes adds depth and character to your project. These methods help mimic years of sun, salt, and sand exposure without waiting for nature to do its work.
Start by applying multiple layers of paint in different colors. This multi-layer approach lets you reveal hints of underlying tones when you sand, making the sign look naturally aged. You can choose softer beach colors like pastel blues and whites or go with more vibrant Resene shades if you want a pop.
Next, you’ll use sanding to distress the wood and paint. Sand the edges and lightly across the surface, focusing on areas that would get worn from handling or weather in real life. Doing some sanding before you add lettering prevents erasing brush details later.
For a natural wood look, try using wood stains instead of paint. Stains soak into the wood and give a warm, rustic feel without hiding the grain. A dusting of cinnamon powder over the wet stain can create a subtle rust-colored effect that adds another layer of vintage charm.
Applying a vintage effect wash is a quick way to get a whitewashed look. This involves diluting white paint or using a special vintage wash product to create a translucent layer that softens the paint beneath. You can spread it over the entire sign or just parts like the edges for varied effects.
- Apply a base paint layer in your chosen color and let dry completely.
- Add a second paint layer in a contrasting or complementary shade and allow it to dry.
- Lightly sand edges and center areas using fine-grit sandpaper (around 180-220 grit) to reveal the first paint layer or wood beneath.
- Use wood stain over bare or sanded areas for an all-natural rustic tone, then let dry.
- Lightly dust cinnamon powder on stain or wet paint spots if you want a rust-like accent.
- Apply a vintage effect wash or diluted white acrylic paint (about 1 part paint to 3 parts water) over the entire sign or selectively for a faded whitewashed look.
- Let the wash dry and add gentle sanding with a sanding block to blend effects and soften harsh edges.
Sand gently to avoid removing all the paint or lettering; check your progress often so you don’t overdo the distressing.
Protecting and Weatherproofing Outdoor Signs
Protecting your DIY beach sign from sun, rain, and humidity is essential for lasting beauty and function. Using the right sealants and finishes prevents fading, cracking, and warping caused by exposure to outdoor elements. Clear acrylic sealers or polyurethane with UV protection offer reliable defense against sun damage while creating a water-resistant barrier. Exterior-grade spar urethane works well for wood signs, as it expands and contracts with temperature changes, reducing peeling risks.
Apply these weatherproof finishes by first cleaning and drying the sign surface fully. Use a high-quality synthetic brush or foam applicator to spread a thin, even coat. Let the first layer dry for at least 4 to 6 hours in a dust-free area, then lightly sand with 220-grit sandpaper to smooth out raised grain or imperfections. Wipe off dust before adding a second or third coat, depending on your climate’s severity. Typically, 2 to 3 coats offer good protection. Avoid applying sealants in direct sunlight or damp conditions to prevent bubbles or cloudiness.
- Choose UV-resistant, exterior-grade sealants like spar urethane or clear acrylic spray suitable for wood or MDF materials
- Apply thin coats and let each dry 4, 6 hours, sanding lightly between coats
- Seal all surfaces, including edges and the back of the sign, to prevent moisture penetration
- Install your sign in a shaded or partially sheltered spot when possible to reduce sun and rain exposure
- Use rust-proof brackets, screws, or hooks designed for outdoor use to mount signs securely
- Consider anchoring posts in concrete for large free-standing signs to prevent instability in wind
- Reapply sealant every 1 to 2 years or when signs show wear to maintain protection
For safe outdoor installation, select hardware rated for exterior use to avoid corrosion and loosening over time. Stainless steel or galvanized fasteners resist rust well. If your sign mounts on wood posts, treat or paint the posts to extend their lifespan. Secure mounting keeps your sign from swaying or falling during storms, which can break or damage the piece. In windy locations near the beach, concrete footings for posts add extra stability. Check local guidelines for mounting height and placement, especially if you plan to place signs in public spaces or on shared property.
Signs sealed and installed correctly can last several years outdoors with minimal fading or water damage. Watch for peeling sealant, cracks, or discolouration as signs it’s time for a refresh coat. Skipping edge sealing or using interior sealants results in water seeping inside, causing swelling or rot. Poor fastening leads to broken or crooked signs. Spending time on sealing and using the right outdoors hardware ensures your handmade beach sign withstands sun and storm while welcoming visitors for seasons to come.
Common Mistakes and How to Fix Them
Uneven paint is one of the most common mistakes when making a DIY beach sign. It often happens if the paint is too thick or applied on a rough surface without proper sanding. To fix uneven paint, sand the sign lightly with fine-grit sandpaper (220 grit works well), then apply a thin, even coat of paint using a high-quality brush or foam roller. Let each coat dry completely, usually 2 to 4 hours depending on the paint type and humidity, before adding another layer.
Paint drips or smudges usually occur when too much paint is loaded onto the brush or roller. When this happens, wait for the paint to soften but not dry completely, which could take 15 to 30 minutes depending on conditions, then gently smooth out the drips with a damp cloth or fine sandpaper. For smudges, sanding the area once dry and repainting usually restores a clean finish.
Letters that are uneven or misaligned can throw off the whole look of your beach sign. When hand-painting, using stencils or painter’s tape can help keep letters consistent and straight. For uneven letters you’ve painted, take a fine brush with the background color and carefully touch up the edges to straighten them. For small corrections, a sanding stick or a sanding sponge can reshape letter edges after the paint dries.
- Sand the wood surface smoothly before painting to avoid paint pooling.
- Use thin coats of paint, allowing several hours to dry between each.
- Apply stencils with painter’s tape for clean, aligned lettering.
- Fix drip marks early by smoothing with a damp cloth or sandpaper.
- Touch up uneven letters with background color or fine brushes.
- Seal mistakes by repainting after light sanding.
- Check your work in good light to catch errors before the sealant.
Improper sealing can cause your beach sign to degrade quickly, especially in humid or coastal environments. Always apply a protective top coat like a clear marine varnish or exterior polyurethane after the paint has dried fully. Apply two or three thin coats, sanding lightly with 320 grit sandpaper between coats, to protect your sign from moisture and UV damage. Proper sealing helps maintain the paint’s vibrancy and prevents peeling or blistering that often follows weather exposure.
Taking the time to correct these issues as they arise requires patience but pays off with a polished, professional appearance. Your DIY beach sign should look neat and last through years of outdoor display if you address these common mistakes carefully before the finishing touches.
Ideas for Displaying and Customizing Your Beach Sign
Displaying and customizing a DIY beach sign involves choosing the right hanging method, picking a size and shape that fits your space, adding coastal-themed decorations, and considering seasonal changes. Each aspect improve your sign’s appeal and helps it blend with your home or garden’s vibe. Customization also makes your beach sign a unique statement that captures your personal style.
Indoor vs Outdoor Hanging Options
Indoor signs often hang on walls using picture hooks, adhesive strips rated for wall use, or small nails. Lightweight signs up to 5 pounds can use removable adhesive strips to avoid wall damage. For heavier or larger signs, picture wire attached to D-rings offers a secure hold and easy leveling. Indoors, keep in mind moisture levels, avoid spots with high humidity that can damage wood or paint.
Outdoor hanging requires more durable hardware. Stainless steel hooks, eye screws, or bracket mounts resist rust from rain and salt air. Drill pilot holes to prevent wood splitting and use waterproof screws. Hanging options include chains, thick rope, or even metal brackets attached directly to exterior walls, fences, or posts. Signs placed near the beach should be sealed with marine varnish for extra weather resistance.
Always consider the wind in your area; signs mounted flat against a surface far outlast those swaying freely. For hanging signs on porches or decks, use heavy-duty S-hooks or carabiners paired with marine-grade rope or cable.
Choosing Size and Shape for Your Space
Smaller signs, about 8 by 12 inches or less, are ideal for indoor shelves, bathroom walls, or side tables. Larger signs measuring 12 by 24 inches work well on entrance walls or outdoor gates. The shape can influence the style, rectangular or oval signs give a traditional look, while arrow-shaped signs add directional charm perfect for pathways or garden corners.
A good rule of thumb is to measure your available wall or fence space and choose a sign size that fills about 60 to 80 percent of that area visually. Signs that are too small get lost; signs that are too large overwhelm the setting and can be hard to hang securely. Thickness matters too; thicker boards provide sturdiness, particularly outdoors.
For porch or patio use, rectangular or paddle shapes with rounded edges combine durability with a soft, beachy feel. Try using reclaimed or driftwood pieces cut into different shapes for a more rustic, coastal look.
Adding Beachy Embellishments and Decor
Customize your beach sign by attaching small shells, starfish, or pieces of driftwood using clear silicone adhesive. Adding natural rope around the edges or as a frame highlights the coastal theme. Consider painting small accents like sand dollars or waves in soft blues, whites, or sandy tones to complement your sign’s message. Fingernail-sized faux seagulls or miniature lighthouses also add charm.
Seasonal decor can refresh your sign’s look without repainting. In summer, try attaching tiny faux sea glass or small flags. For fall, swap these for miniature pumpkins or fall leaves in muted beach tones. Holiday-themed beach signs might include painted snowflakes on driftwood or red-and-white nautical stripes for a festive look.
Use lightweight, weatherproof elements for outdoor signs to avoid damage from wind or rain. Secure attachments with marine-grade adhesive or small stainless steel screws to ensure everything stays put in damp or salty environments.
Creating Multi-Sign Directional Posts
Combine several beach signs on one post for a fun, functional display. Start with a sturdy wooden post that stands at least 4 to 6 feet tall and bury it 2 feet into the ground to keep it stable. Attach individual signs horizontally, using screws or bolts spaced 6 to 8 inches apart vertically. Each sign can point in a different direction with city or beach names, distances, or playful phrases like “Surf’s Up” or “Sandy Toes.”
Ensure signs are balanced in weight to avoid tilting the post. Paint each sign in coordinating colors with weatherproof paint or sealant for uniform protection. Consider adding a solar-powered light near the top or along the post for visibility at night and added charm.
Multi-sign posts are especially great for garden corners, beach-themed patios, or as photo backdrops at summer parties. Keep the post treated for outdoor use to prevent rot. For renters or less permanent installations, consider attaching multiple signs to a large wooden frame or hanging board that can be mounted on a wall instead.
Use marine-grade stainless steel screws and weatherproof sealant for outdoor mounts to prevent rust and ensure long-lasting displays.
Step-by-Step Action Plan for Your DIY Beach Sign
Follow these clear steps to create your own beach sign with a rustic, weathered look that lasts outdoors.
- Before you start: Gather all materials like wood, paint, brushes, and sealant. Check that your wood is dry and smooth to ensure paint sticks well.
- Day 1: Design your sign layout on paper or digitally. Confirm the size fits your intended display spot and wording is clear.
- Day 2: Cut and sand the wood to shape. Smooth edges make painting easier and safer.
- Day 3: Apply a base coat of paint and let it dry completely; this sets the background for your design.
- Day 4: Paint your message with stencil or freehand. Check for even coverage and correct mistakes while paint is wet.
- Day 5: Add weathered effects by sanding lightly or using dry brush techniques. Assess until you reach the rustic look you want.
- Day 6: Once dry, coat the sign with a clear weatherproof sealant. Confirm it’s sealed by testing a small water drop to see if it beads.
- Week 2: Mount your sign in the chosen location using screws or hanging hardware. Make sure it hangs straight and securely.
Frequently Asked Questions
Can I Add New Signs to My DIY Beach Directional Sign Each Summer?
Yes, you can keep adding new signs every summer until your post is full. This makes the project ongoing and fun to update annually with new destinations or messages.
Can I Use a Cricut Machine to Help Make My Beach Sign?
Yes, a Cricut machine can cut precise letters and shapes to personalize your sign. This tool saves time and creates cleaner designs than freehand painting.
How Can I Document the Progress of My DIY Beach Directional Sign?
Take photos each summer with your children to track sign additions and their growth. This creates a meaningful family memory alongside your craft project.
Is It Expensive to Create a DIY Beach Directional Sign?
No, you don’t need to spend much money if you reuse paint brushes and leftover materials. The project is budget-friendly and encourages using what you already have.
Can I Make a Beach Sign Indoors If I Don’t Have Outdoor Space?
Yes, you can build and paint your sign indoors, but cure and weatherproof it before outdoor display. Indoor crafting avoids weather delays in bad weather.
What’s a Good Way to Celebrate Finishing the Sign?
Take a photo of your children wearing construction helmets at sign installation. This little ritual adds fun and marks the start of your beach sign tradition.
The Bottom Line
Making your own beach sign lets you blend creativity with personal style for a fun home decor project that fits any outdoor space. Start by sketching a simple design this week to get a feel for your message and style. Your hands-on effort will lead to a unique sign that adds charm and a coastal vibe to your space.