How to Make a Slate Sign: Complete Steps with Expert Tips for Lasting Results
How to make a slate sign involves selecting the right slate, preparing it properly, and using the correct tools to avoid damage. Start with a clean, flat piece of slate and plan your design to ensure clear, lasting results. Careful painting and sealing improve weather resistance and maintain appearance.
Key Takeaways
- Choose slate pieces that are flat and free of cracks to ensure durability and ease of painting.
- Clean slate with warm water and dish soap, then let it dry completely for 24 hours before any work.
- Use carbide or diamond-tipped tools to cut and drill slate without chipping or breaking it.
- Drill holes before painting if you plan to hang the slate sign for cleaner edges.
- Apply a base coat and allow it to dry fully, usually 2 to 4 hours, before adding your design.
- Seal your painted slate with thin, even spray coats from 8 to 12 inches away to avoid drips.
Choose and Prepare the Right Slate Piece
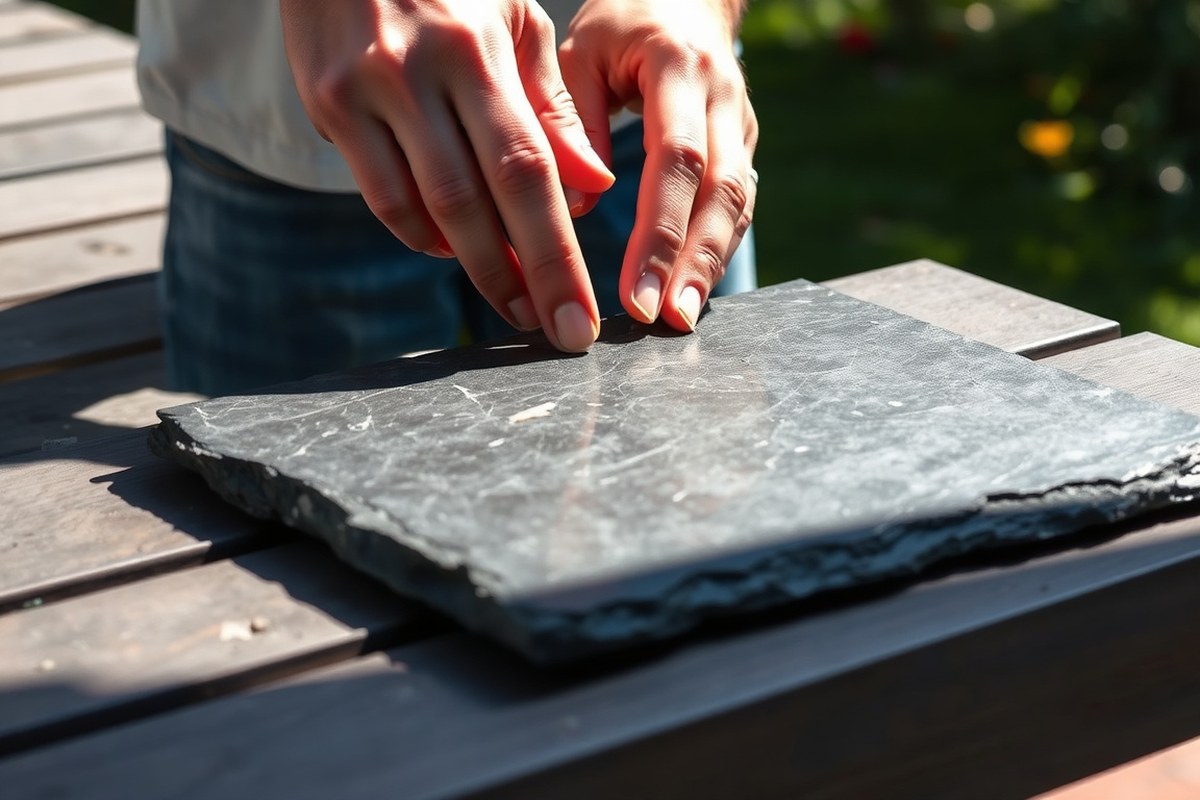
Selecting the right slate piece is essential for crafting a long-lasting and attractive sign. Optimal slate quality means choosing a piece that’s free from visible cracks, chips, or flaking surfaces. Aim for slate thickness between 1/4 inch and 1/2 inch for durability without making the sign too heavy or hard to handle. Thinner slate risks breakage during cutting or drilling, while much thicker pieces may be unnecessarily heavy and costly.
Testing the slate’s suitability includes checking for surface flaking and fragility. Slate prone to flaking will shed thin layers when scraped lightly and won’t hold paint or sealant well. Look for a consistent, smooth texture without loose fragments. Tap the slate gently; a clear, ringing sound typically indicates sturdiness, while dull thuds suggest internal flaws.
Cleaning and drying slate before use guarantee better adhesion for paint and primer. Slate often carries dust, dirt, and oils from handling or shipment that can impair finishing steps. Using warm water with a few drops of mild dish soap, scrub the entire surface carefully with a soft brush. Rinse thoroughly with clean water afterward to remove all soap residue. Allow the slate to dry completely, ideally for 24 hours at room temperature, to avoid trapping moisture under primers or paints which compromises the finish. Follow these exact steps to select, test, clean, and dry your slate:
- Inspect the slate visually: Check for cracks, chips, or flaking. Reject any slate showing surface fragmentation or deep cracks.
- Measure thickness: Use a ruler or caliper to ensure the slate is between 1/4 inch and 1/2 inch thick.
- Test flaking: Lightly scrape an inconspicuous area with a fingernail or plastic scraper. If layers come off, choose a different piece.
- Tap the slate: Hold the slate and tap the surface gently with a small tool. Listen for a clear ringing tone, which indicates good integrity.
- Clean the slate: Mix warm water with a few drops of dish soap. Use a soft brush or sponge to scrub the surface without scratching.
- Rinse thoroughly: Wash away soap with clean water, making sure no residue remains.
- Dry completely: Place the slate on a dry towel in a well-ventilated area. Allow it to air dry fully for at least 24 hours (longer in humid conditions).
Slate pieces in the $4 to $12 range typically come pre-cut with decent quality for signs, whereas roofing offcuts may be cheaper or free but vary more in quality. Paying attention to these details in selection and preparation can prevent breakage, poor paint adhesion, and a flaky surface that deteriorates over time. Proper cleaning and drying also set the foundation for an even primer layer and a professional-looking sign.
Tools and Materials Needed for Slate Sign Making
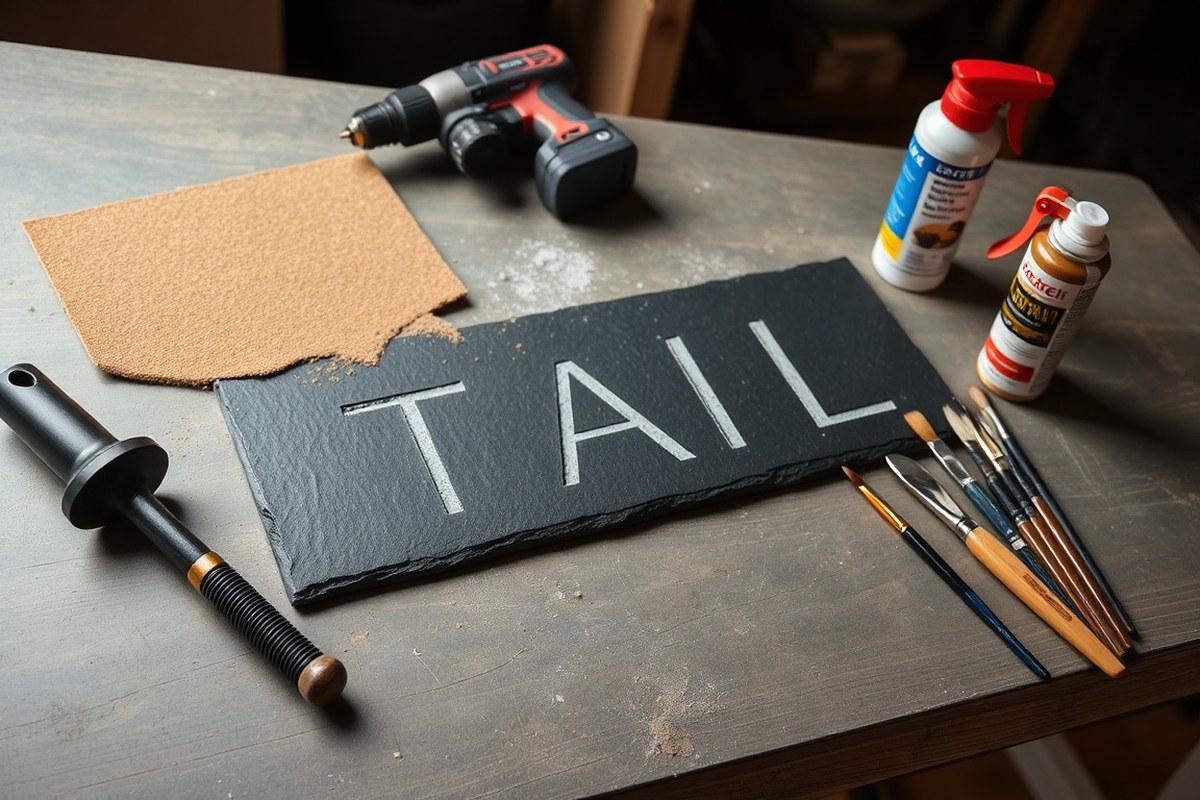
To create a slate sign, you’ll need a mix of essential and optional tools and materials tailored to your project. Essential items include a slate piece cut to your size (commonly around 2 x 3 inches for small signs), medium-grit (120-grit) sandpaper to smooth edges, and a drill with diamond-tipped or carbide drill bits to carefully make holes without breaking the slate. Safety equipment such as goggles and a dust mask are critical to protect your eyes and lungs from slate dust and sharp chips.
For painting, chalk paint is highly recommended for beginners because it adheres well to slate surfaces without extensive prep. Paint pens and regular chalk are options depending on the desired look and permanence. To protect the paint and slate from weather damage, clear acrylic spray paint is the go-to sealant, applied in thin, overlapping coats held 8 to 12 inches from the surface. Brushes, stencils, and sponges help with detailed designs, while sandpaper improves adhesion and smoothness.
| Writing Method | Best Use | Outdoor Lifespan (Typical) | Erasable? | Approx. Cost per Sign |
|---|---|---|---|---|
| Regular chalk (compressed) | Reusable seasonal labels | 3, 14 days (sprinklers shorten it) | Yes | $0.05, $0.20 |
| Wet-erase chalk marker | Cleaner lettering, less dust | 2, 6 weeks | Yes (damp cloth) | $0.30, $0.80 |
| Paint pen outline + chalk fill | High legibility, quick refresh | Outline: months; fill: 1, 3 weeks | Partly (fill only) | $0.40, $1.00 |
| Chalk + matte acrylic sealer | Long-term fixed labels | Long-lasting | No | Varies |
Affordable substitutes can save money without sacrificing quality. For example, a basic cordless drill with appropriate masonry bits can replace expensive specialty drills. Instead of professional stencils, you can create templates using printer paper or adhesive vinyl cut with scissors. If chalk paint is unavailable, latex paint or acrylic paint pens also adhere well if you prepare the slate by sanding and sealing.
Wear safety goggles and a dust mask whenever cutting or drilling slate to prevent injury from sharp fragments and dust.
Choosing the right drill bits matters because a masonry bit designed specifically for tile or stone minimizes cracking. Apply medium pressure and water to cool the bit during drilling. After painting, a light acrylic spray applied evenly protects your design from sunlight and rain, extending your sign’s life for years. Keeping your sign in partial shade also preserves paint vibrancy and chalk legibility.
Cutting and Drilling Slate Without Damage
Cutting and drilling slate requires careful handling to prevent cracking or flaking. Use precise measurements marked on the slate’s reverse side and cut with a slate cutter or appropriate tools while supporting the slate properly. Drill holes with a masonry bit at low speeds and steady pressure, ensuring the slate stays cool to avoid fractures.
Marking and Measuring Slate Precisely
Accuracy in marking slate starts by turning it over and working on the back side, where any marks won’t affect the sign’s look. Use a T-square or a ruler for straight lines, and mark the desired size clearly with a pencil or a fine-tip marker. For positioning drill holes, measure and mark the points carefully based on how you plan to mount the sign. Using a spirit level at this stage guarantees your mounting holes align perfectly and the sign will hang straight. Mark through pre-determined screw holes if you’re reusing an existing pattern, helping to keep the slate placement aligned on the wall.
Cutting Slate Using Hand and Power Tools
Slate can be cut by hand or with power tools, but the right method depends on the size and thickness of your slate. For hand cutting, place the slate on a stable surface, face down, and score the back along your marked lines using a slate cutter or a carbide-tipped scoring tool. Snap the slate along the scored line by applying pressure evenly.
If power tools are preferred, use a diamond blade or a wet saw designed for stone, cutting slowly to avoid overheating and cracking. Keep the slate supported, with part of it hanging over the edge of the work surface to allow a clean break. It’s normal if the back edge is not perfectly smooth, as long as the front remains clean and intact.
- Turn the slate face down on a stable workbench or table.
- Mark the cut lines precisely on the back of the slate.
- Score the slate along the marked lines using a slate cutter or carbide tool.
- Snap the slate by applying gentle pressure along the scored line.
- For power cutting, set equipment to low speed and use a diamond blade.
- Cut gently, keeping water flowing to reduce heat buildup.
- Support the slate to prevent bending or cracking during cutting.
Drilling Holes Safely in Slate
Drilling slate requires a steady hand and the right drill bit to avoid cracking. Use masonry bits, which are designed to penetrate stone surfaces gently. Keep your drill speed low, high speeds produce heat that can crack the slate. Holding the slate securely, ideally supported over the edge of a table, helps reduce vibration and pressure points during drilling.
Apply light pressure and take breaks to cool the slate if the bit begins to heat. Drilling slowly reduces risk of flaking or fractures. Choosing slate around 10 mm thick for your sign improves durability; thinner slate (around 5 mm) is more prone to cracking at the holes, especially outdoors where weather and movement stress the material.
- Place the slate over the edge of a sturdy table, face up or down as needed.
- Mark drill locations with a fine marker on the slate’s surface.
- Fit a masonry drill bit matching your desired hole size into a drill with variable speeds.
- Set the drill speed to low (below 1000 RPM recommended).
- Start drilling slowly, applying light, even pressure.
- Pause periodically to let the slate and bit cool down.
- Remove the drill gently once the hole is complete to avoid chipping edges.
Designing Your Slate Sign for Clarity and Style
Clear, attractive designs on slate signs start with choosing readable fonts and appropriate letter sizes. Sans-serif fonts like Arial or Helvetica work best because their clean lines maintain legibility from a distance. Keep letter height at least 1 inch for signs viewed from several feet away. Space letters evenly, about 1.5 times the font size apart, to avoid crowding that reduces clarity. For longer messages, group text into short lines to maintain balance and make reading easier.
Using stencils helps transfer precise designs onto slate, especially if your design includes curves or small details. Create a stencil by printing your chosen design on card stock or plastic sheets. Cut the letters or shapes out with a craft knife on a cutting mat. Position the stencil firmly on the cleaned slate surface and trace around the cutouts with a soft pencil or chalk pencil to mark your design outline. Chalk pencils offer easy adjustments but are less permanent. Pencil lines, though subtle, can be erased or painted over precisely. Freehand drawing works if you have steady hands and simpler designs.
Colors that adhere well to slate and last outdoors include acrylic paints and oil-based paint pens. Acrylic paint bonds effectively when applied over a primer suitable for stone surfaces, sealing into the porous slate. Apply in thin layers to avoid cracking and allow at least 30 minutes to dry between coats. Paint pens, priced from $5 to $15, offer control for fine details or lettering without messy brushes. For broad areas, medium to large flat brushes deliver smooth coverage faster. Fine-tipped brushes, costing around $3 to $7 each, are necessary for intricate edges and detailed work.
Chalk or chalk-based pencils make excellent temporary design tools for practice and layout but will smudge easily and wash away. Paint pens provide precision but may bleed if applied thickly or on unprimed slate. Brushes with acrylic paint give a professional finish but require patience for drying and layering. After painting, sealing the sign with an appropriate clear coat protects colors from weather and wear, which is essential for outdoor durability.
A simple stencil-making script you can use reads: “Print your text or design on heavy paper, cut out letters with a craft knife, position stencil on the slate, trace lightly with a pencil, then paint within the lines.” For lettering tips, use consistent pressure when tracing, and double-check spacing visually. Don’t rush the painting stage; carefully build up color in thin coats for even coverage and sharp edges. Good results show crisp, bold letters with no smudging or fading after sealing. Smears, uneven strokes, or color bleeding indicate rushed application or insufficient surface prep.
Painting and Finishing Your Slate Sign
Priming your slate before painting significantly improves paint adhesion and durability. Applying multiple thin coats of paint with proper drying times gives a smooth, vibrant finish. Sealing the finished sign protects it from weather and wear while preserving your design.
Priming and Base Coats for Better Paint Adhesion
Slate is slightly porous with a natural texture that can make paint stick unevenly. Cleaning the slate thoroughly with soap and water removes dirt and dust. After drying, lightly sanding the surface with fine-grit sandpaper (around 220-grit) creates a better grip for paint.
Use a primer formulated for stone or porous surfaces to seal the slate and establish a uniform base. This step reduces blotchiness and helps the paint bind more securely. Applying a base coat over the primer makes painting straighter lines easier on the natural slate surface, but it’s optional if you don’t mind the irregular texture showing through your design.
- Clean slate thoroughly with soap and water; let it dry completely.
- Lightly sand the surface with 220-grit sandpaper and remove sanding dust.
- Apply an even coat of stone primer using a brush or roller.
- Let the primer dry fully according to the manufacturer’s instructions, usually 2 to 4 hours.
- If desired, add a base coat of paint in a neutral or background color.
- Allow the base coat to dry completely before moving on to painting your design.
Wear goggles and a mask while sanding or priming to protect your eyes and lungs from dust and fumes.
Applying Paint Layers and Drying Times
Use thin layers of acrylic paint suitable for outdoor or indoor use depending on your sign’s location. Thin coats dry faster and prevent drips or pooling. Expect to apply 2 or 3 coats to get solid coverage and vibrant colors.
Lightly sanding the primed or base-coated slate with fine-grit sandpaper between coats removes minor imperfections and ensures smoothness. Let each coat dry fully before applying the next. Typical drying time is 1 to 2 hours for acrylic paint at room temperature. Plan your painting over several hours or a couple of days for best results.
- Load your brush or sponge lightly with paint to avoid oversaturation.
- Apply the first thin coat evenly, following the slate’s grain if visible.
- Allow the paint to dry for 1 to 2 hours or as per paint instructions.
- Lightly sand the coat with 220-grit sandpaper to smooth out imperfections.
- Wipe away sanding dust carefully without disturbing the paint.
- Repeat steps 2 through 5 for a total of 2 to 3 coats until you achieve opaque, even coverage.
Choosing and Applying a Protective Sealant
Once the paint is fully dry, usually at least 24 hours, apply a clear sealant to protect your slate sign. For indoor signs, a water-based acrylic sealant offers a clear, non-yellowing finish that protects paint without altering its appearance. Outdoor slate signs need a more durable sealant that repels moisture and resists fading. Sealant options include:
| Sealant Type | Pros | Cons | Best Use |
|---|---|---|---|
| Water-based acrylic | Clear, non-yellowing, easy cleanup | Moderate weather resistance | Indoor signs or covered outdoor areas |
| Polyurethane (water or oil-based) | Strong protection against UV and moisture | May slightly yellow over time; oil-based has stronger fumes | Outdoor signs exposed to weather |
| Marine varnish or spar urethane | Excellent weatherproofing and flexibility | Requires multiple coats, longer drying times | Signs in harsh outdoor environments |
Apply sealants with a clean brush or spray. Follow the surface grain and apply thin, even coats. Two coats are typical, waiting 1 to 2 hours between them. Let the final coat cure 24 to 48 hours before handling or installing.
Make sure the paint is completely dry before sealing to avoid trapping moisture that can damage the finish over time.
Mounting and Displaying Your Slate Sign Securely
Mounting your slate sign securely depends on your location and the sign’s use. For outdoor, in-ground signs, cedar stakes measuring about 1 by 2 inches work well. When using stakes, push them into the soil at least 12 to 18 inches deep to ensure stability against wind and weather. Attach the slate to the stake with exterior-grade screws and washers to prevent the screw heads from pulling through or damaging the slate. Using a washer distributes pressure evenly and protects the slate from cracks.
For hanging slate signs, galvanized wire in 16 to 18 gauge wrapped around the slate like a picture frame hanger provides a surprisingly strong hold without drilling holes. Twist the wire tightly at the back to keep the slate snug and secure. Another option is leather or sturdy nylon cords threaded through pre-drilled holes if your slate piece is 4 to 6 millimeters thick; this thickness supports hanging without cracking.
Mounting directly on walls or flat surfaces without drilling is possible using strong adhesives such as construction adhesive or specialized mounting tapes. Press the sign firmly against the wall for 30 to 60 seconds to ensure good contact and adhesion. These work best on smooth, clean surfaces indoors or protected outdoor spots.
- Cedar stake mounting: stable for garden and yard signs, requires 12, 18 inches of soil depth
- Galvanized wire hanger: no drilling needed, strong and weather-resistant
- Leather or nylon cord: ideal for lighter, thinner signs suitable for hanging
- Wall adhesives or mounting tape: no holes, best on clean, smooth surfaces, less durable outdoors
- Exterior screws with washers: secure slate to stakes or wood backings, avoid over-tightening
Using hardware resistant to rust is key for lasting display outdoors. Galvanized or stainless steel screws and washers help prevent rust stains on your slate sign and maintain the hardware’s strength over time. For stakes exposed to soil moisture, cedar’s natural rot resistance adds long life without chemicals. Avoid over-tightening screws, which can crack the slate. Tighten just enough to hold the slate firmly against the stake or backing.
When hanging slate signs without drilling, look for adhesive rated for outdoor use if placing outside. Avoid adhesives if your slate is porous or irregular, as they may not bond well. In those cases, wire or cord hangers are safer. For wall mounting on exterior walls, drilling screw anchors provide the strongest hold through concrete or brick.
Maintaining and Cleaning Your Slate Sign over Time
Keeping your slate sign clean is essential to preserving its appearance and durability. Use a soft brush or cloth to remove loose dirt and dust, then gently wash the surface with a mixture of mild dish soap and warm water. Avoid harsh chemicals or abrasive scrubbers that can scratch or damage the slate’s surface. Rinse thoroughly with clean water and dry with a soft, lint-free cloth to prevent water spots.
Resealing your slate sign helps protect it from weather, UV rays, and moisture that cause fading and chipping. Check the sign every six months for signs of wear such as dullness or water penetration. Typically, reapply a clear, water-based acrylic sealant every year or two, depending on exposure to sun and rain. Apply the sealant in thin, even coats with a soft brush or sponge, allowing it to dry fully between coats according to the product instructions, usually 2 to 4 hours per coat. This step maintains the paint’s vibrancy and prevents paint peeling.
Minor damage like chipping can be repaired with care. Remove any loose paint or debris around the chip using a fine-grit sanding block (around 220-grit), then clean the area with a damp cloth. For small paint chips, touch up with matching acrylic paint applied in thin layers to blend smooth. Allow drying for at least 24 hours. If the slate itself chips, use a stone epoxy adhesive designed for slate to fill and bond the damaged area; follow the adhesive manufacturer’s curing times for best results. Avoid using household glues which may not hold up outdoors.
Regular maintenance includes inspecting the sign twice yearly for cracks, paint flaking, or dullness. Clean gently as needed, and reseal or touch up paint when wear is visible. These simple steps can extend your slate sign’s life by years and keep it looking sharp. The cost for mild soap and acrylic sealant typically runs $10 to $25 per application, making it an affordable way to safeguard your investment. Proper cleaning and sealing prevent moisture from penetrating the slate, which otherwise could lead to cracking or mold buildup in humid environments.
Common Mistakes and Troubleshooting Tips
Slate cracking, peeling paint, and unstable mounts often come from improper handling or preparation. Understanding the causes helps you fix or avoid these common errors effectively. Use the right methods to keep your slate sign looking great and secure over time.
Preventing Slate Cracks and Chips
Slate tends to crack when drilled or cut without proper tools or techniques. Applying too much pressure or using a high-speed rotary tool can create stress points. Always use a diamond-tipped drill bit at low speed and steady water flow to keep the slate cool.
Before cutting, score the slate surface lightly along the cut line using a carbide-tipped tool. Snap the slate gently along the scored line rather than forcing a cut. Drilling pilot holes smaller than the final hole size helps reduce cracking risk.
Always wear safety goggles and gloves when cutting or drilling slate to protect against sharp chips and dust.
Improving Paint Adhesion and Durability
Paint peeling or fading usually results from poor surface preparation or using the wrong type of paint. Slate is naturally slick and nonporous, so cleaning it thoroughly with mild soap and water, then drying completely, ensures better adhesion.
Use outdoor acrylic paints designed for stone or masonry, and apply a primer suitable for slate before painting. After painting, seal your sign with a clear, UV-resistant sealer to protect against weather damage. Avoid harsh chemicals when cleaning your finished sign, as they can erode or discolor the paint.
- Clean slate with mild soap and warm water before painting
- Apply a stone primer for better paint adhesion
- Use high-quality outdoor acrylic paint
- Seal with UV-resistant clear coat after paint dries
- Let each layer dry fully before applying the next
- Keep the sign sheltered from direct sun and heavy rain when possible
Signs painted outdoors last longer when sealed and shielded from excessive sun exposure, reducing color fading over time.
Securing Stable and Long-Lasting Mounts
Wobbling or slipping mounts often come from improper fastening methods or using unsuitable hardware. Choose mounting hardware rated for outdoor use and appropriate for the slate’s thickness and weight. Use anchors or masonry screws compatible with stone surfaces.
Drill holes carefully, and insert silicone or weatherproof adhesive around fasteners for extra stability and waterproofing. Support the sign with two points of contact to distribute weight evenly and prevent tilting or movement during wind or rain.
- Use masonry screws or anchors sized for your slate’s thickness
- Apply weatherproof silicone sealant around drilled holes before mounting
- Mount signs in two or more spots for balanced support
- Check fasteners periodically for looseness and tighten if needed
- Avoid mounting on surfaces that flex or vibrate frequently
Step-by-Step Action Plan for Your Slate Sign
Follow these clear steps to create a durable and attractive slate sign you can enjoy for years.
- Before you start: Select a flat, clean slate piece without cracks. Test its thickness and size to fit your desired sign.
- Day 1: Drill any holes needed for mounting using a diamond-tipped bit; check that holes are smooth and chip-free.
- Day 2: Sketch your design on paper, then lightly mark it on the slate with chalk to confirm spacing and clarity.
- Day 3: Apply your paint carefully in thin layers; wait for each to dry to prevent smudging or uneven coverage.
- Day 4: Seal the painted slate with a water-resistant, UV-protective finish; confirm it feels dry and not sticky.
- Day 5: Mount your sign securely using weatherproof hardware suitable for your wall or post; test stability by gently pulling.
- After 2 weeks: Clean your sign with mild soap and water; check for any fading or damage and touch up paint and sealant if needed.
Frequently Asked Questions
How Do I Securely Attach a Stencil to the Slate Sign Before Painting?
Secure the stencil to the slate using painter’s tape or spray adhesive to avoid movement. This method preserves the sharpness of your design while marking and painting, producing crisp lines and a polished look.
What Size Slate Is Best for a House Number Sign?
Choose a slate large enough to clearly display your house number from a distance, generally at least 12 by 8 inches. Larger signs improve visibility but also require more paint and finishing time.
Can I Personalize a Welsh Slate House Sign?
Yes, you can order personalized Welsh slate house signs from specialty suppliers offering custom engraving and painting options. This is ideal if you want authentic, high-quality slate with custom designs or names.
How Do I Measure the Cord Length for Hanging a Slate Sign?
For a slate sign about 12 by 8 inches, measure roughly 15 inches of cord for hanging. This length provides enough slack for easy mounting but keeps the sign stable against wind or movement.
What Finishes Help My Slate House Sign Last Longer Outdoors?
Applying a thin coat of clear oil or acrylic spray sealant protects your painted slate sign from weather damage and fading. Reapply annually or as needed depending on climate for best results.
How Can I Drill Screw Holes Without Cracking My Slate?
Use a diamond-tipped drill bit with slow, steady pressure and water to cool the slate. Pre-drilling with a small pilot hole helps prevent cracks and ensures the holes stay clean and accurate.
Wrapping Up
Making a slate sign combines careful material choice, precise work, and protective finishing to ensure lasting beauty and function. Start by choosing your slate and laying out your design to build confidence before painting. Create your first sign today by preparing the slate and planning your design, you’ll gain valuable experience and a unique piece for your home or garden.