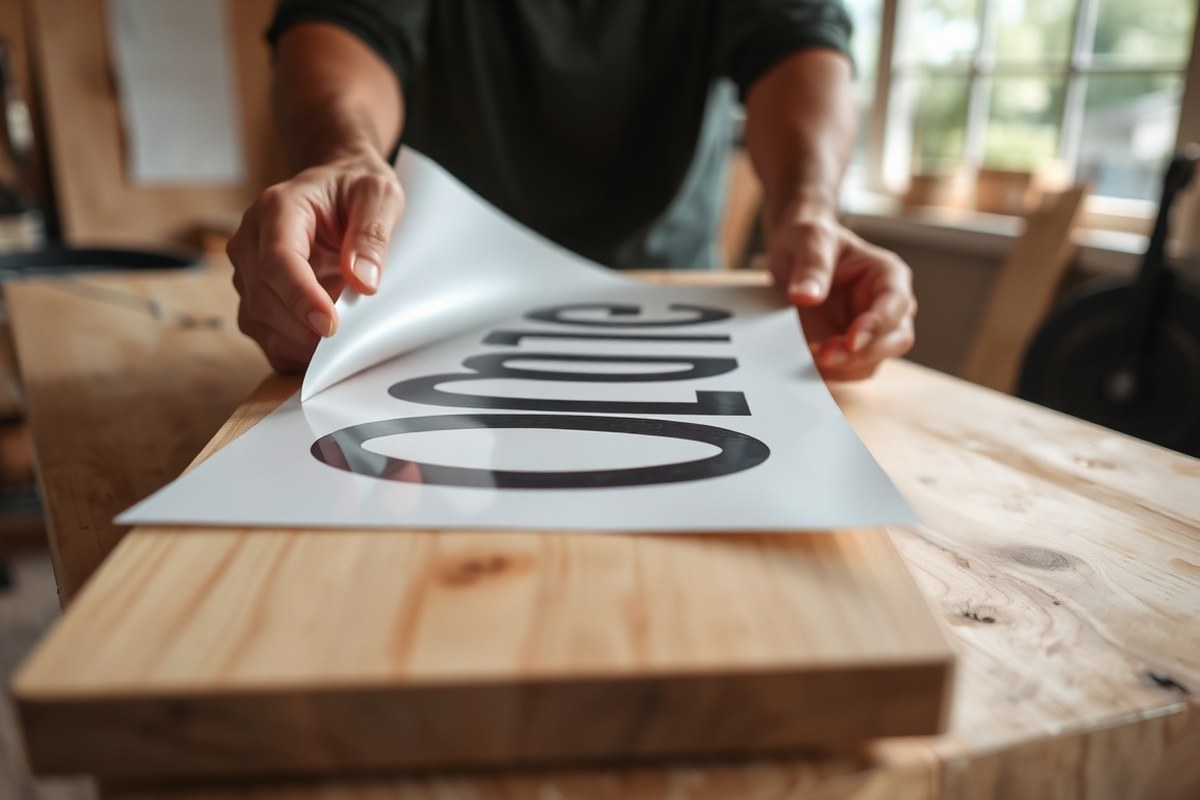
How to Make a Stencil for a Wood Sign: A Complete Guide with Pro Tips
Learning how to make a stencil for a wood sign means choosing the right materials and cutting a precise design that fits your project. Use a durable, reusable mylar sheet and accurate cutting tools to create clean, sharp stencil edges. Starting with a simple design sized to your wood ensures better control over your paint application and final look.
Key Takeaways
- Use 0.005-inch thick mylar sheets for durable, reusable stencils that last 20+ uses without losing shape.
- Design your stencil to match the exact wood sign dimensions to avoid resizing issues during painting.
- Clean your wood surface with 70% isopropyl alcohol to remove dust and oils for crisp paint edges.
- Choose stencil brushes or low-shed foam rollers to minimize paint bleeding around edges.
- Allow stencil paint to dry for at least 60 to 90 minutes before removing the stencil to prevent smudging.
- Cut stencils carefully with sharp craft knives or stencil cutters for detailed designs and clean lines.
Materials and Tools Needed for Wood Sign Stencils
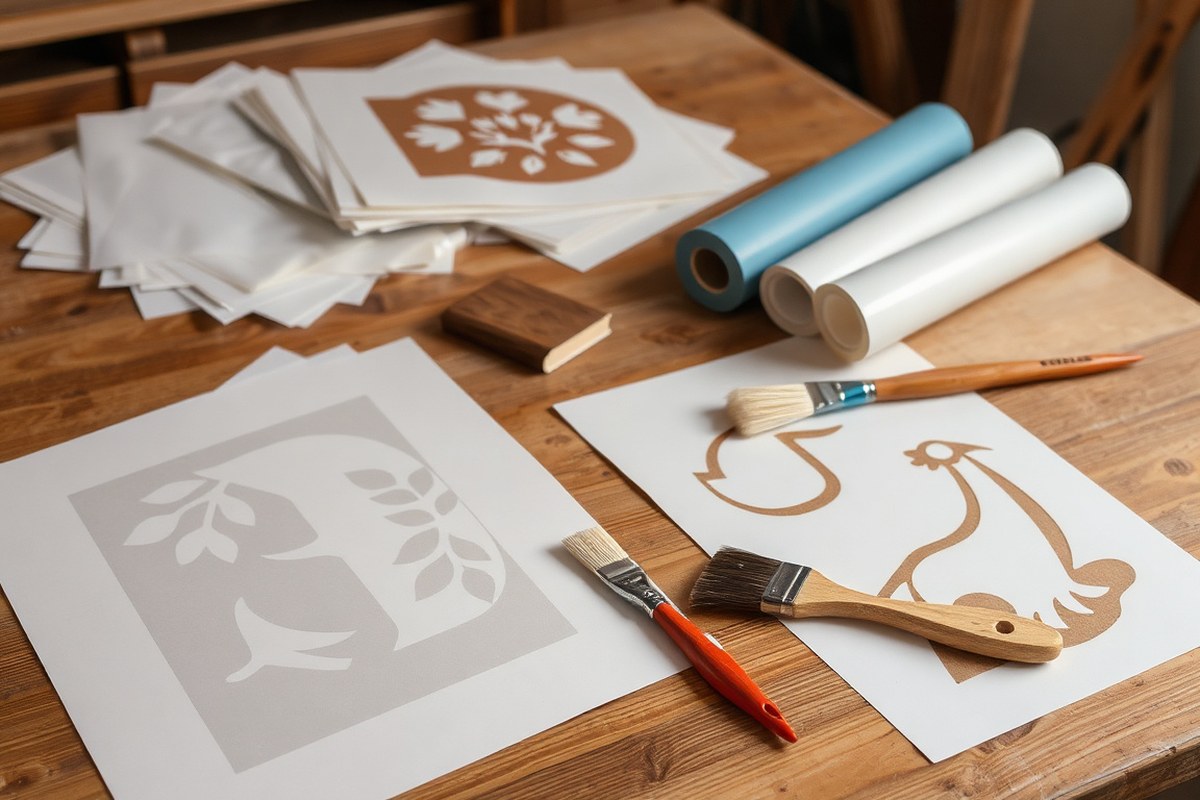
Creating stencils for wood signs requires materials that balance durability, ease of cutting, and clean paint application. Choose stencil materials like mylar sheets or adhesive vinyl because they resist paint bleeding and can be reused multiple times. Mylar costs about $10 to $15 for a 12×18 inch sheet, making it an affordable, durable option reusable for several projects. Adhesive vinyl is slightly pricier but sticks well to wood, minimizing paint bleed and improving detail sharpness.
Essential tools include a precision cutting tool such as an X-Acto knife or a Cricut machine, especially helpful for intricate designs. A cutting mat protects surfaces and prolongs blade life. To prevent paint from bleeding under your stencil, use painter’s tape, stencil adhesive spray, or transfer tape to secure the stencil firmly in place before painting.
Paint brushes designed for stenciling, or small foam rollers, help apply paint in thin layers, reducing paint seepage. Applying paint with a dabbing or stippling motion rather than brushing across the stencil’s edges helps achieve clean lines. For beginners on a budget, simple mylar sheets and a craft knife paired with household painter’s tape can work well without specialized tools.
- Mylar sheets or adhesive vinyl for stencil material
- X-Acto knife or Cricut machine for cutting precise shapes
- Cutting mat to protect your work surface and extend blade life
- Painter’s tape or stencil adhesive spray to secure stencil edges
- Foam stencil brushes or small rollers for smooth paint application
- Transfer tape to position adhesive vinyl stencils accurately
For budget-conscious hobbyists, buying a starter pack of mylar sheets and using an X-Acto knife can cost under $20 while delivering durable stencils. Cricut machines range from $150 to $350 but offer cleaner, faster cuts for repeated use. Stencil adhesive sprays cost about $8 and reduce the risk of bleed more than tape alone, especially on rougher wood surfaces.
Use stencil adhesive sparingly: spray a light coat on the back of your stencil, then press it firmly onto the wood. This seals the edges and prevents bleed, making the sign’s letters and shapes crisp. Always test your paint technique on scrap wood to adjust pressure and paint thickness before applying the stencil to your final piece.
Designing and Sizing Your Wood Sign Stencil
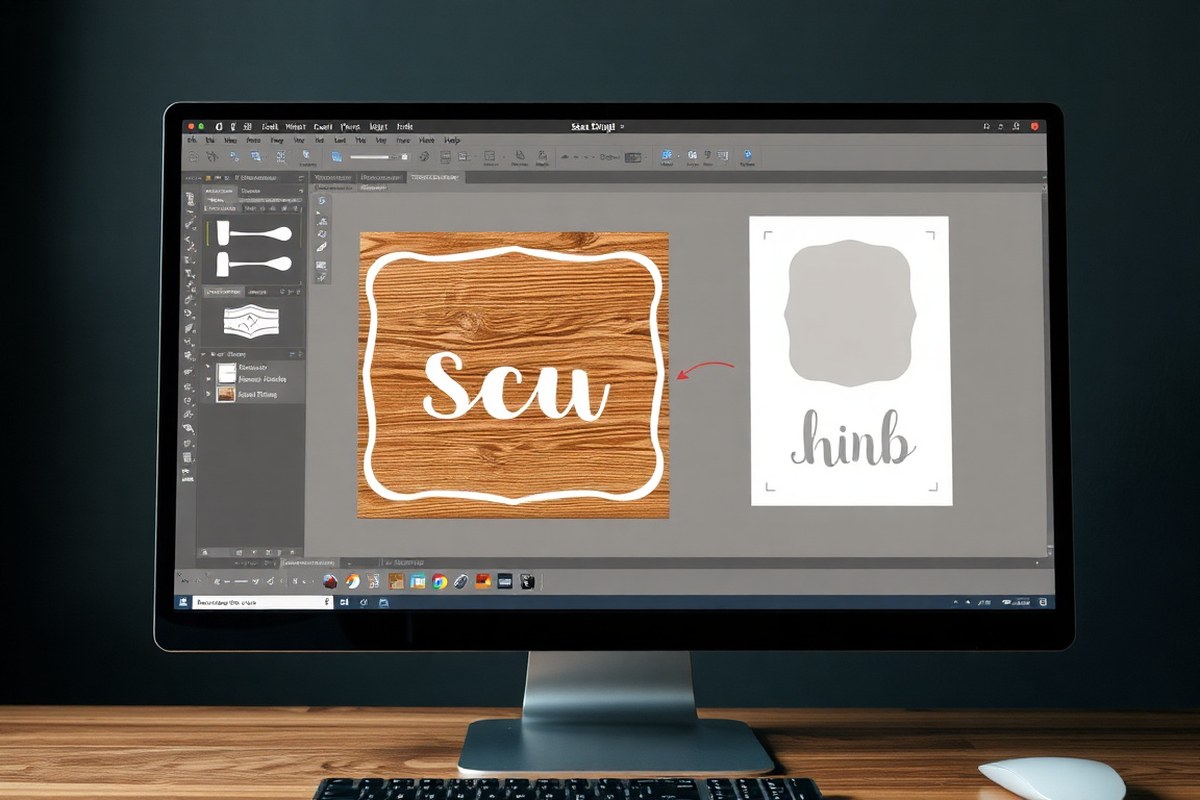
Designing a stencil for a wood sign means creating a clear, well-sized layout that fits your wood piece and remains easy to read after painting. You want to focus on choosing the right font, measuring accurately to match your wood surface, and deciding how to create the stencil, whether digitally or by hand.
Choosing the Right Font and Design Elements
Select fonts that are bold and simple for wood stencils, as intricate details can be hard to cut and paint cleanly on wood. Avoid very thin or delicate fonts because paint may bleed or fill in small gaps, especially on textured or unfinished wood. Sans-serif fonts or block letters often work best for clear readability and clean edges.
Limit design elements to those that can stand out when painted. Too many small details or thin lines risk being lost when the stencil is cut or applied. Consider the scale of elements: bigger shapes hold up better and reduce paint bleed. Adding “bridges” or connectors in letters with enclosed areas (like “O,” “A,” or “P”) helps the stencil keep its shape after cutting.
Measuring and Matching Stencil Size to Wood Surface
Start by measuring your wood sign surface carefully to know exactly how much space you have. For example, a 1×12 pine board typically measures 11.75 inches wide. Square off your wood and note its exact width and height. Then create a stencil design that fits within these dimensions, leaving a small margin (about 0.25 to 0.5 inches) around the edges for framing or borders.
It helps to make a rectangle template of your wood’s size in your design software or on paper before adding any text or images. This lets you visualize what fits well. Keep the stencil size proportional to the wood so your design remains easy to read from the intended viewing distance. Larger signs can support bigger or more complex designs, while smaller signs benefit from simpler, bold layouts.
- Measure the width and height of your wood sign surface accurately.
- Create a design area template in your chosen design tool matching those dimensions.
- Add your text or graphic inside the template, leaving a small margin from edges.
- Choose fonts and design elements that stay clear at your chosen size.
- Check the design at actual size or print a paper mockup to evaluate readability.
- Adjust spacing, size, or font weight as needed to improve clarity.
- Finalize your stencil layout and prepare it for cutting or tracing.
Designing the stencil bigger than your wood piece and scaling down slightly during cutting helps preserve detail without losing sharpness.
Deciding Between Digital and Hand-Drawn Designs
Use digital tools like Silhouette Studio for precision and flexibility in resizing stencil designs. Digital designs allow easy tweaking of dimensions and clean, repeatable results, especially important if you want multiple signs or consistent fonts. Vinyl cutting machines can handle complex shapes without risking uneven edges, which can happen with hand cutting.
Hand-drawn stencils can suit very simple or rustic wood signs and avoid software or machine costs. Pencil sketches or printed designs can be traced onto stencil material and cut with a craft knife. This method works well for larger, bold shapes but becomes challenging with fine details or smaller text due to the risk of mistakes and uneven cuts.
Choose machine cutting for intricate or multi-copy projects and hand cutting for quick, small, or rustic looks. Digital stencil making generally requires access to cutting machines and software, which might cost $100 or more initially, but the precision and repeatability can save time in the long run.
Cutting Stencils: Methods and Material Comparisons
Cutting stencils for wood signs works well using either hand tools or electronic machines, depending on your budget, precision needs, and time. Vinyl stencils offer clean edges and reusability for indoor and outdoor signs, while paper and mylar each bring different strengths and limits. Choosing the right method and material depends on the wood type, the level of detail you want, and how long the stencil should last.
Hand-Cutting with Craft Knives
Hand-cutting stencils with craft knives is a low-cost method suitable for simple designs or quick projects. You’ll need a sharp X-Acto knife or similar precision blade and a cutting mat. Start by printing your design on stencil paper or lightweight cardstock. Secure the paper on the mat and carefully cut along the lines, using a ruler for straight edges.
This technique works best for smaller or less complex stencils because it can be time-consuming and requires steady hands. Expect each stencil to take between 15 and 30 minutes. Mistakes are harder to correct and may affect stencil sharpness, which can cause paint bleeding on your wood. Hand-cut stencils typically wear out faster, especially on rough wood surfaces or if used outdoors.
Using Vinyl Cutters and Electronic Machines
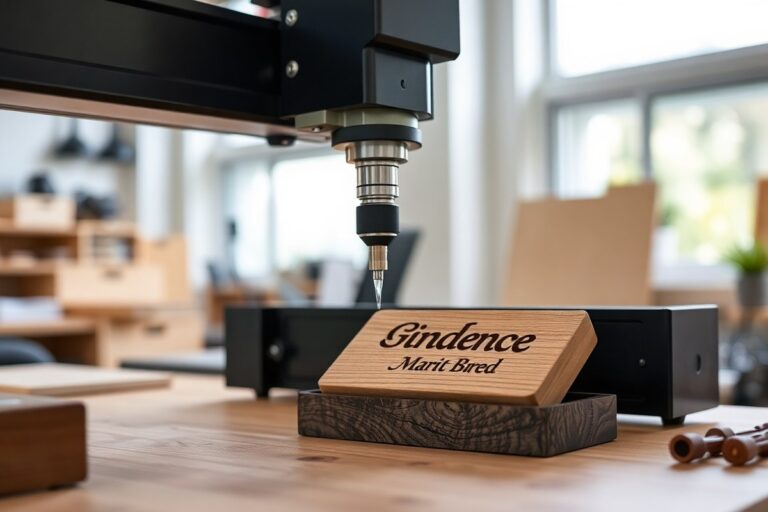
Electronic cutting machines like the Cricut Explore 3 or Silhouette Cameo offer fast, precise cutting from digital designs. These devices handle vinyl sheets, which produce stencils with sharp edges and minimal bleed-through. The Cricut Explore 3 cuts up to 12×24 inches, accommodating large wood sign projects with ease. The machine costs around $250, which is an investment for regular stencil use.
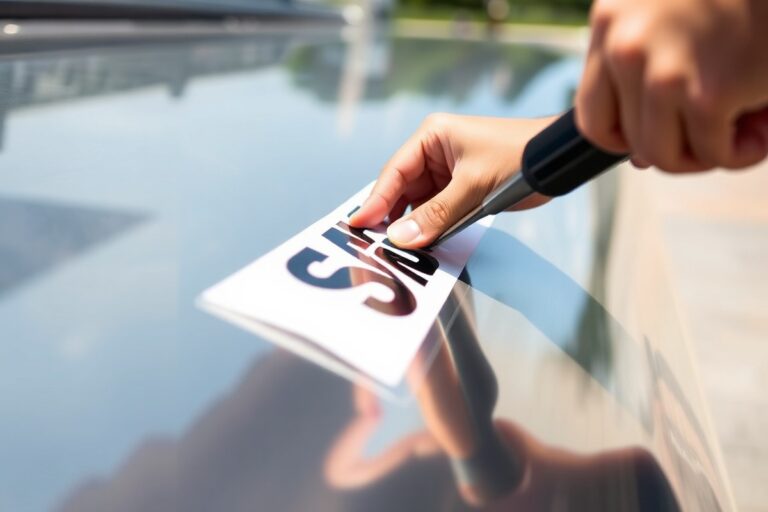
After sending your design to the cutter, peel the excess vinyl, and apply transfer tape for easy placement on wood. Vinyl stencils last longer than paper and handle multiple repainting sessions. Using high-quality vinyl like Oracal 631 improves adherence and removal without damaging the wood’s surface. Electronic cutting reduces error rates by up to 80% compared to hand-cutting.
Material Types: Mylar, Vinyl, and Paper Pros and Cons
Different stencil materials suit different project needs. Mylar sheets are about 0.005-inch thick and reusable more than 20 times. They are pet-safe and free of off-gassing, making them good for indoor family or pet-friendly environments. Vinyl, especially brands like Oracal 631, is superior for sharp detailing, outdoor durability, and easy application and removal. Paper stencils are the least durable and best for one-time use or prototypes.
| Material | Thickness/Type | Pros | Cons | Typical Cost | Reuse |
|---|---|---|---|---|---|
| Mylar | 0.005-inch sheets | Reusable 20+ times, pet-safe, no off-gassing | Can be stiff; not flexible on uneven wood | ~ $15/pack | 20+ |
| Vinyl (Oracal 631) | Thin, adhesive-backed | Clean edges, easy removal, good outdoors | Single use or limited reuse | $1-$2 per 12×12 inch sheet | 1-2 |
| Paper | Cardstock or stencil paper | Easy to cut by hand; cheap | Not durable, prone to bleed and tearing | $0.10-$0.50 per sheet | 1 |
Wood type and location also influence the choice of stencil material. Hardwoods like oak or maple with sealed finishes work well with vinyl stencils outdoors. Softer woods like pine are best indoors with paper or mylar, as outdoor weather and rough texture may damage the stencil and cause paint bleed. For signs exposed to weather, durable vinyl stencils resist peeling and moisture better than paper. Mylar stencils suit multiple indoor uses but can warp on textured or curved wood surfaces.
Preparing Wood Surfaces for Crisp Stencil Application
Preparing the wood surface thoroughly is essential to achieve crisp stencil lines and prevent paint from bleeding or smudging. Start by sanding the wood with fine-grit sandpaper (around 220 grit) to smooth the surface and remove any roughness or splinters. A smooth surface minimizes tiny gaps where paint can seep under the stencil edges. When the wood is rough or has a lot of texture, sanding becomes more important to help the stencil stick better and be easier to control.
Deciding whether to stain, paint, or leave the wood natural depends on your design goals and the wood’s characteristics. Staining before stenciling works if you want the natural grain to show through while adding color. Make sure the stain is fully dry, this can take 24 to 48 hours depending on the product and ventilation, before applying the stencil to avoid smudging or uneven paint application. When you want a painted background, apply at least one coat and let it dry completely, which usually takes 2 to 4 hours, before starting the stenciling. Leaving the wood natural is an option but may require sealing to ensure paint doesn’t absorb unevenly or bleed.
Outdoor wood signs face weather-related challenges like moisture, temperature swings, and UV exposure. Different wood types also affect stencil application: hardwoods tend to have a denser, less porous surface, which can make paint adhesion trickier. Softwoods or pallet wood typically have more porous surfaces that help paint stick but may need sealing to prevent moisture damage. For outdoor signs, apply a clear sealer suited for exterior use after stenciling to protect the paint and wood. Some stenciling paints are specifically formulated for wood and hold up better outdoors.
- Smooth and sand the wood thoroughly with 220-grit sandpaper.
- Allow stain or paint base coats to dry fully (24, 48 hours for stain, 2, 4 hours for paint).
- Choose paint designed for stenciling on wood to improve adherence and coverage.
- Use a dry brush technique: load paint lightly on the brush, then wipe off excess before applying.
- For outdoor signs, finish with a weatherproof clear sealer after painting the stencil.
- Avoid heavy paint layers that can cause bleeding under stencil edges.
- Test a small area first to see how the wood surface interacts with stain, paint, and stencil.
Following these steps prevents most stencil application problems like peeling paint, uneven lines, and bleeding. Paint tends to adhere better to porous or pre-painted surfaces, and careful drying ensures your design stays sharp. Skipping drying times or neglecting sanding often leads to blotchy or smudged stencils. Spending time on proper surface prep will smooth your project workflow and improve the final wood sign quality significantly.
Applying and Securing Your Stencil to Wood
Securing your stencil firmly on wood is key for sharp edges and preventing paint from bleeding under the stencil. Using repositionable spray adhesive or painter’s tape helps create a tight seal without damaging the wood. Vinyl stencils need extra care since their adhesive weakens over time, so taping edges down is often necessary. Removing the stencil while paint is slightly damp avoids peeling paint or splintering the wood finish. The right tools, like low-shed stencil brushes or 2-inch foam rollers, also minimize bleeding.
- Clean and position the stencil. Place your stencil on the prepared wood surface, making sure it’s aligned perfectly. Use transfer tape to position clear vinyl stencils precisely without leaving residue.
- Secure edges with painter’s tape or spray adhesive. For paper or vinyl stencils, apply painter’s tape around the edges or use repositionable spray adhesive to press the stencil down firmly. Confirm there are no gaps or bubbles between the stencil and wood.
- Apply paint with appropriate tools. Use a stencil brush or 2-inch foam roller with minimal paint loaded. Stipple or lightly dab the paint instead of brushing to avoid forcing paint under the stencil edges. Avoid heavy coats.
- Wait before removing the stencil. Let the paint dry for about one hour to reduce smearing while still being damp enough for a clean removal. Check that paint is dry enough so it won’t pull off wood or cause peeling.
- Peel the stencil off carefully. Lift gently starting from one corner to prevent ripping the stencil or pulling paint. If using removable vinyl, peel slowly to avoid damaging the paint or wood surface beneath.
- Clean up stencil residues. Remove painter’s tape from wood edges right after peeling the stencil. Clean any stray paint with a damp cloth or fine sanding if necessary, after paint fully dries.
To prevent paint bleed, always press the stencil edges firmly and apply paint in light layers using a stippling or dabbing motion rather than brushing.
Painting Techniques for Perfect Wood Sign Stencils
The best paint to use with wood sign stencils is acrylic paint. Acrylic dries quickly, adheres well to wood, and offers vibrant colors that layer nicely. Avoid oil-based paints because they take longer to dry and may bleed under the stencil edges. Use a high-quality flat brush or a dense makeup sponge to apply the paint. A sponge works especially well for stencils because it controls the amount of paint and reduces bleeding by dabbing rather than brushing.
Start with a light coat and build up layers as needed. Dab gently to avoid pushing paint under the stencil edges. Applying too much paint at once increases the risk of smudges and bleeding. Stop immediately when paint bleeds under the stencil, let that layer dry, and then add another light coat. Using a stencil adhesive or spray mount can help hold the stencil flat and prevent paint seepage.
One effective technique is to seal the stencil edges with a thin layer of clear Mod Podge before painting. After cutting and positioning your stencil, carefully brush Mod Podge over the edges that touch the wood. Let it dry completely, then apply paint. This sealant helps create crisp lines by filling tiny gaps between the stencil and wood grain.
Let the paint dry after seepage causes smudges, then clean up the edges carefully with a toothpick or fine-tip paintbrush. Match the wood’s base color to cover any bleeding spots. This fix doesn’t work well on very porous or rough wood surfaces but is effective on smooth or lightly sanded wood.
Plan on about 30 minutes to an hour per stencil for painting, including drying time between light coats. Complex designs take longer because you need extra layers and careful touch-ups. Acrylic paint typically dries to the touch within 20 minutes at room temperature but may need up to an hour to fully set before removing the stencil or applying additional coats.
For best results, keep stencil lines at least 1/16 inch wide to prevent tearing when pressing the stencil onto the wood grain. Thin lines tend to break or cause paint bleed. Use high-quality, stiff stencil material with clean cut edges to fit snugly against the wood. Dab paint lightly with a makeup sponge or use a flat brush with controlled tapping motions. Avoid brushing side to side as it can push paint under the edges. By following these steps, you’ll get crisp, professional-looking wood sign stencils without excess cleanup or frustration.
Cleaning, Reusing, and Storing Wood Sign Stencils
Cleaning and properly storing your wood sign stencils can extend their life for 10 to 15 uses, especially when made from durable materials like mylar. Mylar stencils resist paint buildup and tear less easily, making them a solid choice for reusability. After applying paint, it’s important to clean the stencil right away to avoid dried paint blocking your next project’s crisp edges.
Begin by gently removing excess paint with a soft cloth or paper towel. Next, soak the stencil in warm water mixed with mild soap for about 5 to 10 minutes. Avoid using harsh chemicals, as they can damage the stencil material. Gently wipe the stencil with a soft brush or sponge to lift off paint residue, especially in small cutout areas. Rinse with clean water and pat dry with a lint-free cloth. Let the stencil air dry fully before storing to prevent mold or warping.
Choosing the right material for your stencil also helps with longevity. Mylar sheets around 7 mil thickness offer a balance of flexibility and durability, suitable for detailed cuts and frequent reuse. Thinner plastic is cheaper but tears easily, while thicker materials may hold up longer but can be harder to cut precisely.
- Clean stencils within 30 minutes of painting to prevent paint hardening
- Use warm, soapy water and a soft cloth or brush for removing paint
- Pat dry and air dry completely before storing
- Store stencils flat between sheets of parchment or wax paper to avoid sticking
- Keep stencils in a cool, dry place away from direct sunlight
- Label stored stencils to identify designs quickly
- Replace stencils with cracked or missing pieces to maintain paint quality
For light paint jobs, a quick wipe with a damp cloth can suffice, but heavier or multiple color applications require more thorough cleaning. Paper-based stencils generally cannot be reused after one project since they often absorb paint and tear during removal. When storing, avoid rolling stencils tightly as this can cause curling; flat storage prevents distortion that disrupts stencil alignment.
Regular maintenance ensures the stencil edges stay sharp, providing clean paint lines on every project. This care helps you save money by reducing the need to remake stencils while keeping your personalized wood signs looking professional with every use. Taking 10 to 15 minutes seriously for cleaning post-painting can add several reuses, which is helpful for hobbyists aiming for consistent quality without constant material replacements.
Advanced Techniques and Troubleshooting for Wood Stencils
Advanced stencil techniques, like multi-layer and textured designs, open creative possibilities for wood signs. Fixing paint bleed, smudges, and alignment errors is key for crisp results. Knowing how to handle these challenges ensures your sign looks professional and personalized.
Creating Multi-Layer and Textured Paint Effects
Multi-layer stencils build complex images by applying several stencil layers in sequence, each with a different color or pattern. Textured effects use various tools or materials on top of paint to add depth, such as sponging, stippling, or using texture paste. Multi-layer stencils let you create detailed artwork that appears almost three-dimensional on wood.
To prepare a multi-layer stencil, you can use online tools like stencilcreator.org to separate your image into layers. Each layer becomes its own stencil, highlighting different colors or shading. Proper alignment between layers is essential to avoid blurry or overlapping paint.
- Choose or create a detailed design suitable for layering.
- Use stencilcreator.org or similar software to split the image into 2 to 4 layers based on colors or shading.
- Print and cut each layer separately on stencil material such as mylar or acetate sheets.
- Prepare your wood surface with sanding and priming to help paint adhere and prevent bleed.
- Secure the first stencil layer firmly with painter’s tape and apply paint thinly using a dense stencil brush or sponge.
- Let the paint dry fully between layers, usually 20 to 30 minutes depending on paint type and temperature.
- Align the next stencil exactly over the dried layer, using registration marks or tape guides.
- Repeat painting and drying for all stencil layers, finishing with a protective clear coat if desired.
For textured effects, mix texture paste with acrylic paint or stipple paint with a stiff brush after stenciling. This adds a tactile finish that improve the look of wood grain and painted areas.
Always allow good drying time between stencil layers to prevent smearing and unintentional mixing of colors.
Common Paint Bleeding Issues and How to Correct Them
Paint bleed happens when paint seeps under the stencil edges, causing blurred lines. It’s common on wood because its porous surface absorbs moisture unevenly. Preventing bleed means controlling paint consistency and stencil adhesion. Fixing bleed after paint dries requires careful touch-ups.
Start by applying thin coats of paint and avoid overloading your brush or sponge. Using spray adhesive on the back of your stencil helps it stick tightly to the wood surface and minimize seepage. After painting, wait until fully dry before attempting corrections.
- Identify bleed areas once paint dries.
- Lightly sand the edges of bleed spots with fine grit sandpaper (220 grit) to smooth rough edges.
- Use a small detail brush and matching paint color to carefully paint over bleed lines or fill gaps.
- When background paint gets disturbed during touch-ups, feather the edges to blend smoothly with the original paint.
- Consider applying a clear matte sealer to protect repaired areas and unify the finish.
Fixing paint bleed is harder on unfinished wood because you can’t simply paint over errors without affecting the natural surface. Sealing wood before stenciling reduces bleed risk and simplifies corrections.
Never try to fix paint bleed while the paint is still wet, as it can spread the problem further and damage your stencil work.
Tips for Fixing Stencil Alignment and Smudge Mistakes
Misalignment and smudges can happen during stencil repositioning or paint application. Correcting these mistakes quickly minimizes their impact on the overall design. Small adjustments often save a stencil project from needing a complete redo.
When the stencil moves before the paint fully dries, gently dab a clean cloth or cotton swab around the affected areas to lift excess paint. For minor alignment errors, carefully lift and reposition the stencil before the paint dries, but only if the paint hasn’t begun to set.
For smudges or unwanted paint marks after drying, use a fine artist’s brush to outline and repaint edges or fill in missed spots. When necessary, lightly sanding the area followed by touch-up paint helps restore a clean look.
Handle the stencil gently and avoid pressing too hard during repositioning to prevent lifting paint or causing smudges.
Step-by-Step Action Plan for Making Your Wood Sign Stencil
Follow these steps to create a sharp, reusable stencil for your wood sign project. Each phase ensures your stencil fits well and transfers cleanly.
- Before You Start: Gather your materials including stencil film or cardstock, a sharp craft knife or cutting machine, painter’s tape, and paint suitable for wood. Confirm you have a clean, sanded wood surface ready.
- Day 1: Design your stencil on software or paper, then size it to match your wood sign’s dimensions. Print the design and check the scale against your sign for accuracy.
- Day 2: Cut out your stencil using your chosen method. Ensure clean, crisp edges by using a fresh blade or precise machine settings.
- Day 3: Test your stencil on a scrap piece of wood by securing it with painter’s tape and applying light coats of paint. Adjust your technique if the paint bleeds or edges are uneven.
- Day 4: Paint your final wood sign using the tested stencil method. Use a stencil brush or foam applicator, dabbing lightly to avoid bleed.
- After Painting: Carefully peel off the stencil before the paint dries fully to avoid peeling the paint. Clean your stencil with water and mild soap if reusable.
- After 2 Weeks: Evaluate your finished sign for any touch-ups or learning points. Plan your next stencil project with adjustments based on this experience.
Frequently Asked Questions
What Type of Vinyl Works Best for Wood Sign Stencils?
Adhesive vinyl is ideal because it sticks securely to wood, allowing sharp paint edges. Removable vinyl lets you reposition the stencil before final application, which helps prevent errors during placement.
How Do I Align Multiple Stencils on a Large Wood Sign?
Use a ruler and pencil to mark positioning guides for each stencil. This ensures consistent spacing and alignment, especially when creating signs with multiple lines or phrases.
Can I Make a Stencil Without Vinyl or Specialized Materials?
Yes, you can use cardstock or stencil plastic sheets for simple designs. These materials are less sticky but work well when taped firmly to the wood to prevent paint bleed.
What’s the Best Way to Transfer Intricate Designs Onto the Stencil Material?
Printing your design on paper and using transfer tape to apply it onto vinyl gives precision. Transfer tape keeps detailed elements intact during cutting and positioning.
How Often Can I Reuse a Vinyl Stencil on Wood Signs?
Vinyl stencils can be reused multiple times if cleaned carefully after each use. Removing paint residue gently with water or rubbing alcohol helps maintain stencil quality.
How Do I Avoid Paint Bleeding Under the Stencil Edges?
Use a small stencil brush or sponge with minimal paint to dab rather than brush strokes. Less paint reduces bleeding and keeps edges crisp on uneven wood surfaces.
Final Thoughts
Creating your own stencil for wood signs gives you flexibility and fine control over your designs. Start by mastering one stencil and getting comfortable with cutting and painting techniques. Your next step could be choosing a more complex design or experimenting with layered stencils to add depth to your signs.