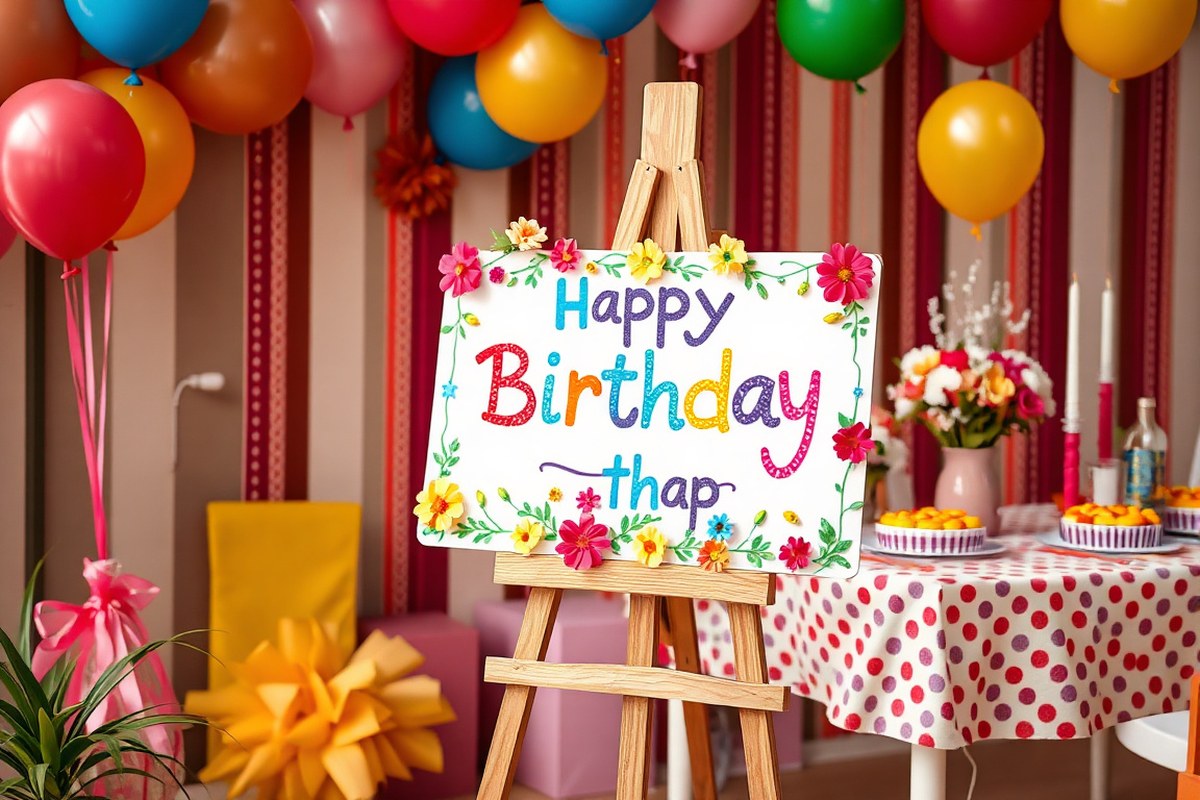
Birthday Sign Ideas: Creative Tips and Materials That Make Your Party Shine
Birthday sign ideas can transform your party space and highlight the celebration in a unique way. Using creative signs like banners, chalkboards, or yard signs with personalized messages instantly makes the event memorable. Start by choosing a clear theme or milestone message, such as “Sweet 16” or “Cheers to 30 years!” for immediate impact.
Key Takeaways
- Choose a birthday sign style that matches the party vibe, like rustic wood for cozy themes or metallic for glam celebrations.
- Use short, catchy phrases on signs to add personality and emphasize important ages or milestones.
- Select materials based on the party location, waterproof for outdoors and lightweight for indoor setups.
- Incorporate photos or keepsakes on signs to make them personal and memorable, especially for milestone birthdays.
- Eco-friendly materials such as recycled cardboard and biodegradable paper suit sustainable party decorations.
- Make your signs stand out with elements like lights, fabric textures, or unique fonts tied to the party theme.
Popular Types of Birthday Signs and Their Uses
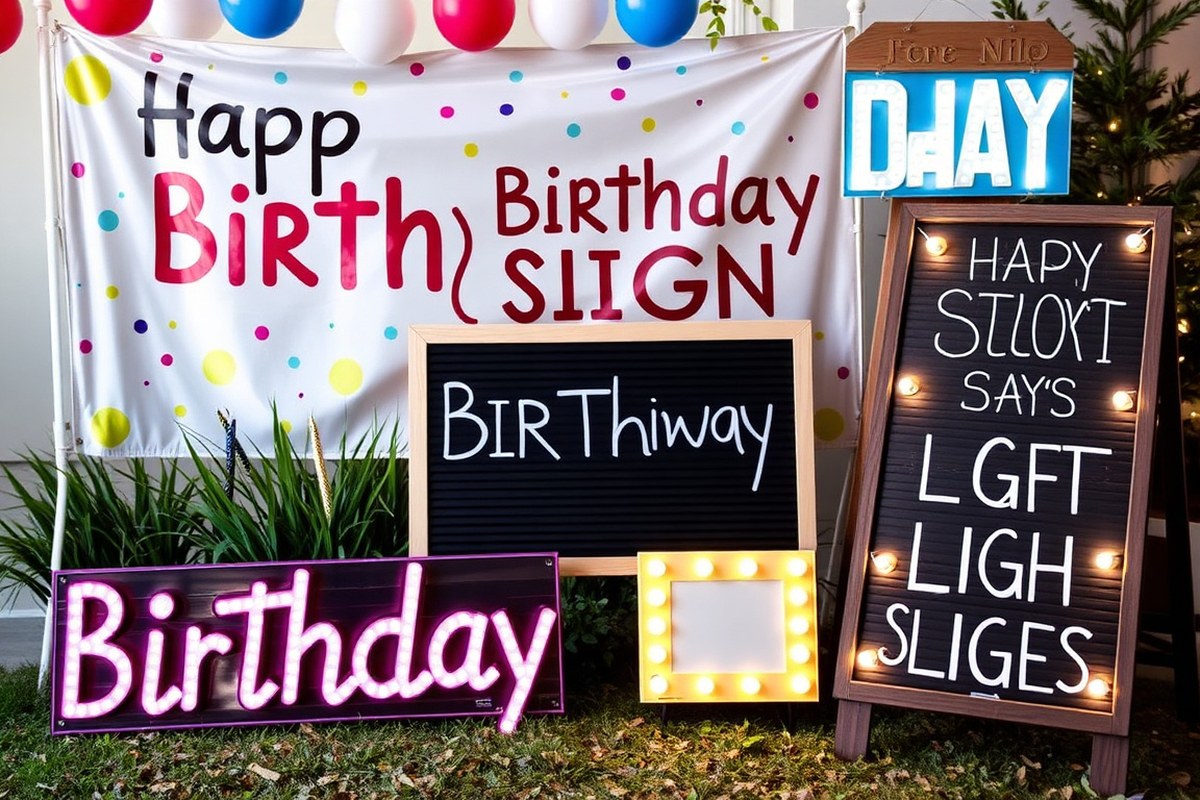
Birthday signs come in various styles, each suited for different uses and party settings. Banners are a classic choice, perfect for adding color and a festive message over doorways, tables, or walls. Yard signs provide a bold, outdoor statement visible from the street, ideal for greeting guests or showcasing a milestone age. Chalkboards offer a customizable option that can be updated with personalized messages, drawings, or schedules during the event. LED signs bring modern flair with light-up text or graphics, making celebrations stand out both indoors and at night. Wooden signs add a rustic or elegant touch, often used as welcoming décor or photo backdrops.
Choosing the right type depends on where you want to display the sign and the atmosphere you want to create. For example, outdoor birthday parties benefit from weather-resistant yard signs or LED signs that ensure visibility after dark. Indoor celebrations might lean towards banners and chalkboards for their decorative and interactive qualities. For milestone birthdays like 50th or 100th celebrations, a wooden sign can provide a timeless and sophisticated look. Virtual parties also can use digital or LED signs to maintain that celebratory vibe on screen.
| Sign Type | Description | Best Display Location | Occasions/Uses |
|---|---|---|---|
| Birthday Banners | Decorative strips with happy birthday messages, often fabric or paper | Wall, doorway, above tables | All birthday parties; adaptable to themes (e.g., circus stripes, metallic for studio theme) |
| Yard Signs | Large, durable signs placed on stakes in lawns or gardens | Front yard, driveway, outdoor party zones | Milestone birthdays, outdoor parties; visible from street to greet guests |
| Chalkboards | Reusable boards with chalk for customizable messages or art | Indoor near entrance or food tables | Small gatherings, intimate parties; ideal for schedules or personalized notes |
| LED Signs | Electronic signs with light-up text or animations | Indoor and outdoor, especially evening or dim settings | Modern style parties, virtual celebrations; adds vibrant lighting effects |
| Wooden Signs | Rustic or elegant wooden boards with painted or carved messages | Photo backdrops, entrances, dining areas | Milestone and themed parties; adds lasting decorative impact |
Adding garlands or artificial flowers improve the impact of wooden or banner signs. Incorporating birthday photos on banners can personalize the atmosphere, especially in “Through the Ages” celebrations. For lasting effect, pick materials suited to your environment; wooden signs work well indoors or in covered outdoor spots, while weather-resistant yard signs are a must for rain or wind. LED signs typically demand an electrical source or batteries and can be more costly than traditional banners, but they add a unique dimension to your décor.
Successful use of birthday signs involves placing them where they catch guests’ attention without crowding the party space. Banners hung across entrances or over food tables invite smiles and set the mood immediately. Yard signs near the driveway make guests feel welcomed from the moment they arrive. Chalkboards can be updated during the party with different messages or illustrations, keeping the décor lively. LEDs attract attention at dusk or indoor events with low lighting. Each type has a distinct look and function, so consider how your sign can best support your birthday celebration’s vibe and setting.
How to Personalize Birthday Signs for Maximum Impact
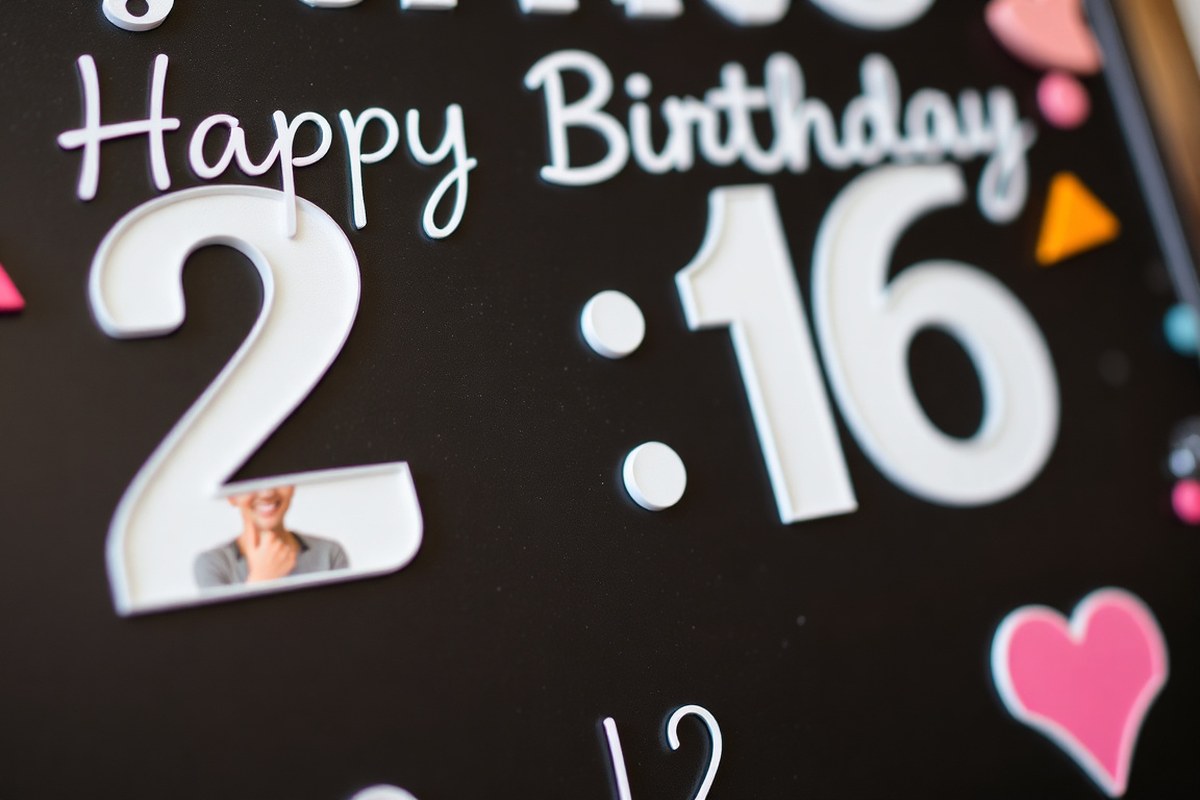
Adding personalized touches like names, ages, photos, and special messages to birthday signs makes them stand out and feel meaningful. Focus on clear, relevant elements that reflect the birthday person’s style and milestone. Combining thoughtful wording, favorite photos, and balanced layouts turns a basic sign into a memorable centerpiece for your celebration.
Choosing the Best Personal Messages
Personal messages should celebrate the individual while matching the party’s tone. Using the birthday person’s name is the easiest way to make the sign feel special, like “Happy Birthday, Sarah!” or “Cheers to Jake!” Adding the age can highlight milestone years, phrases like “Fabulous at 50!” or “Sweet 16!” add personality.
Brief and catchy messages work best since signs should be readable at a distance. Including a favorite quote, inside joke, or hobby reference can make the sign unique without cluttering it. Adjust your message depending on the setting; a formal adult party calls for elegant phrasing, while a kid’s party might use playful lines like “Let’s Party Like It’s Your Birthday!” Personalization checklist:
- Include the birthday person’s full name or nickname
- Feature the age where relevant (especially milestone years)
- Add a short celebratory phrase (“Happy Birthday!”, “Cheers to You!”)
- Consider a meaningful quote or an inside joke
- Match message tone with the party’s formality and theme
- Leave room for guest signatures or messages if desired
Using these elements ensures your sign feels thoughtful and fitting without overcrowding the space.
Incorporating Photos Creatively
Photos add a warm, personal element that transforms signs from decorative to sentimental. Choose clear, high-quality pictures that feature happy moments or milestones related to the birthday person. Grouping several small photos into a collage works well for younger kids or significant birthdays like 30th or 50th. For an elegant adult party, a single large black-and-white image can create a dramatic effect.
DIY options include printing photos on durable vinyl or cardstock, then attaching them with glue, tape, or string. Use photo corners or washi tape for a craft-style look. Another idea is using digital templates to add photos alongside text before printing the entire sign.
Make sure printed photos are weather-resistant for outdoor parties or consider laminating them to avoid smudging.
Photos should match the party’s theme to maintain cohesiveness. For example, tropical-themed signs might show vacation pictures, while a Hollywood glam party could include snapshots from red carpet-style events.
Balancing Text and Visual Elements
A visually pleasing sign balances text, images, and decorative touches without crowding any one part. Start by placing the name and age prominently near the top or center, then arrange photos below or alongside the text. Keep fonts large and easy to read, generally 3 to 5 inches tall for main words on an 18×24 inch sign works well.
Decorative elements that improve the theme, like floral borders for a garden party or glitter accents for a kid’s celebration, should complement rather than overpower the message. Leave some blank space to avoid a cluttered look. Also consider color contrasts; dark text on a light background or vice versa improves readability. Here are three template examples for common layouts:
- Centered name and age: “Happy Birthday” at top center, “[Name]” in large font center, “[Age]” below in smaller font.
- Photo-focused: Collage of photos on left half, “Happy Birthday [Name]!” on right half with age below.
- Message-led: Feature a phrase like “Cheers to 21!” centered top, name below, photos scattered as smaller accents.
Testing your design visually by stepping back several feet helps ensure your sign reads well and the personal touches shine clearly.
Best Materials for DIY Birthday Signs and Their Pros & Cons
Choosing the right material for your DIY birthday sign depends on how long you want the sign to last, your budget, skill level, and environmental values. Temporary signs suit lightweight, inexpensive materials, while permanent signs benefit from durable, reusable options. Eco-friendly materials let you create memorable decorations with a smaller environmental footprint.
Eco-Friendly Material Choices
For environmentally responsible birthday decorations, consider using recycled paper, old magazines, newspapers, or leftover gift wrap. These materials are inexpensive or free and prevent waste by repurposing what you already have. Fabric scraps like burlap or felt can also be reused for charming banners that last beyond one party.
These eco-friendly options often require simple crafting skills, such as cutting and gluing, and typically take about 30 minutes to complete. Using natural fibers like burlap reduces plastic usage, and recycled paper materials avoid new manufacturing emissions. Keep in mind that paper-based signs won’t hold up outdoors or in humid environments but are ideal for one-time indoor use.
Traditional and Reusable Options
Wood and fabric fall into the permanent or reusable category. Thin balsa wood offers an affordable, easy-to-cut base for signs that look polished and can be saved for future celebrations. Burlap banners have a rustic look and are washable, enabling many uses. Felt works well for small decorative banners, is soft to handle, and easy to attach letters or designs with glue or thread.
These reusable materials cost more upfront, often $5 to $15 for basic supplies, but last for several parties. They require some crafting skill, such as precise cutting or sewing, though many ready-to-cut kits and stencils are available to assist beginners. Choosing these materials means your birthday sign becomes part of your party décor collection, reducing waste over time.
Durability and Weather Considerations
Durability is essential if you plan to use your birthday sign outdoors or want it to last multiple celebrations. Waterproof materials like laminated cardstock or weatherproof banners hold up better outside. Avoid standard paper or thin card stock outdoors unless laminated or protected in plastic sheets.
Fabric and wood are suitable for outdoor use but may require extra care, such as water-resistant sealing or storage in a dry place to prevent damage. Signs that weigh less than a pound are easier to hang and less prone to wind damage outdoors. For parties in unpredictable weather, temporary paper signs work best indoors, while sturdier materials like balsa wood or burlap handle outdoor conditions.
| Material | Durability | Eco-Friendliness | Cost Range | Ease of Use | Best For |
|---|---|---|---|---|---|
| Recycled Paper / Magazines | Low (indoor, temporary) | High (repurposed waste) | Free to $5 | Easy (cut, glue) | One-time, indoor signs |
| Burlap | Medium (reusable, washable) | Moderate (natural fiber) | $5 to $15 | Moderate (cut, sew or hot glue) | Rustic reusable banners |
| Felt | Medium (lasting multiple uses) | Moderate (natural fibers possible) | $3 to $10 | Easy (cut, glue, thread) | Small banners, indoor use |
| Balsa Wood | High (durable, reusable) | Low to Moderate | $8 to $20 | Moderate (cut, paint) | Permanent signs, reusable decor |
| Laminated Cardstock | Medium-High (water-resistant) | Low (plastic lamination) | $5 to $10 | Easy (print, laminate) | Temporary outdoor use |
This table helps you compare the most common DIY birthday sign materials based on your needs. Recycled paper scores highest in eco-friendliness and ease but lacks durability. Balsa wood is more costly and requires more skill but yields durable, reusable signs. Burlap and felt offer a good mix of natural appeal and reuse potential, while laminated cardstock suits quick outdoor use at moderate cost.
Step-by-Step Guide to Making a DIY Birthday Sign
Making a birthday sign at home is a rewarding project that combines creativity with simple tools and materials. It usually takes about 1 to 3 hours depending on the complexity and size you want. By using common craft supplies and following clear steps, you can create a sign that adds a lively, personal touch to any birthday celebration.
Gathering Materials and Tools
Start by collecting basic supplies to keep the project smooth and fun. Key materials include poster board, cardstock, or felt for the sign’s base. You’ll also want markers, paint, or colored pencils to add your design. For assembly, gather scissors, glue sticks, a ruler, and string or ribbon if you plan to hang the sign. Optional extras include glitter, stickers, or stencils to boost the visual appeal.
Having a clean workspace with good lighting helps you work efficiently. Many craft stores carry affordable kits with most of these supplies, and prices can range from $10 to $30 depending on quality and quantity. Prepare several sheets of material to allow room for mistakes or experimentation.
Design and Layout Planning
Sketch your design on paper before starting on the actual sign. Decide the message you want, such as “Happy 10th Birthday, Emma!” and choose a theme that fits the party, like superheroes or princesses. This planning step saves time and waste.
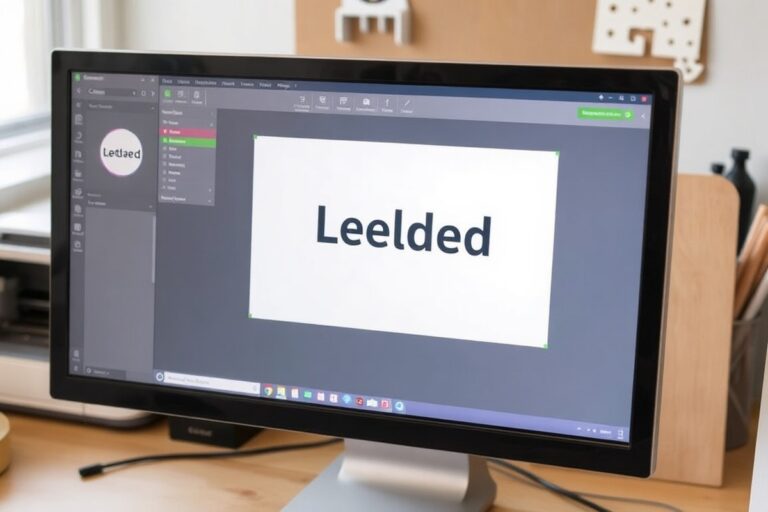
Use a ruler and pencil to lightly mark where letters and images will go to ensure even spacing and alignment. Choose contrasting colors for text and background to make the sign easy to read from a distance. If you prefer a digital approach, design the sign with online tools like Canva, then print it out on quality paper.
Assembly and Decorating Tips
Follow the step-by-step process below to create your birthday sign. Lay out each element before gluing to check the balance and overall look. Use glue sticks or low-temp hot glue for secure connections without warping the paper or fabric. Consider layering cut-out shapes for dimension.
To save time, cut multiple letters at once by tracing templates or use pre-cut adhesive letters. Add small embellishments like rhinestones or ribbon edges last to avoid damage during handling. Allow glue and paint to dry fully between steps to keep your sign neat.
- Choose your sign base material and cut it to the desired size, usually between 18×24 inches for visibility.
- Plan your message and design on scrap paper, selecting colors and fonts that match your party’s theme.
- Lightly pencil the layout on your sign base, including spacing for letters and decorations.
- Cut out letters or shapes from colored paper or felt for a tactile feel, or print lettering if using paper.
- Glue letters and decorative pieces onto the base carefully, starting with the largest elements.
- Embellish with glitter, stickers, or ribbon for added visual interest, applying these last.
- Attach string or ribbon to the top corners if you plan to hang the sign, using tape or punched holes.
- Let everything dry completely; this usually takes 30 minutes to 1 hour depending on materials used.
How to Match Birthday Signs with Party Themes and Age Milestones
Matching birthday signs with the party theme and milestone age helps create a cohesive, memorable celebration. Using themes and colors relevant to the age and interests of the birthday person adds visual appeal and emotional significance. For milestone birthdays, highlighting the age on the sign underscores the importance of the occasion, such as “1st Birthday,” “Sweet 16,” or “Golden 50.” Tailoring the sign’s style to the party theme makes decorations feel intentional and festive.
Choose themes that resonate with typical interests or cultural connotations for each age group. For example, a 1st birthday sign often uses soft pastels and baby-friendly characters, creating a keepsake look. Sweet 16 signs typically feature glittery or floral designs reflecting youthful joy, while 21st celebrations might lean into bold, vibrant colors or grown-up motifs like cocktails. For 30th and 40th birthdays, retro or vintage themes evoke nostalgia, often using muted colors or fonts from the celebrant’s childhood era. The 50th birthday usually calls for elegant metallics like gold, emphasizing the “golden jubilee.”
- 1st Birthday: Soft pastels, baby animals, keepsake fonts
- Sweet 16: Glitter accents, floral patterns, bright pinks or purples
- 21st Birthday: Bold colors, metallics, sophisticated or party motifs
- 30th & 40th Birthdays: Retro/vintage themes, muted colors, nostalgic fonts
- 50th Birthday: Gold tones, elegant script, classic celebratory symbols
- Children’s birthdays: Fun animations, cartoon characters, vibrant primary colors
- Adult birthdays: Color varieties based on personality, from vibrant to muted hues
A simple color and style tip chart can guide your choices:
| Age Milestone | Theme Style | Color Palette |
|---|---|---|
| 1st Birthday | Whimsical and gentle | Soft pastels like baby blue, pale pink, mint |
| 16th | Energetic and youthful | Bright pink, purple, silver glitter |
| 21st | Elegant and fun | Black, gold, red |
| 30th, 40th | Nostalgic vintage | Muted earth tones, navy, mustard yellow |
| 50th | Classic and elegant | Gold, black, cream |
Cultural and seasonal themes also influence birthday sign designs. For birthdays near holidays, related motifs improve the atmosphere. Halloween birthday signs might include pumpkins or ghosts, Christmas parties could gain charm from decorative Santa hats or pine trees, and autumn birthdays benefit from leaf and harvest imagery. Cultural considerations might mean incorporating traditional colors or symbols significant to the celebrant’s heritage, like red and gold for Chinese celebrations or vibrant patterns for Latin American-themed parties. Doing so demonstrates respect and makes the event feel personalized.
Matching your sign’s colors and style with the overall party theme ensures your decorations feel connected, not like they were last-minute add-ons.
To incorporate colors and styles effectively, start by deciding the dominant theme or mood of the party. Use fabric or paper elements in the same palette to decorate the sign’s background, and select lettering styles that match the event’s formality level. For example, a 50th birthday sign with metallic gold lettering on a black satin background exudes sophistication, while a child’s sign with colorful cartoon fonts on a pastel backdrop feels fun and playful. Adjust size and materials based on indoor or outdoor display to maintain durability and readability.
Creative Enhancements to Make Birthday Signs Stand Out
Adding dimension and lights gives your birthday sign visual interest that flat designs can’t match. To create 3D effects, attach lightweight elements like pom-poms, folded paper flowers, or foam cutouts using hot glue or double-sided tape. These add a tactile feel and draw attention, especially if layered for depth. For light elements, consider custom LED name signs or string lights around the edges. Battery-operated LED strips or fairy lights are safe indoors and outdoors; they cost around $10 to $25 and run for hours. Secure wires away from walkways to prevent tripping.
Complement your sign with balloons and floral accents to fill empty spaces and match the party’s mood. Balloon garlands in coordinating colors frame the sign nicely and create an inviting look. Real or paper flowers fastened to corners or the base add softness and elegance. Choose moisture-resistant materials if outdoors. Floral wire or hot glue works well for attachment. Avoid heavy blooms that may weigh down lightweight signs.
- Add bright, colorful chalk sets for guests to write birthday messages on chalkboard or blackboard-style signs.
- Install pockets or clips on the sign for interactive features like photo props or removable notes.
- Attach small envelopes for guests to leave cards or wishes, increasing guest engagement.
- Use magnetic paint or strips to make parts of the sign movable or customizable during the party.
- Include a QR code linking to a digital guestbook or party playlist for tech-savvy interaction.
- Incorporate themed icons like cakes, balloons, or age numbers cut from foam or cardboard to boost thematic appeal.
- Wrap string lights around the sign’s frame to softly illuminate evening gatherings and highlight details.
Interactive elements not only offer entertainment but make guests part of the celebration. Providing colorful chalk allows everyone to add personal messages or doodles, which can become keepsakes. Small pockets or clips on the sign encourage guests to contribute moments or photos throughout the event. Always test your adhesives and attachments on a sample first to avoid damage or detachment mid-party. For safety, keep electrical decorations away from water, use battery-operated lights outdoors, and avoid exposing delicate materials to direct sun or rain for long periods.
Outdoor vs. Indoor Birthday Signs: Choosing and Protecting Your Decor
Choosing the right materials for birthday signs depends heavily on whether you plan to place them indoors or outdoors. Outdoor signs need to withstand wind, rain, and sun exposure, so materials like corrugated plastic, weatherproof vinyl, or laminated cardstock are your best bet. These options resist water damage and fading better than plain paper or untreated wood. For indoor use, lighter materials such as regular cardstock, foam board, or thin wood can work well since weather is not a concern. Wooden easel stands provide a stable and stylish way to display signs in either setting, but be mindful that untreated wood might warp outdoors unless sealed properly.
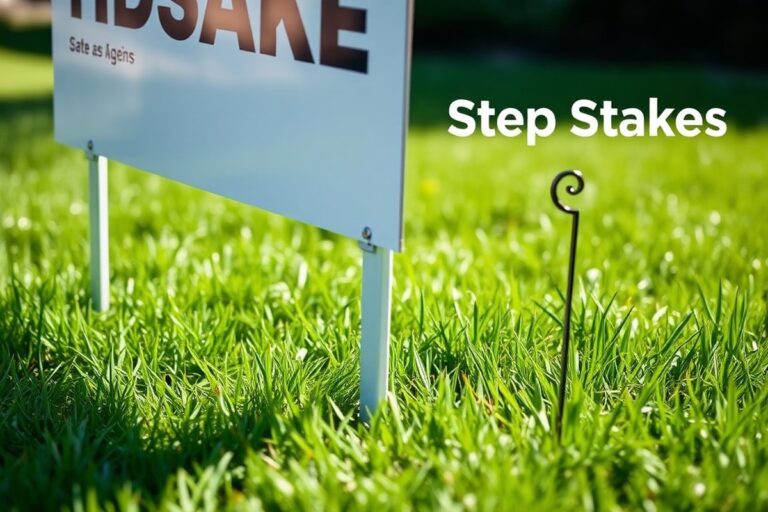
Securing outdoor signs safely requires extra care to prevent them from blowing away or causing accidents. Stakes driven firmly into the ground or weighted bases are effective for yard signs. Use zip ties or bungee cords to attach signs to railings or fences without damaging surfaces. Avoid taping directly to trees or delicate plants. For windy days, reinforce your sign’s attachment points and check regularly. Indoors, signs usually need less securing effort; lightweight signs can rest on tables, tape securely on walls, or lean safely on easels without concern about the wind.
Lighting and visibility also vary between indoor and outdoor birthday signs. Outdoors, natural daylight offers great visibility but can cause glare or fading over time. Using matte finishes on signs helps reduce glare in bright sunlight. Bright, high-contrast colors improve readability from a distance. Consider adding battery-operated LED lights if your event runs into the evening, especially for signs in shaded or darker areas. Indoors, you control the lighting environment, so you can use focused spotlights or string lights to highlight signs. Illumination also helps when signs are placed in corners or against busy backgrounds.
A straightforward checklist for setting up and protecting outdoor signs begins with selecting durable, weather-resistant materials tailored to the local climate. Next, choose a reliable display method like a wooden easel secured with weights or ground stakes, and fasten signs firmly using tiedowns appropriate for the site. Position signs in areas shielded from the most intense sun or wind when possible. Adding a protective spray sealant adds extra defense against moisture. Monitor signs throughout your event to adjust for weather changes or loosening attachments. The cost for materials varies widely, basic corrugated plastic signs typically run $10 to $30 each, while wooden easels cost around $20 to $50. These investments pay off in preventing damage and avoiding last-minute replacements.
Durability outdoors depends on how well you prepare your sign. Untreated paper or thin foam board outdoors risks warping or tearing quickly. Indoors, these materials can last through multiple parties if stored properly. Visibility factors outdoors focus on weather effects and distance viewing, while indoor signs prioritize lighting and placement to catch guests’ attention. When setting up, always consider the party’s location, duration, and expected weather to choose the optimal sign style and protection method. A well-secured, weatherproof birthday sign will look inviting and last beyond the event, improving your celebration and creating lasting memories.
Budget-Friendly and Last-Minute Birthday Sign Solutions
For a quick and affordable birthday sign, focus on simple designs using materials you likely already have. Plain paper, markers, string, tape, and scissors form the base of many effective signs without costing more than a few dollars. Using household items means you can start immediately rather than waiting for supplies to arrive. The key is to keep the design clear and festive while working within your time and material limits.
Start by cutting colored construction paper or printer paper into shapes like triangles or circles to create a banner. Write the birthday message in big, bold letters using markers or paint pens for easy visibility. Punch holes in each shape and thread a piece of string or ribbon through to form a banner you can hang quickly anywhere. Another fast idea is to use a large piece of cardboard covered in wrapping paper or plain paper. Write your message directly on it with markers, adding drawings or stickers from what you have on hand.
- Use old magazines or newspapers cut into fun shapes for a collaged sign
- Create bubble letters traced from a phone or tablet display for clean letter shapes
- Use a stencil if handwriting is a concern, printing letters onto paper and cutting them out
- Make a mini chalkboard sign by painting a piece of cardboard with chalkboard paint
- Repurpose party hats or balloons as accents around the sign to improve its look without extra work
Keep your messages simple and large, so they are easy to read from a distance. Don’t overcrowd your sign with too many small elements or complicated fonts, which take longer and may confuse the message. Test a small area first when using tape or glue to prevent peeling or damage, especially on thinner paper. For outdoor signs without waterproof materials, cover them with clear plastic wrap, but expect the finish to be delicate. Make sure your banner holes are reinforced with tape or extra paper to prevent tearing when hung.
Quality over complexity wins: it’s better to have a neat, simple sign than one that looks rushed or messy, even in a pinch.
By sticking to basic materials and a clear process, you can create a birthday sign in under 30 minutes without breaking the bank. Choose colors that match the party’s theme or the birthday person’s favorites to add a personal touch quickly. This approach delivers a festive look without last-minute stress or expensive purchases, making your celebration bright and memorable.
Step-by-Step Action Plan for Creating Your Perfect Birthday Sign
Follow these steps to design and set up a birthday sign that matches the celebration and impresses guests.
- 2 to 3 weeks before the party: Decide the sign’s main message and size based on the birthday theme and space available. Confirm it matches the party’s style to ensure it fits well visually.
- 2 weeks before: Choose the material considering indoor or outdoor use and your budget. Pick one that balances durability with your crafting skills for best results.
- 10 days before: Plan and sketch the design with colors and fonts that match the party theme. This helps visualize the finished product and makes crafting smoother.
- 1 week before: Gather all supplies and test any paints or markers on scrap material to check color accuracy and drying time. This prevents surprises during crafting.
- 5 days before: Start assembling the sign, following your design step by step. Take time with details like lettering and embellishments to create a polished look.
- 3 days before: Let the sign dry completely and add any protective coatings if needed, especially for outdoor use. This ensures the sign stays intact through the event.
- 1 day before: Set up the sign at the party location to test visibility and stability. Adjust lighting or placement if necessary to highlight your work.
- Day of the party: Do a final check to make sure the sign is secure and clean. This prepares everything for a welcoming birthday atmosphere.
Frequently Asked Questions
What Are Some Eco-Friendly Birthday Sign Ideas?
Use recycled cardboard or biodegradable paper for your birthday signs to reduce environmental impact. These materials can still be customized with paint or markers for a personal touch.
How Can I Make a Birthday Sign Interactive for Guests?
Include a blank space on the sign for guests to write messages or signatures. This creates a keepsake and encourages guest participation during the party.
What Lighting Options Work Well for Birthday Signs?
String lights or LED strips are great for illuminating signs, especially outdoors or in dim settings. They add a festive glow and increase visibility after dark.
Can I Reuse Birthday Signs for Other Occasions?
Choose neutral colors or detachable elements so the sign can be adapted for anniversaries or other celebrations. This saves money and storage space.
What’s a Good Way to Display a Birthday Sign Outdoors?
Stake yard signs into the ground or hang banners on fences or trees. Ensure they’re secured to prevent wind damage and consider weather-resistant materials.
How Do I Combine Photos with a Birthday Sign?
Incorporate a photo collage or attach photos directly to a “Through the Ages” themed sign. It adds a personal and nostalgic touch to your décor.
Key Points to Remember
A great birthday sign catches the eye and complements the celebration, making moments more memorable. Choose your design thoughtfully and take time with crafting or selecting materials to get the best result. Start by planning your sign now, focusing on the theme and venue, and take one step at a time toward bringing your vision to life. Your personalized birthday sign will add a unique touch that guests will remember long after the party ends.