What Vinyl to Use for Mailboxes: A Complete Guide for Durable, Compliant Decals
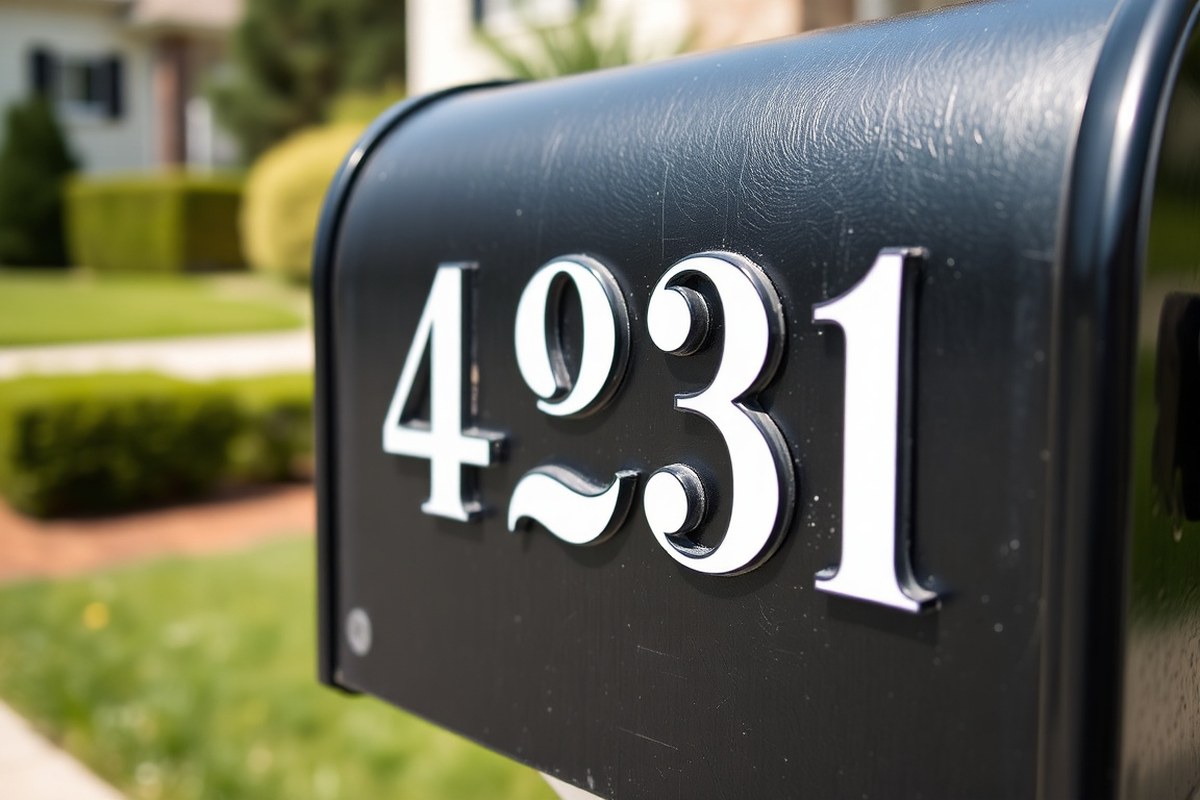
What vinyl to use for mailboxes depends on durability and weather resistance. The best choice is outdoor-grade vinyl like Oracal 651, known for lasting up to six years. It handles sun, rain, and temperature changes well, keeping decals clear and legible.
Look for vinyl with UV protection to avoid fading and cracking. Preparing the mailbox surface before application helps the vinyl stick better and last longer.
Make sure the mailbox is clean and dry. Apply the vinyl above 50°F to get the best results.
Using the right size and following USPS rules ensures your decals remain compliant and visible. Vinyl that removes cleanly from plastic, metal, or wood mailboxes lets you change designs without damage. Warm the vinyl with a hair dryer for easier removal, especially after longer use.
Key Takeaways
- Choose Oracal 651 or a similar outdoor vinyl for durable mailbox decals.
- Prepare the mailbox by cleaning and drying it before applying vinyl.
- Apply decals when the temperature is above 50°F for best adhesion.
- Use vinyl with UV protection to extend decal life to six years.
- Follow USPS size guidelines to keep decals compliant and visible.
- Remove old vinyl within five years, warming it to prevent residue.
Which Vinyl Is Best for Mailbox Decals and Why
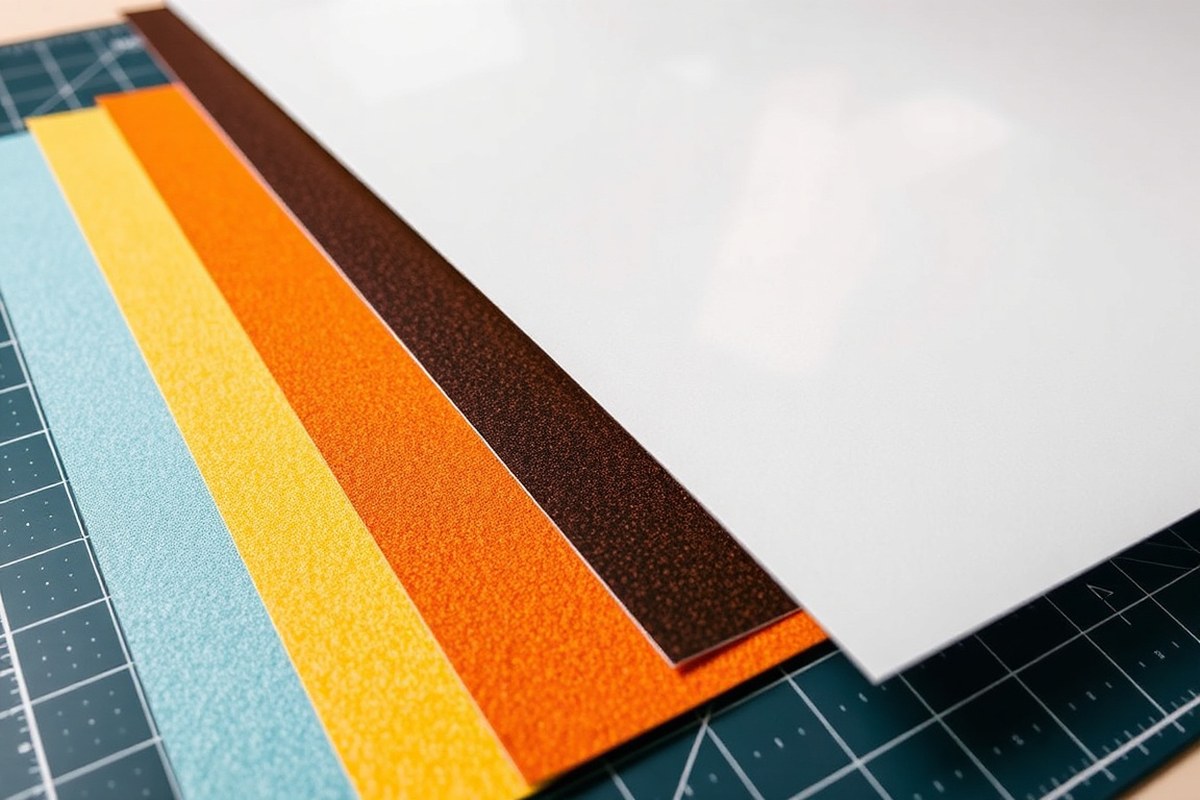
Permanent outdoor vinyl like Oracal 651 is the best choice for mailbox decals. It handles sun, rain, heat, and seasonal changes for up to six years. This vinyl sticks well to clean, smooth mailbox surfaces like metal, plastic, or wood.
Durability matters because mailboxes face harsh weather constantly. Standard outdoor vinyl with UV protection lasts about 3 to 7 years.
Polyester-based vinyl lasts longer, often more than 10 years, due to better UV blocking. The longer the vinyl lasts, the fewer replacements you’ll need.
Permanent vinyl is made to hold on tight through all conditions. Removable vinyl can peel easily and won’t last in sun or rain.
For mailboxes, permanent vinyl is preferred because it doesn’t fade, crack, or lift off. It also removes cleanly if you warm it up with a hair dryer before peeling.
| Vinyl Type | Material Base | UV Resistance | Durability (Years) | Typical Use |
|---|---|---|---|---|
| Oracal 651 | PVC | Good UV blocking | Up to 6 | Permanent mailbox decals |
| Standard Outdoor Vinyl | PVC | UV protective coating | 3 to 7 | General outdoor signage |
| Polyester-Based Vinyl | Polyester | Superior UV blocking | Over 10 | Long-term outdoor decals |
Brands like Oracal 651 and high-grade commercial vinyl from Sticker Mule offer consistent performance. They resist tearing and keep colors sharp with UV-stable ink. You can expect waterproof results that withstand salty ocean air and snow for years.
Polyester-based vinyl resists UV rays better than PVC but usually costs more. PVC vinyl like Oracal 651 offers a good balance of price, durability, and ease of application.
It lasts long enough for most mailbox use and removes cleanly without residue. Choose polyester if you want the longest lifespan and don’t mind extra cost.
How to Ensure Mailbox Vinyl Meets USPS Size and Visibility Rules
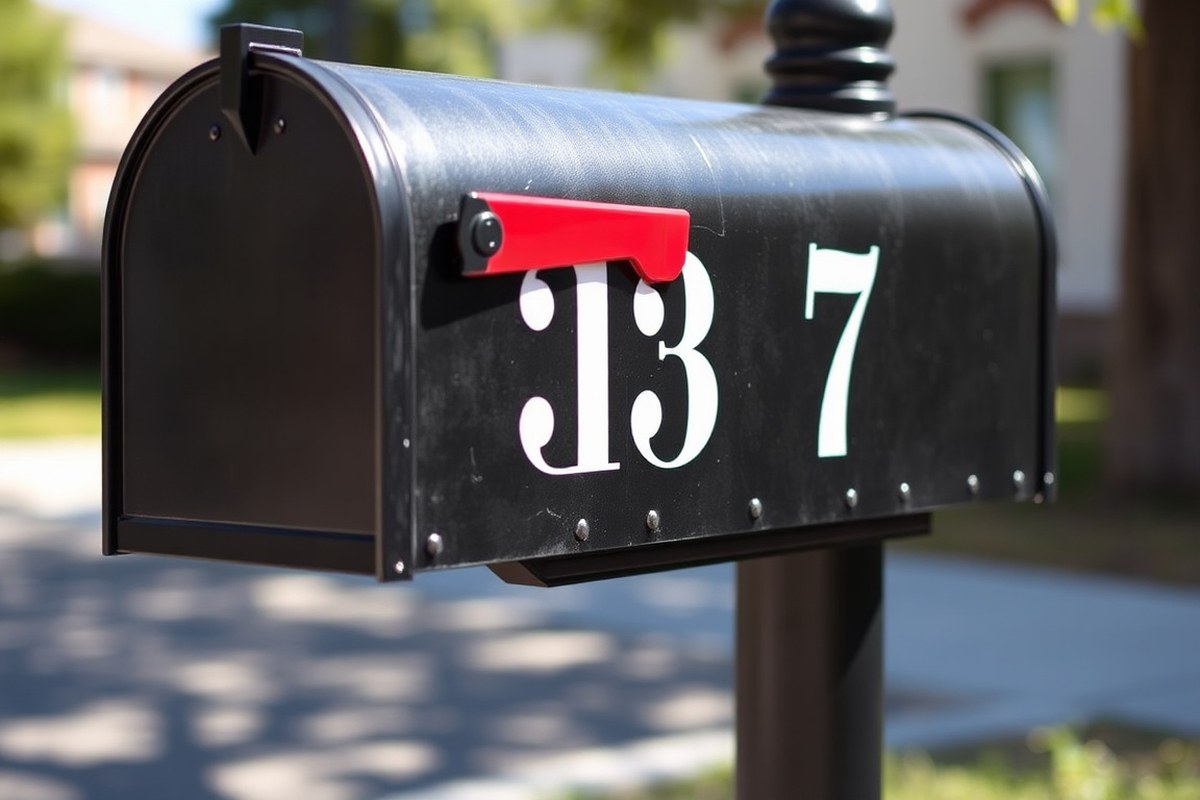
Every curbside mailbox must show its house number in vinyl that meets USPS rules. Numbers should be at least 1 inch tall, in a color that clearly stands out. Put these numbers on the side the mail carrier approaches.
Make sure they are easy to read. They should be clearly visible from a distance.
USPS Requirements for Number Size and Placement
The USPS mandates that house numbers on mailboxes be at least 1 inch high. The numbers must be neat and clearly visible from the carrier’s usual approach angle. Position your vinyl decals on the mailbox side facing the street or driveway.
This placement ensures carriers quickly spot your address while driving by. Mailboxes with multiple visible sides require numbers only on the carrier-facing side. Avoid cluttering the space near numbers to prevent confusion.
Choosing Vinyl Color for Proper Contrast
The color of your vinyl decals needs strong contrast against the mailbox color. For example, white numbers on a black mailbox stand out well. Black numbers on a white mailbox also work.
These colors make the numbers easy to see. Your mailbox is red?
White or yellow vinyl can stand out well. Use these colors for better visibility.
Low-contrast colors like dark blue on black or pale gray on white cause legibility problems. Hold the vinyl decal against the mailbox before applying. Check how it looks from 10 feet away.
This helps ensure good visibility. Use solid, single-color vinyl for best results.
Checklist to Verify USPS Compliance
Before finalizing your vinyl decal order or installation, run through this quick compliance checklist:
- Numbers are at least 1 inch tall
- Decal colors contrast sharply with the mailbox background
- Numbers are centered on the side facing the mail carrier
- No advertising or promotional content on the decal
- Style and font are neat and easy to read
- Decal placement does not cover the mailbox flag or identification labels
Use a tape measure and view the decal from the usual carrier’s vantage point to confirm.
Spotting Compliant vs Non-Compliant Vinyl Decals
A compliant decal shows crisp, large numbers clearly visible in contrast with the mailbox. Non-compliant decals look cluttered or use tiny fonts below 1 inch.
For instance, a decal with 0.5-inch numbers or script fonts is hard to read. Another problem is low contrast, such as gray vinyl on a silver mailbox. These reduce mail carrier efficiency and risk misdelivered mail.
Check your vinyl decals outside in daylight first. Make sure they meet USPS visibility rules. This avoids installation problems later.
Adapting to Different Mailbox Styles
Standard USPS T1, T2, and T3 mailboxes all require this number size and placement. For wall-mount mailboxes, place numbers where the mail carrier most easily sees them from the road. This spot can vary, so test visibility in your driveway or street.
Vinyl designs that separate numbers and street names let you adjust spacing for unique mailbox shapes. It helps maintain compliance while keeping your mailbox attractive. Avoid placing decals on mailbox parts that block the flag or mail slot.
Preparing and Applying Vinyl Decals on Different Mailbox Surfaces
To prepare and apply vinyl decals on mailboxes, start with a clean surface. Work when the temperature is above 50°F to ensure good adhesion. Use transfer tape to position your decal and protect the spacing of the letters during application.
Cleaning and Surface Preparation
Washing the mailbox with soap won’t cut it. Use rubbing alcohol on a clean cloth to remove grease, dirt, and old residue. This helps the vinyl stick properly on metal, plastic, or wood surfaces.
Check for bumps, peeling paint, or rust. Sand down rough spots and wipe again with rubbing alcohol to make the surface smooth. Let the surface dry completely before moving to the next step.
Using Transfer Tape and Positioning
Transfer tape keeps your decal’s letters and shapes aligned. It’s a clear, sticky layer that holds the vinyl pieces in place while you apply them. Your decal will come pre-spaced on this tape ready for the mailbox.
Place the mailbox on a flat surface or hold it steady. Position the decal with transfer tape over the mailbox.
Shift it until it looks straight and centered. Avoid air bubbles during this step.
Good light helps you see if the decal sits evenly. Check the alignment from a distance and up close before pressing it down. It’s easier to adjust now than after sticking.
Pressing and Removing Transfer Tape Properly
Use a plastic squeegee or credit card edge to press the decal. Press firmly onto the mailbox to avoid air bubbles. Make sure the vinyl sticks well all over.
Push outward from the center to the edges. This gets rid of trapped air and boosts adhesion.
Peel the transfer tape slowly and at a sharp angle back against itself. Pulling too fast or straight up can stretch or tear the vinyl.
When some vinyl lifts with the tape, press it down again. Try peeling the tape slower to keep the vinyl in place.
Hold off on cleaning the decal for 24 hours. This lets the vinyl bond fully. After that, wipe lightly with a damp cloth to avoid lifting edges or damage.
- Wipe the mailbox with rubbing alcohol and let it dry.
- Check for rough spots; sand and clean if needed.
- Peel the vinyl decal from the backing and stick it on transfer tape.
- Place transfer tape with decal onto the mailbox and adjust for position.
- Use a squeegee or card to firmly press the decal from center outward.
- Slowly peel off the transfer tape at a sharp angle.
- Wait 24 hours before gently cleaning the decal surface.
Maintaining and Removing Mailbox Vinyl for Longevity
Keeping vinyl decals on your mailbox looking good takes simple care. Clean the surface regularly using mild soap and water.
Avoid harsh chemicals that can eat away the vinyl or adhesive. Always dry the area fully after cleaning to prevent peeling or bubbling.
Heat can help soften the adhesive when removing vinyl. Use a hair dryer or heat gun set to low. Hold it a few inches from the decal and warm it for 30 to 60 seconds.
The vinyl should peel off smoothly without leaving sticky residue. Use a plastic scraper or your fingernail to gently lift the edges.
Removing vinyl carefully stops damage to your mailbox and allows easy replacement. If residue remains, apply a small amount of rubbing alcohol or a commercial adhesive remover.
Test the product on a hidden spot first to avoid paint damage. Rinse and dry well before applying new vinyl.
- Clean decals weekly with gentle soap and warm water
- Avoid direct sun exposure; shaded mailboxes last longer
- Apply decals only on dry surfaces above 50°F
- Use low heat to loosen vinyl before peeling
- Do not pull vinyl off dry or cold surfaces
- Remove residue with rubbing alcohol, testing first
Applying vinyl on a dirty or wet surface causes bubbles and weak adhesion. Press firmly when placing decals and smooth out air pockets with a squeegee.
Skipping these steps can cause peeling within weeks. Make sure your mailbox area is clean, smooth, and warm before starting.
Replacing vinyl once a year or whenever it shows fading keeps your mailbox sharp and readable. Taking your time with maintenance saves you from scrubbing or repainting down the road. Vinyl that is cared for properly keeps your mailbox looking fresh through rain, sun, and snow.
Choosing Vinyl Decal Sizes, Colors, and Styles for Mailboxes
Choose mailbox vinyl decals about 6 inches wide and 2 to 4 inches tall. This size fits most mailboxes and meets visibility rules.
The height depends on your font choice. But staying within 2 to 4 inches keeps text readable from the street.
Strong color contrast helps your decal stand out. Light colors on dark mailboxes or dark fonts on light surfaces work best. For example, black vinyl on white or cream mailboxes creates clear visibility day and night.
Fonts shape your mailbox’s personality. Select simple, bold fonts like Arial, Helvetica, or Futura for easy reading.
Script or decorative fonts can work but avoid narrow or overly ornate styles that reduce visibility. Use a font size that fills your decal’s height to maximize curb appeal.
Popular styles range from minimalist, clean designs to organic, nature-inspired motifs. Industrial-style decals show strong lines and geometric shapes. You can check style templates like the Apple Grove house number design.
They offer inspiration and help with easy color matching. This makes your choice simpler.
Adding your family name or a custom motif improve personalization. A clear number with a simple family name in the same font ties it all together. Keep the design balanced to avoid clutter that distracts from reading the address.
Well-planned vinyl decals can boost your home’s curb appeal. Homes with neat, stylish mailboxes often seem cared for and inviting. This small update might raise your property value by up to 7 percent.
It shows you pay attention to detail. That can impress potential buyers.
Match decal colors with your home’s trim or door colors. It creates a harmonious look that feels part of your overall design story. For example, a blue house with white trim is a good base.
Use navy blue lettering for a polished look. White vinyl also works well here.
Look for vinyl that lets you weed excess parts cleanly. This makes the decal sharp and professional when applied. Spending time on clean weeding and alignment improves results and helps prevent peeling or bubbling later.
Pick high-contrast colors and bold fonts for your mailbox numbers. This helps people read them easily from the street. Clear numbers make your house easier to find.
Weather Considerations When Choosing and Applying Mailbox Vinyl
Vinyl for mailboxes faces sun, rain, and heat daily. These conditions break down glue and fade colors. That’s why picking materials that handle UV rays and moisture helps your decal last longer.
Temperature plays a big role during vinyl application. Aim to apply decals when temperatures range between 50°F and 90°F. Outside this range, the adhesive may not stick well or might peel faster. Cooler weather slows the glue’s bonding, while hot weather can make it too soft.
Sunlight exposure gradually fades vinyl colors and weakens adhesive. Using commercial-grade or marine vinyl helps resist sun damage. These materials use UV-stable inks.
They can last 5 or more years outside. Coastal and sunny areas need tougher materials.
These protect your decal from frequent replacements. They last longer in harsh sun.
Humidity also affects vinyl adhesion. High moisture can interfere with glue during application and encourage peeling later.
Wait for dry days with low humidity before putting on your decal. Allow the vinyl at least 24 hours to fully bond before rain or heavy dew.
Seasonal changes add stress to vinyl on your mailbox. Freeze-thaw cycles cause expansion and contraction that loosen adhesives.
Spring and fall, with mild temperatures and low humidity, are ideal application times. Avoid winter’s cold or summer’s heat swings for the best results.
Weather conditions impact how well your vinyl sticks and how long it lasts outdoors. Apply vinyl when it’s dry outside. The temperature should be in a good range.
This helps your decal last longer. Investing in commercial-grade, waterproof vinyl made for outdoor use reduces the damage from sun and moisture.
If you apply decals in right weather, they stick better. This means they survive hot summers and cold winters. Better hold means longer display.
Without this care, your vinyl may peel or fade within months. Careful timing and material choice help keep your mailbox looking sharp year-round.
Customizing Mailbox Vinyl Decals with Cutting Machines and Software
Cutting machines like Cricut or Silhouette make it easy to customize vinyl decals for your mailbox. You can design your letters and numbers with free or included software. Cut and weed your custom decal using these tools.
Then apply your decal smoothly onto your surface. With the right steps and tools, you get neat, weatherproof decals that fit your mailbox perfectly.
Designing Your Mailbox Decal
Begin by measuring your mailbox areas for decals. House number decals often measure about 8 by 3 inches. Street name decals typically fit around 16 by 1 inches.
These sizes work well for most mailboxes.9 inches. Open your cutting machine’s software, like Cricut Design Space, to create your design.
Use clear, simple fonts to ensure visibility from the street. Add your house numbers and street names, adjusting size to those measurements. Preview your design on the screen first.
Make sure all letters and numbers fit inside your decal. Check the size limits carefully before cutting.
Cutting and Weeding Vinyl
Choose permanent outdoor vinyl suitable for mailboxes and load it onto your cutting mat. Set the machine to vinyl cutting mode and send your design to the Cricut or Silhouette. The machine cuts precisely along your design’s edges.
Weeding means removing the unwanted vinyl around your design. Use a hook or pick tool to pull away excess vinyl carefully.
Take your time when weeding tiny letters like “i” or “t” to avoid ripping the decal. Flip your design after weeding to check edges and fix missed bits.
- Measure the area on your mailbox for decal size accuracy.
- Create your design in the machine’s software using the exact measurements.
- Cut your design on permanent outdoor vinyl with a clean, flat mat.
- Use weeding tools to remove all the vinyl outside the letters and numbers.
- Apply transfer tape smoothly over the decal to lift it off the backing.
- Clean your mailbox surface with rubbing alcohol before applying decals.
- Use a squeegee or credit card to press the decal firmly onto the mailbox.
- Slowly peel off the transfer tape at a sharp angle to avoid lifting vinyl.
Applying Custom Decals Safely
Start with a clean mailbox surface. Clean the area with rubbing alcohol. Let the surface dry completely.
This helps the vinyl stick better to the mailbox. Avoid using soap or water which can leave residue.
Place your decal with transfer tape where you want it. Use a plastic squeegee or an old credit card to press. Start from the center and push outward.
This removes air bubbles under the vinyl. Remove the transfer tape slowly at a sharp angle to prevent lifting edges.
Patience helps during this step. Find any air bubbles under the decal? Use a pin to poke a small hole.
Press the air out gently after puncturing. Let the decal sit at room temperature for 24 hours.
Don’t expose it to rain or harsh weather right away. This helps the vinyl stick properly.
Eco-Friendly and Sustainable Vinyl Options for Mailboxes
Eco-friendly vinyl for mailboxes usually means materials made with less harmful chemicals or recycled content. These vinyls reduce toxic waste and lower pollution compared to standard vinyl. They often use water-based adhesives and avoid heavy plastics, which helps you cut your environmental impact.
You can find sustainable vinyl that looks just like regular vinyl in color and finish. The biggest difference lies in the material source and production method, not the style or durability. Most eco vinyl holds up well outdoors, resisting fading and peeling for years like traditional types.
Here’s a quick comparison: standard vinyl usually costs less. It also comes in more colors. But it often contains PVC and uses strong solvents.
Eco-friendly vinyl uses fewer chemicals, sometimes made from bio-based polymers, and costs about 10-30% more. You get good weather resistance and shine, but some colors may be limited.
Opting for eco vinyl supports cleaner manufacturing and safer disposal. It helps reduce smog and landfill pollutants, especially since vinyl often ends up as plastic waste. Choosing these vinyls shows you care about the environment.
They work well for greener home projects. It’s a good choice for an eco-friendly look.
Handmade and custom suppliers often offer sustainable options alongside regular vinyl. For example, the Etsy shop HandmadebyNellyandCo supplies personal decor with eco materials as choices.
You can pick classic fonts, various vinyl colors, and even faster shipping with a small fee. This kind of shop blends style and responsible choices.
To get the best results, start by cleaning your mailbox. Use mild soap and rinse it well. Let it dry completely before applying decals.
Smooth, clean surfaces help eco vinyl stick well and last longer without cracking. Eco vinyl usually applies just like standard vinyl, peel, stick, smooth out bubbles, and trim edges.
Choose eco-friendly vinyl with a water-based adhesive to avoid fumes during application.
Step-by-Step Action Plan for Applying Vinyl to Your Mailbox
Follow these clear steps to pick, prepare, and apply your mailbox vinyl decals correctly. This plan helps you get great results that last.
- Before you start: Clean your mailbox with soap and water. It should look free of dirt and dry to the touch.
- Day 1: Measure the mailbox surface to pick the right decal size. Your vinyl should fit well and meet USPS rules for visibility.
- Day 2: Choose outdoor-rated permanent adhesive vinyl for durability. Check the label says it’s UV and waterproof resistant.
- Day 3: Use a cutting machine to create your custom design. Make sure the edges are smooth and the vinyl is cut cleanly.
- Day 4: Apply the vinyl slowly, starting at one edge. Press firmly with a scraper tool to avoid air bubbles and wrinkles.
- After 1 week: Inspect your decal for any lifting or peeling spots. Press those areas down again or trim loose edges carefully.
- After 3 months: Clean your mailbox gently with a soft cloth and mild soap. Avoid scrubbing the decal to keep it intact longer.
- When removing decal: Heat the vinyl with a hair dryer to soften the adhesive. Peel it off slowly, then remove leftover glue with rubbing alcohol.
Frequently Asked Questions
What Vinyl Is Best for Mailbox Decals?
Use commercial-grade outdoor vinyl like Oracal 651, made for durability. It lasts six years or more, resisting sun and weather well.
What Is the Best Type of Wood to Use for a Mailbox Post?
Cedar and redwood are great for mailbox posts because they resist rot. Choose pressure-treated wood if you want a budget-friendly option.
What to Use as Transfer Paper for Vinyl Decals?
Use a clear, slightly sticky transfer tape designed for vinyl. This helps place and align your decal without stretching or tearing the vinyl.
How Do You Attach a Mailbox to Vinyl Siding?
Attach the mailbox using a mounting bracket with screws that fit the siding’s studs. Avoid direct screwing into siding to prevent damage or leaks.
Are Plastic Mailboxes Better Than Metal Ones?
Plastic mailboxes resist rust and are lighter but may crack in cold weather. Metal mailboxes are stronger but can corrode without paint or sealant.
What Size Should Mailbox Vinyl Decals Be?
Choose decals that fit your mailbox’s flat surface without wrapping edges. Bigger decals are easier to read from a distance but check USPS size rules first.
Wrapping Up
Outdoor-rated permanent vinyl works best for mailbox decals. It holds up under weather and stays on well. Pick your design today and give your mailbox a fresh, lasting look.