How to Use a Cricut for Signs a Complete Guide with Pro Tips
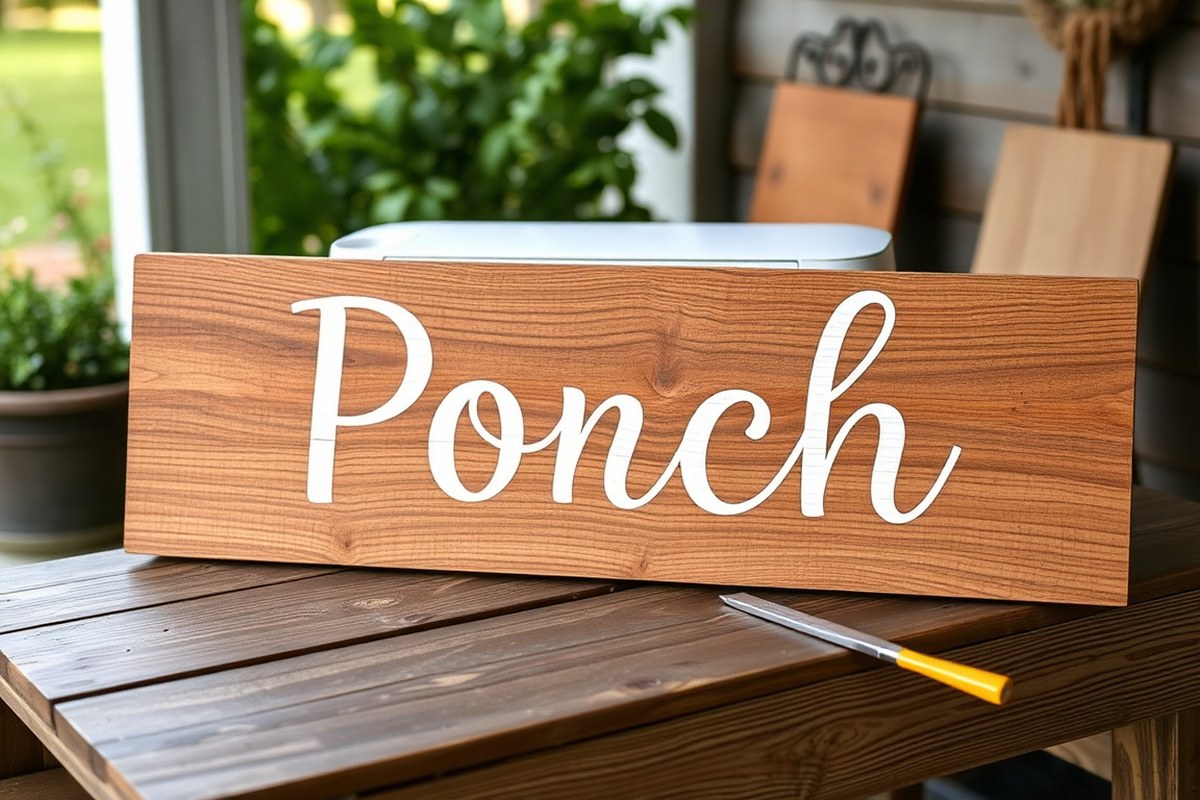
Learning how to use a Cricut for signs means choosing the right materials, designing accurately in Cricut Design Space, and applying vinyl precisely. Using permanent vinyl designed for exterior use ensures long-lasting results, especially on wood or acrylic surfaces. Starting with well-prepared materials and a clear design size helps you avoid errors and achieve professional-quality signs.
Key Takeaways
- Use permanent vinyl, not regular 631 vinyl, for durable, outdoor-resistant signs that last up to three years.
- Measure and resize designs in Cricut Design Space to fit your sign material exactly before cutting.
- Let painted wood cure for 24-48 hours before applying vinyl to ensure proper adhesion.
- For large or long cuts, use Cricut Explore 3 or Maker 3, which can handle vinyl up to 12 feet long.
- Apply iron-on vinyl at 300°F for 40-45 seconds with firm pressure for best results on acrylic and wood.
- Weed vinyl carefully after cutting to remove excess material without damaging the design.
What Materials and Tools You Need for Cricut Signs
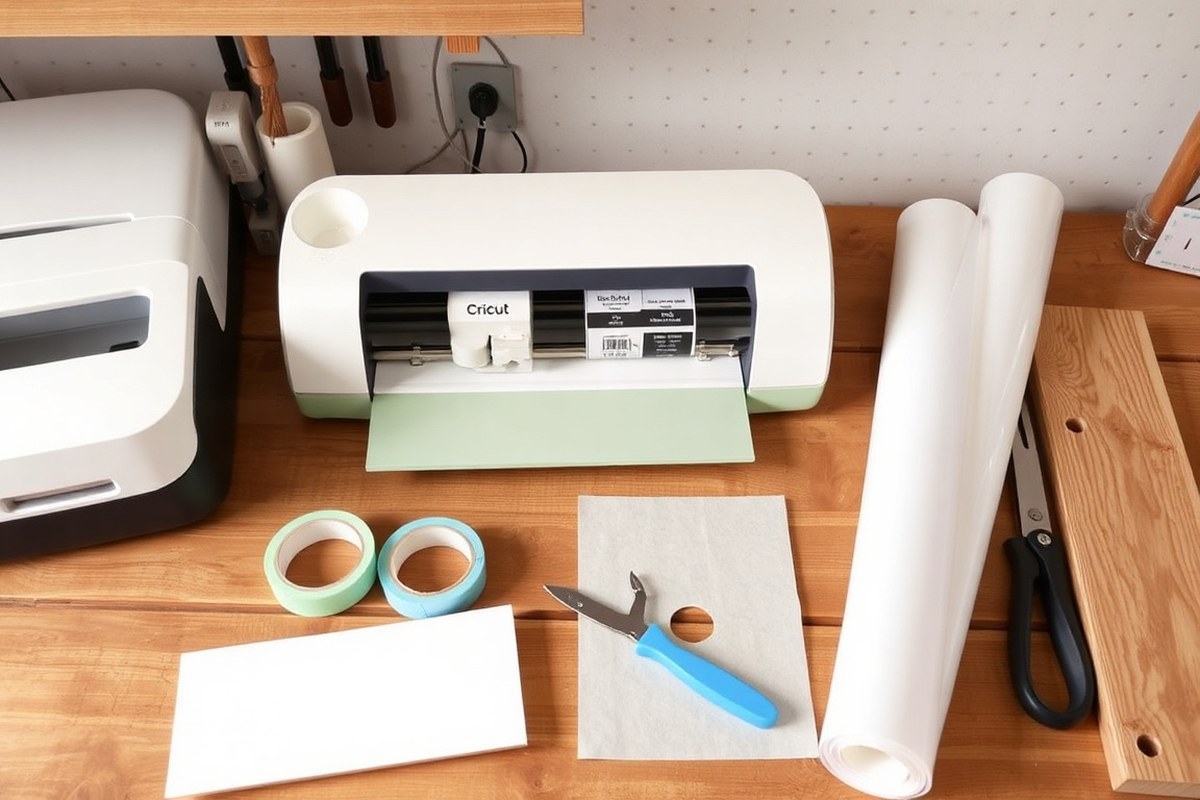
To start making signs with a Cricut machine, gather essential materials and tools that fit your project needs. For most custom signs, vinyl is the primary material you’ll use. Choose permanent vinyl like Cricut Premium Permanent Vinyl for outdoor signs because it resists weather and lasts up to three years. For indoor signs, permanent vinyl also works well due to its strong adhesive, but removable vinyl offers temporary options if you want to change designs later. Avoid regular 631 vinyl for signs since it peels easily and isn’t made for long-lasting outdoor use.
Wood is a popular base for Cricut signs, with laminated hobby wood being a top choice for durability and smoothness. Acrylic sheets also work but require special markers or paint for stenciling since adhesives don’t always bond well. Before applying vinyl to painted wood, let the paint cure 24 to 48 hours to prevent lifting or bubbling.
Your Cricut machine uses different blades depending on the material. The fine-point blade is standard for vinyl and paper cutting, while the deep-point blade is better for thicker materials like wood veneer or heavy cardstock. Pair these blades with suitable mats: a light grip mat works well for vinyl, and a strong grip mat is best for wood or thicker materials. Always check the blade condition for sharpness to ensure clean cuts and less weeding effort.
- Permanent vinyl (Cricut Premium Permanent) for outdoor signs
- Laminated hobby wood or acrylic sheets as sign bases
- Fine-point blade for vinyl and thin materials
- Deep-point blade for thicker materials like wood
- Light grip mat for delicate materials, strong grip mat for wood
- Transfer tape for moving vinyl from backing to base
- Squeegee tool, credit card, or craft stick for smoothing vinyl
Transfer tape is necessary for applying vinyl designs accurately onto your sign surfaces. After cutting and weeding your vinyl, place the transfer tape over the design and press firmly with a squeegee or craft stick to avoid air bubbles. Then, align and press the design onto the wood or acrylic surface, smoothing it down before carefully peeling the transfer tape off. If the vinyl pulls up, smooth it down again and peel slowly to protect your design.
Investing in a quality blade and mats will save you time and frustration. Dull blades cause jagged edges, making your signs look less polished and increasing weeding time. Vinyl costs range from $5 to $15 for a 12-inch by 24-inch roll depending on brand and type, so choosing the right vinyl upfront prevents wasted materials. Using these tools and materials correctly helps you create signs with clean lines and durable finishes that look professional whether displayed inside or outside your home or business.
Designing Custom Signs in Cricut Design Space
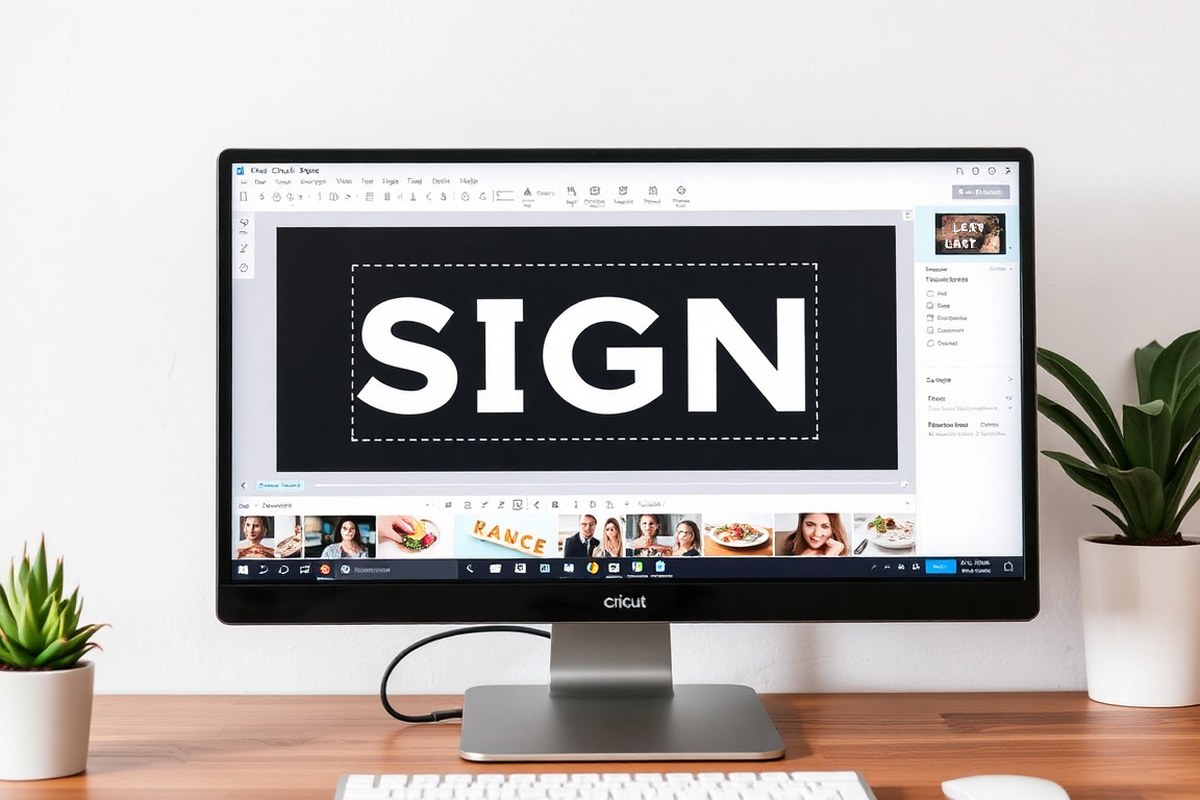
Designing custom signs in Cricut Design Space starts with setting your project dimensions, choosing clear fonts, and adjusting your images or SVG files for the best fit. Proper sizing and layout ensure your design will look balanced and professional when cut. This process helps you prepare your files correctly for your Cricut machine to cut vinyl or stencil materials accurately.
Choosing Sign Dimensions and Shape
Begin by measuring the surface area of your sign base, whether wood, acrylic, or another material. Open Cricut Design Space and create a new project. Use the shape tool to draw a rectangle or other shape matching your sign’s dimensions as a template. This visual guide keeps your design within the physical size limits.
Design Space allows you to resize images or text by dragging the corners or entering exact width and height measurements in the toolbar. To avoid stretching or distorting, keep the aspect ratio locked while resizing. Typically, your sign design should leave about 0.25 to 0.5 inches of margin around the edges for clean cutting and application. If your sign is large, plan your design so it fits on the cutting mat, for example, adjust to a maximum of 12 by 24 inches for standard Cricut Explore or Maker mats.
Selecting Fonts and Typography Tips
Your font choice impacts readability and style. Cricut Design Space offers many free and Cricut Access fonts. Pick bold, simple fonts for outdoor signs or detailed, script-style fonts for indoor décor depending on your style. Adjust letter spacing and line height to balance the text. Avoid fonts with very thin lines or intricate details if you’re cutting vinyl, as these can weed poorly or peel off easily.
Use the “Letter Space” control to increase or decrease spacing between letters for better legibility and aesthetics. Center your text within your sign shape and consider grouping letters or words to keep them aligned during cutting. This setup reduces the chance of misaligned cuts or stretching during application.
Importing and Customizing SVG Files
SVG files are perfect for complex designs because they retain quality at any size and can include multiple layers. You can import SVG files you’ve downloaded or purchased by clicking “Upload” in Design Space, then selecting your file. After uploading, add it to your canvas and resize it to your sign template. You can ungroup the SVG layers to move, resize, or edit individual elements.
Customizing SVG files before cutting helps you adjust colors, remove unwanted parts, or add text. Cricut Design Space supports grouping and welding elements. Use welding to combine letters or shapes into one cut path, which prevents cuts between overlapping parts. Remember to save your project frequently to avoid losing edits. Follow these steps to design your custom sign in Cricut Design Space:
- Create a New Project, then use the shape tool to draw a template matching your sign size.
- Upload or select images and SVG files from the Cricut library or your computer.
- Resize your design elements to fit within the sign template, leaving appropriate margins.
- Choose and insert fonts, then adjust letter spacing and line height for readability.
- Position and align all design elements centered in the sign area.
- Group related elements or weld overlapping text or shapes to optimize cutting.
- Preview your design with “Make It” to check mat layout and cutting order before sending to your Cricut machine.
Always double-check your design size against your physical sign template to avoid cutting vinyl too large or too small for your project.
Choosing the Right Vinyl and Materials for Your Sign
Choosing the right vinyl and materials affects both how your sign looks and how long it lasts. Permanent vinyl offers strong adhesion that typically withstands outdoor conditions well, lasting several years when applied properly. Removable vinyl sticks well but peels off easily when needed, making it a good choice for temporary signs or indoor projects. Iron-on vinyl, or heat transfer vinyl (HTV), requires heat to bond with fabric but isn’t suitable for wood or hard surfaces as it won’t adhere properly.
For outdoor signs, permanent vinyl is usually best. It resists fading, peeling, and weather effects better than removable types. Some permanent vinyl specifically labeled for outdoor use can last 3 to 5 years outdoors. Removable vinyl may hold up outdoors for a month or so, but it’s less reliable for long-term exposure. If you want a painted look, stencil vinyl works well as a painter’s mask but is not a finished surface on its own.
The Cricut Knife Blade lets you cut thicker materials like chipboard, wood up to 2.4 mm thick, and layered cardstock. This expands your options for making signs with dimensional elements beyond just vinyl on flat surfaces. Using the Knife Blade requires a Cricut Maker 3 or Explore 3, and you must choose “knife blade” in the material settings in Design Space, ensuring slow, precise cuts with multiple passes. This increases your project time but creates more durable and impressive signs with layers or 3D aspects.
| Material | Description | Best Use | Durability | Compatible Machines |
|---|---|---|---|---|
| Permanent Vinyl | Strong adhesive, lasts outdoors | Outdoor & indoor signs needing longevity | 3-5 years outdoor | Cricut Maker 3, Explore 3, others |
| Removable Vinyl | Easier to peel, less adhesive strength | Temporary or indoor-only signs | 1 month outdoors approx. | Cricut Maker 3, Explore 3, others |
| Iron-On Vinyl (HTV) | Heat-activated adhesive for fabrics | Fabric signs, t-shirts | Lasts with proper washing | Cricut Maker 3, Explore 3, others |
| Stencil Vinyl | Low-tack adhesive used for painting masks | Creating paint stencils on wood or acrylic | Temporary, paint durability applies | Cricut Maker 3, Explore 3, others |
| Chipboard / Thin Wood | Cut with Knife Blade for 3D signs | Layered, dimensional signs | Depends on finish and weatherproofing | Cricut Maker 3, Explore 3 (Knife Blade required) |
To use permanent or removable vinyl, select the appropriate material in Cricut Design Space before cutting. Insert your vinyl roll or sheets securely in the machine’s roll holder or on a cutting mat. Cutting permanent vinyl with the right blade and pressure helps prevent tearing, ensuring clean edges that stick well. For outdoor projects, sealing your sign with a clear coat after applying vinyl boosts durability, defending against sun and moisture.
When cutting thicker materials with the Knife Blade, load the material firmly on a strong grip mat. The Knife Blade makes multiple passes slowly, so the same design might take several minutes. Patience pays off with sharp, precise cuts that improve your sign’s professional appearance. Avoid using the Knife Blade on very thin or fragile materials to prevent damage to both material and blade.
Cutting, Weeding, and Preparing Your Design for Application
To cut vinyl or stencil materials correctly with your Cricut machine, it’s essential to select the right settings for your material, weed the design carefully to avoid damage, and prepare the stencil or vinyl for smooth application. Proper cutting ensures clean lines, and careful weeding removes unwanted vinyl without tearing. Using transfer tape correctly helps you place your design flawlessly on your sign surface.
Adjusting Cut Settings for Materials
Selecting the right cut settings depends on the type of vinyl or stencil material you use. For instance, Cricut Smart Vinyl allows you to cut long designs in one piece without piecing them together, which is perfect for making porch signs up to four feet long. Choose the material setting in Cricut Design Space that matches your vinyl type, such as “Premium Vinyl” for adhesive vinyl or “Stencil Vinyl” for paint stencils.
Ensure your blade is sharp and clean. When cutting vinyl, set the cut pressure to “default” or slightly higher for thicker vinyl. For stencils, a lighter pressure prevents cutting through the backing paper. Confirm the correct mat is loaded; Smart Vinyl doesn’t need a mat, but regular vinyl does. Always perform a test cut if trying new materials or thicknesses.
Effective Weeding Techniques
Weeding removes the unnecessary vinyl from your cut design, leaving only the parts you want on your sign. It’s easiest to start with a weeding tool designed for small cuts or intricate designs. Good lighting and a flat surface help avoid mistakes, especially on detailed fonts or shapes. A step-by-step weeding checklist helps:
- Use your weeding tool to lift a corner of the vinyl near your design.
- Slowly pull away the excess vinyl, working from outer edges toward the inner parts of letters or shapes.
- For stencil vinyl, reverse weed by removing the inside parts of letters or shapes that will allow paint to pass through.
- Keep small details and thin lines intact by gently lifting and peeling at a shallow angle.
- Check for any leftover tiny pieces or vinyl strands and remove them carefully with tweezers or the weeding tool tip.
- Lay your design flat on the table and examine from different angles to catch any spots needing extra attention.
Patience during this process prevents ripping or stretching your vinyl, which saves time and material.
Using Transfer Tape Correctly
Transfer tape helps you move your weeded design as a single unit from its backing paper onto your sign surface, such as wood, corrugated plastic, or foam board. Use tape that matches the size of your design, typically four feet of transfer tape works for a four-foot porch sign.
Before applying, cut transfer tape slightly larger than your design. Smooth it over the vinyl using a scraper tool or credit card to eliminate air bubbles and ensure good adhesion. Peel the vinyl backing away slowly, confirming the vinyl sticks to the transfer tape.
Align the vinyl on your sign carefully. Press it down firmly, applying even pressure with a scraper from the center outward. Slowly peel back the transfer tape, leaving the vinyl or stencil on your sign. If parts lift, press these areas again or use the scraper tool to secure the vinyl.
How to Apply Vinyl and Paint Stencils to Wood and Acrylic
Applying vinyl decals or paint stencils to wood and acrylic requires careful surface prepping, precise placement, and proper pressing techniques to avoid bubbles and ensure clean lines. The key is to start with a smooth, clean surface and use steady, even pressure during transfer. Paint stencils need extra care with drying times and stencil removal to maintain crisp edges on your sign.
Preparing Your Wood or Acrylic Base
Clean the surface thoroughly to remove dust, oils, or residues that can prevent vinyl or paint from sticking well. For wood, sanding lightly creates a smooth surface, while acrylic needs wiping with a lint-free cloth and a mild cleaner. Let painted wood dry completely, typically 24 hours, to avoid paint lifting or smudging when you apply vinyl or stencils.
Applying a clear matte polyurethane or water-based polycrylic finish to wood after sanding improve durability and provides a consistent surface for adhesion. Acrylic surfaces should be dry and free of fingerprints before transferring vinyl or using stencils, as even small amounts of debris can cause bubbles or paint bleeding.
Smoothly Transferring Vinyl to the Sign
Transferring vinyl without bubbles starts with using transfer tape to lift and place your design accurately. Applying the vinyl slowly and pressing firmly with a scraper tool or a credit card helps avoid air pockets. Heat can be used cautiously to improve adhesion on wood, but acrylic usually requires room temperature application to prevent warping. Follow these steps to transfer vinyl smoothly:
- Clean the sign surface and ensure it is dry.
- Cut and weed your vinyl design, removing excess vinyl around the letters or shapes.
- Place transfer tape over the vinyl, press down firmly with a scraper to adhere it completely.
- Peel the transfer tape with the vinyl from the carrier backing carefully at a 45-degree angle.
- Position the vinyl on the sign, starting from one edge to avoid trapping air.
- Press the vinyl onto the sign with a scraper tool using firm, even strokes from the center outward.
- Slowly peel the transfer tape away, keeping the vinyl stuck to the sign.
- Use your scraper and a hair dryer on low heat for a few seconds to press vinyl into textured wood if needed.
Work slowly during transfer; rushing can trap air and cause bubbles that ruin your sign’s look.
Painting and Removing Stencils Safely
Stencil your paint designs only after the base coat is fully dry, ideally 24 hours for wood. Use low-tack stencil vinyl cut with your Cricut to ensure crisp edges. Secure the stencil firmly, pressing edges down with a scraper or your finger to prevent paint bleed underneath. Applying paint in thin layers with a stencil brush or small roller helps maintain clean lines.
Remove the stencil while paint is still slightly tacky but not wet to avoid peeling or smearing. For acrylic signs, let paint dry at least a few hours before handling, and avoid heavy coats that might wear off easily. After painting, consider sealing the design with a clear topcoat for durability.
Finishing Your Cricut Sign for Durability and Outdoor Use
Allow paint to cure for at least 24 hours before applying vinyl on your Cricut sign. This curing time ensures the paint has fully dried and bonded to the surface, reducing the chance of lifting or bubbling when you apply vinyl. Acrylic, enamel, and outdoor house paints all typically require this minimum drying period. Waiting less than 24 hours risks smudging or poor adhesion, which leads to peeling and shortens the sign’s lifespan.
For sealing and protecting finished signs, especially those meant for outdoor use, polycrylic is a highly recommended clear coat. It creates a durable, protective layer that guards against moisture, UV rays, and general wear. Applying a few thin coats with a synthetic brush or foam applicator allows the polycrylic to dry evenly and prevents cloudiness. Each coat dries in about 2 hours, but for optimal strength and weather resistance, let the fully sealed sign cure for 24 to 48 hours before exposing it to outdoor conditions.
If your sign’s base is wood, Oracal 751 vinyl is an excellent choice due to its long-term outdoor durability. Match the vinyl with the sealant for best results; a water-based acrylic sealer with a gloss finish works well and adds an extra layer of protection against fading and cracking. Avoid sealants that yellow or crack under sun exposure. When sealing vinyl, consider spraying with a UV-protective clear coat to improve longevity. This step adds cost but significantly reduces fading over multiple seasons, which is important for high-sun environments.
To further prevent peeling and fading, avoid placing signs in areas with below-freezing temperatures or exposure to harsh chemicals. Regular maintenance like light cleaning with a soft cloth and mild soap helps maintain the protective seal without wearing it down. For painted signs, repainting sealant coats every 1 to 2 years will refresh protection and extend use. Expect sealant products to cost between $10 and $20 per quart, sufficient for several smaller signs or one large project.
Applying the sealant properly is critical. Use thin, even coats, letting each dry fully before the next. Avoid heavy applications to prevent drips or bubbles. For best results on outdoor signs, apply at least two to three coats. Once sealed and cured, your Cricut sign will resist peeling, fading, and weather damage, keeping your design crisp and vibrant for multiple seasons.
Making Large or 3D Signs Using Cricut Maker and Explore 3
Cricut Maker and Explore 3 machines can handle large or long signs thanks to their compatibility with 12×24 inch mats and long-cut features. This capability lets you cut vinyl pieces longer than the standard 12-inch width by using a smart workflow to line up multiple cuts precisely. For 3D or layered signs, the Maker’s Knife Blade opens more creative options by cutting thicker materials and enabling detailed layering for dimensional effects.
To create large signs, design your project in Cricut Design Space with segments that fit the cutting mat, then arrange cuts sequentially. The Knife Blade works only on the Maker models and allows cutting materials like chipboard or thin wood layers that can be stacked or layered to add dimension. You can build 3D signs by cutting multiple layers of material, painting or staining each layer differently, and then assembling them with adhesive or small spacers for depth.
Handling large cut vinyl or materials requires care to avoid tearing or misalignment. Removing excess vinyl around the design with scissors before weeding helps keep the workspace clean. Save all scrap pieces to use for small details or test cuts. Using transfer tape designed for large designs makes moving the vinyl onto the sign surface easier and more precise. Ensure your work surface is clean and flat for a smooth application. Follow these steps for a long cut or layered 3D sign workflow with Cricut Maker or Explore 3:
- Prepare your design: Divide your large sign into 12×24 inch sections or smaller so they fit your cutting mat. Include registration marks or alignment points for assembling layers or segments.
- Set your material and blade: Use the Knife Blade on a Cricut Maker for thicker materials like chipboard or balsa wood. For vinyl or thinner materials, standard blades work well. Select the correct material setting in Design Space for clean cuts.
- Cut each section: Load the mat and start the cut for each segment. If doing a long cut with vinyl, cut the first section, unload the mat, then reposition your vinyl to align for the next cut using the mat grid for guidance.
- Weed excess material: Remove large surrounding pieces with scissors first, then weed smaller parts carefully using tools like a weeding hook. Save scraps for future use.
- Paint or finish layers (optional): For 3D signs, paint or stain individual layers before assembly. Allow each layer to dry completely to prevent smudging or damage.
- Assemble layers: Align layers using registration marks. Use spray adhesive, craft glue, or small spacer pieces between layers to add dimension. Press firmly to ensure adhesion without warping.
- Apply transfer tape for vinyl: Cover the vinyl with transfer tape, burnish it well, then peel the backing off. Align and apply the vinyl to your sign surface carefully to avoid bubbles or wrinkles.
- Finish and secure: Use a scraper tool to smooth the vinyl on your sign. For layered dimensional signs, consider adding clips or weights overnight for full curing of adhesives.
Common Mistakes and Troubleshooting Tips for Cricut Signs
Vinyl that peels or wrinkles often results from poor surface preparation or incorrect application techniques. The surface should be clean, dry, and free of dust or oils before you apply vinyl. Use rubbing alcohol on a lint-free cloth to wipe the area, then let it dry completely. Applying vinyl to a wet or dusty surface prevents proper adhesion and leads to lifting edges or wrinkles.
Paint bleeding usually happens when applying paint stencils without sealing or pressing firmly enough. Spray your stencil lightly with an adhesive spray made for crafts to keep it in place. Use a sponge or stencil brush to apply paint in thin layers, dabbing rather than brushing to avoid smudging. Let the paint dry at least 24 hours before removing the stencil to prevent smearing.
Vinyl that doesn’t stick well could be due to the wrong type of vinyl for your material or insufficient burnishing. Use permanent vinyl for outdoor signs or any surface exposed to moisture. After applying vinyl, firmly rub it with a scraper or burnishing tool for about 30 seconds, focusing on edges. Avoid touching the sticky side of vinyl before application, as oils from your fingers reduce adhesion.
- Clean and dry the sign surface thoroughly before applying vinyl.
- Use a light adhesive spray on stencils to prevent movement during painting.
- Apply paint with a dabbing motion rather than brushing to minimize bleeding.
- Wait at least 48 hours after painting before applying vinyl for best adhesion.
- Burnish vinyl firmly after application to improve sticking power.
- Choose permanent vinyl for outdoor or textured surfaces.
- Store vinyl rolls flat and avoid heat to prevent warping before use.
Wait at least 48 hours after painting before applying vinyl to ensure the paint fully cures and prevents peeling.
Wrinkles in vinyl can also happen if you apply it too quickly without smoothing it down as you go. Place one edge first, then slowly roll the vinyl onto the surface while smoothing with a scraper to push out air bubbles. Trapped air causes bumps and wrinkles that are hard to fix later. If bubbles do appear, use a pin to gently prick and smooth them out immediately.
Step-by-Step Action Plan
Follow these steps to start creating your own custom signs with your Cricut machine, ensuring each phase builds on the last for the best results.
- Before you start: Gather all materials and tools such as vinyl, transfer tape, weeding tools, and your chosen sign base (wood or acrylic). Confirm the materials match your design needs and project size.
- Day 1: Set up your design in Cricut Design Space and adjust the size to fit your sign base. Test the design preview and make sure it aligns correctly on the virtual mat.
- Day 2: Select the correct vinyl type and cut setting for your material in the Cricut machine. Perform a test cut on a scrap vinyl piece and check for clean cuts without tearing or incomplete edges.
- Day 3: Weed your vinyl carefully, removing all excess material while preserving fine details. The design should peel cleanly and retain all intended parts without damage.
- Day 4: Apply transfer tape and position your vinyl on the sign base; use a scraper tool to ensure full adhesion without bubbles. Lift the transfer tape slowly, confirming the vinyl stays attached to the sign.
- Day 5: For painted stencils, secure your stencil and paint thin, even layers, allowing drying times between coats. Check that paint does not bleed under the stencil and edges remain sharp.
- After 1 week: Seal your sign with an outdoor-appropriate finish if needed. Test durability by lightly scratching or exposing the sign to moisture to verify the finish holds.
- After 2 weeks: Review your first sign for wear and appearance. Adjust your cutting, weeding, or finishing techniques as needed for future projects to improve quality and longevity.
Frequently Asked Questions
Can I Use Any Cricut Machine to Make Signs?
You don’t need only the Cricut Maker 3 or Explore 3. Older models can also cut vinyl and materials, but newer machines handle larger sizes and thicker materials better. Check your machine’s cut settings for best results.
How Do I Size My Design Properly for Custom Signs?
Size your design to match the sign material dimensions. Use Cricut Design Space rulers and grid to set exact measurements before cutting. Proper sizing avoids waste and ensures your design fits the sign perfectly.
What Types of Paint Work Best for Cricut Stencils on Wood Signs?
Acrylic paint is best for stenciling wood with Cricut vinyl stencils. It dries quickly and adheres well. Use a sponge brush or stencil brush for even coverage without bleeding.
Can I Reuse Vinyl Stencils for Multiple Sign Projects?
Yes, vinyl stencils can often be reused a few times if handled carefully. Clean them after use and store flat. After several uses, they may lose adhesion or flexibility.
How Do I Prevent Bubbles When Applying Vinyl to Signs?
Use a scraper tool and apply vinyl slowly from one edge while smoothing out bubbles as you go. Warm the vinyl slightly with a hairdryer to improve adhesion and reduce bubbles.
Should I Seal My Vinyl Signs for Outdoor Use?
Sealing with a clear outdoor sealer can protect vinyl signs from weather, but it’s usually not necessary with outdoor-rated vinyl. Test a small area first to ensure compatibility and avoid damaging the vinyl.
Wrapping Up
Creating custom signs with your Cricut can be rewarding when you follow each step carefully and check your work along the way. Start with a small project today, focusing on clean cuts and proper application techniques to build your confidence. Next, try experimenting with different vinyl types or bases to find what works best for your style and environment. Consistent practice will help you turn your ideas into professional-looking signs you can be proud of.