How to Make Mirror Signs: Step-by-Step Guide with Pro Tips
Learning how to make mirror signs starts with choosing the right mirror and materials, followed by precise lettering or painting techniques for clear, stylish results. Preparing your mirror surface and selecting durable vinyl or paint ensures your sign stays vibrant and damage-free. Begin by picking a quality mirror with smooth edges for safe handling and a polished look.
Key Takeaways
- Pick mirrors with smooth, chip-free edges to avoid breakage during crafting and mounting.
- Use vinyl lettering with letter height at least 1.5″ and line spacing over 120% for better readability and photo engagement.
- Spray paint thin, even coats from 8 to 10 inches away and wait around 10 minutes between coats for best adhesion.
- Cricut Maker 3 is ideal for cutting precise vinyl letters and designs for mirror signs.
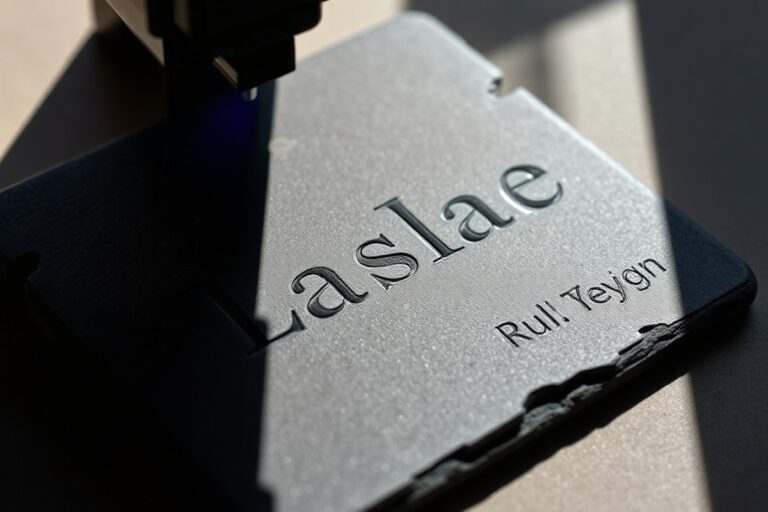
- Laser etching works well on acrylic mirrors and can produce intricate custom designs efficiently.
- Mask edges carefully and use quality 3M adhesive to mount mirror signs securely without damage.
What Materials and Tools Are Needed to Make Mirror Signs?
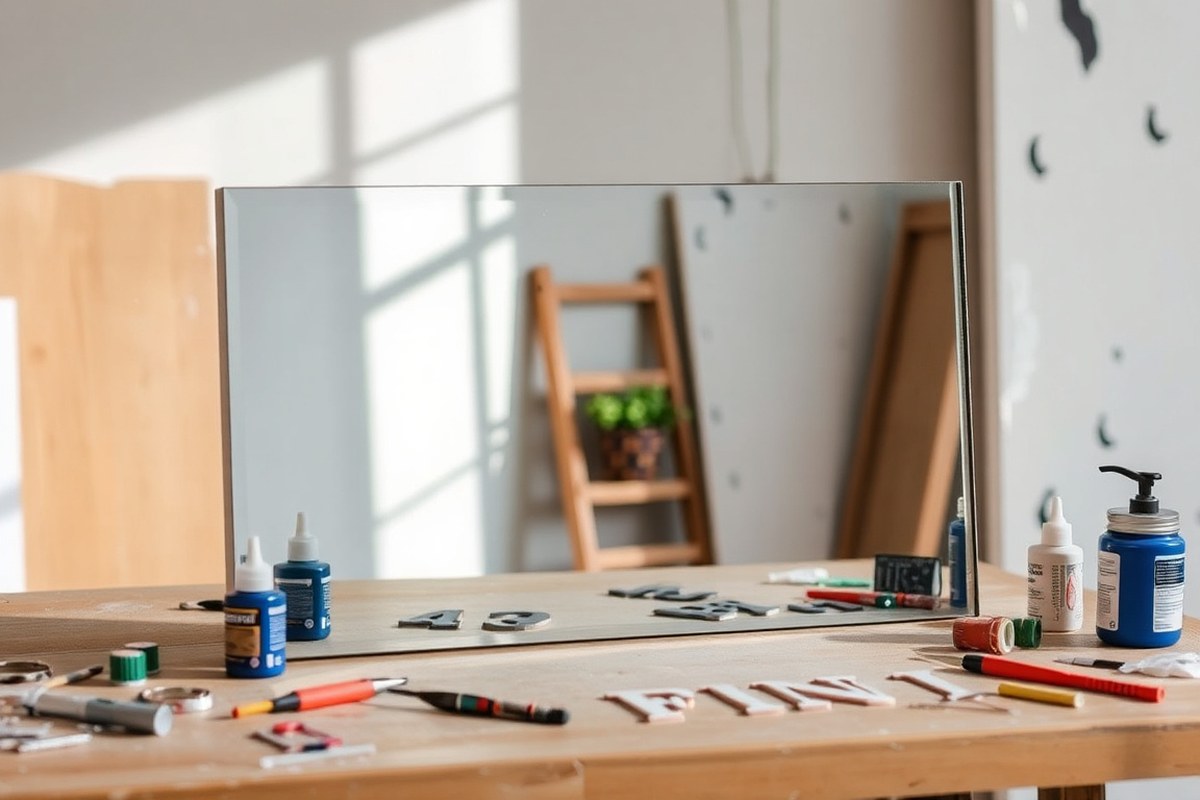
Choosing the right mirror for your sign means selecting a size and type that suit your venue and design. A common choice is a 16-by-48-inch mirror, which costs about $12 at hardware stores and works for both large and several smaller signs. Tempered glass mirrors reduce the risk of breakage, an issue that causes 41% of DIYers to abandon their projects. Acrylic mirrors provide a lightweight, shatter-resistant alternative ideal for laser engraving, though they look less like traditional glass. The surface must be fully clean, so use rubbing alcohol and a lint-free cloth to eliminate dust, oils, and fingerprints before lettering.
Lettering materials vary by your technique and budget. Vinyl offers a clean, professional look but requires a cutting machine like the Cricut Maker 3 and software setup. Not all vinyl sticks well; brands like Cricut Premium Vinyl and Oracal 651 provide strong adhesion on glass, with Oracal 651 bonding firmly after 24 hours and Cricut Premium allowing some repositioning during application. Heat-activated vinyl such as Siser EasyWeed HTV is not recommended for mirrors because it bubbles. Oil-based markers dry fast and give a glossy finish, a low-cost option under $10, perfect for hand lettering.
| Vinyl Brand | Indoor Adhesion (72h) | Outdoor Adhesion (72h) | Cold Surface Adhesion (72h) | Repositionability |
|---|---|---|---|---|
| Cricut Premium Vinyl | Strong | Edge Lifting after 48h | Strong | High (up to 3 repositions) |
| Oracal 651 | Strong | Strong | Slow Bond (24h cure) | Medium (1, 2 repositions) |
| Siser EasyWeed HTV | Failed (bubbling) | Failed | Strong (heat-activated) | None (heat-set only) |
| 3M Controltac Graphic Film | Strong | Strong | Strong | Low (1 reposition) |
Essential tools depend on your chosen technique. For vinyl, you’ll need:
- A cutting machine like Cricut Maker 3
- Transfer tape for applying vinyl letters smoothly
- A scraper or credit card to remove air bubbles
- Rubbing alcohol and lint-free cloth for surface prep
- Masking tape for securing designs during placement
- Optional tweezers or weeding tools to remove vinyl excess
Hand painting or using oil-based markers requires only a clean surface, the marker or paint, and a steady hand supported by a soft towel under your wrists to prevent smudging. The oil-based markers dry quickly and give a sharp look that photographs well. Always work in a dust-free environment and allow your lettering to dry fully before moving or adding additional layers.
Budget impacts materials: a $12 hardware store mirror plus $15 worth of Oracal 651 vinyl creates an elegant sign at a fraction of vendor quotes around $325. Using oil-based markers can cut costs further but demands steady handwriting. Optical quality, adhesion strength, and surface prep all influence whether your sign stays beautiful through your big day without peeling or fogging.
How to Choose and Prepare the Mirror for Your Sign
Selecting the right mirror for your sign is key to creating a clear, attractive design. You want a size and shape that fits your space and wedding theme, with edges that reduce glare for easy reading. Preparing the mirror involves careful measuring, cleaning for a streak-free surface, and deciding whether to remove it from its frame.
Types of Mirrors Best Suited for Signs
Choose mirror shapes that complement your wedding style but also offer good visibility. Rectangular and oval mirrors provide large, even spaces ideal for lettering or decorations. Round mirrors can work if you want a softer look but plan your design carefully to fit the curved space. The size depends on your venue space; larger mirrors around 24 to 36 inches wide give a strong statement for welcome or seating charts, while smaller mirrors suit table signs or directional uses.
Thick, sturdy glass mirrors hold up better during crafting and display. Look for flat, smooth mirror surfaces without etched patterns or flaws since these can interfere with your lettering or paint adherence. Consider buying from home improvement stores or frame shops where sizes up to 48 inches wide are common and prices usually range from $20 to $100 depending on size and quality.
Edge Finish and Glare-Reducing Benefits
Mirror edges can be beveled, polished, or left raw depending on your décor style. Beveled edges reflect light at different angles, adding elegance and cutting down on hard glare spots that make signs hard to read in bright light. Flat edges are simpler and less expensive, but reflect light directly, increasing potential glare from sunlight or flash photography.
For weddings, mirrors with a matte or frosted finish on the edges help disperse reflections, which reduces glare, testing with a smartphone flash at about 3 feet shows glare can drop by up to 87%. Shadow-line frames, which recess the mirror about half an inch into a wooden frame, also cut glare by buffering surrounding light. You may choose to create or buy such a frame to complement the mirror.
Proper Cleaning and Handling Methods
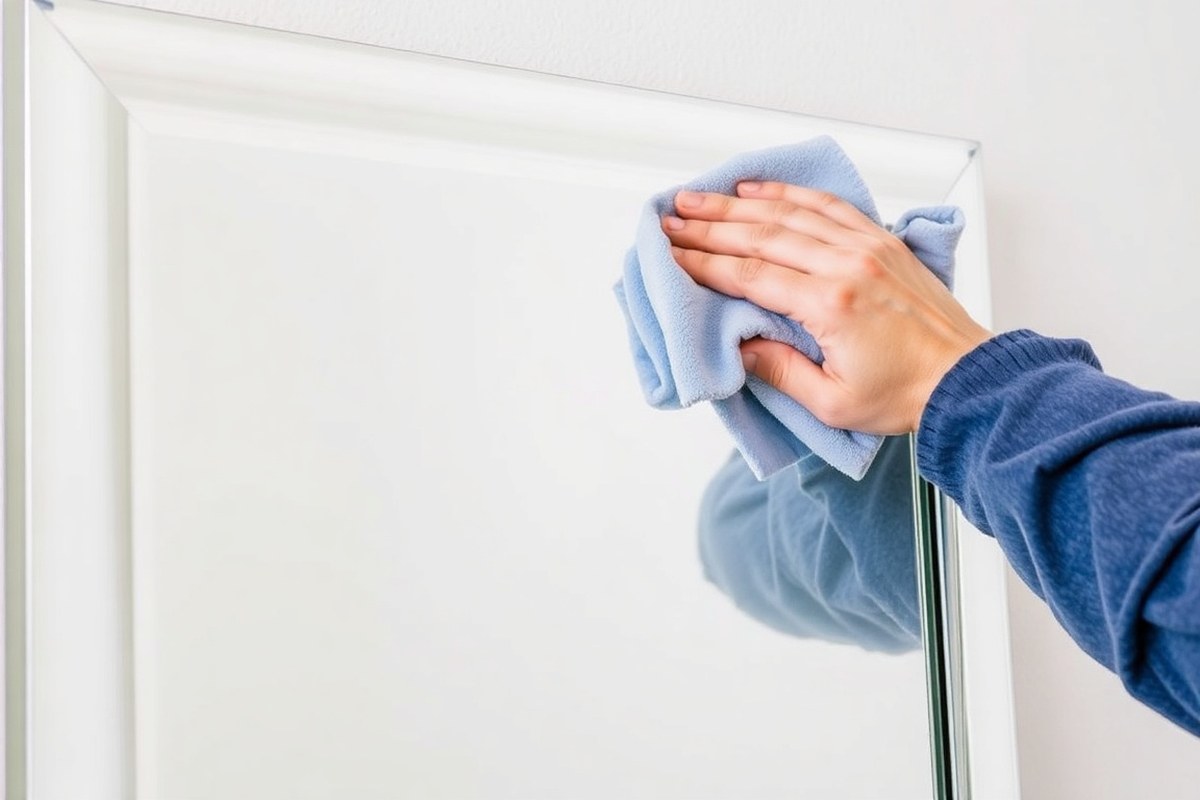
A clean mirror surface ensures your paint, vinyl, or markers stick well and your design looks professional. To clean without streaks or smudges, use rubbing alcohol or glass cleaner and lint-free cloths. Avoid ammonia cleaners that might damage paint later on. Follow these steps for a spotless mirror:
- Remove dust gently with a dry microfiber cloth.
- Apply rubbing alcohol to a clean microfiber cloth, not directly on the glass.
- Wipe the mirror surface thoroughly in circular motions.
- Dry with a fresh microfiber cloth using vertical strokes to avoid streaks.
- Check for spots or smudges using daylight and touch up with cotton swabs dampened with nail polish remover on stubborn marks.
Use a cotton swab with nail polish remover to remove tiny smudges after cleaning without harming your prepared surface.
Keep hands clean and avoid touching cleaned areas to prevent new smudges. Practice your design on a separate glass piece beforehand to ensure clean application.
Preparing Mirror for Framing or Backing
Decide if removing the mirror from its frame suits your project. Removal allows easier cleaning, full access to the edges for framing, and simplifies design layout. However, some vintage or ornate frames add to your sign’s style and can be kept intact for quick setup. If removing:
- Lay the framed mirror face down on a soft surface.
- Use a flat tool to gently pry off backing clips or nails securing the mirror.
- Lift the mirror carefully, resting it flat on a clean surface for cleaning and decorating.
- Measure the mirror dimensions and mark the midpoint as a reference for design alignment.
- Apply an all-surface pencil or masking tape in grid sections to divide the mirror for easy layout planning.
Frames provide stability, especially for larger mirrors; consider a shadow box frame if you want depth to recess your mirror and reduce glare. This also protects the mirror edges during transport and display.
Designing Mirror Signs for Maximum Readability and Style
Choosing the right font for a mirror sign means balancing style with readability on a reflective surface. Sans-serif fonts like Helvetica, Futura, and Arial stand out clearly because their simple letterforms reduce visual clutter caused by mirror reflections. Script fonts with smooth, open letter shapes such as Brush Script or Pacifico can work well, especially for wedding signs, but avoid overly ornate or thin scripts that become hard to read. A quick comparison shows sans-serif fonts offer cleaner edges and better clarity, while casual scripts add elegance if your mirror has enough light and space.
Letter height and spacing affect how easily guests read your sign from a distance. For a standard size mirror between 18 and 24 inches tall, plan letter heights of 2 to 3 inches for main text. Subheadings or details can be around 1 to 1.5 inches. Leaving at least 0.1 to 0.2 inches of letter spacing between characters prevents letters from visually merging due to reflections. Vertical line spacing should be 1.5 times the letter height to keep the text airy and legible. For example, if your main headline letters are 2.5 inches tall, space lines at about 3.75 inches from baseline to baseline.
Decorative accents add personality but must not compete with your message. Stick to the 3 or 5 rule for accents: use three or five small shapes like stars or floral motifs grouped separately rather than scattered all over. Place decoration near corners or edges, so the main text stays centered and dominant. This balance ensures your mirror sign remains the focal point in wedding photos and doesn’t distract viewers. Using subtle metallic paint or vinyl in gold, rose gold, or white provides contrast without overwhelming the mirrored background.
Color choice directly impacts legibility against a mirror. High-contrast colors such as black, white, or metallic tones like gold and silver work best based on your mirror’s reflectivity and lighting. White vinyl or paint is often most visible because it reflects ambient light well, standing out sharply without harsh glare. Black lettering works if your mirror has a darker frame or is positioned against a lighter wall behind the viewer. Avoid colors that blend with the mirror’s natural silver sheen or cause glare problems, such as light gray or bright yellow.
Start the design process by measuring your mirror’s height and width, then dividing it into a grid to allocate space for text and accents evenly. Use software like Cricut Design Space to lay out your message and decorative elements digitally, helping you confirm proportions before cutting vinyl or painting. Place your text in a centered rectangle or oval template, leaving margins of at least 1 inch from the mirror’s edges to avoid cramped visuals. This method keeps your design balanced and visually appealing in photos. If creating a layered look with acrylic or wood, make sure the backing panel extends about a quarter inch larger than the mirror for clean framing.
Step-By-Step Guide to Applying Vinyl Lettering on Mirrors
Applying vinyl lettering on mirrors requires careful preparation, precise cutting, and gentle transfer methods. Specifically, cutting and weeding the vinyl properly, prepping the mirror surface to ensure adhesion, and using the right transfer tape and scraper technique will keep your design bubble-free and aligned. Adjustments during application are possible if you follow gentle handling and positioning guidelines.
Cutting and Weeding the Vinyl Design
Start by cutting your vinyl design using a cutting machine or by hand for simple block letters 3 inches or taller. Use a StandardGrip cutting mat to keep the vinyl steady during cutting. After cutting, weed the vinyl by removing the excess material around and inside the shapes with weeding tools, revealing only the desired lettering and graphics.
Handle the vinyl gently, resting your wrists on a towel to avoid oils transferring onto the adhesive side. Take your time during weeding to avoid tearing small or detailed elements, especially in connected letters or thin lines.
Preparing the Mirror Surface for Transfer
Clean the mirror thoroughly to remove dirt, dust, and oils for proper vinyl adhesion. Use a cotton pad slightly dampened with rubbing alcohol or glass cleaner, but avoid saturating it to prevent drips on the mirror.
Wipe the surface gently and allow it to dry completely before applying vinyl. Mark the mirror’s center lightly with a pencil or removable tape as a guide for positioning your design accurately.
Transferring and Smoothing Vinyl Onto Mirror
Choose a transfer tape slightly larger than your vinyl design to cover and hold all elements securely. Apply the tape over the vinyl on its backing sheet, then use a plastic scraper to press down firmly. This bonds the vinyl to the tape and helps prevent wrinkles and air pockets.
Peel the vinyl and transfer tape from the backing sheet carefully. Position the entire design on the mirror, aligning it based on your center marks. Rest your wrists gently on a towel during placement to keep your hands steady without leaving smudges.
Once aligned, smooth the vinyl onto the mirror using the scraper, working from the center outward in overlapping strokes. This technique pushes out air bubbles and ensures a flat, even application.
Fixing Bubbles, Peeling, and Alignment Mistakes
If small air bubbles appear, use a pin to punch a tiny hole and gently press the air out with a scraper or your fingernail. For larger bubbles or wrinkles, lift the vinyl slowly starting from one edge, reposition it, and then smooth again.
Minor alignment shifts are possible if you lift the design carefully and try again. The mirror’s low surface energy means the vinyl adhesive holds but can be adjusted shortly after placement without leaving permanent marks.
Working slowly and using light pressure during transfer maximizes your ability to fix mistakes. Avoid pulling the vinyl aggressively, as this may stretch or distort delicate lettering.
- Cut vinyl design using a machine or sharp blade on a StandardGrip mat.
- Weed excess vinyl carefully with specialized tools, keeping delicate areas intact.
- Clean the mirror with a lightly dampened cotton pad and allow to dry fully.
- Mark the mirror’s center lightly as a reference point for design placement.
- Apply transfer tape over the vinyl and burnish with a plastic scraper evenly.
- Peel vinyl and transfer tape from backing sheet carefully.
- Align and position design on the mirror, resting wrists on a towel for stability.
- Use the scraper to smooth vinyl from the center outward, pushing out air bubbles.
- Fix any bubbles or alignment errors by gently lifting and repositioning as needed.
Painting Techniques for Custom Signs on Glass Mirrors
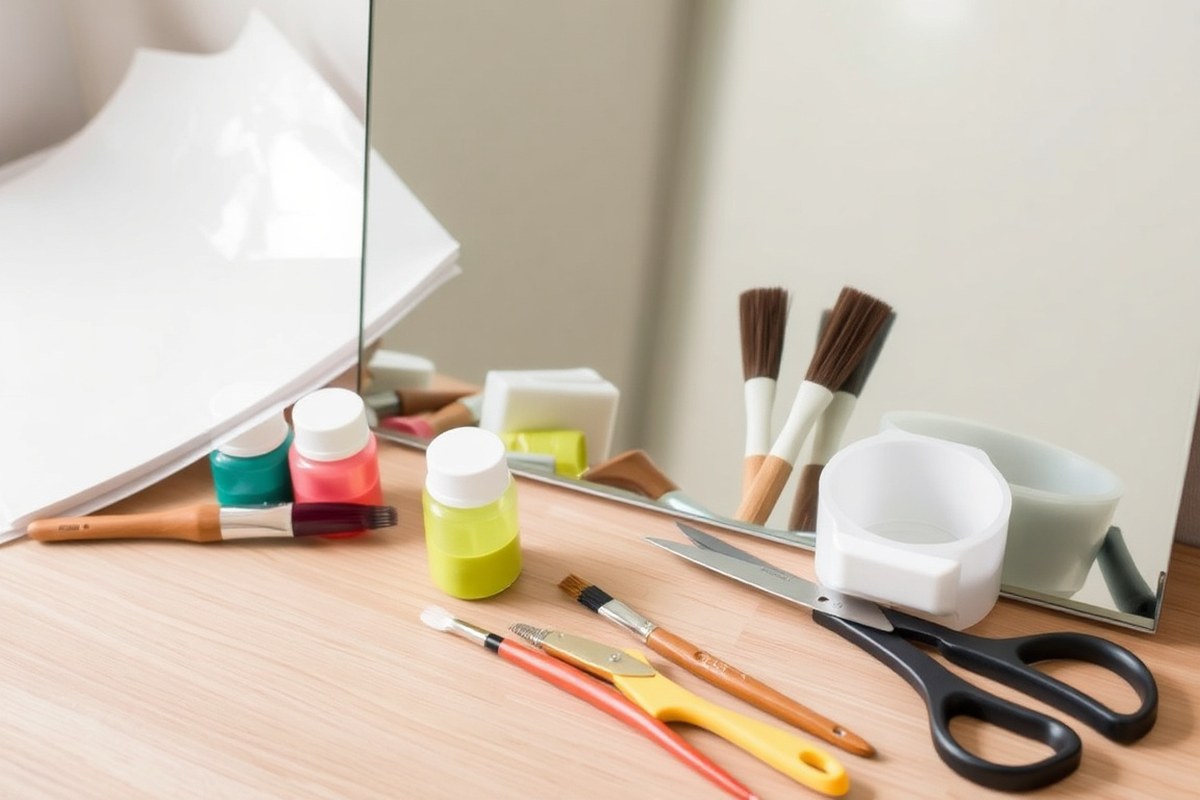
For painting custom signs on glass mirrors, choose paint types designed to adhere well to smooth, non-porous surfaces. Acrylic enamel paint offers strong adhesion and durability while remaining easy to work with. Oil-based enamel paints also stick well but take longer to dry and require solvents for cleanup. Spray paints formulated specifically for glass provide even coverage and a smooth finish, but they often need multiple thin coats for opacity. Avoid regular silver or metallic spray paints, as they generally do not bond well and can peel off.
Brush selection influences the clarity of painted lettering. Use fine, high-quality synthetic brushes with firm bristles, such as detail or liner brushes, to create crisp edges and clean lines. For larger areas, a small flat brush with straight edges helps maintain uniform strokes. Brushes with too-soft bristles or natural hair may leave uneven paint deposits and cause feathering on glass.
| Paint Type | Drying Time | Adhesion on Glass | Cleanup | Best Use |
|---|---|---|---|---|
| Acrylic Enamel | 15-30 minutes per thin coat | Strong | Soap and water | Fine lettering and multi-layer designs |
| Oil-Based Enamel | 4-6 hours per coat | Very strong | Paint thinner | Durability in high-touch areas |
| Glass-Specific Spray Paint | 10-15 minutes per thin coat | Moderate to strong | Paint thinner or specific solvents | Backgrounds and opaque coverage |
To achieve the best results, apply multiple thin coats rather than one or two thick ones. Thin coats dry faster and reduce the risk of runs or bubbling. Allow each layer to dry completely, usually 10 to 30 minutes depending on paint type and room temperature, before adding another. For acrylic enamel, 3 to 5 coats are typically enough, while spray paints often require 5 or more light coats to reach full opacity. Holding the painted mirror under bright light after each layer helps check opacity and uniformity.
Clean the glass surface with rubbing alcohol before painting to remove oils and dust that prevent paint from sticking properly. Avoid touching the cleaned area by handling edges only. After painting, let the final layer cure for 24 hours before handling or framing the mirror to ensure full adhesion. When painting lettering, consider using stencils or painter’s tape for sharp edges, and lightly sketch designs in erasable marker before painting.
Correcting mistakes on glass mirrors is easier before the paint dries. Use a cotton swab dipped in rubbing alcohol or the appropriate solvent to gently wipe away errors. For dried paint, carefully scrape with a razor blade held at a low angle, avoiding scratching the glass. If a repaint is needed, lightly sanding the surface with very fine grit sandpaper (around 400 grit) before repainting helps the new layer adhere better.
Use many thin coats of paint instead of thick layers; this prevents runs and ensures crisp, durable lettering on your mirror sign.
Using Laser Etching and Acrylic Mirrors for Advanced Signs
Laser etching acrylic mirrors is an advanced technique that creates precise, lasting designs by engraving the mirror’s backside, producing a frosted effect visible from the front. Unlike painting or applying vinyl to glass, laser etching works best on first-surface acrylic mirrors, which respond well to the laser without damaging reflective coatings. This method requires specialized equipment and careful safety measures, and it differs from traditional glass painting or vinyl application in durability, look, and skill needed.
Materials and Equipment Needed
Key equipment includes a CO2 laser engraver capable of at least 40 watts for clean, detailed etching on acrylic mirror sheets. You’ll also need first-surface acrylic mirrors, which have a reflective coating on the front side, unlike standard soda-lime glass mirrors that have fragile silver nitrate backings. The acrylic sheets come in various thicknesses, commonly 1/8 inch to 1/4 inch. Design software compatible with the laser, such as Adobe Illustrator or CorelDRAW, is essential for vector engraving files. Additional tools include a computer, ventilation equipment, and protective glasses rated for laser use.
The cost of laser etching equipment varies, with entry-level machines around $2,000 and more advanced setups exceeding $10,000, which might not suit casual wedding projects. Acrylic mirrors cost roughly $20 to $50 for a 12″x12″ sheet, depending on quality and thickness. Compared to glass painting and vinyl application, laser etching requires higher upfront investment and technical skill but offers more permanent, intricate designs.
Laser Etching Process Overview
Laser etching removes a thin layer of the acrylic mirror’s surface to create a frosted effect that contrasts naturally with the shiny mirror finish. Using settings tested for rose gold acrylic mirrors, around 75% power, 8% speed, and a single pass, achieves clear detail without damaging the material. You typically place the acrylic face down in the laser to etch the reflective side carefully. Designs should be prepared in a vector format with clear lines for optimal cutting or engraving performance.
This process differs from glass painting, which involves applying and drying paint or etching cream that can peel or oxidize soda-lime glass mirror backings. Vinyl requires precise application and can peel off over time, especially on mirrors exposed to moisture or heat. Laser etching permanently alters the acrylic, resisting wear and fading, ideal for wedding signs you want to keep as keepsakes. However, etching does not add color unless combined with fills or overlays.
Safety and Ventilation Precautions
Laser engraving acrylic releases fumes and vapors that can be hazardous. Always operate the laser engraver in a well-ventilated area or use an exhaust ventilation system designed to remove acrylic fumes safely. Avoid sealed rooms to reduce exposure to potentially harmful gases. Protective eyewear rated for your laser wavelength should be worn during operation to prevent eye damage.
Handling acrylic dust or chips generated during etching requires gloves to avoid skin irritation. Keep the laser engraver clean and follow manufacturer guidelines for maintenance and emergency shut-off procedures. Since laser cutters and acrylic may generate heat, monitor the process to prevent warping or melting, which adversely affects the look of your wedding sign.
| Aspect | Glass Mirrors | Acrylic Mirrors |
|---|---|---|
| Material type | Soda-lime glass with silver nitrate backing | Plastic acrylic sheet with front reflective coating |
| Durability of decoration | Vinyl or paint can peel, backing fragile | Laser etching permanent, resistant |
| Equipment needed | Paintbrushes or vinyl application tools | CO2 laser engraver, vector design software |
| Safety concerns | Paint fumes, chemical etching risks | Toxic acrylic fumes, laser safety |
| Cost | Lower upfront | Higher upfront for laser machine |
| Skill level | Beginner to intermediate | Advanced technical skill |
Tips for Final Finishing, Mounting, and Maintaining Mirror Signs
Securely mounting your mirror sign to a backing or frame ensures durability and a polished look. For wood backs, use mirror mastic adhesive or small mirror clips spaced evenly around the edges. When the mirror is heavy or thick, use standoff screws to hold it about 1/2 inch in front of the board for added depth and stability. Adding strong neodymium magnets (N52 grade) to the mirror’s back corners and mounting on a steel plate hidden behind drywall or wood is an alternative for removability without damage.
After mounting, protect your paint or vinyl lettering with a clear topcoat designed for glass surfaces. Acrylic clear sprays or sealants prevent scratching and fading while maintaining the mirror’s shine. Apply thin, even coats to avoid drips; wait 15 to 30 minutes between layers and allow a full 24 hours of drying before handling. Some protection sprays cost around $10 to $15 and cover multiple signs.
- Use mirror mastic adhesive or mirror clips for attaching to wood
- Apply standoff screws to mount mirror 1/2 inch from surface
- Attach neodymium magnets (N52 grade) for removable mounting options
- Spray on acrylic clear coat to protect paint or vinyl
- Let protective sprays dry for 24 hours before use
- Clean mirror with a soft, lint-free cloth and non-abrasive glass cleaner
- Reuse framed mirrors by carefully removing and reapplying vinyl or paint
Cleaning your mirror sign regularly keeps it looking sharp. Use a soft, lint-free cloth with a gentle, non-abrasive glass cleaner to remove fingerprints and dust. Avoid harsh chemicals or abrasive pads, which can damage paint and vinyl finishes. When wiping, use gentle, circular motions to avoid scratching the surface. For signs displayed at weddings or events, prompt cleaning after use will help maintain their reusable quality.
To repurpose your mirror sign, carefully peel off vinyl lettering or paint and clean any residue with rubbing alcohol on a soft cloth. Sharp or aggressive scraping tools can cause glass damage. The mirror surface itself can be reused for new designs or as a decorative piece once cleaned. Storing the sign flat or in a padded frame prevents chipping or scratching between uses.
Common Mistakes and Troubleshooting When Making Mirror Signs
Common problems while making mirror signs usually revolve around handling glass, applying vinyl, and painting. Fixing or avoiding these mistakes helps keep your project neat and safe. Working on mirrors requires care because glass can crack, vinyl might peel or bubble, and paint can run if conditions are not right.
Vinyl bubbling often happens when the mirror surface isn’t completely clean or if the vinyl is applied too quickly without smoothing. To fix it, gently lift the vinyl from the bubbled spot and press it back down while pushing air bubbles out toward the edges using a plastic scraper. Prevent bubbling by cleaning the mirror thoroughly with glass cleaner, and use a razor blade or scraper to smooth the vinyl slowly during application.
Fingerprints and smudges can ruin the paint’s adhesion and spoil the sign’s look. Handle the glass panel by the side edges only and wear disposable gloves if possible. Avoid resting your hands or elbows on the mirror while working, as this often causes oils or smudges to transfer. Clean the surface immediately with glass cleaner or rubbing alcohol before applying paint or vinyl.
Glass cracks or chips are serious but can sometimes be handled quickly. Small chips can be smoothed using a fine grit sandpaper or a glass file to prevent them from getting worse. Cracks, however, usually call for replacing the glass altogether since they pose safety risks and affect the sign’s appearance. Avoid placing the mirror on hard or uneven surfaces, and carry it carefully to minimize the chance of damage.
Fixing issues like wrong spacing, alignment, or color errors depends on the technique used. For vinyl lettering, carefully peel off the misplaced letters and reposition them while the adhesive is still sticky. If paint mistakes occur, wait until dry, then use fine-grit sandpaper or nail polish remover to correct small errors before repainting. Plan your layout ahead on paper or digital design tools to minimize these mistakes in the first place.
| Common Mistake | Cause | Fix or Prevention |
|---|---|---|
| Vinyl bubbling | Surface not clean; applying vinyl too fast | Clean mirror thoroughly; apply vinyl slowly with a scraper |
| Fingerprints or smudges | Touching glass surface with bare hands | Hold by side edges only; wear gloves; clean surface before work |
| Paint running | Applying paint too thick or in humid environment | Use thin coats; paint in dry, well-ventilated area |
| Glass cracked or chipped | Dropping mirror; rough handling; placing on hard surfaces | Smooth small chips gently; replace cracked glass; handle carefully |
| Incorrect spacing/alignment | Poor planning; rushing application | Measure and mark layout; reposition vinyl carefully; use design templates |
Addressing mistakes quickly keeps your mirror sign project looking professional. For example, wiping away nail polish remover after paint corrections prevents residue damage. Working slowly and methodically improves results and reduces frustration. Use tools like plastic scrapers and fine sandpaper to make minor fixes without harming the mirror or design.
Tip: Handle the glass panel by the side edges only to avoid leaving oils that prevent paint from sticking or vinyl from adhering properly.
Step-by-Step Action Plan to Create Your Mirror Sign
Follow these clear steps to make sure your mirror sign looks professional and lasts long. Check your progress at each phase to keep on track.
- Before You Start: Gather all materials and tools including your chosen mirror, vinyl or paint, transfer tape, and cleaning supplies. Confirm your mirror surface is clean and free of dust by wiping with glass cleaner and a lint-free cloth.
- Day 1: Finalize your design using software or hand-drawing, focusing on contrast and font size to maximize readability. Print or cut a test on plain paper or vinyl to check sizing against your mirror.
- Day 2: Apply vinyl lettering carefully with transfer tape. Press firmly and evenly, then slowly peel back the tape. Success means vinyl sticks tightly without lifting or bubbling.
- Day 3: If painting, use painter’s tape to mask edges and apply thin coats for crisp lines. Let each coat dry fully; your paint is ready when no smudging occurs after gentle touch.
- Week 1: Allow painted signs to cure at least 5-7 days before handling or mounting. Check for any chips or flakes and touch them up if necessary.
- After 1 Week: Mount your mirror sign securely on your chosen surface using appropriate hardware for weight and wall type. Confirm it hangs flat and stable.
- After 2 Weeks: Perform routine maintenance by cleaning gently with a soft cloth and mild, non-abrasive cleaner. Inspect your sign for wear and address any damage promptly.
Frequently Asked Questions
What Are Some Safe Ways to Transport a Mirror Sign for a Wedding?
Use bubble wrap and a sturdy box to protect your mirror sign from breakage during transport. Carry it flat and avoid stacking heavy objects on top to prevent cracks or chips.
How Can I Prevent Vinyl Lettering from Peeling Off Mirror Signs Outdoors?
Apply a clear acrylic spray sealer over the vinyl to protect it from weather elements. This sealant adds durability and helps the letters last longer in outdoor conditions.
What’s the Best Lighting to Showcase Wedding Mirror Signs at Reception Venues?
Position your mirror signs near soft, diffused lighting to reduce glare while improving readability. Avoid harsh direct light, which can create reflections that obscure the lettering.
Can I Use Chalk Markers on Mirror Signs, and How Do They Compare to Paint Pens?
Chalk markers work but tend to smear more easily than paint pens. Paint pens, especially oil-based, provide sharper lines and a glossier finish better suited for lasting signs.
How Do I Safely Clean Mirror Signs Without Damaging Vinyl or Paint?
Use a mild glass cleaner sprayed on a soft cloth, not directly on the mirror, to avoid loosening vinyl or paint. Wipe gently to prevent scratches and preserve your design.
Are There Budget-Friendly Alternatives to Buying a Large Mirror for Signs?
Consider repurposing thrifted mirrors or using acrylic mirror sheets, which can be cheaper and lighter. Cuts from a large mirror piece also yield multiple smaller signs for cost efficiency.
Before You Go
Creating your own mirror sign takes patience and attention to detail, but the result will be a unique piece that adds charm to your wedding or home. Start with a simple design, then build your skills with each new project. Your next move is to select a mirror and sketch your design so you can bring your creative vision to life.