How to Make Neon Signs: A Complete Guide for DIY Success
Learning how to make neon signs involves choosing either LED neon flex for safety and affordability or traditional glass tubes for classic looks. LED neon is easier to work with at home, cheaper by about 70%, and lasts up to 50,000 hours. Start by designing your sign with simple fonts and plan your materials to avoid errors.
Key Takeaways
- Use LED neon flex for durable, safe, and cost-effective home neon projects.
- Design signs with at least 3-4 inch tall letters to ensure readability.
- Allow 10% extra material to cover mistakes or measurement errors.
- Small indoor signs often fit within 12 by 6 inches to 24 by 12 inches for easy mounting.
- Expect 3-6 hours to complete a simple word or phrase on your first try.
- Order LED rolls under $30 to save money compared to professional signs costing hundreds of dollars.
How to Make a Neon Sign Step-by-Step
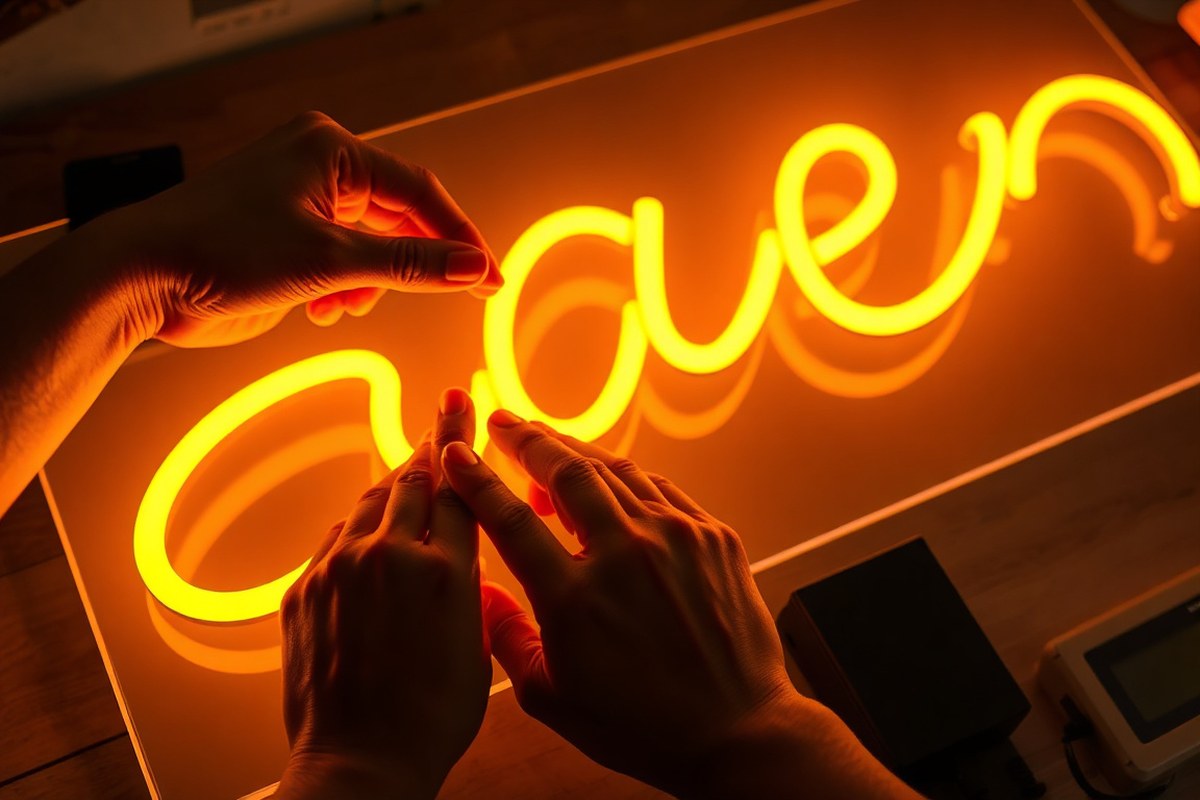
Creating a neon sign using LED neon flex is a hands-on way to bring custom lighting to your space. The process involves designing your sign, attaching the flexible LED strip to a sturdy backing, and safely connecting it to a power supply. Choosing LED neon flex makes the project easier and safer compared to traditional glass neon, since it runs on low voltage and can be bent to shape without special equipment.
The backing board, typically acrylic or wood, serves as the sign’s base and supports the LED strip. You’ll first prepare your design template, then carefully shape the LED flex strip by bending it gently along the edges of the pattern. Cutting the LED strip only at marked points ensures it functions properly. Wiring involves connecting the LED ends to a 12V DC power adapter using wire connectors and any necessary extension wires. Before final mounting, testing the electrical connection is important to avoid later issues.
- Prepare your backing board: Choose a smooth acrylic or wood panel sized slightly larger than your design. Sand edges if needed for a neat finish. Secure your printed or drawn template on it to follow during placement.
- Shape and cut the LED neon flex: Gently bend the LED strip to match your template’s outline. Cut only at stamped cut points indicated on the strip, usually every few inches, to avoid damaging the lights inside.
- Attach LED strip to the backing: Use mounting clips or a strong double-sided adhesive tape to hold the flex strip firmly against the board, following your design precisely. Avoid overstretching the strip to prevent damage.
- Connect wiring: Attach wire connectors to the LED strip ends, then connect these to your power adapter’s wires. Use extension wires if your design has multiple sections or corners that need extra length.
- Test the electrical connection: Plug in the 12V power supply and verify the LED strip lights up evenly. Check for any dim spots or flickering, which can indicate loose connections or overcut segments.
- Secure all wiring: Once testing is successful, neatly arrange and secure all wires behind the backing board, using cable clips or ties, to create a clean final product.
- Mount your completed sign: Add mounting hardware appropriate to your wall or display area. Ensure the power adapter is accessible for easy connection to an outlet.
Each step matters because proper shaping protects the LEDs, and correct wiring safeguards the sign’s longevity and performance. The whole process typically costs between $25 and $70 depending on materials and length of LED flex. Good results show smooth, even light outlining your design without dark patches or flickering. Trouble spots usually come from overcut strips or unsecured wires, so handle each stage carefully.
Materials and Tools Needed for Neon Sign Projects
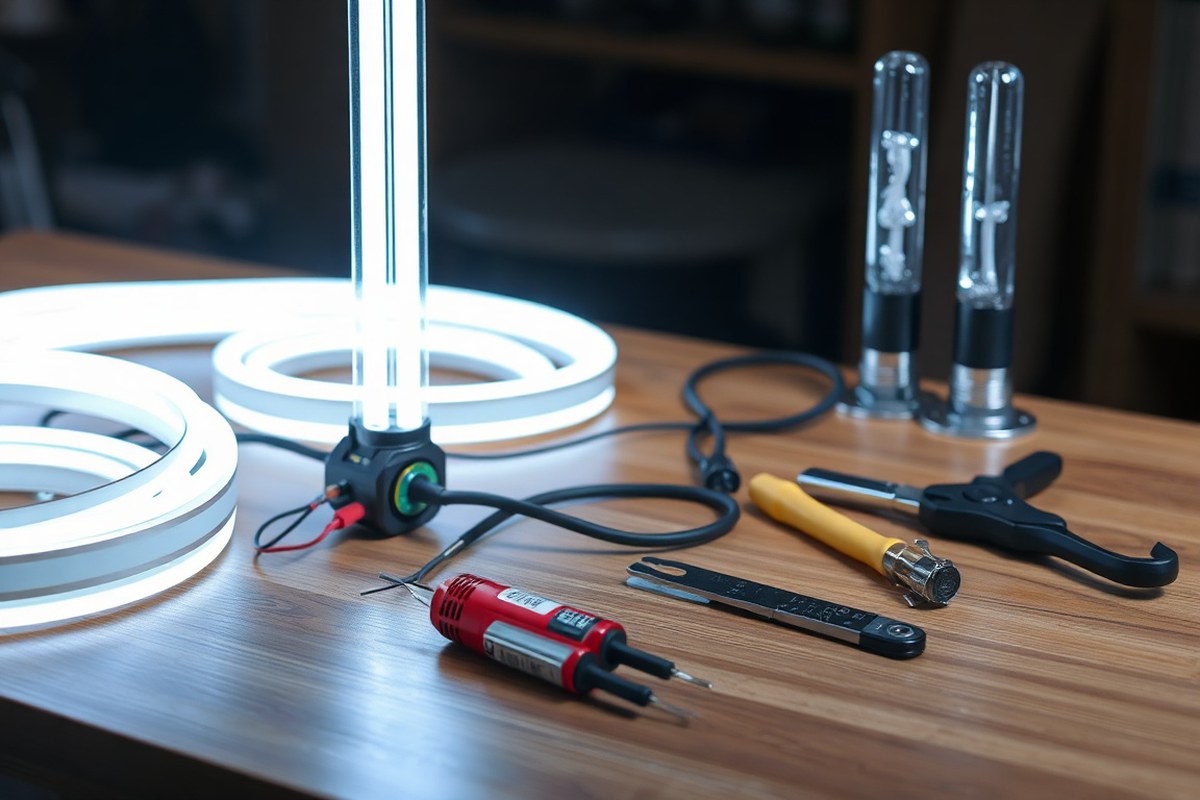
Materials and tools vary significantly between LED neon flex signs and traditional glass neon signs, reflecting their different construction methods and skill requirements. For LED neon, you need flexible LED neon tubing, a certified 12V power supply, mounting clips, wires, and a controller for effects or dimming if desired. These lightweight materials are easier to handle and safer, making LED neon a practical choice for beginners and home projects. In contrast, glass neon signs require glass tubes, noble gases sealed inside, high-voltage transformers (around 15kV), electrode seals, and specialized tubing benders designed to heat glass to about 1000°F for shaping. This process involves higher difficulty and risk.
Hand and power tools overlap somewhat but with notable differences. Both methods benefit from wire strippers, electrical tape, measuring tape, and screwdrivers. For LED neon, you also need a sharp utility knife or scissors to cut the flexible tubing to length. Traditional glass neon demands glass tube benders and potentially a torch or oven to soften the tubes, along with gloves and eye protection to handle heat and avoid glass shards. Having the right safety gear like gloves, safety glasses, and insulating mats is important when working with glass bending or electrical wiring for either type. Planning your supplies based on the sign style avoids interruptions during your project. Below is a table comparing essential materials and tools for LED neon versus glass neon signs:
| Category | LED Neon Flex | Traditional Glass Neon |
|---|---|---|
| Primary Material | LED neon flex tubing (8-10mm thick) | Glass tubes filled with noble gases |
| Power Supply | 12V certified LED driver | High voltage neon transformer (~15kV) |
| Tools for Shaping | Utility knife, bending by hand or guides | Glass benders, torch/oven for heating |
| Safety Gear | Gloves, eye protection when wiring | Heat-resistant gloves, goggles, face shield |
| Installation Hardware | Mounting clips, zip ties | Metal clamps, electrode holders |
| Skill Level Needed | Basic crafting and wiring skills | Specialized glass bending experience |
| Typical Cost of Materials | $30, 80 for DIY projects | Higher due to specialized glass and gases |
Wear heat-resistant gloves and eye protection when bending glass tubing to prevent burns and eye injury.
Having this checklist and toolkit ready before you start prevents costly delays. LED neon flex generally costs less and is safer, so new hobbyists can focus on creative design instead of mastering glass shaping. A reliable power supply matched to your sign type ensures longevity and safety. Proper cutting and bending of LED flex tubing allow smooth curves, while glass requires consistent heating and careful handling. Eye protection and insulated gloves reduce risks when wiring or shaping neon, especially with high voltages and hot surfaces involved in traditional glass.
Designing Your Neon Sign for Best Results
Designing a neon sign means balancing visual appeal with the practical limits of LED neon strips. Start by choosing an appropriate size and font that ensures good visibility, then plan your bends carefully to avoid damaging the strip. Use vector-based design software to create precise layouts that match the physical properties of your materials.
Selecting the Right Size and Font
Size matters because your letters need to be visible from the desired viewing distance. For indoor home décor, letters 6 to 12 inches tall usually work well. You can scale up to larger sizes for outdoor use or greater readability. Keep in mind that wider strokes improve light diffusion and readability, especially at night or from a distance. Choose fonts with simple, continuous lines to avoid complicated bends or breaks in the LED neon strip. Sans-serif fonts with rounded edges or script fonts designed for smooth flow work best. Avoid fonts with sharp serifs or intricate details that require tight bends or separations, which can be difficult to create and fragile.
Adjust the stroke thickness of your design to the width of your LED neon flex, which typically ranges from 6 to 12 millimeters. This ensures the light spreads evenly and matches the physical strip size, helping your sign look balanced and professional.
Understanding Bend Radius and Stroke Thickness
LED neon strips have limitations on how tightly they can bend without damage. The minimum bend radius typically ranges from 4 to 6 centimeters, depending on the strip diameter. Bends sharper than this risk pinching or breaking the strip, which can cause flickering or complete failure. Keep your design’s curves smooth and gradual to accommodate this. Plan letters and shapes with wide curves rather than sharp corners.
The stroke thickness should correspond to the neon strip’s width to maintain consistent lighting and structural integrity. Thicker strokes require wider LED strips, which might be less flexible but produce a brighter effect. Narrower strokes use thinner strips for more intricate designs but might sacrifice brightness and durability. Match your font’s stroke weight to the strip thickness and bending limitations for the best results.
Using Vector Software for Accurate Design
Vector-based design tools produce clean, scalable files essential for neon sign creation. Programs like Adobe Illustrator, CorelDRAW, or free alternatives such as Inkscape let you draw precise shapes with continuous paths. Continuous lines matter because LED neon flex works best on unbroken routes. Design your letters and shapes as connected vectors to avoid gaps where light won’t flow.
Save your design as a vector file, such as CDR or SVG formats, which manufacturers and your own cutting tools can use directly. Many neon sign suppliers offer free online neon sign makers that help you customize size, color, and style, generating ready-to-use vector files. These tools simplify layout adjustments and ensure your design respects bend radii and stroke thickness, minimizing errors before you start assembly.
Comparing LED Neon and Traditional Glass Neon Signs
Deciding on LED neon or traditional glass neon affects your project’s materials, costs, duration, and safety measures. Glass neon uses sealed glass tubes containing inert gas and runs on high voltage, whereas LED neon involves flexible acrylic or silicone tubes with low-voltage LEDs installed inside. These core differences create specific benefits and drawbacks for each type.
The costs and labor involved vary notably. Glass neon tubes alone can cost from $50 up to $200, and the transformer adds $60 or more. The labor for shaping and assembling glass tubes can take 8 to 12 hours due to the delicate handling required. By contrast, LED neon tubes typically cost between $20 and $80, with transformers costing $15 to $30, and assembly usually takes 2 to 4 hours since the materials are lighter and easier to work with.
| Material | Glass Neon Cost | LED Neon Cost |
|---|---|---|
| Tubes | $50, $200 | $20, $80 |
| Transformer | $60+ | $15, $30 |
| Labor (Time) | 8, 12 hours | 2, 4 hours |
Durability and safety are other key factors. Glass tubes are fragile and can break easily during handling or mounting. They contain high-voltage electricity, posing serious shock risks if wiring is not perfectly done. On the other hand, LED neon signs are flexible, lighter, and less prone to damage. Running on low voltage means they are safer to touch and simpler to wire, making LED neon ideal for beginners or home projects without professional help.
Traditional glass signs offer a distinct, classic glow that appeals to purists, but they require special skills and tools to work safely and effectively. LED neon signs lack some nuances of real gas lighting but provide more flexibility in shapes, colors, and effects, plus longer lifespan with minimal maintenance. For smaller or simpler home decor projects, LED neon reduces cost, time, and safety concerns while still delivering bright, colorful results.
To decide which fits your project, consider your skill level, the time you can invest, and the look you want. Use glass neon if you want an authentic vintage effect and can commit to the hours and care needed for glasswork and high-voltage wiring. Choose LED neon if you want ease, safety, lower cost, and faster assembly, especially for custom designs made at home. Mounting also differs: glass signs need secure anchors because of weight and fragility, while LED signs can often hang safely with clear fishing line or light mounts.
Wiring and Powering Your Neon Sign Safely
LED neon signs typically require a low voltage of 12V or 24V DC to operate safely and efficiently. Matching your LED neon flex with the correct power supply prevents flickering, dimming, and potential damage. Correct wiring is essential to maintain polarity and avoid shorts, while following safety practices protects you from electrical hazards.
Choosing a Compatible Power Supply
Most LED neon flex lights run on 12V or 24V DC. Check the specifications of your LED strips before selecting a power supply. Using a power supply with insufficient voltage or current can cause dimming or failure, whereas exceeding voltage might damage the LEDs.
Choose a transformer or adapter rated to deliver at least the total current your LED strips require, typically listed in amps or watts. For example, if your LED flex consumes 24 watts and runs on 12 volts, your power supply should provide at least 2 amps (since current = power ÷ voltage; 24W ÷ 12V = 2A). Selecting a slightly higher-rated power supply helps ensure stable operation and longevity.
Correct Wiring and Polarity Checks
Wiring LED neon signs involves connecting the LED strip to the power supply with attention to polarity. Positive and negative terminals on both the LED strip and the power supply must align correctly. Reversing them can damage the LEDs or prevent your sign from lighting up.
Before final installation, test your connections by temporarily attaching wires, plugging in the power supply, and powering up the sign. Look for a steady, consistent glow without flickering. Flickering or dimming often signals poor connections or reversed polarity.
- Confirm your LED neon strip’s voltage rating (12V or 24V).
- Select a power supply matching this voltage and capable of handling the total wattage.
- Identify the positive (+) and negative (-) terminals on the LED strip and power supply.
- Solder or connect wiring from the power supply’s positive to the LED strip’s positive terminal.
- Connect the negative terminals similarly.
- Temporarily power on the setup to verify the sign lights evenly with no flickering.
- Secure all connections with electrical tape or connectors rated for low-voltage use.
- Install your neon sign in its final location and screw or clip components safely in place.
Always double-check polarity before powering on. LEDs are polarity-sensitive and can be damaged by incorrect wiring.
Important Electrical Safety Precautions
Handling low-voltage wiring still requires care to prevent shocks or fire risks. Use connectors rated for your wiring gauge, and avoid exposed wires or flimsy connections. Keep your work area dry and clean.
Never exceed the power supply’s rated output or modify transformers. If unsure about wiring or electrical installations, consult a licensed electrician, especially when integrating dimmers or complex circuits.
Wear insulated gloves and switch off power when making adjustments or repairs. Ensure your transformer is properly ventilated and mounted away from flammable materials to reduce overheating risks.
Mounting and Installing Your Finished Neon Sign
Securely attaching your finished neon sign ensures it stays safe and looks professional on display. The mounting method depends largely on the type of wall or backing surface you have. For drywall or plaster, use wall anchors or toggle bolts paired with screws to hold the weight firmly. Brick or concrete surfaces require masonry anchors and a drill with a masonry bit. For wooden walls or panels, wood screws driven directly into studs or the panel offer reliable support. Avoid relying on just nails or adhesive hooks, as the weight and vibration of the neon flex can cause it to come loose over time.
Mounting your sign on a backing board offers both protection and an easy mounting surface. Clear acrylic and MDF boards are popular choices because they are sturdy and let you create clean shapes or backdrops. Acrylic adds shine and modern appeal, costing about $12 for a workable panel, whereas MDF offers a matte, rustic look at around $4. Cut your board using a craft knife or a jigsaw, shaping it to the design. Attach the neon flex strips to the board with silicone glue for a durable hold and use mounting clips every 5 to 10 centimeters along the neon path to keep the strip firmly in place.
Proper clip placement also protects the wiring and tubing. Space the clips evenly along curves and straight runs to prevent sagging or twisting, which can stress the flex and connections. Route wiring along the edge of the board or wall, securing it with cable clips to avoid accidental pulling. Keep wires away from hot areas or corners where they could get pinched. Testing all electrical connections before mounting makes troubleshooting easier if flickering occurs.
- Choose appropriate anchors for your wall type: drywall, brick, or wood
- Use 12V mounting clips spaced 5-10 cm apart along neon flex
- Secure neon flex to acrylic or MDF board using silicone glue
- Route wires neatly along edges, fixing with cable clips or zip ties
- Pre-test connections to avoid flickering after installation
- Drill mounting holes in backing board for screws or standoffs
- Consider standoffs to create a floating effect and allow airflow
Installing the sign correctly takes about 30 to 60 minutes depending on wall type and sign size. Costs include mounting clips ($3 to $5), screws and anchors ($2 to $8), and backing material ($4 to $18). Mistakes like uneven clip spacing or poor wire placement can lead to flickering, sagging neon strips, or damage to wiring. Attention to detail during mounting keeps your sign glowing brightly and looking crisp for years. Always double-check your mounting hardware rating matches the sign weight and follow electrical safety rules for powering your sign after installation.
Common Mistakes and Troubleshooting Tips
Common issues in neon sign making often stem from wiring mistakes or physical damage to the LED strips. One typical error is not aligning the wiring correctly to the LED strip pads, which can cause part of the sign to remain unlit. Each LED segment should be at least 3cm long because these segments have specific soldering pads designed for electrical connections. Applying power to segments without proper connection will result in dead sections. To avoid this, carefully double-check solder points and ensure connections are secure and properly insulated.
Testing power and wiring faults involves using a multimeter to check continuity along the LED strip. Set your multimeter to the continuity mode and touch the probes to the beginning and end of the strip’s wiring. A continuous beep means the wiring is intact. When there’s no sound or a reading of infinite resistance, you’ve found a break in the circuit. Also, test your power supply by measuring its output voltage to confirm it matches the LED strip’s requirements, commonly 12V or 24V DC. Incorrect voltage can cause the entire sign to fail or parts to flicker.
Physical damage, such as bends that are too sharp or broken strips, is another common problem. LED neon strips are flexible but have limits; sharp bends can break the internal circuitry, causing sections to stop working. Maintain gentle curves with at least a 1-inch radius to avoid damage. When a strip breaks, replace the damaged segment rather than trying to reconnect broken traces, as this often leads to unreliable results.
A troubleshooting checklist can help fix problems systematically. First, verify that the power supply is connected and functioning. Next, inspect all solder joints for cold or loose connections. Use the multimeter to check for continuity along each section of the LED strip. When you find any breaks, replace or carefully resolder those parts. Ensure no wires are touching in a way that could cause short circuits. Also, confirm polarity is correct since LEDs will only light when powered in the right direction.
Good results mean a neon sign with all LEDs lighting evenly without flickers or dark spots. After fixing wiring and testing power, try powering the sign briefly to observe for issues such as dim segments or overheating. Overheating can signal incorrect voltage or wiring errors. Avoid working on or near the sign while powered, and always disconnect power when making adjustments. Taking these precautions prevents damage and keeps your DIY neon sign safe and reliable during its life.
When to Choose Professional Neon Sign Makers
Professional neon sign makers are best for projects involving complex shapes, large sizes, or traditional glass bending that requires precision and high heat. Safety is a big factor since working with glass tubing and electrical components poses real risks. When your design goes beyond basic DIY skills or you seek a sturdy, factory-quality sign, hiring a professional saves time and lowers risks.
Complexity and Safety of Glass Neon Bending
Bending glass tubes for traditional neon signs involves heating the tubes to about 1000°F to soften the glass, then carefully shaping it by hand. This process demands steady skill and safety equipment to avoid burns, glass shards, or gas leaks. Most DIY neon signs avoid this by using flexible LED neon alternatives or prefabricated tubing, which don’t need heating or gas filling.
Complex designs with tight bends and intricate lettering can be difficult or impossible to replicate safely without professional training. A professional maker will use specialized equipment and handle the installation of electrodes and neon or argon gases inside the tubes. These tasks carry electrical and chemical risks that exceed common DIY project safety levels.
Attempting to bend hot glass without proper tools and ventilation can cause serious injury and damage to your workspace.
Project Size and Skill Requirements
Small, simple signs typically can be completed in 3 to 6 hours at home using LED neon flex or no-solder assembly kits. These materials are designed for beginners and offer a lower-cost entry to neon-style décor. Larger or multi-piece signs increase material complexity and assembly time, making professional services more efficient.
Professional shops usually deliver custom signs within 1 to 2 weeks, balancing thorough quality control and precise electrical work. Their products often come with warranties lasting 1 to 2 years. DIY signs have no warranty and depend heavily on your careful construction. Choosing a professional is advisable if your sign exceeds roughly 2 feet in length or requires multi-color lighting, where consistent brightness and durability matter.
Evaluating Your Comfort Level and Risks
You should assess your personal skill level with electrical wiring and the physical handling of materials before starting. Many DIY neon sign projects eliminate soldering and glass bending, limiting risk, but any electrical component still requires care to prevent shocks and fire hazards. Low comfort with these tasks or a workspace missing proper ventilation and fire safety calls for professional assistance.
Consider your timeline and budget as well. DIY kits typically cost £30 to £80 but may need redo time if mistakes happen. A professional sign ranges from £100 to over £300 but comes with a factory finish and reduced risk of failure. The decision depends on your willingness to invest time and learn, balanced against your tolerance for safety risks and desired quality.
Your Step-by-Step Neon Sign Action Plan
Follow this plan to create your neon sign from design to installation while keeping safety in check.
- Before you start: Choose your design and select suitable materials, deciding between LED or glass neon based on your skills and space.
- Day 1: Gather all tools and materials listed for your chosen type to avoid delays during crafting.
- Day 2-3: Create your neon tubing or set up LED strips according to instructions and confirm the shape fits your design template.
- Day 4: Begin wiring the sign carefully, following safety guidelines to ensure secure connections and functioning power supply.
- Day 5: Test the sign with power on; the light should be steady with no flickering or unusual heat.
- Day 6: Mount your sign using appropriate hardware, making sure it is centered and stable on your desired surface.
- Day 7: Double-check all connections and mounting stability before final use to prevent electrical or physical hazards.
Frequently Asked Questions
Can I Use LED Neon Tubing to Create Curved Shapes Easily at Home?
Yes, flexible LED neon tubing is designed for smooth curves, simplifying the process for beginners. You can achieve clean bends without special tools, making it ideal for DIY neon signs.
What Safety Precautions Should I Take When Working with Traditional Glass Neon Tubes?
Handle glass tubes carefully to avoid breakage and injury. High voltage operation requires secure, insulated electrical connections to prevent shocks or fires. Always work in a well-ventilated area and consider consulting a professional for complex wiring.
How Can I Reduce the Cost of Making Custom Neon Signs?
Using LED neon signs can cut costs by about 50% compared to store-bought options. DIY kits and LED tubing are more affordable and don’t require expensive tools, offering savings on both materials and maintenance.
What Tools Are Best for Cutting Acrylic Boards for Neon Sign Backings?
A few options work well, including laser cutters, jigsaws, and scoring knives. Each produces different edge styles and finishes, so choose based on your sign design and available equipment. Practice cuts improve precision and reduce material waste.
Is Making a Neon Sign a Good Gift Idea for a Wedding or Special Occasion?
Yes, handmade neon signs are popular, especially for weddings, providing a personal and creative gift. They add a unique decorative touch and can be customized with names, dates, or messages that guests will remember.
How Long Does It Typically Take to Receive a Custom Handmade Neon Sign After Ordering?
Handmade signs usually take 1-3 days to produce, with delivery spanning 2-3 weeks. Emergency ordering options might be available; check with the seller’s shipping policy for details and faster delivery options.
Before You Go
Making your own neon sign is achievable with careful planning and attention to safety. Start by choosing a simple design and gathering the right tools for your preferred neon type. That first power-on test will show you whether your work lights up the way you imagined, so make sure to verify it early. Once you see your sign shining, the next step is mounting it securely, so it’s ready to brighten your space or project.

