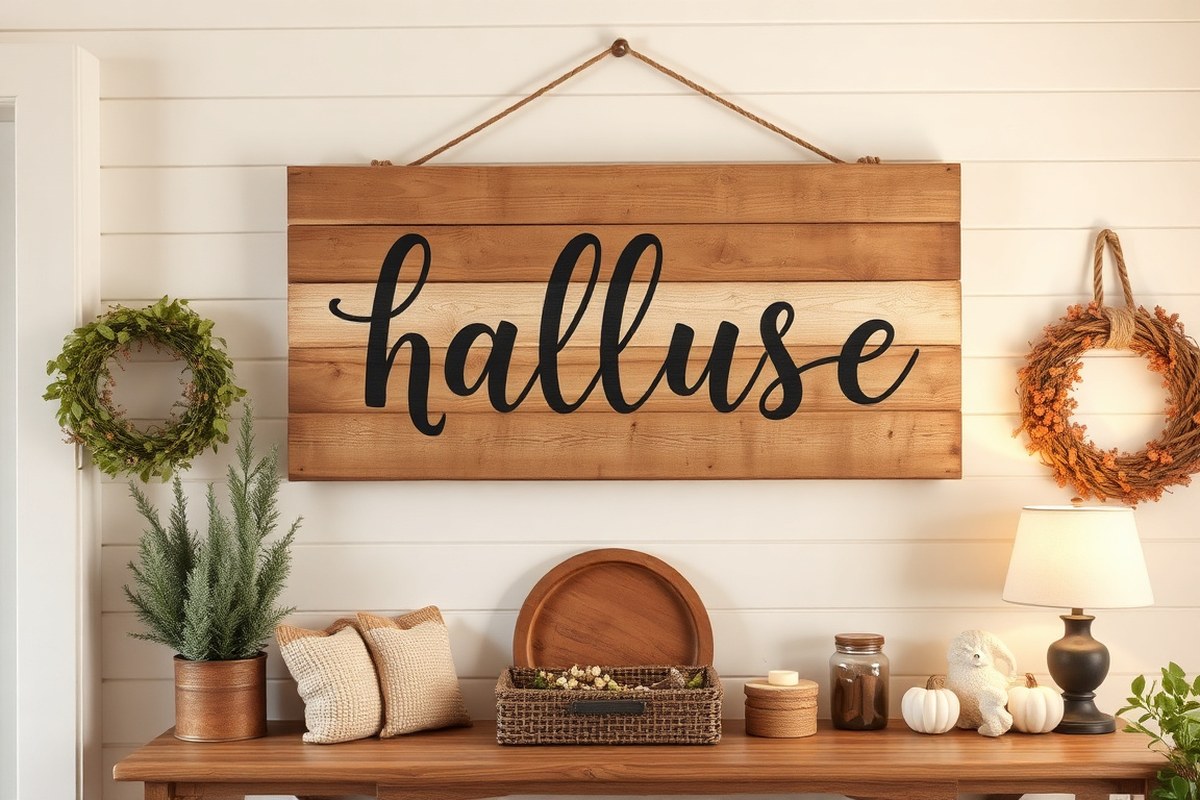
Wood Pallet Sign Ideas: Creative DIY Designs and Expert Crafting Tips
Wood pallet sign ideas offer a simple way to add rustic charm and personal style to your home without spending much. Using repurposed pallet wood, you can create unique, handcrafted signs that fit any room or occasion. Start by selecting clean, safe pallet wood to ensure your project is durable and visually appealing.
Key Takeaways
- Choose pallet wood carefully, avoiding those treated with harmful chemicals or containing nails.
- Remove all nails and separate pallet boards for smooth, workable wood pieces.
- Use sanding to prep wood surfaces, ensuring paint or stain adheres properly.
- Combine painted lettering with 3D elements for an eye-catching pallet sign design.
- Seal finished signs with outdoor-grade sealers to protect against weather damage.
- Hang signs securely using hardware appropriate for the wall type to prevent falls.
What Are Wood Pallet Signs and Why Use Them?
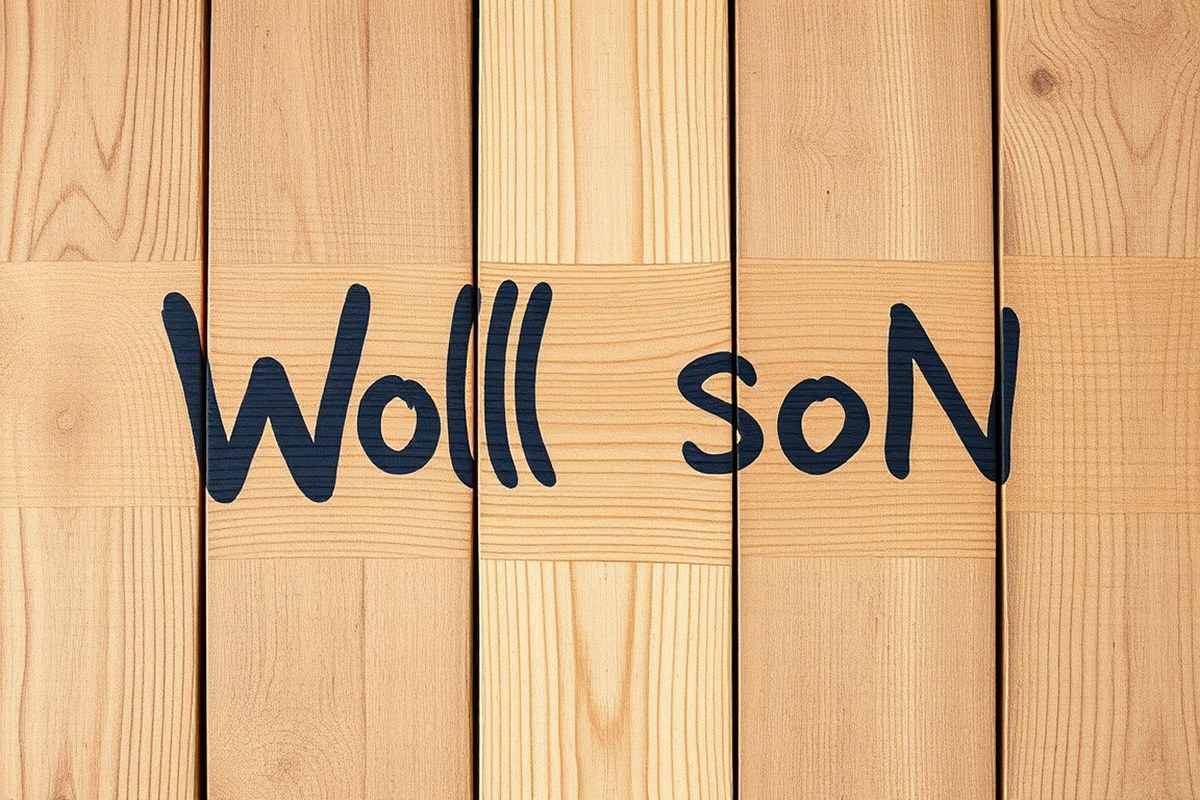
Wood pallet signs are decorative pieces made by repurposing wooden pallets or their boards into flat surfaces for painting, staining, or attaching letters and graphics. These signs often feature rustic designs, personalized messages, or themed art, making them perfect for indoor or outdoor home decor. You can create them by breaking down pallet wood into planks, arranging and securing them together, and then finishing with your chosen design. This process typically uses tools like a saw, drill, screws, and paint or stain, along with about a few hours of work depending on design complexity.
Choosing pallet wood for signs comes with several advantages. Pallets are widely available, often at low or no cost, making this an affordable material choice compared to purchasing new lumber. The wood usually has a weathered look that adds character and warmth to the sign’s appearance without extra finishing work. Pallet wood is sturdy and easy to work with once cleaned and sanded properly. It’s also eco-friendly since repurposing wood helps reduce waste and supports sustainable crafting.
Many people gravitate toward pallet signs because they’re accessible even for beginners. The wood’s uneven texture and visible grain give each sign a unique, handcrafted feel that machine-made decor can’t match. The project can be as simple or detailed as you like, from basic stenciled words to intricate layered designs, which lets you customize the sign to fit your style and space. Plus, pallet signs fit well with popular home decor trends like farmhouse, rustic, or shabby chic, helping you create a cozy and inviting atmosphere.
Making a wood pallet sign usually costs under $20 if you source pallets for free and only need basic supplies. Some people invest in better paints or sealants, which might increase the price slightly, but you still avoid the cost of buying pre-made signs. Good results come from selecting wood with minimal damage, sanding smooth to avoid splinters, and sealing the finished piece to protect it from moisture if placed outdoors. Problems can arise if the wood is chemically treated or contaminated, so it’s important to use safe, unused pallets and clean the wood thoroughly before starting your project.
With these points in mind, a wood pallet sign offers a rewarding DIY option that balances cost, creativity, and style. Its popularity stems from how easy it is to transform simple wood planks into personalized art that improve your home’s decor with warmth and authenticity. Whether highlighting a favorite quote, welcoming guests, or marking special occasions, these signs add a distinctive touch that reflects your personal taste.
Choosing the Right Pallet Wood and Preparing It Safely
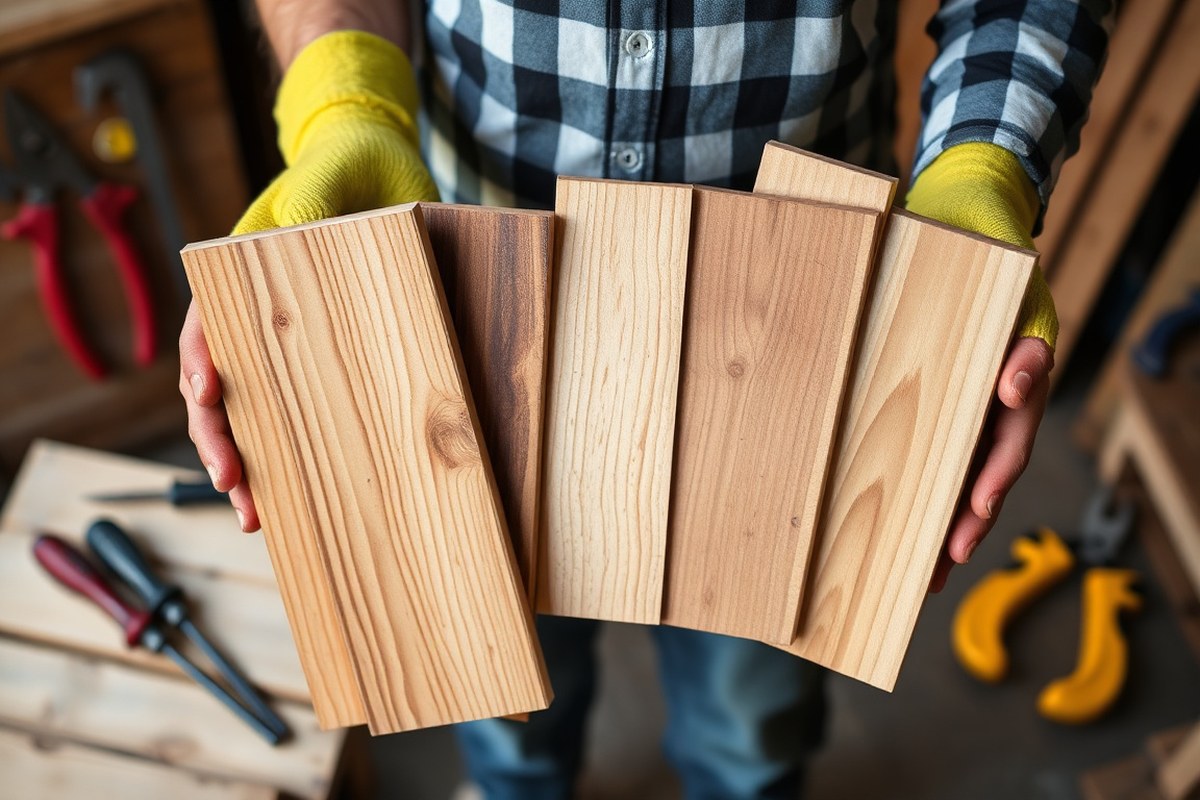
You should avoid using just any pallet wood for your sign. Look for pallets stamped with safe treatment marks and avoid those exposed to chemicals or heavy loads. Preparing the wood correctly includes careful disassembly, cleaning, sanding, and drying to ensure your sign is both attractive and safe to display indoors or outdoors.
Safety Considerations When Choosing Pallets
Not all pallets are safe for crafting signs due to differences in treatment and previous use. Check for the International Plant Protection Convention (IPPC) stamp on the pallet, which indicates the wood’s treatment method. Pallets marked “HT” (heat treated) are generally safe, while those with “MB” (methyl bromide) indicate toxic chemical treatment and should be avoided. Also, steer clear of pallets that show signs of chemical spills, contaminants, or heavy soiling.
Choosing pallets from clean, food-grade environments or warehouses is ideal. Avoid pallets used to transport industrial goods, chemicals, or pesticides. Proper selection reduces health risks and helps your sign last longer.
Steps to Disassemble Pallets for Usable Boards
Taking apart pallets properly preserves the wood quality and reduces damage. Use basic tools like a pry bar, hammer, and saw. Remove nails carefully to prevent splitting the wood or injury.
- Place the pallet on a stable, flat surface.
- Use a hammer or pry bar to loosen the deck boards gently from the stringers.
- Work from one end to the other, prying slowly to avoid splitting the boards.
- Remove nails with a nail puller or claw hammer.
- Cut any damaged or unusable sections off using a saw.
- Sort and select boards that are straight, with minimal cracks and no rot.
- Dispose of broken or heavily stained wood responsibly.
Take your time disassembling to keep boards intact and avoid injury from flying nails.
Cleaning, Sanding, and Drying Pallet Wood Properly
Cleaning pallet wood removes dirt, mold, and potential allergens. Begin by brushing off loose debris with a stiff broom or wire brush. Then wash the boards with warm water and mild soap or a diluted vinegar solution. Let the wood dry fully in a warm, ventilated area to prevent warping and mold growth.
After the wood is dry, sand it thoroughly starting with medium-grit (80-120) sandpaper and finish with fine-grit (150-220) to smooth splinters and rough edges. Sanding also helps paint or stain adhere better. Wear a dust mask during sanding to avoid inhaling wood dust.
Design Ideas and Methods for Creating Pallet Signs
Pallet signs offer a wide range of design options, from simple lettering to intricate decorative touches. Deciding on the style involves choosing how to apply letters or images, as well as whether to add three-dimensional or textured elements. Your choice depends on the look you want, your comfort level with tools and techniques, and the setting where the sign will be displayed.
Hand Painting vs Stencils vs Vinyl Decals
Hand painting allows full creative freedom but requires steady brush control and patience. You can freehand script or block lettering, or paint detailed images that fit your chosen theme. For best results, use acrylic paint and seal with a clear coat. If you’re not confident in freehand skills, stencils or printable templates are helpful. Print the letters or design, cut out the shapes, then trace and fill in with paint. Stencils provide clean, consistent lines and speed up the process, especially when creating multiple signs. Vinyl decals offer an easier option for sharp lettering and complex images. These peel-and-stick designs can be made at home with a vinyl cutter machine or purchased pre-made. Vinyl lasts well outdoors if applied on smooth wood and top-coated with sealer. The tradeoff is less handmade character compared to painting, but the application is quick and mess-free.
Choosing between these methods depends on your skill and tools. Use hand painting or stencils for a rustic, handmade look that embraces slight imperfections. Vinyl works well for modern, polished signs or when replicating the same message on several pieces. Stencils usually cost under $10 per set, paint under $5 for a small project, and vinyl machines start at $150 but can be shared among crafters.
Incorporating 3D and Decorative Elements
Adding three-dimensional details can transform a flat pallet sign into a striking piece. Nail string art is one popular method: outline a design by hammering nails in a pattern and wrapping string or twine to fill or accentuate shapes. This technique fits rustic or farmhouse styles and takes time for correct tension but delivers a tactile effect. Other 3D options include attaching small wooden shapes, metal accents, or dried flowers with glue or small nails for wedding signs or seasonal décor.
Decorative elements like twine borders or LED lights can improve the style and function. Twine wrapped around the edges complements rustic and beach themes, while small battery-powered lights around the frame turn a sign into glowing art that stands out in darker rooms or outdoor settings. Choose decorations that won’t add excessive weight if you plan to hang the sign. Keep materials weather-resistant if used outdoors.
Creative Themed Designs: Seasonal, Weddings, and More
Personalizing pallet signs by season or occasion is common. For holidays like Christmas or Valentine’s Day, classic words like “Welcome,” “Joy,” or “Love” in cursive scripts make inviting focal points. Use traditional reds and greens or soft pastel paints. Wedding signs often feature names and dates with elegant serif or script fonts, sometimes combined with floral 3D additions or delicate string art hearts. For fall, a pallet sign with “Gather” or “Thankful” painted in warm tones fits dining areas.
Templates for these themes are widely available online. Print one matching your palette and size, then trace with your chosen method. When crafting a sign for a workspace or craft room, consider motivational sayings or tool silhouettes. Mini pallet signs can be great gifts by customizing initials or short messages in styles your recipient prefers. To keep costs low, focus on paint and minimal decorations; budget $5, 15 for materials per small sign. Adjust complexity and size for different rooms or events to keep each sign unique and appropriate.
Best Painting, Staining, and Sealing Techniques for Durability
Choosing the right paint or stain and properly sealing your wood pallet sign is key to both preserving its rustic charm and ensuring it lasts. Acrylic paint works well for indoor pallet signs, offering vibrant colors and easy cleanup. For signs exposed to outdoor elements, outdoor paint or a quality wood stain adds needed protection against moisture and UV damage. Stains soak into the wood, highlighting its natural grain and texture without hiding imperfections. Paint, by contrast, offers a more uniform finish and stronger color options but can peel over time if not sealed correctly.
| Finish Type | Best Use | Application Tool | Protection Level | Appearance | Typical Cost |
|---|---|---|---|---|---|
| Acrylic Paint | Indoor signs | Brush or roller | Moderate (needs sealer outdoors) | Opaque, colorful | $5-$10/quart |
| Outdoor Paint | Outdoor signs | Brush, roller, or sprayer | High | Opaque, durable | $10-$20/quart |
| Wood Stain | Natural look; both indoor & outdoor | Cloth or brush | Moderate to High (depends on sealer used) | Translucent, shows wood grain | $7-$15/quart |
| Matte Sealer | Preserving a rustic look | Brush or spray | Protects from moisture, UV | Flat, low shine | $10-$15/quart |
| Glossy Sealer | Brightening colors, easy cleaning | Brush or spray | Protects from moisture, UV | Shiny, reflective | $12-$20/quart |
Focus on even application to avoid blotches and streaks, especially with rustic, uneven pallet wood. For painting, lightly sand the pallet surface first with 120-grit sandpaper to reduce splinters and rough edges. Use a brush to push paint into cracks, followed by a small roller or foam brush for flat areas. Apply two thin coats rather than one heavy coat; each coat should dry for 2 to 4 hours. For staining, use a clean cloth or brush to apply with the grain, wiping off excess stain after a few minutes to prevent tackiness. Let stains dry for 24 hours before sealing.
Sealing your finished wood pallet sign extends its life by protecting it from water, dirt, and sun damage. A matte sealer keeps the natural, rustic look intact, while a glossy sealer adds shine and makes cleaning easier but can highlight surface imperfections. Apply a clear sealer with a brush or a spray, covering all edges and corners. Allow 24 hours of drying time before hanging or placing the sign. In most cases, applying two coats of sealer ensures even coverage and better durability.
Step-by-Step Guide to Assembling and Hanging Pallet Signs
Assembling a wood pallet sign means securely joining boards and hanging them to suit your space with lasting support. Focus on solid back braces, reliable fasteners, and appropriate hanging hardware for stability whether indoors or outdoors. Careful preparation during assembly prevents warping and ensures your sign stays attractive over time.
Tools and Materials for Assembly
You’ll need a few essential tools and materials to put your pallet sign together. Gather 1×4 or 1×6 pallet boards, two back braces (e.g., 1×3 lumber), a drill or hammer, wood screws or nails, a level, sandpaper, and protective gloves. For hanging, select hardware based on wall type, D-rings, keyhole hangers, or heavy-duty hooks work best.
Vinyl letters or paint for the design can be added after assembly. Having a speed square and measuring tape ensures precise alignment. Costs vary but expect roughly $10 to $20 for fasteners and braces if you already have basic tools at home.
Joining Pallet Boards Securely
Securing pallet boards side-by-side requires two back braces to hold everything stable and flat. These braces should be slightly shorter than the sign width to avoid showing on the front. Using wood screws is often better than nails for extra strength and longevity. Wood glue can add hold but fasteners bear most of the weight. Follow these steps to assemble your pallet sign:
- Lay your pallet boards flat with the decorative side down on a work surface.
- Place the two back braces horizontally across the boards, about 3 to 4 inches from the top and bottom edges.
- Clamp the braces in place to prevent slipping while fastening.
- Pre-drill holes to avoid wood splitting.
- Attach the braces to the pallet boards using 1¾-inch wood screws, spacing screws 6 to 8 inches apart along each brace.
- Flip the assembled sign over and sand edges and surface to smooth any rough spots.
- Apply your chosen paint or stain after sanding.
Use screws instead of nails when possible to keep the boards tightly joined and resist pulling apart over time.
Hanging Techniques for Different Wall Types
Match your sign’s weight and wall material to the right hanging method for security and safety. On drywall, heavy-duty anchors paired with screws are best for signs over 5 pounds. For brick or concrete, use masonry anchors and screws with a drill bit designed for masonry.
Indoors on wood studs, fastening with wood screws through D-ring hangers or keyhole slots offers strong support. Outdoors, stainless steel or galvanized screws and rust-resistant hardware prevent corrosion. Heavy pallet signs often require two hanging points spaced evenly to maintain balance and reduce strain on any single hanger.
Always check the weight rating of hanging hardware and choose anchors or hooks rated above your sign’s total weight to avoid falls.
Creative Wood Pallet Sign Ideas for Different Rooms and Occasions
Wood pallet signs can be tailored for any room in your home or special occasion by choosing the right message, style, and size. For kitchens, a simple “Gather” or “Family Recipes” sign made from two smooth pallet wood planks painted white works well on a small scale, adding rustic charm without overwhelming the space. On the porch, a welcoming “Welcome” sign with natural or lightly stained wood can be paired with seasonal accents like flowers or pinecones. In a home office, a personalized motivational quote or your name painted in bold letters provides a warm, creative touch that inspires during work hours.
Seasonal or holiday-themed pallet signs bring festive spirit indoors and outside. Crafting a multi-panel sign for large spaces can create an eye-catching design, such as a fall-themed phrase spanning three vertical boards or a Christmas countdown calendar. Use stencils or freehand paint with contrasting colors to make lettering stand out. For example, write “Home for the Holidays” in red and green on natural wood, or “Happy Fall Y’all” paired with painted leaves. Finish with a clear weatherproof sealant if it will be displayed outside.
Mini pallet signs are ideal for personalized gifts or special events like weddings and birthdays. Making a small sign about 6 by 8 inches with a loving message such as “Love Grows Here” or “Forever Starts Today” conveys emotion in a handcrafted way. Combining pallet wood with decorative features like small hooks for keys or ribbons for hanging adds function and flair. These mini signs are budget-friendly and can be completed in a few hours, including drying time for paint and sealant.
Large or multi-piece projects offer a bold statement. Creating a pallet sign with several planks joined together allows you to design long quotes or detailed images. You can arrange separate boards in a grid or row, spacing them evenly using furring strips attached at the back. This technique prevents warping and improves durability. Applying the same color scheme across all pieces unifies the look, making it ideal for focal walls or outdoor displays. Keep in mind that larger signs require more wood, paint, and drying time, increasing costs and effort.
- Kitchen: “Gather” or “Family Recipes” on smooth, white-painted pallet wood
- Porch: “Welcome” on natural or lightly stained pallets with seasonal decor accents
- Home Office: Motivational quotes or personalized names in bold paint
- Seasonal/Holidays: Multi-panel “Happy Fall Y’all” with painted leaves or Christmas countdown
- Gifts/Events: Mini signs (6×8 inches) with messages like “Love Grows Here” or “Forever Starts Today”
- Large Projects: Multi-plank signs joined with furring strips for long quotes or images
Templates for signs can be made using graph paper to plan spacing and lettering size, or printable stencils can be found online. For a typical 12 by 24-inch sign, letters about 3 to 4 inches tall are easily readable. Paint with acrylic or exterior latex paint, which dries in 1 to 2 hours, then seal with polyurethane or outdoor sealer for lasting protection. Expect to spend $10 to $40 on materials per sign depending on size and complexity. Successful signs show even paint coverage, clear lettering, and a smooth finish. Problems like bleed-through or splintering happen if the wood isn’t properly sanded or sealed before painting.
Common Mistakes When Making Pallet Signs and How to Fix Them
Using untreated or rough pallet wood often leads to uneven surfaces that warp or crack over time, which hurts both the look and durability of your sign. Sand all pallet boards smooth with medium-grit sandpaper before assembly. This prevents splinters and creates a better base for paint or stain to stick. Sealing the wood with a clear outdoor varnish after painting is key to avoiding peeling and fading caused by moisture and sunlight.
Uneven signs usually happen when the pallet slats don’t line up properly or are nailed at different heights. To fix this, clamp the wood pieces together tightly during assembly and pre-drill holes for nails or screws to avoid wood splitting. Using a carpenter’s square helps keep corners true and slats level. If your sign is already uneven, lightly sanding high spots and filling small gaps with wood filler before repainting can improve the finish.
Painting mistakes like bubbles, streaks, or peeling often come from applying paint too thickly or not letting each coat dry fully. Use thin, even coats and follow the paint manufacturer’s recommended drying times. Acrylic paint designed for wood is a good choice for pallet signs, since it resists cracking as the wood expands and contracts. A primer suited for wood also improves adhesion and longevity.
- Check each pallet board for nails or staples before sanding and assembling to avoid tool damage.
- Apply wood conditioner if your pallet wood is soft or porous to ensure even stain absorption.
- Use weather-resistant screws instead of nails to add stability and allow easier future repairs.
- Hang your sign using sturdy hooks or brackets rated for the sign’s weight to prevent falling damage.
- Level your sign with a bubble level or smartphone app before final mounting.
- Seal outdoor signs with marine-grade varnish to protect against rain and UV rays.
- Allow at least 24 hours for paint and stain to dry fully between coats for best results.
Issues during hanging often relate to failing anchors or uneven mounting surfaces. When attaching your pallet sign, use wall anchors suitable for your wall type, drywall anchors for drywall, masonry anchors for brick or concrete, to keep the sign secure. Avoid hanging heavy pallet signs on thin nails or adhesive hooks. Test the sign’s balance before final fixing and adjust by adding shims behind corners as needed for a flush fit.
Small fixes like sanding rough edges or touching up paint chips can extend the life of your wooden pallet signs. Taking time to address these common pitfalls ensures your project looks professional and lasts longer, preserving your creative effort against everyday wear and weather effects.
Maintaining and Protecting Outdoor Pallet Signs from Weather
Protecting outdoor pallet signs from rain, sun, and temperature changes is key to keeping them looking good over time. Water can cause wood to swell, warp, or rot, while sun exposure fades paint and dries out the wood, leading to cracks. To prevent this, apply a weatherproof sealer designed for exterior wood, like a high-quality spar urethane or exterior-grade polyurethane. These create a protective shell against moisture and UV rays. Choose a product labeled for outdoor use that promises UV protection. Expect to spend around $15 to $30 for a quart, which will cover several signs depending on size.
Start by cleaning and sanding your pallet sign to remove dirt and smooth the surface. Apply at least two thin coats of sealer with a brush, letting each coat dry fully according to the manufacturer’s instructions, usually 4 to 6 hours. Avoid sealing on very hot or humid days to ensure proper drying. For the best results, choose a product that remains flexible, so it moves slightly with the wood and resists cracking.
Inspection and maintenance every 12 months help extend your sign’s life. Look for areas where the finish has worn away or signs of wood discoloration. Reapply the sealer thinly to maintain protection. In harsher climates with heavy rain or intense sun, check twice a year. Without maintenance, paint can peel and wood can decay within 2 to 3 years, depending on location and exposure.
If you want extra protection, consider placing your pallet sign in a spot shielded from direct rainfall and sun, such as under an overhang or porch. Adding a waterproof backing, like exterior-grade plastic, glued behind the wood can block moisture from seeping through. Raised mounting with standoff brackets also allows air circulation behind the sign, speeding drying after rain and reducing rot risk.
A less common alternative is treating the wood with penetrating oils like teak or linseed oil before sealing. This saturates the fibers to repel water internally. However, oils require more frequent reapplication, every 6 months, and are less effective against UV damage compared to solid sealers.
Always follow label instructions for coverage and drying time when applying sealers to ensure the longest-lasting finish.
Step-by-Step Action Plan for Your Wood Pallet Sign Project
Follow these steps to make a beautiful and durable wood pallet sign you can proudly display anywhere in your home.
- Day 1: Select and inspect your pallet wood. Look for smooth, sturdy boards free from rot or pests. Your wood is ready if it feels solid and dry.
- Day 2: Prepare the wood. Sand all surfaces and edges thoroughly, then wipe down to remove dust. The wood should feel smooth with no splinters.
- Week 1: Choose and finalize your design. Sketch or print your sign layout, deciding on text and any decorative elements. Confirm your design looks balanced on paper or screen.
- Week 1: Apply paint or stain. Use your chosen finish evenly, allowing proper drying time between coats. The wood should have a consistent color and sheen once dry.
- Week 2: Add lettering or artwork. Use stencils or freehand paint your design carefully. The design is ready when edges are clean and details clear.
- Week 2: Seal your sign. Apply a weatherproof sealer if the sign will be outdoors. The surface should feel slightly slick or matte depending on your sealer type.
- Week 3: Assemble and hang your sign. Attach any backing or hanging hardware securely, then mount your sign on the chosen wall. Check that it is level and stable.
Frequently Asked Questions
What Type of Wood Is Best for Pallet Signs?
Pine and oak are common choices due to durability and ease of painting. Choose wood free of chemicals and damage for safety and longevity.
Can I Add 3D Elements to a Pallet Sign?
Yes, adding 3D elements like leather strips or metal accents can make your sign more eye-catching. Use strong adhesives or screws for secure attachment.
How Do I Safely Prepare Pallet Wood for Crafting?
Always clean and sand pallets thoroughly to remove dirt and splinters. Check for nails or staples to avoid injury during handling and assembly.
What’s a Simple Way to Seal My Pallet Sign for Outdoor Use?
Use a clear polyurethane sealant to protect against weather. Apply multiple coats, allowing drying time between layers, for better durability.
How Do I Hang a Large Pallet Sign Securely?
Use strong wall anchors or screws that fit your wall type. Hanging with a frame or sturdy wire helps distribute weight evenly and prevents damage.
Can I Combine Several Pallet Boards for One Sign?
Yes, joining multiple boards with wood strips or battens creates a larger canvas. Clamp and screw pieces together for a flat, sturdy surface to paint or stain.
The Bottom Line
Creating your own wood pallet sign combines creativity, practicality, and charm to add unique style to any space. Picking one clear project goal and completing each step carefully leads to a sign you’ll enjoy for years. Make your sign stand out by starting now with your chosen design and wood, and build your skills as you go.