Reverse Canvas Sign Ideas with Creative Designs and Easy DIY Steps
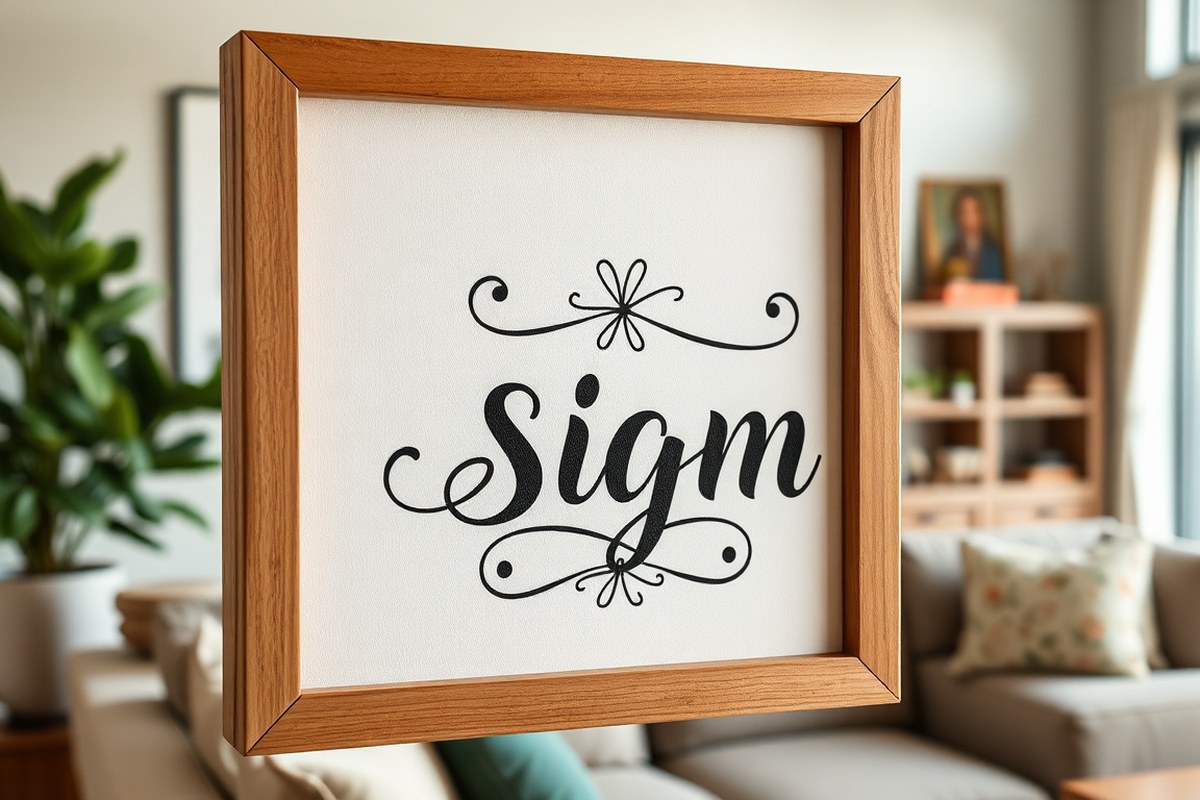
Reverse canvas sign ideas offer a creative way to turn ordinary art canvases into personalized home decor. By removing the canvas from its wooden frame and flipping it inside out, you can create unique signs with custom designs using paint or vinyl. Starting with an inexpensive 8×10 canvas can keep costs low while giving you a versatile base to experiment on.
Key Takeaways
- Remove the canvas from the wooden frame carefully to preserve both components for reuse.
- Use heat transfer vinyl or acrylic paint for vibrant, lasting designs on the reversed canvas surface.
- Choose a simple family or friends quote as a starting design to personalize your canvas sign easily.
- Secure the canvas back to the frame with a staple gun or small nails to maintain tension and durability.
- Prepare your materials beforehand to keep the project organized and efficient from start to finish.
- Experiment with different font styles or hand-lettered designs for a unique homemade effect.
What Is a Reverse Canvas Sign and How Does It Work?
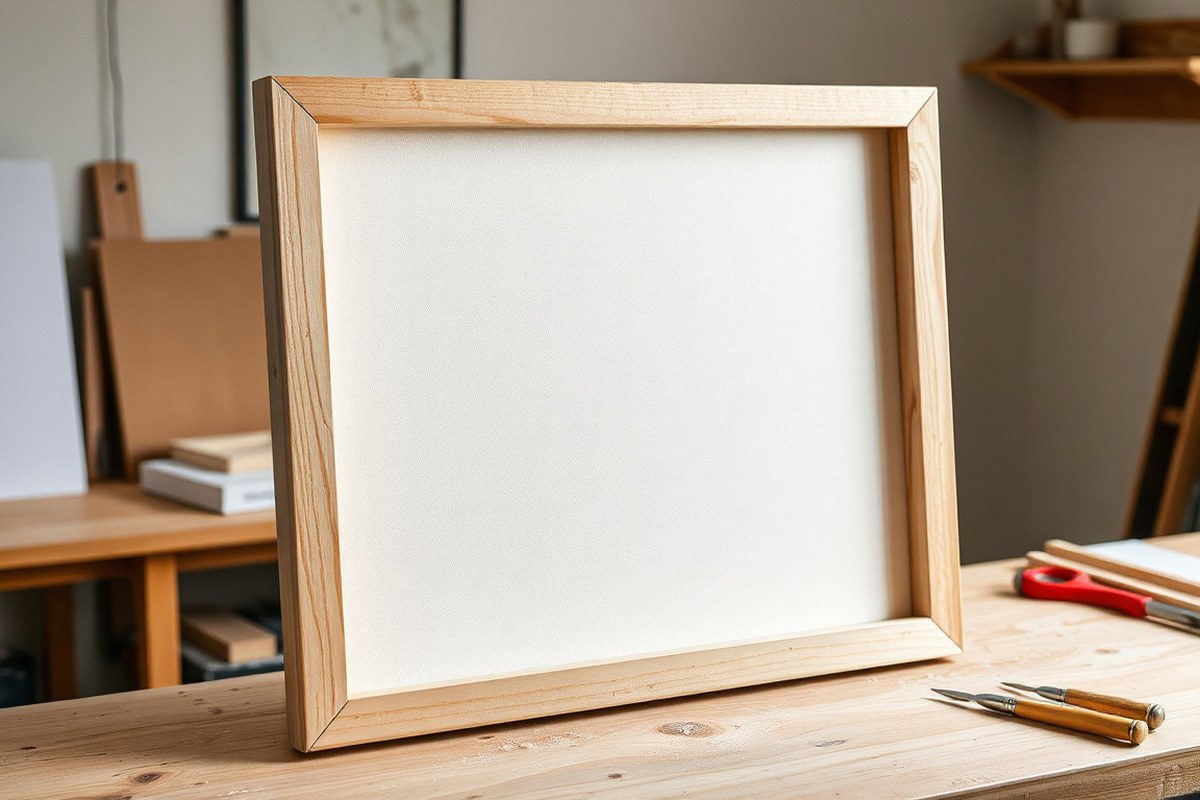
A reverse canvas sign is a unique type of wall art created by taking a pre-stretched canvas, carefully removing it from its wooden frame, and then flipping the canvas inside out before reattaching it. This process exposes the back side of the canvas as the front surface for your design, offering a textured and rustic look that differs from traditional canvas art. Instead of the smooth front that faces outward in usual paintings, the reverse canvas shows the raw fabric and sometimes the wooden frame itself as part of the piece, adding depth and character to your decor.
The reverse canvas technique changes the typical way a canvas sign is made by flipping the canvas so the painted or primed back side becomes visible. The original canvas front, which is intended for artwork, is now tucked inside toward the frame, hidden from view. This means you start with a blank canvas on both sides but intentionally reveal the back, which is often unprimed and textured. After removing the canvas from the frame using a staple remover or flat tool, you flip it around, then staple it back onto the frame stretched tightly, making the wooden stretcher bars part of your final display. This method creates a natural border effect from the frame’s side, which is sometimes stained or painted for a complementary look.
This DIY reverse canvas approach is popular because it requires basic supplies and can be done in just one afternoon. You only need a stretched canvas (commonly 16 x 20 inches or similar sizes, costing roughly $5 to $10), a staple remover, staple gun with staples, scissors, and your preferred decorating materials such as paint, vinyl decals, or stencils. The process doesn’t demand specialized tools like cutting machines, making it accessible for beginners and crafters who want to create farmhouse-style or personalized signs. Besides affordability and accessibility, the aesthetic appeal of its raw edges and visible wood frame make it a trendy choice for home decor enthusiasts.
Good results come from neatly removing all the staples without tearing the canvas and then evenly pulling the fabric tight when reattaching it. The tension must be uniform to avoid wrinkles or sagging, which can ruin the clean, crisp view you want on the sign’s surface. Some variations include leaving the canvas plain for painting or adding vinyl lettering or designs on the now-exposed back side. If you plan to display the sign freestanding, the frame’s sturdiness matters; some makers add a wooden base or stand for stability. Seasonal projects often use inexpensive canvases and minimal decoration to swap out easily for new décor.
Common issues involve accidentally ripping the canvas while pulling it off or uneven stapling that distorts the fabric. The canvas should also be fully dry if painted before reassembling, as moisture can loosen staples. While prices vary based on canvas size and supplies, this method remains budget-friendly compared to buying custom or pre-made signs. It offers a hands-on, creative way to personalize your space with custom wall art that looks professionally designed but costs a fraction of similar home decor pieces.
Step-by-Step Guide to Making a Reverse Canvas Sign
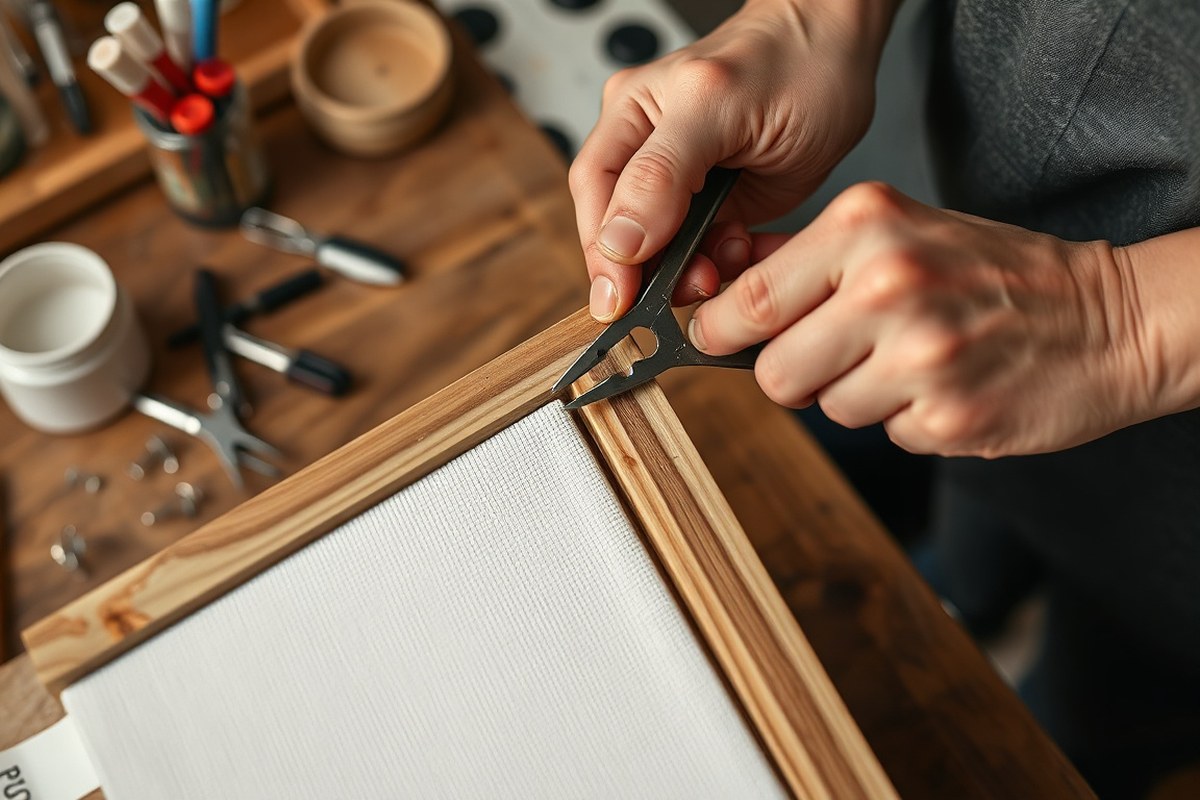
Making a reverse canvas sign involves carefully removing a canvas from its wooden frame, decorating the front, and then reattaching the canvas to the back of the frame to create a rustic, dimensional sign. The process requires precise steps to avoid damaging the materials and ensure a secure finish. This step-by-step guide will walk you through the tools needed, how to remove and prep the canvas and frame, apply decorations, and reassemble your project.
Tools and Materials Required
You’ll need a few basic tools to complete your reverse canvas sign project. Most of these can be found at craft stores or home improvement centers, with many supplies costing just a few dollars each. Prepare the following for a smooth crafting experience:
- Painter’s canvas with wooden frame
- Staple remover or flat-head screwdriver
- Pliers for pulling staples
- Hot glue gun and glue sticks
- Scissors or sharp craft knife
- Paint or vinyl for decorating
- Paintbrushes or applicators
- Measuring tape or ruler
- Velcro picture hanging strips (optional, for display)
- Sanding block or fine sandpaper (optional)
Removing and Prepping the Canvas and Frame
Removing the canvas from the frame must be done carefully to avoid ripping the material or damaging the wood. Prepping the canvas and wood frame properly provides a clean surface for your design and ensures a polished final product.
- Lay the canvas face down on a flat surface with the wooden frame facing up.
- Use a staple remover or flat-head screwdriver to gently pry up staples along each side of the frame that secure the canvas.
- Remove all staples using pliers if needed, avoiding any tearing of the canvas.
- Separate the canvas from the frame carefully by pulling it free.
- Trim excess canvas beyond the wooden frame by about 1 inch with scissors or a craft knife.
- Lightly sand the wooden frame if it feels rough to create a smooth surface for gluing.
- Wipe the frame clean of any dust or residue before decorating.
Removing staples slowly prevents ripping the canvas, forceful prying can cause holes that are hard to fix later.
Applying and Securing Your Design
With the frame prepped and canvas trimmed, you can move on to the design. Whether you paint, apply vinyl, or combine techniques, your decoration will become the centerpiece of the reverse canvas sign.
- Place the canvas face up and center it on a clean work surface.
- Add your design using your chosen method such as painting, stenciling, or applying vinyl. Allow paint to dry fully if used.
- Turn the canvas over so the decorated side faces down on the table.
- Position the wooden frame over the back of the canvas with the decorated side visible through the empty frame.
- Use a hot glue gun to attach the canvas edges securely to the back of the frame, pulling taut but not stretched.
- Staple or tack the canvas along the wooden frame backsides for extra hold, especially on larger frames.
- Trim any remaining excess canvas neatly for a clean edge.
- Attach hanging strips to the back of the frame if you want a damage-free wall mount.
Keep the canvas taut but avoid overstretching to prevent warping or distortion of your design once mounted.
Creative Design Ideas for Reverse Canvas Signs
Reverse canvas signs work well with a wide range of creative themes that fit different rooms, occasions, and personal styles. You can craft standout pieces by focusing on family names, seasonal decor, humorous or motivational sayings, kids’ room personalization, and memorable event keepsakes. Many ideas don’t require graphic design skills or cutting machines and can be made using simple stencils, printed designs, or hand-painting techniques.
Home and Family Signs
Using your family’s last name on a reverse canvas sign creates a welcoming, personalized touch for any part of your home. Simple painted lettering or stencils can transform a blank canvas into a meaningful art piece that reflects your identity. Measuring your frame and design carefully before transferring the text ensures a balanced and centered look. For DIY, print family-related phrases on 8.5 x 11-inch paper to trace or transfer by hand if you don’t have a cutting machine.
Rustic wooden frames improve the warmth and style of these signs, matching farmhouse or traditional decor. These pieces often become conversation starters or focal points in entryways and living rooms.
Seasonal and Holiday Themes
Seasonal reverse canvas signs allow you to update your decor with minimal cost and effort. Using printable winter or Halloween templates to create festive canvas ornaments can brighten your home during holidays. Switching out canvas panels or covers seasonally keeps your decor fresh and relevant.
- Winter-themed canvas with snowflakes or holiday greetings
- Fall signs featuring pumpkins or harvest phrases
- Spring floral designs with pastel colors
- Summer tropical or beach motifs
- Halloween and spooky designs using black and orange tones
- Christmas quotes or ornaments to hang
You can make these signs without fancy tools by using printable designs and applying them with transfer paper or painting freehand with stencils. Applying a coat of clear sealant can protect the design across seasons.
Humor and Inspirational Quotes
Kitchen humor and motivational sayings energize your space and reflect your personality. Printed or hand-painted text can showcase witty phrases that fit the room’s atmosphere, such as playful cooking or family-related jokes. Inspirational wall art stencils offer a simple way to add uplifting quotes without needing design skills.
Experiment with fonts and colors to suit your room’s palette. For example, bright red or yellow lettering can liven a kitchen, while calm blues or greens fit a peaceful bedroom. Remember to mirror the design before cutting or transferring the stencil to get the text oriented correctly.
Kids’ Room and Personalized Signs
Adding your child’s name to a reverse canvas sign personalizes their room and makes them feel special. Use playful fonts, bright colors, and kid-friendly themes like animals, stars, or sports. If you don’t have a cutting machine, print their name on paper and trace it by hand onto the canvas, then fill in with acrylic paint.
For a fun project, let your child help choose colors or paint parts of the design. This adds a unique sentimental element and can double as an enjoyable craft time. Keep in mind the sign’s size; typical canvas dimensions range from 8 x 10 to 16 x 20 inches, making it easy to fit on bedroom walls or shelves.
Wedding and Event Keepsakes
Creating a custom wedding date or couple’s name reverse canvas sign captures memories and becomes a lasting keepsake. Use elegant fonts and neutral colors like white, gold, or black for a timeless look. You can place the date or phrase in the center and accentuate it with small decorative elements like hearts or floral patterns.
- “Mr. & Mrs.” signs with wedding date below
- Personalized messages such as “Love Always” or “Together Forever”
- Canvas gifts for bridal showers or anniversaries
- Event welcome signs for ceremonies or receptions
- Coordinated sets with matching frames and embellishments
Print your design on regular paper first and check its fit in the frame. Precise measuring and mirroring the image before cutting help ensure a polished final product. Keep these signs protected from moisture and direct sunlight to maintain their appearance over time.
Materials and Tools: Choosing the Best for Reverse Canvas Projects
Choosing the right materials and tools ensures your reverse canvas sign turns out polished and durable. For paints, acrylic paints work best on canvas because they adhere well and dry quickly without soaking through. Vinyl heat transfer vinyl (HTV) works best because it bonds strongly to canvas when heated. HTV can be applied using a standard household iron or heat press, making it accessible even without a Cricut machine. In contrast, adhesive vinyl works better on smooth, hard surfaces and may not stick well to canvas.
Cutting tools depend on your budget and desired precision. A Cricut or similar cutting machine simplifies cutting intricate vinyl designs and reduces errors. However, hand tools like a PenBlade or craft knives are effective for cutting the canvas off the wooden frame carefully. A PenBlade excels in separating canvas from the frame without damaging the wood, though it requires a steady hand.
Regarding canvas and frame types, stretched canvas usually comes pre-wrapped around a wooden frame. These typically range from 8×10 inches to 16×20 inches at craft stores like Michaels or Hobby Lobby, with prices varying from about $5 for smaller sizes to $20 for larger ones or multipacks. The wood frames exposed after removing the canvas tend to be unfinished and may have staple dents, but these imperfections get covered once the design is applied and the frame is reassembled.
| Material/Tool | Best Type | Why | Cost/Availability |
|---|---|---|---|
| Paint | Acrylic | Adheres well to canvas, dries fast | $3-$10 per bottle, hobby stores |
| Vinyl | Heat Transfer Vinyl (HTV) | Firm bond with heat on canvas | $10-$20 for 12″x12″ sheets, online or stores |
| Adhesives | Not preferred for canvas | Less durable, vinyl may peel off fabric | N/A |
| Cutting Tools | Cricut or PenBlade | Precise vinyl cuts or safe canvas removal | Cricut $200-$400, PenBlade $7 |
| Canvas/Frame | Pre-stretched canvas, 8×10 to 16×20 inches | Standard sizes for ease of framing and design | $5-$20, Michaels/Hobby Lobby |
For a beginner, using HTV with a household iron on a standard pre-stretched canvas creates sharp, lasting designs. You don’t need a Cricut to cut simple shapes or letters; using a craft knife or PenBlade by hand can still produce a professional look with some patience. Always handle the canvas carefully during removal to avoid tears; some fabric wear is normal but will be trimmed later. Choosing the right canvas size depends on your space and design complexity, the smaller the canvas, the easier it is to control placement. The natural wood frame shows in the finished project, so selecting a frame with smooth edges makes cleanup easier and adds to the finished look.
Vinyl and Painting Techniques for Stunning Reverse Canvas Signs
Decorating reverse canvas signs involves several effective methods such as heat transfer vinyl (HTV), hand painting with stencils, and sublimation printing. Each technique has its own process, benefits, and limitations that can suit different project goals and skill levels.
Applying Heat Transfer Vinyl (HTV)
Heat transfer vinyl offers a clean, professional look and works well for detailed designs like quotes or images. It requires a cutting machine to create the design on HTV, which is then transferred to the canvas using heat. Follow these steps to apply HTV accurately to your reverse canvas:
- Cut your design in mirror image on the heat transfer vinyl using a cutting machine such as a Cricut.
- Weed the excess vinyl, removing unwanted pieces from around the design.
- Place transfer paper on top of the vinyl to prepare it for transfer.
- Position the HTV design on the canvas, ensuring it fits within the trimmed canvas area.
- Heat your heat press or Cricut Easy Press to 365°F (185°C).
- Press the design on the canvas for about 40 seconds using firm pressure, either with the heat press or an iron.
- Allow the canvas to cool slightly, then peel the transfer paper off carefully.
Make sure to mirror your design before cutting, or your text and images will be reversed incorrectly on the canvas.
Hand Painting and Stenciling Techniques
Hand painting gives you total creative control and a personal touch but requires steady hands and more time. Using stencils simplifies the painting process for crisp, repeatable shapes and patterns.
Choose acrylic fabric paints or craft paints suitable for canvas. To create a smooth look, lightly sand the canvas surface before painting. Secure your stencil with painter’s tape or adhesive spray to avoid paint bleed. Use sponge brushes or stencil brushes for better control when applying paint.
The pros of painting are flexibility in color blending and style, and the ability to easily cover mistakes. Vinyl offers more precision with less setup but limits design complexity and texture. Painting takes longer and risks uneven lines without practice.
Sublimation and Other Printing Methods
Sublimation printing on reverse canvas signs is less common but possible with special materials. Sublimation uses heat to embed dye into polyester-coated surfaces, which standard canvas lacks unless coated or fused with polyester fabric.
To try sublimation, you need a polyester canvas or a canvas panel specially coated for sublimation. Heat the printed sublimation transfer sheet at around 400°F (205°C) for 30 to 60 seconds using a heat press to transfer the design. The result is vivid, permanent colours without added texture.
However, sublimation materials and coatings may cost more and limit canvas texture, and not all reverse canvas frames fit sublimation-ready canvases. Because of these restrictions, most crafters prefer HTV or painting for reverse canvas signs.
Common Mistakes to Avoid and Troubleshooting Tips
Vinyl not sticking properly on canvas often happens because the surface isn’t clean or dry enough. Canvas fibers can be rough or have residue, preventing vinyl from adhering well. To fix this, make sure the canvas is completely dry and free from dust or oils before applying vinyl. Use a lint roller or a soft brush to clean the surface, then press heat transfer vinyl with the correct temperature, usually between 270°F and 320°F for 10 to 15 seconds, but check manufacturer instructions. When vinyl starts peeling, press it again using a bit more heat or pressure.
Removing staples from the canvas frame requires attention to avoid tearing. Using a flathead screwdriver or staple remover helps pry staples gently without damaging the fabric. Work slowly and remove staples one at a time, pulling in the direction that causes the least stress to the canvas fibers. Supporting the canvas underneath as you work reduces tension and minimizes tearing. Staples that are hard to remove can be loosened by applying a small amount of lubricant like WD-40 carefully, but keep it away from the fabric.
Paint bubbles or peeling happen when paint is applied too thickly or on a damp surface. Applying paint in thin, even coats solves this issue. Allow each layer to dry fully, usually 1 to 2 hours depending on the paint type and humidity, before adding another. Keep the frame away from wet paint to prevent moisture transfer to the canvas. Bubbles or peeling after drying can be fixed by lightly sanding the spots with fine-grit sandpaper and repainting in thin layers for a smooth finish.
- Clean and dry canvas before applying vinyl
- Use appropriate heat settings for vinyl pressing
- Remove staples slowly using a staple remover or screwdriver
- Support canvas beneath staples to prevent tearing
- Apply paint in thin layers and let dry completely
- Avoid moisture by keeping frame away from wet paint
- Sand and repaint if paint bubbles or peels after drying
Frame misalignment often occurs if you stretch the canvas unevenly before stapling it back on. To prevent this, attach the canvas to the frame gradually, securing opposite sides first to keep the canvas taut and centered. Staple the corners carefully without overstretching, which can warp the frame shape. Use a level to check alignment before final stapling. Misaligned canvas is usually fixed by removing staples on the affected side and repositioning the canvas, which requires patience and care.
How to Customize Reverse Canvas Signs Without a Cutting Machine
You don’t need a Cricut or Silhouette to create beautiful customized reverse canvas signs. Alternative methods like hand lettering, printed paper transfers, stickers, and simple stencils let you personalize your project with ease at home. Each technique has specific steps and tools that make design placement and sizing manageable without fancy equipment.
Hand lettering lets you create unique, artistic designs by using paint pens or fine brushes directly on the canvas. Choose paint or ink that works well with fabric surfaces. Start by sketching your design lightly with a pencil or chalk, then carefully fill it in. Keep your letters evenly spaced and use a ruler or straight edge as a guide to keep lines straight.
Printed paper transfers offer a neat way to place detailed designs on your canvas. Print your design on regular printer paper in the size you want, trimming it to be just a bit smaller than your canvas. Use tracing paper to help position the transfer perfectly. After placing the print where you want it, step over the design by tracing over it firmly with a ballpoint pen to lightly transfer the image onto the canvas.
Stickers and decals provide a clean, ready-made look. Use pre-cut vinyl letters or store-bought craft stickers. Apply them carefully to a smooth canvas surface to avoid bubbles or wrinkles. This method works well for simple words or shapes and requires very little setup.
For a more controlled painting approach without freehand drawing, use stencils. Bold geometric stencil sets are widely available and fit well with minimalist canvas signs. Secure the stencil with painter’s tape to prevent shifting and apply paint with a sponge or stencil brush. Dab the paint gently to avoid bleeding under the stencil edges.
- Place a piece of tracing paper over your canvas surface, centering where you want the design.
- Position your printed paper design or stencil on top and tape down the corners securely with masking tape.
- Trace the design onto the canvas with a pencil or ballpoint pen to create a light outline.
- For hand lettering, use paint pens or a fine brush to slowly fill in your traced design, letting each section dry before continuing.
- If using paint and stencil, secure the stencil again, and apply paint in thin, dabbing layers to avoid bleeding. Let dry completely before removing.
- For stickers or decals, carefully peel and place them on the desired area, smoothing out bubbles from center to edges.
- Allow your design to dry or set thoroughly, usually 2 to 4 hours, depending on paint or adhesive type.
- Optionally, seal your finished design with a clear matte spray to protect it from fading or wear.
These options cost between $5 to $20 depending on supplies like paint pens, stencils, or quality vinyl stickers. Sizing your design manually works best when you measure your canvas first and plan your layout on paper. Use rulers, grids, or printed templates to keep your design centered and properly scaled. This careful preparation helps avoid crooked or cramped designs, giving your project a professional look without a cutting machine.
Freestanding vs Wall-Mounted: Displaying Your Reverse Canvas Sign
Reverse canvas signs can be displayed either freestanding or mounted on a wall, depending on your space and style. For wall mounting, secure hanging hardware is essential to prevent damage and keep your sign stable over time. A common choice is a sawtooth hanger attached to the top edge of the wooden frame. This method works well on drywall, wood, and plaster walls, provided you use the right anchors or nails. On drywall, use wall anchors rated for the weight of your sign, generally 1 to 2 pounds for typical small to medium sizes. For brick or concrete, masonry nails or screws with anchors will hold better.
Creating a freestanding reverse canvas sign is a great way to add flexibility without altering your walls. You can build or buy simple stands that support the sign from behind, such as angled easels or a small tabletop frame. Materials like lightweight wood or metal work well and should match the size and weight of your sign. When making a DIY stand, cut two pieces of wood 6 to 10 inches long, connect with a hinge at the top, and add a small wooden brace near the base for stability. For larger signs, use sturdier materials or add rubber pads under the stand to prevent slipping.
Placement also affects durability and appearance. Avoid direct sunlight to prevent fading, and keep signs away from moisture-prone areas like bathrooms. Final touches like corner protectors or felt pads on the bottom help guard against damage and improve balance.
- Attach a sawtooth hanger with small nails centered on the wooden frame’s top edge for wall mounting.
- Choose wall anchors suitable for your wall type: plastic anchors for drywall, masonry anchors for brick.
- Build a V-shaped wood stand with a hinge and support brace for freestanding display.
- Add felt pads under freestanding signs to prevent slipping and furniture scratches.
- Place signs away from direct sunlight and damp areas to maintain color and condition.
- Use small corner bumpers or rubber feet to improve stability on hard surfaces.
- Consider the sign’s size and weight when selecting mounting hardware or stand materials.
Check that the wall anchors and hardware you use can support at least 1.5 times your sign’s weight to ensure safe hanging, especially on weakened drywall.
To hang your sign, measure and mark the wall carefully to position the sawtooth hanger at eye level or where it fits space-wise. For freestanding signs, test the stand stability before display by gently shaking it to catch any wobble. These steps help avoid accidental falls and keep your reverse canvas sign looking great longer.
Step-by-Step Action Plan to Make Your First Reverse Canvas Sign
Follow these steps to create your own reverse canvas sign and see your design come to life.
- Before You Start: Gather all materials including a blank canvas, stretcher bars, paint, vinyl or stencils, and basic tools. Having everything ready ensures a smooth crafting process.
- Day 1: Carefully remove the canvas from the stretcher bars. If the canvas pulls away cleanly, you’ve done it correctly and can move forward without damaging the fabric.
- Day 1: Paint or stain the stretcher bars. Let the finish dry completely to avoid smudges when reassembling the sign.
- Day 2: Add your design using vinyl decals or paint with stencils. Check that the design is centered and adheres evenly for a polished appearance.
- Day 2: Reattach the canvas, securing it tightly on the back of the stretcher bars. The canvas should be taut and wrinkle-free for the best look.
- Day 3: Allow the entire piece to dry and set overnight. A fully dry finish prevents smearing when displayed or handled.
- After 3 Days: Decide on display method, freestanding or wall-mounted, and install the appropriate hardware for a sturdy setup.
Frequently Asked Questions
What Materials Can I Use Besides Canvas for a Reverse Canvas Sign?
Fabric like burlap, cotton, or even old sheets work well and give different textures. Choose a sturdy material that holds paint or vinyl properly for best results.
Can I Apply Outdoor Sealant to Make a Reverse Canvas Sign Weatherproof?
Yes, adding an outdoor sealant protects the material from moisture and fading. Use a clear acrylic spray to maintain the sign’s colors if you plan to display it outside.
How Long Does It Take to Complete a Basic Reverse Canvas Sign Project?
Most simple projects take 1 to 2 hours from start to finish. Drying time for paint or glue may add extra time, so plan accordingly for layering techniques.
Is It Possible to Repaint or Update a Reverse Canvas Sign After It’s Finished?
Yes, you can repaint the canvas or add new vinyl layers for a fresh look. Lightly sanding the frame before repainting helps new paint stick better.
Can I Use Fabric Glue Instead of a Staple Gun to Attach the Canvas?
Fabric glue can work but staples provide a stronger and more secure hold. If you don’t have a staple gun, strong fabric adhesive combined with clamps may suffice for indoor signs.
What Should I Do If the Canvas Material Tears While Removing It from the Frame?
Patch small tears with fabric glue or a piece of similar fabric glued behind the damaged area. Handle the canvas gently during removal to reduce tearing risk.
Wrapping Up
Creating reverse canvas signs offers a fun, customizable way to add personal style to your home decor. Starting your first project with a clear plan helps ensure you avoid common pitfalls and achieve a clean, creative result. Begin by choosing a simple design and practicing the paint or vinyl application to build your confidence. Once you complete your sign, try displaying it using your preferred method and enjoy the satisfaction of a handcrafted piece.