Last Name Sign Ideas: 8 Creative Ways to Make Your Home Unique
Last name sign ideas offer a unique way to add personality and warmth to your home. Customizing a sign with your family name and a meaningful phrase creates a memorable welcome. Start by choosing a design and material that suits your home’s style to ensure the sign feels truly personal.
Key Takeaways
- Include your last name with a favorite quote, song lyric, or Bible verse to personalize your sign.
- Select materials like wood, metal, or fabric based on your home’s décor and desired durability.
- DIY last name signs can be made for less than $10 using budget-friendly supplies like pallets or scrap fabric.
- Download SVG files to create 3D family name signs with a cutting machine for a professional look.
- Consider round or circle cutout designs for a modern rustic style that fits many home aesthetics.
- Ordering handmade custom signs offers high quality and quick delivery, with sellers often providing excellent customer service.
1. What Exactly Is a Last Name Sign and Why Use One?
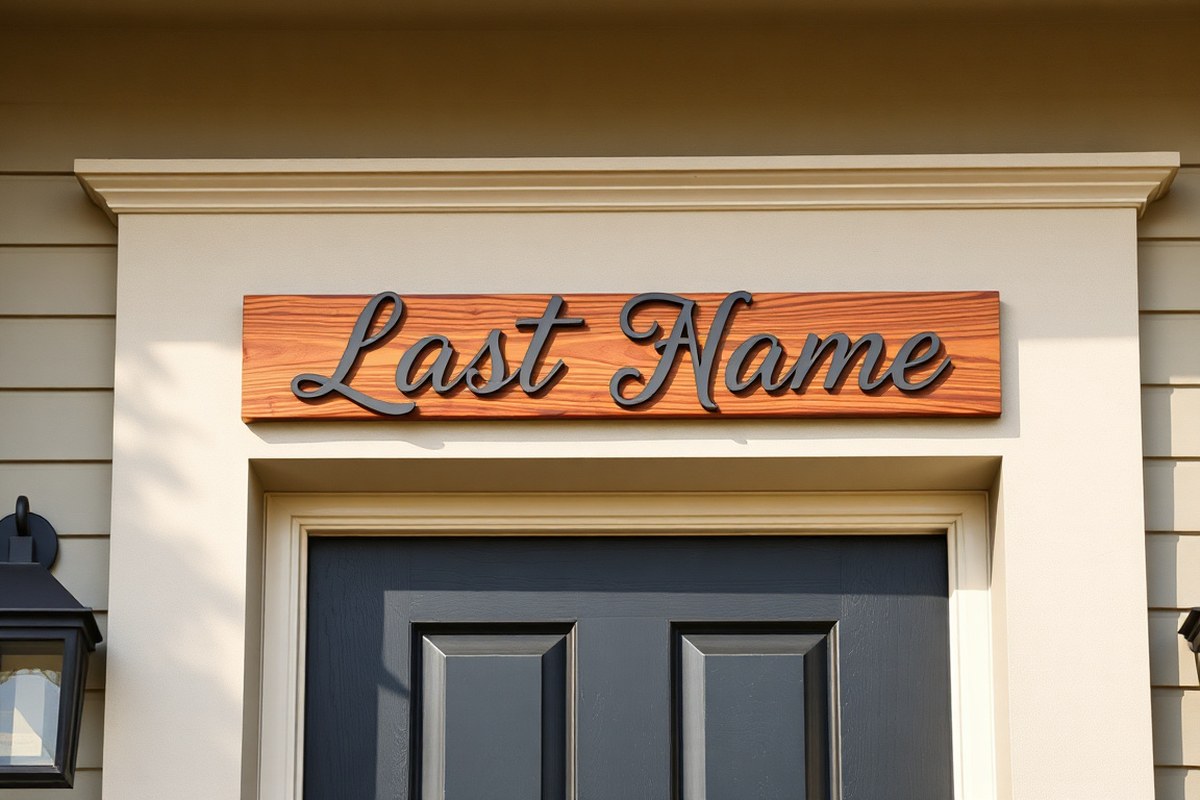
Last name signs are decorative pieces that display your family’s surname, often designed to fit your home’s style. These signs can be made from various materials and shaped in different styles, including cutout letters, plaques, or monogram formats. Their main purpose is to personalize your living space while visually representing your family identity.
Displaying a last name sign adds more than just decorative appeal. It serves as a welcoming symbol that tells visitors who you are, providing a warm and inviting atmosphere. Such signs often become focal points in entryways, living rooms, or even outdoor spaces like porches, making your home feel more special and lived-in.
In terms of emotional value, a last name sign reflects your family’s heritage and pride. Regardless of where your ancestors came from or what your surname means, showcasing it encourages a connection to your roots. This can be especially meaningful for families starting a new chapter together or anyone who wants to celebrate their cultural background in a visible way.
To add this personal touch to your home décor, consider the style and placement carefully. A rustic wood sign may complement a farmhouse-style home, while a sleek metal cutout works well in modern settings. You can add an established date below your surname to mark how long your family has been together, further enriching the story behind your sign.
Creating or purchasing a last name sign is often more affordable than expected. DIY options can cost less than $10 when using materials like reclaimed wood and paint. Custom signs made by professionals typically range higher depending on size, material, and detail, but investing in a well-crafted piece ensures durability and a professional finish.
Putting thought into the design increases the meaningfulness of your sign. A well-chosen font, appropriate size, and complementary colors improve the visual impact and help the sign blend naturally with your existing décor. Poor planning, such as choosing a font that’s hard to read or placing the sign in a cluttered area, can lessen its effect.
Whether you prefer a bold statement above the front door or a subtle piece in the family room, last name signs give your house character and tell a unique story. They remind everyone who lives there and what the family values most, making any space feel more like home.
2. How to Design Your Personalized Last Name Sign

Start designing your personalized last name sign by planning key details like the name itself, style, and any added features such as an established year or quotes. Consider where you’ll display the sign and the overall look you want to achieve. A clear design process will ensure your sign feels personal and fits your home or yard perfectly.
Choosing the Right Font Style
Select fonts that reflect your family’s personality and blend well with your home’s style. Cursive fonts add elegance and are popular for metal monogram signs, while bold block letters work well for rustic wooden signs. For a modern but country feel, consider a simple sans-serif font in a circle cutout design. Avoid overly decorative fonts that reduce readability.
Mixing two font types, like a cursive last name paired with a smaller, simple font for an established date or quote, adds balance and interest. Keep in mind the sign’s size and distance from view. For outdoor signs, choose fonts that remain legible from 10 to 20 feet away.
Selecting Colors That Match Your Decor
Pick colors that complement both the sign’s material and the surroundings. For outdoor signs, neutral tones like black, white, or earth tones work well against brick, wood, or siding. A painted wood sign can feature distressed colors like muted blues or grays for a rustic look. Metal signs often come in natural finishes like matte black or bronze but can also be powder-coated in vibrant colors for a personalized pop.
If your sign will be displayed indoors, you have more freedom to match your home’s accent colors. Keep in mind that lighter colors can fade faster outside due to sun exposure, so choose UV-resistant paints or finishes for long-lasting color. Consider contrast to make the text stand out, dark lettering on a light background or vice versa.
Including Personal Touches and Details
Add unique elements such as your family’s established year to mark your home’s or family’s founding date. This feature is common in metal and wooden signs and adds a historic or traditional feel. Quotes or short sayings that represent your family values can also personalize the sign but keep them brief to avoid clutter.
Beyond text, you can include symbols or themes that reflect your family’s interests, such as a leaf design, animals, sports motifs, or floral accents. Incorporate these details within or around the last name to maintain a cohesive layout. For example, a rustic last name sign might have a leaf pattern cut directly into the wood or printed on it. Follow this checklist to design your last name sign:
- Define the sign’s purpose. Decide if it’s for indoor or outdoor use and the approximate size needed.
- Choose the last name and decide on any additional text. Include established year or a brief quote if you want.
- Select a font style or combination. Consider readability and how it reflects your family’s style.
- Pick colors. Choose based on the sign’s location, material, and home décor.
- Incorporate personal design elements. Add symbols or accents that represent your family.
- Sketch the layout. Arrange the name, dates, and elements keeping balance and spacing in mind.
- Review the design for clarity and impact. Ensure it’s legible from the expected viewing distance.
- Choose a material that suits your design and location. This step affects the final color and style options.
Test your font and color choices by printing a sample on paper about the same size as your sign before finalizing to ensure readability and style.
3. Popular Materials for Last Name Signs Compared
Choosing the right material for your last name sign depends on where you want to display it, how long you want it to last, what fits your home’s style, and your budget. Some materials are better suited for indoors, such as wood or acrylic, while others, like metal and treated wood, are designed to withstand outdoor elements. Durability varies widely: metal signs can last decades outside with minimal upkeep, but wood needs regular sealing to resist moisture or sun damage.
Wood is a popular choice because it easily complements rustic, farmhouse, or traditional home styles. It’s affordable, often costing between $20 and $80 depending on size and finish. However, untreated wood outdoors may warp or fade within a year. Acrylic offers a modern, sleek look and is relatively low maintenance indoors but may yellow or crack outside under harsh sun exposure.
Metal signs add a durable and elegant option, suitable for contemporary or industrial styles. Metals like aluminum or steel resist weather well but can cost $50 to $150 or more. They require little upkeep but may rust if the coating wears off, especially in humid climates. Plastic signs are budget-friendly and weather-resistant but can look less custom or refined. Here’s a detailed comparison to help you decide the perfect last name sign material for your needs:
| Material | Durability | Ideal Use | Cost Range | Style Fit | Upkeep |
|---|---|---|---|---|---|
| Wood | Moderate (Indoors & treated outdoors) | Indoor & sheltered outdoor spots | $20 – $80 | Rustic, farmhouse, traditional | Seal annually outdoors, dust indoors |
| Metal (Aluminum/Steel) | High (Weather-resistant outdoors) | Front doors, porch, outdoor walls | $50 – $150+ | Modern, industrial, elegant | Occasional cleaning, check for rust |
| Acrylic | Moderate (Best indoors) | Indoor walls, offices | $30 – $100 | Modern, minimalist | Dust with soft cloth |
| Plastic | Moderate (Weather-resistant) | Outdoor use with less style focus | $10 – $50 | Casual, budget-friendly | Wipe with mild cleaner |
Choosing wood offers a warm, welcoming feel, especially for indoor or covered outdoor signs. Use a waterproof sealant like polyurethane annually on outdoor wooden signs to extend life. Metal signs suit long-term outdoor display and withstand rain, sun, and wind better than wood or acrylic. They work smooth with modern or industrial homes but come at a higher price. Acrylic’s sleek design fits minimalist interiors and is easy to keep clean, but avoid placing it on sunny exterior walls where UV rays can cause damage. Plastic signs work well if you want a low-cost option or place it in less visible outdoor areas.
4. Easy Step-by-Step Guide to Making a DIY Last Name Sign
Creating a DIY last name sign involves gathering the right materials, transferring your design with precision, and sealing the final product to make it last. You’ll need a few basic tools and supplies to start, and following clear steps will help you achieve a polished look that suits your style.
Preparing the Wood or Base Material
Selecting the right base material is essential for the sign’s durability and appearance. Wood is the most popular choice for its rustic charm, but canvas and metal can also work well depending on your design goals.
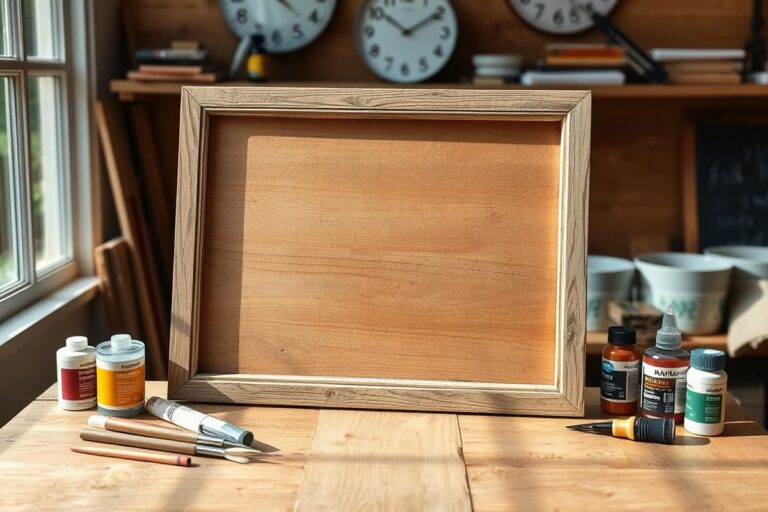
Start by sanding your wood surface to smooth out rough edges and remove splinters. Use medium-grit sandpaper (around 120 grit) followed by finer grit (220 grit) for a smooth finish. Wipe down the surface with a dry cloth to remove dust. If you’re using canvas or metal, ensure the surface is clean and dry. For stacked wood designs, cut each piece to size and arrange them to visualize the layout before attaching.
Transferring the Design Accurately
Transferring your design onto the sign base carefully prevents mistakes and helps the final product look professional. Common methods include using carbon paper, stencil cutting, or direct printing.
Carbon paper is useful for wooden and canvas surfaces. Place the carbon paper between your printed design and the sign, then trace with a pencil. For more complex fonts or shapes, you can create adhesive stencils from vinyl or use transfer tape for precision. Another option is printing on removable sticker paper and applying it directly as a guide. Whichever method you pick, secure the design in place with painter’s tape to avoid shifting during transfer.
Painting and Sealing for Longevity
Painting your sign requires the right brushes and paints. Acrylic paints are ideal for wood, canvas, and metal as they dry quickly and provide vibrant color. Use small detail brushes for letters and larger brushes or sponges for backgrounds.
Apply paint in thin layers, letting each dry fully (usually 15 to 30 minutes) to avoid smudging. After your paint is dry, seal the sign with a clear protective finish. For outdoor signs, use a weatherproof sealant like exterior polyurethane or spar varnish. Inside, a clear acrylic spray or brush-on sealer will protect the paint and wood from dust and minor wear. Allow the sealant to cure for 24 hours before display to ensure maximum durability.
- Choose your base material: wood plank, stacked wood, canvas print, or metal sheet.
- Prepare the surface by sanding (for wood) or cleaning (for metal/canvas).
- Print your design on paper sized to fit the sign dimensions.
- Use carbon paper or stencil to transfer the design carefully onto the base.
- Paint the design using acrylic paint, applying thin layers for clarity.
- Allow paint to dry fully between layers.
- Seal the completed sign with a clear protective finish suitable for your sign’s location.
- Let the finish cure for at least 24 hours before handling or hanging.
5. Creative Design Ideas to Make Your Last Name Sign Stand Out
Making your last name sign stand out often means adding creative design elements that reflect your family’s personality or values. Using monograms, 3D effects, themes, and family history symbols offer unique ways to personalize your sign. These approaches bring depth and style that go beyond basic text.
Monogram and Initial-Based Signs
Monogram designs focus on the first letter of your family’s last name, turning it into a striking centerpiece. You can create a large, fancy initial surrounded by smaller text displaying the full last name or accompanying details like established dates. These designs are popular because they combine elegance with simplicity.
To create a monogram sign, start with a free online family name sign maker that lets you experiment with fonts and layouts. For a 3D effect, choose thick wood or metal materials and layer the monogram letter so it slightly raises above the sign base. This adds visual depth and a tactile quality.
Metal names signs can give a modern or industrial look, while wood offers a warm, rustic feel. Customers often pick Romantic or Modern styles depending on their home decor. Monogram signs fit perfectly in living rooms, foyers, or entryways, making a bold yet classic statement.
Integrating Family History or Symbols
Adding elements related to your family’s history makes your last name sign a personal story. Examples include incorporating a family crest, meaningful symbols (like a tree for growth or animals that hold significance), or the founding year of your family lineage. These additions connect your living space to your heritage.
To integrate these ideas, choose symbols that visually balance with your text but don’t overwhelm it. Use custom artwork or hand-painted details if you’re making the sign yourself. Commissioned signs from artisans like Cherie Kay offer bespoke handcrafted options that reflect these meaningful traits. Here are some ideas to inspire your family history integration:
- Carve or paint an ancestral family crest
- Include significant dates like “Est. 1985” or “Since 1920”
- Use icons like oak leaves, mountains, or birds
- Add a motto or tagline in a smaller font below the name
- Incorporate geographical outlines of a hometown or state
These details give your sign a layered meaning and make it unique to your family’s heritage.
Keep symbol size proportional to text and avoid too many small details that can get lost from a distance.
Theme-Based and Seasonal Decorations
Theme-based signs allow your last name sign to evolve with seasons, holidays, or home decor trends. Consider signs that feature autumn leaves, snowflakes, or floral accents that can be swapped out or painted over year-round. Seasonal adaptations add freshness and relevance to your display.
To create a seasonal theme, select a base sign with neutral colors and add detachable or paintable elements. For example, use removable wreaths or clip-on decorations to change styles without a complete redo. Some popular themes include:
- Rustic farmhouse with burlap and wood textures
- Coastal vibes using shells and light blue tones
- Holiday-inspired with red and green accents for Christmas
- Spring florals and pastel shades for a cheerful look
- Minimalist black and white for a modern aesthetic
These themes make your last name sign an adaptable part of your home’s decorating routine and a fun project if you enjoy crafting.
6. When to Choose Buying a Custom Sign vs. Making It Yourself
Choosing between buying a custom last name sign and making one yourself depends mainly on your budget, available time, skill level, and the desired finish. Making a DIY sign saves money and lets you personalize every detail, but it requires more time and some crafting skills. Custom signs generally cost more but offer professional quality and less hassle, especially for complex designs or higher-end materials.
Budget plays a big role. DIY projects can be done for under $20 when using basic materials like pallet wood, which is ideal if you’re on a tight budget or making a last-minute gift. Custom signs often range from $50 to $200 or more depending on size, material, and complexity. Consider your total budget and what you’re willing to spend on tools, supplies, and possibly shipping.
Time is another important factor. A simple DIY sign might take 2 to 4 hours, including drying time for paints or stains. More detailed projects or 3D designs requiring precise cuts may take a full day or multiple sessions. Custom orders typically require a processing time of 1 to 3 weeks, so purchasing is better when you don’t have time to craft or want a fast turnaround.
Skill level impacts satisfaction and results. Basic painting or stenciling is doable for beginners, but cutting intricate designs or working with certain materials may require intermediate to advanced skills. Custom signs are ideal if you lack confidence in your crafting abilities but still want a polished product.
- Pick DIY for tight budgets under $20, simple designs, and if you enjoy crafting.
- Choose custom when you want premium materials like metal or acrylic with precise detailing.
- Use DIY if you have at least a few hours free and basic painting or cutting tools.
- Order custom signs if you need the sign quickly but do not have time to make it yourself.
- Consider your skill level; choose custom if you want a professional finish without trial and error.
- DIY suits unique, personalized designs with a rustic or handmade look.
- Custom signs work better for gifting high-end, durable pieces or large, complex names.
Making a decision is easier with a quick checklist: assess your budget, decide how much time you can commit, rate your crafting ability, and think about the style and quality you want. For example, if you want a last name sign as a budget-friendly gift with a rustic charm, making a pallet sign yourself will fit well. On the other hand, choose a custom option if you want a sleek acrylic nameplate to match your modern home décor and have the budget for it.
Remember, a DIY sign might show small imperfections but offer sentimental value and creativity. Custom signs generally provide flawless results, lasting durability, and professional appeal but at a higher cost and wait time. Balance these factors based on your situation to pick the best approach for your last name sign.
7. Tips for Displaying, Caring for, and Maintaining Last Name Signs
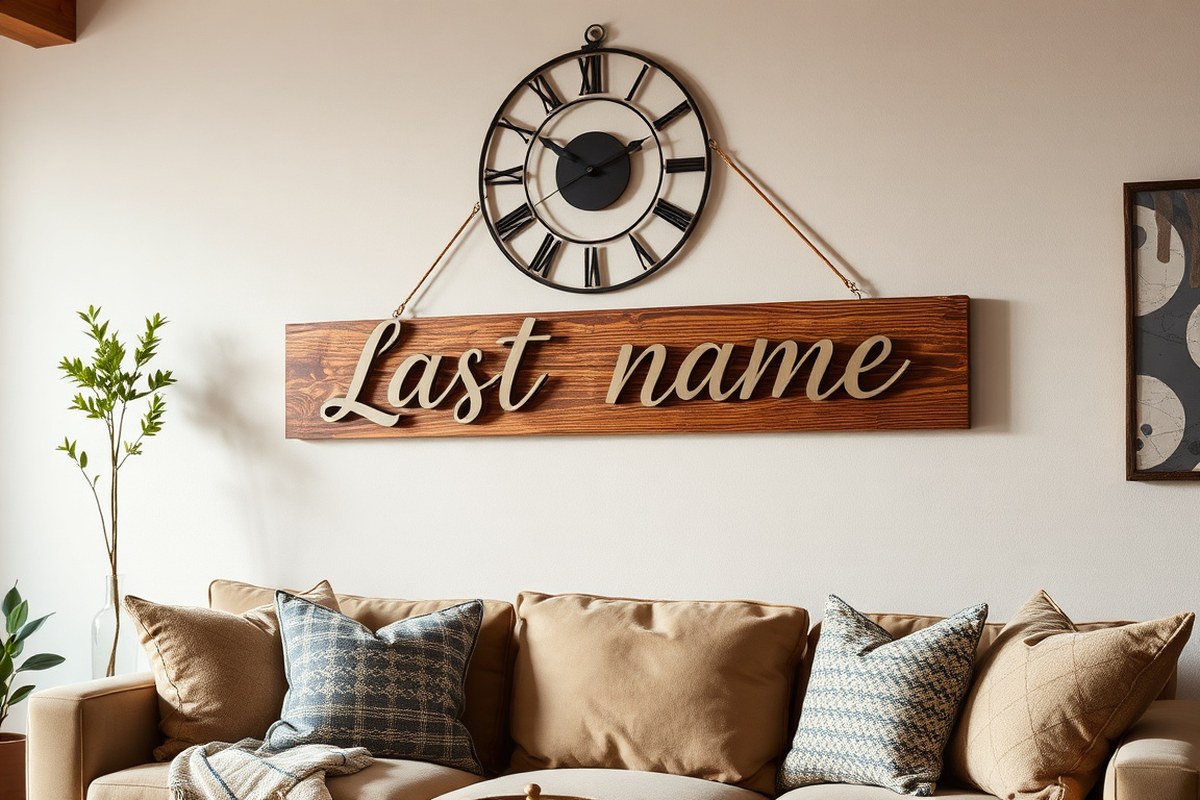
Choose a spot for your last name sign where it naturally catches the eye and complements your home’s style. By the front door, porch wall, or entryway offers the best visibility and welcomes guests effectively. Indoors, consider the living room, foyer, or above a mantelpiece where it can serve as a focal point without overcrowding the space.
Outdoor signs must handle sun, rain, wind, and temperature changes. Use weather-resistant materials like treated wood, metal with rust-proof coatings, or acrylic designed for outdoor use. Applying a protective sealant or clear coat annually adds an extra barrier against fading and moisture. Avoid placing signs where direct sun hits all day long, as this accelerates fading, or where water pools after rain.
Regular upkeep extends the life of both indoor and outdoor signs. Dust signs weekly using a soft cloth to prevent dirt buildup. For outdoor signs, rinse with mild soap and water every few months to remove grime. Inspect for signs of wear, such as peeling paint or rust spots, then touch up paint or reapply sealant as needed to maintain a fresh look.
- Hang signs at eye level, typically about 60 to 65 inches from the floor or ground for best readability
- Use corrosion-resistant hardware like stainless steel screws or heavy-duty hooks outdoors
- Apply a UV-protective spray on painted or vinyl signs to reduce sun damage
- Bring outdoor signs inside during harsh winter months or severe storms if possible
- Check mounting regularly to ensure signs are secure and not wobbling or sagging
- Avoid harsh chemicals or abrasive scrubbing that can damage finishes
Indoor signs usually need less maintenance but still benefit from avoiding excessive humidity or drastic temperature changes, which can warp wood or loosen adhesives. For wooden signs, occasional use of furniture polish or oil designed for the wood type helps maintain its richness and protects against drying cracks. For metal or acrylic signs indoors, a simple wipe with a damp cloth keeps them bright.
8. Budget-Friendly and Unique Last Name Sign Ideas
Creating a last name sign for under $10 is achievable by selecting affordable materials and simple techniques that still look stylish. Start with base materials like reclaimed wood, plywood scraps, or even sturdy cardboard. These materials often cost $5 or less at hardware stores or can be sourced for free from old furniture or shipping pallets. Using inexpensive acrylic paint or permanent markers lets you customize the lettering without needing costly tools like vinyl cutters or laser engravers.
To save money on tools, rely on basics you likely have at home: sandpaper, a ruler, and stencils printed on paper. Stencils help keep letters consistent and neat while cutting down on skill and time. For a unique touch, experiment with household items as painting tools, such as sponges or toothbrushes, to create texture and visual interest without extra cost. Clear-drying craft glue or double-sided tape allow you to add lightweight embellishments like small shells, buttons, or fabric scraps for personality.
These simple techniques keep your budget low and your sign personalized. Focus on contrast by choosing paint colors against the natural wood tone to make the name pop. Even a single accent color layered on raw materials makes a clean, modern statement without expensive finishes. Consider layering letters cut from colored paper or cardstock onto a painted background for a dimensional effect under $10 total.
- Use scrap wood, cardboard, or inexpensive plywood as the base.
- Create letter stencils using free printable templates.
- Choose acrylic paint, permanent markers, or paint pens for lettering.
- Decorate with household items like fabric scraps or buttons.
- Try sponge painting or dry brushing to add texture.
- Secure embellishments with craft glue or double-sided tape.
- Repurpose old picture frames as sign borders or backing.
Make sure any wood used is sanded smooth and sealed with clear matte spray to prevent paint from bleeding and to protect the sign from moisture.
For example, cut a 12-by-8 inch piece of plywood from a scrap board ($3-$4), paint it a natural or muted background color with a $1 acrylic paint tube, and add the last name letters using a stencil and black permanent marker. Total cost stays close to $8, with no expensive specialty tools needed. This keeps your sign lightweight and easy to mount while maintaining a polished look.
Budget-friendly last name signs work best when you keep designs simple and focus on neat craftsmanship. Overloading with multiple colors or complicated details can look cluttered or cheap if done quickly. Selecting a minimalist style, such as bold, block letters on unfinished wood, maximizes impact while staying cost-effective. This approach suits porch walls, entryways, or even gift tags when scaled down.
Step-by-Step Action Plan for Your Last Name Sign
Get started on creating or selecting your perfect last name sign with these clear steps that keep your project on track.
- Day 1: Decide whether to DIY or buy your sign based on your budget and time. Confirm your choice by checking if you have the needed materials or have found a seller you trust.
- Day 2: Choose the material that fits your style and location, like wood for a rustic look or metal for durability. Verify by feeling samples or reviewing photos to confirm the finish matches your vision.
- Day 3: Sketch a basic design or select a favorite template. Make sure it includes your last name and any other details like established dates or symbols.
- Day 4: If DIY, gather all tools and materials; if buying, finalize your order with correct spellings and custom details. Check your list or order confirmation for accuracy.
- Day 5 to 7: Create or receive your sign. For DIY, follow step-by-step instructions carefully. For bought signs, inspect for quality and correctness on arrival.
- Day 8: Choose a prominent display spot that fits your home’s style. Test that the sign is visible and improve your entry area.
- After 1 week of display: Clean your sign gently to keep it fresh. Confirm that it shows no signs of damage or fading to ensure durability.
Frequently Asked Questions
What Are Some Inexpensive Materials for Last Name Signs?
Wood, slate tiles, and metal outlines are budget-friendly materials that work well. You can create a stylish sign for under $10 using these options, especially if you repurpose materials or buy small pieces at craft stores.
Can I Incorporate Family Heritage into My Last Name Sign?
Yes, incorporating symbols or motifs related to your heritage adds personal meaning. Using specific colors, fonts, or icons linked to your background makes the sign unique and meaningful for your family.
How Do I Protect an Outdoor Last Name Sign from Weather Damage?
Apply a weather-resistant sealant or paint suited for outdoor use to protect the surface. Keeping the sign clean and inspecting it regularly helps preserve its appearance and durability.
Is It Possible to Make a Last Name Sign with a Modern Look but Rustic Feel?
Yes, a circle cutout wooden sign can achieve a modern style with rustic charm. Choosing distressed wood or combining metal elements can improve that mixed aesthetic effectively.
Can I Use Photos or Images in a Last Name Sign Design?
Absolutely, including photos or thematic images creates a personalized and creative sign. This approach adds storytelling elements and can reflect your family’s interests or history.
What’s a Unique Way to Display a Last Name Sign Indoors?
Mounting a painted slate plaque in an entryway adds rustic elegance and uniqueness. Choosing an unexpected material or shape draws attention and sets a welcoming tone.
Before You Go
Your last name sign is a lasting expression of your home and family identity. Taking straightforward actions from selecting materials to finding the right spot will make the process manageable and rewarding. Start today by deciding whether you’ll create it yourself or choose a custom option, so you can enjoy a personalized touch that truly suits your space.