How to Whitewash a Wood Sign: Step-By-Step Guide with Expert Tips
How to whitewash a wood sign starts with mixing the right whitewash using a water-based white paint and water, usually a 1:1 ratio. Apply the mixture evenly and let it sit for 3 to 5 minutes before wiping off excess paint to reveal the wood grain. Starting with clean, sanded wood helps the whitewash adhere better and look smoother.
Key Takeaways
- Use a 1:1 mix of white latex paint and water for balanced color that shows the wood grain.
- Leave the whitewash on the wood for 3-5 minutes to control how much white covers the surface.
- For a stronger white finish, allow the paint to partially dry until lightly tacky, about 15-20 minutes.
- Adjust the paint-to-water ratio to 1:2 for a lighter wash with more wood visible.
- Brush on whitewash on rough wood and rub it in along the grain with a cloth for even coverage.
- Let the whitewash dry at least 30 minutes before adding additional layers or sealing.
How to Whitewash a Wood Sign Step-By-Step
Whitewashing a wood sign involves preparing the surface properly, mixing the right paint and water ratio, applying and wiping the whitewash carefully, then sealing it once dry. The process requires patience to allow drying between coats and careful wiping to control how much wood grain shows through. Sealing locks in the finish for durability.
Preparing the Wood Surface
Start with clean, dry wood, free of dirt and grime. Sanding isn’t always necessary unless the wood has a glossy finish or rough patches from previous coatings. Wiping the surface with a damp cloth removes dust that can prevent even paint adhesion. Allow the wood to dry fully before applying whitewash.
When the wood has an old finish or a dark stain, lightly sanding or using a special prep method can improve how well the whitewash sticks. Working on unsealed or dirty wood can cause peeling later, so take time to prep it well.
Mixing the Whitewash Solution
Whitewash uses a mix of latex or chalk paint and water. For a traditional look that lets plenty of wood grain show through, mix 1 part paint to 2 parts water. This thinned mixture brightens the wood without hiding its natural texture.
To get a more solid whitewash look, reduce the water in your mixture. For instance, mixing about 70 percent paint with 30 percent water nearly covers the wood fully but still allows some sanding for a worn style. Avoid using mixes that are too thick or too thin since they either look like regular paint or need several coats to hide the wood.
Mix thoroughly in a container using a stirring stick to ensure even color and consistency. Using water-based paint eliminates strong fumes and is easy to clean.
Applying and Wiping the Whitewash
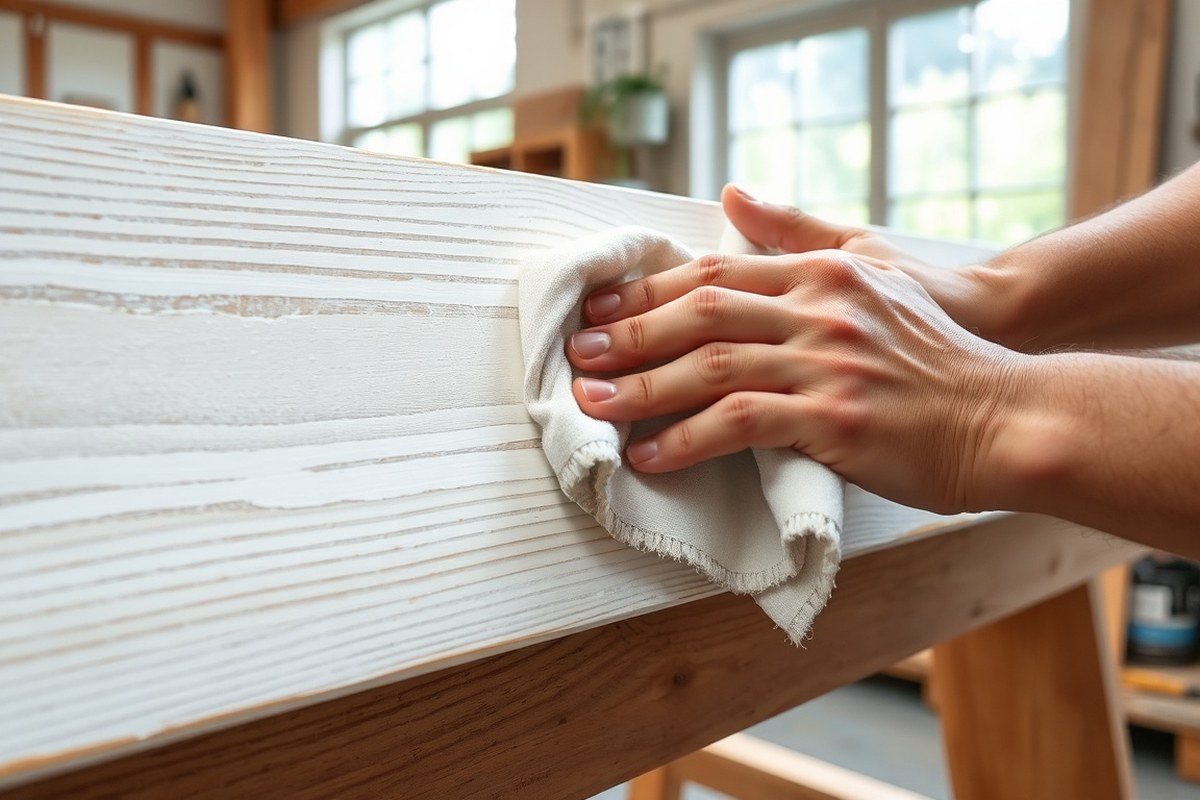
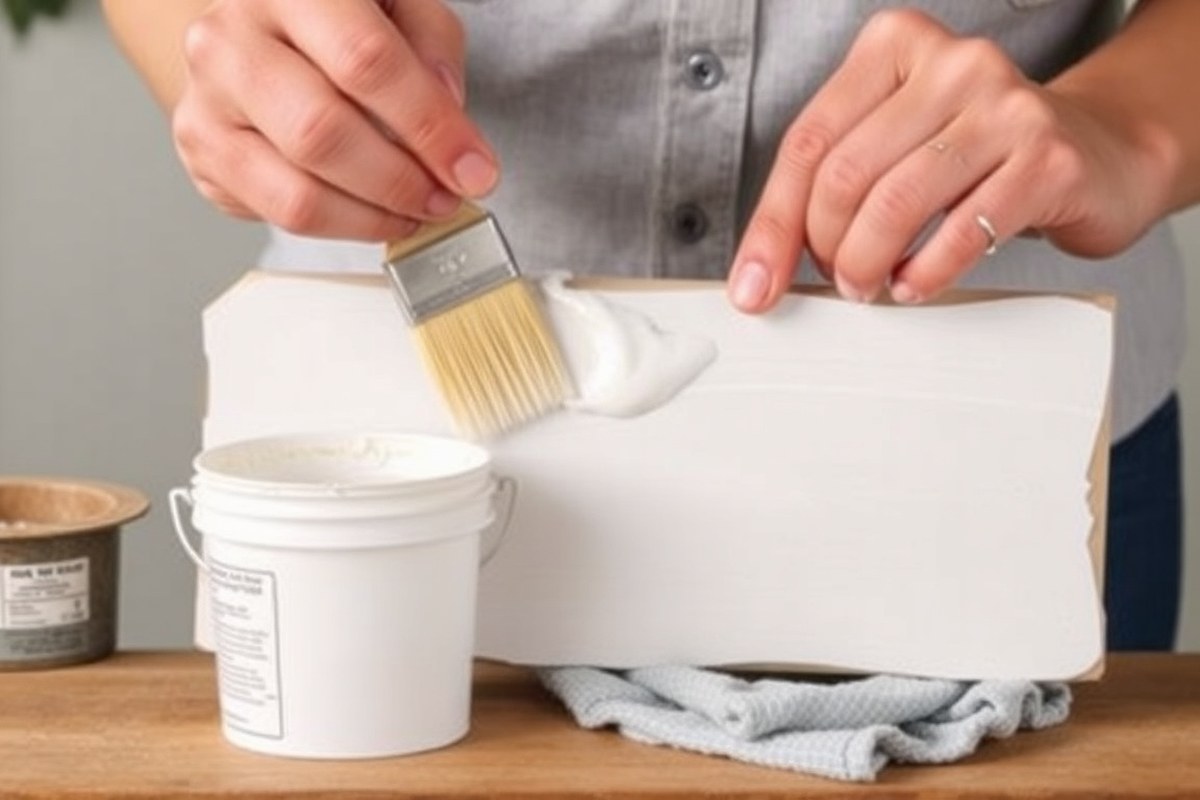
Apply the whitewash with a brush or a clean cloth, working in long, even strokes along the grain. Use a generous amount of the mixture to cover the surface fully. Let it sit on the wood for 3 to 5 minutes, allowing the paint to absorb.
Controlling the final look depends on wiping excess paint off. Use a damp cloth to gently wipe the surface, removing pooled paint and revealing the wood grain underneath. For a stronger whitewashing effect, wipe less; for a lighter appearance, wipe more thoroughly. Applying 2 coats often yields a balanced, durable finish, letting the first coat dry completely, usually 1 to 2 hours at room temperature, before applying the second. Follow these steps for the best results:
- Use a clean rag dipped into your diluted paint mixture to apply the whitewash evenly over the surface.
- Apply liberally to the wood surface, following the grain.
- Allow the whitewash to sit for 3 to 5 minutes.
- Wipe off excess with a damp cloth using gentle, circular motions.
- Let the first coat dry 1 to 2 hours at 70°F before deciding on a second coat.
- Repeat application and wiping if a stronger whitewash is desired.
Sealing the Whitewashed Sign
After the last whitewash coat has dried completely, usually 24 hours, seal the surface with a clear water-based sealant. This protects against moisture, dirt, and fading. Use a matte or satin polyurethane finish to keep the soft, aged look without a glossy shine.
Applying sealant involves brushing on thin, even coats and letting each dry fully before adding another. One or two coats are typically sufficient. Avoid oil-based sealants, which can yellow over time and change the whitewash color.
Sealing costs vary but expect about $15 to $30 for a quart of quality sealant, enough for several signs. Proper sealing greatly extends the whitewash’s life, especially for signs displayed in moderately humid or outdoor environments.
Preparing Your Wood Sign for Whitewashing
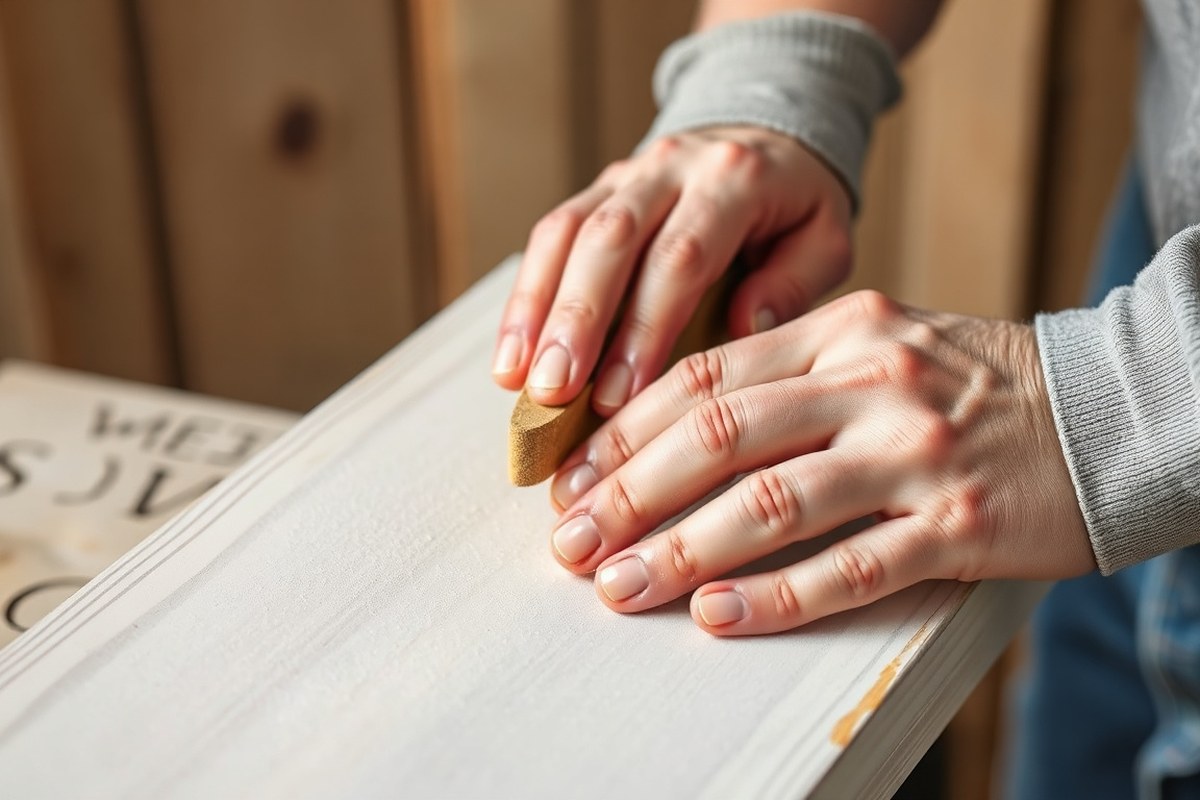
Preparing your wood sign properly before whitewashing is essential for a smooth finish that shows off the wood grain beautifully. Begin by sanding the wood to remove any existing paint, varnish, dirt, or rough spots. If your sign has an old finish or paint, you must strip or sand it back to bare wood before applying whitewash. Whitewash needs a clean, raw surface to adhere well and allow the natural wood grain to come through as part of the final look.
For sanding, use 120-grit sandpaper as it strikes a good balance between smoothing the surface and leaving enough texture for the whitewash to grip. For rough wood or reclaimed pieces with coarse grain, start with a lower grit like 80 to remove rough patches, then finish with 120 grit to refine the surface. New bare wood only requires a quick rub with 120 grit to prep for whitewashing.
Clean the sanded surface thoroughly using a vacuum or a soft brush to remove dust particles. Then wipe the wood down with a damp cloth and let it dry completely. Proper cleaning is critical since dust or grease can prevent the whitewash from adhering evenly.
- Sand old paint or varnish away completely before whitewashing
- Use 80 grit sandpaper for rough or reclaimed wood, followed by 120 grit
- New wood only needs a light sanding with 120 grit
- Remove all sanding dust with vacuum or brush
- Wipe wood surface with a damp cloth and let dry before whitewashing
Oiling or staining your wood before whitewashing can improve grain visibility, but only do this if you want a richer base tone showing through the semi-transparent whitewash. The whitewash itself remains semi-transparent unlike paint, so the wood’s texture and natural marks form part of the design. Applying whitewash over an untreated, clean, and properly sanded surface ensures the wood grain shines through to give that classic aged or washed look.
Avoid applying whitewash over surfaces with residual oil or varnish, they can yellow and cause uneven color under the whitewash.
Having the right tools on hand makes a big difference: good quality sandpaper (80 and 120 grit), a sanding block or orbital sander for even pressure, brush or vacuum for cleaning dust, and clean cloths for wiping. Taking this time upfront typically costs under $20 for materials if you don’t already have them, but it prevents costly mistakes like patchy coverage or peeling edges later.
Choosing and Mixing the Best Whitewash for Signs
Choosing the right paint and mixing it properly is key to achieving the perfect whitewash for your wood sign. The most common paint used is white latex paint, thanks to its versatility and easy cleanup. A standard starting point is a 1:1 ratio of paint to water, which offers a balanced, semi-transparent finish that lets the wood grain show through without being too sheer. Adjusting this ratio changes the brightness and opacity: more paint results in a stronger, more solid white look, while more water thins the whitewash for subtlety.
Chalk paint works well for signs that resemble furniture or when aiming for a classic, clean look with a slight vintage feel. Diluting chalk paint with an equal part of water gives a gentle, subtle wash effect. Acrylic paint also suits this purpose and is commonly combined with clear glaze or water-based polyurethane to form a tinted glaze that delivers adjustable color strength and keeps some of the wood’s natural texture visible. Below is a comparison table that summarizes suitable paint types, their effects, and recommended paint-to-water ratios for whitewashing wood signs:
| Paint Type | Recommended Ratio (Paint:Water) | Effect on Wood | Best Use |
|---|---|---|---|
| White Latex Paint | 1:1 (standard), up to 2:1 (more opaque) | Semi-transparent to opaque white, shows grain moderately | General whitewashed signs, especially outdoors with exterior versions |
| Chalk Paint | 1:1 | Soft, sheer, clean look with classic finish | Furniture-like signs, indoor projects needing timeless style |
| Acrylic Paint + Glaze (or Polyurethane) | Varies (usually low paint, more glaze) | Tinted glaze, transparent color wash preserving wood grain | Custom colored whitewash or tinted finishes |
To mix your whitewash, pour the measured amounts of paint and water into a mixing container and stir thoroughly with a paint stirrer until fully blended. Prepare a small test patch on your wood first so you can check the transparency and coverage before applying to the whole sign. Adding more water will make the whitewash easier to spread thinly, which works well if you want a very light wash that slightly brightens the wood. Using less water creates a thicker mix that covers more solidly but risks hiding more of the natural grain.
Some wood types or finishes might absorb the paint differently, so you might need to tweak the ratios slightly for the best effects. For bare wood signs, sticking close to a 1:1 mix usually gives good results. Indoor signs or delicate furniture-style pieces benefit from chalk paint blends, while exterior signs should use water-based paints designed to withstand weather if exposed outdoors. Keep your mix consistent throughout the project to maintain an even look.
Top Whitewashing Techniques and When to Use Them
Three common whitewashing techniques for wood signs include the brush and wipe method, rag application, and the candle wax resist method. Each approach offers a distinct finish and varies in effort and suitability depending on the wood type, such as pine, reclaimed wood, or smooth surfaces. Selecting the right technique affects how well the whitewash highlights the wood grain and how much time you’ll spend applying and adjusting the finish.
Brush and Wipe Method
This method uses a brush to apply diluted white paint or whitewash stain directly onto the wood. After brushing the paint along the grain, you wipe off the excess with a rag or towel before it dries, revealing the natural wood texture beneath. It provides a smooth, consistent whitewashed effect that’s easy to control for even coverage.
The brush and wipe technique suits both smooth and textured wood surfaces like pine and reclaimed wood. It requires a soft-bristled brush and clean rags. You’ll need about 15 to 30 minutes to apply one coat on an 18×24-inch sign depending on the wood’s porosity and how much paint you remove with wiping. This method produces a soft, rustic finish where the grain softly shows through, ideal for pine or hardware store wood like poplar and oak with smooth surfaces.
Rag Application Method
The rag method involves dipping a cloth rag into the whitewash mixture and rubbing it onto the wood’s surface. You apply the whitewash gradually, building layers for improve texture and a more varied, organic look. This process uses less paint overall but requires repeated application to reach the desired opacity.
Rag application is great for reclaimed wood or surfaces with uneven texture, where the rag can reach into grooves and knots naturally. It works well on signs that aim for a vintage or weathered look. A cotton or linen rag and your diluted paint or whitewash stain are the main tools needed. This method is slower than brushing but offers more control over intensity and layering, especially on rougher woods.
Candle and Wax Resist Method
The candle and wax resist method uses candle wax to block paint in selective areas, creating texture contrast where the whitewash doesn’t adhere fully. You rub a candle or wax lightly over spots before applying whitewash with a brush. Where wax covers, whitewash wipes away easily or doesn’t soak in, leaving the wood’s natural color exposed.
This technique suits textured wood like reclaimed barn wood or rough pine, improving surface variation. It requires a candle or wax block, brush, and whitewash mixture. Because it’s more time-consuming and precise, this method is best for decorative signs needing an authentic rustic character. The wax application takes about 10 minutes per sign, plus drying and paint steps.
| Technique | Finish Appearance | Effort Level | Best Wood Types | Required Tools |
|---|---|---|---|---|
| Brush and wipe | Smooth, soft rustic look with visible grain | Low to medium | Pine, poplar, oak, smooth hardware store wood | Soft-bristle brush, clean rags |
| Rag application | Layered, textured, weathered finish | Medium to high | Reclaimed wood, textured surfaces | Cotton or linen rag |
| Candle and wax resist | Rustic contrast with natural wood exposure | High | Rough or reclaimed pine and barn wood | Candle/wax block, soft brush |
Choosing the right method depends on your sign’s wood type and how much control you want over the finish texture and layering. The brush and wipe method offers the quickest and most even coverage on smooth wood, while the rag approach suits textured, reclaimed wood for a naturally worn look. Using candle wax is best reserved for detailed signs where contrasting texture and selective whitewashing showcase the wood’s imperfections.
Drying Times and Layering for a Durable Finish
Each coat of whitewash typically takes about 1 to 2 hours to dry fully. You’ll want to wait until the finish is completely dry before applying additional layers. The whitewash surface may feel tacky after about 15 to 20 minutes, but that’s not the right time to add a second coat. Applying another layer while tacky can result in uneven coverage and streaks. Instead, let the wood dry until it feels dry to the touch and no longer sticky, ensuring the whitewash has settled into the grain properly.
Deciding how many coats to apply depends on the look you want. A single thin wash gives a subtle, weathered appearance and lets plenty of the natural wood show through. If the finish looks too light after the first coat dries, add one or two more thin layers, repeating the same process of brushing, waiting about a minute to let the whitewash soak in, then wiping off excess. Multiple coats build depth and opacity but can mask some of the wood texture if overdone. Generally, two coats are enough for a balance between color and visible wood grain.
Drying conditions affect how long each coat takes to cure. Cooler temperatures slow drying times, potentially extending the wait to 3 hours or more. Humidity is another key factor, high humidity can keep the wood and paint surface moist, delaying drying and risking a tacky, blotchy finish. Aim to whitewash in a dry, well-ventilated space with temperatures between 65°F and 80°F. Avoid applying whitewash on very cold or damp days, as trapped moisture can cause adhesion problems and bubbling.
For best results, apply thin, even coats rather than heavy layers. Thin coats dry quicker and produce a cleaner, more consistent finish. After brushing the whitewash on, allow about a minute to soak before wiping off excess to avoid clumps. Let each coat fully dry before adding the next. Once your desired look is achieved and the final coat is dry to the touch, you can let the finish cure further for 24 hours before handling or sealing. Proper drying and layering protect the whitewash, helping it last indoors for years without peeling or fading.
Avoid rushing the drying process; adding layers too soon can trap moisture and cause a blotchy finish that shows brush marks.
Sealing and Protecting Your Whitewashed Wood Sign
Sealing your whitewashed wood sign is important to protect it from moisture, dirt, and daily wear. You should seal the sign after the whitewash has fully dried according to the manufacturer’s instructions, usually within 24 hours. Using the right sealant preserves the whitewashed look while ensuring the wood stays durable.
Clear polyurethane is one of the best sealants for whitewashed wood. It creates a hard protective layer without altering the color much, though it can add a slight sheen depending on the finish you pick, matte, satin, or gloss. Wax sealants also work, but keep in mind that white wax can act as a seal, making it difficult for other sealants to adhere if applied afterward. Latex or acrylic sealants are good for indoor signs, offering easy cleanup and moderate protection.
For outdoor whitewashed signs, use a water-based exterior polyurethane or a specialized outdoor wood sealer with UV protection. These help prevent fading and damage from sun exposure and rain. Applying multiple thin coats is best, allowing each coat to dry completely before the next. Thin coats avoid drips and keep the wood pores visible for the classic whitewashed texture.
- Apply sealant with a synthetic brush or microfiber cloth for even coverage.
- Lightly sand with fine-grit sandpaper (220 grit) between coats for smoothness.
- Test sealant on a hidden area to check color change or finish.
- For indoor signs, a wax or polyurethane satin finish keeps the look soft.
- Outdoor signs need at least two coats of exterior-grade sealer for durability.
- Reapply sealant every 1, 2 years outdoors depending on weather exposure.
- Keep original drying times from the sealant instructions for best results.
Sealing affects the whitewash’s texture and color by adding a layer of protection but typically does not darken the whitewash if you use a clear finish. However, some sealants can slightly deepen the hue, so a test spot is important. Expect the wood grain and whitewash details to remain visible. Over time, the sealant will wear down, especially on outdoor signs, so reapplying every year or two will maintain the finish and protect your work. By choosing a sealant matched to your sign’s location and applying it carefully, you will extend the life of your whitewashed wood sign while keeping its signature look intact.
Common Whitewash Mistakes and How to Fix Them
Blotchy or uneven whitewash often results from poor surface preparation or applying the whitewash too thickly. Dirt, dust, or oils left on the wood block the whitewash from settling properly, creating splotchy areas where the finish looks inconsistent. Applying thick coats can also hide the wood grain and cause patches where paint piles up instead of soaking in.
If your whitewash is too thick, it can cover the wood’s natural texture and look artificial. Too thin, and the whitewash may appear patchy and fade quickly. To fix a thick coat, gently sand the surface with fine-grit sandpaper to remove excess whitewash and smooth the finish. For a thin coat, apply a light second layer using smooth, even strokes along the grain until you get the desired opacity. Avoid heavy layers by diluting your whitewash mixture with water or paint thinner before applying.
Grain raising, where the wood fibers lift and cause a rough surface, happens when wet whitewash swells the wood. It creates a bumpy texture that can spoil the look and feel of your sign. To prevent this, lightly sand the wood with fine-grit sandpaper before whitewashing and make sure to use a minimal amount of liquid. After the first coat dries, sand gently again before applying a second coat to maintain a smooth surface.
Peeling or damage usually means the whitewash didn’t adhere properly due to skipped surface prep or applying it over a damp surface. Repair peeling by sanding down to a smooth surface before repainting. Always start with a clean, dry, and sanded sign. Allow each coat to dry completely (usually 1 to 2 hours under normal indoor conditions) before applying layers.
| Common Whitewash Mistake | Cause | How to Fix | Prevention Tip |
|---|---|---|---|
| Blotchy, uneven finish | Surface dirt/oil or thick application | Sand lightly and reapply thin, even coat | Clean and sand the wood before whitewashing |
| Whitewash too thick | Heavy application obscuring grain | Sand excess whitewash; dilute next batch with water | Use thin coats, apply in grain direction |
| Whitewash too thin | Overly diluted or light application | Apply a thin second or third coat | Mix proper consistency; test on scrap wood |
| Grain raising (rough texture) | Wood fibers swelled by moisture | Sand surface between coats | Sand before and between coats; avoid soaking wood |
| Peeling or flaking | Damp surface or poor adhesion | Sand off peeling, dry completely, then repaint | Use clean, dry wood; allow curing time between coats |
For best results, use birch or similar wood with a tight, even grain and pale color that shows off the whitewash effect well. Working in the direction of the grain with a paintbrush or roller helps keep strokes smooth and prevents blotching. Always let each coat dry thoroughly, about 1 to 2 hours, before applying the next. This careful approach preserves the semi-transparent quality that highlights the wood grain while providing a warm, cozy look.
Creative Finishing Touches for Whitewashed Signs
Adding creative finishing touches transforms a simple whitewashed wood sign into a unique piece that fits your style. Distressing, stenciling, and lettering can customize the look while preserving its natural charm. Using these techniques carefully ensures the whitewash base stays intact while achieving your desired rustic or polished effect.
Distressing Techniques for Rustic Signs
Distressing exposes some of the wood beneath the whitewash, creating a weathered, vintage appearance ideal for rustic decor. Sanding or scraping the sign after the whitewash dries is the easiest way to add gentle wear. For deeper aging, apply a dark stain before whitewashing to create contrast that improve the weathered effect. Follow these steps to distress your whitewashed sign safely without damaging the base coat:
- Let the whitewash dry completely, typically at least 24 hours, to avoid peeling.
- Use medium-grit sandpaper (around 120-grit) for initial distressing to remove some whitewash and reveal wood grain.
- Focus on edges, corners, and raised areas that naturally wear over time.
- Switch to a fine-grit sandpaper (220-grit) for subtle smoothing of rough spots.
- Wipe away dust with a tack cloth to keep the surface clean.
- Optionally, use a coarse steel wool or a scraping tool for creating small dents or scratches for extra character.
- Apply a protective topcoat once you finish distressing to preserve the look.
Test your distressing method on a scrap piece first to avoid removing too much or damaging the wood underneath.
Using Stencils and Cricut for Lettering
Whitewash signs make a great backdrop for adding custom words or designs with stencils. You can use adhesive vinyl stencils or create precise lettering with a Cricut cutting machine for sharp details. Lightly paint over the stencil with acrylic paint or sign markers for clean, durable results. Acrylic paints around $5 to $10 per tube work well; choose colors with good opacity like black, navy, or charcoal for contrast. Here are tips to stencil successfully over a whitewashed surface:
- Ensure the whitewash is fully dry and sealed if possible to prevent paint bleeding.
- Use a stencil brush or foam pouncer with minimal paint to apply thin, layered coats.
- Peel stencils off carefully while paint is still slightly wet to avoid lifting the paint.
- For reuse and precision, clean reusable stencils promptly with warm, soapy water.
Stenciling over glossy or poorly dried whitewash can cause paint to peel, so always confirm the whitewash is matte and fully cured.
Protecting Altered Surfaces After Finishing
Sealing whitewashed and distressed signs protects your artwork from fading, chipping, or moisture damage. Use a clear water-based polyurethane or matte acrylic sealer sprayed or brushed on evenly. This type of sealer preserves the natural texture and color variations without yellowing, which can happen with oil-based products. Apply these steps for best protection:
- Clean the sign of all dust and debris from distressing or stenciling.
- Choose a sealer designed for wood and compatible with whitewash and acrylic paint.
- Apply two or three light coats, letting each dry for 2 to 4 hours before the next.
- Avoid thick layers that can cloud details or feel sticky.
Applying the sealer in a well-ventilated, dust-free environment reduces the risk of bubbles or dirt sticking to the finish.
Step-by-Step Action Plan
Follow this plan to whitewash your wood sign effectively and achieve a professional look.
- Before you start: Prepare the wood surface by sanding with medium-grit sandpaper until smooth and clean. Your wood should feel even and have no visible dust or debris.
- Day 1: Mix your whitewash using diluted white latex paint or a whitewash stain you prepared according to instructions. Test it on a scrap piece of wood to check opacity and drying time.
- Day 1, after mixing: Apply the first thin coat of whitewash using a brush or rag, moving with the wood grain. The color should look lighter and not cover the wood texture fully.
- After 1 hour: Lightly wipe excess whitewash with a clean cloth before drying sets for a distressed, natural look. If the finish is too opaque, sand lightly before applying the next coat.
- Day 2: Apply a second coat for stronger coverage if desired. Let it dry fully (4-6 hours) and inspect the texture and color. Add more layers only if needed and always allow proper drying between coats.
- After final coat dries: Seal your whitewashed sign with a clear, matte polyurethane or outdoor sealant for protection. Ensure the sealant is compatible with your whitewash choice.
- After sealing: Let the sign cure for 24 hours in a dust-free area before handling or hanging. Check for any touch-ups or uneven areas and fix them with spot sanding or an additional seal.
Frequently Asked Questions
Can You Whitewash a Previously Painted Wood Sign?
Whitewashing over painted wood is tricky because the paint blocks pores, limiting absorption. It’s best to use whitewash on bare or unfinished wood for a semi-transparent, authentic look. Sanding off old paint first improves whitewash adhesion and appearance.
How Long Should You Wait Before Sealing a Whitewashed Sign?
Wait at least 24 hours for the whitewash to dry fully before applying a sealant. Sealing too soon can trap moisture, causing finish problems. Ensure the surface feels dry and no longer tacky for best protection results.
Can I Use Latex Paint Straight from the Can for Whitewashing?
It’s better to thin latex paint with water, typically a 1:1 ratio, for whitewash. This balances opacity and lets wood grain show through, creating that worn, antique look. Straight paint is too thick and covers the wood too solidly.
What’s the Best Brush Type for Applying Whitewash to Wood Signs?
Use a natural bristle brush to apply whitewash for better paint loading and grain detail. It helps spread the watered-down paint smoothly and controls the finish. Synthetic brushes can work but may create a less natural texture.
Is It Possible to Whitewash Sealed or Varnished Wood Signs?
Generally no, because sealants block paint absorption, preventing a true whitewash effect. You can lightly sand the surface to remove sheen but results might still be uneven. Whitewash works best on raw or minimally treated wood.
How Can I Fix Streaky or Blotchy Whitewash on a Wood Sign?
Blotchy whitewash often means uneven application or drying too fast. Lightly sanding the sign and reapplying a thinner whitewash coat evenly can help. Working in small sections and wiping excess after 3-5 minutes also reduces streaks.
Final Thoughts
Whitewashing a wood sign offers a simple way to create a charming, rustic appearance while protecting the wood. Taking your time to prepare the wood, apply even coats, and seal properly results in a durable and attractive finish. Start by prepping a small test area to practice your whitewash technique before moving to the main sign.