How to Make Halloween Signs with Easy Steps and Creative Ideas
How to make Halloween signs starts with picking a sturdy base like wood, canvas, or reclaimed materials for durability and style. Use easy-to-find craft paints and simple tools to create spooky or festive designs quickly. Begin by deciding on your desired size and theme to guide materials and decoration choices effectively.
Key Takeaways
- Select wood planks around 12×18 inches or 8×24 inches for an ideal sign size and manageable workspace.
- Paint your base with craft paint and allow 10-20 minutes drying time before adding details.
- Layer 3D elements or glitter to add visual interest and depth to your signs.
- Look for design inspiration like Halloween Sign SVG files for precise, customizable templates.
- Use weatherproof sealants to protect outdoor signs from rain and sun damage.
- Opt for reclaimed wood or canvas as budget-friendly alternatives for eco-conscious projects.
Essential Materials and Tools for Halloween Signs
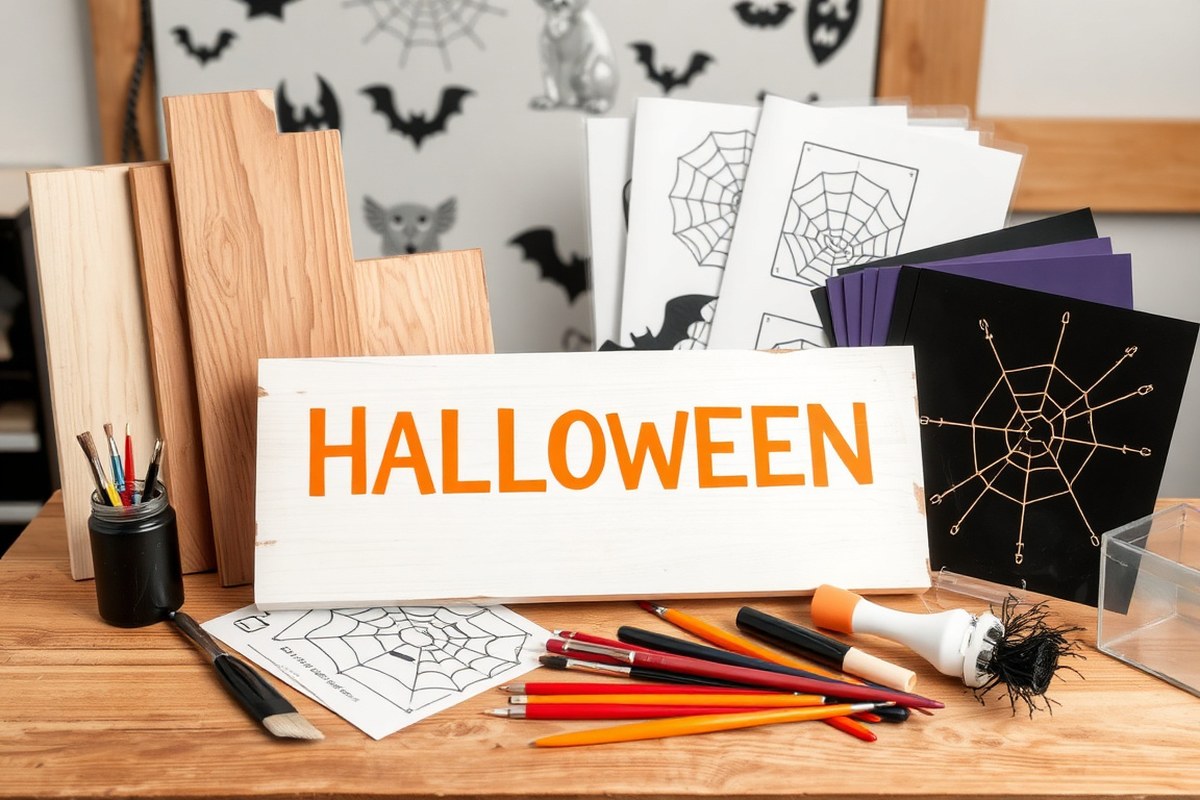
To make Halloween signs, gather basic materials that fit your design and skill level. Wood is the most popular base, especially plywood or reclaimed scrap wood, since it is sturdy and easy to paint. Chalkboards or ready-made foam signs offer simplified options if you want less prep work. Choose paints suited for your sign’s location: acrylics work well indoors, while outdoor signs need weather-resistant paints to hold up against rain and temperature changes.
Essential tools for assembling and decorating Halloween signs include basic hand tools for measuring, cutting, and smoothing edges. A handsaw or jigsaw lets you cut wood to your desired shape and size. Sandpaper or a sanding block smooths rough edges and allows paint to adhere better. Depending on your design, larger signs might require a drill with screws or wood glue to assemble layers or attach decorative pieces securely.
- Wood base (plywood, scrap wood, or foam sign board)
- Acrylic or outdoor paint (black, white, orange, and any accent colors)
- Paintbrushes of various sizes and foam brushes for even coats
- Safety goggles and gloves for cutting and sanding
- Sanding block or sandpaper (medium and fine grit)
- Handsaw or jigsaw for shaping wood
- Wood glue and screws plus a drill (for multi-layered signs)
Choose paints based on your intended use. For outdoor signs, look for weatherproof paints marked as outdoor acrylic. Indoors, standard craft acrylics will suffice and dry quickly, usually within 20 to 30 minutes. Stencils or vinyl decals can help create crisp lettering without freehand painting, improving the overall professional look of your sign.
Getting tools and materials that fit your plan matters. For example, a smooth, even surface means your paint will go on clean with no rough spots, so sand wood well. Using the correct paint ensures colors won’t fade or peel quickly. Cutting tools require care, wear safety goggles and gloves to avoid injuries, especially when using saws and power drills. Well-prepared signs take longer, but they last through the Halloween season and beyond, looking sharp whether displayed on a porch or inside your home.
Preparing Your Base: Wood, Canvas, and Alternatives
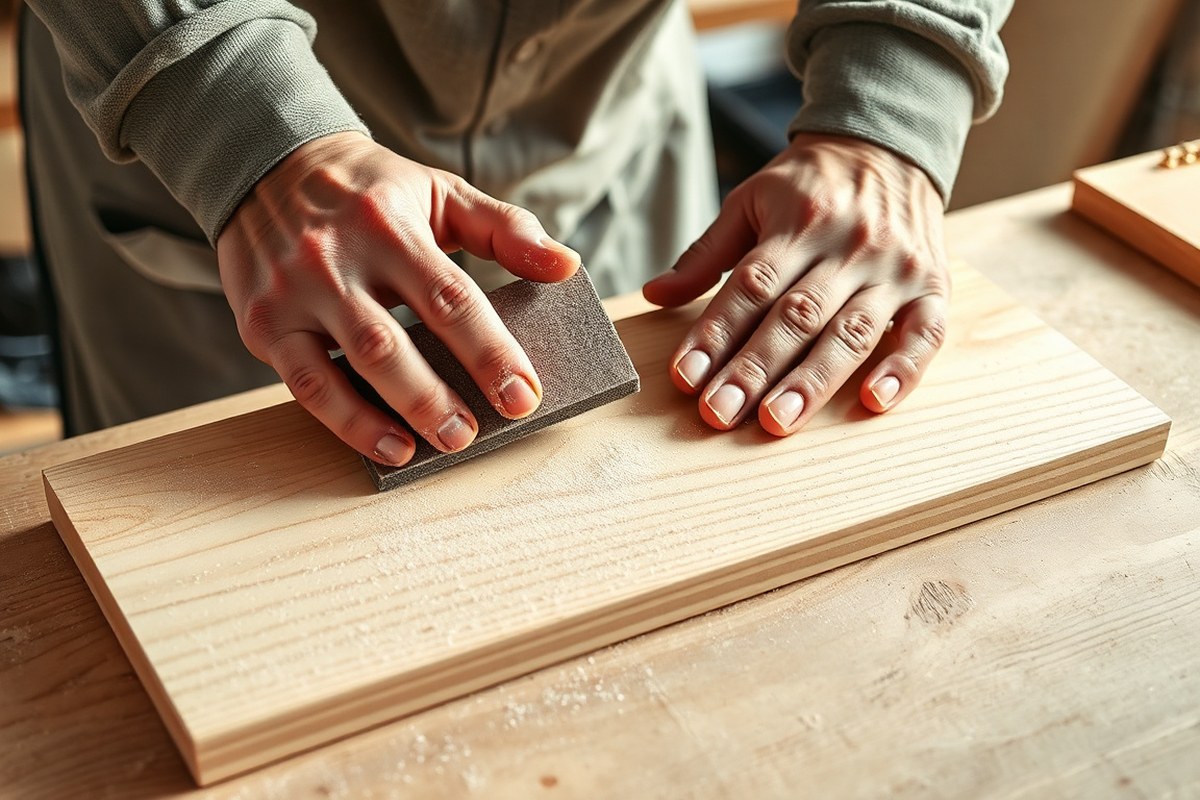
Preparing the base material for your Halloween sign ensures your paint or decorations adhere well and last longer. Whether you’re working with wood, canvas, foam, or repurposed items, cleaning and smoothing the surface, then applying a suitable primer or base coat, sets up your sign for success.
Sanding and Cleaning Surfaces
Sanding wood and foam removes rough spots and splinters that can interfere with painting or vinyl application. Canvas usually doesn’t need sanding but should be clean and dry. Cleaning removes dirt and oils that block paint from sticking evenly.
For wood, use medium-grit sandpaper (120-150 grit) to smooth the surface, followed by a finer grit (220) if needed. Wipe away dust with a damp cloth or tack cloth. Foam doesn’t require heavy sanding; lightly buff with fine sandpaper to prevent peeling paint. Clean canvas with a dry brush or vacuum surface dust.
Priming and Base Coats
Applying primer or base coats improves paint adhesion and helps colors stay vibrant. For wood, use a wood primer or a coat of latex or acrylic paint as your base. Foam responds well to foam-safe paints or gesso primer designed for textured surfaces. Canvas works best with a layer of gesso to seal fibers and create a uniform painting ground.
Paint your base coat in thin, even layers and allow it to dry completely, usually 1 to 4 hours depending on paint type and humidity. This seals the surface, reduces paint soak-in, and prevents chipping or flaking later.
- Choose a primer suitable for your base material (wood primer, gesso for canvas, or foam-safe primer).
- Apply primer with a brush or roller in thin, smooth coats.
- Let each coat dry fully, following manufacturer’s drying times.
- Lightly sand primed wood or foam with fine grit sandpaper for a smooth finish.
- Wipe off any sanding dust with a tack cloth before applying paint or decorations.
Test any paint or primer on a small area to check for peeling or reactions, especially with repurposed items that could have unknown finishes.
Choosing the Right Material by Sign Location
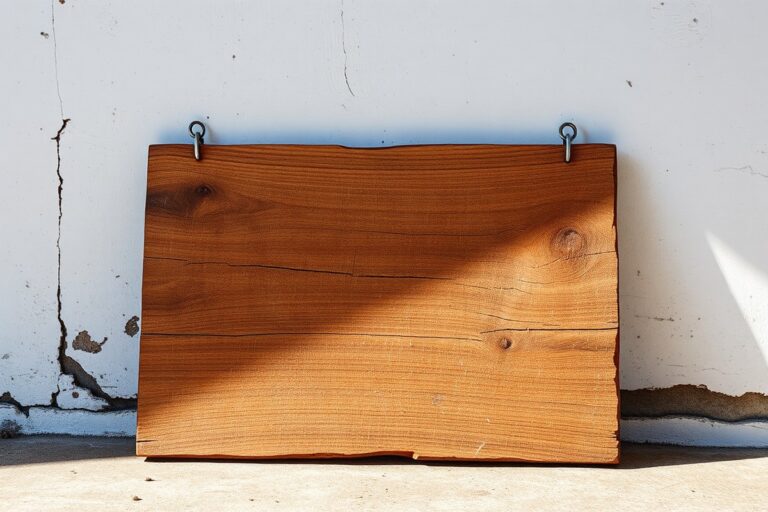
Select materials based on where you’ll display the sign. For outdoor signs, sturdy wood like pine or cedar works best because it holds up to elements when sealed properly. Canvas signs are great for indoor use where they won’t get wet. Foam board or repurposed items like wooden shutters or pallets offer creative options but may need extra sealing outdoors.
Repurposing old wood, shutters, or even cabinet doors gives a unique rustic look but watch for signs of water damage or warping. Sand off old paint and clean surfaces well. Adding a weatherproof sealant layer helps protect these signs if you plan to put them outside. Indoor signs don’t require weatherproofing, allowing more freedom with materials like canvas or lightweight foam.
Creative Design Styles and Themes for Halloween Signs
Halloween signs can fit many styles, depending on your taste and the vibe you want to create. Popular themes include farmhouse, spooky, cute, and seasonal fall. Each style uses specific motifs and decoration ideas that shape the final look. Choosing a theme helps keep your crafting focused and ensures your sign matches your overall Halloween decor.
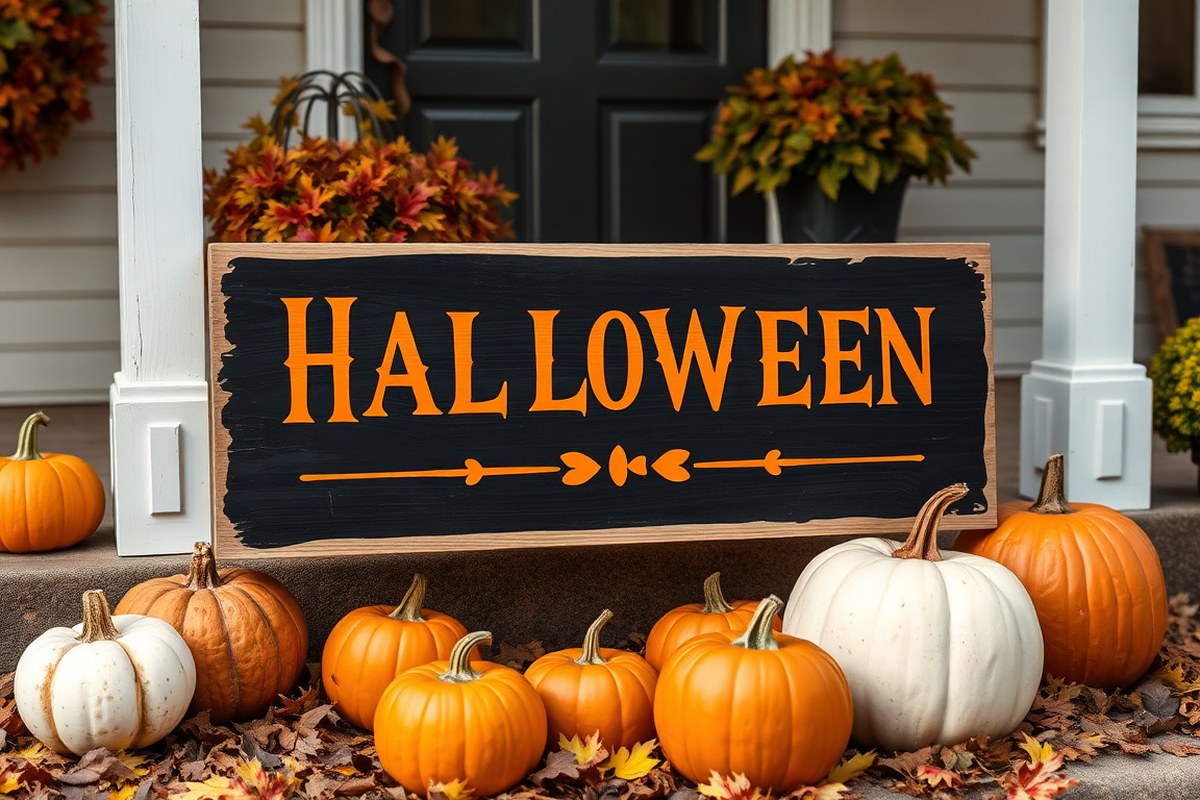
Farmhouse Halloween signs focus on rustic charm and simplicity. They typically use neutral colors like white, black, and orange, and feature hand-painted wood with simple, bold lettering. Designs often include pumpkins, black cats, or classic Halloween words like “Boo” or “Happy Halloween” in script or block fonts. You can customize by using a wooden plank or reclaimed wood, painting a base coat in cream or pastel orange, then stenciling or hand-painting your message. Add vinyl cut letters or farm-style motifs like pumpkins or leaves. These signs usually cost between $10 and $25 in materials, depending on wood quality and paint brands. Look for signs to look balanced, with clear lettering and subtle decorative elements. Risks include overcrowding the sign with too many images or colors, which takes away the farmhouse feel.
| Theme | Typical Motifs | Colors | Materials | Cost Range ($) |
|---|---|---|---|---|
| Farmhouse | Pumpkins, black cats, simple Halloween words | White, black, orange, cream | Reclaimed wood, paint, vinyl letters | 10-25 |
| Spooky | Ghosts, bats, haunted houses, eerie fonts | Black, dark purple, red | Canvas, wood, glow paint, vinyl | 15-40 |
| Cute | Smiling pumpkins, friendly ghosts, pastel colors | Pale orange, light purple, soft green | Wood, foam board, acrylic paint | 10-20 |
| Seasonal Fall | Leaves, acorns, harvest words (e.g., “Welcome Fall”) | Orange, brown, yellow, red | Wood, canvas, dried leaves | 12-30 |
Spooky Halloween signs lean into classic scary icons. These are great for outdoor use on porches. Use dark backgrounds, like black or rich purple, with glow-in-the-dark paints or vinyl letters. Choose eerie fonts, such as drippy or jagged styles, to improve the mood. Adding small LED lights around the edges can increase the spooky effect, especially at night. You might spend $15 to $40 on materials, owing to special paints and lighting. Signs should feel balanced and clear, avoiding too many effects that could distract.
Cute Halloween signs bypass gore and scary images. Typical decorations include friendly ghosts, smiling pumpkins, or humorous sayings like “Hey Boo.” Use pastel or soft colors instead of harsh ones. Foam board or lightweight wood works well for indoor signs, and simple acrylic paints keep the look cheerful. These signs cost between $10 and $20 to make. The goal is inviting, not frightening, so keep designs playful and avoid dark colors.
Seasonal fall signs often combine Halloween themes with autumn decor. Think warm colors with leaves, acorns, and harvest greetings. These signs can double as fall decor before Halloween and help extend use through November. Wood or canvas bases work well, and layering paints with real dried leaves or twine adds texture. Costs range from $12 to $30, depending on material choices. The most effective signs look warm and welcoming without overusing Halloween symbols. Script fonts and natural elements help balance the look.
Step-by-Step Guide to Painting and Decorating Halloween Signs
Painting and decorating Halloween signs involves layering colors, shapes, and textures for a striking seasonal look. You can achieve sharp, detailed lettering with stencils or vinyl decals, while freehand painting adds a personal touch. Embellishments like glitter and LED lights improve visual appeal and make your sign stand out both day and night.
Applying Base Paint and Drying Times
Start by choosing a solid base color that sets the tone of your Halloween sign. Black, orange, purple, or candy corn colors work well for a festive vibe. Use acrylic craft paint designed for wood or your sign material. Apply with a brush or sponge in even strokes to avoid drips and uneven patches.
Let the base coat dry completely before adding any details. Drying times depend on paint thickness and temperature, but generally allow 30 to 60 minutes at room temperature (around 70°F). For a smoother finish, apply a second coat and wait another 30 to 60 minutes. Proper drying prevents smudging when you apply stencils or decals.
Using Stencils and Vinyl Decals
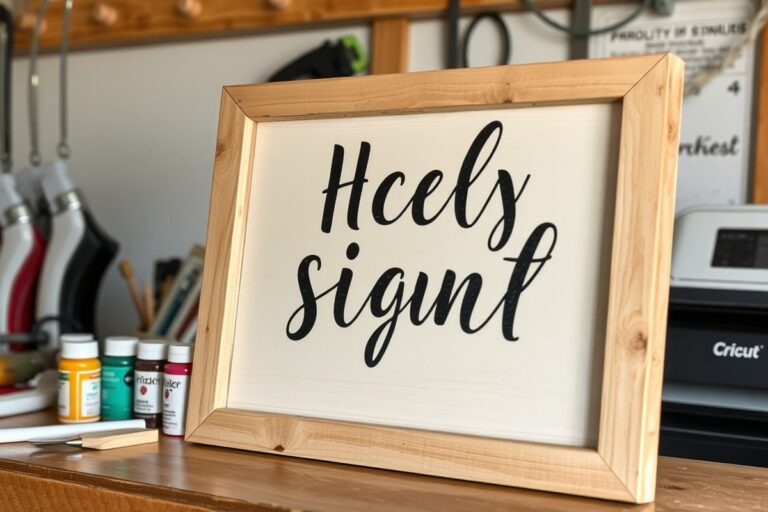
Stencils and vinyl decals help create crisp, clean lettering and shapes that are difficult to paint freehand. If you use a Cricut machine, upload or choose a Halloween-themed SVG file, and cut your stencil or vinyl design on stencil vinyl or adhesive vinyl material. These machines usually cut 12 inches by 24 inches designs, perfect for porch or yard signs.
To paint with stencils, tape the stencil firmly to your dry base paint. Lightly sponge or brush on white or contrasting craft paint over the stencil edges. Remove the stencil carefully before the paint fully dries to avoid peeling, waiting about 5 to 10 minutes for paint tackiness but not full drying. For vinyl decals, peel the backing and press the vinyl onto the sign surface smoothly, using a scraper tool to avoid bubbles.
- Cut your stencil or vinyl decal using your Cricut machine and applicable vinyl material.
- Place and tape stencils securely on the base-painted sign if painting; or clean surface for vinyl application.
- Apply paint over stencils with a sponge or brush using a dabbing motion; for vinyl, press and smooth decals thoroughly.
- Remove stencils carefully while paint is tacky or leave vinyl decals to set completely.
- Touch up edges freehand if needed using a fine liner brush for clean lines.
Adding 3D Elements and Embellishments
Adding glitter, LED string lights, or small vinyl accents like bats or witches can make your sign eye-catching at night and add texture during the day. Use fabric glue or craft adhesive designed for your base material to attach glitter or gauze for mummy stripes. Allow glue to dry at least 30 minutes.
For lighting, position battery-operated LED strings along the edges or behind cutouts. Secure lights with small clips or hot glue carefully, avoiding damage to the wiring. Glow-in-the-dark paints are another option to create spooky effects that brighten after sunset. Apply these paints last in thin layers and let them cure overnight for best results.
Making Durable Outdoor Signs: Weatherproofing Tips
Protecting your outdoor Halloween signs from rain, sun, and wind starts with choosing the right finish. Applying a clear, weatherproof sealant is essential because it blocks moisture and UV rays that can cause paint to fade or wood to warp. Look for outdoor polyurethane or acrylic spray sealers labeled for exterior use. You’ll want to apply two to three even coats, allowing each to dry completely, usually 2 to 4 hours between coats at temperatures above 50°F. This method usually costs around $10 to $20 for a can, enough to cover multiple signs.
Start by cleaning your sign’s surface to remove dust or oils. Use a soft cloth and mild soap, then let it dry thoroughly. After this, spray or brush on the first coat of sealant in a well-ventilated area. Hold spray cans about 8 to 12 inches from the surface for even coverage. Multiple thin layers protect better than one thick coat, which can drip or crack. For painted wood signs, sanding lightly with a fine-grit sandpaper between coats improves adhesion and smoothness.
If your signs are made from untreated wood, consider using an outdoor wood primer before painting and sealing. Primer seals the wood pores, preventing water absorption that leads to swelling or rotting. This adds a step but pays off for durability. For fabric or canvas signs, an outdoor fabric protector spray can repel water while keeping flexibility, although it won’t stop strong winds from causing wear. Reinforce fabric signs by sewing or hot-gluing grommets for sturdy hanging points, then use heavy-duty zip ties or rust-resistant hooks for mounting.
Signs placed in windy areas need extra security to avoid damage. Secure them with sturdy hooks or nails driven into a solid surface. For freestanding signs, stake them deeply into the ground or anchor them with weighted bases to prevent tipping. A flexible mounting method like zip ties can hold up better than nails when the wind is strong because it allows some movement without breaking the sign.
Signs exposed to direct sunlight for long periods require UV protection to maintain vivid colours. Some clear sealers include UV inhibitors which reduce fading. Reapplying a fresh coat of sealant halfway through the season, about 3 to 4 weeks in, can extend your sign’s life. Watch for signs of wear such as chipped paint, peeling edges, or dull spots. Catching these early with a touch-up of paint or sealant keeps the sign looking festive through Halloween.
Choose sealants marked “exterior use” and apply multiple thin coats for the longest lasting weatherproof finish.
Budget-Friendly Halloween Sign Ideas and Material Alternatives
Making Halloween signs doesn’t have to blow your budget or require traditional materials like wood and paint. You can create eye-catching decorations using inexpensive or recycled items, keeping costs low while still delivering festive style. Using materials you already have around the house or picking up low-cost alternatives from craft stores or dollar shops can cut expenses dramatically.
One popular option is cardboard or thick poster board, which you can repurpose from old boxes or purchase for less than $2 per sheet. Cardboard works well for indoor signs or covered porches and can be decorated with markers, colored pencils, or inexpensive acrylic paints that dry quickly, usually in 15-20 minutes. These signs won’t hold up outdoors in bad weather for long without some waterproof sealant.
Fabric scraps, like old T-shirts or pillowcases, also make great bases. Stretch fabric over a lightweight frame made from recycled wire hangers or thin dowels for a sign you can paint or draw on using fabric markers. Fabric is flexible and can be reused or folded away for storage, typically costing only a few dollars if you need to buy materials.
Another budget-friendly material is foam board, available for about $3 to $5 at craft stores. It’s lightweight, flat, and paint-friendly. Foam boards add a bit more durability compared to cardboard but still aren’t suitable for wet outdoor conditions without protection.
- Use recycled cardboard boxes as your sign base and decorate with permanent markers and stickers.
- Create stencils from scrap paper to paint neat letters or Halloween shapes onto fabric or paper signs.
- Craft hanging signs from inexpensive foam boards or foam core sheets for lightweight decor.
- Repurpose old window screens or mesh to add texture, paint or attach cut-out paper shapes.
- Decorate plain wooden hangers and use fabric scraps to make small door or wall signs.
- Use washi tape or colored duct tape to add stripes and borders without paint.
- Try chalkboard paint on inexpensive surfaces for reusable, changeable Halloween messages.
Signs made from these alternatives usually require less drying time than traditional wood and paint projects and can be created in 30 to 60 minutes. Keep in mind that most non-wood materials won’t last as long outside without extra weatherproofing, so bring them indoors during rain or snow. To extend their life, apply a clear spray sealant or cover with a plastic wrap when displayed outdoors.
Trying these budget options helps you make seasonal decorations without sacrificing creative design or style. Picking the right material based on how long and where you want to display the sign is key to getting good results while saving money on supplies.
Common Mistakes When Making Halloween Signs and How to Fix Them
Paint smudges often happen when the paint hasn’t dried long enough before touching or adding more layers. This matters because smudges ruin the clean look of your Halloween sign and can make the design hard to read. To fix smudges, use fine-grit sandpaper to gently smooth the affected area once it’s fully dry. Then, repaint carefully with thin coats, letting each layer dry for at least 30 minutes in a warm, dry place to prevent runoff and smearing.
Poorly applied vinyl is another frequent issue, especially if the transfer tape isn’t removed correctly or the surface isn’t properly cleaned before application. Vinyl peeling occurs if the base is dusty or greasy or if the vinyl isn’t firmly pressed down. Always clean wood surfaces with rubbing alcohol or soap and water, then dry completely before applying vinyl. After placing the vinyl using your transfer tape, firmly rub it down with a scraper tool. Peel back your transfer tape slowly at an angle. When the vinyl lifts, press it back down and repeat the rubbing step to ensure full adhesion.
Warped wood changes the shape of your sign, making it difficult to hang and causing the paint or vinyl to crack or peel. Wood warping often happens due to moisture exposure or using wood that wasn’t dried properly. To avoid this issue, choose kiln-dried lumber or sealed wood boards from the start. Store your wood flat in a dry area before starting your project. Your wood may warp during crafting; try moistening it slightly and clamping it flat until it dries. This process takes time and might not fix severe warping completely.
- Let paint dry at least 30 minutes between coats in a warm area to prevent smudges.
- Clean wood surfaces thoroughly before applying vinyl to avoid peeling.
- Use a scraper tool to press vinyl down firmly and peel transfer tape slowly at an angle.
- Select kiln-dried or sealed wood to reduce warping risks.
- Store wood flat and dry before starting your project.
- Sand and repaint any smudges only after the paint is completely dry.
- Address minor warping by moistening and clamping wood flat, allowing it to dry under pressure.
Fixing these mistakes soon after they occur is key to maintaining your Halloween sign’s quality. For paint smudges and vinyl peeling, patience and gentle touch are essential. Warped wood requires more preventative care but can sometimes be corrected with simple moisture and pressure techniques. Spending additional time on preparation and drying pays off in the long run by saving you money on wasted materials and replacements.
Involving Family: Safe and Fun Halloween Sign Projects
Engaging your family in making Halloween signs is a fun way to connect and customize your holiday decor. Keeping the project safe and suitable for all ages means choosing the right materials and assigning tasks with care. Simple, hands-on activities encourage creativity without risk.
Selecting Kid-Friendly Materials
Pick materials that are easy to handle and safe for children, such as foam boards or sturdy cardboard. These surfaces are lightweight and won’t splinter like wood, reducing injury risks. Foam boards typically cost around $5 to $10 and come in various sizes, making them affordable for family projects. Using non-toxic paint or markers designed for children helps prevent exposure to harmful chemicals. Avoid sharp objects or heavy tools when kids are involved.
Opting for pre-cut shapes or templates also simplifies the process. This allows kids to focus on decorating instead of cutting. Stick-on letters, stencils, and foam shapes add variety and encourage personalization. Craft glue or tape works well for attaching pieces and dries quickly, keeping the project flowing smoothly.
Assigning Simple Tasks Safely
Match each family member’s abilities to specific tasks. Younger kids can focus on painting broad areas, applying stickers, or arranging decorations. These activities require minimal fine motor control and no sharp tools. Adults or older children handle cutting wood, using nails, or applying strong adhesives.
Set up a crafting station where everyone has enough space and materials within easy reach. Use child-safe scissors and ensure sharp tools are only used under close supervision. Working together on a rustic wood sign, for example, means an adult should handle hammering nails while kids paint or glue accents. Limiting time for each step and allowing breaks reduces fatigue and keeps attention focused on safety.
Keep sharp tools and strong adhesives out of children’s reach unless supervised closely to avoid accidents.
Creating Traditions with Halloween Crafts
Making Halloween signs as a family can become a yearly tradition that builds lasting memories. Personalizing signs with your family name or favorite Halloween themes strengthens the experience. Choose simple designs that all ages can take pride in completing together. A porch sign welcomes trick-or-treaters and adds a festive touch to your home.
Each year, try a new theme or include everyone’s input for the decorations. This keeps the activity fresh and exciting. Celebration traditions centered on crafting combine fun and creativity, making Halloween decor more meaningful. Plus, children learn skills and responsibility while enjoying time with loved ones.
Step-by-Step Action Plan to Make Your Halloween Sign
Follow these steps in order to create a Halloween sign that fits your style and lasts through the season.
- Before you start: Gather all your materials and tools based on your chosen base and design style. Confirm you have paint, brushes, stencil or drawing tools, and weatherproofing supplies if needed.
- Day 1: Prepare your sign base by sanding rough surfaces or applying a primer coat to canvas or wood. Check for a smooth, clean surface before painting.
- Day 2: Sketch or stencil your design lightly on the base. Ensure the composition looks balanced and fits the surface area.
- Day 3: Paint your base colors, allowing time for each layer to dry thoroughly. Confirm paint is dry by touch and no tackiness remains.
- Day 4: Add detail work and accents, such as lettering or images. Use smaller brushes for precision and check your work in good light.
- Day 5: Apply a weatherproof sealant if your sign will be outdoors. Make sure to cover all painted areas evenly and dry according to product instructions.
- Day 6: Attach any hanging hardware or supports. Test that the hardware is secure and that the sign can be safely displayed.
- Day 7: Hang or place your Halloween sign. Step back and adjust placement for visibility and impact on your home décor.
Frequently Asked Questions
What Types of Paint Work Best for Halloween Signs?
Acrylic paint works well because it dries quickly and offers vibrant colors. It’s also water-resistant once dry, making it suitable for both indoor and outdoor signs.
Can I Use Stencils for Lettering on My Halloween Signs?
Yes, stencils help create clean, professional-looking letters. They’re especially useful for beginners or when you want consistent fonts on multiple signs.
How Long Does It Take to Make a Halloween Sign?
Most signs take about 1 to 3 hours depending on complexity. Simple designs with fewer layers dry faster, while detailed painting or weatherproofing adds time.
Can I Reuse Halloween Signs Year After Year?
Reusing signs is possible if you protect them properly. Storing them in a dry place and applying a weatherproof sealant extends their life span.
Are There Eco-Friendly材料 for Halloween Sign Making?
Yes, you can use reclaimed wood, recycled cardboard, or non-toxic paint options. These choices reduce waste and are better for the environment.
What’s a Simple Technique to Add Texture to Halloween Signs?
Sponging or dry brushing paint creates texture and adds dimension. It’s an easy way to make your signs look more interesting without complex tools.
Wrapping Up
Crafting your own Halloween sign brings your seasonal décor to life while giving you a personalized touch. Start with simple designs and the materials you’re comfortable using to build your confidence. Your next step is picking a base and sketching your design; this sets the foundation for a successful project you’ll enjoy displaying every fall.