How to Make a Rustic Metal Sign: Step-by-Step Guide with Material & Tool Tips
Knowing how to make a rustic metal sign starts with choosing the right metal, like aluminum or steel, for durability and style. After picking your material, plan your design clearly to ensure your message fits well. Starting with a simple sketch saves time when cutting and finishing the metal.
Key Takeaways
- Use aluminum or steel sheets for easy cutting and weather resistance in your rustic metal sign.
- Sketch your sign layout on paper before cutting metal to reduce mistakes and wasted material.
- Sand metal edges lightly to remove burrs and create a better surface for paint adhesion.
- Apply a base coat of acrylic paint to add color and a weathered look to your sign.
- Personalize your sign by adding wood letters or stencils for clear, rustic lettering.
- Seal the finished sign with a clear outdoor sealant to protect against rust and fading.
What Is a Rustic Metal Sign and Why Make One
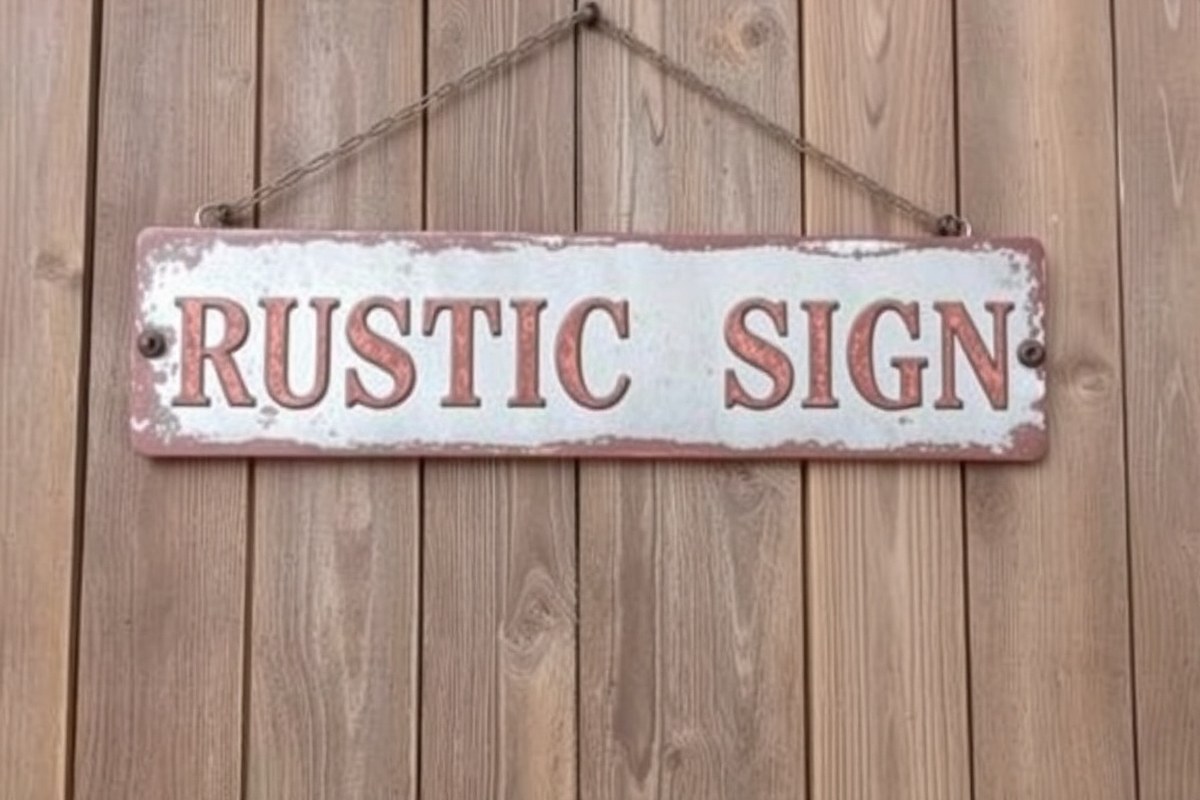
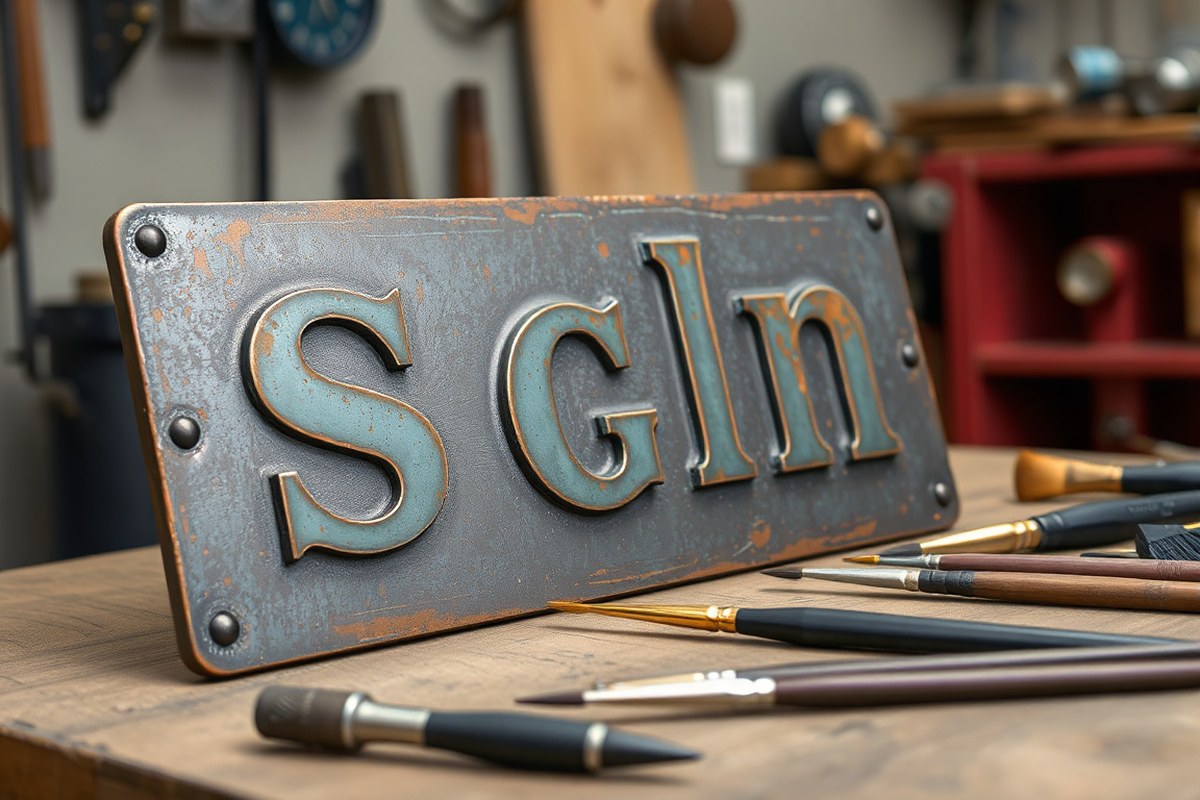
A rustic metal sign is crafted from materials like aluminum, steel, or iron and features names, logos, or messages with a deliberately worn or distressed look. This style highlights natural flaws, rust, and textured surfaces to create a genuine vintage vibe. Such signs are ideal for decorating homes or promoting businesses, as they offer long-lasting quality paired with a versatile, classic design that suits many settings.
Choosing to create a DIY rustic metal sign instead of buying one offers several benefits. First, making your own sign lets you customize every detail, from size and shape to color and finish. This personalized approach means your sign can perfectly fit the space and style you want to improve, whether that’s a cozy kitchen wall, a storefront facade, or a garden gate. DIY projects allow you to include unique elements, such as custom text or logos, which pre-made signs often lack.
The cost of materials for a homemade metal sign typically ranges from $20 to $75, depending on the type and size of metal sheet you choose. For instance, aluminum sheets are often more affordable and easier to work with, making them a popular choice for beginners. Steel offers greater durability and a more industrial look but requires stronger tools and safety precautions. By going the DIY route, you avoid the premium prices of custom signs from professional makers, which can start around $150 and go higher depending on complexity and materials.
To start creating your rustic metal sign, plan the design carefully on paper or with digital tools to determine the message and style. After selecting the appropriate metal, you’ll need cutting tools such as a jigsaw with metal-cutting blades for straightforward shapes, or a plasma cutter for more intricate designs. This hands-on approach requires patience and safety measures like gloves and eye protection, but it also allows you to control every step of the process. You can add a rustic finish by applying techniques like sanding, wire brushing, or using chemical patinas to intentionally age the metal’s surface.
Good results show a sturdy sign with a balanced and readable design, a convincingly weathered appearance, and clean edges from precise cutting. Signs that look too polished or have uneven cuts might lose that rustic charm. The project takes a few hours for basic designs, but complex shapes or finishes can extend the timeline. Keep in mind that working with metal can pose risks such as sharp edges or metal dust, so following safety instructions and using proper tools is essential.
A rustic metal sign blends metal’s durability with the unique appeal of aged craftsmanship. Creating one on your own gives you the freedom to craft a unique piece that fits your space, style, and budget. Creating your own rustic metal sign for home decoration or business identification lets you express your creativity while reducing costs compared to purchasing pre-made options.
Choosing the Right Metal and Tools for Your Sign
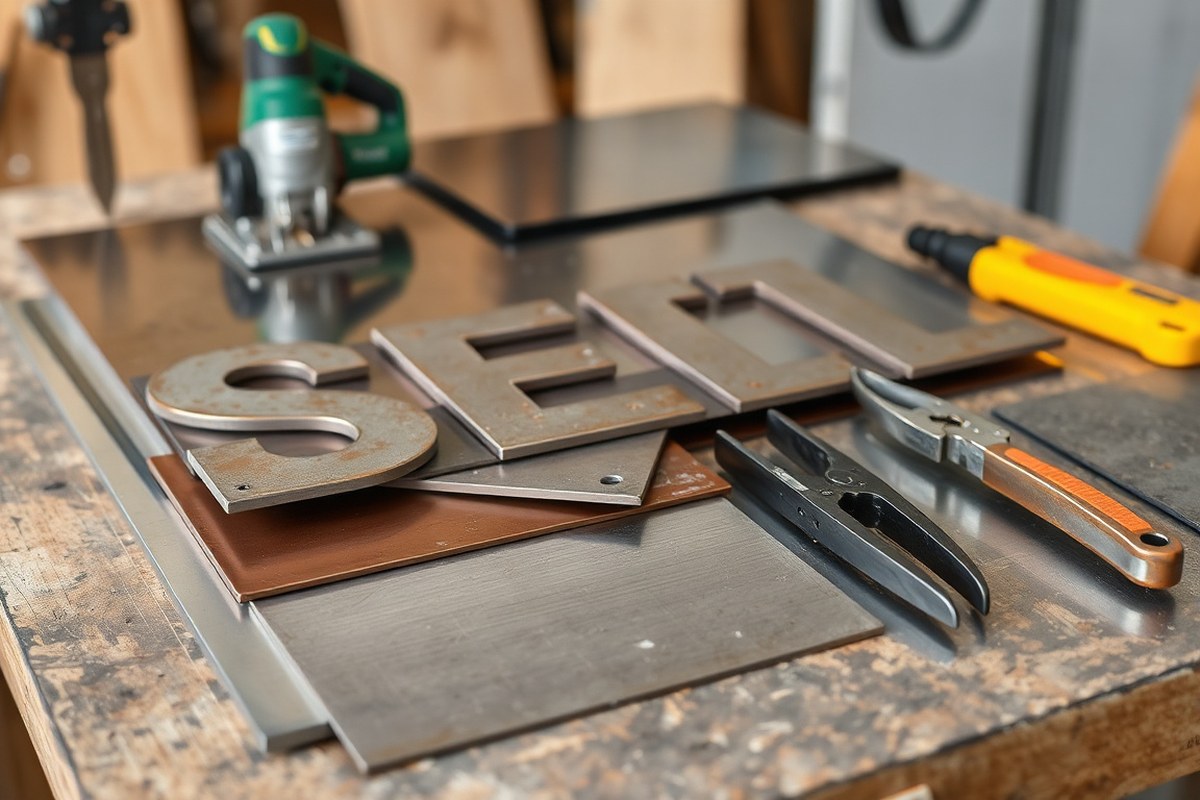
Choosing the right metal is key to achieving the rustic look and ensuring your sign lasts. Aluminum is a popular choice because it’s lightweight, rust-resistant, and works well for both indoor and outdoor use. Steel offers strength and a classic patina from rust, which suits rustic styles perfectly but requires sealing to avoid ongoing corrosion. Copper and brass provide unique tones and ages beautifully, but they cost more and need specialized tools for cutting and shaping.
Alongside metal choice, having the right tools ensures your work is safe and precise. For cutting, a jigsaw with a metal blade or an angle grinder works well on most metals, while tin snips suit thinner sheets like aluminum. To shape or bend metal, a metal bending tool or brake is ideal. Sandpaper or a metal file smooths edges and prevents injury. Clamps secure your metal sheet firmly to avoid shifting during cutting. Adhesive or mounting tools will depend on how you plan to display your sign.
| Metal Type | Weight | Rust Resistance | Cost | Ease of Cutting | Best Use |
|---|---|---|---|---|---|
| Aluminum | Lightweight | High | Moderate | Easy with jigsaw or tin snips | Indoor & outdoor signs, beginner projects |
| Steel | Heavy | Low (requires sealing) | Low to moderate | Angle grinder or jigsaw with metal blade | Rustic look, heavy-duty outdoor signs |
| Copper/Brass | Moderate | Moderate | High | Requires specialized tools | Decorative accents, custom finishes |
Gathering your tools and materials before you start helps you work efficiently. Secure the metal sheet with clamps to prevent it from shifting when cutting, which ensures clean edges. Smooth each cut edge with sandpaper or a metal file to avoid sharp splinters. If your sign includes bent parts, use a metal bending tool to shape your metal carefully. This approach leads to a professional-looking finished product and reduces the chance of accidents.
Practical tip: Always wear gloves and safety goggles when cutting or shaping metal to protect your hands and eyes from sharp edges and flying debris.
Keep an eye on your workspace lighting and ventilation, especially if you’re using power tools. Good lighting helps you follow your cutting lines precisely, and proper ventilation protects you from metal dust and fumes. For mounting, decide whether your sign will hang flat on a wall or stand independently to choose the right adhesive tape, screws, or hooks.
Designing Your Rustic Metal Sign with Style and Function
Designing a rustic metal sign involves making clear choices about the theme, fonts, sizes, and layout to ensure the finished product is both stylish and functional. Selecting elements that emphasize simplicity and natural appeal will keep your sign authentic and easy to read. Planning your design accurately before cutting or painting is important for a professional look.
Selecting a Theme and Message
Start by deciding on a clear message or phrase that fits the intended space or purpose. Rustic signs often feature simple words, welcome messages, or short quotes related to nature, home, or farming themes. The theme helps guide your font choices and any decorative elements you might add.
Consider the location where the sign will be displayed. Outdoor signs generally benefit from bold messages with concise wording to remain visible from a distance. Indoor signs can afford more detailed or artistic phrases depending on your personal taste.
Choosing Rustic Fonts and Letter Sizes
Fonts with a hand-crafted or weathered appearance suit rustic metal signs best. Look for fonts classified as slab serifs, typewriter styles, or distressed scripts for that aged look. Avoid fonts that are too fine or complicated since they can become difficult to read after painting or cutting on metal.
Letter size depends on the sign’s dimensions and viewing distance. For an 18-inch by 12-inch metal sign meant to be read from several feet away, letters 3 to 4 inches tall work well. Larger signs may use letters 5 to 6 inches tall. Keep in mind that very thin letters risk warping or breaking if cut, so choose styles with medium to thick strokes.
Layout Tips for Balance and Readability
A balanced layout ensures your message is easy to read while improving the rustic aesthetic. Centering text often works well for short phrases, while longer messages might benefit from left alignment for a natural flow. Leave at least a ¼-inch margin around all edges to avoid crowding and give the sign breathing room.
Use stencils or printed templates to mark out the placement on your metal surface before making cuts or painting. This helps prevent misaligned or uneven lettering. When working with multiple lines of text, space them evenly to keep the overall design harmonious.
Adding Decorative or Layered Elements
Incorporate simple decorative touches like small floral designs, arrows, or farmhouse-inspired icons to improve the rustic feel without cluttering the sign. Layered metal cutouts or attached DIY metal letters create depth and a tactile quality.
Planning a backlit or neon-effect rustic metal sign means arranging wiring or LEDs to ensure the light spreads evenly across the design. Uneven lighting can distract and reduce readability, especially for complex or multiple-letter signs. Follow these steps for a smooth design process:
- Decide on your theme and main message considering the location and purpose.
- Select fonts that are thick, rustic, and easy to cut or paint on metal.
- Determine appropriate letter sizes based on sign size and viewing distance.
- Print or draw a template with your chosen fonts and layout on paper.
- Transfer your template to the metal sheet using stencils and a marker.
- Adjust spacing and alignment to maintain balance and margin consistency.
- Add any decorative elements or plan layered pieces for depth.
- For illuminated signs, position light elements to ensure even coverage.
How to Safely Cut and Shape Your Metal Sign
Cutting and shaping metal for your rustic sign requires careful preparation and attention to safety. You’ll want to use the right tools and protective gear to avoid injury, while following clear steps to achieve smooth edges and the shape you want. Handling metal properly ensures your finished piece looks great and is safe to display.
Preparing Your Workspace
Set up a clean, well-lit workspace with enough room to move around freely. Use a sturdy workbench or table with a flat surface to support the metal securely during cutting and shaping. Keep all your tools organized and within reach to avoid distractions while you work.
Wear proper protective gear before you begin: safety goggles to shield your eyes from metal shards, heavy-duty gloves to protect your hands, and ear protection if you’re using power tools. Ensure your workspace has good ventilation, especially if you plan to sand or paint afterward.
Using Cutting Tools Correctly
Select the cutting tool suited for your metal type and thickness, tin snips for thin sheet metal, a jigsaw with a metal blade for medium thickness, or an angle grinder for thicker pieces. Double-check that each tool is in good condition, especially blades, which should be sharp to reduce jagged edges. Follow these steps to cut your metal accurately and safely:
- Measure and mark your design on the metal using a fine-tip permanent marker or scribe.
- Secure the metal firmly to your work surface with clamps to prevent movement.
- Put on your safety goggles, gloves, and ear protection.
- Cut slowly and steadily along your marked lines, keeping the tool perpendicular to the metal for straight edges.
- Pause to inspect your progress and adjust your grip or tool angle if needed.
- Finish the cut completely before shifting your hands or repositioning the metal.
- Remove the metal from clamps and check the edges for any rough or sharp spots.
Cutting too quickly can cause the metal to warp or the blade to jam, leading to uneven or unsafe edges. Taking your time reduces these risks and produces cleaner cuts.
Shaping and Smoothing Edges Safely
After cutting, the metal edges will likely be sharp or jagged. To avoid injury and create a polished look, smooth the edges using a metal file, sanding block, or rotary tool with a sanding attachment. Always work away from your body and wear gloves to prevent cuts.
Hold the metal securely and file or sand evenly, checking frequently to avoid removing too much material. Focus on rough spots and corners where sharp bits can remain. Light sanding with fine-grit sandpaper (around 220 grit) can help prepare the surface for painting or finishing.
If you’re shaping curves or bends, use pliers with padded jaws to avoid marring the metal. For larger bends, gently tap the metal on a wooden surface with a rubber mallet, repeating in small increments to control the shape.
Handling Metal Pieces and Waste
Metal scraps and offcuts can have sharp edges, so handle all pieces carefully and wear gloves. Keep your work area clean by regularly clearing away small shards and dust using a brush or vacuum designed for fine particles.
Store unused metal pieces flat or upright in a designated bin to prevent tripping hazards or injuries. Dispose of metal waste according to local recycling rules, as many scrap metals can be recycled rather than thrown away.
Creating a Rustic Finish: Techniques and Materials
Creating a rustic finish on metal involves adding texture, wear, and color that mimic aged or weathered metal surfaces. These effects come from layering specific paints, sanding strategically, and using other DIY methods like staining or applying patinas. Achieving the right look takes preparation and attention to application steps to ensure authenticity and durability.
Surface Preparation for Rustic Finishes
Preparing the metal surface is essential for a durable and convincing rustic finish. Clean the metal thoroughly to remove oils, dirt, and rust particles that could prevent paint or stains from adhering properly. Light sanding or wire brushing helps create texture and improves paint grip, setting the stage for an authentic rustic look. Here are the key steps to prepare your metal surface:
- Wash the metal with warm, soapy water and a scrub brush to remove surface grime.
- Rinse and dry completely to avoid trapping moisture under paint layers.
- Use a wire brush or sanding block with 120- to 150-grit sandpaper to roughen the surface slightly.
- Remove loose rust or flakes, but leave some intact to add to the rustic effect.
- Wipe the surface with a tack cloth or a damp rag to clear sanding dust.
Proper surface prep ensures your paint and finishes adhere well, preventing peeling and uneven texture later on.
Applying Rust-Effect Paints and Stains
Rust-effect paints, iron oxide-based stains, and specialized primers create realistic aged metal surfaces. These products use color and texture to replicate natural corrosion. Applying several thin layers rather than one thick coat allows for color depth and more controlled weathering outcomes.
Choose paints labeled as “rust effect” or “metallic patina” from craft stores or home improvement centers. Common colors include deep oranges, browns, and reds mixed with dark grays or blacks. Oil-based or acrylic rust converters and iron paints work well depending on your climate and indoor versus outdoor display.
Apply paints with a sponge or stippling brush to create varied texture. Let each coat dry fully, which can take 30 to 60 minutes depending on the product and temperature. Darken or lighten spots by adding or removing paint with a damp rag during drying.
Distressing Techniques Using Sandpaper and Tools
Sanding and beating the surface adds to the rustic authenticity by mimicking natural wear and tear. Use medium to fine grit sandpaper (150 to 220 grit) after painting to expose some metal or underlying layers. Wire brushes or metal files can add dents and scratches where you’d expect age or use.
For a controlled distress, focus sanding around edges, corners, and raised details. These are the first places weather would naturally wear through paint. Lightly tapping the surface with a hammer or tapping tools can cause small dings and dents, improving the vintage look.
Be careful not to sand too aggressively or gouge the metal deeply, which can weaken the sign or make it harder to seal later. Controlled distressing looks more authentic, random, deep scratches appear unnatural on purpose-made signs.
Sealing and Protecting the Finish
Once your rustic textures and paint layers are complete, sealing the sign protects your work from damage. Choose a clear matte or satin finish sealer designed for metal. Avoid glossy sealers that ruin the aged look. A spray-on polyurethane or a clear rust-inhibiting lacquer works well for outdoor signs.
Apply one to two thin coats of sealer, allowing each coat to dry 1 to 2 hours. Use even strokes to prevent drips or pooling, especially over rough areas. Sealing prevents moisture from affecting your rust-effect paint and slows further rusting or fading.
Without sealing, rust-effect finishes may flake or peel after exposure to weather, shortening your sign’s lifespan. Test the sealer on a scrap piece first to ensure it keeps the look you want.
Painting and Personalizing Your Metal Sign
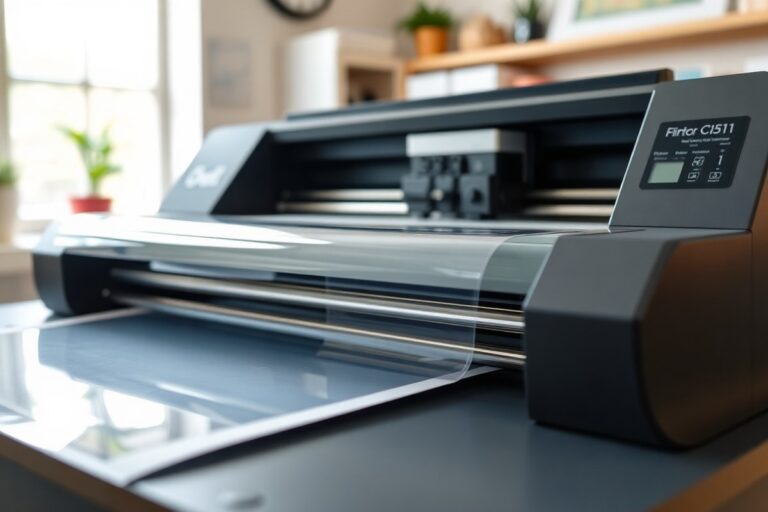
Painting and personalizing your metal sign lets you bring your rustic vision to life with color and character. Before you start, decide on your lettering method: stencils, vinyl decals, or freehand. Stencils offer clean, repeatable shapes and are great for beginners, while vinyl gives a smooth, uniform look but requires a cutting machine or purchase. Freehand lettering can add a unique, authentic feel but needs a steady hand and practice to avoid mistakes.
Select paint designed for metal surfaces, such as outdoor acrylic or enamel paint, which resists weather and rust. Matte or satin finishes match rustic aesthetics best. Make sure the metal surface is clean and dry before painting. You can distress the paint afterward by sanding lightly to blend the paint with your rustic finish. Follow these steps for painting and adding lettering to your metal sign:
- Clean the surface. Remove dirt and oils with warm soapy water or rubbing alcohol, then let the metal dry fully to ensure paint adheres well.
- Apply a rust-inhibiting primer. Use a spray primer made for metal to prevent future rust. Allow it to dry 24 hours for best results.
- Paint the background. Use a brush or spray paint in your chosen base color. Two thin coats usually cover evenly. Let each coat dry 1-2 hours between applications.
- Position your lettering guides. If you use stencils or vinyl, tape them securely. For freehand, sketch lettering lightly with pencil or chalk.
- Paint the letters. Use a small, fine brush or a paint marker designed for metal for detail work. Apply thin layers to avoid drips. Multiple coats may be needed; allow drying time between coats.
- Remove stencils or vinyl carefully. Do this while the paint is still slightly tacky to avoid peeling. Touch up edges with a small brush if necessary.
- Add distressing if desired. Lightly sand areas of paint for a weathered look, focusing on edges and raised spots that would naturally wear.
- Seal the sign. Spray a clear matte or satin sealant to protect your work and preserve the rustic charm. Allow curing time according to product instructions.
Vinyl lettering tends to cost between $10 to $30 if you purchase pre-cut designs or use a home cutting machine. Stencils can be homemade for under $5 using stencil sheets and cutting tools, while good paint markers range from $3 to $10 each. Freehand costs the least but requires practice and patience.
Good results look like crisp, well-aligned letters with no smudges or bubbles. Paint coverage should be even without thick clumps. Mistakes include bleeding paint under stencils or uneven lines from freehand strokes, which can be corrected by sanding and repainting small sections. A little imperfection adds to a rustic appeal but avoid sloppy lines that distract from the design.
Mounting, Displaying, and Maintaining Your Rustic Metal Sign
To hang a rustic metal sign securely, you first need to consider the material and weight. Steel signs are heavier and need strong mounting hardware, such as heavy-duty wall anchors or screws driven into studs. For lighter metals like aluminum, you can use standard picture hanging hooks or adhesive strips designed for outdoor use. Measure your sign’s dimensions and weight before selecting mounts, and use a level during installation to keep the sign straight.
For outdoors, mounting with screws through pre-drilled holes in the corners provides the most secure hold. When your sign lacks holes, you can attach metal brackets or use hooks with cables. Hanging options also include chains or ropes, ideal for porch ceilings or fences, giving a rustic look while ensuring stability.
- Use rust-resistant hardware like stainless steel or galvanized screws
- Drill pilot holes slightly smaller than the screws to prevent metal warping
- Protect mounting points with clear silicone sealant to block moisture
- Check hanging hardware regularly, especially in extreme weather
- Avoid hanging heavy signs on drywall without studs or anchors
- For leased property, use removable hooks or stands to avoid damage
Maintaining the rustic look outdoors requires ongoing protection. Steel signs need a clear coat of rust-resistant spray or several layers of outdoor varnish every year. When your sign has a naturally aged finish, avoid harsh cleaning. Instead, gently wipe it with a damp cloth to remove dirt and dust. Signs exposed to rain or sun benefit from UV-resistant sealers that prevent fading and corrosion.
During winter, if possible, remove or cover the sign to reduce exposure to ice and salt, which accelerate wear. Periodically inspect for rust spots and touch them up with rust converter and matching paint. For areas with high humidity, applying a light coat of oil like mineral oil can slow oxidation without changing the appearance.
Common Mistakes and When to Hire a Professional
Common mistakes in making rustic metal signs include improper surface preparation, using the wrong tools for cutting or painting, and neglecting safety precautions. Poor surface prep can lead to paint peeling or rust forming too quickly. Using tools not suited for metal, like woodworking saws or standard paints, can ruin your sign’s look and durability. Skipping safety gear like gloves and goggles increases the chance of injury.
Troubleshooting these issues means first checking the metal’s cleanliness and dryness. Sand lightly to remove oils or rust spots before applying any paint or finish. Use metal-specific spray paints and rust inhibitors to make the finish last longer. To smooth jagged cuts, use a metal file or fine-grit sandpaper on the edges. Paint bubbles may indicate trapped moisture; allow the sign to dry fully in a warm, dry spot before repainting.
- Not preparing the metal surface properly
- Using incorrect cutting tools or techniques
- Choosing paints and finishes not designed for metal
- Ignoring safety gear such as gloves and goggles
- Rushing paint drying times, causing bubbles or runs
- Attempting overly complex designs without needed experience or tools
Signs that you should hire a professional include needing very precise cuts or intricate designs, especially with thin metal sheets that bend easily. Professionals have access to laser cutters, plasma tools, or CNC machines that can cut fine details cleanly. Their finishing techniques also deliver durable, consistent results that DIY tools might not achieve. Large signs or ones requiring safe mounting hardware benefit from a professional’s help to prevent warping or damage. Hiring someone can cost between $50 to several hundred dollars depending on complexity and size, but it may save time and material costs in the long run.
Always test paint and finish methods on a scrap piece of metal first to avoid ruining your main sign.
Use this decision rule: for simple text or small symbols with basic cutting and painting, the DIY route is fine and more economical. For multi-step designs requiring perfect precision or special effects, professional help ensures a higher-quality, safer final product.
Step-by-Step Action Plan
Follow this plan to create your own rustic metal sign with confidence and ease.
- Before you start: Gather your chosen metal sheet, cutting tools, safety gear, and painting supplies. Make sure your workspace is well-ventilated and clear of clutter.
- Day 1: Sketch your design on paper, then transfer it to the metal using a marker or stencil. Confirm the design is clear and accurately placed.
- Day 2: Carefully cut and shape your metal using hand tools or a power saw. Check that the edges are smooth and the shape matches your plan.
- Day 3: Apply rustic finish techniques like sanding, brushing, or acid treatments. The metal should look aged and textured without damaging its integrity.
- Day 4: Paint your sign with outdoor or metal-specific paint. Let it dry thoroughly between coats for a durable finish.
- Day 5: Personalize your sign with stencils, decals, or hand lettering. Ensure the details are sharp and well-adhered.
- Day 6: Attach mounting hardware appropriate for your sign’s weight and display location. Test stability before hanging or setting it up.
- After 1 week: Inspect your sign regularly for signs of wear or rust. Maintain by cleaning gently and touching up paint as needed.
Frequently Asked Questions
How to Make a Rustic Metal Sign?
Start by selecting the right metal, then plan your design and safely cut the metal. Finish with rustic techniques, paint, and mounting to personalize your sign.
What Metal Is Best for Outdoor Rustic Signs?
Steel or aluminum work best outdoors for durability and rust resistance.
Can I Use Household Tools for Making a Metal Sign?
Yes, tools like a jigsaw with a metal blade can handle simple metal cutting tasks.
How Do I Prevent Rust on My Rustic Metal Sign?
Apply a clear sealant or rust inhibitor after painting to protect the metal from moisture.
How Long Does It Take to Make a Rustic Metal Sign?
A simple project can take a few hours; complex designs need more time for cutting and finishing.
Is It Safe to Work with Metal at Home?
Use protective gear and proper ventilation when cutting or painting to avoid injury or inhaling fumes.
Key Points to Remember
Making a rustic metal sign involves careful material selection, thoughtful design, and precise finishing steps. Start by gathering your supplies and planning your design to ensure the best outcome. Taking the time to practice cutting and finishing techniques will give your sign a professional look that lasts. Begin your project today by sketching your design and assembling your tools for a smooth creative process.