How to Make a Marquee Sign: A Complete Guide with Lighting Tips
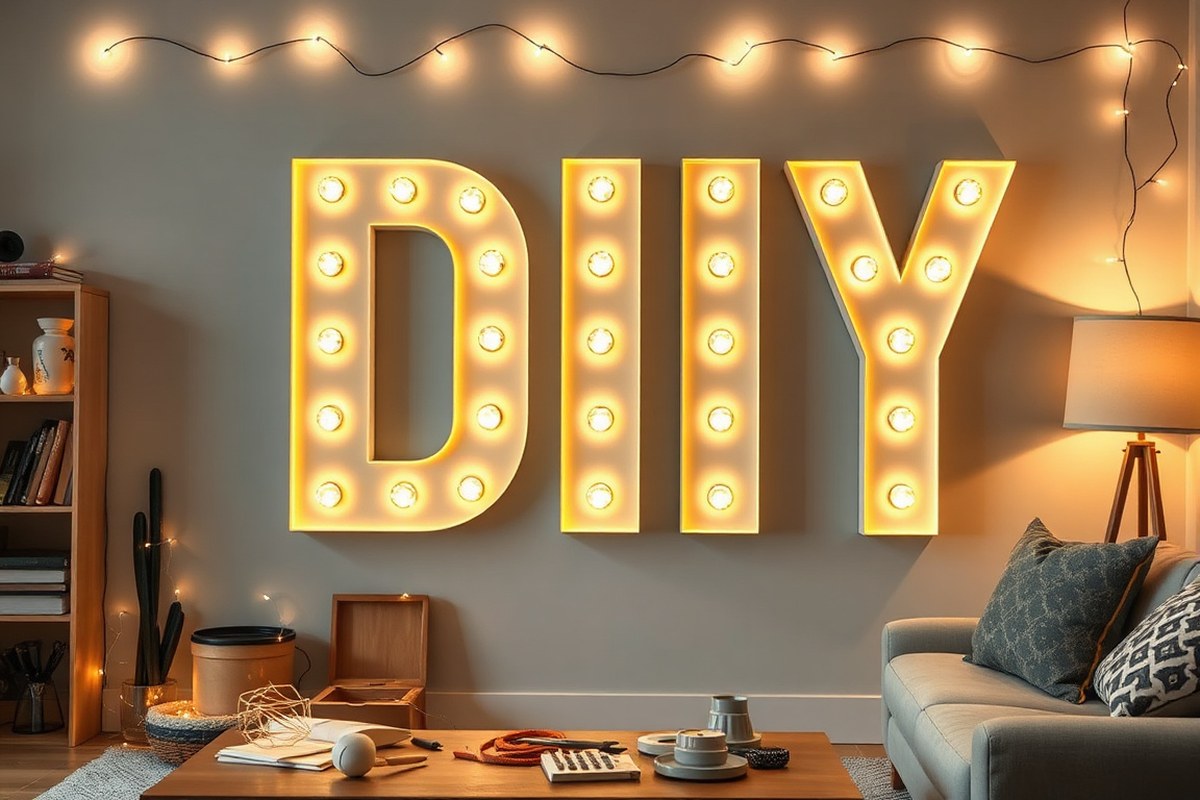
How to make a marquee sign starts with choosing the right materials and carefully planning your design. Use sturdy base materials like a 2’x4′ half-inch board or foam core, then drill evenly spaced holes in your letters for lights. Starting with a clear, balanced design ensures your marquee looks professional and supports the lighting evenly.
Key Takeaways
- Use a 2’x4′ half-inch board for a durable main marquee sign base.
- Drill holes about 2 inches apart along the center of each letter for even light placement.
- Leave a 2-inch poster board flange around foam core to create a clean edge.
- Choose your base material based on size and desired durability, wood for sturdiness, foam core for lightness.
- Plan the number of bulbs needed by counting LEDs on your globe light strand for precise spacing.
- Keep your sign 3D from both front and back for a polished, professional look.
What Materials and Tools Are Needed for a DIY Marquee Sign?
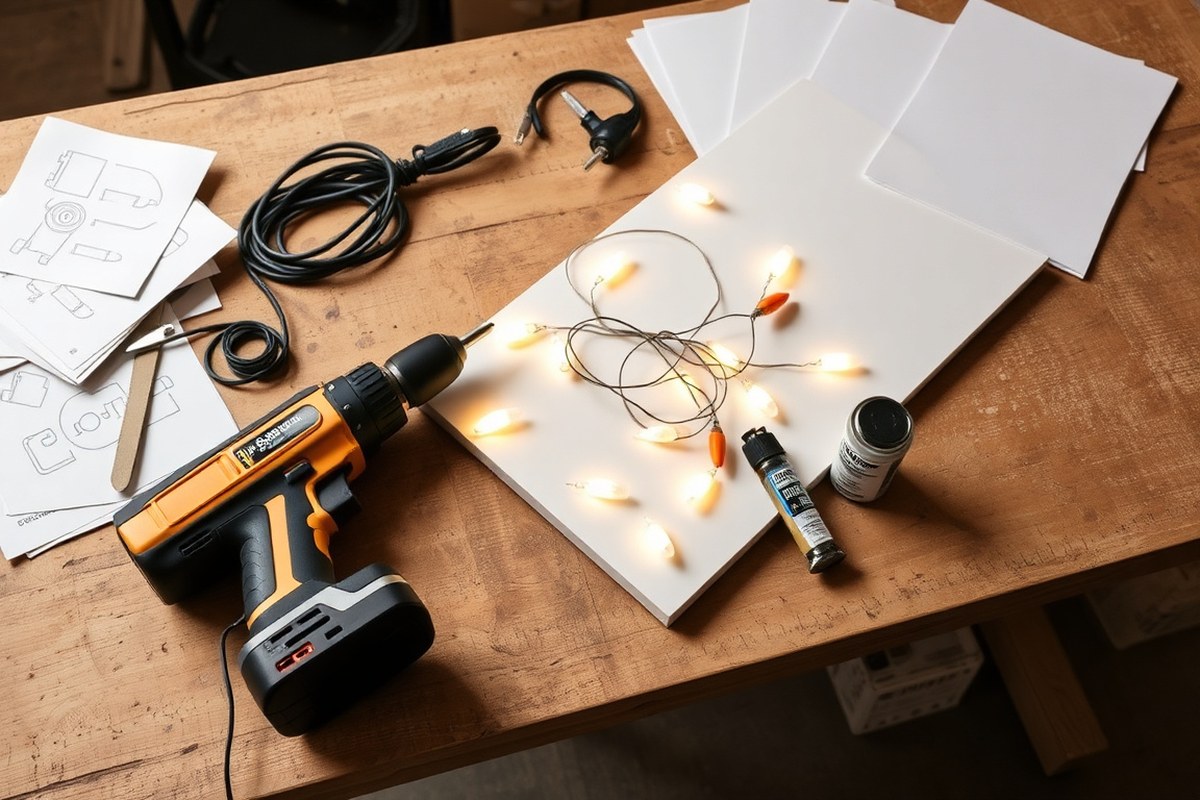
To build a DIY marquee sign, start with a sturdy base material that suits your style and budget. Foam core board is lightweight and easy to cut, making it ideal for indoor signs or temporary displays. A 2’x4’ half-inch wood board offers durability and a professional look, perfect for more permanent signs. Cardboard is an inexpensive, eco-friendly alternative for practice projects or short-term use. Aim for a size that fits your design with at least a 2-inch flange around the edges to help with lighting and assembly.
For cutting and assembly, a sharp utility knife works well with foam core and cardboard, while a jigsaw or handsaw is necessary for wood. Drilling precise holes for lights is essential for spacing bulbs evenly and safely; a drill with drill bits sized to match your bulbs’ base diameter is a must-have tool. Sandpaper or a sanding block helps smooth wood edges before painting or decorating.
- Base material: foam core board, half-inch wood board, or cardboard sheets
- Cutting tools: utility knife for foam or cardboard, jigsaw or handsaw for wood
- Electric drill with drill bits sized for light bases
- Sanding materials for wood edges
- Marquee light bulbs: choose LED for energy efficiency and less heat, or incandescent for warmer glow
- Measuring tape and pencil for layout marking
- Adhesives or screws for assembly
Choosing between LED and incandescent bulbs affects your sign’s look and safety. LED bulbs use up to 75% less energy and emit very little heat, making them safer for close contact with foam or cardboard. Incandescent bulbs produce a classic warm light but run hotter and consume more electricity. When on a budget, repurposed string lights with small bulbs can be adapted to marquee signs by removing extra bulbs and fitting bases into drilled holes. Using recycled cardboard for the base reduces cost and waste but requires gentle handling to avoid bending or damage.
Assembling your marquee sign involves careful measurement and drilling. Mark where each light will go, spacing bulbs evenly, commonly about 2 inches apart, from edge to edge. Drill holes cleanly to avoid splitting, and gently push light bases through from the back. Secure the wiring behind the sign, trimming excess bulbs if necessary to fit your design. Budget-friendly builds often combine foam core base with string lights, requiring only a utility knife and drill, costing under $20 in materials if you reuse bulbs and scraps.
How to Design and Plan Your Marquee Sign Effectively
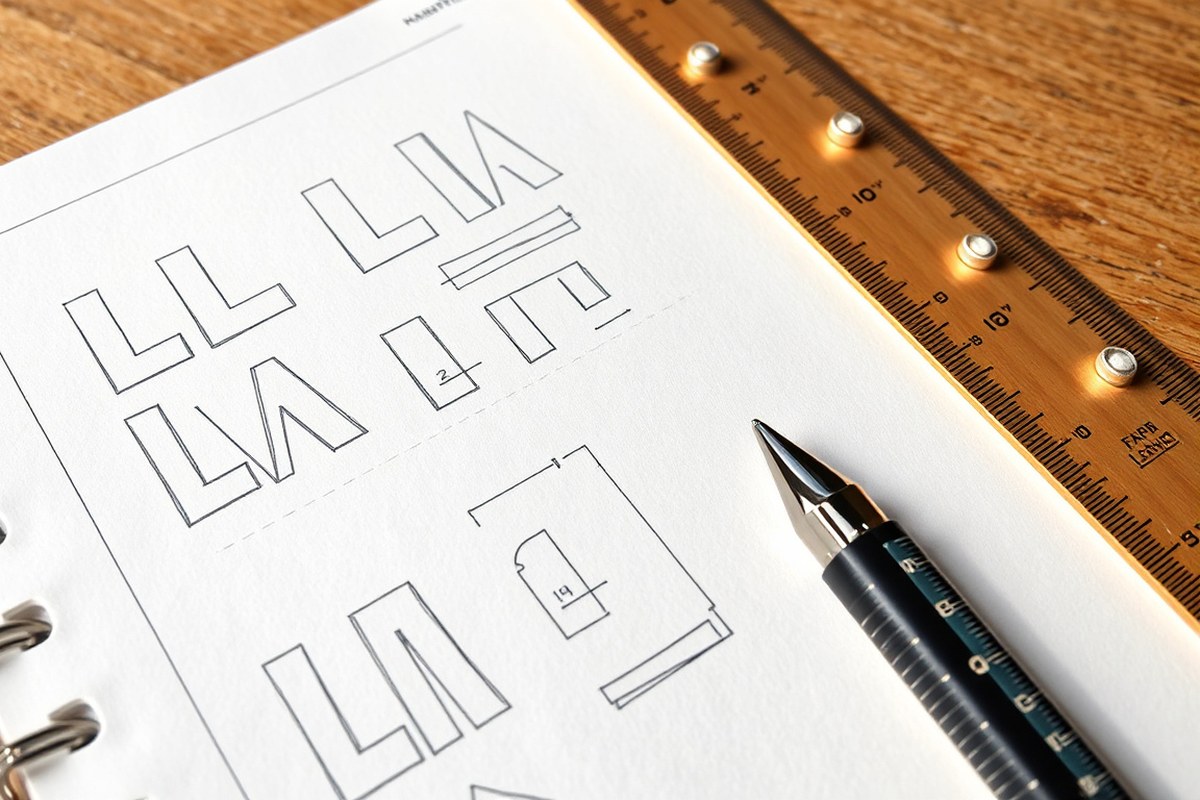
Effective design and planning for a marquee sign begins with choosing the right size and style, using precise templates for cutting, and evenly spacing your lights. This approach ensures your sign fits the intended space and achieves a clean, professional look with balanced illumination. Careful measurement and layout prevent last-minute adjustments and uneven lighting.
Choosing Size and Font Style
Start by measuring the area where you plan to install your marquee sign. Allow space around the sign to avoid crowded or awkward placement. Selecting a font style with bold, simple shapes helps with easy cutting and clear visibility from across the room or outdoors.
Dimension choices depend on viewing distance and wall size. For indoor use, letters 8 to 12 inches high often work well, while larger letters suit outdoor signs or event settings. Keep overall sign width manageable so it doesn’t overwhelm the wall or surface.
Before cutting materials, cut a piece of butcher paper to your sign’s full outside dimensions. Use this as a layout space to experiment with letter shapes and spacing to make sure everything fits nicely. This step reduces waste and guides accurate cutting later.
Creating Templates and Stencils
Templates serve as a precise guide for cutting letters or shapes. Paper templates let you move, adjust, and trace easily onto your base material. You can create them either by hand sketching or by printing digital font files to the correct size.
Tracing your chosen font or design onto butcher paper gives a life-size template you can cut out for a test fit. To mark light hole positions, use the holes in your light bulb packaging as a stencil for consistent circle sizes and shapes. Place the template on your sign material and trace around it lightly with a pencil.
Using sturdy cardboard or thin MDF for templates can help if you plan on repeating the design multiple times. Templates also prevent mistakes by providing a repeatable outline that matches your vision precisely.
Planning Light Placement Evenly
Even spacing of lights ensures your marquee sign glows uniformly without dark spots. Drill holes along the centerline of each letter or shape, spacing bulbs about 2 inches apart. Adjust this distance slightly depending on the size of the bulbs and the letter.
Mark points for drilling before making any holes. Use your template as a base and draw dots evenly spaced covering the letter’s surface. Count the bulbs on your light string to avoid mismatch between bulbs and holes. Choose a drill bit that fits snugly with your bulb size to keep lights secure.
- Measure the total width and height of each letter to calculate even intervals.
- Mark hole points along the middle axis to balance illumination.
- Space holes about 2 inches apart for standard marquee bulbs; adjust based on bulb size.
- Use the cardboard tray from the bulb packaging to trace the exact hole size.
- Double-check your layout against your light string length.
- Drill holes carefully at marked points to avoid damaging surrounding material.
- Test fit bulbs after drilling to ensure snug placement.
Spacing holes too close can weaken your materials or cause overheating, while too far apart leaves dark patches; aim for consistent 2-inch spacing unless your bulbs specify otherwise.
Step-by-Step Guide to Building Your Marquee Sign from Scratch
Building your marquee sign involves precise cutting of base materials, careful assembly of layers, and exact drilling of holes for lights. Each step ensures your sign looks professional while remaining sturdy and functional. Keep edges smooth and carefully measure spacing for even, secure bulb placement.
Cutting the Base Material and Letter Shapes
Choose your cutting tool based on the base material used. Foam core and poster board are best cut with a sharp utility knife, while thicker wood or MDF requires a jigsaw or circular saw for clean, straight edges. Accurate measurements and steady hands will help keep your shapes precise.
Use a straight edge or metal ruler to guide your knife or saw. For layered signs, cut multiple strips of foam core about 3 inches wide to add depth to letters. Make several light passes with the knife rather than cutting through in one stroke for smooth edges. Sand lightly after cutting to remove roughness or pencil marks.
- Measure your letter shapes carefully and mark the outlines on your base material.
- Score the surface lightly with a utility knife along straight edges to guide deeper cuts.
- Cut the foam core shapes using a utility knife; use a jigsaw or saw for wood or MDF shapes.
- For letters with internal cut-outs, drill a 1/2-inch starter hole inside the cut area to insert the saw blade.
- Make slow, controlled passes with your cutting tool to avoid jagged edges.
- Sand all edges gently to smooth rough spots and erase guide pencil marks.
Assembling the Sign with Depth and Stability
Adding layers to your marquee sign creates a three-dimensional effect that improve its visibility. Use foam core strips or wood strips about 3 inches wide to create edges around the letters. Attach these strips carefully, ensuring they line up perfectly for a clean appearance.
For assembly, a hot glue gun works well with foam core, while wood pieces may require wood glue and finishing nails or screws. Apply glue evenly and press edges firmly together. Work quickly when using hot glue since it sets fast. Check alignment before glue hardens. Reinforce corners and critical joints to maintain stability and prevent warping over time.
- Cut edge strips to the exact length needed for each letter side.
- Apply a thin, consistent layer of hot glue or wood glue to the edge strip.
- Press the strip against the letter base, holding or clamping briefly for adhesion.
- Repeat for all sides, ensuring corners meet cleanly without gaps.
- Allow the glue to dry fully before handling the sign further.
- Attach a backing board if desired for extra support and easier mounting.
Drilling Even Holes for Light Bulbs
Spaced holes in your letters allow bulbs to sit securely without falling through. Start by determining your light string’s bulb count and spacing. Measure the base of your bulbs, usually about 3/4 inch wide, to size your holes properly.
Mark hole positions carefully, starting from the letter’s center and working outward to keep spacing even. Use a poster board circle cutout matching the bulb base to confirm marks. Drill holes from the backside with a 3/4-inch paddle drill bit for a perfect fit. For letters with enclosed areas, start with a smaller pilot hole to guide the paddle bit.
- Count your bulbs and measure the space between them along the wire.
- Use a pencil to mark corresponding points on the letter where each bulb will go.
- Trace the bulb base on poster board to create a circle guide for consistent hole size.
- Position the circle guide over each mark and adjust if needed for alignment.
- Drill holes carefully from back to front with a 3/4-inch paddle bit matching bulb base size.
- Remove any rough edges around holes with sandpaper for a clean look.
- Test fit a bulb base in several holes to ensure a snug but not too tight fit.
How to Install Lights and Wiring Safely and Effectively
Installing lights and wiring safely in your marquee sign requires selecting the right bulbs, threading them evenly through your sign’s holes, and organizing wiring to avoid hazards or clutter. Following a careful step-by-step process protects your sign and ensures it lights up beautifully.
Choosing Safe Lighting Options
Opt for LED lights because they generate minimal heat and use less energy compared to incandescent bulbs. LEDs reduce the risk of burns or fire, especially important in close contact with wood or foam core materials. LED strings, individual bulbs, or fairy lights all work well for marquee signs, so pick the style that fits your design.
Before installation, test each bulb by plugging in your string of lights to identify any flickering or broken bulbs. Replace faulty bulbs to avoid interruptions and safety risks once the sign is assembled.
Threading and Securing Lights
Inserting bulbs evenly requires patience and precision. Start at one end of the sign’s shape to keep track of your progress and maintain consistent spacing. Use the holes you drilled during preparation, making sure each bulb fits snugly without forcing it through.
- Switch off and unplug your light string for safety before handling bulbs.
- Unscrew the first bulb from its socket.
- Gently insert the bulb into the hole from the front side of the foam core or wood, taking care not to damage the glass.
- Screw the bulb back into its socket from the back side of the board.
- Repeat this process for every hole, threading bulbs in order without skipping.
- Use tape, such as duct tape, to secure bulbs in place on the front to prevent shifting.
- Staple wires lightly along the back surface to hold the wiring flat and prevent them from popping out.
Make sure the bulbs rest flush with the sign’s surface for a professional look. Loose bulbs can wobble or fall out, and uneven spacing affects the visual impact.
Managing Wiring and Power Source
Organize wiring behind the sign to reduce visual clutter and prevent tension on the cords, which can cause damage. Group excess wire length by loosely looping it out of sight and secure it with adhesive clips or zip ties. Avoid tight bends or kinks in the cords to maintain electrical safety.
Keep all electrical connections secure to prevent flickering or shorts. Check that cords and plugs show no signs of damage such as fraying. Use a grounded extension cord rated for indoor use if needed, and never overload outlets to stay within recommended amperage limits.
Run the wiring so that the plug is accessible yet discreet. Ensure the wiring has enough slack when hanging the sign or setting it against a surface to prevent strain on the connections. Test the entire lighting system before final placement to catch any issues early.
How to Paint and Decorate Your Marquee Sign for a Professional Look
Preparing the surface of your marquee sign is key to getting a smooth, long-lasting finish. Start by sanding any rough edges or surfaces lightly with fine-grit sandpaper. This step helps the paint stick better and prevents peeling. For materials like foam core or cardboard, wipe the surface gently with a dry cloth to remove dust and debris. Clean wood with a damp cloth, then let it dry completely before you start working. A clean, smooth surface ensures the paint applies evenly and looks professional.
Different materials demand different paint types. For wood signs, acrylic latex paint works well because it dries quickly, offers good coverage, and is water-resistant. Foam core and cardboard require lighter paints such as acrylic craft paints, which won’t saturate or warp the material. Use exterior-grade spray paints made for specific materials like wood or plastic to get a glossy, durable finish on outdoor signs. These provide water resistance and vibrant color retention. Applying two thin coats rather than one thick coat usually delivers better coverage and prevents uneven drying or runs.
Protecting your marquee sign depends on its intended use. For indoor signs, a clear acrylic sealer spray adds durability and resists minor scratches without altering the colours. Outdoor signs need more strong protection against moisture and UV rays. Seal your finished paint with an exterior-grade polyurethane or clear enamel spray. When applying this finish, choose a well-ventilated area and spray in light, even layers, allowing about 30 minutes to an hour to dry between coats. Two to three coats typically provide sufficient protection. This step can add about $10 to $20 to your project cost but significantly extends the life of your sign.
Decorative touches give your marquee sign personality and style. Consider using stencils to paint precise letters or shapes for a clean design. Glitter can add sparkle, but apply it carefully over wet paint or use a glitter glue designed for craft projects to avoid mess and clumping. Decals and adhesive vinyl cutouts offer sharp graphics without painting skills, and they peel off easily if you want to change your design later. Seasonal decorations such as small flowers, ribbons, or thematic stickers help keep your sign looking fresh for different occasions. Use a thin layer of spray adhesive to secure tiny embellishments without damaging the paint underneath.
Before you start painting, test your chosen paint and sealer on a small corner of your sign to check for colour fastness and any material reaction.
Comparing Base Materials: Wood, Foam Core, and Cardboard Marquee Signs
Choosing the right base material for your marquee sign depends on your skill level, budget, and intended use. Wood, foam core, and cardboard each have distinct advantages and challenges when making DIY marquee signs. Wood offers excellent durability and a professional finish but demands more tools and time, making it better suited for intermediate crafters. Foam core is lightweight, affordable, and easy to cut with a craft knife, which makes it ideal for beginners. Cardboard is the cheapest and easiest material to find but has limited durability, especially outdoors.
Cost varies notably among these options. Foam core boards, which can be found at dollar stores or Walmart for a few dollars each (often around 20″ x 30″), provide an affordable and clean surface for lettering. Wood might cost more upfront, plywood or MDF boards typically start around $10 to $20 per sheet depending on size and thickness. Cardboard can often be repurposed for free or very cheaply but requires replacement more often due to wear and tear.
| Material | Ease for Beginners | Durability | Cost Estimate | Recommended Cutting Tools | Best Use Case |
|---|---|---|---|---|---|
| Wood (Plywood, MDF) | Intermediate (requires power tools) | Longest (great for indoor & outdoor use) | $10, $20 per sheet | Jigsaw or saw | Long-term, sturdy signs for home or events |
| Foam Core Board | Beginner (easy to score and cut) | Moderate (best indoors or short-term outdoor use) | $1, $3 per board (20″ x 30″) | Craft knife, cutting mat | Lightweight signs, quick projects, indoor displays |
| Cardboard | Beginner (very easy to cut) | Low (not weather-resistant, prone to damage) | Often free or under $5 | Craft knife or scissors | Temporary signs or budget-friendly, indoor events |
For wood projects, you’ll want a jigsaw to cut intricate marquee letter shapes accurately. Foam core requires a sharp craft knife and a cutting mat or thick cardboard underneath to protect your work surface. Scoring the foam core carefully before cutting all the way through helps keep edges clean. Using the bulb holes as a template for your wiring holes in foam core or cardboard eases light installation. Cardboard can be cut with the same tools as foam core but offers less rigidity, so handle it carefully.
Wood signs handle indoor and outdoor use better because they resist bending and moisture when sealed properly. Foam core works well indoors or for events that last a few days since it holds shape and supports LED bulbs but will degrade if exposed to moisture. Cardboard signs are best for short-term indoor use, such as parties or photo booth props, due to their susceptibility to tearing and humidity. Matching the material with your project’s timeline and location helps avoid damage and extends the life of your marquee sign.
Common Mistakes When Making Marquee Signs and How to Fix Them
One common error is inconsistent spacing between lights. This can make your sign look unbalanced and reduce its visual appeal. To prevent this, measure the distance between each bulb hole before drilling, aiming for equal spacing that fits your design. A typical spacing is about 1 to 2 inches apart, depending on your bulb size. Notice uneven gaps after drilling, fill smaller holes with wood filler or foam, sand smooth, and re-drill at the correct intervals.
Poor cutting or misaligned assembly often results from rushing or using dull tools. Clean, precise cuts matter for clean edges and smooth joins. Fix uneven cuts by sanding edges lightly with medium-grit sandpaper and re-trimming excess material with a sharp utility knife or saw. For assembled pieces that don’t align, gently disassemble if possible and re-glue or re-nail, using clamps to hold parts square while drying. For foam core or cardboard signs, use a straight edge guide when cutting to maintain lines.
Paint drips and peeling are frustrating but avoidable. Use thin, even coats of paint and allow each coat to dry completely, usually 2 to 4 hours, before applying the next. Catch drips while still wet and smooth them out with a brush or sponge. For peeling, light sanding and cleaning the surface before repainting helps. Harsh chemicals or abrasive scrubbing can damage both paint and lights, so clean gently with mild soap and water.
Flickering lights or those that won’t work often mean loose connections, faulty bulbs, or wiring issues. Check each bulb by twisting it gently, make sure it’s seated fully in its socket. Replace any burnt-out bulbs promptly. Inspect wiring for breaks, exposed wires, or improper connections, especially where wires join. Secure loose wires with electrical tape or heat shrink tubing. Avoid harsh chemicals or abrasive cleaners near wiring and bulbs, as these can cause damage.
- Uneven light spacing: Measure and mark holes evenly before drilling; fill and re-drill if needed.
- Rough or crooked cuts: Sand edges and trim carefully with sharp tools; use guides on foam signs.
- Misaligned assembly: Disassemble if needed, clamp pieces squarely when gluing or nailing.
- Paint drips: Apply thin coats; smooth wet drips quickly; allow full drying between coats.
- Peeling paint: Sand and clean surface before repainting; avoid harsh cleaning agents.
- Flickering lights: Tighten bulbs; replace faulty ones; check and secure wiring connections.
| Lighting Issue | Likely Cause | How to Fix |
|---|---|---|
| Light does not turn on | Loose or burnt-out bulb; broken wire | Check and tighten bulb; replace if needed; inspect wiring and reconnect or replace damaged parts |
| Light flickers intermittently | Loose connections; poor socket contact | Secure all socket connections; clean contacts gently; re-seat bulb fully |
| Entire string fails | Blown fuse or power source issue | Check fuse box or plug; replace fuse. Use a multimeter to test power source |
How Long Does It Take to Make a Marquee Sign and What Affects Duration?
The time it takes to make a marquee sign varies based on several factors, including size, detail, materials, and drying time for paint or adhesives. For an average DIY marquee sign around 2 feet by 3 feet, expect about 3 to 5 hours spread out over a couple of days. Cutting and assembling the base and frame usually take 1 to 2 hours. This involves measuring, marking, and either sawing wood or trimming foam core precisely. Assembly can be faster if you use pre-cut materials or simpler joinery, but more complex designs with curves or intricate shapes will add an hour or more.
Painting and decorating take additional time. Applying primer and at least two coats of paint requires careful drying between layers. Drying can take several hours depending on the type of paint and room temperature. For water-based paints in a 70°F room with good ventilation, allow 1 to 2 hours per coat, plus extra time to ensure it’s fully dry before adding lights or decorations. Using spray paint may shorten drying to about an hour per coat, but uneven coverage can increase the need for touch ups.
Lighting installation also influences the schedule. Wiring LED bulbs is faster and less risky due to their low heat, which can be beneficial if planning for long-term use. Incandescent bulbs require careful socket fitting and sometimes cooling breaks to avoid damage to the sign. More lights and complicated wiring designs will naturally extend build time from 30 minutes to several hours.
Size is a major factor. Larger signs need more measuring, cutting, and multiple parts to assemble, boosting the timeline. A detailed design with small lettering or decorative cutouts increases both the time for cutting and painting. Simple block letters on a small base can be completed quicker, making them suitable for last-minute events.
Efficient project planning can shorten your total time significantly. Begin by breaking the process into stages: cutting and assembly, painting, drying, wiring, and final touches. Complete each stage without rushing to ensure quality; drying times cannot be skipped without risking smudging or weak adhesion. Work in a well-ventilated, dust-free area to speed drying and reduce cleanup. Prepare all materials and tools in advance to avoid stopping mid-project.
Plan for paint drying overnight if possible to prevent smudges and ensure solid adhesion, especially in cooler or more humid spaces.
Step-by-Step Action Plan for Your Marquee Sign
Follow these key steps to complete your marquee sign efficiently and with great results.
- Day 1: Gather all your materials and tools, including your chosen base material, lights, paint, and wiring. Confirm everything matches your design plan.
- Day 2: Cut and shape your base material precisely according to your sketch. Check that all pieces fit cleanly before assembling.
- Day 3: Drill holes for the bulbs or LED lights carefully, ensuring proper spacing and alignment. Test fit lights to verify placement.
- Day 4: Wire the lights following safety standards, and test your wiring with a power source to confirm all bulbs light up properly.
- Day 5: Paint your sign and add decorative details. Let each coat dry fully for a smooth, professional finish.
- Day 6: Assemble all parts securely, rechecking stability and light wiring connections.
- Day 7: Install the sign at its final location, making sure the electrical connections are safe and weather-protected if outdoors.
Frequently Asked Questions
Can I Make a Marquee Sign Without Power Tools?
Yes, you can create a light-up marquee sign without power tools using foam core board and hand tools like scissors and a craft knife. This method is beginner-friendly and allows you to craft custom shapes easily.
What Shapes Can I Create for a DIY Marquee Sign?
You can make any shape, such as arrows, letters, or symbols, to fit your style. Custom shapes give your sign a unique look, making it perfect for home decor or events.
How Do I Ensure My Marquee Sign Is Stable and Durable?
Use a sturdy half-inch board like a 2’x4′ piece as your base to support the structure. This prevents warping and keeps your sign stable over time, especially if you plan to hang it.
Is Foam Core Board a Good Material for Outdoor Marquee Signs?
Foam core board is best for indoor use since it’s not weather-resistant. For outdoor signs, consider wood or treated materials to withstand moisture and wind better.
Can Alexa or Smart Devices Control a DIY Marquee Sign?
Smart home assistants like Alexa can control your sign lighting if you integrate compatible smart bulbs or switches. This adds convenience and modern flair to your DIY project.
What Is the Best Way to Add Lighting to a Marquee Sign Safely?
Use low-voltage LED string lights and carefully wire them with proper insulation to avoid electrical hazards. Avoid cheap wiring to ensure safety and longer light life.
Key Points to Remember
Your custom marquee sign will transform your space with personal style and bright charm. Start by selecting your perfect base and sketching your letter layout today. Taking the time to prepare well sets you up for a smooth build and lasting results.