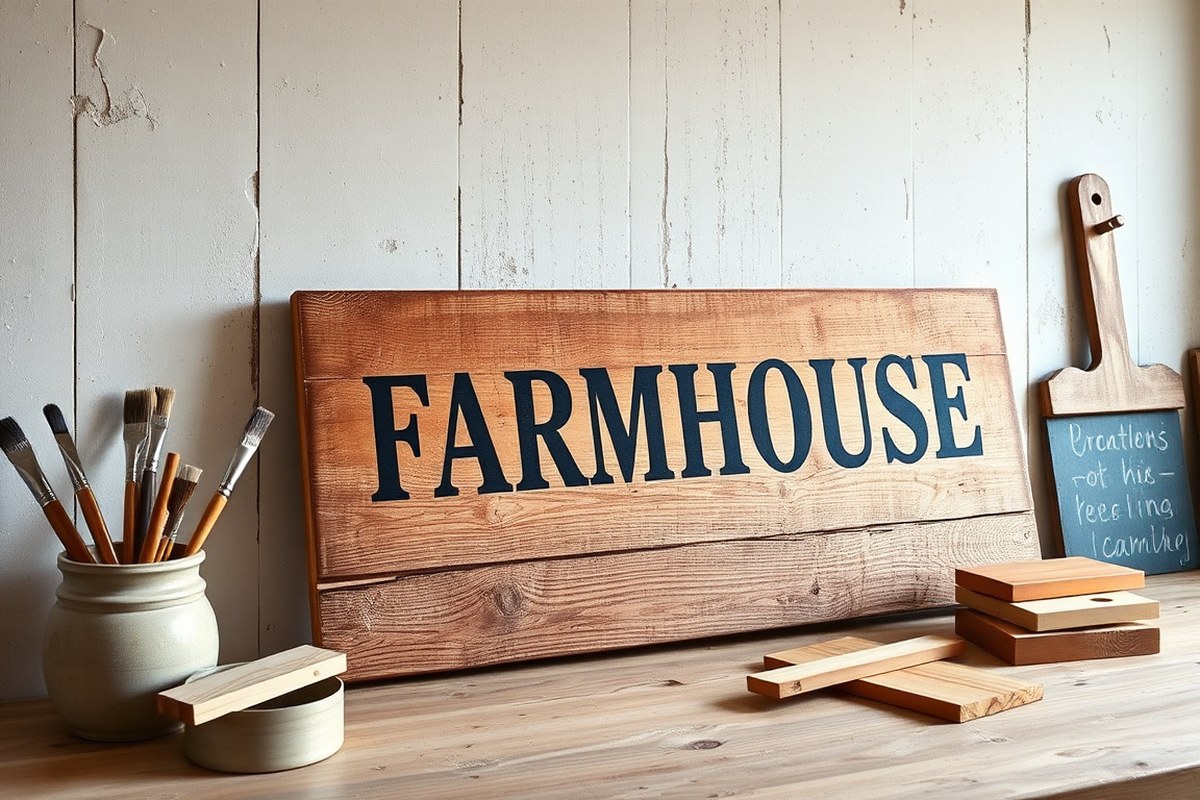
How to Make a Farmhouse Sign with Easy Steps and Affordable Materials
How to make a farmhouse sign comes down to using simple and affordable materials like a 1×10 wood board or plywood, paired with basic tools and paint. You can create a rustic look by preparing the wood properly, choosing the right paint, and adding hand-painted or stenciled designs. Starting with recycled wood or inexpensive lumber keeps costs low and makes this project easy for any skill level.
Key Takeaways
- Use a 1×10 wood board in lengths between 4 and 8 feet based on your lettering size for your sign base.
- Sand and clean wood thoroughly to ensure paint or stain adheres smoothly and lasts longer.
- Design your farmhouse sign text using simple stencils or print templates on a basic home printer.
- Chalk paint provides a quick-drying, rustic finish that requires 20-30 minutes drying time between coats.
- Frames built from 2×4 molding or pine add a polished, professional edge to your farmhouse sign.
- Use recycled wood or thrift store frames to cut costs while creating authentic farmhouse charm.
Materials and Tools Needed for Your Farmhouse Sign
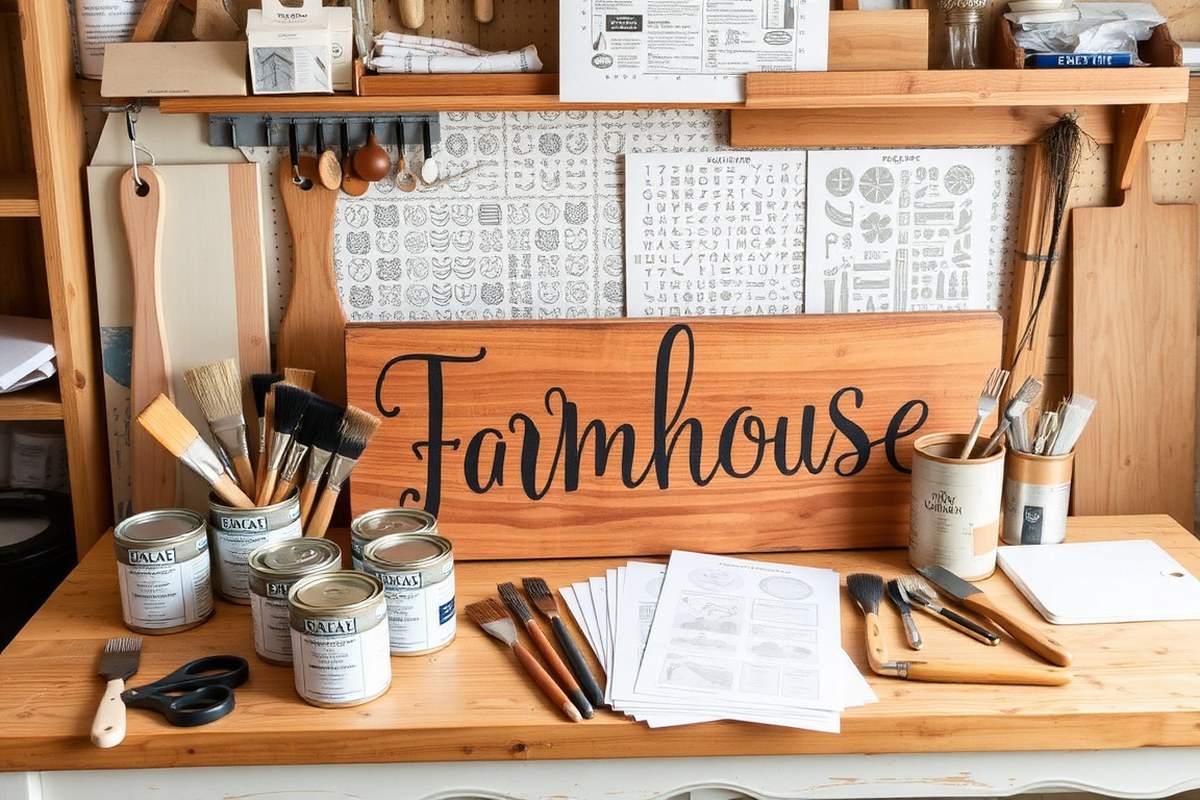
To create a farmhouse sign, start by gathering the right materials and tools that fit both your style and budget. Wood is the most important material, with reclaimed wood or pallet wood being ideal choices for an authentic rustic look. These options not only save money but add character and charm to your project. Pine and cedar are affordable wood types if you prefer new lumber; both take paint and stain well and cost around $5 to $15 per board, depending on size and quality.
The essential tools you’ll need include sandpaper or a power sander to prepare the wood surface, paintbrushes for applying paint or stain, and a pencil or computer printer for transferring design elements. A staple item is paint, either chalk paint or acrylic, which are inexpensive and provide that farmhouse finish. Many makers recommend using templates from a standard printer to create crisp lettering, which eliminates the need for costly stencils.
Some optional tools and supplies can make your work easier or add refinement. An electric drill and wood screws help if you want to add framing or hang your sign securely. Using a clear protective coat like polyurethane extends the life of your sign, particularly if it will be outdoors. You may also want painter’s tape for sharp edges or a small level to ensure your sign hangs straight.
- Reclaimed wood, pallet wood, or pine/cedar boards (around $0, $15 each)
- Sandpaper or an electric sander for smoothing wood surfaces
- Paintbrushes and paint suitable for wood (chalk paint or acrylic)
- Pencil, printer, and carbon paper or transfer paper for designs
- Clear protective finish (optional, for outdoor durability)
- Electric drill and screws (optional, for framing or hanging)
- Painter’s tape and a small level (optional, for clean lines and hanging)
Reclaimed or recycled materials let you craft a sign with minimal cost, often for free if you find scrap wood locally through social media or community groups. Pallet wood is widely available and perfect for a rustic look but may require extra sanding or cleaning. Selecting wood pieces with smooth, flat surfaces makes painting easier and improves the final appearance. Avoid warped or overly damaged wood unless you want a very weathered look.
Affordable supplies often come from big-box home improvement stores, craft stores, or even online marketplaces. Look for paint samples or small containers rather than full cans if you only need a few colors, these usually cost under $5. Sandpaper basics are inexpensive and can handle multiple signs when sanding properly. By planning your size and design in advance, you avoid waste and keep your project under budget, possibly under $10 total for common materials.
Preparing Wood for Painting or Staining Your Sign
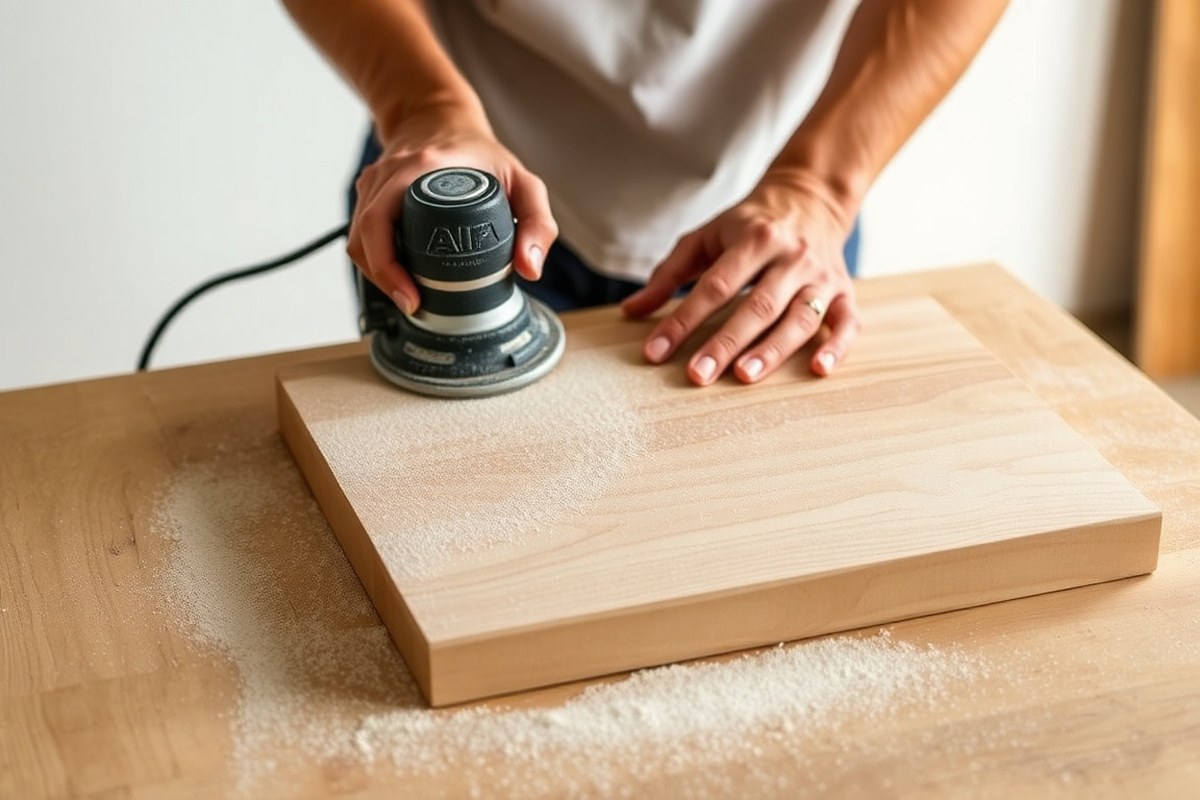
Preparing wood for painting or staining ensures your farmhouse sign has a smooth, even finish that lasts. Proper measuring, cutting, and sanding create a clean base, while sealing or priming helps the paint or stain adhere well. Follow these steps carefully to avoid rough spots, blotchy colors, or peeling.
Measuring and Cutting Wood to Size
Start by deciding the dimensions of your farmhouse sign based on where you’ll display it. Use a tape measure and pencil to mark your wood. Common sizes for farmhouse signs range from 12 by 24 inches to larger, like 20 by 30 inches, but adjust as needed for your space.
Use a circular saw or miter saw for clean, straight cuts. If you’re cutting wood molding for a frame, cutting two pieces to 45 inches and four pieces to 21 inches often works well for a rectangular sign. Always measure twice to avoid mistakes.
Essential Sanding for Smooth Surfaces
Sanding removes splinters, rough edges, and old finishes that interfere with paint or stain absorption. Start with medium-grit sandpaper, around 80 to 120 grit, to smooth rough spots. Follow with fine-grit, 220 grit, to create a surface that paint or stain can evenly cover.
Sand edges and corners carefully to avoid sharp angles. Use a sanding block or an orbital sander for flat surfaces. Always sand in the direction of the wood grain to prevent scratches. After sanding, wipe the wood with a damp cloth or tack cloth to remove dust.
Sealing and Priming Options Explained
Sealing prevents uneven stain absorption, especially with soft or porous wood, while priming prepares the surface for paint and improves coverage. For stained finishes, apply a wood conditioner or sealer before staining to prevent blotchiness. For painted signs, use a primer that fits your paint type, latex primer for water-based paints, oil-based primer for oil paints.
Priming is especially important if the wood is reclaimed or has discoloration from previous projects. It helps avoid paint peeling or uneven color. Let sealers or primers dry fully, usually 1 to 2 hours depending on product instructions, before moving on.
Step-by-Step Wood Preparation Process
Use this checklist to prepare your wood correctly for a farmhouse sign:
- Measure and mark your wood according to your sign’s desired size.
- Cut the wood using a circular saw or miter saw following your marks precisely.
- Sand all surfaces and edges starting with 80, 120 grit sandpaper, then 220 grit for smoothness.
- Remove sanding dust by wiping the wood with a damp cloth or tack cloth.
- Apply wood conditioner if staining porous wood to ensure even absorption.
- Prime the surface if painting, using the appropriate primer for your paint type.
- Allow primer or sealer to dry completely before painting or staining.
Wear safety goggles and a dust mask when cutting and sanding wood to protect your eyes and lungs from debris and dust.
Designing and Transferring Your Farmhouse Sign Text and Graphics
Affordable methods for creating farmhouse sign designs without high-tech tools mainly involve printable stencils, pencil or carbon paper transfers, and vinyl stencils made by hand. These techniques allow you to put any phrase or vintage-inspired graphic on your sign while keeping costs low and avoiding expensive cutting machines like Cricut or Cameo. Each method has specific steps and materials, so choosing one depends on your available tools, patience, and desired finish quality.
Using Printable Stencils for Easy Transfer
Printable stencils let you design phrases or images on your computer and print them on regular paper. After printing, you cut out the shapes or letters with a craft knife, creating a stencil you can place directly on your wood sign. To use it, tape the stencil securely, then dab paint over the cutouts with a sponge or stencil brush to transfer the design onto the wood. Prices stay low since you only need printer paper, ink, scissors, and paint, materials most crafters already have on hand.
The stencil method works best for simple fonts and basic shapes because cutting intricate designs by hand can be time-consuming and less precise. Stencils might show slight bleed-through if paint is applied too heavily or if the stencil shifts, so securing it well and using light, even paint strokes help maintain sharp edges. This approach yields professional-looking results especially for bold farmhouse phrases on painted or stained signs.
Pencil and Carbon Paper Transfer Method
This technique involves printing your sign design on regular paper, placing carbon paper (graphite transfer paper) underneath it, and then tracing over the letters or graphics with a pencil on top. The pressure transfers the carbon onto the wood sign beneath, creating an outline you can paint over. Carbon paper costs under $5 for a pack and can be reused multiple times, making this method budget-friendly.
To start, align your printed design where you want it on the wood. Position carbon paper between the design and wood, carbon side down, then trace carefully with a sharp pencil, pressing firmly to transfer the lines. Remove the papers and fill in the traced outlines with paint or marker. Good results show clean, visible lines that guide your painting without excess smudging.
This method suits detailed or vintage-style designs where accuracy matters, yet you don’t have access to vinyl cutting tools. Problems can include faint transfer lines if insufficient pressure is used or smudging if the carbon paper shifts. Using a ruler or stiff backing under your sign helps keep all layers steady while tracing.
Freehand and Vinyl Stencil Options
Freehand painting lets you draw directly onto your sign with pencil first and then hand-paint the letters or images without any transferring tool. This requires a steady hand and some practice but avoids any extra material expense. Many farmhouse signs gain character from hand-painted imperfections, adding to their rustic charm. For beginners, sketch your letters lightly, then slowly fill them in with a small brush and steady strokes.
If you want cleaner lines but don’t own a Cricut or Cameo, cutting vinyl stencils by hand from adhesive vinyl sheets is another option. Use a craft knife and cutting mat to carefully cut your design printed on paper, then transfer the cut vinyl stencil to your sign. Apply paint over the vinyl and peel it off when dry for crisp, sharp lettering. Adhesive vinyl sheets cost around $10 per pack but allow reusable stencils if handled gently. This method saves time compared to fully freehand painting and delivers precise edges without expensive machinery.
Choosing and Applying Paint for a Rustic Farmhouse Finish
Choosing the right paint is key to achieving a classic farmhouse sign with a rustic touch. Chalk paint is a popular choice because it adheres well to wood, requires minimal prep, and dries quickly, usually within 20 to 30 minutes between coats. This fast drying time lets you apply multiple thin layers without long delays, which is important to avoid paint runs or uneven coverage. Acrylic latex paint also works well if you want a bit more durability, but it takes longer to dry and may need sanding between coats to smooth the surface.
Colors for farmhouse signs typically lean toward muted, earthy tones such as off-white, soft grays, warm beige, and vintage greens or blues. Using these colors keeps the sign looking timeless and fits the cozy, rustic style. For a distressed or weathered look, start by painting the entire wood surface with your base color. After this dries, apply a second coat in a contrasting or complementary color. While that second coat is still tacky, use fine-grit sandpaper or a sanding block to gently rub areas where natural wear would occur, edges, corners, and spots that would see the most touch. This thin sanding reveals bits of the base color or bare wood underneath, creating the characteristic farmhouse chippy or distressed finish.
In some techniques, applying a layer of clear wax over the paint before distressing helps control where and how much paint you remove. The wax acts as a resist and prevents the second paint layer from fully adhering in those spots. This method lets you customize the amount of wear, giving your sign a genuine aged look without overdoing it. When applying each coat, including wax or sealant, plan on waiting at least 20 to 30 minutes to dry, though full curing might take several hours depending on temperature and humidity. Aim to work in a well-ventilated, dust-free area at temperatures between 65 to 75 degrees Fahrenheit for best results.
Applying multiple thin coats instead of fewer thick ones helps the paint dry evenly and reduces cracking or peeling over time. Use a high-quality synthetic brush or a dense foam brush for smooth strokes and less brush marking. Thin coats also allow you to build up just enough coverage to obscure the wood grain while preserving some texture, which is important for maintaining a handcrafted appearance. Expect to spend around $10 to $20 on chalk paint per pint, which covers several small signs. You can save money by buying smaller quantities or trying sample sizes if you want to test colors first.
By layering paint thoughtfully and allowing proper drying time between coats, you ensure your farmhouse sign will have that authentic rustic charm. Avoid rushing the drying process or applying thick coats, as these often lead to blotchy colors or bubbling paint. Instead, patience and attention to how the paint feels and looks after each layer make all the difference. A well-painted farmhouse sign becomes a centerpiece that adds warmth and character to any room or outdoor space.
Building and Attaching the Frame for a Professional Look
Adding a frame to your farmhouse sign not only improve its appearance but also protects the edges and gives it a polished, professional look. You can use wood molding or 1-inch pine strips, both affordable and easy to shape. These materials usually cost around $2.50 each at stores like Lowes, making them a budget-friendly option. Applying stain or paint to the frame before attaching helps you create a cohesive design, matching either a rustic or colorful style.
Cutting and attaching the frame correctly ensures your sign looks square and stable. Miter cuts at 45 degrees join the frame corners neatly. Using nails or screws, combined with wood glue, keeps the frame secure without damaging the sign. Also, double-checking the squareness of your sign before attaching the frame prevents warped edges or gaps. You can add metal brackets for extra support and a decorative touch, especially on larger signs. Follow these steps to build and attach your farmhouse sign frame with clean, crisp results.
- Measure each side of your sign. Use a tape measure to find the exact length of the top, bottom, and both sides. Write down the numbers to guide your cuts.
- Cut your molding or pine strips. Set your miter saw to a 45-degree angle. Cut each piece to length, remembering the angled edges create tight corners when joined.
- Sand the cut edges. Lightly sand the ends to remove splinters and create smooth joints for a smooth fit.
- Apply stain or paint on all sides of the frame pieces. Do this before attaching to avoid drips or uneven coloring. Allow the finish to dry completely, usually 24 hours for stain.
- Dry fit the frame pieces on your sign. Arrange them without glue or fasteners to check the fit and alignment.
- Attach using wood glue and finish nails or 1-inch screws. Run a thin bead of glue along the edge, press the frame pieces onto the sign, then secure with nails or screws spaced every 6, 8 inches.
- Check the corners for tightness. Use painter’s tape or clamps to hold corners together as the glue dries, ensuring the frame stays square.
- Add optional metal brackets or corner protectors. Spray paint these to match your frame color and screw them into place for extra support and style.
Make sure your frame pieces are cut precisely and dry fit before gluing; even small measurement errors can cause gaps and uneven edges.
Finishing Touches to Protect and Display Your Sign
Sealing your farmhouse sign protects it from moisture, dirt, and fading while keeping its rustic charm. Choose a clear satin or matte polyurethane to avoid a glossy finish that might clash with the farmhouse aesthetic. For outdoor signs, look for exterior-grade sealers with UV protection to guard against sun damage and weather. Apply two to three thin coats with a brush or foam applicator, allowing 2 to 4 hours drying time between layers. Avoid thick, uneven coats that cause bubbling or drips.
Adding hanging hardware keeps your sign secure and easy to display. D-ring hangers or sawtooth hangers work well for indoor signs and are simple to install with small screws. For heavier or outdoor signs, consider wire hangers attached to sturdy hooks or eye screws. Use a drill with a small pilot hole to prevent wood splitting, especially near edges. Placement about one-third from the top edge ensures balanced hanging. If the sign is thick, pocket-hole screws can reinforce the frame for added support.
Customize your farmhouse sign further by adding embellishments that match your home’s style. Metal accents like small stars, floral hooks, or rustic keys add vintage appeal. Fabric bows or twine wrapped around corners introduce texture and softness. Seasonal items such as miniature pumpkins for fall or greenery for winter mount well with hot glue or small nails. However, avoid heavy ornaments that strain the sign’s structure or hardware.
- Choose clear satin or matte polyurethane for sealing
- Apply 2, 3 thin coats, drying 2, 4 hours between
- Use exterior-grade sealers with UV protection for outdoor signs
- Install D-ring or sawtooth hangers with pilot holes to avoid splitting
- Place hangers one-third from the top for balance
- Add metal or fabric embellishments with nails or hot glue
- Keep added decor lightweight to prevent sagging
Sealing and hardware installation usually cost under $20 in materials, depending on the product brands you choose. Taking time to protect your sign ensures it stays beautiful longer, indoors or outside. Watch for peeling or fading as signs you may need to reseal. Correctly installed hangers keep your sign flush and steady on the wall, avoiding damage to both sign and surface.
Common Mistakes in Farmhouse Sign Making and How to Fix Them
One common mistake in farmhouse sign making is uneven painting, which often happens when paint is applied too thickly or with the wrong brush. This can cause smudges or drips that ruin the rustic look. To avoid this, use a small foam brush or a stencil brush, applying paint in light, even coats. Allow each layer to dry completely, usually 15 to 30 minutes, before adding another. Thin coats reduce the risk of bleeding under stencils and give a cleaner edge.
Misplacing letters or designs is another typical error. When transferring designs, press firmly but not too hard with a pen to avoid tearing the paper or creating unwanted indentations. Using carbon paper beneath the design template helps ensure clear copying without extra marks. When your design transfer looks faint or smudged, gently trace it again with a pencil before applying paint.
Sometimes, paint can peel or chip if the wood wasn’t prepped properly. Skipping sanding or painting over a damp surface results in a weak finish. Always sand the wood smooth using a fine-grit sandpaper and wipe off dust with a tack cloth. Make sure the wood is completely dry before painting or staining to prevent these issues.
- Place letters carefully and use carbon paper to transfer designs accurately.
- Apply paint in thin layers with a foam or stencil brush to avoid smudging.
- Wait for paint to dry fully between coats, about 15-30 minutes.
- Sand wood smoothly, and clean off dust before painting or staining.
- Press lightly but firmly when tracing to avoid tearing or faint designs.
- Paint bleed can be cleaned by wiping carefully with a damp cloth before the paint dries.
- For mistakes, lightly sand the affected area and repaint after dust removal.
Painting over a smudged or uneven area requires patience. Let the paint dry, then use fine sandpaper (220 grit works well) to gently smooth the surface. Remove dust before repainting to ensure the new paint sticks well. Repainting can cost little more than the price of a small brush and paint sample pot, but it pays off with a polished look.
A mistake in a design transfer calls for a calm approach. Light sanding removes pencil or pen marks without damaging the wood. Reposition the stencil or print another template to retry the transfer. Keeping extra printed copies or templates saves time and prevents frustration. Taking these steps can significantly increase your chances of creating a flawless farmhouse sign that fits your space perfectly.
Creative Customization Ideas for Unique Farmhouse Signs
Personalizing your farmhouse sign with thoughtful phrases, themed graphics, and seasonal touches makes it a standout element in your home decor. Knowing which words and images resonate with farmhouse style helps create a warm, inviting sign that suits your space and mood. Adding layers of font styles and embellishments enriches the rustic charm and brings your sign to life.
Popular Farmhouse Sign Phrases
Classic farmhouse signs often feature warm, welcoming phrases that reflect simplicity and family values. Templates like “Welcome to Our Farmhouse,” “Home Sweet Home,” or “Gather Here with Grateful Hearts” fit the style well. You can also personalize signs with your last name and establishment year, such as “The Johnsons, Est. 2023,” which adds a meaningful, traditional touch. Short, sweet lines work best, keeping the text readable from a distance, usually between 12 and 24 inches wide. Experiment by combining uppercase sans serif fonts for impact with cursive script fonts for warmth. Try “Farm Fresh Eggs” for kitchen spaces or “Bless This Home” near entryways to set a cozy tone.
Seasonal and Holiday Design Ideas
Seasonal designs let you refresh your farmhouse sign without making a whole new piece. For fall, incorporate graphics of pumpkins, leaves, or acorns alongside the words “Give Thanks” or “Hello Fall.” Winter holiday signs might feature evergreen branches, snowflakes, or a simple red bow, paired with phrases like “Merry & Bright” or “Joy to the World.” Spring and summer designs often include florals, sunflowers, or garden tools with sayings such as “Bloom Where You’re Planted” or “Farm Fresh Flowers.” Adding removable embellishments, like mini wreaths or ribbons attached with small hooks or Velcro, lets you swap themes quickly. Avoid painting directly over your main sign if you want to reuse it year-round, use clip-on accents or a secondary small sign mounted beside your main one.
Using Decorative Elements and Fonts
Selecting the right fonts and graphics creates visual interest and reinforces the farmhouse vibe. Combining two or three fonts works well if you keep sizes balanced, for example, a bold serif font for the main phrase and a delicate script for accents or names. Adding simple graphics like stars, hearts, barn animals, or vintage farm tools enriches the design without cluttering. These graphics can be stenciled, hand-painted, or added as vinyl decals. For a more tactile look, attach wooden cutouts or metal embellishments like rustic keys or shovels. Surrounding your text with a subtle border or small decorative lines helps focus the eye and give a polished feel. Just remember not to overdo fonts; too many styles can make the sign hard to read and lose that clean farmhouse look.
Start with a single phrase and one decorative element; build up your design slowly to avoid overcrowding your farmhouse sign.
Step-by-Step Action Plan
Follow these steps to create your farmhouse sign efficiently and with a polished finish.
- Before you start: Gather all materials and tools on a clean workspace to avoid any delays or missing items.
- Day 1: Prepare the wood by sanding and cleaning it until smooth; test by running your hand over the surface for any rough spots.
- Day 2: Transfer your design using graphite paper or stencils; ensure the outline is clear and easy to follow for painting.
- Day 3: Apply your base paint or stain evenly, letting it dry completely; a consistent color without streaks means it’s ready for detail work.
- Day 4: Paint the sign’s text and graphics carefully, using multiple thin coats if needed; wait until each coat is dry to avoid smudging.
- Day 5: Build and attach the frame using nails or screws; check that the frame sits flush against the sign and feels secure.
- After 2 days: Add a clear protective finish like polyurethane; the wood should feel dry and sealed when touched.
- Within the first week: Mount or display your sign where it suits your space best, checking for sturdy attachment and no wobbling.
Frequently Asked Questions
What Is the Most Cost-Effective Way to Make a Farmhouse Sign?
You can make a simple farmhouse sign for under $10 using wood, paint, and a printer. This budget-friendly approach lets you create personalized signs without expensive tools or materials.
Can I Use a Printer to Help Create the Design for My Farmhouse Sign?
Yes, a printer can produce text or graphics for easy transfer onto wood. This method is simpler than stenciling and adds to the rustic charm with slight imperfections.
How Do I Decide the Size of My Farmhouse Sign?
Determine the space where you’ll display it and measure accordingly. Common sizes vary, but planning ahead prevents the sign from being too small or overwhelming.
What Should I Know About Framing My Farmhouse Sign?
A well-built frame improve the sign’s professional look and rustic feel. Using wood that complements your sign’s style can tie the entire piece together.
Can I Customize a Farmhouse Sign for Special Occasions?
Definitely, removable vinyl or interchangeable elements make it easy to update your sign for holidays or seasons. This adds versatility without needing multiple signs.
Are Vintage or Antique Elements Important for Farmhouse Signs?
Yes, including vintage design details helps create the cozy, authentic farmhouse look. These elements make your home feel warmer and more inviting.
Before You Go
Making a farmhouse sign involves careful preparation, precise painting, and a solid finishing touch to achieve a rustic charm. Taking the time to frame and protect your sign boosts its durability and appearance. Next, consider placing your sign in a spot where it complements your décor and can be admired regularly.