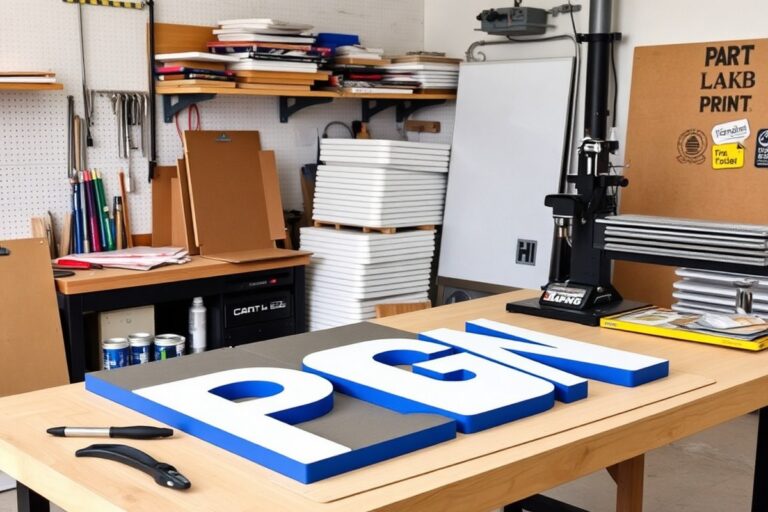
How to Make a Desk Name Plate: Complete Guide with 8 Top Methods
How to make a desk name plate starts with choosing the right materials and a simple design you can customize. Focus on a size roughly 2 by 8 inches for clear visibility and balance on your desk. Use tools like a desktop engraver or vinyl cutter for neat results, or hand paint for a personal touch. Begin by drafting your text layout in a program like Microsoft Word to visualize the name and title clearly.
Key Takeaways
- Select a plate size around 2 × 8 inches for optimal readability without overpowering your desk space.
- Use desktop engravers like the xTool D1 Pro for fast, professional-looking personalization at home.
- Try scroll-sawing thin wood letters to create a bold, 3D effect by gluing them onto the base plate.
- Create your text design first using a program such as Microsoft Word with WordArt for clear font styling.
- Consider vinyl lettering for a quick, clean, and budget-friendly name plate method.
- Experiment with a heat press set to 385°F for 120 seconds to apply sublimation transfers on the base.
1. How to Make a Desk Name Plate Step-by-Step
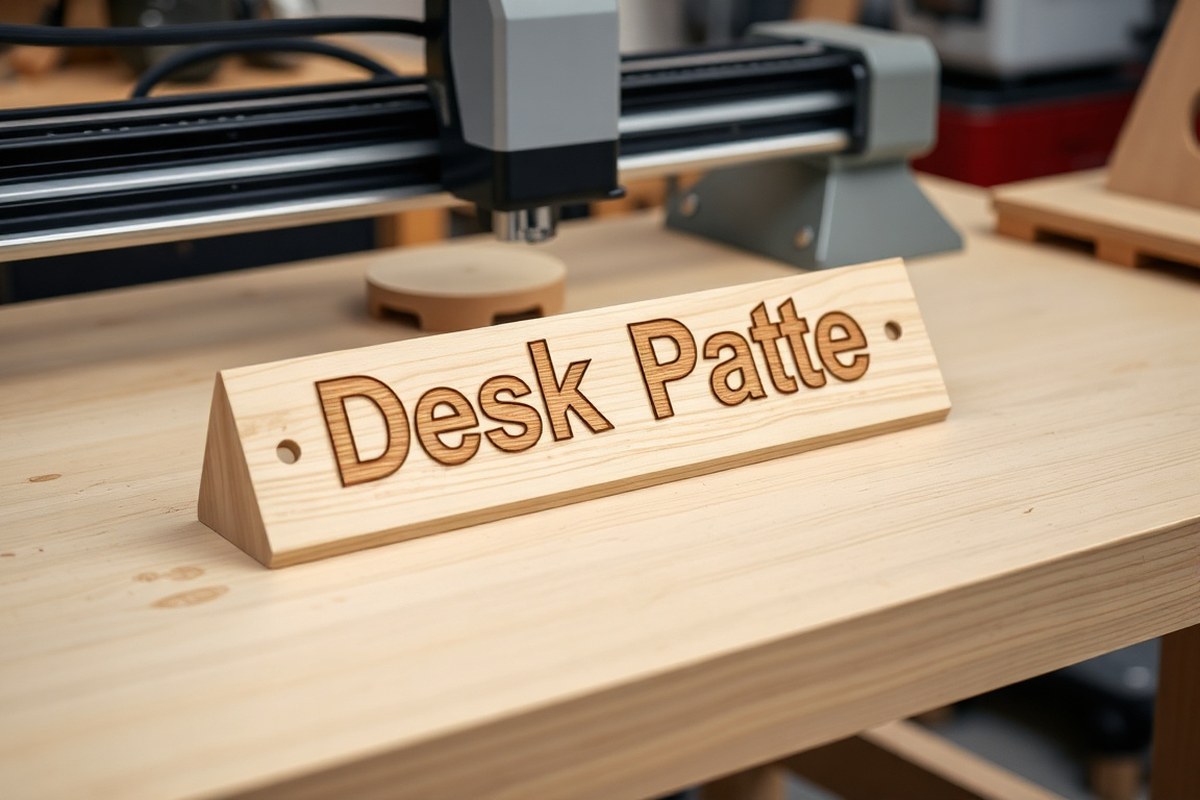
Making a desk name plate involves designing the layout, cutting or shaping the material, adding text and decoration, then finishing and mounting the final product. Each step requires careful attention to size, style, and method to ensure a professional and personalized result. You’ll need to prepare your design digitally or by hand, cut your base material to size, apply your lettering or decoration, and assemble or attach the plate and stand securely.
Designing Your Name Plate Layout
Start by selecting the size of your name plate, commonly around 2 by 8 inches for desk stability and readability. The layout should include your name and title, maybe a small logo if relevant. Choose fonts that maintain clarity and withstand cutting or engraving, avoiding overly thin or script fonts unless connected by a backing plate.
Pick color contrasts that make the lettering pop, such as dark text on a light background or vice versa. Using a design tool or software can help visualize your plate and ensure the elements are balanced and properly spaced. Consider the mounting style early in the design to allot space for attaching a wedge, block, or adhesive area.
Cutting and Shaping Materials
Prepare your base material, which could be wood, acrylic, metal, or plastic, cut to the size decided during design. Accurately measure and mark dimensions using a ruler and pencil, then cut with appropriate tools such as a scroll saw for wood or a laser cutter for acrylic and metal. Smooth the edges with sandpaper to remove splinters or burrs.
Maintain clean, straight lines and check the thickness suited for your mounting method, for example, thick enough to hold screw holes for door mounting or thin enough to fit a desk wedge. A well-cut plate ensures a neat appearance and durability in use.
Adding Text and Decoration
Apply text and decoration by engraving, painting, or using vinyl letters. For laser engraving, upload your design and carefully set the engraving depth and speed to avoid burning wood or cracking acrylic. Hand painting demands steady brushes and possibly stencils to create clear lettering with vibrant, contrasting colors.
Vinyl lettering offers a clean, fast alternative, especially with cut-out decals that stick onto plastic or metal surfaces. Align the letters carefully and smooth out air bubbles for best results. Touch up any edges with a small brush or fine marker to maintain crisp outlines.
Finishing and Mounting Your Plate
Apply a clear finish like polyurethane or spray paint to wood plates for protection and a polished look. For acrylic or metal, clean the surface thoroughly before mounting. Choose your mounting option: a slot-together wedge stand cut with your design, a purchased metal desk wedge, or glue a triangular block as a simple stand.
Secure the plate firmly to ensure it stands straight and stable on a flat surface. If mounting to a wall or door, pre-drill holes for screws or attach a French cleat or keyhole slots depending on the plate thickness and weight. Clean mounting surfaces before applying adhesives to improve hold and durability.
- Design your name plate layout digitally or on paper, setting size, fonts, colors, and any logos.
- Measure and cut your base material precisely to the planned dimensions.
- Smooth all cut edges with sandpaper or a sanding block for a clean finish.
- Apply your text and decoration by engraving, painting, or vinyl lettering.
- Add a protective finish to wooden plates or clean acrylic and metal surfaces.
- Attach or assemble your mounting option, stand, wedge, or wall mount.
- Check the stability and polish any imperfections for a professional look.
2. Choosing Materials for Your Desk Name Plate
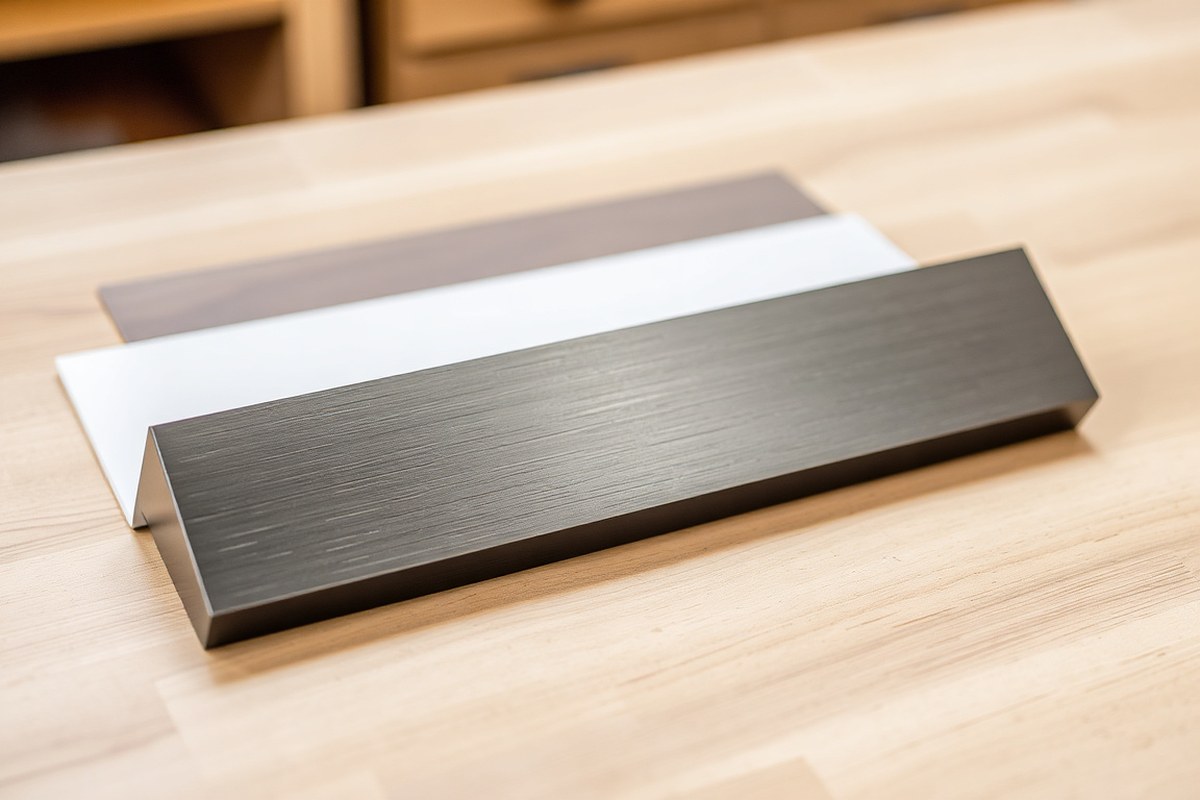
Choosing the right material for your desk name plate affects how it looks, how long it lasts, how much it costs, and how easy it is to make. Wood offers a classic and elegant appearance, making it the best choice for executive offices and leadership roles. It also tends to last longer than plastic but may require more careful finishing. Acrylic provides polished, modern looks with custom shapes, good for desks and other surfaces where a clean style is wanted. Metal stands out with a professional and permanent engraving option but usually costs more and needs special tools. Plastic is the most budget-friendly and easiest to work with, perfect for quick office signs or outfitting many desks.
The material you pick affects your design options too. Wood allows for a warm, natural finish; you can even cut out 3D letters and glue them for a bolder effect. Acrylic supports smooth edges and vibrant full-color prints. Metal often uses two-color engraving for clear text. Plastic works best with vinyl decals or simple printing methods.
| Material | Best For | Cost (USD) | Appearance | Ease of DIY Crafting |
|---|---|---|---|---|
| Wood | Executive offices, leadership | $3, 6 | Elegant, warm, classic | Medium |
| Acrylic | Desks, doors, nurseries | $2, 5 | Polished, custom shapes | Easy, Medium |
| Metal (engraved) | Professional office desks, badges | $5, 10 | Permanent, professional | Easy (with laser) |
| Plastic | Large teams, quick signs | $3, 8 | Clean, graphic | Very easy |
For a DIY desk name plate, acrylic and wood provide excellent options with good balance between cost and quality. Acrylic’s smooth finish makes it simple to apply vinyl or paint. Wood may require sanding and sealing but offers a premium feel. Metal usually demands specialized engraving equipment or services, making it less suited for solo DIY projects but excellent for a professional look if you have access.
Pick wood if you want a traditional, durable name plate that matches a formal office. Choose acrylic to get creative shapes with polished edges for a modern look. Go with plastic for fast, affordable signs across many workspaces. Metals suit high-end products where permanence matters.
Tip: Sand wood surfaces smoothly before painting or staining to avoid rough textures that show imperfections and make your desk name plate look cheap.
3. Comparing Methods: Laser Cutting, Engraving, Vinyl, and Hand Painting
Different methods for making desk name plates offer various balances of cost, durability, appearance, and skill required. Choosing the right one depends on your budget, the style you want, how long you need the name plate to last, and your available tools.
Laser Cutting and Engraving
Laser cutting and engraving deliver crisp, professional results with precise detailing, especially on materials like wood or acrylic. This method uses a laser to etch or cut the surface, producing a permanent mark that withstands daily wear. The upfront cost involves either buying access to or hiring a service with laser equipment, which can add from $10 to $50 or more per plate depending on size and complexity.
Laser engraving requires digital design files that the machine reads to carve or etch the design. Using precision machines like Trotec laser engravers allows fast turnaround and consistent quality, ideal when you want a uniform look for multiple plates. The engraved effect gives a traditional and sophisticated look that fits well in corporate or formal office environments.
Equipment needed includes a laser engraving machine or a service provider, vector design software, and suitable materials like hardwood or plastic sheets. Costs vary but expect about $25 to $50 per piece if outsourced, while owning a laser cutter could cost thousands upfront.
Vinyl Application
Applying vinyl lettering is a cost-effective and quick way to create colorful desk name plates without specialized engraving tools. You cut letters or shapes from adhesive vinyl using a craft cutter or order pre-cut vinyl. Then you transfer the vinyl onto a flat name plate backing, usually plastic or wood. This method allows easy color choices and design changes, making it flexible for seasonal or branding updates.
The vinyl letters are durable but can peel over years or with rough handling. Vinyl is also vulnerable to scratches, so avoid placing the plate where it might get scuffed often. This method suits beginners and budget-conscious crafters well because it requires minimal technical skill and fewer expensive supplies.
Materials include self-adhesive vinyl, a blank plate, transfer tape, and optionally a craft vinyl cutter. Cost per name plate can be as low as $5 to $15, especially if you cut the vinyl yourself using a machine like a Cricut or Silhouette.
Hand Painting Techniques
Hand painting lets you craft unique name plates with personal creative control over fonts, colors, and effects. Using fine brushes and quality acrylic or enamel paints results in vibrant, one-of-a-kind pieces. This technique suits intricate or artistic lettering but requires steady hands, practice, and time for multiple paint layers to dry.
Painted name plates can be sealed with a clear varnish or spray for added durability. However, painted letters might chip or fade faster compared to engraving or vinyl, especially if exposed to heavy use or cleaning solvents. Choosing weather-resistant paints improves lifespan.
This method has a lower material cost, brushes and paint kits range from $10 to $40, but it demands patience and skill to avoid mistakes that are hard to correct. Hand painting is ideal when a personal, handcrafted feel fits your workspace style or small-scale gifting. The table below summarizes the key aspects you should consider for each method.
| Method | Cost per Plate | Durability | Skill Level | Appearance |
|---|---|---|---|---|
| Laser Cutting & Engraving | $10, $50 (outsourced) | High, permanent etch, resists wear | Intermediate, needs digital design input | Professional, precise, classic engraved look |
| Vinyl Application | $5, $15 | Moderate, can peel or scratch over years | Beginner, easy to apply with basic tools | Colorful, flexible, clean-cut edges |
| Hand Painting | $10, $40 (materials only) | Low to moderate, prone to chipping without seal | Advanced, requires steady hand and practice | Unique, artistic, customizable |
Every method has tradeoffs between cost, skill, and result. Vinyl suits quick, affordable projects with bright colors, while laser engraving is best for polished, long-lasting plates. Hand painting offers creative uniqueness but demands more time and effort.
4. Design Tips for Clear and Stylish Desk Name Plates
Choosing fonts for your desk name plate should focus on clarity and professionalism. Sans-serif fonts like Arial, Helvetica, or Calibri work well because they are easy to read from a distance and maintain a clean look. Font sizes between 18 and 24 points typically ensure readability across a standard 2 by 8 inch (5 by 20 cm) name plate, allowing your name and title to stand out without crowding the space. Avoid overly decorative or script fonts as they can reduce legibility in small sizes.
Color contrast is essential for making your name plate noticeable yet professional. Pair dark text colors such as black or navy with lighter backgrounds like natural wood tones, white, or muted gray to create clear visibility. Your workspace can benefit from a splash of color like deep blue or subtle burgundy on the background or border, adding personality while staying suitable for an office setting. Consider using UV printing for vibrant, fade-resistant colors if you include logos or detailed graphics, making sure they do not overpower the text.
Logos and job titles should be included with attention to proportion and placement. Keep logos small and situated to one side or above the name, using no more than 15-20% of the name plate’s total area. This balance prevents the logo from distracting from the main information, your name and title. For job titles, position them beneath the name in a smaller font, about 75% of the name’s font size, to differentiate but keep it readable. Text alignment should be consistent: left-aligned for a structured look or centered for a formal style.
When designing, think about how the material interacts with color and font choices. For example, a natural wood base looks best with dark, simple fonts, while acrylic plates allow for brighter colors and sharper logo reproduction. The choice of a sleek stand or holder that complements the design keeps your plate upright and visible without overwhelming your desk space. Access to an affordable desktop engraver lets you personalize fonts and add logos yourself, cutting costs and keeping control over design details.
Prioritize readability by using clear fonts and high-contrast colors, balance text with logos, and pick layouts that show your personality while matching the professional environment. This approach ensures your desk name plate communicates your identity with maximum impact and elegance.
5. Essential Tools and Safety Tips for Name Plate Making
Your choice of crafting method determines the tools you’ll need for making a desk name plate. For laser cutting or engraving, a laser cutter is essential, typically requiring a machine costing between $300 and $5,000 depending on size and power. Vinyl cutting needs a vinyl cutter and adhesive vinyl sheets, commonly costing $200 to $400 for a basic cutter. Hand painting calls for fine brushes, acrylic paints, and sealant sprays, all available at craft stores for under $50. Besides the main tools, you’ll also use rulers, cutting mats, tweezers, and sandpaper to prepare materials and refine edges.
Safety is key when working with machines and chemicals. Wear protective gloves when handling adhesives or sealants to avoid skin irritation. Use goggles to shield your eyes from dust or flying debris, especially during sanding or laser engraving. Laser cutters emit fumes from burning materials, so make sure your workspace has proper ventilation or a fume extractor. Follow the manufacturer’s instructions for machine use, including setting correct power levels and avoiding prolonged exposure to the laser beam.
- Laser cutter or engraver with ventilation setup
- Vinyl cutter and adhesive vinyl sheets
- Fine brushes, acrylic paints, and sealant spray
- Protective gloves and safety goggles
- Cutting mat and steel ruler for precise cuts
- Tweezers for placing small vinyl pieces
- Sandpaper to smooth edges and surfaces
Always unplug power tools before replacing blades or cleaning to prevent accidental starts.
Keep your workspace clean and organized to avoid accidents, especially when using sharp tools. Place machines on stable surfaces to prevent tipping and use clamps or weights to hold materials steady during cutting or painting. If working with solvents, limit exposure time and never use them near open flames. Test paints and adhesives on scrap pieces before applying to your name plate to ensure compatibility and avoid ruining your project. Following these precautions will help you make a polished desk name plate safely and efficiently.
6. How to Assemble and Mount Your Desk Name Plate Securely
Mounting your desk name plate securely ensures it stays visible and looks professional. Several mounting options fit different surfaces and styles, including desk wedges, adhesive foam tape, and wall mounts like keyhole slots or French cleats. Choosing the right method depends on your desk material, the name plate’s weight, and whether you want a permanent or removable solution. Proper installation prevents damage to your desk and keeps the name plate stable and well-presented.
Desk wedges provide a freestanding option that requires no attachment to the desk. Adhesive foam tape offers a simple, damage-free way to stick your name plate onto smooth surfaces like glass or doors. For mounting on walls or sturdy vertical surfaces, keyhole slots or French cleat systems offer strong, flush placement. Make sure to consider how often you may want to move or update the name plate to pick the best method.
- Prepare the mounting surface and name plate. Clean the desk or wall area with rubbing alcohol to remove dust and oils. Ensure your name plate is smooth and dry if you’re using adhesive or has mounting holes if you plan to screw it in.
- Choose the mounting method based on surface and permanence. Use a desk wedge for easy repositioning without damage, adhesive foam tape for lightweight plates on smooth surfaces, and keyhole slots or a French cleat for a secure wall mount. Foam tape typically costs around $5 to $10 for a small roll and can hold up to 1 pound per square inch.
- Attach the mounting hardware to the name plate. For wedges, slide the plate into the stand. For keyhole slots, install matching screws in the wall or door at the correct distance. If using adhesive foam tape, cut strips to fit the name plate’s back and press firmly for 30 seconds.
- Mount the name plate carefully. For wedges, place it in a visible spot on your desk. When using adhesive, align carefully before pressing since some tapes are semi-permanent. For wall mounts, hang the plate on pre-installed screws or cleats, ensuring it sits flush and level.
- Check the stability and appearance. Gently wiggle the plate to confirm it doesn’t shift. Adjust placement if needed to keep it straight. Avoid mounting near desk edges where it can be knocked over or places exposed to moisture or heavy traffic.
- Maintain the name plate over time. Dust regularly and inspect mounting points for looseness. Replace foam tape every 6 to 12 months to maintain adhesion. For wall-mounted plates, tighten screws as needed to avoid sagging.
Choosing foam tape avoids drilling, protecting desks from damage, but it works best on smooth, clean surfaces and lighter plates under about 2 pounds. Desk wedges add portability and no damage risk but can tip over if bumped. Wall mounts hold heavier plates securely but require hardware installation. Measure your name plate and desk space accurately before buying materials to avoid mistakes.
7. Common Mistakes and How to Fix Your Desk Name Plate
Misaligned text, uneven cuts, and paint smudges are common errors when making desk name plates. These mistakes can make the final product look unprofessional or less durable. Fixing problems depends on the material and method you used, but prevention is usually easier and saves time and waste. For example, text that’s off-center might be adjusted by carefully sanding or trimming the edges on wooden or acrylic plates, while vinyl letters can sometimes be peeled off and reapplied if caught early. Paint smudges often require sanding away the blemish and repainting the area after it dries completely.
Poor cutting is another frequent issue, especially with DIY tools. Rough or jagged edges happen when the blade is dull or the material shifts during cutting. To fix these, use fine-grit sandpaper (around 220-400 grit) to smooth edges. When the cut is significantly off, you might have to recut a new piece, especially with thin acrylic or laminated wood, since trimming won’t fix large mistakes. Keeping the material firmly clamped and ensuring blades are sharp before starting reduces these errors.
Paint and finishing mistakes usually result from rushing or poor preparation. Using painter’s tape to mask off areas before painting minimizes smudges and uneven lines. When smudging happens, wait until the paint dries, then use a small brush for touch-ups. Always apply thin coats of paint, allowing 20-30 minutes to dry between layers to avoid runs. Using acrylic paint is popular because it dries quickly and cleans up with water, saving cleanup time and cost.
- Check blade sharpness and material stability before cutting
- Use a ruler and level to align text elements precisely
- Mask edges with painter’s tape for clean paint lines
- Allow sufficient drying time between paint layers
- Perform a test cut or paint on scrap material first
- Store tools and materials in a dust-free environment
- Follow manufacturer instructions for adhesives and paints
Correcting errors after full assembly can be challenging. For glue mishaps, gently warm the affected area with a hair dryer to soften adhesive and carefully separate components. When mistakes are deeply set in paint or engraving, filling scratches with matching paint or paint pens can mask flaws. In some cases, creating a new name plate may be more time and cost-effective than heavy repairs, especially if multiple errors made the original unusable.
Good results require patience and attention to detail at each step. Simple checks throughout the process reduce material waste and the need for rework. A short checklist before starting, including blade sharpness, workspace lighting, and material condition, can save frustration. Small investments in quality tools and better paint often improve results and durability, making the extra cost worthwhile for a polished desk name plate.
8. Creative Variations for Unique Desk Name Plates
To make your desk name plate truly stand out, consider adding three-dimensional elements, layering different materials, or using color and themed designs. These approaches bring depth and personality, fitting both professional and playful environments. Tailoring the design to your office style or a child’s room can create a memorable and personal touch.
3D Raised Letter Name Plates
Raised letters turn a flat name plate into a tactile feature that grabs attention. You can sculpt the letters yourself from wood, acrylic, or foam, or buy pre-cut laser-cut pieces to glue onto your base plate. For example, cut wooden letters about 0.5 to 1 inch thick and attach them with wood glue or strong craft adhesives for a sturdy hold. Layering letters on a painted wooden base improve depth and makes the text easier to read from a distance.
Using wood adds classic charm and texture, but acrylic sheets offer a modern, smooth finish and clean edges when laser-cut. When gluing raised letters, press firmly and allow at least 24 hours for the adhesive to cure fully. Avoid too heavy or thick letters if you want the name plate to be portable or slim for a crowded desk.
Test adhesive compatibility on scrap materials first to prevent warping or failed bonding, especially with foam or acrylic letters.
Color Accents and Painting Techniques
Adding color highlights can make your name plate pop visually and reflect your personal style. Use acrylic paint, oil-based markers, or even enamel for bright, durable finishes. Painting the edges of carved wooden letters in contrasting colors creates a shadow effect that increases readability. For instance, a dark navy base with white raised letters accented in gold adds elegance and visibility.
Apply thin layers of paint and let each dry about 20 to 30 minutes to avoid drips or color bleeding. Masking tape can help keep color edges sharp, especially if you want multi-colored stripes or geometric patterns on flat backgrounds. Avoid thick paint layers that might obscure fine details or make letters stick unevenly to the base.
Allow full drying and curing times according to paint brand instructions to prevent smudging and fading over time.
Custom Designs for Kids and Offices
Designs for children’s name plates often benefit from playful themes and larger sizes to make a statement, such as 30 to 40 cm wide layered wood signs adorned with moons, clouds, or animals. Using bright, non-toxic paint ensures safety and easy cleaning. Kids’ plates can hang on walls or stand on desks as decorative and functional pieces that inspire creativity.
For offices, sleek and minimal designs with engraved metal or clear acrylic suit professional settings. Limit embellishments to simple logos or subtle color highlights to maintain a refined look. Vinyl lettering on a black or metallic base works well for fast production in corporate environments. Materials and treatments should resist fingerprints and scratches for busy desks.
Choose themes and materials that reflect the occupant’s personality or role, ensuring the desk name plate fits the room’s style and usage needs.
Step-by-Step Action Plan to Create Your Desk Name Plate
Follow these steps to craft your personalized desk name plate with confidence and ease.
- Before you start: Choose your preferred material and method (laser cutting, engraving, vinyl, or hand painting) based on your workspace style and tools available. This sets a clear foundation.
- Day 1: Design your name plate using simple software or by hand. Ensure fonts and layout are clear and readable from desk distance.
- Day 2: Gather your tools and prepare your workspace, following all safety tips for cutting, painting, or applying vinyl. Ready work conditions prevent mistakes.
- Day 3: Create a test piece on scrap material to check colors, cutting depth, or paint clarity. Adjust as needed to get the look and durability you want.
- Day 4: Produce your final name plate using your chosen method, focusing on precision and neatness. High-quality finish ensures professional appearance.
- Day 5: Assemble your name plate with stands, clips, or mounting hardware, ensuring it fits your desk securely and looks balanced.
- Day 6: Inspect for any damage or imperfections and fix common issues like alignment or paint touch-ups. This step ensures lasting satisfaction.
- After one week: Clean and maintain your name plate to keep it looking fresh. Regular care extends its lifespan.
Frequently Asked Questions
What Is the Best Size for a Desk Name Plate?
A common size is about 2 by 8 inches, fitting names and titles neatly. This size makes the plate easy to read without crowding your desk space.
Can I Use Sublimation to Personalize a Desk Name Plate?
Yes, sublimation works well on certain coated materials, offering vibrant, lasting colors. It’s great for creating unique, colorful designs that improve your workspace.
How Do I Clean and Maintain a Wooden Desk Name Plate?
Use a soft cloth with mild soap and water to clean it gently. Avoid harsh chemicals to prevent damaging the finish and keep the wood looking sharp.
Can I Make a Desk Name Plate That Fits Both Desk and Wall Display?
You can design one sized for a desk stand and add wall-mount hardware. This offers versatile display options to suit your workspace.
What Type of Finish Should I Apply to Metal Desk Name Plates?
A clear protective coating helps prevent scratches and tarnish. This keeps the metal shiny and professional-looking for long-term use.
Are Laser-Cut Desk Name Plates Durable Enough for Office Use?
Laser-cut plates, especially from wood or acrylic, tend to be sturdy and professional. Their precise edges and lasting detail suit busy office environments well.
Wrapping Up
Making your own desk name plate lets you tailor it exactly to your style and workspace needs while building a practical craft skill. Start by sketching your design today, even if you plan to try different methods later. Having a clear vision early keeps your project focused and rewarding.