DIY Neon Sign Guide: Easy Steps, Materials, Costs & Safety Tips
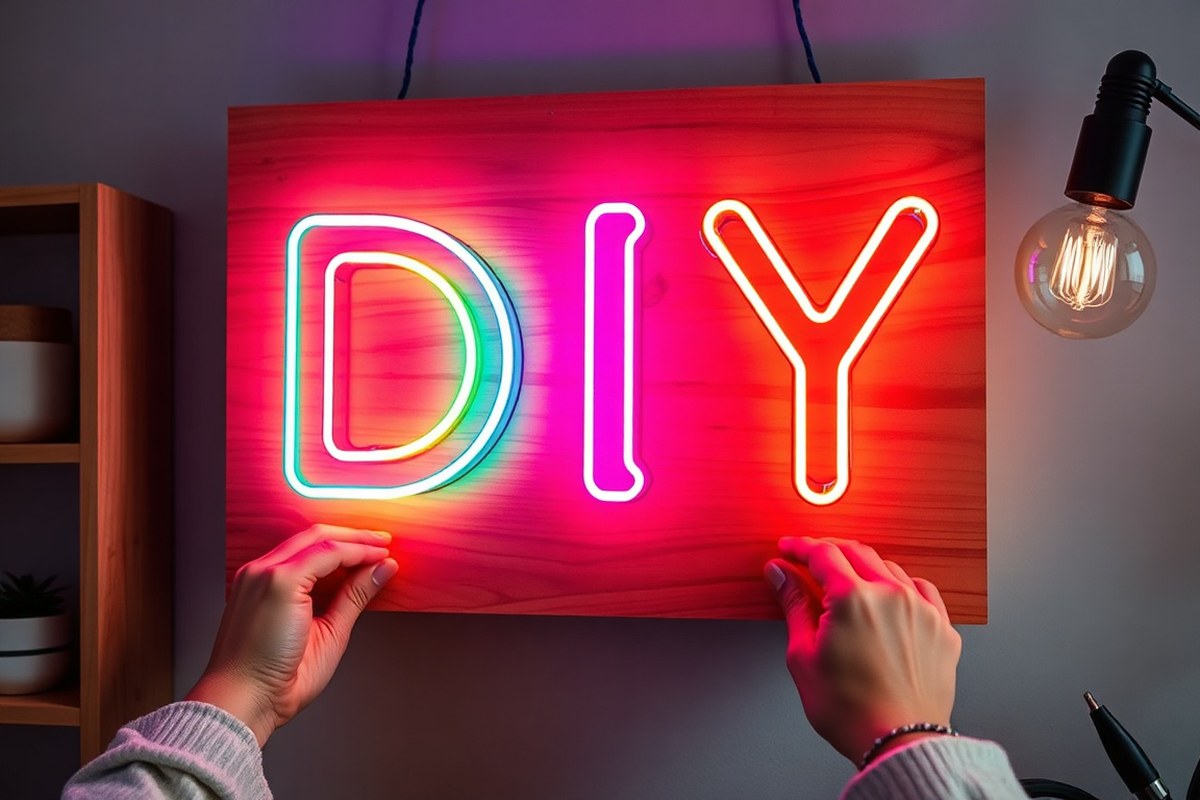
Creating a DIY neon sign lets you bring vibrant, custom lighting into your home without breaking the bank. Using LED neon flex or EL wire simplifies the process, making it safer and more affordable than traditional glass neon. Start by choosing the right materials and a simple design to keep your project doable and enjoyable.
Key Takeaways
- Use LED neon flex for safer, energy-efficient signs that last 30,000 to 50,000 hours, over 10 years with daily use.
- Plan your design carefully, as LED neon flex needs a minimum 2-3 inch bending radius for smooth 180-degree turns.
- Gather essential materials like EL wire, scrap wood, power supply, and wiring for a typical DIY neon project costing around $350 if purchasing all.
- Set aside 3 to 4 hours to complete a simple LED neon sign from start to finish as a beginner.
- LED neon signs often cost 50% less than professionally made glass neon alternatives.
- Test your wiring and power connections thoroughly to avoid electrical hazards before finalizing your sign.
What Is a DIY Neon Sign and How Does It Work?
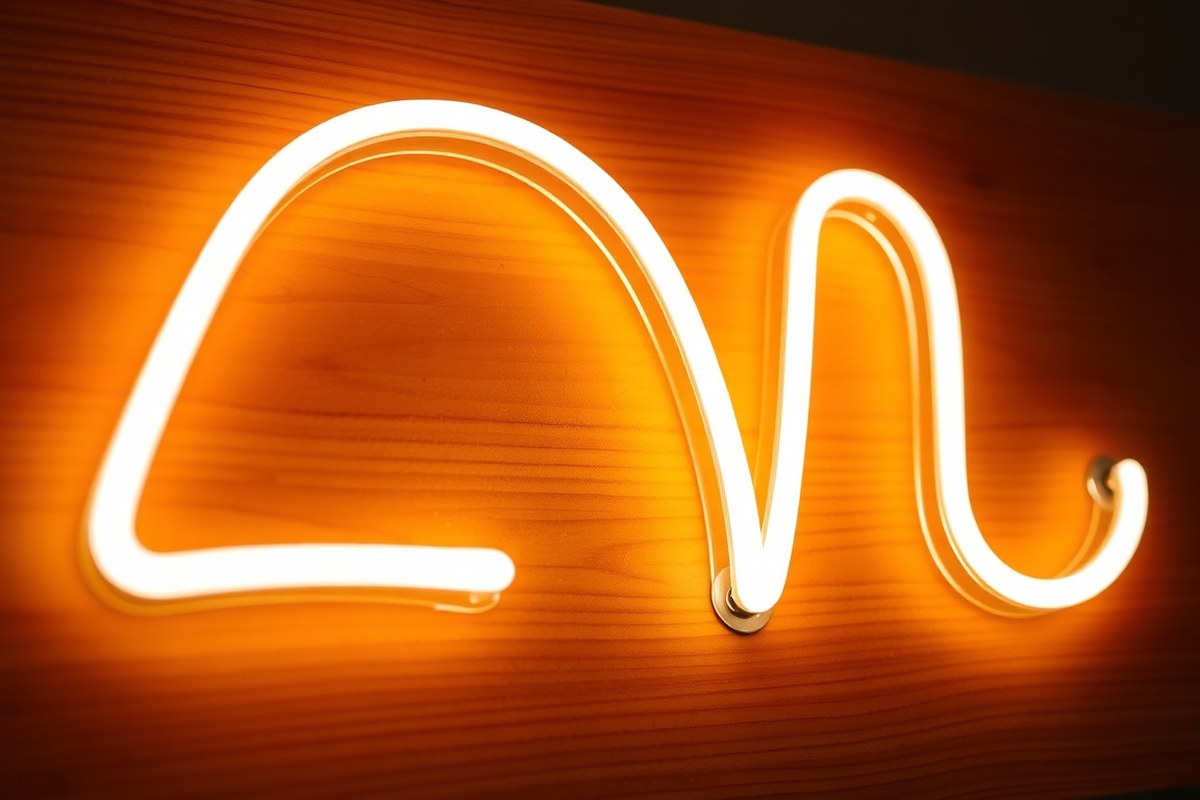
A DIY neon sign is a custom-made decorative light created by a hobbyist rather than a professional. What makes it ‘DIY’ is the hands-on process where you source materials like LED neon flex or traditional glass tubes and assemble the sign yourself. Unlike classic neon, which requires bending fragile glass tubes and filling them with inert gases, LED neon uses flexible tubing embedded with tiny light-emitting diodes (LEDs). This difference means you don’t need specialized skills or equipment to make your own sign at home.
Traditional neon signs work by passing an electric current through gases like argon, neon, or mercury vapor sealed inside glass tubes. The gas glows when energized, producing that iconic brilliant light. This requires carefully shaped glass tubes, sealed ends, and a high-voltage power source. In contrast, DIY LED neon signs use thin, flexible strips of LED lights housed in silicone or PVC tubing. These LED strips glow when powered by a low-voltage transformer, making them safer and easier to handle around the house.
Choosing LED neon for home projects offers several advantages. LED neon flex typically measures around 6 by 12 millimeters in width and height, providing enough brightness for any room without heating up like traditional glass tubes. It’s also approximately 70% cheaper, costing about $9 for an EL wire strip on platforms like Amazon, compared to the expensive materials and professional labour needed for glass neon. LED neon’s flexibility lets you shape words and designs on scrap wood or acrylic backing in about 3 to 4 hours, even if you have basic craft skills.
Despite the simplicity of LED neon, achieving a smooth, professional look requires careful bending and mounting. The LED strip must follow clean lines or curves with no kinks. Wiring involves connecting the LED flex to a compatible low-voltage power supply, usually 12 volts, which comes with an easy plug-and-play transformer. Once powered, these signs glow consistently and last longer without the fragility or safety risks of glass tubes filled with high-voltage gases.
On the downside, LED neon is generally less bright and has a slightly different glow quality compared to traditional neon gas. However, for most home décor or hobby purposes, LED neon provides an eye-catching alternative that’s far more DIY-friendly and affordable. The biggest challenge is that it’s a new skill for many makers, so expect the first sign to take several hours. With patience and practice, you can create unique, custom neon art that suits your style without needing a professional glass bender.
Essential Materials and Tools for DIY LED Neon Signs
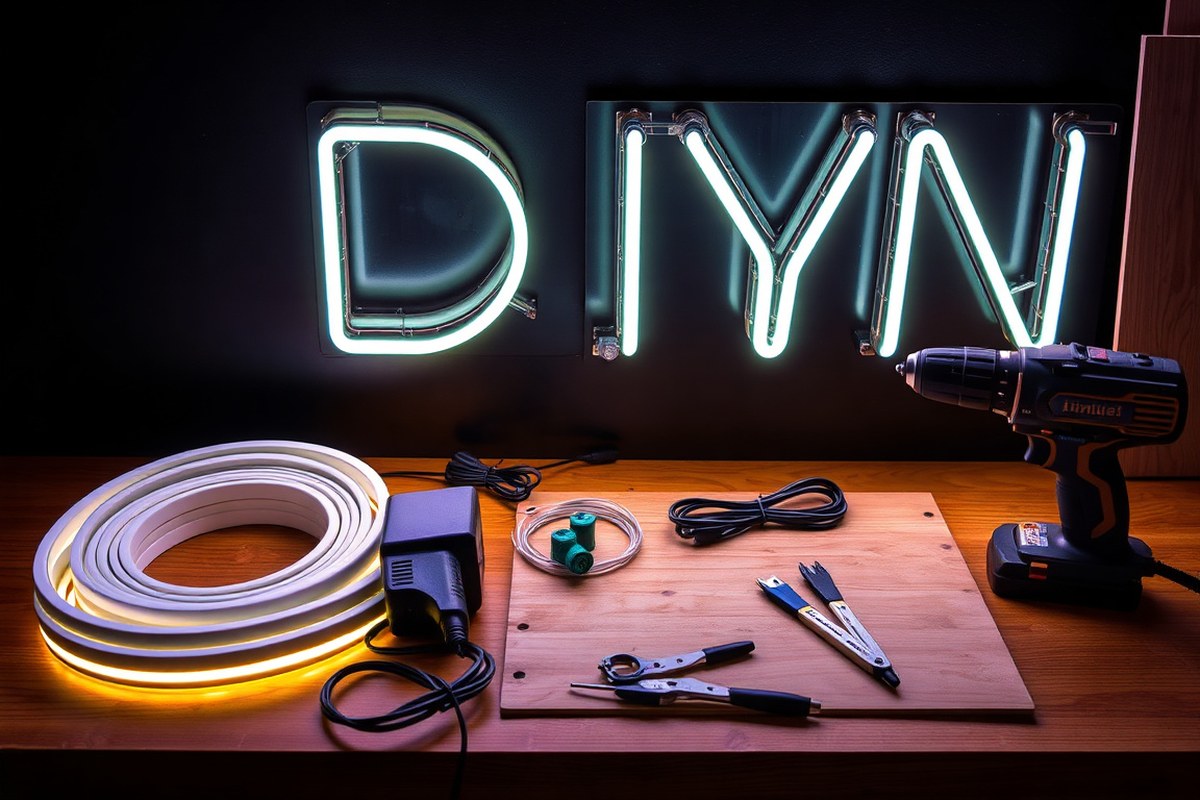
To create a DIY LED neon sign, you need specific materials and tools tailored to the task. Essential items include LED neon flex for the glowing effect, a backing board for mounting, a safe 12V power adapter, and connectors for wiring. Tools range from cutting instruments to wire strippers and possibly a soldering iron, depending on your connection preferences. Costs vary but can range from about £28 for a simple 2-meter setup on MDF to around £90 for a premium 6-meter sign with acrylic backing and dimmer power supply.
Types of LED Neon Flex and Sizes
LED neon flex comes in various sizes and qualities, influencing both the look and price of your finished sign. Typically, lengths between 2 to 6 meters are common, with prices proportional to length and quality. A 2-meter flex might cost about £12, while premium quality 6-meter flexes can reach £35 or more.
Thickness and brightness vary between types. Thicker flex offers a more intense glow suitable for larger letters, whereas thinner flex is easier to bend for intricate designs. Choosing the right flex depends on your design complexity and the ambient lighting where your sign will hang.
Select a flexible LED neon strip rated for 12 volts to keep wiring straightforward and safe. Avoid cheaper, non-certified flex strips, since quality impacts both brightness and durability. Some makers add features like audio spectrum analyzers for signs that pulse with music, but this requires more specialized wiring.
Recommended Tools for Beginners and Advanced Makers
Your tool kit will shape the ease and success of the build. For most makers, a basic set covers all fundamentals, but advanced tools improve finish and longevity.
- Sharp scissors or a craft knife for precise cuts on LED flex
- Wire strippers to expose cable ends cleanly, reducing risk of shorts
- Soldering iron to connect wires securely (optional, but recommended for durability)
- Heat gun or hair dryer to apply heat shrink tubing that insulates connections
- Drill or hand awl for making mounting holes in backing boards
- Ruler or tape measure alongside a pencil for accurate template marking
Choosing between soldering and crimping connectors depends on your comfort level. Crimping is quicker with less mess but less durable. Using heat shrink tubing is advised for any exposed wiring to prevent shorts.
Always double-check your measurements and cut flex strips carefully to avoid costly mistakes, since damaged neon flex often can’t be repaired.
Power Supplies and Wiring Essentials
Low voltage 12V adapters are the standard power source for LED neon signs. These adapters are widely available and affordable, generally costing between £5 and £15 depending on the current rating and whether a dimmer is included. Dimmer-equipped adapters provide control over brightness, adding versatility for room mood settings.
Proper wiring requires compatible wire connectors and extension wires for joining sections and running power safely. Expect to spend an additional £2 to £8 for quality connectors and wires. Using certified power supplies reduces fire risks, and ensuring all wiring connections are secure and insulated with heat shrink tubing protects the sign and your home.
Mounting clips secure the neon flex to your backing board without damaging the strip, costing just a few pounds. For a cleaner, modern look, standoffs can create a floating effect but increase the cost and effort.
How to Design an Effective and Custom Neon Sign
Start by picking fonts and colors that make your sign easy to read from a distance and suit the space where you’ll display it. Size your letters to match your room or outdoor area, keeping in mind LED neon flex’s unique bending limits. Then create a 1:1 template to trace your design accurately onto the backing material before bending and mounting the lights.
Choosing Fonts and Colors for Readability
Pick a simple, bold font that holds up well when bent with LED neon flex. Sans-serif styles like Arial or Helvetica work better than script fonts because they avoid narrow strokes and tight loops. Keep letter heights between 6 to 12 inches for easy visibility from across a typical room. Larger letters suit outdoor signs or bigger rooms but require more flex and wider bends.
Color choice affects both readability and ambiance. Bright, contrasting colors such as white, blue, or red show up well against dark backgrounds, while softer colors like pink or green fit cozier indoor spots. Remember that LED neon flex requires a minimum 2- to 3-inch bending radius, so avoid designs with sharp angles or tight details that make tracing difficult or damage the tubing.
Creating a Scale Template for Bending
Make a full-size 1:1 template on sturdy butcher paper or cardboard. Use a pencil to draw your sign, letter by letter, at the exact size and font you chose. You can print a computer-generated design at actual size or grid the paper and hand-sketch your layout.
Trace all bends carefully, marking where the LED neon flex will make those 180-degree U-shaped curves that need at least 2 inches of width to avoid kinking. Cut out each letter to use as a guide for attaching clips and wiring. This reduces guesswork and protects the flex from excessive bending, which might cause early failure.
Planning Wire Entry and Exit Points
Identify where power wires will enter and exit your design before final assembly. Place these points near straight sections of tubing to keep connections neat and reduce stress on the wires. Avoid putting wire entry points at sharp curves or where the sign mounts tightly against a surface.
Common spots for wire entry include the base or one end of the sign. For complex shapes, split power feed locations evenly to prevent voltage drop or uneven brightness. Plan for easy access if you need to disconnect or replace the power supply later.
- Use simple, bold fonts with at least 6-inch letters for clarity
- Choose colors contrasting with the background for better visibility
- Keep bends gentle with a minimum 2-3 inch radius to protect the flex
- Create a full-size paper template for precise tracing and clipping
- Mark wire entry/exit near straight tubing, away from sharp curves
- Consider your mounting surface when planning bends and sizes
- Allow extra space for mounting clips and wire connectors
Step-by-Step Guide to Making Your DIY LED Neon Sign
Creating your own DIY LED neon sign involves careful preparation, shaping flexible neon tubing without damage, secure mounting, proper wiring, and safe powering. Each step matters to achieve a vibrant, durable sign that lights up evenly and lasts. Follow the detailed instructions below to handle each task with confidence.
Preparing the Backing Board
Start by choosing a sturdy backing board, often wood or acrylic, that suits the size and design of your sign. It should be smooth and clean to hold the LED neon flex firmly. Prepare your design by transferring or drawing your lettering or shapes onto the backing, which will guide the placement of the flex tubing.
A properly prepared backing ensures the flex stays in place and reduces strain on wiring and connections. Avoid surfaces that warp or bend easily.
Shaping and Attaching LED Neon Flex
Handle LED neon flex carefully to avoid damage. The flex typically has a minimum bend radius of 4 to 6 centimeters; bending sharper than this can harm internal wiring. Bend slowly and gently around curves, maintaining those minimum distances.
To attach the flex, use mounting clips or clear adhesive designed for LED strips. Space the clips every 3 to 6 inches to hold the tubing securely without pinching. Avoid tight spots or random taping, as pinching can cause hot spots or flickering. Steps for shaping and attaching the flex:
- Measure your design on the backing to align the flex accurately.
- Bend the LED neon flex slowly along the pattern, keeping bends at least 4 cm radius.
- Secure one end of the flex with a mounting clip or adhesive.
- Continue bending and clipping along the design, placing a clip every 3 to 6 inches.
- Avoid pinching or folding the flex sharply, especially around corners.
- Trim excess flex only at marked cut points, usually every few inches.
Wiring and Connecting Power
Wiring the neon sign involves connecting the LED neon flex wires to a 12-volt power supply through a transformer. Correct wiring and polarity are critical for safety and proper lighting.
Use a soldering iron to connect flex sections or letters at their shortest junctions; this reduces wire length and improves voltage consistency. Ensure connections are secure to avoid flickering or dim sections. Steps for wiring and powering the sign:
- Strip about 1/4 inch of insulation from the flex wires and power cables.
- Solder your connections carefully, matching positive and negative leads precisely.
- Attach a compatible 12V transformer to the power wires, making sure the polarity matches.
- Test the connections with a multimeter before powering on.
- Power on the sign and look for uniform brightness and no flickering.
- If the sign doesn’t light, check polarity and swap the wires if needed.
- Secure all wires to prevent loose connections that cause flicker or dim spots.
How to Power, Wire, and Test Your LED Neon Sign Safely
Matching the correct voltage and adapter size is essential to power your LED neon sign safely and effectively. Most LED neon flex strips operate on 12V DC, so use a power adapter that supplies 12 volts with at least a 20% higher wattage rating than the total consumption of your LED strips. For example, if your LED sign uses 24 watts, select a 12V, 30W power adapter. This margin prevents overloading and extends the lifespan of the power supply.
Wiring safety starts with using the right gauge wire, 18 to 20 AWG is common for low-voltage LED signs. Keep wires short and positioned close to the power source on the LED strip to minimize voltage drops. Avoid twisting or pinching wires during installation, and secure connections with solder or reliable connectors to reduce flicker risks.
- Check all connections with a multimeter for continuity before final mounting.
- Ensure the power supply matches the LED strip’s voltage and wattage requirements.
- Position the power input at one end of the LED neon flex to maintain consistent brightness.
- Test the LED neon sign outside the frame or mounting board first.
- If flickering occurs, check for loose or oxidized connections along the wiring path.
- Replace any segments with dead zones by cutting at marked points and soldering in new strip pieces.
- Use heat shrink tubing or electrical tape to insulate exposed soldered joints securely.
Testing your sign involves powering it on in a controlled setting and observing the entire length for flickering, dim areas, or dead zones. Flickering often indicates a failing power supply or loose wire. Swap the power adapter with a known good one to isolate the problem. Dead zones may result from damaged LED segments or solder joints. Repair includes removing the faulty section and reconnecting new strips, maintaining the correct polarity throughout.
Never connect an LED neon sign to a power supply with a voltage higher than specified; it can permanently damage the LEDs and create a fire hazard.
Take your time with testing before mounting. Confirm each segment lights evenly under steady power for at least 10 minutes to ensure reliable function. Also, include an accessible switch or fuse in the wiring design to safely disconnect power during maintenance or if troubleshooting is needed later.
Tips for Mounting and Displaying Your DIY Neon Sign
Indoor backing boards for DIY neon signs should be lightweight, durable, and easy to work with. Common choices include acrylic sheets, plywood, and medium-density fiberboard (MDF). Acrylic is popular because it’s clear or colored, easy to clean, and lets light shine through nicely. Plywood and MDF offer sturdy support and allow you to screw or nail mounting hardware directly into them, but they may require sealing or painting to prevent damage from humidity.
Mounting your sign securely depends on the surface you want to attach it to. For drywall, consider using wall anchors or toggle bolts combined with screws to ensure the sign stays up, especially since neon signs and their backing can weigh several pounds. Brick or concrete walls require masonry anchors and screws. For wood surfaces, screws alone are often sufficient. If you prefer a less permanent solution, heavy-duty double-sided mounting tape or adhesive strips rated for the sign’s weight can work on smooth surfaces, but these may not last as long or hold heavier signs reliably.
Placement involves both aesthetic and safety considerations. Position your sign where it complements the room’s design and gets noticed without creating glare or visual clutter. Avoid placing neon signs near water sources like sinks or aquariums to reduce risk of electrical hazards. Keep the sign at least a few inches away from flammable materials such as curtains or paper to prevent heat buildup, even though LED neon lights run cooler than traditional neon. Also, install the sign at eye level or slightly above for best visibility, and make sure cords and wires are tucked away or secured to prevent tripping.
- Use acrylic backing for a clean, modern look and light diffusion indoors.
- Choose wall anchors and screws for secure mounting on drywall.
- Masonry anchors and screws work best for brick or concrete walls.
- Double-sided mounting tape can hold lighter signs on smooth surfaces temporarily.
- Place signs away from water and flammable materials for safety.
- Mount at eye level or slightly above for optimal viewing.
- Conceal wires with cord covers or behind the backing panel to prevent accidents.
Testing the sign fully before final mounting helps you confirm all connections work and the design looks right. Mount the backing board firmly with concealed wiring to keep everything tidy. Involving simple tools like a drill, level, screws, and anchors makes this process manageable for most DIY enthusiasts without professional help. You can expect the mounting to add durability and polish to your neon sign project, ensuring it lasts and looks great wherever you hang it.
Common Mistakes and How to Avoid Them in DIY Neon Projects
One common mistake that causes flickering or damage in DIY neon signs is bending the LED strip too sharply. LED neon usually requires a minimum bend radius of 4 to 6 cm to avoid breaking the internal circuitry. Forcing sharper bends can break the LEDs inside or cause uneven lighting. To prevent this, always measure the bend radius and curve the strip gradually. Use a soft surface like foam or fabric under the strip while bending to reduce stress points.
Wiring errors often come from loose connections or incorrect polarity. Flickering can result from wires that aren’t firmly attached to connectors or from mixing positive and negative terminals. Avoid loose fittings by using proper soldering techniques or secure crimp connectors and test each connection with a multimeter before final assembly. Mark wire ends clearly to keep track of polarity and double-check your wiring diagram during installation.
Poor mounting can lead to uneven bends or sagging signs that look unprofessional and may shorten the life of the neon. Using an uneven surface or skipping mounting supports creates tension on the LED neon, causing distortion. Mount neon strips on flat, clean surfaces using mounting clips spaced every 6 to 12 inches. The clips should hold the strip snugly but not pinch or deform it.
- Maintain a minimum bend radius of 4 to 6 cm to avoid LED damage
- Check and mark wire polarity before connecting
- Solder joints or use secure connectors for tight wiring
- Use a multimeter to test connections before powering on
- Space mounting clips every 6 to 12 inches to prevent sagging
- Mount on a flat, clean surface to keep the sign even
- Handle the LED strip gently to avoid internal damage
Another tip is to work in a well-lit area and check each step of your wiring and bending process. Avoid rushing assembly, especially around corners and wiring points. If you encounter flicker after powering on, re-check the wire connections and ensure no part of the strip has any sharp bends or kinks. With patience and attention to detail, you’ll avoid these mistakes and create a durable, bright DIY neon sign.
When Should You Opt for a Professional Neon Sign Maker?
Choosing between making your own neon sign and hiring a professional depends mainly on design complexity, available tools, time investment, and desired quality. Simple, straightforward designs with clean lines and limited colors suit DIY projects well. These are easier to handle using LED neon flex, which typically takes 2 to 4 hours to assemble, provided you have the right materials and a workspace. When your design features intricate shapes, fine lettering, or requires glass tubes, getting professional assistance ensures safer, higher-quality results because handling glass neon needs specialized high-voltage skills.
Cost comparisons also influence this decision. DIY LED neon signs generally cost between $30 and $80 for materials like LED flex tubing and small transformers, assuming you already have basic tools. You should expect to spend about $350 total when purchasing all necessary materials. The time you spend is a significant consideration. DIY can take around 3 to 6 hours, sometimes longer if you’re learning as you go. Professionals charge £100 to £300 or more, but they handle everything from design to delivery within 1 to 2 weeks, saving you time and the risk of mistakes that might require redoing the work.
Quality and finish are other key factors. A professional sign provides consistent, factory-level quality, usually backed by a 1- to 2-year warranty. Your DIY sign’s look depends heavily on your skill level and attention to detail. While handmade signs offer a personal touch, errors like uneven lighting, loose wiring, or poor mounting can affect the final appearance and safety. Consider how important a polished, flawless finish is for your project.
Decide based on a clear rule: if your design can be completed with LED flex, basic tools, and under a few hours of work, DIY is a good path. For complex typography, detailed graphics, or glass tubing requiring precise bending and electrical expertise, hire a professional. Also factor in your tolerance for investment in equipment and the learning curve involved. Professionals eliminate much risk and deliver reliable products but at a substantially higher price and longer wait time.
Never attempt to handle glass neon tubing without proper training and equipment due to high-voltage risks, always hire a professional for glass-based designs.
Step-by-Step Action Plan for Your DIY Neon Sign
Follow these steps to create your custom LED neon sign safely and effectively.
- Before You Start: Gather all essential materials and tools including LED neon flex, power supply, wiring, and mounting hardware. Check that the LED strip lights up when powered to confirm functionality.
- Day 1: Finalize your design on paper or design software, focusing on size and shape. Verify the design fits your display space and looks clear at a distance.
- Day 2: Cut and shape the LED neon flex according to your design. Use the right cutter, and ensure the joints connect well without gaps.
- Day 3: Wire the LED neon flex to the power supply using the correct connectors and polarity. Test the wiring by powering the sign temporarily to check for continuous illumination.
- Day 4: Secure the neon sign to your chosen mounting surface with brackets or acrylic backing. Confirm the sign is stable and properly aligned.
- Day 5: Perform a final full test by powering the sign in its mounted position for several hours to spot any flickering or overheating issues.
Frequently Asked Questions
How Long Does It Take to Make a DIY Neon Sign Compared to a Professional One?
A professional can make a similar-sized neon sign in 30-45 minutes. Making your own takes longer but offers a rewarding creative experience and a unique finish.
Is EL Wire or LED Strips Better for DIY Neon Signs?
LED strips blend tech and art well, offering bright colors and flexibility. EL wire is cheaper and easier for beginners using scrap wood. Your choice depends on your design and budget.
Can I Make a Neon Sign Without Soldering?
Yes, many DIY neon signs use LED strips or EL wire without soldering. This simplifies the project and reduces need for advanced skills, making it great for beginners.
How Do I Choose the Right Wood for Mounting a Neon Sign?
Choose a sturdy, smooth scrap wood piece to support your design securely. Proper prep ensures the sign will mount evenly and safely.
What’s the Best Way to Power a DIY LED Neon Sign Safely?
Use the correct power supply matching your LED’s voltage. Proper wiring and testing prevent shorts and hazards, ensuring safe long-term use.
How Do I Avoid Common Mistakes in DIY Neon Sign Projects?
Follow step-by-step guides closely and prep materials well. Avoid rushing, poor wiring, and bad mounting to get a clean, durable finish.
Final Thoughts
Creating your own LED neon sign lets you bring personalized light art into your space affordably and safely. Start with a simple design and follow best practices for wiring and mounting to ensure durable results. Take your first step today by sketching your design or ordering your LED neon materials.