DIY Barn Wood Sign: 8 Key Steps for Authentic Rustic Results
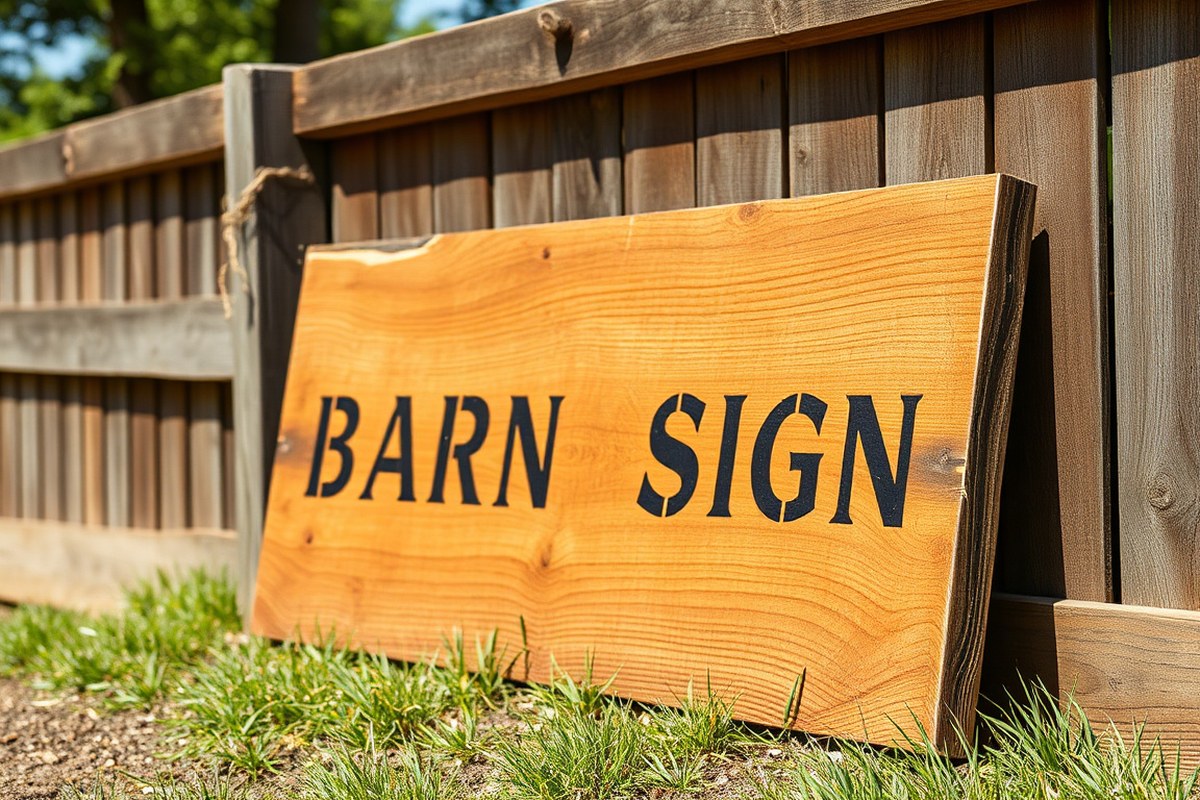
Creating a DIY barn wood sign means using weathered wood that showcases a naturally aged look with rustic textures and imperfect finishes. Authentic results come from choosing reclaimed wood or mimicking wear through staining and distressing. Starting with the right wood is key because it sets the foundation for that classic barn sign charm.
Key Takeaways
- Select wood that is either reclaimed or pre-weathered to get an authentic barn wood appearance.
- Apply stain with a foam brush and let it sit 5-10 minutes to improve rustic textures effectively.
- Distress or sand edges and surfaces after staining to add natural wear and realism.
- Use carving to add 3D depth to letters and designs for a more striking barn wood sign.
- Pick sign sizes near 6 inches wide and between 4 to 6 feet long to match classic barn dimensions.
- Allow stain and primer coatings to fully dry (typically 20-30 minutes for stain, 24 hours for primer) before adding designs.
1. What Defines a Barn Wood Sign?
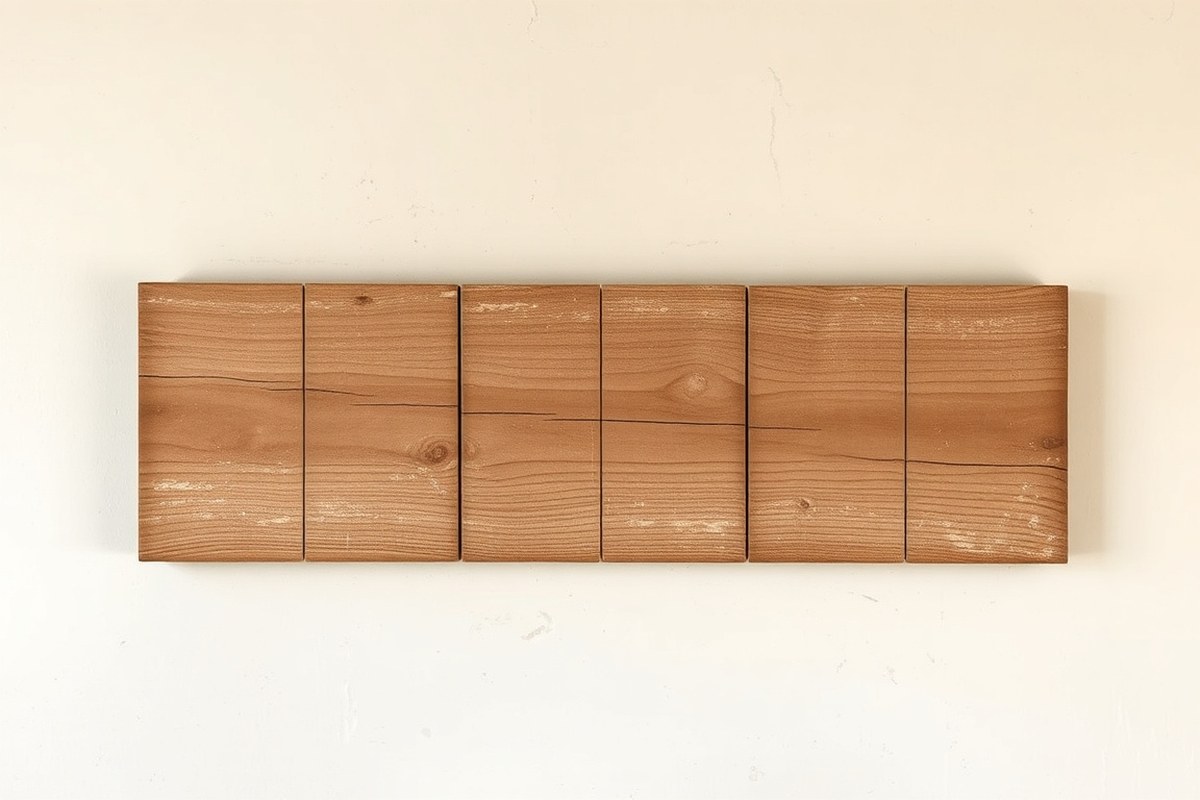
A barn wood sign stands out because of its rustic, aged appearance and the type of wood used. It’s typically crafted from reclaimed wood that has weathered outdoors, such as old barn boards, fence pickets, or pallet wood. This weathering process creates a natural patina with imperfect textures, cracks, and a faded color that gives the sign its authentic barn wood charm. Unlike smooth, freshly cut wooden signs, barn wood signs embrace these flaws to add character and a sense of history.
Materials for barn wood signs usually come from reclaimed sources, making them budget-friendly and environmentally conscious. The wood often has a rough surface and varies in width and thickness. You might see boards ranging from 4 to 8 inches wide and about ¾ to 1 inch thick. Lengths can vary widely depending on the sign’s intended use, but most DIY barn wood signs fall between 12 inches and 36 inches long. Square or rectangular shapes are common, but the boards are sometimes arranged with uneven edges to maintain a rustic feel.
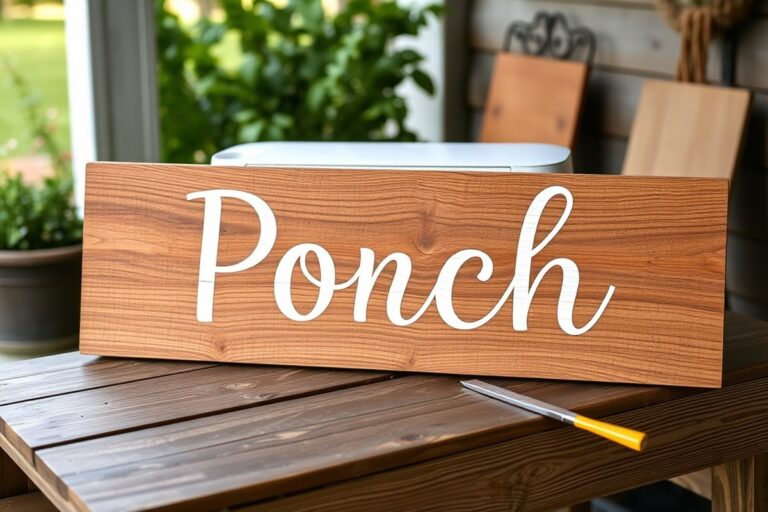
The key to a barn wood sign’s look is a rustic aesthetic created by lettering styles that contrast with the wood’s texture. Many signs feature painted or stenciled letters in white, black, or muted colors. Lettering can also be carved, giving a three-dimensional effect that adds visual interest. The sign’s surface is typically left unfinished or treated lightly to preserve the raw, natural wood look. Signs with a distressed or crackle-painted background offer additional rustic effect, making your creation look truly authentic. These variations let you customize the level of rustic charm depending on your style and skill.
One example of a barn wood sign is a simple rectangular board with hand-painted white stencil letters reading “Home Sweet Home.” This uses a reclaimed barn board with visible grain, knots, and small cracks that improve the design. Another example uses several shorter boards nailed side by side, featuring carved lettering for a deeper texture. This style can be great for larger signs placed in entryways or outside a barn or workshop.
Compared to regular wood signs, barn wood signs do not have smooth, polished finishes. They avoid bright or glossy paints and instead use muted tones and weathered textures. You could choose new wood and distress it yourself to mimic the effect, but authentic barn wood’s unique imperfections are hard to replicate exactly. Typical costs for making one range from under $20 if you source scrap wood to around $30-$50 if you buy reclaimed wood and supplies from a home store. The right size and shape depend on your project, smaller signs, about 12 x 12 inches, suit tabletops or shelves, while larger ones up to 36 x 12 inches work well on walls or doors.
2. Choosing the Right Wood for Your Sign
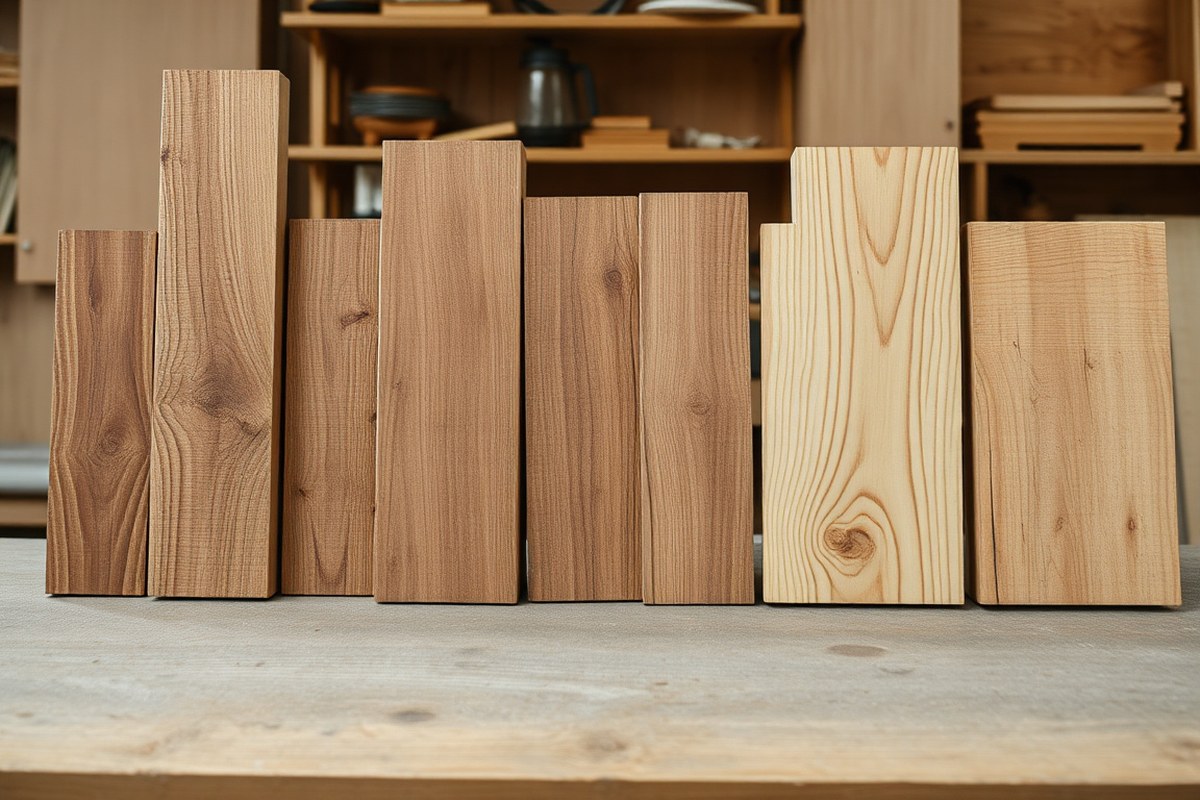
Choosing the wood for your barn wood sign impacts both its look and durability. Authentic barn wood usually comes from aged, reclaimed pine, cedar, or oak. These woods have developed a naturally weathered surface ideal for rustic decor. Using reclaimed wood gives you that historic charm, but new wood can work if treated correctly to mimic this effect.
Reclaimed wood often costs more due to sourcing and prep work, yet it already has the distressed texture that many seek. You can safely use reclaimed wood if you check for nails, mold, or pests and sand or clean it thoroughly before working. If you want consistent sizing or fewer imperfections, new wood costs less and is easier to handle but requires extra finishing to match the barn wood vibe.
| Wood Type | Appearance | Durability | Cost Estimate | Workability |
|---|---|---|---|---|
| Reclaimed Pine | Weathered, rustic patina | Good, depends on previous use | $3, $6 per board foot | Moderate; knots and nails require care |
| New Pine | Light, smoother surface | Moderate; softwood | $1.50, $3 per board foot | Easy to saw and sand |
| Cedar (reclaimed or new) | Rich color, weathered or clean | High; naturally decay-resistant | $3, $7 per board foot | Easy; soft but durable |
| Oak (usually reclaimed) | Strong grain, aged patina | Very durable hardwood | $5, $10 per board foot | Challenging; harder to cut and sand |
| Pallet Wood | Distressed, varied texture | Varies; some treated wood is less durable | Often free or under $1 per board foot | Variable; check for treatment or damage |
Using pallet wood is an economical way to get that distressed look without buying specialty lumber. Make sure to inspect it carefully for harmful chemicals or heat treatment stamps. After cleaning and sanding, pallet wood can provide a great rustic base for paint or carving.
Tip: Always wear gloves and a dust mask when handling reclaimed wood to protect against splinters and possible contaminants.
New wood offers more control over your project’s dimensions and fewer surprises, but expect to add some weathering steps to get the authentic barn wood effect. Techniques like wire brushing, staining, or using a torch can age the surface. Any wood will benefit from a coat of protective polyurethane if your sign will be displayed outdoors.
3. Preparing Wood to Achieve a Rustic Barn Look
To make new wood look like old barn wood, focus on distressing the surface and adding realistic aging effects. Use sanding, wire brushing, and staining to create natural grooves, worn edges, and color variations typical of weathered wood. Avoid over-distressing by working gradually and checking your progress.
Tools Needed for Distressing Wood
Several simple tools help make new wood appear aged and rustic. Coarse and fine grit sandpaper (60 to 120 grit) works for wearing down the surface and edges. A wire brush or steel wool scrapes and lifts grain to mimic years of weather exposure. A hand saw or hammer can add dents, scratches, and nicks for character. Lastly, rags, brushes, and inexpensive wood stain are essential for finishing the look.
Most of these materials cost under $10 each at a hardware store, making it budget-friendly. Having protective gloves and safety glasses will help avoid injuries during distressing. The setup works on all common types of wood used for signs like pine, cedar, or reclaimed barn wood.
Distressing Techniques to Try
Distressing transforms smooth new wood by roughening the surface and softening edges. The goal is controlled wear rather than deep damage. Focus on spots that would naturally age first, like corners, edges, and raised grain.
- Start by sanding edges and corners with 80-grit sandpaper to round them off slightly.
- Use a wire brush in the direction of the grain to raise small splinters and grooves.
- Create dents and minor gouges by dragging a hammer gently or pressing the end of a screwdriver into the wood.
- Lightly sand the entire surface with 120-grit paper to blend rough areas without removing all texture.
- Repeat brushing and sanding as needed, focusing on high-touch areas.
- Wipe the wood clean with a damp cloth to remove dust before staining or painting.
Stop frequently to assess your work. Overdoing distressing can weaken the wood or look artificial. Less is often more to maintain a natural rustic effect.
Staining and Weathering for Realism
Applying stain or paint layers adds depth and the authentic faded tones found on old barn wood. Choose tones like weathered gray, barn red, or warm browns. Use a rag to apply stain unevenly, concentrating in grooves and edges for contrast.
For added realism, dilute stain with water or use multiple thin layers drying each for 15 to 30 minutes. This builds up varied color and replicates sun and rain effects. Alternatively, dry brushing a lighter paint color over dark stain highlights raised grain texture.
Reclaimed barn wood may already show signs of aging, so test a small section before adding more distressing. Touch up gentle sanding and staining only where needed to preserve authentic character.
4. Methods for Adding Letters and Designs
Adding letters and designs to your rustic barn wood sign can transform it from plain wood into a personalized statement. The three main techniques are hand painting, stenciling, and carving, each offering different looks, efforts, costs, and durability.
Hand painting lets you add letters or images directly with brushes and paint. It allows for artistic flair and unique styles but requires a steady hand and practice. Paint costs vary by quality and type, ranging from $5 to $15 per small bottle. Using acrylic paint is common; it dries within 20-30 minutes, but layering multiple coats may take longer. Hand painting suits simple fonts or freehand designs. However, brush strokes or small errors can show clearly, so plan for touch-ups.
Stenciling uses cut-out templates placed over the wood. You apply paint through the stencil for crisp, consistent lettering or images. It’s ideal if you want a clean, professional look without advanced painting skills. Stencil sets can cost from $10 to $30 depending on complexity. Stenciling reduces mistakes but requires patience to avoid paint bleeding under the edges. Let paint dry 30-60 minutes before stencil removal. This method is beginner-friendly and works well on uneven barn wood, as the paint covers crevices while the stencil guides you.
Carving involves cutting letters or designs into the wood surface with hand tools or small grinders. This method offers depth, texture, and a more lasting impression. Equipment can range from $10 for basic carving tools to $50 or more for powered rotary tools. Carving requires some skill and time, usually several hours for detailed work on a single sign. The letter or image becomes a physical part of the wood, protecting it from fading like paint might. To highlight carved areas, you can add paint or stain inside grooves.
Each technique matches different skill levels and project goals. The table below compares them based on cost, effort, and durability to help you pick the best fit.
| Technique | Typical Cost | Skill Level | Effort | Durability |
|---|---|---|---|---|
| Hand Painting | $5, $15 for paint | Intermediate | Moderate brush control, dry time 20, 60 min | Medium; may fade or chip over time |
| Stenciling | $10, $30 for stencils and paint | Beginner | Low; careful paint application required | Medium; paint can wear but easy to touch up |
| Carving | $10, $50 for tools | Intermediate to advanced | High; hours of work, detail-oriented | High; permanently etched into wood |
Hand painting lets you create unique, expressive signs but demands some artistic skill. A basic script like this works well for a farmhouse look: “HOME” using a 1/2-inch wide brush for bold lettering. Keep paint layers thin to avoid drips.
Stenciling offers consistency. Secure the stencil with tape, then apply paint using a stiff-bristled stencil brush or foam sponge in an up-and-down tapping motion. Avoid horizontal brushing to reduce bleeding. Wait 30-60 minutes for paint to dry before removing the stencil carefully.
Carving brings texture and depth. Start by transferring your design onto the wood with carbon paper or pencil. Use a small gouge or rotary tool to carve along the lines, aiming for about 1/8 to 1/4 inch depth. Clean the carved grooves and optionally fill with paint or stain for contrast.
Choosing between these methods depends on your tools, time, experience, and desired effect. Carving suits signs meant to last outdoors or with heavy use, while stenciling and hand painting offer quicker, lighter options for gifts or indoor decor.
5. Step-by-Step Guide to Creating Your Barn Wood Sign
Creating a barn wood sign requires following a clear sequence from preparing the wood through securing your design and sealing the finished piece. Accurate lettering transfer and timely sealing ensure the sign looks great and lasts. Follow these detailed steps to build your sign confidently.
Cutting and Assembling the Wood Base
Start by cutting boards to size and assembling a sturdy base. Choose barn wood planks that are roughly 1 inch thick and 4 to 6 inches wide for an authentic rustic look. Plan your sign dimensions beforehand to fit your intended display area.
- Measure and mark your desired board lengths, usually between 18 to 24 inches long for typical home décor signs.
- Use a circular saw or miter saw to cut the boards cleanly along your marks.
- Sand the edges lightly to remove splinters but keep some texture for a weathered effect.
- Align the boards side-by-side, keeping spacing tight for a unified surface.
- Attach a couple of narrow wood strips across the back, perpendicular to the boards, using wood screws or strong wood glue to hold the boards together.
Secure the back supports well to prevent warping; loose assembly can cause your sign to bend over time.
Transferring and Painting Lettering
Using vinyl letters and transfer tape simplifies transferring your design without perfect handwriting. Start by selecting adhesive vinyl letters sized for your chosen sign area and buy matching transfer paper rated for wood surfaces.
- Arrange vinyl letters on their carrier sheet to form your phrase or design.
- Cut a piece of transfer tape slightly larger than your design and press it onto the letters, smoothing out any bubbles.
- Position the transfer tape with letters face-down onto the stained, dry wood surface, centering carefully using a ruler or measuring tape.
- Press down firmly across the tape for good adhesion, then slowly peel away the backing sheet so the letters stay on the wood.
- Trace over each letter with a ballpoint pen or stylus to transfer outlines onto the wood surface, then remove the vinyl letters.
- Fill in the outlines with paint using a small brush, choosing acrylic or outdoor paint for durability.
Trace the lettering carefully to avoid smudging and have a steady brush hand for clean painted edges.
Applying Finish and Protective Coatings
Sealing your barn wood sign protects it from dirt, moisture, and fading while improving the rustic charm. Use a clear, water-based sealer suitable for wood to avoid discoloration.
- Ensure the paint is fully dry, at least 24 hours depending on temperature and humidity.
- Apply a thin first coat of water-based polyurethane or similar sealer with a foam brush or lint-free cloth.
- Allow the first coat to dry according to the product’s instructions, usually around 1 to 2 hours.
- Lightly sand with fine-grit sandpaper (220 grit) to smooth out any raised wood grain or finish bubbles.
- Apply a second thin coat for better protection and a smooth finish.
- Let the final coat cure fully before hanging or placing your sign, typically 24 to 48 hours.
Applying two thin coats rather than one thick coat prevents bubbling and keeps the wood looking natural.
6. Tips to Avoid Common Mistakes and Fix Problems
Paint bleeding under stencils happens because the paint seeps beneath the stencil edge, causing blurry or uneven lines. To avoid this, use a stencil adhesive spray or tack the stencil firmly to the wood before painting. Apply paint sparingly with a dry brush, sponge, or cloth, tapping lightly rather than brushing hard. Using too much paint at once increases the chance of bleeding, so better to build up thin layers slowly.
Uneven staining or blotchy areas usually result from wood surface inconsistencies or poor preparation. Wood grain density varies, causing some spots to absorb stain faster than others. To fix this, sand the wood evenly with fine-grit sandpaper (150 to 220 grit) to create a uniform surface. Before staining, wipe away dust with a tack cloth, and consider pre-treating the wood with a wood conditioner, especially softwoods like pine. Blotches that show up after staining can be fixed by lightly sanding the surface once it’s dry and applying a second thin coat of stain to even out the color.
Wood warping or cracking often comes from changes in moisture or temperature after sealing or during drying. To prevent this, select barn wood that has already been well-seasoned and dried. Store your sign in a stable environment out of direct sunlight and humidity while crafting. Wood that warps or cracks after finishing the project may be smoothed out with gentle sanding on minor cracks, but more severe damage might mean replacing the board entirely. Applying a clear sealer that allows wood to breathe, like a matte polyurethane or an oil finish, can also reduce moisture damage over time.
- Use stencil adhesive or painter’s tape to secure stencils firmly before painting.
- Apply paint with a dry brush or sponge in thin layers to prevent bleeding.
- Sand wood with 150, 220 grit sandpaper for an even surface before staining.
- Apply wood conditioner before stain on softwoods to avoid blotchiness.
- Store wood in a dry, temperature-controlled space to prevent warping.
- Use clear breathable sealers to protect without trapping moisture.
- Fix minor paint bleed by touching up edges with a small angled brush.
For maintenance, dust your barn wood sign regularly with a soft cloth and avoid harsh cleaners that can strip finishes. Keep signs away from prolonged exposure to direct sunlight or moisture to preserve paint and wood integrity. Touch-ups require using paints and stains that match the originals to keep the rustic appearance intact.
7. Safe Use of Tools and Materials When Making Signs
Using tools and materials safely is essential when making barn wood signs to prevent injuries and ensure a quality finish. Protective equipment keeps you shielded from wood dust, chemical fumes, and accidental cuts. At a minimum, wear safety glasses to protect your eyes from wood chips and splinters. A dust mask or respirator is important when sanding or working with stains and finishes to avoid inhaling harmful particles and vapors. Gloves help protect your hands from splinters and chemical exposure, especially when handling stains and paints.
Handling stains and finishes requires careful attention because many products contain volatile organic compounds (VOCs) that can irritate the skin, eyes, and lungs. Work in a well-ventilated area or outdoors to disperse fumes. Follow the instructions on the product label precisely, including recommended drying times and application methods. Store all materials securely and dispose of rags soaked in stain or finish properly, as they can spontaneously combust if left in piles.
Power tools like saws and rotary tools speed up cutting and carving but pose risks if used improperly. Always check the tool’s condition before use, ensuring blades and bits are sharp and secured tightly. Keep your work area clear of clutter to avoid tripping hazards, and never wear loose clothing or jewelry around moving parts. Use clamps or a vise to hold the wood steady while cutting or carving, so your hands stay free and reduce the chances of slipping. Switch off and unplug tools before changing blades or bits.
- Wear safety glasses, dust mask or respirator, and gloves at all times.
- Work outside or in a ventilated area when using stains and finishes.
- Inspect power tools before use; keep blades sharp and properly installed.
- Secure wood with clamps to keep it stable during cutting and carving.
- Avoid loose clothing and tie back long hair to prevent entanglement.
- Keep the workspace tidy to reduce trip and fall hazards.
- Follow product labels for application directions and dispose of rags safely.
Good safety practices not only protect you but also improve your project’s outcome. When you use proper ventilation and protective gear, finishes cure evenly without issues like bubbling or tackiness. Secure wood and sharp blades give you straight, clean cuts that reduce splintering, improving the sign’s look. Avoid rushing and always switch off equipment before adjustments. These habits cost little to nothing but pay off with safer, more precise work and a better-looking barn wood sign.
8. Creative Enhancements for Personalized Barn Wood Signs
Adding creative touches like leather strips, metal details, or mason jars can make your barn wood sign one of a kind. These elements introduce texture, color, and functionality, helping your sign stand out while reflecting your style. Integrating them properly ensures durability and a polished look.
Using Leather and Metal Accents
Leather and metal add a rustic yet refined feel to barn wood signs. Thin leather strips or braided cords can be stapled or glued along the edges or across the sign for contrast. Use heavy-duty wood glue or small finishing nails to attach these materials securely. Metal elements like corner brackets, decorative hardware, or metal letters offer a sturdy, weathered appearance and can be screwed directly into the wood with small wood screws. Choosing aged or patina-finished metal keeps the rustic vibe. Ensure metal edges are smooth or filed down to prevent snags or cuts.
These materials cost between $5 and $15 per yard or pack, depending on quality. Experiment with layering a leather strap over a metal strip or combining rivets with braided leather for extra depth. Test attachment methods on scrap wood first. Properly attached accents hold up well indoors and in covered outdoor spaces but may require sealing to resist moisture damage outdoors.
Incorporating Mason Jars and Containers
Mason jars attached to barn wood signs add charm and versatility, serving as vases, candle holders, or storage for small items. Secure jars with metal hose clamps fastened to the wood with screws or nails. Space clamps evenly based on the jar size, typically around 2.5 to 3 inches in diameter. Arrange jars horizontally or vertically to match your sign’s layout. You can paint the lids or the wood background behind the jars for coordinate colors and seasonal flair.
This addition costs approximately $1 to $3 per jar plus clamps priced around $1 to $2 each. Choose clear or tinted jars to complement your sign’s rustic color. Mason jar accents work well in kitchens, gardens, or entryways. Anchor signs with jar holders firmly to the wall, as the weight increases with filled jars. Avoid hanging heavy jars on signs made from thin or fragile wood.
Seasonal and Themed Decoration Ideas
Seasonal or themed touches make your barn wood sign changeable and appealing year-round. Small interchangeable accents such as burlap bows, faux autumn leaves, or miniature wreaths can be attached with removable hooks or Velcro strips. These allow easy updates without damaging the wood surface. Painted pumpkins, snowflakes, or hearts can be stenciled on wood alongside your sign’s main text for a subtle seasonal effect.
Costs vary with materials but using leftover scraps or inexpensive craft supplies often keeps expense under $10 each season. Coordinate colors and textures like twine, burlap, or metal stars to match your sign’s style. Keep in mind, outdoor signs may need weatherproof versions of these accents or indoor placement to prevent fading and wear.
Use rust-resistant screws or nails when attaching metal to prevent staining the wood over time.
Step-by-Step Action Plan for Your Barn Wood Sign
Follow these steps to create a rustic barn wood sign that you’ll be proud to display or gift.
- Before you start: Choose your wood carefully, picking reclaimed barn wood or wood with natural imperfections for an authentic look.
- Day 1: Prepare the wood by sanding lightly to smooth splinters but keep texture; the wood should feel rough but safe to handle.
- Day 2: Decide on your design and transfer it using a stencil or vinyl letters; check that all lettering is clear and correctly aligned before proceeding.
- Day 3: Apply paint or stain to your design; use thin layers to keep the rustic feel and allow drying between coats to avoid smudging.
- Day 4: Add creative enhancements like distressing edges or applying a light coat of matte sealant; ensure the finish is dry and not sticky.
- Day 5: Inspect the sign for any touch-ups needed, fix minor paint flaws carefully, and let the entire sign cure for several days before handling extensively.
- After 1 week: Hang or gift your barn wood sign. Make sure hanging hardware is secure for safe display.
Frequently Asked Questions
What Kind of Finish Should I Use to Protect My DIY Barn Wood Sign?
Use a clear matte polyurethane finish to protect your sign while keeping its rustic look. This finish shields the wood from moisture and UV damage without making it shiny.
Can I Use Reclaimed Wood Other Than Barn Wood for My Sign?
Yes, reclaimed wood like pallet wood works well because it already has a worn and distressed appearance. Just make sure it’s clean and smooth enough to work with.
How Can I Fix Paint Mistakes on My Barn Wood Sign?
Lightly sanding the mistake and repainting the area is the best fix. Use fine-grit sandpaper so you don’t damage surrounding paint.
Is It Better to Use a Stencil or Freehand Lettering on Barn Wood Signs?
Stencils offer clean, uniform letters, while freehand adds a more personal touch. Choose based on your skill level and desired style.
Can I Make a Barn Wood Sign Without Power Tools?
Yes, you can use hand saws, sandpaper, and paint brushes to create a sign. It may take longer, but it’s doable and safer for beginners.
What Should I Consider When Hanging My Barn Wood Sign Outdoors?
Choose weather-resistant finishes and proper mounting hardware to secure it safely. Avoid direct sunlight to prevent fading over time.
Key Points to Remember
Creating a barn wood sign lets you showcase your skills and bring rustic charm to your space. Start your project by selecting the right wood and taking care with each step to keep that authentic barn feel. Once done, your sign will add warmth and character to any room or make a meaningful gift. Begin today by sourcing wood that speaks to your style and setting up your workspace for your first sanding session.