RV Sign Ideas: Practical Designs, Materials, and DIY Tips That Last
RV sign ideas often balance function and style to guide guests, mark sites, and showcase campground identity. Practical designs use durable materials like aluminum or treated wood for weather resistance and clear visibility. Starting with a simple, consistent numbering system ensures smooth navigation and avoids confusion on campground roads.
Key Takeaways
- Choose weather-resistant materials like aluminum or cedar wood for long-lasting outdoor RV signs.
- Maintain consistent site numbering to improve campground navigation and reduce guest confusion.
- Use large, clear fonts on signs sized around 3″ x 7″ for better visibility from a distance.
- Consider reflective materials like HIP sheeting for night visibility up to 1,000 feet.
- DIY reclaimed wood signs provide a budget-friendly option with moderate durability for personal campsites.
- Incorporate campground history or branding subtly to add charm without crowding the design.
Types of RV Signs and Their Best Uses
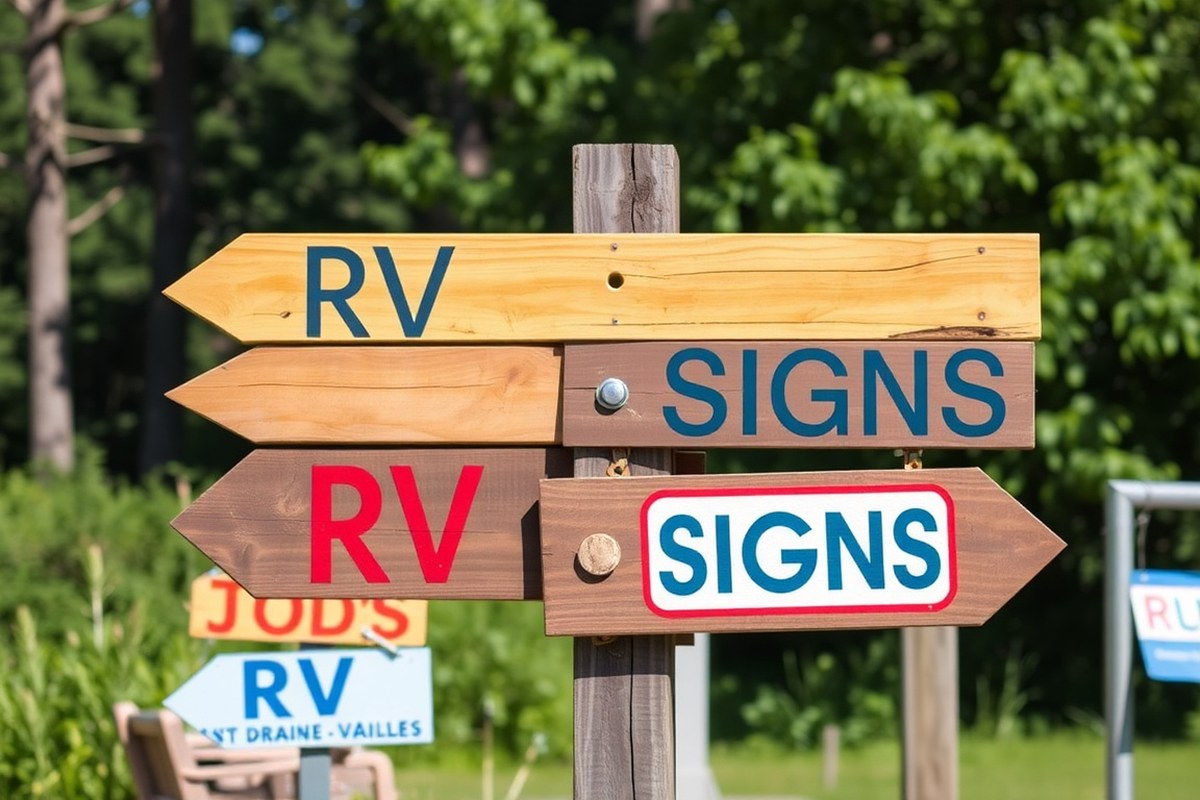
RV signs come in several main types, each suited for different needs and environments. Personalized wooden signs often use cedar or pine, creating a rustic look that suits permanent campsites. Metal signs, typically made of aluminum or steel, stand up well in all weather, offering excellent durability for long-term use. Decals and vinyl stickers provide a light, temporary signage option but don’t last as long outside.
Wooden signs have medium setup difficulty since shaping, painting, or carving takes more effort than sticking on a decal, but they offer a classic, sturdy feel. Metal signs require less maintenance and can withstand heavy rain, UV rays, and wind without much wear. Lightweight vinyl decals and air-release stickers are easy to install on windows or RV sides but usually last 5 to 7 years before fading or peeling starts.
| Sign Type | Best Material | Average Cost | Durability Rating | Setup Difficulty | Best For |
|---|---|---|---|---|---|
| Personalized Wooden Signs | Cedar or Pine Wood | $25-$75 | 4/5 stars | Medium | Permanent campsites |
| Metal RV Welcome Signs | Aluminum or Steel | $40-$120 | 5/5 stars | Easy | All weather conditions |
| DIY Painted Signs | Reclaimed Wood | $10-$30 | 3/5 stars | Easy | Budget-conscious campers |
| Funny Camping Signs | Weather-treated Wood | $20-$50 | 3/5 stars | Easy | Family entertainment |
| Vinyl Decals | Perforated or Air Release Vinyl | $5-$30 | 3-4/5 stars (5-7 years lifespan) | Very Easy | Temporary or decorative use |
Wooden signs made of cedar or pine naturally resist rot and insects but require occasional upkeep like sealing or staining every few years to maintain their appearance. When you want a permanent, personalized sign around your fire pit or site, wooden options deliver charm and withstand the elements well. Metal signs cost more but last the longest. They are perfect for entrance signs, RV park welcome signs, or labels exposed directly to weather such as rain, wind, and sun. Setting up metal signs is relatively straightforward; they often come with mounting options like grommets or brackets.
DIY painted signs on reclaimed wood offer a budget-friendly choice but typically fade or chip after a few seasons outdoors without protective finishes. They work best if you want to frequently update your sign’s message or style. Humidity and temperature swings outdoors can weaken painted wood over time, so plan to refresh or replace DIY signs every 1 to 3 years. Funny camping signs made with weather-treated wood combine entertainment with reasonable weather resistance, suitable for campsites with families or casual visitors.
Vinyl decals are simple to apply and remove, making them ideal for temporary directions, site numbers, or seasonal decorations. Their lifespan of 5 to 7 years depends on exposure to UV light and cleaning. High-temperature sun exposure can cause premature fading, so placing decals in shaded areas or using UV-protective overlaminates extends their life. Avoid applying decals on dirty or oily surfaces for best adhesion and longevity.
Choosing the Right Material for Your RV Sign
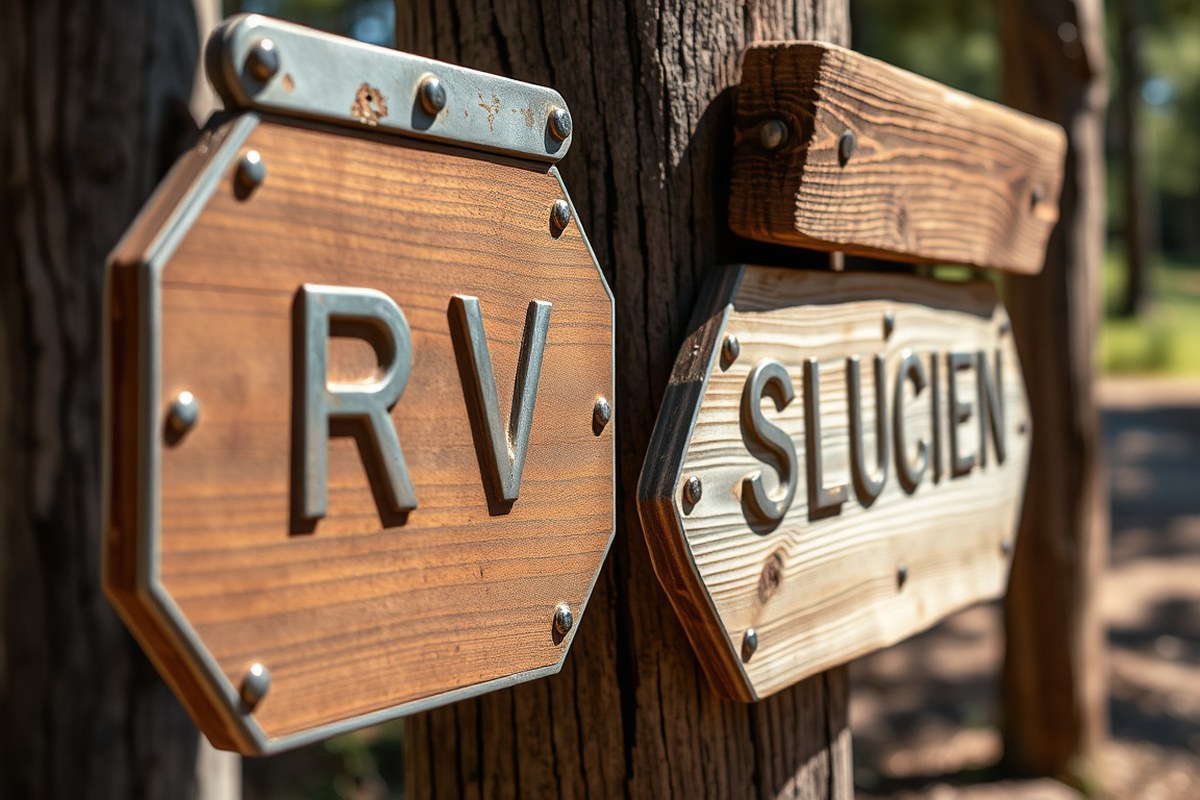
Choosing the right material for your RV sign depends largely on the weather conditions it will face and how much maintenance you’re willing to handle. HDPE, a durable polymer available in solid colors and woodgrain finishes, offers excellent resistance to cracking, fading, and corrosion. It can last over 10 years outdoors with minimal upkeep, making it ideal for campers in harsh climates or for signs that need to remain clear and vibrant without frequent touchups.
Metal signs, particularly those made from 3mm aluminum composite material with powder-coated finishes, resist rust and weather damage well, especially in humid or rainy areas. They withstand strong winds and do not warp like wood, which is an advantage for locations with variable or challenging weather. Metal signs might require occasional cleaning to remove dirt or oxidation but typically hold up longer than untreated wood.
Wood signs provide a natural, classic look well suited for smaller, decorative signs or personal campsite markers. However, wood can warp, crack, or rot in extreme weather conditions without proper sealing. Using high-quality finishes like PPG Proluxe, designed for outdoor use, helps protect the wood. Applying multiple coats of sealant and routinely inspecting for damage are necessary to keep wood signs in good shape, which means more maintenance compared to HDPE or metal.
Vinyl signs and decals, including clear or perforated vinyl, work best for temporary or changeable signage, like rental site numbers or event notices. Although vinyl is easy to apply and replace, it tends to fade faster under sustained UV exposure unless it includes UV inhibitors. These signs are less durable than solid materials but convenient for low-cost, regularly updated messages around your campsite.
When selecting a material, consider your climate and where you’ll place the sign. For example, in a sunny, dry environment with intense UV light, HDPE signs resist fading and cracking better than wood. In moist, coastal areas with salty air, powder-coated metal prevents rust and corrosion more effectively. In shaded forested campgrounds with less direct sun, sealed wood can provide a warm aesthetic that fits the natural surroundings.
For minimal maintenance, HDPE stands out as the best choice, requiring just a periodic wipe down to remove dirt. Wood demands repainting, resealing, and checking for rot. Metal signs need occasional cleaning and rust inspection if your powder coat gets chipped. Vinyl decals are easy to swap but usually last only a few years when exposed to direct sun and weather.
Always seal or coat wood signs thoroughly before outdoor use and inspect them yearly to prevent warping and rot in varying weather conditions.
DIY Painted Camper Sign: Step-by-Step Guide
Creating a handmade wooden RV sign with stencils and paint is a rewarding way to personalize your camper or campsite. With the right materials, surface prep, and careful painting steps, you can achieve a durable, professional-looking sign that stands up to outdoor conditions. Follow a clear sequence from selecting wood and tools to finishing your sign for weather resistance.
Selecting Wood and Tools
Choose a smooth, unfinished wood board suitable for outdoor use, such as cedar, pine, or redwood. These woods resist moisture and warp better than inexpensive softwoods. Pick a size that fits your space, commonly 12 inches by 18 inches or 18 inches by 24 inches. You’ll also need acrylic outdoor paint, weatherproof sealer, painter’s tape, foam brushes, stencils with your chosen font and design, sandpaper (medium and fine grit), and either short wood screws or mounting strips for hanging.
For tools, a sanding block or electric sander speeds surface preparation. A small paint roller helps with base coats, while foam or artist brushes give accuracy for stenciling. Clean rags and a spray bottle with water come in handy for wiping dust and cleanup.
Preparing and Priming the Surface
Proper prep prevents peeling and ensures paint bonds well. Start by sanding the wood’s surface first with medium grit, then finish with fine grit to get it smooth but not glassy. Always sand along the grain to avoid scratches. After sanding, wipe the board with a damp cloth to remove dust and let it dry fully before priming.
Apply a coat of a good quality outdoor wood primer, which seals the wood and increases paint durability. Use a small roller or brush to spread a thin, even layer. Let the primer dry according to the manufacturer’s instructions, usually 2 to 4 hours at temperatures above 50°F. This step blocks tannins from bleeding through and helps colors stay vibrant.
Applying Stencils and Paint
Once primed, secure your stencils firmly with painter’s tape. Position them carefully to keep letters and icons aligned and spaced evenly. Dab paint gently with a stencil brush or foam sponge instead of brushing to avoid bleeding under edges. Use thin coats, building color gradually, two or three light layers work better than one thick one.
Allow each coat to dry for about 20 to 30 minutes before applying the next. If you want a layered or shadowed effect, wait until the base layer dries completely before repositioning smaller stencils. Remove stencils carefully when paint is dry enough to avoid smudging. Touch up any spots with a fine brush for crisp lines.
- Sand wood surface with medium then fine grit sandpaper.
- Wipe off dust with a damp cloth; let dry completely.
- Apply an even coat of outdoor wood primer; wait 2 to 4 hours to dry.
- Secure stencils with painter’s tape; position for balanced design.
- Apply paint gently using a foam brush or stencil brush in thin layers.
- Let paint dry 20 to 30 minutes between layers; apply multiple coats as needed.
- Remove stencils carefully when dry; touch up edges with fine brush.
Finishing for Weather Resistance
Protect your sign from rain, sun, and temperature changes by sealing it with an outdoor polyurethane or exterior-grade clear sealer. Use a water-based sealer for easier clean-up and less yellowing over time. Apply two to three coats, allowing each coat to dry at least 4 hours in mild weather above 60°F.
Be sure to cover all edges and corners to prevent moisture penetration. For mounting, short rust-resistant wood screws provide a secure hold if attaching to your RV or a post. Alternatively, Command Photo Hanging Strips attach without damage and are ideal if you want a removable sign. Proper finishing extends the life of your handmade sign and keeps colors vivid through seasons.
Design Tips for Creative and Visible RV Signs
Maximizing readability for your RV sign begins with selecting clear, easy-to-read fonts. Sans-serif fonts like Arial, Helvetica, and Futura offer clean lines that stand out well from a distance. Aim for letter heights of at least 3 to 4 inches if your sign will be viewed from 10 to 20 feet away. Larger fonts improve recognition when driving past. Avoid ornate or script fonts for the main text, as these reduce legibility outdoors, especially when weather can blur edges.
Color contrast between lettering and background directly affects visibility in outdoor conditions. High-contrast combinations, such as white text on navy or black text on yellow, create sharp visual separation. Use matte or low-gloss finishes on your sign to minimize glare from sun or headlights, which can obscure text. A background color that fits your RV or campsite theme can improve style without sacrificing clarity.
- Use fonts without serifs for main messages; reserve decorative fonts for accents or smaller text.
- Choose letter height based on viewing distance; 3-inch letters for close encounters, larger for roadside visibility.
- Pick contrasting color pairs like black/yellow, white/blue, or white/dark green to boost readability.
- Opt for matte finishes to reduce sunlight glare.
- Limit text to 2 to 3 short lines for easier scanning.
- Incorporate simple thematic graphics like trees, mountains, or travel icons to personalize without clutter.
- Coordinate colors and fonts across signs for a unified campground look.
Thematic decorations add personality while keeping your RV sign relevant. Wood-grain backgrounds or retro color palettes suit vintage campers, while bright, bold colors and geometric shapes can express a boho or modern vibe. You might include a small graphic of a pine tree or a tent to link your sign to camping culture visually. Funny sayings or puns can keep the mood light and welcoming but maintain simplicity to avoid distracting from the name or directions.
To design an effective, creative RV sign, start by writing a simple phrase or your RV’s name in a sans-serif font. Test different letter sizes and colors on paper or digitally, then view from a simulated distance. Ensure the contrast ratio supports visibility in sunlight and dusk. Add a subtle themed graphic at a corner or below the text. Match your color palette with common campground elements, such as greens, browns, or sky blue. For nighttime use, consider signs rated for illumination with battery-powered LEDs, mounted behind the sign to produce a soft glow improving readability during dark hours without overpowering the campsite ambiance.
Using Decals and Vinyl for Custom RV Signage
Decals and vinyl are excellent choices for customizing your RV signage because they are durable, visually appealing, and adaptable for both temporary and longer-term use. Outdoor-grade vinyl decals resist weather damage and fading, making them suitable for RV exteriors. Applying decals smoothly requires careful surface preparation and a step-by-step technique to avoid bubbles and wrinkles, ensuring a professional look.
Selecting Outdoor-Grade Decals
Outdoor-grade decals are commonly made from vinyl designed to withstand sun, rain, and temperature changes. Standard vinyl decals usually consist of a single layer and can be either opaque or clear, both effective for RV exteriors. Air release decals include tiny channels allowing trapped air to escape during application, which helps prevent bubbles and wrinkles.
Price varies from around $10 for standard small decals to $50 or more for custom, specialty vinyl signs. Clear vinyl works well if you want the RV’s paint to show through parts of the decal, while solid vinyl offers bright colors for visibility. Both types hold up outdoors when applied on smooth, clean surfaces.
Preparing the RV Surface
Proper surface preparation is critical for decal adhesion and longevity. Thoroughly wash the area to remove dirt, grease, and wax, then dry it completely. Avoid applying decals on rough, faded, or peeling paint, as these can cause poor adhesion or damage when removing the decal later.
Use isopropyl alcohol on a lint-free cloth to wipe down the surface where you’ll place the decal. Removing old decals or residue before applying new ones ensures better contact between the decal adhesive and the RV surface.
Applying the Decal Without Bubbles
To get a smooth application without air bubbles or wrinkles, follow these detailed steps:
- Clean the surface using soap and water, then wipe with isopropyl alcohol. Allow it to dry completely.
- Peel the backing off the decal carefully, exposing the adhesive side.
- Position the decal lightly on the RV surface without pressing firmly, adjusting for accurate alignment.
- Using a squeegee or a plastic card, press the decal from the center towards the edges, pushing any air out.
- Slowly remove the transfer tape (top protective layer) at a sharp angle, ensuring the decal stays adhered.
- Check for small bubbles; gently puncture with a pin and smooth out any trapped air with the squeegee.
- Allow the decal to set for at least 24 hours before washing or exposure to heavy moisture.
Align the decal carefully before sticking it down, because repositioning after adhesion starts can cause wrinkles or damage the adhesive layer.
Removing and Replacing Decals Safely
Decals aren’t always permanent and can be removed or replaced with the right technique to avoid damaging your RV’s finish. Heat the decal with a hair dryer or heat gun set to low heat (around 120 to 140°F) to soften the adhesive. Slowly peel the decal edge back while applying more heat if necessary.
Sticky residue left behind can be removed with adhesive remover products safe for automotive paint or with household substances like rubbing alcohol. Avoid using abrasive tools that can scratch the surface.
Replacing decals after removal is possible, but always prepare the surface again and apply a new decal with the same care to ensure it sticks properly. Temporary signage needs can be met by laminated paper signs for waterproofing, but vinyl decals offer a longer-lasting, cleaner appearance.
Directional and Informational Signs for Campgrounds
Directional and informational signs play a key role in helping guests navigate your campground smoothly and enjoy their stay. The main goal is to reduce confusion by clearly marking entrances, site numbers, amenities like restrooms and water stations, and any special areas such as picnic spots or scenic overlooks. Well-designed signs lower the need for staff to give repeated directions and improve the overall guest experience.
Start with sign types that cover essential wayfinding points: an entrance sign featuring your campground logo creates a welcoming first impression and encourages photo opportunities. Road intersection signs should be visible from a distance, with site numbers clearly indicated so guests can find their assigned spots without stress. Don’t forget signage for emergency exits, office locations, and rules or notices that guests need to see regularly.
Size and placement dramatically affect how well your signs work. Use large, bold numbers and letters, at least 4 to 6 inches high for site numbers, to ensure readability from a moving vehicle. Place signs at eye level alongside roads where they won’t be blocked by vehicles, tents, or foliage. Lighting or reflective materials help maintain visibility after dark, particularly at intersections and near restrooms.
Information should be concise but complete. Include campsite numbers, directional arrows, distance to amenities, operating hours, and any relevant safety messages. Graphics, like universal restroom icons or tent versus RV symbols, can assist guests who speak different languages or prefer visuals. Avoid overcrowding signs with too much text.
- Entrance sign with campground logo and clear name
- Site number markers extra-large and reflective
- Arrows and distance indicators at road splits and intersections
- Signs for essential amenities: restrooms, showers, laundry, dump stations
- Emergency exit routes marked prominently
- Rules and safety reminders in short, readable bullet points
- Illuminated or reflective signs in areas used after dark
Test your signage by walking or driving the routes as a first-time visitor would. Check visibility from typical vehicle heights and complementary lighting conditions. Signs placed too low or behind obstacles will frustrate guests. Costs vary widely depending on materials and size but expect between $50 to $200 per sign for durable outdoor options from typical suppliers serving RV parks. You don’t have to replace every sign at once; prioritize busy intersections and the entrance to make an immediate impact.
Effective directional and informational signs reduce confusion, improve safety, and improve guest satisfaction. Placing clear, well-sized signs backed by thoughtful content supports your campground’s reputation and helps guests relax into their outdoor stay without getting lost or needing constant assistance.
Illuminated and Night-Visible RV Sign Options
To improve the nighttime legibility of your RV sign, you can choose from LED illumination, reflective sheeting, or a combination of both. LEDs provide bright, focused lighting that makes your sign readable in complete darkness. They can be wired to your RV’s power system or use battery-operated setups with solar charging, offering flexibility. For example, a small LED strip light around the edge of your sign can cost between $20 and $50, not including installation. LEDs have a lifespan of 25,000 to 50,000 hours, meaning you’ll rarely need to replace them if used properly.
Reflective materials like Engineer Grade and High Intensity Prismatic sheeting work differently. They bounce back ambient light, such as headlights, to make your sign visible at night without using electricity. Engineer Grade sheeting is durable and common for traffic signs, suitable for campground signs where durability and visibility from a distance matter. High Intensity Prismatic sheeting offers even stronger reflectivity, ideal for critical spots where you need maximum visibility. Reflective sheeting typically lasts 7 to 10 years outdoors before fading, and applying it costs about $2 to $4 per square foot, making it more affordable upfront than LED installation.
Deciding between LED lighting and reflective sheeting depends on your specific needs. For RV owners who often camp without nearby streetlights or want a highly visible personalized name sign that stands out at all hours, LED-illuminated signs provide consistent brightness. This is especially helpful in remote or wooded campgrounds. Conversely, reflective signs are low-maintenance, do not require power, and work well when headlights from vehicles or flashlights are present. They are common at campgrounds where decorative entrance signs combine reflective elements with simpler, unlit signs inside the park.
Proper installation and design influence performance. Use bold, legible fonts in contrasting colors so the lighting or reflectivity highlights the text clearly. For LEDs, mount the lights so they shine evenly without blinding other campers, ideally with diffusers or soft white bulbs. Reflective sheeting must be applied to a smooth, clean surface and sealed if exposed to water and dirt. Signs placed near vehicle paths benefit most from reflective materials since headlights will hit them naturally, while signs farther away or in darker areas gain more from LED lighting.
The extra investment in LED illumination can be worth it if you need your sign to be noticeable at all times, especially during long nighttime stays. Maintenance includes checking the wiring and battery condition yearly. Reflective signs require almost no upkeep but depend on external light, which limits their use in very dark surroundings. Sometimes combining both methods improve safety and visibility for an RV sign, giving you the benefit of passive reflectivity and active illumination when needed.
Maintaining and Refreshing Your Outdoor Camper Signs
Outdoor RV signs need regular upkeep to stay clear and durable. A consistent routine cleaning, timely resealing, and fixing minor damage can extend a sign’s life by years. Knowing how to maintain wood and metal signs prevents costly replacements and keeps your campsite or RV front looking welcoming.
Routine Cleaning and Inspection
Check your signs every 3 to 6 months for fading, dirt buildup, or physical damage. Clean with mild soap and water using a soft cloth or sponge to avoid scratching surfaces. For metal signs, avoid harsh abrasives that can remove protective coatings. Remove debris or overgrown vegetation that may block visibility. Regular inspections catch problems early, reducing repair costs. A simple maintenance checklist includes:
- Wash the sign surface gently with soap and water
- Look for chipped paint, rust, or cracked wood
- Clear away branches or grass covering the sign
- Check mounting posts and fasteners for stability
- Ensure the sign’s lettering and images are legible
- Note signs of water damage or fading from sun exposure
Doing this in mild weather improves cleaning effectiveness and reduces drying time.
Sealing and Re-Coating Options
Applying a protective sealant every 1 to 2 years greatly improve sign longevity. Use a clear outdoor wood sealer on wooden signs to prevent moisture damage and UV fading. For metal signs, a rust-inhibiting spray or outdoor-grade polyurethane coat shields against corrosion and wear. Choose a product labeled UV resistant for the best protection.
Apply sealants under dry, warm conditions, ideally between 50°F and 85°F, to ensure proper curing. Use a brush or spray depending on product instructions and surface texture. Two coats spaced several hours apart typically provide solid coverage.
Failing to reseal wooden signs exposes them to cracking and rot, while neglecting metal signs allows rust to shorten their lifespan.
Replacing sealants is more cost-effective than a full sign replacement, with average prices for quality sealants ranging from $10 to $25 per quart or can, enough to cover multiple signs.
Fixing Faded Paint and Rust Spots
Fading and rust reduce legibility and weaken sign materials. Lightly sanding faded painted areas on wood prepares the surface for repainting. Use outdoor acrylic or enamel paint designed for your sign’s material. Metal signs with rust spots require sanding down to bare metal, applying a rust converter, then repainting with rust-resistant paint. Let each layer dry fully to avoid peeling.
Repairing small damaged areas promptly prevents spreading. For extensive rust, consider replacing the affected section before applying decals or repainting. Sign repair steps for durability and appearance:
- Clean and dry the sign surface completely
- Sand faded or rusty spots to smoothness
- Apply primer or rust converter as needed
- Repaint with outdoor-grade paint matching original colors
- Seal repainted sections with clear protective coating
- Allow sufficient drying time between steps
Seasonal Storage Advice
Remove signs from the elements during harsh winter months or extended inactivity to preserve their condition. Store signs flat or hung indoors in a dry, temperature-controlled area. Wrap wood signs in breathable fabric to avoid moisture buildup and cracking. Metal signs can be covered with a soft cloth to prevent dust abrasion.
Proper storage reduces exposure to snow, ice, and freezing temperatures, which can cause warping or corrosion. If removal isn’t possible, inspect signs more frequently in winter to spot damage early.
Your Step-by-Step Action Plan for Custom RV Signs
Follow this plan to create and install RV signs that stand out, last long, and fit your camping needs.
- Before your next trip: Decide what type of sign you need (directional, informational, decorative) based on how you’ll use it. Check that your chosen material suits outdoor conditions you face.
- Day 1: Sketch or select a design that uses high-contrast colors and readable fonts. This ensures visibility from a distance and in various light conditions.
- Week 1: Gather supplies for your DIY painted sign or order your custom decals. Verify the durability ratings and waterproof features for your materials.
- Week 2: Create or apply your RV sign following step-by-step instructions. Test the adherence of decals or paint adhesion after it dries to confirm longevity.
- Week 3: Install your sign securely on your RV or campsite spot where it’s easily seen but protected from direct wear or damage. Check visibility day and night if using illuminated options.
- After 1 month: Inspect your sign for fading, peeling, or damage. Clean it gently to maintain colors and update or refresh if needed to keep it effective.
Frequently Asked Questions
What Are Some Unique RV Sign Ideas for Personalizing Your Campsite?
Unique RV sign ideas include using reclaimed wood for a rustic look or adding stenciled images like trees or mountains. Personal touches create a welcoming vibe and boost campsite personality.
How Can I Incorporate My Campground’s History into an RV Sign Design?
Incorporate history by including dates or key events, like “Since 1968,” to add character without cluttering the sign. This makes your sign meaningful and ties it to the location.
What Are the Best Fonts for Outdoor RV Signs?
Use bold, legible fonts that can be read clearly from a distance, especially with high contrast colors. This ensures visitors can spot your sign easily even when driving by.
Can DIY Stencils Improve the Look of a Painted Camper Sign?
Yes, DIY stencils help achieve clean, professional-looking designs quickly, matching your style or mood. They’re easy to use and great for consistent shapes or letters.
How Do Outdoor Conditions Affect the Material Choice for RV Signs?
Choose durable materials like aluminum for all-weather resistance or treated wood for seasonal use. Material choice affects longevity and sign upkeep depending on your climate.
What Makes Directional RV Signs Effective at Campgrounds?
Directional signs should be large, clear, and placed strategically near intersections. Bright colors and simple words help guests navigate easily, reducing confusion.
Before You Go
Personalized RV signage not only helps with navigation and information but adds a unique touch to your camping setup. Start by choosing one sign project that fits your most immediate need, like a directional sign or a welcoming nameplate. Once you see how a well-made sign improves your experience, adding more customized signs will become a rewarding part of your outdoor adventures.