How to Trace Letters Onto Wood: Simple Steps and Best Methods Explained
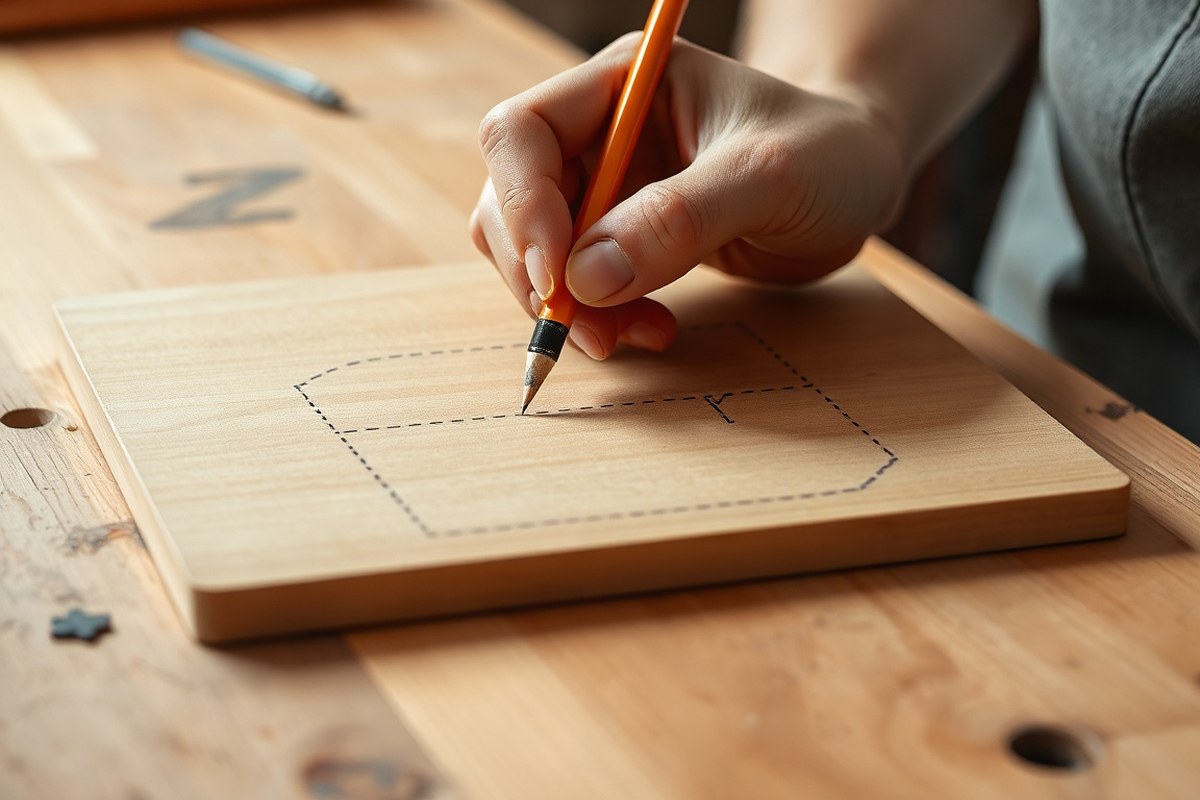
Begin by choosing a smooth wood surface, such as basswood, maple, or cherry, sanded to around 220 grit for the best results. Shade the back of your letter design lightly with a pencil, then press it onto the wood and trace over the design with a pencil held at a 20 to 30-degree angle to make a visible outline. Try tracing on a scrap piece first to check that the design transfers clearly before moving to your final wood project.
Key Takeaways
- Choose fine-grained wood like basswood or maple and sand it smooth to 220 grit before tracing.
- Shade the back of your printed letters with a pencil to create a graphite layer for easy transfer.
- Trace your design onto the wood using a consistent pencil angle between 20 and 30 degrees.
- Test your tracing on a scrap piece of the same wood to check for clean outlines and proper depth.
- Keep cuts shallow, about 1/16 to 1/8 inch deep, when carving traced letters for best results.
- Make sure the wood surface is free from dust and dirt before transferring your letters.
The Simplest Way to Trace Letters Onto Wood
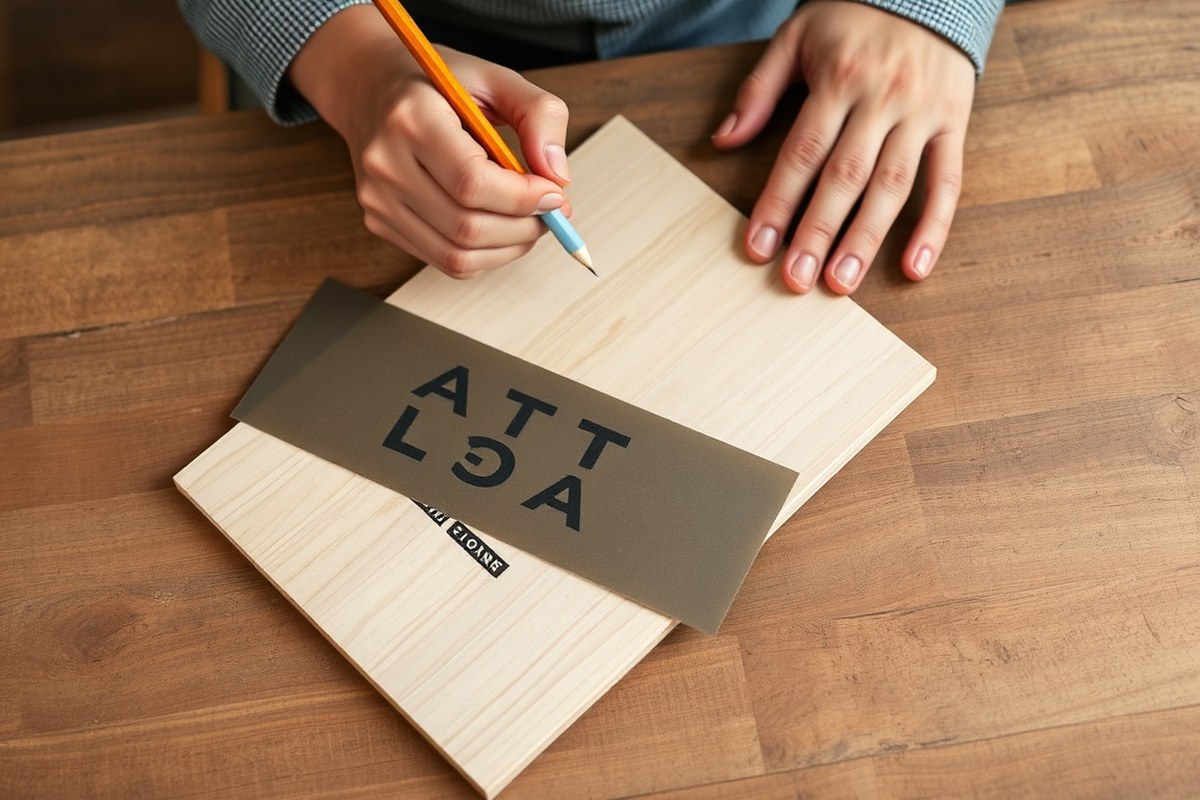
The easiest way to trace letters onto wood involves using carbon paper, a simple and affordable tool that transfers your design clearly and accurately. Carbon paper works by placing a thin sheet between your printed or drawn design and the wood surface. When you trace over the letters with a pencil or pen, the pressure transfers the carbon image directly onto the wood. This method provides clean outlines and helps you avoid freehand errors.
You’ll need just a few common supplies for this approach: carbon transfer paper (available for around $5 to $10 online or at craft stores), a printed or hand-drawn letter template, a sharp pencil or ballpoint pen, and the wood piece itself. Using a pencil is usually best because it’s easier to control pressure and the lines won’t bleed as ink might. The pencil should be firm enough to make a distinct mark through the carbon paper but soft enough to prevent smudging. Follow these step-by-step instructions to trace your letters onto wood using carbon paper:
- Prepare your workspace: Clean the wood surface to remove dust or debris. Smooth wood will produce the best transfers.
- Set your design: Print or draw your letters on plain paper, sized exactly how you want them on the wood.
- Place the carbon paper: Lay the carbon paper face-down on the wood where you want the letters to be traced. The carbon side must touch the wood.
- Position your design: Place your printed or drawn template over the carbon paper, aligning it carefully.
- Trace the letters: Using a sharp pencil or pen, firmly trace over all the lines of your design. Press evenly so the carbon transfers clearly but gently enough to avoid tearing the paper.
- Check your transfer: Lift the paper carefully to see the traced outline on the wood. Dark, continuous lines indicate a good transfer; if lines are faint, retrace those areas.
- Touch up if needed: Use a pencil to darken any faint or broken lines directly on the wood before proceeding with your project.
This method works well for single or multiple transfers, especially if you want to keep your letters neat and consistent. For multiple identical wood signs, carbon paper saves time and ensures accuracy. Avoid pressing too hard, as this can cause smearing or indentations on softer woods. Using a pen is possible, but keep in mind that you must maintain steady pressure, and ink may bleed slightly on porous wood. Pencil pressure is easier to control for cleaner results.
Preparing the Wood Surface for Letter Transfer
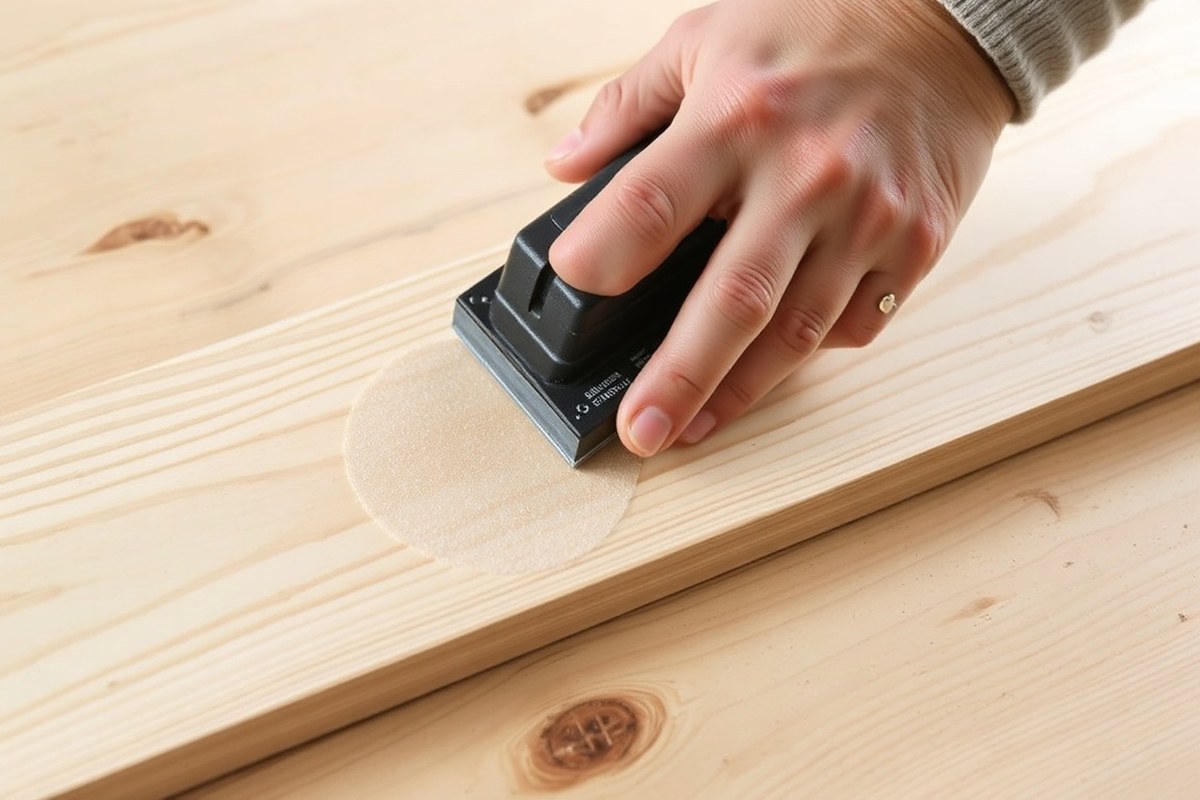
Preparing the wood surface before tracing letters is essential for clear and accurate transfers. Start with a smooth, clean surface, free from dust and debris, to help your design stand out sharply. Choosing the right wood and preparing it properly allows your tracing method to work effectively and reduces errors during transfer.
Choosing the Best Wood for Letter Tracing
Hardwoods with tight grains like maple, birch, or poplar provide a smooth surface that’s easier to trace onto and results in crisp, clean lines. Softwoods such as pine can work but may absorb inks or graphite unevenly due to their open grain, making the tracing less sharp. Avoid wood with knots, deep grooves, or heavy grain patterns since these textures can distort your design.
Painted or stained wood surfaces can be traced on if they have a smooth, dry finish. Glossy finishes may cause smudging or uneven tracing lines, so lightly sanding those surfaces can improve adherence of transfer materials. Make sure the paint or stain is fully cured, it usually takes about 24 to 48 hours, to prevent your tracing from lifting or smearing.
Sanding Steps for a Smooth Surface
Begin sanding with medium-grit sandpaper (around 120 grit) to remove rough spots and level uneven surfaces. Then, follow with fine-grit sandpaper (220 grit) to create a smooth finish ideal for tracing. Sand along the grain of the wood to prevent scratching the surface, which can interfere with your design.
After sanding, wipe the surface using a tack cloth or a damp microfiber cloth to eliminate all dust particles. This step is critical because even small grains can cause your pencil or pen to skip, resulting in partial or faint letters. Allow the surface to dry completely if you used a damp cloth before starting your transfer.
Dealing with Textured or Rough Wood
Textured, rough woods like reclaimed wood or barn wood require additional preparation for effective letter tracing. Lightly sand only the area where you’ll place your letters to remove larger bumps without completely stripping the wood’s character. Consider using carbon transfer paper under your design to help lines show up more clearly despite the texture.
For deeply grooved wood, fill gaps with wood filler and sand smooth before tracing, but remember this may alter the look of the wood’s natural texture. Alternatively, use paint markers or wood-burning tools that are less affected by imperfections on the surface, especially if the texture cannot be completely smoothed.
Checklist for Preparing Wood Surface
Follow this checklist to make sure your wood is ready for a clean letter transfer:
- Choose hardwood or smooth softwood with minimal knots and grain variation
- Ensure painted or stained surfaces are fully dry and cured
- Sand the surface starting with 120-grit, then 220-grit paper, sanding along the grain
- Clean off all dust and debris using a tack cloth or damp cloth
- Allow damp surfaces to dry fully before tracing
- Use wood filler or light sanding on textured areas where necessary
- Consider transfer aids like carbon paper for rough or textured surfaces
Completing each step helps guarantee a smooth, dust-free surface where your letters will transfer crisply and clearly.
Always test your tracing method on a scrap piece of the same wood to check how the surface preparation affects the transfer quality before working on your final piece.
Different Methods to Transfer Letters Onto Wood
There are several ways to transfer letters onto wood, including carbon paper, pencil shading, stencils, transfer tape, and digital transfer. Each method has unique benefits, costs, and best uses depending on your project’s scale, detail, and tools. Choosing the right method improves accuracy and fit for what you want to create.
Carbon Paper Transfer Method
Carbon paper is a popular option for tracing letters onto wood because it is affordable, easy to use, and provides clear lines. To use this method, place the carbon paper graphite side down between your printed letters and the wood surface, then trace the design with a firm pencil or stylus. The pressure transfers the graphite onto the wood, leaving an outline to follow.
This method works well for moderately detailed designs and projects ranging from wood signs to furniture decoration. Carbon paper typically costs a few dollars per sheet and can be reused several times. However, it can smudge easily and requires steady pressure for full transfers. It may also leave faint or incomplete lines on rough wood surfaces.
Pencil Shading and Direct Tracing Method
This straightforward method involves shading the back of your letter template with pencil lead, placing it lead-side down on the wood, and then tracing over the letters on the front side. The pencil shading transfers to the wood as you trace, creating a clear outline.
It’s a no-cost alternative that works well for quick, simple lettering on smooth wood. It’s less reliable for very detailed fonts or textured woods because the graphite may skip. Direct tracing with a pencil over a printed design is also possible if the wood is light enough for faint lines to be visible, but it risks smudging and uneven pressure.
Stencils and Digital Application Methods
Stencils offer a reusable way to transfer crisp letters onto wood. You can buy pre-cut letter stencils or make your own by cutting out letters from a sturdy material like plastic or cardstock. Position the stencil on the wood, then fill in the letters with paint, pencil, or marker.
Transfer tape and digital print transfers are more advanced methods. Transfer tape involves printing your design on special paper and using adhesive tape to apply it precisely to the wood. Digital transfer involves laser printing a design onto special transfer paper and using heat or solvents to move the design onto the wood surface. These methods yield high detail for complex fonts and graphics but require more investment in supplies and equipment. These methods suit signage, gifts, or décor projects where precision and repeatability matter most.
| Method | How It Works | Benefits | Limitations | Best Projects |
|---|---|---|---|---|
| Carbon paper | Graphite sheet traced onto wood | Affordable, easy, clear lines | Can smudge, faint on rough wood | Wood signs, furniture lettering |
| Pencil shading | Pencil lead on back of paper traced | No cost, simple, good for smooth wood | Less precise, skips on textured wood | Quick small projects |
| Direct tracing | Trace letters directly on wood | Fast, no special materials | Smudges, faint on dark wood | Light woods, simple fonts |
| Stencils | Paint or pencil through cut-out letters | Reusable, sharp edges | Less detail, needs steady hand | Signs, décor, repeat projects |
| Transfer tape/digital | Printed design transferred with tape or heat | High detail, precise placement | Costly, requires equipment | Detailed graphics, repeat use |
Choosing the best method depends on the project type and your goals. For quick, simple wood signs, carbon paper often provides a balance of cost and ease. Pencil shading or direct tracing suits small projects on smooth wood without extra materials. Stencils are great for projects needing repeatable shapes and bold lettering. Digital transfers fit detailed, complex designs and larger runs where precision is a priority. Transfer tape falls in between, offering useful accuracy without full digital setup.
Tips to Keep Letters Straight and Aligned on Wood
To keep letters straight and aligned on wood, use baseline guidelines and measure spacing carefully before tracing. Measuring tools and simple tricks like taping your paper in place help maintain consistency and resistance to shifting. These techniques ensure your letters look professional and evenly spaced.
Marking Straight Baseline Guidelines
Start by drawing a straight baseline on the wood where the bottoms of your letters will sit. This baseline keeps your letters even and prevents them from slanting or floating. Use a pencil and a ruler or tape measure to mark the line precisely. Here’s how to create a baseline for lettering:
- Measure and mark the desired height from the wood’s edge where you want the letters to start.
- Use a straight ruler or a long level to connect marks at both ends of your wood surface.
- Draw a light pencil line along this ruler to serve as your baseline.
- Optionally, use additional parallel guidelines spaced above the baseline to ensure letter height consistency, especially with taller or multi-line text.
Baseline guidelines are easy to erase or cover later, but they give a solid frame for your work and improve letter uniformity.
Spacing Letters Evenly
Even spacing between letters improves readability and appearance. Eyeballing can work for short words, but measuring is best for longer text or when precision matters. Tools like a tape measure or a grid paper under your tracing sheet help set equal gaps. Follow these steps to space letters properly:
- Measure the overall width available for your text on the wood.
- Decide the size of each letter or print your letters at the target size on paper.
- Calculate or estimate equal spacing by dividing the leftover space after letter widths by the number of gaps between letters.
- Mark vertical guide lines lightly on the wood where each letter should begin and end.
- Adjust spacing slightly if letters look cramped or too loose based on your visual judgment.
Using graph paper or a grid ruler helps maintain consistent horizontal and vertical spacing. If you use printed letter templates, taping them grid-aligned ensures each letter stays in place.
Checking Alignment Before Tracing
Before tracing, secure your paper onto the wood using painter’s or masking tape to avoid shifting. Step back and visually check that the letters look level and well-spaced from different angles. This reduces errors during the transfer process. Here’s a quick checklist for checking alignment:
- Tape the paper firmly onto the wood so it doesn’t move.
- Use a level or ruler to verify the baseline is straight across the whole design.
- Look at your design from eye level directly in front of the wood surface.
- Make small adjustments if letters appear uneven or crooked.
- Use a light source behind the paper if tracing complex shapes for a clearer outline.
These simple checks take only a minute but prevent many common mistakes like slanted or bunched-up lettering. The result will be a cleaner, more professional look on your finished wood project.
Common Mistakes When Tracing Letters and How to Fix Them
One common mistake when transferring letters onto wood is causing the graphite or ink to blur before it dries. Pressing down too hard or accidentally dragging your hand over fresh lines often leads to this problem. To repair blurred spots, lightly erase the area with a soft eraser and trace over it only after it’s fully dry. Placing a sheet of tracing paper or vellum between your hand and the wood can also protect the design from smudging.
Misalignment is another common problem, where letters don’t line up straight or maintain consistent spacing. This often occurs when you start tracing without marking guidelines on the wood. Correct misalignment by lightly drawing pencil lines parallel to the surface edges before tracing. Rerun the tracing along these lines and erase any pencil marks afterward. For precise results, measure the spacing using a ruler or a carpenter’s square.
Faint transfers happen when there’s not enough pressure applied during tracing or the surface texture is rough and uneven. To improve faint outlines, press firmly and evenly with your pencil or transfer tool, or sand the wood surface smoother beforehand. Light transfer lines can be darkened by carefully retracing them several times, applying minimal pressure to avoid harming the wood.
- Pressing too hard causes grooves that are hard to erase or paint over.
- Not preparing the wood surface leads to uneven or broken lines.
- Tracing on rough or dusty wood results in incomplete transfers.
- Using dull pencils or pens produces unclear, fuzzy edges.
- Skipping alignment marks causes crooked or uneven lettering.
- Tracing over wet ink or paint causes smearing.
- Not securing the paper or stencil leads to shifting and double lines.
- Working in poor light increases mistakes and eye strain.
Troubleshooting these common mistakes often requires a bit of patience. For smudges, allow the transferred design to dry completely if using ink before handling the wood. To fix misalignments, use an X-Acto knife to gently remove any deeply indented lines, then lightly sand the surface. Always keep your tracing materials secured with masking tape to prevent shifting mid-trace. Maintain sharp pencils or fine-point pens for clearer lines, and ensure the wood is clean and smooth to allow for crisp transfers.
Seal your hands with a light dusting of baby powder or wear thin cotton gloves to reduce accidental smudging during tracing.
Starting with a clean, dry, and lightly sanded surface significantly cuts down on transfer issues. Mark your layout with pencil guides and double-check alignment before tracing. Use the right pressure: firm enough to transfer but gentle enough to avoid indenting wood. Avoid rushing to prevent shaky or double lines. Proper lighting and a steady hand improve precision, making your lettering clear and professional-looking from the start.
Finishing Your Letters After Tracing on Wood
After successfully tracing your letters onto wood, finishing them properly improve their appearance and increases durability. Painting is a common method that adds color and contrast to the letters. Choose oil-based paint markers or acrylic paints designed for wood, as these adhere well without peeling. Paint markers offer precision, which helps keep edges clean. Use a fine brush or the marker tip to carefully fill inside the traced lines, applying thin layers to avoid drips. Allow each layer to dry fully before adding more for even coverage.
Wood burning, also called pyrography, provides a different finish that is both decorative and long-lasting. This technique uses a heated tool to burn the letters into the wood surface. Because burning permanently changes the wood, it requires steady hands and attention. Practice on scrap wood first to control the tool’s temperature, usually between 500°F and 700°F, and pressure. Burn slowly along the traced lines to create consistent, defined letters. Wood burning adds texture and a rustic look without the need for paint.
Once your letters are painted or burned, sealing them protects against moisture, dirt, and wear. Clear sealants like polyurethane, lacquer, or shellac work well on finished wood. Use a water-based polyurethane for a less odorous, quicker drying option, or oil-based polyurethane for extra durability. Apply the sealant with a synthetic brush in thin, even coats. Let each coat dry for at least 4 hours before gently sanding with fine grit sandpaper (220 grit) to smooth the surface. Typically, two to three coats provide good protection. The sealant not only preserves your design but also improve the wood’s natural grain and finish.
- Oil-based paint markers or acrylic paint for filling letters
- Fine brush or marker tip for neat edges
- Wood burning tool set between 500°F and 700°F for pyrography
- Clear sealants such as polyurethane, lacquer, or shellac
- Synthetic brush for sealant application
- 220-grit sandpaper for smoothing between sealant coats
- Proper drying time of 4+ hours between coats
Keep your workspace well-ventilated when painting or sealing, and wear gloves to avoid skin contact with chemicals. Painting requires patience for thin, even coverage, while burning demands steady control to avoid uneven lines. Sealing preserves your work and extends the life of your letters. Skipping these finishing steps increases the risk of fading, smudging, or damage from moisture and dirt, especially on outdoor projects.
How Long Does It Take to Trace Letters Onto Wood and Factors Affecting Time
Tracing letters onto wood usually takes anywhere from 15 minutes for small, simple projects to several hours for larger, intricate designs. For example, a basic label on a small wooden plaque might take about 15 to 30 minutes, including positioning and tracing. A complex design covering a large surface with multiple letters or stylistic details could require an hour or more. The pace depends largely on your familiarity with the tools and techniques you choose to use.
The size and complexity of your design directly influence how long tracing will take. Larger letters take more time to trace than smaller ones simply due to increased surface area. Detailed fonts or intricate curves require slower, more precise work to make sure each line transfers cleanly. Simple block letters are quicker and easier to trace, especially for beginners. Taking extra time on curves or fine details helps avoid mistakes that would slow you down later during finishing.
The type of wood you’re working with also affects the speed. Softwoods like pine may absorb graphite or chalk transfer marks quickly but can smudge easily, requiring careful handling. Hardwoods such as oak or maple resist indentation from tracing tools, so you might need firmer pressure or multiple passes, both adding time. Woods with rough or uneven grain can make tracing slower since the transfer might not be smooth. Sanding and preparing the surface beforehand can speed up this step by creating a consistent texture for easy transfer.
Your choice of transfer tools changes the timing as well. Using graphite paper usually speeds up the process because the lines appear clearly and instantly. Chalk or pencil transfers might need more careful retracing and touch-ups. Skilled users tracing freehand with carbon paper or templates are faster than beginners who need to check alignment and re-position several times. Taking a few extra minutes to secure the transfer paper firmly or double-check the layout can save hours of fixing errors later.
Skill level plays a major role in timing. Beginners tend to move slower and may repeat steps to ensure accuracy, adding time. With practice, you develop a steady hand and a better eye for spacing, which reduces tracing time significantly. For your first few projects, plan for 30 percent to 50 percent more time than the estimated duration. As you gain confidence, expect tracing times to shrink.
Overall, a small sign with simple lettering on a softwood surface using graphite transfer paper can be traced in about 15 to 30 minutes. A larger, detailed design on hardwood using chalk transfer might take over an hour. Preparing your materials, choosing the right wood, and practicing your tracing technique will help keep your timing efficient while ensuring a sharp final look.
When to Consider Professional Services or Advanced Tools
Consider professional services or machine engraving when your project demands high precision, complex designs, or large quantities. Laser engravers and CNC routers excel at producing sharp, consistent letters and intricate patterns that are difficult to achieve by hand. For example, laser engraving uses a focused beam to burn precise lines into wood, resulting in clean, repeatable images from digital files. This method supports detailed fonts and fine artwork better than manual tracing, especially when uniformity matters across multiple pieces.
The main benefit of machine engraving over hand tracing is accuracy combined with efficiency. While manual tracing depends on steady hands and careful alignment, machines eliminate human error and reduce labor time. Laser engravers provide clean edges without scorch halos or grain tear-out common with hand burning or carving. CNC routers cut grooves with consistent depth, ideal for larger lettering but requiring skills to operate safely. However, these professional tools come with costs, laser engravers often range from $2,000 to over $10,000, and CNC routers vary similarly, making them worthwhile only if you plan frequent use or commercial production.
DIY tracing remains a good choice for simple projects, personal crafts, and learning basic techniques. Safety is an important factor when using wood-burning pens or rotary tools at home. These tools operate at temperatures around 700°F to 950°F and can cause burns or start fires if mishandled. Proper ventilation is necessary to avoid inhaling smoke and fumes from scorching wood. Using protective gloves, working on stable surfaces, and following manufacturer instructions reduce risks. When manual methods feel tiring, frustrating, or the results don’t meet your standards, it may be time to upgrade to advanced tools or hire professional engraving services.
When choosing between DIY and professional options, consider your budget, skill level, project scale, and desired finish. Projects requiring sharp logos, small fonts, or intricate patterns over many items benefit most from machine engraving. For casual hobbyists, starting with pyrography or manual tracing remains cost-effective and accessible. Professional services often offer custom engraving from digital designs for reasonable prices, typically $20 to $100 per item depending on size and detail. These services also spare you learning complex equipment and handling safety concerns.
Deciding between a laser engraver, CNC router, or professional help depends on the level of precision needed and the frequency of your wood projects. Upgrading to machines or seeking expert help makes sense when quality, efficiency, and repeatability outweigh the initial investment and learning curve.
Always wear eye protection and work in a well-ventilated area when using wood-burning or carving tools to prevent injury and avoid inhaling harmful fumes.
Step-by-Step Action Plan for Tracing Letters on Wood
Follow these steps to get clear and accurate letters on your wood project with minimal hassle.
- Before you start: Choose your wood and prepare the surface by sanding it smooth and wiping away dust; smoothness ensures clean letter transfer.
- Day 1: Print or draw the letters on regular paper to the size you want; test this by placing the paper on the wood to check the fit and alignment.
- Day 1: Tape the paper securely onto the wood and use graphite paper underneath to transfer the outline by carefully tracing; you’ll see light graphite marks on the wood if it worked.
- Day 1: Go over the transferred letters with a pencil or fine-tip marker to darken and clarify the outlines; clear lines mean you’re ready for finishing.
- Day 1 or 2: Apply paint or wood stain within the lines to finish the letters; keep a steady hand and use thin coats for sharp edges.
- After paint dries: Lightly sand around the letters if needed to smooth out any paint edges; then apply a clear finish to protect your work.
Frequently Asked Questions
What Materials Do I Need to Trace Letters Onto Wood?
You need printed letter designs, a pencil for shading transfer, and clean wood. Having a smooth, dust-free wood surface helps ensure the tracing lines show clearly.
Can I Trace Letters Onto Rough or Unfinished Wood?
Rough wood makes tracing harder and less precise. Sanding the wood smooth before tracing gives cleaner results.
How Do I Prevent Pencil Marks from Smudging After Tracing Letters?
Use a light hand or fixative spray after tracing to prevent smudging. Avoid heavy pressure that can blur lines.
Can I Use Digital Tools to Aid Tracing Letters on Wood?
Yes, digital resources and apps help create perfect designs you can print and transfer. Some apps even help measure and align letters.
Should I Seal the Wood Before or After Tracing Letters?
Seal the wood after tracing and finishing your letters to protect the design. Sealing first may cause the pencil to smear.
Is Tracing Letters a Skill That Improves with Practice?
Yes, accuracy and control improve the more you trace letters on wood. Practicing on scrap wood helps build confidence and skill.
The Bottom Line
Tracing letters onto wood gives your projects a professional and personalized look with just a little patience and the right tools. Start with a simple transfer method and gradually try others as you gain confidence. Begin by preparing your wood surface today to set a solid foundation for your lettering.