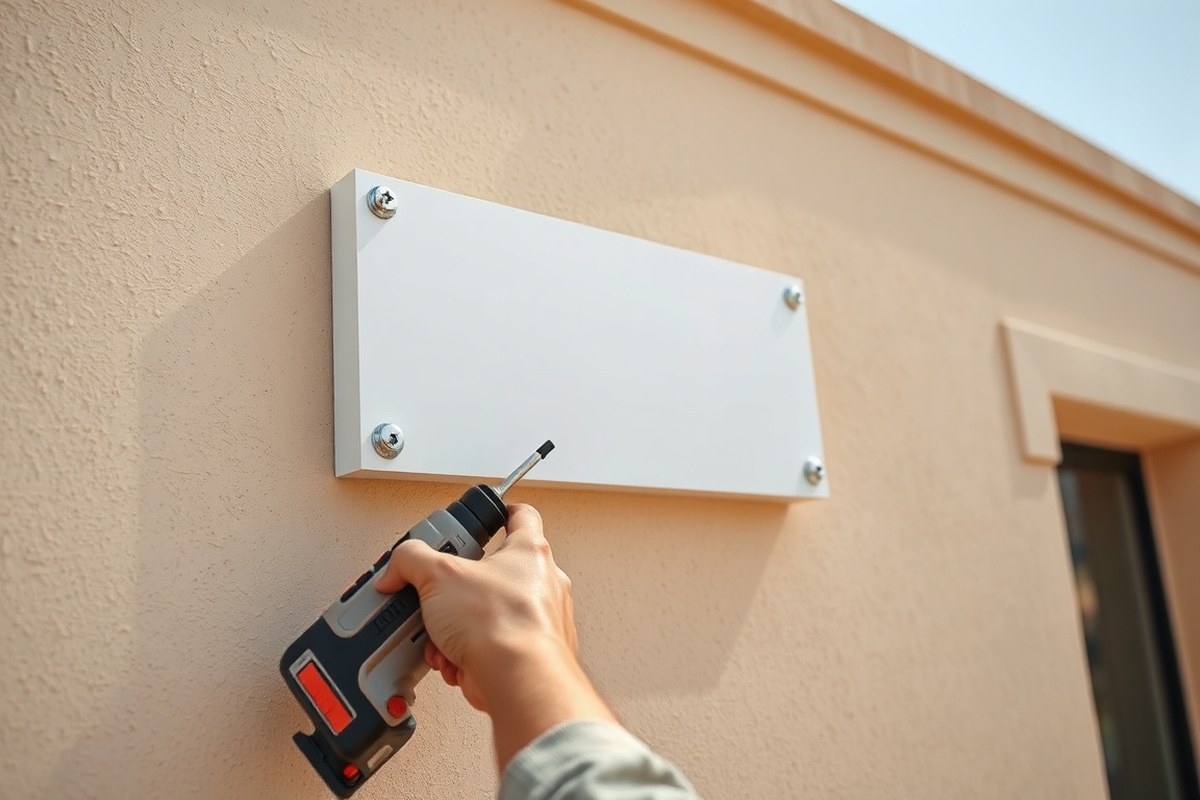
How to Install a Sign on Stucco: A Complete Guide with Tools and Tips
Learning how to install a sign on stucco requires the right tools and a careful approach to avoid damaging the wall. Use anchors or adhesives designed for stucco to ensure a secure hold. Start by cleaning the surface thoroughly to remove dust and debris for the best adhesion or drilling results.
Key Takeaways
- Use a drill bit about 90% the size of your screws and anchors for precise holes.
- Clean stucco with a stiff brush and trisodium phosphate before installation and let it dry 24 hours.
- For medium signs, use four anchors aligned with studs; heavier signs need 1/4″-3/8″ sleeve or chemical anchors.
- Mark drill holes by taping paper to the wall and drilling through marked points.
- Set the sign’s vertical center between 72-84 inches for exterior mounting at typical sightlines.
- Apply spacers over studs to avoid direct contact between sign and stucco for better durability.
Best Methods to Attach a Sign on Stucco Walls
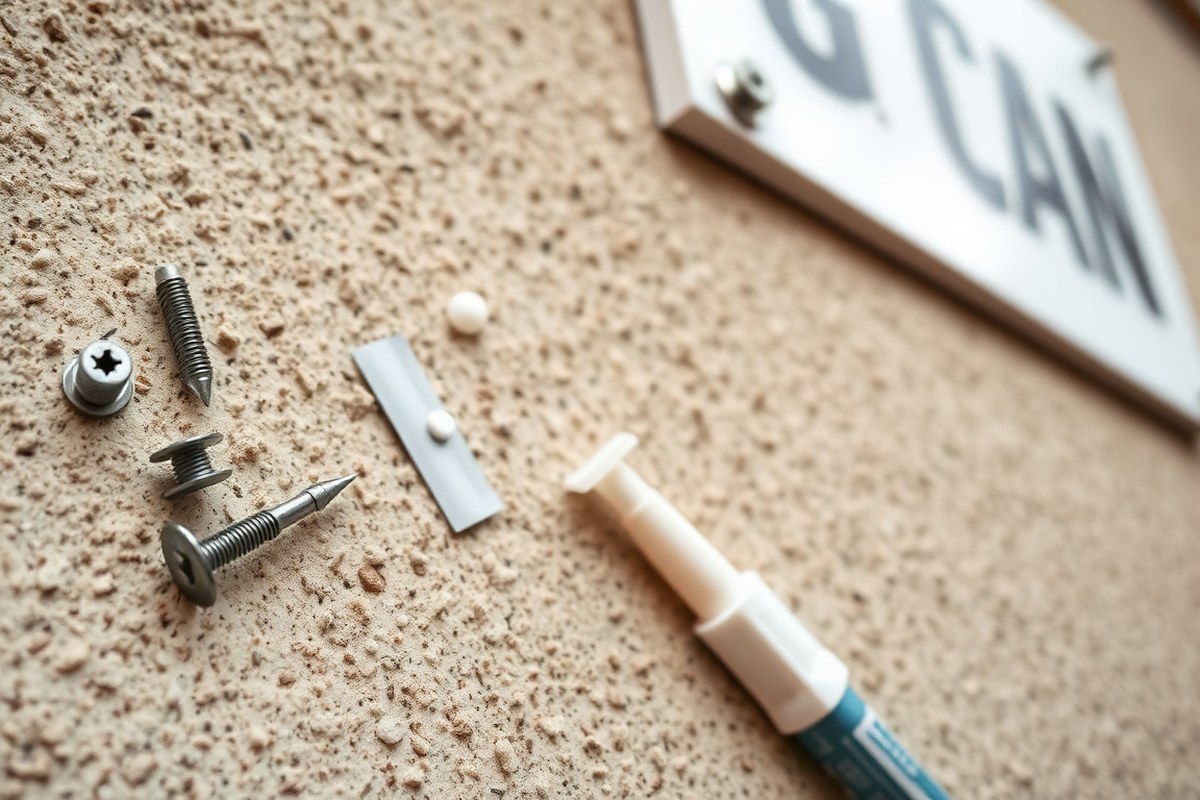
Mounting a sign on stucco calls for the right fasteners to ensure security and prevent wall damage. Your choices depend mainly on the sign’s weight and whether you want to drill or avoid it. Mechanical anchors provide the strongest hold, while adhesives suit lighter signs. Hooks or non-invasive methods tend to be less secure and better for temporary placements.
Adhesives like high-performance construction adhesive, two-part epoxy, or 3M VHB tape work well for signs under 40 pounds. These require a clean, dry, and relatively smooth stucco surface. You’ll want to hold the sign with temporary supports while the adhesive cures, which takes 24 to 72 hours. Adhesives don’t perform as well on rough, porous stucco or in high-wind areas.
For signs weighing between 20 and 75 pounds, a combination of 2, 4 mechanical anchors spaced 12 to 24 inches apart usually provides adequate support, especially if wind load matters. If the sign is heavier than 75 pounds, through-bolts into wall studs or solid masonry anchors with at least 1-inch embedment are necessary. Backer plates made of treated plywood or stainless steel often improve stability by spreading the load across multiple anchors.
Using mechanical anchors means drilling holes with care to avoid stucco cracking. Typically, sleeve anchors from 1/4 to 3/8 inch diameter offer strong shear strength. You should maintain 1 to 2 inches distance from edges to keep the stucco from cracking. Hammer the anchors flush with the wall and seal holes afterward with exterior-grade caulk to prevent moisture intrusion.
| Method | Weight Range | Surface & Substrate | Installation Details | Support Required | Typical Cure or Set Time | Cost Consideration |
|---|---|---|---|---|---|---|
| Structural Adhesive (Polyurethane, Epoxy, VHB Tape) | Up to ~40 lb | Clean, primed, flat stucco | Clean surface, hold sign 24, 72 hrs during curing | Temporary supports recommended | 24 to 72 hours | Moderate, depending on product |
| Mechanical Anchors (Sleeve Anchors, Epoxy Anchors) | 20 to 75 lb (medium); Over 75 lb (heavy) | Stucco over masonry or studs | Drill 1/4″ to 3/8″ holes, 1″+ embedment, space 12, 24″ apart | Permanent, no additional hold after install | Anchor sets immediately, full load after sealant cures | Higher; anchors plus sealant and tools |
| Hooks or Non-Drilling Fasteners | Under 20 lb, temporary | Rough stucco surface | Stick-on hooks or straps; minimal preparation | Limited, prone to failure in wind | Immediate | Low |
| Backer Plate Installation | Heavy signs & uneven surfaces | Studs located behind stucco | Attach plywood or metal plate through stucco to studs, mount sign to plate | Permanent | Varies by fastener | Higher due to materials and labor |
Choosing a mechanical anchor is generally best for permanent, heavier signs because they penetrate the stucco and reach the structural support behind it. Installing a backer plate adds extra strength when studs or solid masonry behind the stucco are located. Drilling requires precision and proper bit sizes to avoid cracking.
Adhesive mounting is simplest and fastest but only suitable when the sign is lightweight and the stucco is clean and smooth enough to bond well. The load capacity tends to be limited, and exposed edges may peel over time. Hooks or similar solutions rarely hold well on stucco due to its rough texture and hardness.
Tools and Materials Needed for Installing on Stucco
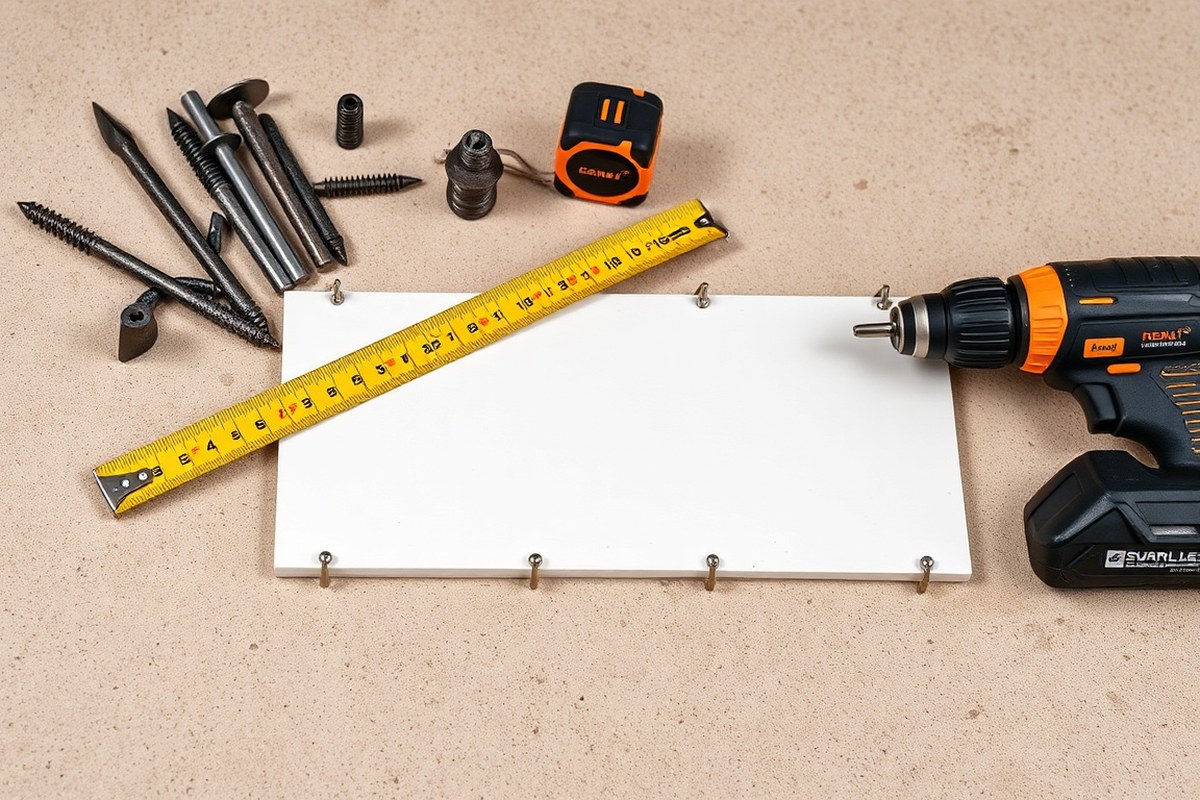
To install a sign on stucco correctly, you need the right combination of tools, fasteners, and materials designed for masonry surfaces. Start with a hammer drill paired with carbide masonry drill bits, which are sized between 3/16″ and 1/2″ depending on your anchor. These bits are essential for penetrating the brittle, cement-based stucco layer without cracking it. Masonry drill bits typically have a distinctive tip that cuts through hard surfaces like stucco, brick, and concrete.
For fasteners, select anchors designed for the substrates behind the stucco. Sleeve or wedge anchors are a solid choice for brick or concrete backing, while Tapcon masonry screws suit medium loads. If the stucco covers a hollow cavity, toggle bolts or epoxy-set threaded rods work better. Stainless steel anchors rated 304 or 316 will resist corrosion in outdoor conditions. The anchor size should match the expected load and the thickness of the backing. Screws should be slightly smaller than the anchor holes, around 90% of the drill bit diameter is a good rule.
- Hammer drill with carbide masonry bits (3/16″ to 1/2″)
- Stainless-steel sleeve, wedge anchors, or Tapcon masonry screws
- Toggle bolts or epoxy anchors for hollow backing
- Neoprene washers to seal holes and distribute load on large signs
- Spacers to keep signs off the wall and prevent stucco damage
- Level and measuring tape to mark exact drill points
- Pencil or marker and paper templates for precise drilling guides
Adhesives are optional but can reinforce small or lightweight signs. However, they don’t replace mechanical anchors for heavier installations. Spacers often help by creating a small gap between the sign and the stucco, which limits vibration and prevents cracking. When drilling, use a low drill speed and avoid high torque to minimize surface damage. Drill about half an inch deeper than the anchor length to allow dust to clear and ensure full embedment.
Always drill into the solid backing behind the stucco, not just the stucco layer; anchoring into the lath or mortar will weaken the hold and risk damage.
Gathering all tools and choosing the right anchor type before starting helps avoid delays and protects your stucco wall from cracking or crumbling. Budgeting around $50 to $100 for good-quality anchors, drill bits, and fasteners is typical for a standard sign project. Proper selection and use of these materials lead to a secure, lasting installation without damage to your home or business exterior.
Preparing and Cleaning the Stucco Surface for Strong Mounting
You need a clean, dry, and stable stucco surface to ensure your sign sticks or mounts securely. Dust, dirt, and efflorescence weaken adhesion and can cause mounting anchors to loosen over time. Preparing stucco with thorough cleaning and drying helps avoid problems like rusted screws, loose signs, or wall damage.
Remove Loose Dust and Debris
Start by clearing the surface of any loose dust, dirt, or crumbling stucco. Dirt and efflorescence (a chalky white salt deposit from moisture) block adhesives and interfere with anchors gripping properly.
Use a stiff-bristled brush to scrub the area where you plan to install your sign, focusing on dislodging loose particles. Then vacuum or blow off the residue with compressed air to thoroughly clear dust from pores and crevices. This step prevents surface contaminants from reducing adhesion strength.
Wash Wall with Appropriate Cleaners
After brushing, wash the stucco to remove oils or stubborn residues that can also reduce adhesion. A solution of trisodium phosphate (TSP) diluted according to label directions is effective for breaking down grime and efflorescence. If TSP isn’t available, a mild degreaser cleans well without damaging the stucco.
Apply the cleaner with a sponge or soft-bristled brush and work the solution into the stucco. Rinse thoroughly with clean water, making sure no cleaner residue remains. Avoid power washing since high pressure can damage the stucco surface and create weak spots for mounting.
Allow Adequate Drying Time
After washing, stucco needs plenty of time to dry before installing anything. Cement-based stucco is thick and can stay damp inside even if the surface seems dry, so plan for at least 24 hours of drying in good weather to avoid trapping moisture behind the sign. Moisture can cause wood framing behind the stucco to rot or degrade mounting anchors.
Check that the surface feels completely dry and free of any dampness or cool spots, which indicate remaining moisture. Installing too soon risks poor adhesive bonding or corrosion of metal fasteners. Hot, dry days speed drying, while humid or shaded conditions can extend it beyond 24 hours.
- Brush the stucco surface vigorously with a stiff-bristled brush to remove loose dust and particles.
- Vacuum or use compressed air to clear residual dust and debris from cracks and pores.
- Mix and apply trisodium phosphate (TSP) solution or a mild degreaser following product guidelines.
- Scrub the cleaned area gently with the cleaner, focusing on spots with efflorescence or stains.
- Rinse the wall thoroughly with clean, low-pressure water to remove all cleaning solution.
- Leave the stucco to dry for at least 24 hours in dry weather, avoiding installation during damp or rainy conditions.
- Test the surface by touching it to confirm it is dry and free from cold or damp sensations before proceeding.
Marking, Leveling, and Drilling Holes in Stucco
Start by accurately marking where holes will go to keep your sign centered and level on the stucco wall. Use the manufacturer’s template or the sign itself to transfer hole positions before drilling with the right tools and bits. Drill gently through the stucco surface to avoid cracking, and make sure the holes reach the solid backing beneath.
Measure and Mark Hole Locations with Template
Align a paper template that matches your sign’s bracket holes against the stucco wall. Press the sign onto the paper to transfer hole locations by poking through screw holes or marking with a sharp object. This prevents errors that could cause misaligned holes or damage when drilling directly on stucco. Double-check measurements between holes, especially for multi-panel signs, by measuring diagonals to ensure square hole placement.
Place the template so the sign’s vertical center aligns with typical eye level, 72 to 84 inches off the ground for exterior signs. When your sign back includes studs, press them firmly against the paper to create small indentations or holes marking spots to drill. Keep the template securely taped down to maintain exact positioning as you work.
Use a Level or Laser Level for Accuracy
After taping your template or holding the sign in place, use a bubble level or laser level to check that it is perfectly horizontal. Leveling prevents crooked installation and improves the sign’s visibility and aesthetic appeal. With a partner, have one hold the sign steady while the other adjusts it based on the level reading.
Mark a leveling line at the bottom or top of your template before drilling. This line acts as a visual reference to keep the sign straight during installation. Confirm your marks remain level on each side before proceeding to drill, especially with larger or heavier signs that require precise alignment.
Select Proper Drill Bit and Drill Carefully
Choose a masonry drill bit matching the size recommended by your wall anchors; this ensures a snug fit that holds the sign securely. Typically, anchor packages specify the exact drill bit diameter. Use a drill with adjustable speed and set it to high power for clean holes.
Drill perpendicular to the wall gently, starting with pilot holes on the marked spots. The goal is to drill through the stucco coat and into the solid substrate behind it. Avoid forcing the drill too hard to prevent cracking the stucco or creating uneven holes. Drill to a depth slightly deeper than the anchor length, usually about 2 to 3 inches deep, to accommodate the inserts safely. Upon discovering hollow sections or cracked brick behind the stucco, move the hole location 1 to 2 inches to find solid material or plan on through-bolting with a backing plate for stability.
- Hold the sign or template against the stucco wall and tape it in place securely.
- Use a pencil or hole punch to mark drill points through holes or studs onto the paper/template.
- Double-check that the marks align with the desired sign height (72, 84 inches) and width.
- Apply a bubble or laser level to the template’s bottom edge and adjust until perfectly horizontal.
- Choose a masonry drill bit size according to your anchors’ instructions (commonly 3/16 or 1/4 inch).
- Set your drill to high power and carefully drill straight at each marked spot through the stucco and into the backing.
- Confirm hole depth is at least 2, 3 inches to fit anchors fully.
- Remove dust from drilled holes to ensure good anchor adhesion before mounting the sign.
Installing Anchors, Spacers, and Attaching the Sign
To mount a sign on stucco safely, insert anchors carefully to avoid cracking, use spacers or standoffs for ventilation and alignment, and tighten fasteners to the correct torque. These steps protect the stucco finish and ensure the sign stays secure over time.
Insert and Test Fit Anchors
Anchors secure the screws or bolts in the stucco and the underlying wall. Choose sleeve anchors for signs under 50 pounds; heavier signs require through-bolts or backing plates to spread the load safely. Carefully drill holes slightly larger than the anchors to prevent pressure that can crack the stucco.
Test fitting anchors means verifying they slide in smoothly without forcing. Push anchors flush with the hole but not beyond the backing material. Using a torque driver, tighten anchors following manufacturer specs, usually around 15 to 20 foot-pounds, to avoid over-tightening. Over-tightening can cause cracking or pull the anchor loose.
- Drill holes to the diameter and depth recommended for your anchor type.
- Clean dust from holes using a small brush or compressed air.
- Insert anchors slowly, stopping if you feel resistance to prevent cracking.
- Check all anchors sit evenly at the same depth to keep the sign level.
- Hand-tighten anchors just enough to hold firmly without stress before final mounting.
Always confirm no electrical wiring or irrigation lines are behind drill points using a scanner before drilling into stucco walls.
Attach Spacers or Standoffs If Needed
Spacers or standoffs create a small gap between the sign and stucco. These provide ventilation to prevent moisture buildup, which can damage the wall surface or cause paint failure. They also help align signs evenly when the stucco surface is uneven or textured.
For metal or thin signs, stainless steel standoffs resist corrosion and support stable mounting. Spacers typically range from ½ inch to 1½ inches thick, depending on ventilation needs and sign thickness. Signs with built-in spacers or standoffs will guide how far to push the mounting studs, ensuring even spacing.
- Determine the spacer thickness required for your sign ventilation and wall flatness.
- Place spacers over each anchor or mounting stud before fitting the sign.
- Ensure all spacers are the same thickness to maintain a level, flush look.
- Check that spacers allow for airflow behind the sign without obstructing anchors.
Spacers not only protect stucco from direct pressure but also help air circulate to reduce moisture damage over time.
Secure Sign with Screws or Bolts
Screws or bolts hold the sign to the wall through anchors or standoffs securely. Use corrosion-resistant fasteners such as stainless steel to prevent rust stains and fading. Tighten fasteners steadily, stopping as soon as resistance meets the recommended torque setting, usually listed on anchor packaging, to avoid cracking the stucco.
After mounting, seal around screw or bolt holes with silicone or polyurethane sealant. This prevents water infiltration through the perforations, which can weaken the wall assembly or cause stucco failure.
- Align the sign with inserted anchors and spacers before pushing it fully into position.
- Insert screws or bolts through sign holes into anchors carefully, avoiding cross-threading.
- Tighten all screws/bolts evenly, checking sign is level and flush against spacers.
- Apply a bead of sealant around each hole on the sign and stucco surfaces.
- Allow sealant to cure per product instructions, usually 24 hours, before exposing to moisture.
Do not overtighten fasteners; excess torque can crack stucco and reduce anchor holding power significantly.
Using Adhesives for Sign Installation on Stucco
Choosing the right adhesive for mounting signs on stucco depends on the sign’s weight and the surface preparation. For signs weighing less than about 20 pounds, structural adhesives such as polyurethane or hybrid polymer types work well. Clear adhesives are preferable if you want to avoid visible glue marks after installation.
Adhesive bonding requires a clean, dry, and primed stucco surface to ensure a strong hold. Temperature and humidity also affect curing times; most adhesives cure fully within 24 to 72 hours under typical conditions (70°F and moderate humidity). Lower temperatures or higher humidity can extend this time.
For signs close to the 20-pound limit, it’s important to support the sign while the adhesive cures. Temporary bracing prevents the sign from slipping or falling, which can ruin the bond and damage the stucco. Signs heavier than 20 pounds generally need mechanical fasteners to carry the load safely. Follow these steps to apply adhesives correctly for your stucco sign installation:
- Clean the Surface: Use a stiff brush to remove dirt, dust, and loose particles from the stucco. Then wipe the area with a cloth dampened with mineral spirits or a recommended primer for your adhesive type.
- Prime the Stucco: Apply a primer compatible with your adhesive to improve bonding. Allow the primer to dry completely according to the manufacturer’s instructions, usually 30 to 60 minutes.
- Apply the Adhesive: Use a caulking gun to spread a bead of polyurethane or hybrid polymer adhesive evenly on the back of the sign. Place the bead around the edges and add a few spots in the center for balance.
- Press the Sign Firmly: Position the sign on the marked stucco area and press it firmly against the wall. Move the sign slightly to ensure good contact with the adhesive and the stucco’s texture.
- Support the Sign: Use temporary supports, such as wooden braces or adjustable stands, to hold the sign in place. Ensure the supports don’t shift the sign away from the wall.
- Allow Proper Curing: Keep the sign supported for the full curing time recommended on the adhesive label, typically 24 to 72 hours. Avoid touching or applying weight to the sign during this period.
- Check Adhesion: After curing, gently test the sign’s firmness. If it feels loose, you may need to add mechanical fasteners or reapply adhesive.
Choosing adhesives with clear curing instructions and weight limits helps prevent failure. Using supports during curing avoids uneven bonding and potential damage to both the stucco and sign. Signs over 20 pounds generally require additional anchoring for safety and durability.
Common Mistakes and How to Avoid Damaging Stucco
Cracking stucco is a common problem during sign installation, often caused by drilling without the right approach or placing anchors too close to edges. To avoid this, make pilot holes slightly smaller in diameter than the anchors and drill slowly with moderate pressure. Stucco demands more force than wood, so expect to press firmly but carefully to prevent fractures.
Another frequent error is installing anchors less than 2 to 3 inches from the stucco edges or from other fasteners, which increases the risk of splitting. Placing anchors too close can cause the stucco to chip or crack away from the wall. Use backing plates or through-bolts tied to the structural backing inside the wall to spread the load when your sign is heavy or mounted on veneer.
Avoid forcing screws into holes that miss studs or crack during drilling. Patch the holes with an exterior-grade stucco or masonry patching compound, allowing it to cure for 24 to 48 hours before drilling new pilot holes nearby. Doing so prevents further damage and ensures stable anchor points.
- Use a masonry drill bit with gentle, steady pressure to minimize cracking.
- Maintain at least 3 inches of space between anchors and the stucco edge.
- For heavy signs, use metal backing plates to protect the stucco.
- Patch misaligned or cracked holes with stucco repair before continuing.
- Confirm placement before drilling; measure twice to avoid unnecessary holes.
- Allow patch repairs to fully dry before installing anchors nearby.
- Double-check sign alignment before caulk or adhesive sets to avoid repositioning damage.
Avoiding damage requires patience and good planning. Applying fasteners only where necessary and using proper anchor spacing can save you from expensive repairs. Repairing cracked holes with the right compound can restore integrity to the surface, but rushing the drying time risks further cracks. Each step protects the stucco’s appearance and strength, keeping your sign securely mounted without costly damage.
Safety Tips and When to Hire a Professional Installer
Drilling into stucco requires specific safety precautions to protect yourself and prevent damage. Always wear safety glasses to shield your eyes from dust and small chips. Long sleeves and gloves guard your skin against rough stucco edges and debris. Use a dust mask or respirator, especially when working with older stucco, since it may contain hazardous materials like asbestos. Avoid breathing in dust by wetting the area lightly before drilling to reduce airborne particles.
Handling asbestos concerns is critical. Your stucco applied before the 1980s should be tested by a professional lab. Disturbing asbestos-containing material can release harmful fibers. Confirmed or suspected asbestos means hiring a licensed professional for installation to avoid health risks and meet local laws.
Large or heavy signs present additional challenges. Signs over 50 pounds or wider than 4 feet often require multiple mounting points and stronger anchors. Installing these safely means working at height and managing heavy items, which increases injury risk. Professionals have the proper equipment like scaffolding, weight-rated anchors, and tools to handle this safely. For signs this size, hiring a professional can prevent structural damage to your wall or sign collapse that leads to injury.
Always check for hidden electrical wiring or plumbing behind the stucco before drilling to avoid hazards or costly repairs.
Use the following checklist before starting the installation yourself:
- Wear safety glasses, dust mask, gloves, and long sleeves
- Test stucco for asbestos if installed before 1980
- Use a stud finder to locate safe drill spots
- Mark all drill holes with templates or paper guides
- Dampen stucco surface to minimize dust
- Double-check for electrical wires and plumbing
- Have a helper hold/open sign if heavy or large
Following these precautions reduces accidents and damage. For a light sign on modern, sound stucco, drilling and installing it yourself is safe with proper gear and caution. Signs heavier than 50 pounds, extremely large, or installed on very old stucco call for professional help. They usually charge $100 to $300 or more depending on complexity but deliver safer results and peace of mind. Proper protective gear and preparation help prevent injury, ensure a clean finish, and protect your stucco wall from cracks or unnecessary drilling.
Step-by-Step Action Plan for Installing Your Sign on Stucco
Follow these clear steps to mount your sign securely on a stucco wall. Each phase ensures your sign stays put and your stucco remains undamaged.
- Before You Start: Gather all necessary tools and materials, including anchors, screws, drill, level, and protective gear. This preparation helps avoid delays and ensures proper installation.
- Day 1: Clean the stucco surface thoroughly with a brush and mild detergent. Check that no dust or debris remains to guarantee strong adhesion or secure drilling.
- Day 1: Mark the sign’s position using a level and measuring tape. Confirm the marks are straight and centered for professional-looking results.
- Day 1: Carefully drill pilot holes into the stucco at your marked spots using the appropriate masonry bit. Test by inserting anchors to see if they fit snugly without cracking the surface.
- Day 2: Insert anchors and attach any spacers as needed. Screw the sign into place securely, ensuring it sits flat and stable on the wall.
- After 24 Hours: If you used adhesive, check that it has cured according to product instructions before exposing the sign to wind or rain.
- Ongoing: Inspect the mounting regularly for loose screws or signs of damage, and tighten or touch up as needed to maintain safety and appearance.
Frequently Asked Questions
How Do I Attach a Sign to a Stucco Wall?
Use masonry anchors and screws drilled into pre-marked holes to secure the sign firmly. A backer board behind the stucco can add extra support for heavier signs.
What’s the Best Way to Attach Something to Stucco?
Drilling pilot holes with a masonry bit and using wall anchors provides the strongest hold on stucco surfaces. Adhesive options exist but lack long-term strength.
Can I Screw Directly into Stucco?
Screwing directly is not recommended because stucco is brittle and can crack; use anchors or a backer board for secure mounting.
How Can I Hang Things on Stucco Without Drilling?
Adhesive strips or hooks designed for masonry can work, but they won’t hold as securely as drilled anchors. Use this for lighter, temporary items.
How Do I Avoid Cracking Stucco When Installing a Sign?
Drill slowly with a masonry bit and avoid forcing screws to prevent cracking; spacing multiple anchors evenly reduces stress on the wall.
What’s the Best Way to Mark Drill Holes on Stucco for a Sign?
Tape a paper template of your sign to the wall and mark hole centers through it with an awl or pencil before drilling.
Before You Go
Installing a sign on stucco requires careful preparation and the right techniques to avoid damaging the wall and keep your sign secure. Start by thoroughly cleaning and accurately marking the wall, then drill carefully and use the correct anchors. Take your time with each step to get the best result and protect your stucco. Your next best move is to pick up your tools and verify your mounting location for a smooth and successful installation.