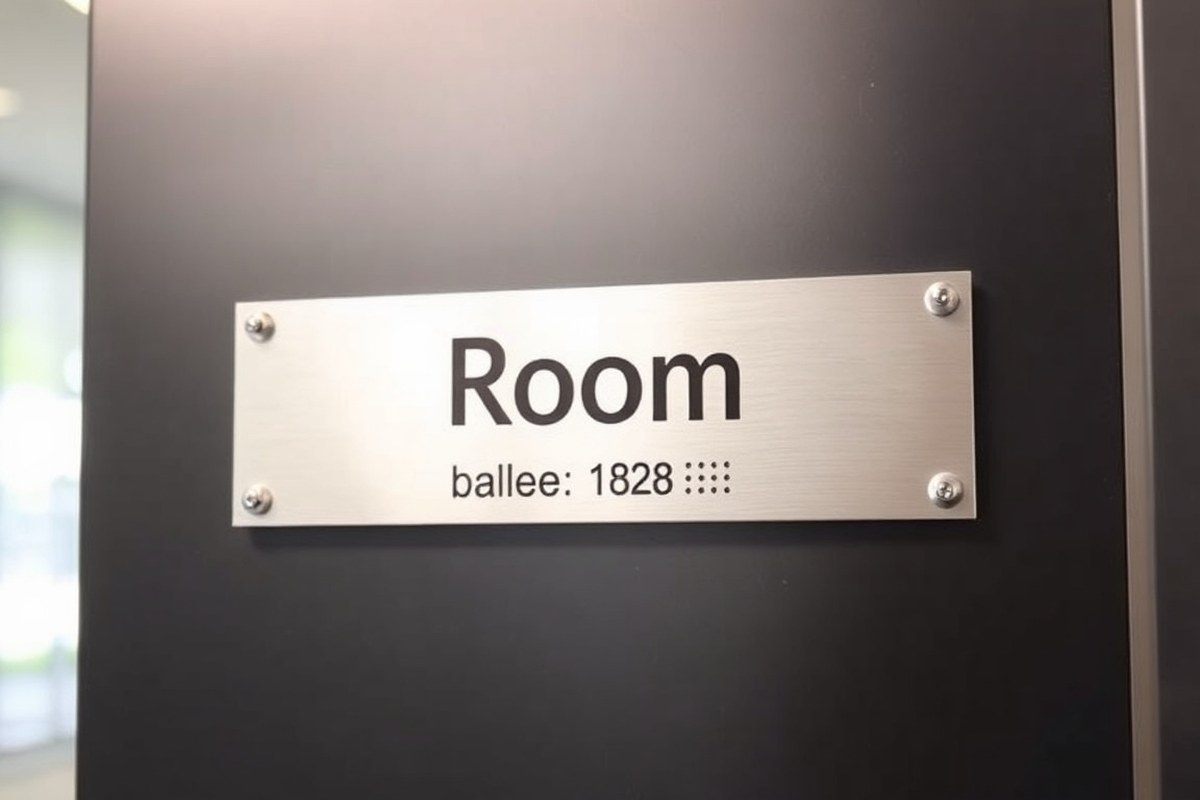
Do All Signs Need Braille? Clear Rules and Practical Steps
Do all signs need Braille? Not every sign requires Braille under ADA rules. Only specific permanent room identification signs and certain regulatory signs must include Grade 2 Braille. Start by identifying which signs are legally required to have Braille to avoid unnecessary installation and ensure compliance.
Key Takeaways
- Grade 2 Braille is mandatory on all ADA-compliant permanent room identification signs.
- Temporary signs posted for 7 days or less do not require Braille.
- Raised tactile characters must be between 5/8 inch and 2 inches tall to meet ADA standards.
- Mount Braille signs so tactile characters’ baseline is 48 to 60 inches above the floor.
- Ensure signs have 18 by 18 inches of clear floor space in front for wheelchair access.
- Verify Braille is Grade 2 for better readability and efficiency over Grade 1 Braille.
Do All Signs Legally Require Braille Under ADA?

Not all signs require Braille under ADA regulations. The law primarily mandates Braille on permanent room identification signs, which include signs marking rooms like restrooms, conference rooms, offices, and exits. These signs must have tactile raised characters plus Grade 2 Braille, which is a contracted form designed for efficient reading by people with visual impairments. The exact specifications are set out in the 2010 ADA Standards for Accessible Design, specifically Section 703. This standard ensures that people can identify permanent rooms by touch, which is important for accessibility.
Temporary signs, informational signs, and directional signs typically do not require Braille. For example, signs that provide wayfinding or general information without identifying a permanent place in the building are exempt. Also, signs that identify areas considered transient or that change often, such as event banners or movable notices, do not fall under the Braille requirement. Another common exemption is signs that are part of two-part installations where one sign is purely visual and the other is tactile-only; the tactile sign in such setups may have different size and contrast requirements or be exempt from certain rules.
Use this guide to figure out if Braille is required on a sign. Start by confirming whether the sign serves as a fixed room identifier under ADA rules, like signs for bathrooms, exit doors, floor numbers, or permanent offices. Next, ensure the sign is located indoors and intended for use by the public. Then, verify that the sign shows a permanent location’s name or label rather than providing directions or general info. When all these conditions are met, the sign must display tactile text and Grade 2 Braille. The tactile letters and Braille must follow rules for size, spacing, and contrast, with the Braille base positioned between 48 and 60 inches above the floor.
It matters because Braille signage provides independence and safety for individuals with vision loss. Signs without Braille limit accessibility and can cause compliance issues during inspections or audits. Costs for compliant Braille signs vary from about $20 to $150 each depending on materials and design complexity. Budgeting for these signs especially matters in large buildings with many permanent rooms, since each identified space requires a compliant sign. Good results look like clearly raised letters and Braille dots that contrast with the background and are mounted consistently at accessible heights. Mistakes often happen with improper Braille translation, insufficient contrast, or mounting outside the required height range, which can render the sign noncompliant and unusable by those who rely on it.
Which Types of Signs Must Include Grade 2 Braille?
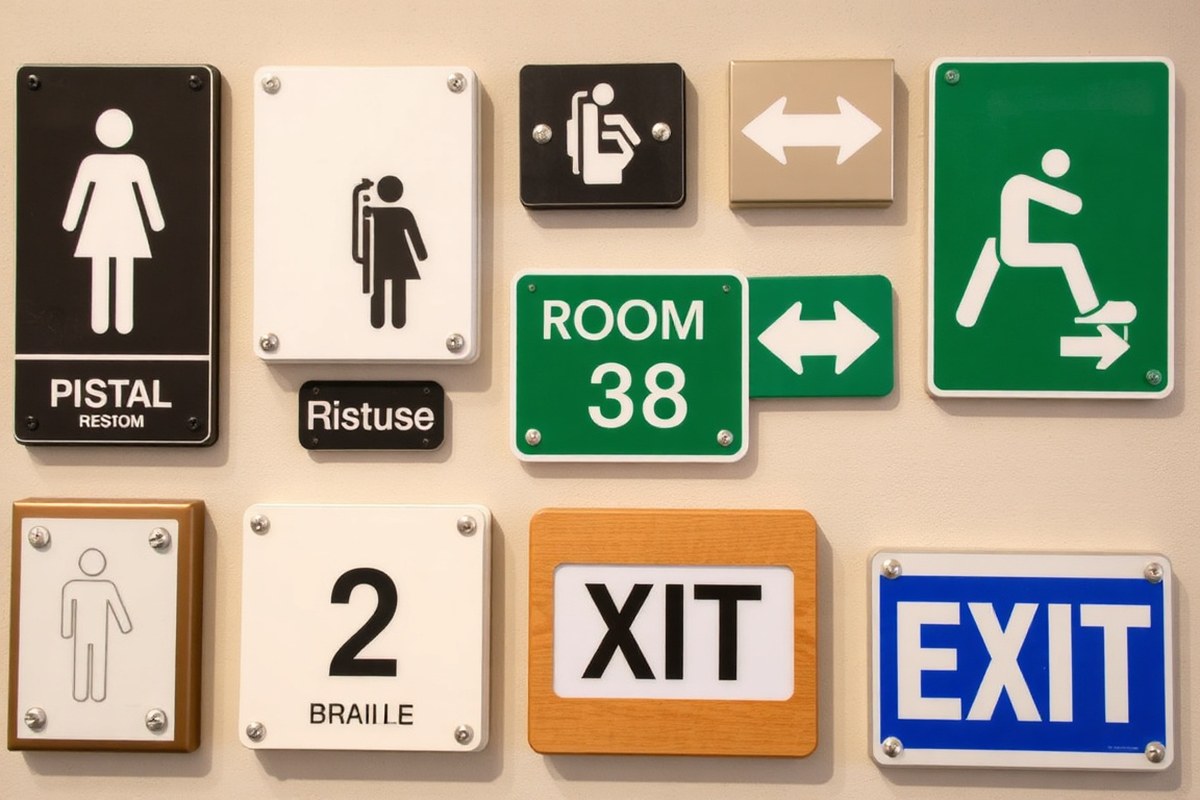
Grade 2 Braille, also called contracted Braille, is the standard required for accessibility signage. It condenses common letter combinations into single Braille characters to save space and increase reading speed. This type of Braille must appear on permanent room identification signs such as restrooms, offices, conference rooms, stairwells, and exit doors. Unlike directional or informational signs, which do not require Braille, these fixed identification signs serve as critical navigation aids for visually impaired individuals.
Restroom signs and exit signs are explicitly mandated to include Grade 2 Braille. These signs mark permanent features of a building and must have raised characters that duplicate the text in Braille. This ensures that tactile readers can independently verify room usage and emergency egress points. Stairwell signs, floor level signs, elevator identification, and room numbers also fall under this requirement. The signage is expected to remain in place permanently, so temporary or purely directional signs do not trigger the Braille mandate.
| Sign Type | Relevant Clause | What It Covers |
|---|---|---|
| Permanent Room Identification | 216.2 | Interior and exterior rooms, restrooms, room numbers, room names |
| Exit Doors (means-of-egress) | 216.4.1 | Exit passageways, exit discharge doors, exit stairways |
| Restrooms | 216.2 (via room identification) | Door signs marking restrooms permanently |
| Stairwells | 216.2 | Signs identifying stairwell locations in a building |
| Elevator Identification | 216.2 | Signs marking elevator lobbies or cabs |
Use Grade 2 Braille exclusively for all tactile signage that identifies permanent interior or exterior rooms and means of egress. Avoid Grade 1 Braille as it spells words out letter-for-letter and requires more space. Do not add Braille to directional signs except where they also serve as permanent room identifiers. Periodic inspections after installation help ensure Braille remains legible and correctly placed.
Check that Braille dots are positioned at least 3/8 inch from the edges to prevent damage and maintain reading clarity.
What Are the Size and Mounting Requirements for Braille Signs?
Braille signs need to follow exact rules for size and placement to be accessible and easy to find. Raised letters should measure between 5/8 inch and 2 inches high, with uniform stroke widths, and Braille dots must meet precise size and spacing requirements. The tactile elements should be mounted so their centerline is from 48 to 60 inches above the finished floor, with an 18-by-18-inch clear floor area centered in front of the sign.
Character Height and Stroke Thickness
Raised characters on Braille signs should range from 5/8 inch to 2 inches in height. This size range supports readability by touch and visibility for those with partial sight. The characters must use uppercase, sans-serif fonts without decorative or italic styles, improving clarity and preventing confusion.
The thickness of each raised character’s stroke must not be more than 15 percent of its height. For instance, a character 1 inch tall can have a stroke thickness up to 0.15 inches. Keeping this ratio helps the characters be easily felt, without strokes that are too wide or narrow for touch reading. There must be at least 1/8 inch between characters, but no more than four times the stroke thickness if the characters have rectangular cross sections, ensuring consistent spacing and clear separation.
Braille Dot Specifications and Spacing
Braille dots must follow precise measurements to allow accurate tactile reading. The dots typically stand about 0.025 inches above the sign’s surface, allowing fingers to follow each pattern clearly. Their diameter and spacing are standardized to provide uniformity across different signs and locations. Grade 2 Braille, which abbreviates common words and letter combinations, is the required Braille type for tactile signs, since it reduces overall sign size and improves reading speed.
Dots within each Braille cell are spaced closely to form the six-dot cell pattern, while the space between cells is wider to separate individual characters. Consistent dot height and spacing avoid confusion and make the tactile experience comfortable and reliable for users.
Mounting Height and Clear Floor Space
The centerline of the tactile characters on Braille signs must be mounted between 48 and 60 inches from the finished floor. This range allows users of different heights, including those in wheelchairs, to touch and read the signs comfortably. The standard mounting location is generally on the latch side of the door, which assists users in finding the sign without confusion.
A clear floor space measuring at least 18 inches by 18 inches must be provided directly in front of the sign. This clear area ensures that a wheelchair or cane user has room to approach and position themselves to read the tactile and Braille elements. The space must remain unobstructed up to 80 inches above the floor, allowing full access without physical barriers.
Protrusion and Accessibility Clearance
The sign’s raised characters and Braille dots must extend at least 1/32 inch above the background but should not protrude excessively to prevent snagging or a hazardous edge. Proper protrusion is important to balance tactile detectability with overall safety and durability. Excessive protrusion can create a hazard or damage the sign, while too little can make it unreadable by touch.
Ensuring compliance with these specifications lets users accurately identify signage while avoiding obstacles that might block or impede access. The entire setup, from character size to clear floor space and mounting height, contributes to usability and meeting legal accessibility standards.
- Raised characters height: 5/8 to 2 inches
- Stroke thickness max: 15% of character height
- Spacing between characters: 1/8 inch minimum, up to 4 times stroke width
- Braille dots: approx. 0.025 inch height, standardized spacing
- Mounting height: tactile characters centerline 48 to 60 inches above floor
- Clear floor space in front: at least 18 by 18 inches, unobstructed up to 80 inches high
- Raised characters must protrude at least 1/32 inch above background
How to Ensure Braille Signage Is Correctly Translated and Embossed?
Correct translation and embossing of Braille signage is essential for accessibility compliance and usability. Braille signs must use contracted Grade 2 Braille and meet strict embossing standards to ensure readability by people who rely on tactile reading. Failure to follow these rules often leads to signs that confuse, mislead, or frustrate users.
Contracted Grade 2 Braille Basics
Grade 2 Braille is the required format under ADA standards because it uses contractions to shorten common words and letter groupings, improving reading speed and conserving space. Unlike Grade 1 Braille, which spells every letter out, Grade 2 condenses content, making it more efficient for users. To translate English accurately, you need a certified Braille translator that converts standard text into contracted Braille following the Unified English Braille (UEB) code, which the ADA references.
Contracted Grade 2 Braille reflects standard English contractions like “&,” “st,” “ing,” or common whole words such as “and” and “for.” Using these contractions properly is critical, because errors in contraction choice or placement can confuse readers or change the meaning. Avoid using Grade 3 or other nonstandard Braille shorthand systems on public signs, as these lack regulation and reader familiarity.
Embossing and Dot Height Standards
ADA rule 703.3 specifies the physical specifications for Braille dots: they must be rounded or domed, measuring between 0.025 and 0.037 inches in height above the sign’s surface. This shape and size range ensure consistent tactile feedback that can be easily detected by touch without discomfort or damage to fingertips. The dots should also have proper spacing, both between dots within a character and between characters, to prevent blending or misreading.
Placement of Braille must always be directly below the corresponding text it represents. The dots must maintain a firm embossing depth so they do not wear flat through use or cleaning. Some manufacturers use plastic or metal embossing methods that meet these standards, which can add to the durability and longevity of signs, especially in high-traffic or outdoor environments.
Detecting and Avoiding Common Mistakes
Common errors include misspelled Braille due to improper translation, dots that are too shallow or uneven, and incorrect placement relative to the raised text. Another frequent problem is mixing Braille grades or confusing Grade 2 contractions, which reduces legibility. Signs with blurry or distorted dot shapes, or those embossed on inappropriate materials, may fail tactile tests or degrade rapidly.
Checking Braille accuracy involves both automated translation software and manual review by someone skilled in Braille reading. Confirming the dots’ height, spacing, and domed shape with a tactile gauge or measuring tool helps avoid physical embossing mistakes. Sign layout also needs review to ensure Braille sits below the correct text and does not interfere with other elements like pictograms.
Using Braille Translation Tools
Software tools specifically designed for Braille signage translation are available to convert English text into compliant Grade 2 UEB Braille. Employing these tools reduces human error and helps ensure that contractions are correctly applied. You can find translators that output files ready for embossing machines, speeding up production.
Before final embossing, use a Braille proofreader or someone proficient in Braille to verify the translation. This step is especially important for signs with specialized vocabulary, acronyms, or proper nouns. Combining digital translation with skilled human review ensures both accuracy and compliance with ADA and industry standards.
What Signs Are Exempt from Braille and Tactile Requirements?
Not every sign in a building must include Braille or tactile characters under ADA rules. The key exemptions include signs that generally provide information not considered essential for navigation by people with visual impairments. Recognizing these exemptions helps you avoid unnecessary costs and ensures you focus on the signs that truly require accessibility features.
Building directories, which are often large lobby boards listing all tenants or offices, do not require Braille. According to Section 216.1 of the ADA Standards for Accessible Design, they’re specifically exempt because they serve as informational guides rather than direct room identification. Temporary signs also fall under exemptions if they are posted for seven days or fewer. This includes event notifications, temporary directional signs, or construction warnings. Occupant name signs on office doors are exempt as well, in contrast to the adjoining room number signs which must comply. Company names and logos printed on signs can appear without Braille or tactile elements since logos alone are not required to deliver accessible text information.
- Building directories and lobby tenant lists
- Temporary signs posted for seven days or less
- Occupant name signs on doors (not room or suite numbers)
- Company names and logos without room identification
- Menus and seat or row designations in assembly areas
- Building address numbers
- Certain directional and overhead signs
Before commissioning or fabricating any signs, verify these exemptions because some signs assumed to need Braille might not. This can save time and cost, especially for temporary or branding signage. However, all permanent identification signs such as room numbers must still include required tactile characters and Braille to meet accessibility standards. Costs saved by skipping Braille on exempt signs can be allocated to correctly producing compliant signs elsewhere.
Avoid assuming all signs require Braille; review Section 216.1 exemptions carefully to ensure compliance and cost efficiency.
When planning your signage, check how long temporary signs will stay up, review what room or area names are informative versus identifying a room, and remember company logos do not need Braille unless combined with required text. Following this checklist, you focus efforts on signs integral to wayfinding for the visually impaired, complying with legal rules and promoting accessibility where it matters most.
What Are Common Mistakes in Braille Signage and How to Fix Them?
Common errors in Braille signage often cause accessibility problems and violate ADA rules. One frequent mistake is using the wrong Braille grade. Grade 2 Braille with contractions is required on most signs, but some signs mistakenly use Grade 1 Braille, which is uncontracted and takes up more space. This can clutter the sign or make it less readable. Another major error involves mounting height. Signs mounted outside the 48 to 60-inch vertical range from the floor prevent some users from reaching or reading the Braille tactiles. Also, signs placed on the wrong side of doors or too far from the door frame reduce effectiveness.
Spacing and sizing of Braille dots also affect compliance. Dots must be domed or rounded, approximately 0.025 inches high and spaced about 0.09 to 0.12 inches apart core-to-core. Improper sizing or flat dots make tactile reading difficult or impossible. Uneven spacing between characters or words causes confusion. Identifying these problems involves a quick physical check: touch the dots to confirm they are raised and rounded, and measure their height and spacing with a ruler or caliper if precise verification is needed.
- Verify Braille grade is Grade 2, not Grade 1, by checking for contractions or consult a Braille translator.
- Confirm mounting height is between 48 and 60 inches from the finished floor to the center of the Braille.
- Ensure signs are on the correct side of the door, typically the latch side, and within 3 to 5 inches horizontally from the door frame.
- Measure Braille dot height to be approximately 0.025 inches and spacing at 0.09 to 0.12 inches core-to-core.
- Check Braille dots are domed, not flat, for tactile readability.
- Maintain consistent spacing between Braille characters and words to avoid confusion.
- Test tactile readability by feeling the Braille with a fingertip.
Correcting these problems may require ordering new signs or working with your sign manufacturer to resize or remount existing signage. A sign replacement typically costs more but ensures compliance and usability, usually around $50 to $150 per sign based on material and size. Re-mounting signs can be done with proper tools by contractors familiar with ADA requirements. Properly fixed signs improve independent navigation for visually impaired users and reduce liability risk. Paying close attention to these details during installation makes all the difference in meeting legal and usability standards.
How Much Does Compliant Braille Signage Typically Cost?
Cost for Braille signage mainly depends on material type, size, and complexity of the design. Standard restroom signs, often 9 by 6 inches and self-adhesive, typically come pre-made and can range from $30 to $80 per sign. These usually include Grade 2 Braille and meet federal accessibility rules. Using ready-made signs speeds up installation and guarantees compliance, which can save money on custom fabrication.
Size matters because larger signs use more material and take longer to produce. Complex signs with logos, multiple colors, or custom shapes also drive up costs due to extra embossing and finishing work. Material choice plays a major role; common options include plastic, aluminum, and acrylic. Plastic signs are cheaper but less durable, while aluminum or acrylic signs provide longer-lasting results and cost more, typically $100 to $200 or more per sign depending on details.
Costs jump significantly when adding tactile elements beyond Braille, such as raised characters, pictograms, or special fonts. Signs for unique or high-traffic environments may require weather-resistant or vandal-proof materials, which increase price further.
Choosing the right sign depends on your budget and the environment. A simple restroom door sign with raised text and Braille on plastic often meets requirements and stays under $50. Custom, large-scale signs with multiple tactile features and premium material can exceed $200 per sign. Below is a comparison table showing typical price ranges by sign type, size, and material commonly used in buildings needing ADA compliance.
| Sign Type | Material | Dimensions (inches) | Features | Typical Price Range (USD) |
|---|---|---|---|---|
| Standard Restroom | Plastic, self-adhesive | 9 × 6 | Grade 2 Braille, raised characters | $30 – $80 |
| Office Room | Aluminum | 6 × 9 | Tactile text, Braille | $70 – $130 |
| Lobby Identification | Acrylic | 12 × 18 | Custom graphics, Braille, raised lettering | $100 – $250 |
| Exterior Directional | Weather-resistant aluminum | 18 × 24 | Braille, tactile symbols, UV coating | $150 – $300+ |
| Custom Complex Sign | Mixed media (metal/plastic) | Varies | Multiple colors, Braille, logos | $200 – $500+ |
Prices shown reflect typical procurement ranges and may vary by supplier, quantity, and customization level. Planning signage with clear identification of room type first helps match requirements with budget constraints. Specifying durable materials and straightforward designs can keep your signage accessible without overspending.
Where and How Should Braille Signs Be Mounted for Accessibility?
Braille signs need to be installed next to the door latch side on the wall, complying with ADA guidelines for accessibility. They must have unobstructed floor space in front to allow individuals with disabilities to approach and read them easily. Variations in door design require minor changes to keep these clearances and placements accurate.
Latch-Side Wall Placement
Braille signs are usually placed on the wall next to the latch side of the door, not on the door itself. This placement ensures that users can reach the sign easily without obstruction from the door or hinges. The ADA Standards for Accessible Design (2010), particularly Sections 216 and 703, specify this location to maximize accessibility.
Absence of wall space on the latch side caused by door recesses or tight corridors requires placing the sign on the closest adjacent wall. Signs should always be positioned so they are readable without users having to reach around the door or obstacles. Avoid mounting signs on the hinge side unless no other option exists, as this can reduce readability and accessibility.
Clear Floor Space Requirements
A clear floor space of at least 30 inches by 48 inches must be provided in front of the sign to allow room for wheelchair users and others to approach and read the Braille. This space must be free of obstructions such as furniture, equipment, or structural columns. Maintaining this clearance ensures that everyone can comfortably access the sign without physical barriers.
- Measure floor space before mounting to confirm 30″ by 48″ clearance
- Keep the area free of trash cans, planters, or similar obstacles
- Ensure adequate lighting to aid in locating and reading signs
- Check that the sign is not mounted behind door swings or open doors
- Consider future furniture layout when identifying clear floor space
Signs placed too close to objects or in narrow passageways can be inaccessible despite correct height and height settings.
Always verify clear floor space with a tape measure after installation, as small inaccuracies can block access for wheelchair users.
Adjustments for Door Types
Single doors generally follow the standard rule of mounting the sign on the latch-side wall at a height between 48 and 60 inches above the floor. Double doors require special consideration. Signs should be placed on the wall adjacent to the main entry leaf’s latch side. Door-mounted signs may be allowed as a last option when the door swing limits available wall space for proper sign placement.
For doors that swing into recesses or narrow corridors, the nearest adjacent wall to the latch side is used if there is inadequate space directly adjacent to the door. This flexibility helps maintain clear floor space and accessibility despite architectural constraints.
Step-by-Step Action Plan for Braille Signage Compliance
Follow these steps to make sure your building’s signage meets ADA Braille requirements smoothly and accurately.
- Before You Start: Identify all the signs in your building related to permanent rooms and spaces that must include Braille per ADA standards. Confirm which are exempt based on function or location.
- Day 1: Consult a qualified Braille signage manufacturer to review your sign types and quantities. Verify they use Grade 2 Braille and follow correct sizing and mounting guidelines for tactile elements.
- Week 1: Order prototype signs and request a proof or template showing Braille translation and embossing details. Check the accuracy of the Braille translation carefully using a certified Braille reader or consultant.
- Week 2: Receive prototype signage and inspect tactile dot height, spacing, and contrast. Confirm signs meet minimum and maximum size limits and mounting heights specified by ADA.
- Week 3: Schedule installation with a licensed professional to ensure signs are mounted correctly, fixed securely, and aligned horizontally on wall surfaces where required.
- Week 4: Conduct a walkthrough with an accessibility consultant or use accessibility checklists focusing on Braille presence, legibility, and placement. Make adjustments if any issues arise.
- Month 2: Train building maintenance staff on how to inspect and maintain Braille signs for durability and readability over time.
- Ongoing: Keep documentation of compliance efforts and be prepared for periodic accessibility audits or updates in ADA guidelines.
Frequently Asked Questions
Can Braille Be Added to Signs That Do Not Require It for Better Accessibility?
Yes, adding Braille to non-mandatory signs can improve accessibility for visually impaired users. This proactive step helps ensure everyone finds essential information regardless of legal requirements.
Do Braille Signs Need Regular Maintenance After Installation?
Yes, Braille signs should be inspected periodically for damage or fading to ensure they remain readable. Regular checks help maintain compliance and effective communication.
Are Braille Signs Required on Outdoor Building Identifiers?
Yes, if the signs identify permanent spaces, Braille is usually required even outdoors. Weather-resistant materials must be used to protect tactile and Braille elements.
Can LED or Electronic Signs Include Braille for ADA Compliance?
Generally, electronic signs do not support tactile features like Braille and may need accompanying tactile signs. Tactile and Braille signs must comply with ADA physical sign requirements.
Is Grade 1 Braille Acceptable on Any Legal ADA Signs?
No, ADA standards require Grade 2 Braille for all tactile signs as it is more efficient and widely understood. Using Grade 1 Braille does not meet compliance.
How Close to the Edges Can Braille Dots Be Placed on a Sign?
Braille dots should not be placed too close to sign edges to allow easy tactile reading and prevent damage. Proper margins are specified in ADA guidelines.
The Bottom Line
Not all signs require Braille, but understanding which do and following ADA details ensures compliance and accessibility. Getting professional input on translations and mounting saves costly errors and supports all users. Start by identifying your required signs today and arranging a consultation with a trusted Braille sign manufacturer to move forward confidently.