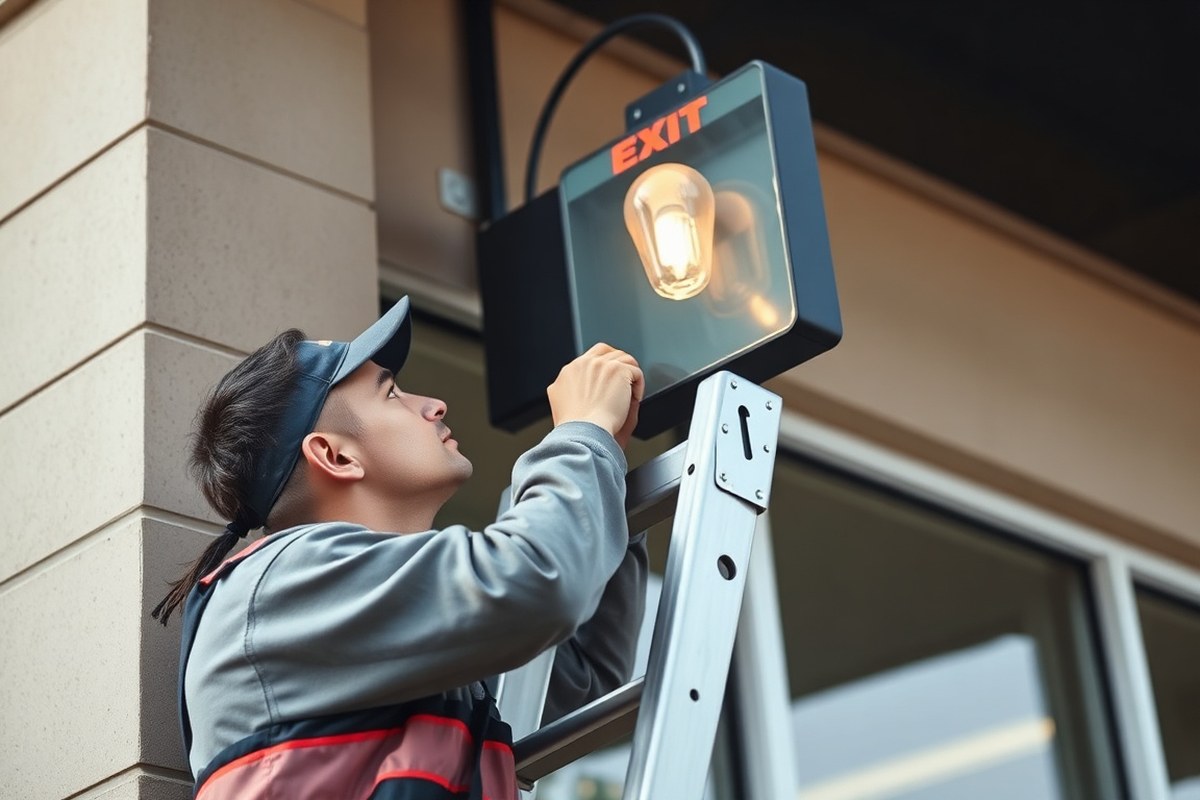
How to Replace Sign Lights Safely and Efficiently: A Complete Step-by-Step Guide
Knowing how to replace sign lights correctly ensures your signage stays visible and safe, especially in emergencies. Start by turning off power to the sign to prevent electrical shock, then remove the damaged bulbs or components carefully. Using appropriate replacement parts tailored to your sign type is key to a successful repair.
Key Takeaways
- Identify the type of sign light before buying replacements to ensure compatibility and proper function.
- Use LED bulbs to reduce energy costs by up to 80% and extend the lifespan of your sign lighting.
- Replace the batteries in exit signs every three to five years to ensure dependable lighting during emergencies.
- Only cut neon rope lights on marked PVC insulation lines every 18 inches to avoid damage.
- A buzzing sound after bulb replacement often signals an incompatible bulb and fixture wiring.
- Install LED lights behind signs to improve visibility and system efficiency with minimal effort.
How to Replace Sign Lights: Step-by-Step Process
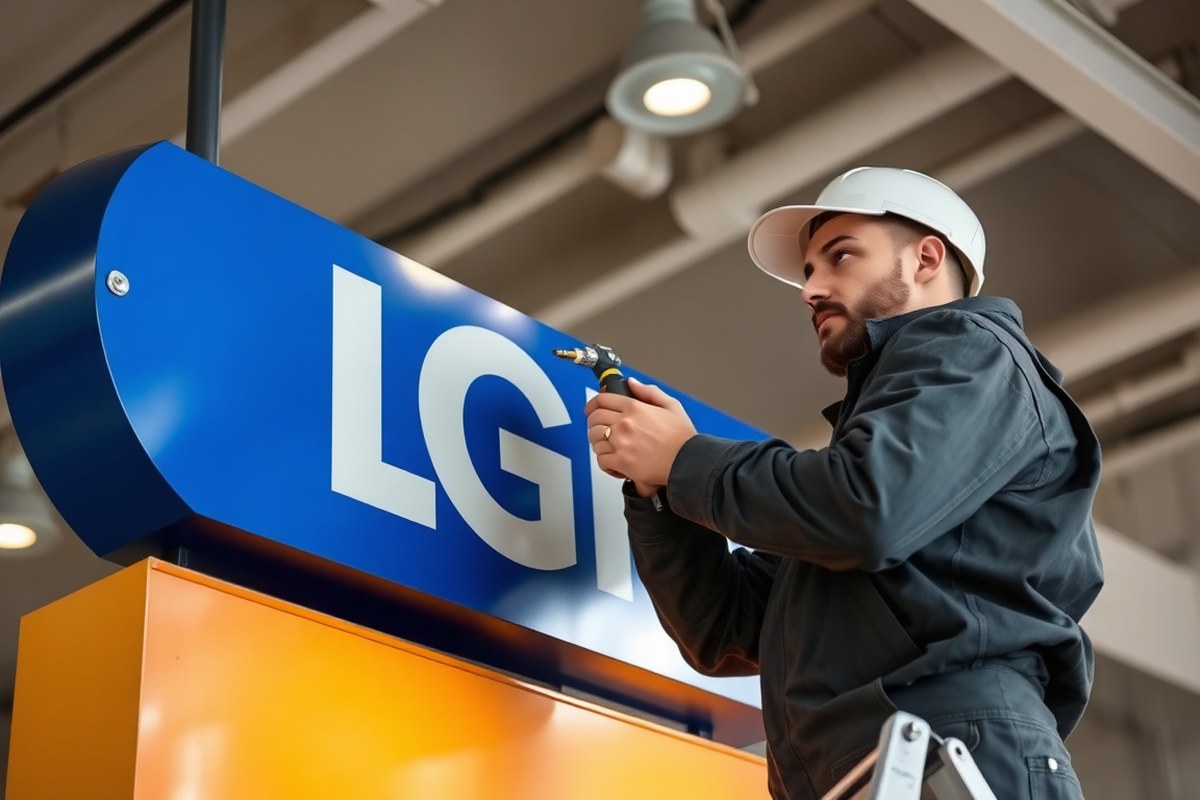
Replacing sign light bulbs requires precise steps to ensure safety and a functional, long-lasting installation. Start by confirming the power to the sign is switched off to avoid electric shock. Using a sturdy ladder, position yourself securely to access the sign housing. Opening the sign carefully prevents damage to the unit and makes the bulbs accessible. Handling the bulbs gently preserves their integrity and avoids injury from broken glass. Correct bulb installation ensures proper illumination and compliance with safety standards. Final checks guarantee that the sign will operate correctly once re-energized.
- Turn off the power supply to the sign. Locate the circuit breaker or disconnect switch controlling the sign’s power and switch it off. Verify the power is off by testing the sign or using a non-contact voltage tester to ensure safety during the replacement process.
- Secure the ladder and open the sign housing. Position the ladder firmly and climb carefully. Remove the front panel or cover by undoing screws, clips, or sliding mechanisms depending on the sign type. Handle the cover gently to avoid cracks or damage, setting it aside safely.
- Remove the old bulbs carefully. Identify the bulb type and its mounting style, twist, pull, or slide as applicable. Use gloves or a cloth to protect your hands and avoid contaminating halogen bulbs with skin oils. Dispose of the removed bulbs according to local regulations, particularly fluorescent bulbs due to their mercury content.
- Install the new bulbs properly. Ensure the replacement bulbs match the required specifications for size, wattage, and type, such as LED or incandescent. Insert or twist bulbs gently into the sockets until secure but avoid forcing them, which can damage the fixture. For LED strips, set the new strip in place and secure it with adhesive or clips as designed.
- Inspect the bulb connection and replace any seals. Check that bulbs are firmly seated and wiring is intact and free of corrosion. Replace any worn gaskets or seals on the housing to protect against moisture and dust.
- Close the sign housing and fasten securely. Reattach the front panel or cover, ensuring all screws or clips are firmly in place. This preserves the sign’s weather resistance and structural integrity.
- Restore power and conduct final operational checks. Switch the power back on and observe the sign’s illumination for full brightness and consistent light distribution. Confirm that emergency signs remain lit continuously per safety requirements.
Types of Sign Lights and How to Identify Them

Sign lighting comes in several types, mainly LED, fluorescent, neon, incandescent, and some alternative options like photoluminescent or tritium lights. Identifying the type your sign uses helps determine the correct replacement parts and installation approach. Replacement bulbs are generally not interchangeable across types, so proper identification is key to avoid compatibility issues.
LED Sign Lights Overview
LED sign lights use light-emitting diodes arranged in strips or modules behind the sign panel. They are energy-efficient and typically last longer than fluorescent or incandescent options, often reaching 30,000 hours or more. Replace LED lights with compatible LED strips or modules designed for the specific sign fixture to maintain brightness and energy savings.
Flexible LED neon rope light is a recent alternative to glass neon, made from flame-retardant PVC and available in various colors. It is easier to install and repair yourself, providing a fast and durable solution that can run for up to 30,000 hours.
Fluorescent and Neon Bulbs
Fluorescent bulbs are common in exit signs due to their bright, diffuse light and moderate energy use. These usually require a ballast to operate. Replacing fluorescent tubes should always involve the same size and type of tube and compatible ballast to avoid buzzing noises or flickering.
Neon lighting uses glass tubes filled with gases that glow brightly, but they are fragile and require specialist repairs. LED neon rope lights are a suitable replacement offering a longer life and easier installation without the delicate glass tubes. Traditional neon lights often give distinctive colored glows but can be costly in repair and energy consumption compared to LED alternatives.
| Lighting Type | Key Features | Typical Lifespan | Replacement Notes |
|---|---|---|---|
| LED | Energy-efficient, long-lasting, flexible neon rope option | About 30,000 hours | Requires specific LED strips or modules, non-interchangeable with others |
| Fluorescent | Common, uses ballasts, moderate energy use | Varies, typically 7,000-15,000 hours | Must match tube size and ballast, can buzz if incompatible |
| Neon | Bright colored glow, fragile glass tubes | About 10,000 hours | Repairs are costly, replacement with LED rope recommended |
| Incandescent | Filament-based, less energy efficient | Approximately 1,000-2,000 hours | Uses screw-in bulbs, easier to replace but less durable |
| Photoluminescent | Glow in the dark paint, no power required | Varies by product and exposure | No bulb replacement needed, useful where power is unavailable |
| Tritium | Self-luminous, radioactive gas tubes | Many years without external power | No electrical replacement, must be professionally handled |
Knowing these traits helps you avoid replacing bulbs with incompatible types and ensures the sign’s longevity. The choice between converting older neon or fluorescent signs to LED depends on your budget and maintenance goals.
Incandescent and Alternative Options
Incandescent bulbs work with a filament that heats up to produce light. These are found mostly in older exit signs, tend to consume more power, and have shorter lifespans compared to LEDs or fluorescents. Replacement involves simple screw-in bulbs, but upgrading to LED reduces energy use and maintenance frequency.
Alternative lighting options include photoluminescent signs that glow without requiring electricity, suitable for locations without power access. Tritium signs use self-luminous radioactive gas tubes, offering years of illumination without wiring, though they require professional handling due to safety regulations.
Installing a fluorescent bulb incompatible with the fixture’s ballast can cause buzzing or flickering, so always confirm ballast compatibility before replacement.
Essential Tools and Materials You’ll Need
Before starting to replace sign lights, gather the right tools and materials to work safely and efficiently. Having these prepared prevents delays and reduces risks of damaging the sign or injuring yourself.
Hand and Electrical Tools
Essential hand tools include insulated screwdrivers and pliers designed for electrical work. These protect you from accidental shocks and provide better grip for loosening screws or removing old bulbs. A non-contact voltage tester is critical to verify the power is off before touching wires. For signs that are mounted high, use a sturdy ladder that can safely support your weight and tools.
Use quality tools rather than cheap or worn-out ones; inferior tools can strip screws or damage delicate components, leading to replacement complications that add time and cost. Keep a small flashlight or headlamp handy if working in dim lighting to see clearly inside the sign enclosure.
Replacement Bulbs and Batteries
Identify the exact type of bulbs and batteries your exit or sign lights require before purchase. Replacement bulbs commonly include LED modules or fluorescent tubes, depending on the fixture model. Batteries inside exit signs serve as backup power; replacing them is important if they are old or leaking.
It is best to get bulbs and batteries directly recommended or specified by the manufacturer of your sign to ensure compatibility and longevity. Carry spare bulbs and batteries to avoid multiple trips. A commonly stocked battery for exit signs is the sealed lead-acid 6V or NiMH packs, costing between $15 to $40 each depending on capacity.
Safety Gear and Miscellaneous Supplies
Wear protective equipment to reduce the risk of electrical shock and injury. Insulated safety gloves protect your hands from live wires, while safety goggles shield your eyes from dust and debris that may fall during repair. Closed-toe shoes with nonslip soles improve stability on ladders or uneven surfaces.
Additional useful items include electrical insulating tape to cover exposed wires after replacement, wire strippers for trimming cables if needed, and a small container to keep removed screws and parts organized. Proper preparation helps maintain a safe work environment and ensures the job goes smoothly.
- Insulated screwdrivers and pliers
- Non-contact voltage tester
- Replacement bulbs and compatible batteries specified by sign manufacturer
- Sturdy ladder for improve signs
- Safety gloves and goggles
- Electrical insulating tape
- Flashlight or headlamp
Gather all these tools and materials at your worksite before turning off power and starting the replacement. This checklist prepares you for both expected steps and any small adjustments during installation, minimizing errors and downtime.
Safety Precautions When Replacing Sign Lights
Disconnecting power before you begin is the most important safety measure when replacing sign lights. Turn off the circuit breaker that supplies electricity to the sign to avoid electrical shock. Verify the power is off using a non-contact voltage tester. Electrical shock can cause serious injury or death, so never skip this step. The backup batteries inside exit signs also carry risk; these batteries store energy and can deliver a shock if mishandled.
Before opening the sign housing, carefully locate and disconnect the backup battery. These sealed lead-acid or nickel-cadmium batteries require careful handling to avoid short circuits or leaks. Wear insulated gloves to protect against potential chemical exposure or electrical shock. After removal, place the battery on a non-conductive surface away from metal objects. Dispose of used batteries according to local hazardous waste regulations, as improper disposal can cause harm to the environment.
Working on signs mounted on walls or ceilings requires extra caution. Use a sturdy ladder that reaches the sign comfortably without overextending yourself. Always have a spotter hold the ladder steady. If the sign is outdoors, check weather conditions; do not work in wet or windy conditions to reduce the risk of falls or electrical hazards. Portable scaffold platforms provide more secure access for high or awkward places but cost between $150 and $500 to rent. Proper lighting is essential for visibility during replacement, especially if working in dim or enclosed spaces.
- Turn off power at the breaker and verify with a voltage tester
- Disconnect and safely handle backup batteries with insulated gloves
- Use a stable ladder or scaffolding with a spotter for improve signs
- Avoid working outdoors in wet or windy weather
- Wear eye protection and gloves to prevent injury from debris or sharp edges
- Ensure adequate lighting in your work area to see all components clearly
- Follow local disposal rules for batteries and electrical waste
Good results mean no electrical shocks, a securely mounted replacement light, and fully functioning signage that meets safety standards. Problems arise if power is not fully disconnected, which can lead to serious injury. Working on unstable ladders or under poor lighting increases risk of falls or improper installation. Taking your time to follow each safety step avoids costly accidents and ensures compliance with fire safety codes.
Common Problems and How to Troubleshoot After Replacement
Buzzing sounds after replacing sign lights often mean the new bulb is incompatible with the fixture or the ballast. Fluorescent or neon bulbs especially can emit a buzzing sound if the ballast is failing or if the bulb and ballast specifications don’t match. To fix this, double-check that you selected the correct replacement bulb designed for your sign’s ballast type. When the buzzing keeps going, consider swapping out the ballast, which typically costs between $20 and $50 depending on the model. Installing a new ballast involves disconnecting power, removing the old ballast, wiring the new one correctly, and testing the sign.
Flickering or non-working lights usually point to loose wiring, a faulty bulb, or issues with the power supply. Start by observing the sign for one to two minutes after installation to identify flicker frequency or if the light doesn’t stay on. Ensure all wiring connections are tight and follow the manufacturer’s wiring diagram precisely. When the bulb flickers or stays dark, replace it with a bulb you know works. For LED sign lighting, flickering might also result from a defective LED driver, which should be checked and replaced if needed. Sometimes, signs flicker if the voltage fluctuates or the power source is unstable.
Always turn off and verify power is disconnected before touching wiring or replacing components to avoid electrical shock.
When the sign shows no light at all, start by checking the power source. Use a multimeter to confirm voltage is present at the fixture. Next, inspect the bulb for visible damage or burn marks, and ensure the bulb is seated firmly. When the bulb and power supply are in good shape, test the sign’s internal wiring for continuity to locate broken or disconnected wires. A burned-out battery in exit signs can cause no light during emergencies; swap out batteries if the light dims quickly or fails duration tests.
- Confirm bulb matches fixture and ballast specifications
- Check all wiring connections are secure and correct
- Test power supply voltage before troubleshooting light components
- Replace faulty ballasts or LED drivers if buzzing or flickering persists
- Swap out burned-out bulbs and batteries as needed
- Observe the sign for a couple of minutes post-installation to detect problems
Costs to fix these issues can range from a few dollars for a bulb replacement to $50 or more for ballast or driver replacement. Proper installation and maintenance help avoid recurring problems and ensure the sign functions reliably as an important safety feature.
When to Replace Exit Sign Batteries and Backup Components
Sign batteries typically last three to five years, depending on usage and environmental conditions. Signs of failing batteries include dim or flickering exit lights during power outages and failure to light after pressing the test button. Replacing backup batteries ensures reliable emergency lighting and compliance with safety codes.
Testing Battery Functionality
Performing routine checks lets you spot battery issues before they become critical. Hold the exit sign’s test button down for roughly 30 seconds to mimic a power loss. Watch to see if the sign stays brightly lit during this period.
Monthly 30-second tests, combined with an annual 90-minute test, provide a good indication of battery health. A sign that dims fast, flickers, or turns off signals a battery that probably requires replacement. Also, check for battery leakage or corrosion as physical signs of failure.
Removing and Replacing the Battery
Before starting, disconnect any power sources if possible. However, some exit signs are hardwired into emergency circuits that stay live when other power is off. Locate the battery compartment inside the sign housing. Most backup batteries connect to the sign’s circuit board with a small plug or clip. Follow these steps to remove and replace the battery safely:
- Open the sign housing by removing screws or clips holding the cover in place.
- Identify the battery pack and locate the battery connector plugged into the circuit board.
- Carefully unplug the battery connector, avoiding damage to wires or connectors.
- Remove the old battery pack from its mounting bracket or compartment.
- Install the new battery pack in the same position and secure it properly.
- Reconnect the battery connector firmly to the circuit board.
- Replace the sign cover and secure it with screws or clips.
Use batteries that match the sign manufacturer’s specifications. Costs typically range from $20 to $60 for a replacement battery pack. Avoid using low-quality or mismatched batteries as they can fail prematurely or damage the sign.
Restoring Power and Verifying Operation
After the new battery is installed and connected, restore power to the sign. This can mean turning on the circuit breaker or reconnecting the power source. The exit sign may flash briefly or light up immediately, depending on the model.
Press and hold the test button again for 30 seconds to confirm the battery powers the sign properly. The light should stay bright without flickering or dimming during this test period. When this test is unsuccessful, verify the battery connection or contact an expert for help.
Energy Efficiency: Upgrading to LED Sign Lighting
Replacing incandescent bulbs in sign lighting with LED bulbs can lead to significant energy savings and lower maintenance. LEDs use up to 80% less energy compared to traditional filament bulbs, cutting power costs drastically over time. They also last much longer, often for 10 years or more, which means fewer replacements and less labor spent on maintenance.
You don’t have to replace the entire sign to upgrade to LED lighting. The original sign structure remains intact while only the internal lighting components are swapped out. However, it’s important to verify compatibility before installing LED bulbs. LEDs usually require a retrofit kit specific to exit signs, because standard incandescent sockets aren’t built to handle LED bulbs directly. Here’s a side-by-side comparison to help you understand the benefits and requirements of switching from incandescent to LED sign lighting:
| Feature | Incandescent Bulbs | LED Bulbs |
|---|---|---|
| Energy Consumption | Higher, wastes more power | Up to 80% less energy used |
| Lifespan | 1 to 2 years (approx.) | 10 years or more |
| Maintenance Frequency | Frequent bulb replacements needed | Greatly reduced replacements |
| Compatibility | Fits standard sockets | Requires LED retrofit kits for exit signs |
| Sign Replacement | No upgrade possible without new sign | Original sign can be retained |
| Cost Over Time | Higher energy and maintenance cost | Lower total cost despite higher upfront cost |
When upgrading, start by purchasing an LED retrofit kit designed for your specific exit sign model. Remove the existing incandescent bulb carefully, then install the LED light following the kit instructions. Most kits include adapters or housing to fit the LED bulbs properly in the original sockets.
LED upgrades lower electricity bills and reduce the risk of sign failure due to burned-out bulbs, improving facility safety and compliance. Be cautious to avoid mixing incompatible parts, which can cause flickering or damage to the new LED lights. If you’re not confident identifying the right retrofit kit, consulting a licensed electrician or the sign manufacturer is a wise step.
When to Call a Professional for Sign Light Replacement
Any sign of damaged wiring, such as melted wires or scorched sockets, should immediately signal that you need a professional electrician to handle the replacement. Working with high-voltage mains power is risky and often beyond the scope of typical DIY skills. Disconnecting power can be complicated, and improper handling of wiring can cause electrical shock, fire hazards, or failure to meet safety codes. Licensed electricians have the tools and expertise to safely manage these electrical components and ensure your sign lighting operates correctly.
Building codes play a major role in sign light replacement. Different jurisdictions enforce regulations like OSHA standards and local life safety codes to ensure exit signs and emergency lighting meet strict functionality and reliability requirements. These codes cover aspects such as placement, visibility, electrical connections, and backup power. Failure to comply can lead to fines and compromise occupant safety during emergencies. Before proceeding, check your jurisdiction’s specific requirements, which might involve contacting your local building department or fire marshal’s office to confirm applicable regulations.
Knowing when to call a specialist comes down to a practical decision rule: if any part of the sign replacement involves alterations to the building’s permanent electrical wiring, or if you encounter unexpected complications such as damaged fixtures or unclear wiring pathways, stop and hire a licensed professional. This protects you from safety risks and ensures compliance. Professionals can also assist if you struggle with removing panels, locating specific components, or ordering correct replacement parts due to the model’s complexity or scarcity of information.
Finding a qualified electrician or sign maintenance specialist involves checking credentials and experience with commercial or industrial signwork. Start by requesting proof of licensure, which guarantees training in electrical safety and local codes. Look for electricians who specifically mention experience with sign lighting or emergency exit signs. You can ask for referrals from other building managers or check online reviews. Make sure the professional is insured to protect you in case of accidents and verify their knowledge of recent code changes that affect sign installation and maintenance.
Costs for hiring a professional vary widely depending on location, the complexity of the job, and the sign type. Typical hourly rates range from $50 to $100 or more. Some jobs, especially those requiring extensive rewiring or compliance checks, may include diagnostic fees or travel costs. Budget for these expenses as part of your regular facility maintenance to avoid urgent replacements and fines. Good results come from timely, code-compliant installations and functional lighting tests that confirm the sign works continuously and reliably as required.
Never attempt to rewire or hardwire sign lighting without turning off power at the circuit breaker and verifying zero voltage; if unsure, call a licensed electrician immediately.
Step-by-Step Action Plan for Replacing Sign Lights
Use this plan to replace your sign lights confidently and ensure they work properly after installation.
- Before You Start: Gather all necessary tools and new light components based on the type of sign light you identified. Check manufacturer specifications to confirm compatibility.
- Day 1: Turn off power to the sign to prevent electrical hazards. Verify power is off using a voltage tester.
- Day 1: Remove the old sign lights and dispose of them following local regulations. Inspect sockets and wiring for damage or corrosion.
- Day 1: Install the new bulbs, LED modules, or tubes according to the manufacturer’s instructions. Ensure they fit securely and connections are tight.
- Day 1: Restore power and test the sign lights by turning them on. Check for steady, full illumination without flickering.
- Day 2: Monitor the sign for any unusual behavior like dimming or flickering during normal operation hours to confirm installation success.
- After 1 Month: Inspect backup batteries and components if your sign includes them. Replace batteries before their expected end-of-life to maintain proper function.
Frequently Asked Questions
What Is the Best Way to Dispose of Old Exit Sign Batteries?
Dispose of old exit sign batteries at a local recycling center. Many batteries contain hazardous materials that should not go into regular trash. Check with your local waste management to find approved battery recycling locations near you.
How Often Should Backup Components of Sign Lights Be Tested?
Backup components should be tested at least once a month. Regular testing ensures they function properly during power outages or emergencies. Maintain records of tests as part of your facility’s safety log.
Can Weather Conditions Affect Outdoor Sign Light Lifespan?
Yes, exposure to rain, extreme heat, or cold can shorten outdoor sign light lifespan. Use weather-resistant fixtures and perform regular inspections to catch early damage. Consider protective housing if signs face harsh environments.
Is It Necessary to Recalibrate Sensors After Replacing LED Sign Lights?
Yes, recalibrating sensors can be necessary after LED replacement to maintain proper brightness or motion detection. Follow manufacturer instructions for sensor adjustment to ensure optimal performance and energy savings.
What Precautions Should Be Taken When Working on High-Mounted Sign Lighting?
Use proper fall protection equipment and stable ladders or lifts. Secure tools to avoid dropping hazards. Always follow OSHA guidelines when working at heights over 6 feet to prevent accidents during sign light replacement.
Can Replacing Sign Lights Improve a Building’s Emergency Safety Rating?
Yes, replacing outdated or faulty sign lights with code-compliant models can improve emergency safety ratings. Well-functioning exit signs improve visibility during emergencies, which can positively impact inspections and compliance reports.
Final Thoughts
Replacing sign lights yourself improves safety and reduces downtime when done carefully. Pay attention to matching the right light type and follow safety steps to avoid hazards. Test the sign immediately and monitor its performance over time to catch any issues early. Start by turning off the power and prepping your work area for the next replacement task.