How to Fill Laser Engraving with Paint: 8 Steps for a Perfect Color Fill
How to fill laser engraving with paint starts by choosing the right paint that won’t bleed into the surrounding area and applying it carefully inside the engraved lines. Use masking tape to protect surfaces and pick paint with good adhesion to prevent smudging. Starting with a clean, smooth surface helps the paint stay crisp and bright.
Key Takeaways
- Use painter’s tape specifically designed to remove cleanly for masking engraved edges.
- Choose acrylic craft paints like FolkArt 99445 for wood, MDF, and coated surfaces.
- For larger areas, fast-drying spray paint like Rust-Oleum Painter’s Touch 2X offers even coverage.
- Set engraving speed and power carefully to create clean, precise lines for crisp paint fill.
- Allow paint to dry completely before removing tape to avoid bleeding and smudging.
- Apply a sealant and cure for 24 to 72 hours to protect the painted engraving from damage.
1. How to Fill Laser Engraving with Paint Without Bleeding
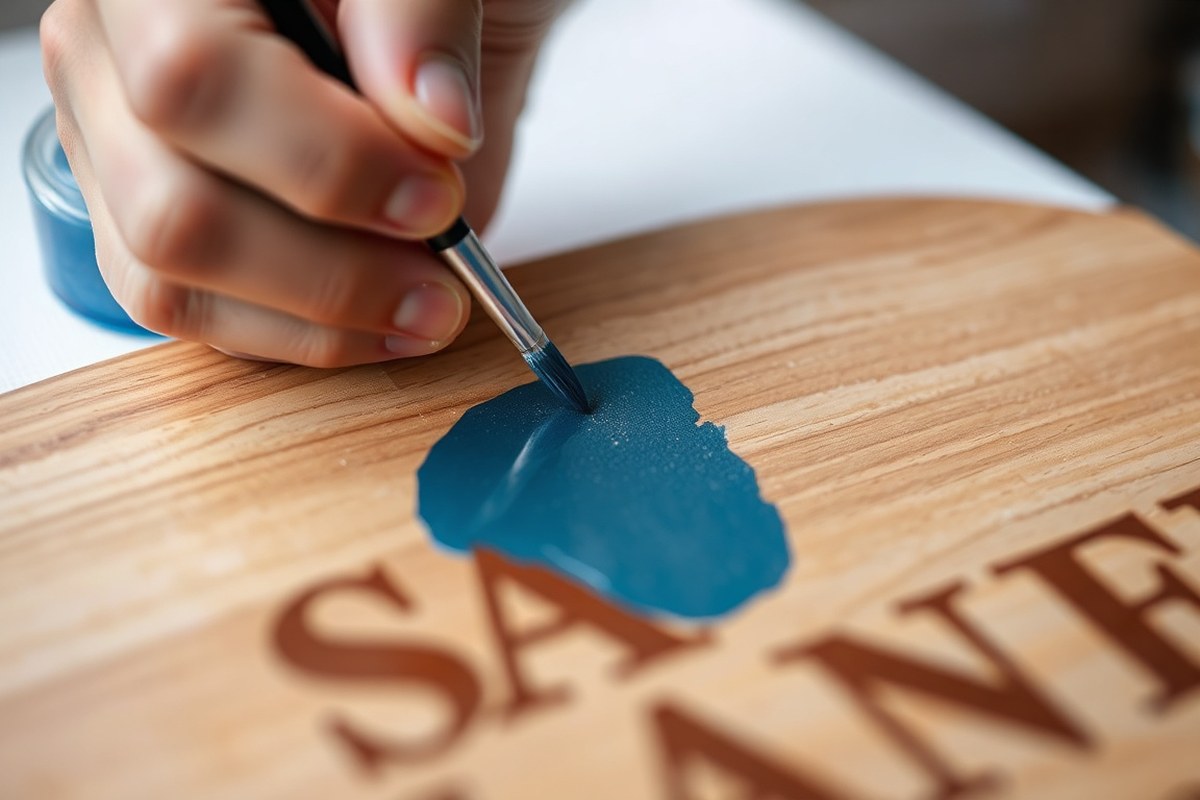
Achieving a clean paint fill inside laser-engraved areas requires careful control to prevent paint from bleeding outside the lines. The key is sealing and masking the surface before painting, using thin layers of paint applied with precision tools, and removing any excess promptly and carefully. You’ll need basic supplies like 0.7mm extra-fine nylon tip acrylic paint pens or a fine brush, painter’s tape for masking, and cotton swabs or a soft cloth for cleanup.
Sealing the wood before applying paint reduces the risk of paint soaking into unengraved areas, which can cause bleeding. Masking the material with laser-safe paper or blue painter’s tape protects the surrounding surface during painting. Using thin coats of acrylic paint, such as FolkArt Acrylic Craft Paint, ensures the paint stays in the recess without overflow. Tools with fine tips give you control to fill small details without splattering paint outside the engraving.
Removing excess paint quickly while it’s still wet is important to avoid smudging the filled area. Gentle wiping with a damp cloth or a cotton swab dipped in water or rubbing alcohol can clean edges without pulling paint out of the engraving. Avoid scrubbing hard since you can damage the filled paint or the surrounding finish. Working patiently with multiple thin layers also prevents buildup that’s hard to clean later.
- Seal the surface: Apply one or two coats of a clear sealer to the wood or material. Let it dry fully to create a barrier that reduces paint bleeding into porous surfaces.
- Mask the engraving: Cover the area with laser-safe paper or blue painter’s tape, like the wide blue tape that removes cleanly without residue. Cut out the shape of your engraving if possible to expose only the recessed area.
- Clean the engraving: Remove debris or dust inside the recess with a soft brush or compressed air to ensure paint adheres properly to the engrave.
- Fill with paint: Use a 0.7mm extra-fine nylon tip acrylic paint pen or a small fine brush to apply thin layers of paint inside the recess. Avoid heavy coats that can flood the lines.
- Remove excess paint: Quickly and gently wipe around the engraving edges with a damp cotton swab or soft cloth before paint dries. This pulls away overflow without disturbing the paint inside the recess.
- Let paint dry: Allow each thin layer to dry completely before adding more to build rich color without risk of bleeding or smudging.
- Peel off masking: Carefully remove the tape or paper masking once the paint is fully dry, revealing clean edges with no paint outside the engraved design.
Using precise tools like extra-fine paint pens helps fill intricate patterns or small text without spreading paint outside the engraving. For larger or less detailed engravings, spray paint masked carefully over the engraved area can speed up coverage, but controlling bleeding requires good masking and thin paint layers. The final result should show vivid, crisp lines with no blurred or stained edges, improving the engraved design’s visual impact.
2. Choosing the Right Paint and Materials for Engraving Fill
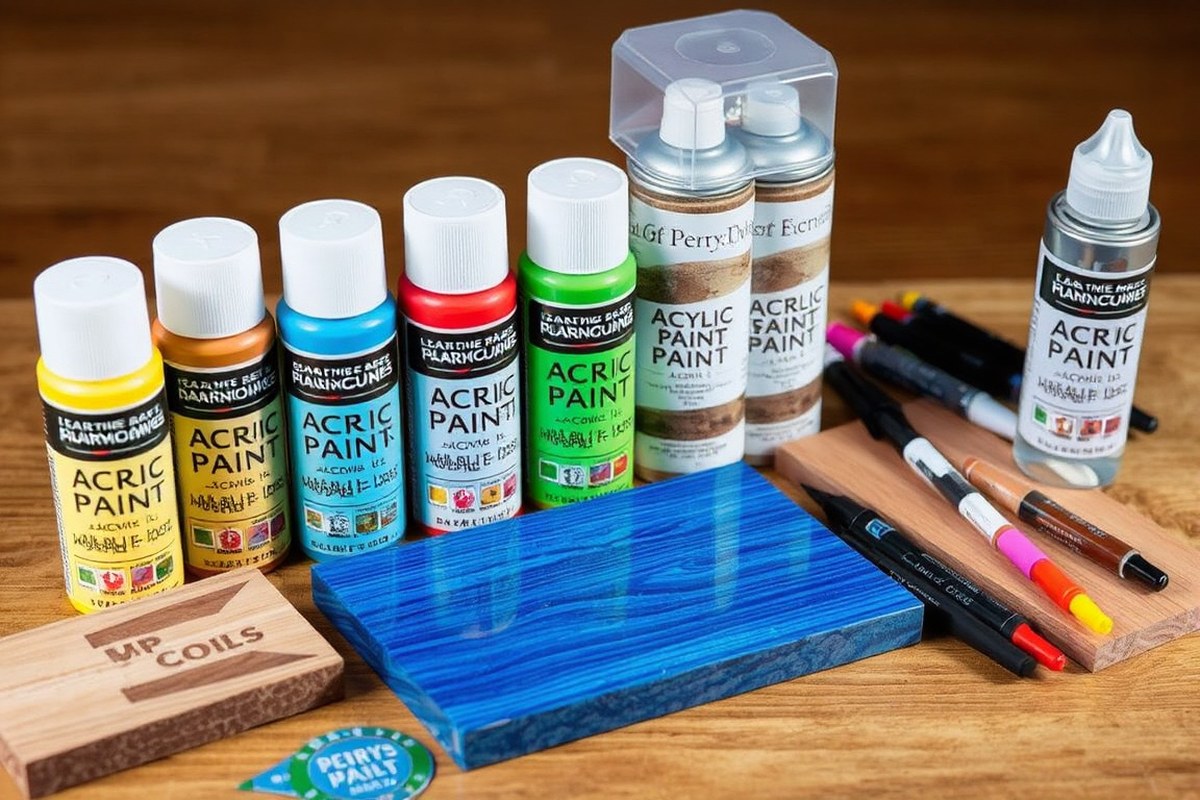
The best paint type for filling laser engraving depends on the material you’ve engraved and the kind of finish you want. Acrylic paints, spray paints, and paint pens are the top choices due to versatility, ease of use, and color vibrancy. Acrylic craft paint works well on porous surfaces like wood and leather, offering easy cleanup and good control. Spray paint provides fast, even coverage with excellent adhesion to wood, metal, and plastic, and often dries to the touch in about 20 minutes. Paint pens deliver highly pigmented, opaque coverage, ideal for fine details or small engravings across various materials including glass and ceramics.
Different materials demand different paint properties. For example, wood absorbs paint better, so acrylic paints can create vibrant fills. Plastics such as acrylic or polyethylene need paints with strong adhesion; spray paints like Rust-Oleum Painter’s Touch 2X perform well here. Metals require paints or pens formulated for durability against wear. Using paint pens on non-absorbent surfaces provides detail without bleeding, but they might not be best for larger areas. Spray paints offer efficient filling of bigger engraved zones. Testing on scraps helps find the best match.
| Material | Recommended Paint Type | Finish and Advantages | Typical Dry Time |
|---|---|---|---|
| Wood | Acrylic Craft Paint | Vibrant color, easy control, absorbs well | 30, 60 minutes |
| Acrylic Plastic | Spray Paint (Rust-Oleum Painter’s Touch 2X) | Quick drying, strong adhesion, even coverage | 20 minutes to touch dry |
| Metal | Specialized Paint Pens | Opaque, precise, durable markings | Varies, usually 15, 30 minutes |
| Leather | Acrylic Craft Paint | Good pigmentation, flexible | 30, 60 minutes |
| Glass & Ceramics | Paint Pens | Highly pigmented, adheres well | 15, 30 minutes |
Choosing the right paint is important for achieving professional-looking fills. Acrylic paint markers can be excellent for consistent lines but may scrape off on acrylic plastics, so they are better suited for absorbent materials like wood. Spray paints can speed up the process on large or non-porous surfaces but require careful masking to avoid overspray on flat areas. Paint pens stand out for precision and control when you have detailed engravings. For a small business or hobbyist, products like FolkArt acrylic paint sets provide a wide color range with reliable performance, costing about $15 to $30 per set. Rust-Oleum Painter’s Touch 2X spray paint runs around $5 to $7 per can, offering cost-effective rapid coverage.
Practical tip: Always test your chosen paint on a scrap piece of the same material to check adhesion, drying time, and color contrast before painting your final engraved piece.
3. Preparing the Surface and Engraving for Paint Filling
Preparing the surface and engraving for paint filling involves thorough cleaning, careful sanding, and selective sealing. These steps remove debris, smooth rough edges, and improve paint adhesion to help your designs look sharp and last longer.
Cleaning and Dust Removal
After laser engraving, the recessed areas collect dust, loose fibers, and residue that can interfere with paint adhesion. Cleaning these areas thoroughly ensures the paint bonds properly and prevents flakes or missed spots. Use a soft, damp cloth to wipe the surface gently; avoid soaking the material, especially wood or MDF, to prevent swelling.
Use compressed air or a soft brush to remove dust trapped deep inside the engraving. When cleaning porous materials like wood or unsealed stone, avoid harsh solvents that can damage the material or leave behind oils. Remove oils and fingerprints from the surface with isopropyl alcohol applied to a lint-free cloth, which evaporates quickly without leaving residue.
Sanding Edges and Surface Prep
Raster engraving can leave jagged edges and charred fibers inside and around the engraved areas. Lightly sanding these edges smooths the surface, making paint fill cleaner and reducing bleed. Use fine-grit sandpaper (220 to 320 grit) with light pressure to avoid removing material or causing new scratches.
Sanding the flat surface around the engraving improve contrast by dulling the finish, which reduces glare and highlights the paint fill. Avoid sanding inside the engraved recesses to preserve clean edges and depth. For softer materials, be gentle to avoid flattening or compressing fibers, which can affect paint absorption.
- Remove dust with compressed air or a soft brush before sanding
- Sand only edges and surrounding surfaces, not deep recesses
- Use 220, 320 grit sandpaper for smooth edges without damage
- Lightly sand the surrounding flat surface for better contrast
- Test on scrap material to adjust sanding pressure and grit
Sanding helps prepare the surface, but always clean the area again afterward to remove fine dust particles before painting.
Sealing Engraved Areas Before Paint
Sealing your engraved pieces before paint application is not always mandatory but strongly recommended. For porous materials like wood, MDF, or stone, sealing the exposed fibers inside the engraving creates a smoother surface and reduces paint absorption. This step improves paint adhesion and prevents flaking, chalking, or fading over time.
Apply a thin coat of clear sealant, such as acrylic spray sealer or a specialized wood sealer, onto the engraved recesses once dust-free. Allow it to dry fully, usually 15, 30 minutes depending on product instructions, before painting. Sealing before masking and engraving can also protect the flat surface from scorched marks and prepare it for paint backing if needed.
For non-porous materials like acrylic or coated metals, sealing is less critical but can still improve paint durability. Avoid over-applying sealants that can fill fine engravings and reduce paint’s ability to settle into recessed details. Use sealants sparingly and focus on etched surfaces.
4. Methods for Applying Paint Inside Laser Engraved Areas
Several paint application methods work well for laser engraving fills, each suited to different project sizes, detail levels, and materials. Brushes provide control for broad or intricate areas, paint pens offer precision for small details, and spray paint combined with masking protects surfaces from overspray. Selecting the right technique depends on the engraving depth, design complexity, and how clean the final result needs to be.
Brush and Acrylic Paint Application
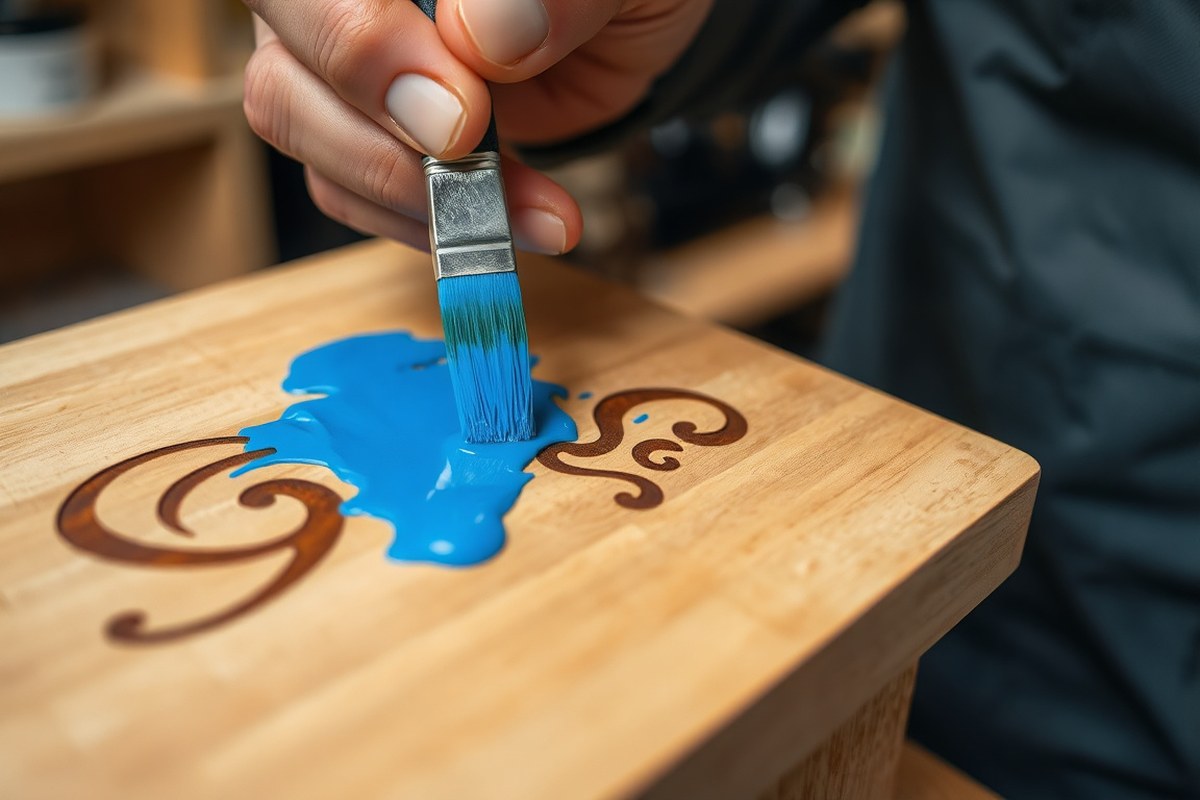
Using a brush with acrylic paint is a reliable way to fill most laser-engraved areas. Brushes give you flexibility to cover broad surfaces or carefully paint inside larger or moderately detailed engravings. A soft but firm brush or foam applicator works best, delivering paint only into the engraved regions without scratching the surrounding surface.
Before painting, firmly secure a stencil if available, as it helps guide the paint and limits spillover. Apply the acrylic paint directly into the engraving, avoiding excessive paint that could pool or seep beyond the edges. After filling, allow the paint to dry for at least 15 to 30 minutes under normal room conditions (about 70°F and 50% humidity) before any handling.
Using Acrylic Paint Pens for Precision
Paint pens with fine tips suit extremely small or intricate engraved details, where a brush might be too broad. They enable targeted application and quick drying. However, they can leave unintended marks on the surface outside the engraving, and these can be tricky to clean without damaging the paint inside the engraving.
Choosing a high-quality acrylic paint pen with a fine tip helps reduce mess. Work slowly and deliberately, letting each stroke dry briefly before proceeding to avoid smudging. Test the pen first on a scrap piece to gauge flow and tip control, as some pens can release more pigment than others.
Spray Paint with Masking Techniques
Spray painting requires masking all areas except the engraved sections to keep overspray off surrounding surfaces. Applying a stencil or adhesive masking film before painting protects the non-engraved areas. After engraving through the mask, carefully apply multiple thin spray coats. Too many coats increase the risk of paint seeping under the mask and compromising edges.
Using spray paint is ideal for uniform fills on large or simple engraved areas. Patience is key; let each coat dry for 5 to 10 minutes before applying the next. Remove the mask only after final drying to prevent peeling paint from the edges. Spray paint often offers more durable coverage but may not suit extremely shallow engravings as well. Below is a comparison table outlining each paint application method’s key features, best uses, and cautions for laser engraved fills.
| Method | Best for | Advantages | Disadvantages | Tip for Best Results |
|---|---|---|---|---|
| Brush + Acrylic Paint | Broad and moderate detail areas | Flexible control, soft brush avoids scratching | Slow for tiny details, risk of paint pooling | Use a soft foam applicator; apply paint sparingly |
| Acrylic Paint Pens | Small, fine details | Precise application, fast drying | Messy marks outside engraving, harder cleanup | Test pen flow, clean edges promptly |
| Spray Paint + Masking | Large, simple designs with clean edges | Even coverage, durable finish | Risk of paint seeping under mask, multiple coats needed | Apply multiple thin coats, remove mask after drying |
Choosing the right method starts with the scale and complexity of your project. For large engravings, brushes or spray paint with masking are efficient. Extremely small or detailed designs benefit most from fine-tip acrylic paint pens despite the cleanup challenge. Masking prevents paint overrun by blocking non-engraved areas, especially important with spray paint and when working near delicate materials.
5. Layering, Drying, and Curing Paint for Durable Fills
To achieve durable paint fills in laser engravings, applying multiple paint layers correctly is essential. Start by allowing the first coat to dry thoroughly, which usually takes about 30 minutes to an hour depending on paint type and ambient conditions such as temperature and humidity. After the initial drying, examine the fill for consistency and coverage. If you need richer color or to fix uneven spots, apply a second coat carefully, making sure the paint does not pool or spread outside the engraved area. Applying too thick a layer can lead to cracking or bleeding, so use a thin brush or tool to keep paint within the lines and feather gently if necessary.
Once the final coat is applied, it’s important to let the paint cure fully before moving on to sealing. Curing is the process where paint hardens and adheres firmly to the material, which is different from just drying on the surface. This process usually takes 12 to 24 hours at room temperature but can vary with paint chemistry. Cast acrylic or lacquer-based paints might cure faster, while oil-based paints may require longer. Avoid rushing this step to keep paint durable against handling, moisture, or wear.
After the paint has cured properly, apply a compatible sealant to protect the finish and improve longevity. Sealants require their own curing time, often between 24 to 72 hours. During this period, avoid exposing the piece to water, direct sunlight, or extreme temperatures, as these factors can interfere with proper curing and weaken the seal. Plan your workflow to accommodate these drying and curing windows, especially for large or multiple projects, to prevent smudging or damage before the paint and sealant are fully set.
Layering paint works best when each coat is thin enough to dry without forming bubbles or wrinkles yet thick enough to evenly cover the engraved grooves. In cases where the material has an open grain, like wood or leather, paint may bleed slightly into surrounding areas. Let each coat dry fully before layering and consider light sanding between coats on materials like wood to smooth rough edges without removing paint inside the engraving. For smoother materials like acrylic or metal, avoid sanding after paint application to prevent scratches.
Patience in allowing paint and sealants to fully cure prevents peeling and extends the life of your fill, so resist the urge to handle or seal prepped items too soon.
6. Sealing Painted Engravings for Protection and Finish
Sealing paint-filled engravings is important to protect your work from wear, moisture, and fading. Using a clear sealer keeps the paint intact and can help improve the final look by giving it a smooth or glossy finish. Seal your project only after the paint has completely dried and cured, to avoid trapping solvents and causing damage or discoloration.
Types of Sealers for Painted Engraving
Clear acrylic sealers are the most common choice, providing good protection against moisture and UV rays without yellowing over time. Polyurethane offers a tougher, more durable finish that resists scratches and chemicals, making it suited for high-use items like coasters or keychains. Lacquer dries quickly and creates a smooth, hard finish but can sometimes alter paint colors slightly. Select your sealer based on the material engraved, the paint used, and the intended use of the piece.
For delicate materials like leather or glass, choose a sealer specially designed for flexibility or clarity to prevent cracking or fogging. Avoid sealers that require heat curing unless your material and paint can withstand those temperatures.
Application Tips for Clear and Even Coating
Apply sealers in thin, even layers to avoid pooling or runs that can mar the surface. Use a high-quality synthetic brush or a spray sealer for uniform coverage. Spray sealers are preferred for intricate engraving details, as they minimize brush marks and build-up.
- Ensure paint is fully cured before sealing, wait 24 to 72 hours depending on paint type and thickness.
- Clean dust and debris off the surface with a soft, dry brush or cloth before sealing.
- Apply sealers in well-ventilated areas, following manufacturer’s safety instructions.
- Test sealer on a scrap piece with identical materials and paint to check for color changes.
- Allow at least two coats for optimal protection, letting each coat dry for 30 minutes to an hour.
- Wipe off any sealer that accidentally sits on raised areas outside the engraving before it dries.
Work in a dust-free environment to prevent particles from embedding in the wet sealer. Use slow, controlled strokes when brushing or maintain steady motion when spraying to cover all engraved areas evenly.
Timing and Curing After Sealing
Wait at least 24 hours after the final sealer coat before handling or using the engraved piece. This wait allows solvents to evaporate fully and the protective layer to harden. Some polyurethane sealers may require up to 72 hours for full cure, especially in humid or low-temperature conditions.
Keep sealed items out of direct sunlight and avoid exposing them to moisture until fully cured. Proper timing prevents sealant clouding, paint discoloration, or soft spots in the finish. Store sealed pieces flat on a clean surface with good airflow during curing.
Once cured, sealed paint-filled engravings resist wear better, maintain vibrant colors, and can be cleaned gently without damaging the paint. For objects exposed to heavy use or outdoor conditions, choose the toughest sealers and consider refreshing the finish every 6 to 12 months for ongoing protection.
7. Avoiding and Fixing Common Paint Filling Mistakes
Common paint filling mistakes often stem from issues like bleeding, cracking, peeling, and incomplete coverage. Bleeding happens when paint seeps outside the engraved lines, usually because too much paint was applied or the edges of the engraving are not clean. Cracking and peeling usually occur if the paint is too thick, the surface was not properly prepped, or the paint dries too quickly or unevenly. Incomplete coverage happens when the paint hasn’t fully penetrated the engraving or the paint is applied too thinly.
Fixing cracked or peeling paint requires gentle removal of the damaged area. Use a small, soft brush or a toothpick to carefully scrape out broken paint without damaging the engraving. Once cleared, clean the area with isopropyl alcohol to remove residue, then reapply paint in thin layers, allowing proper drying time between coats. If peeling happens after curing, re-sanding lightly inside the engraving can help the paint adhere better before repainting.
Paint bleeding happens even with masking if the paint is overloaded or if there are gaps in the mask’s edges. Paint is very fluid in thin layers and will follow any weak spots in the barrier, causing unwanted spread. To prevent bleeding, use minimal paint applied in thin layers and ensure masks fit tightly. Avoid brushing aggressively near edges, which can push paint under masking material. Also, certain paint types have higher fluidity; thicker paints or paint mixed with a medium can reduce bleeding risks.
- Applying too much paint: limits control and causes pooling that bleeds over edges.
- Dried paint cracking from thick layers: use thinner applications and allow each layer to dry fully.
- Incomplete paint coverage: apply enough paint to fill all engraved areas without over-saturating.
- Poor surface prep causing peeling: always clean and lightly sand engraving before painting.
- Bleeding due to loose masking: ensure masks fit snugly and edges are sealed.
- Paint drying unevenly: dry in stable, moderate temperature (70, 75°F) and avoid drafts.
- Repainting errors: remove loose paint fully before touching up to avoid more peeling.
Diagnosing paint problems starts by examining the engraving under good light. Check if paint edges are sharp and colors uniform. Soft edges or paint beyond engraving lines means bleeding took place and thinner paint or better masking is required. Cracks or lifting paint indicates too thick or rushed applications. Waiting at least 24 hours for paint to cure lets you see if cracks form after drying.
In delicate or detailed designs, use fine brushes or paint pens for precise control and avoid flooding the engraving. For materials prone to paint adhesion problems, extra surface prep with isopropyl alcohol and fine abrasive pads can improve bonding. Fixing bad paint fills might take one to two days due to drying and curing times, so plan your work accordingly to prevent rushed application mistakes.
8. Adjusting Techniques for Different Materials and Designs
Painting laser engravings requires different approaches depending on the material and design details. Porous surfaces like unfinished wood or unglazed ceramic absorb paint quickly, so using thicker, stain-based or acrylic paints made for wood or ceramics works best. These paints penetrate slightly, reducing the chance of surface cracking or peeling later. For best results on porous materials, apply paint in thin layers, letting each dry fully, usually 15 to 30 minutes, to build color without flooding the engraving.
Non-porous materials such as acrylic or polished metal call for different treatments. Acrylic is ideal for vibrant, high-contrast fills, often using water-based acrylic paint that sits on the surface in the engraved grooves. This paint type bonds well when applied with a fine brush or a small foam applicator. Metals typically require enamel paints or specialized oxidation methods to ensure long-lasting fills because standard paint adheres less reliably. On metals, manually cleaning and lightly roughening the engraved area with fine-grade sandpaper beforehand improves paint adhesion and durability.
Engraving depth also influences how you fill paint. Deeper engraving holds more paint, which increases durability and color richness but may require more precise filling to avoid over-painting outside the lines. Shallow engravings hold less paint and risk faster wear if coated insufficiently. For intricate or fine designs, thinner paint layers and careful application are critical, avoiding flood fills that muddy small details. In contrast, larger designs with broad fills can handle multiple paint layers to improve opacity and durability.
For color choices that create maximum contrast, select paint colors opposite the base material on the color wheel. Dark woods benefit from bright, opaque colors like white or pastel acrylics to stand out clearly. On light or natural wood tones, darker shades such as black, navy, or forest green typically offer the best visual impact. Clear or colored acrylics allow combining painted fills with the material’s natural color, especially when layering translucent paints in shallow engravings. Maintaining contrast improve legibility and aesthetic value, especially for detailed or text-heavy projects.
Adjustments based on the project’s complexity mean choosing suitable application tools. Use fine-tipped brushes or precision nib bottles for detailed work, reserving foam brushes or small rollers for larger, simpler shapes. For porous materials, sealing the wood or ceramic after paint curing prevents paint from soaking deeper over time and reduces fading. Some makers use a masking tape or frisket film over adjacent surfaces to avoid accidental smudging, particularly with multi-color fills requiring separate drying stages.
Allow ample drying time between paint layers, especially on porous surfaces; rushing can cause peeling or irregular texture that weakens the fill.
Step-by-Step Action Plan for Paint Filling Your Laser Engraving
Follow this plan to achieve sharp, long-lasting paint-filled engravings that improve your craft or product.
- Before you start: Clean the engraving and surrounding surface thoroughly with isopropyl alcohol to remove oils and dust. This ensures good paint adhesion.
- Day 1, Choose your paint: Select a paint suitable for your material, such as acrylic for wood or plastic, and test it on a scrap piece for coverage and drying time.
- Day 1, Apply the first paint layer: Use a fine brush or palette knife to carefully fill the engraving. Wipe excess paint from the surface immediately with a damp cloth without disturbing the filled lines.
- After 2 hours: Check if the first layer is dry to the touch. If any spots are thin, apply a second layer for even coverage.
- Day 2, Cure and seal: Once fully dry, apply a clear sealer appropriate for the material (spray varnish or brush-on polyurethane) to protect the paint fill from wear and fading.
- Day 3, Final inspection: Examine the fill for any chips or bleeding. Use a fine brush to touch up edges and reseal if needed.
Frequently Asked Questions
What Type of Paint Works Best for Filling Laser Engraving?
Acrylic paint is the best choice for filling laser engraving because it adheres well and dries quickly. Brands like FolkArt acrylic paint are especially effective on wood and coated surfaces, giving durable and vibrant results.
Can I Use Spray Paint for Filling Laser Engravings?
Yes, spray paint works well for filling larger engraved areas and offers fast, even coverage. Rust-Oleum Painter’s Touch 2X is a popular option, but masking the surrounding area is key to prevent overspray.
Are Paint Pens Good for Detailed Laser Engraving Fills?
Paint pens provide excellent control for fine details and small engravings. Using brands like TOOLI-ART Acrylic Paint Pens can produce precise lines, but expect a slower application process compared to brushes.
How Long Should I Wait for Paint to Dry Before Sealing Engraved Areas?
Wait at least 24 hours after paint application for thorough drying before sealing. Proper drying ensures the sealer bonds well and prevents smudging or peeling of the paint fill.
Is It Necessary to Sand the Engraved Surface Before Painting?
Light sanding helps remove debris and smooth rough edges but avoid over-sanding, which can reduce engraving depth and affect paint hold. A clean, slightly textured surface promotes better paint adhesion.
Can I Fill Laser Engravings on Acrylic with the Same Paint as on Wood?
Yes, acrylic paint works on both wood and acrylic surfaces, but ensure the acrylic is clean and free of oils. Some paints may behave differently on slick surfaces, so testing first is helpful.
Before You Go
Filling laser engravings with paint is about precision, patience, and selecting the right materials for your project. Focus on proper preparation and controlled application to avoid common pitfalls like bleeding or cracking. Next, try this method on a new design to build skill and confidence in creating professional-quality painted engravings.