Round Wood Sign Ideas: Creative Designs and Practical DIY Steps That Work
Round wood sign ideas offer a charming and versatile way to add personalized decor to any space. They stand out with their smooth curves and natural wood texture, making your message or artwork more inviting. Start with selecting the right wood size, around 16 inches or larger for outdoor signs, to ensure your design shines.
Key Takeaways
- Choose round wood blanks sized 16 inches or more for durable outdoor signage that captures attention.
- Stain or paint the wood round thoroughly and allow at least 2 hours of drying before decorating.
- Apply heat transfer vinyl designs using firm pressure at 300°F for 45 seconds for a long-lasting finish.
- Use burlap ribbon or a pre-made burlap bow to create rustic hangers or embellishments on your sign.
- Double-sided designs add versatility, allowing your round wood sign to display different messages or styles.
- Smaller round wood signs, around 6 inches, fit perfectly on shelves, tiered trays, or desks for subtle charm.
What Makes Round Wood Signs Unique and Popular
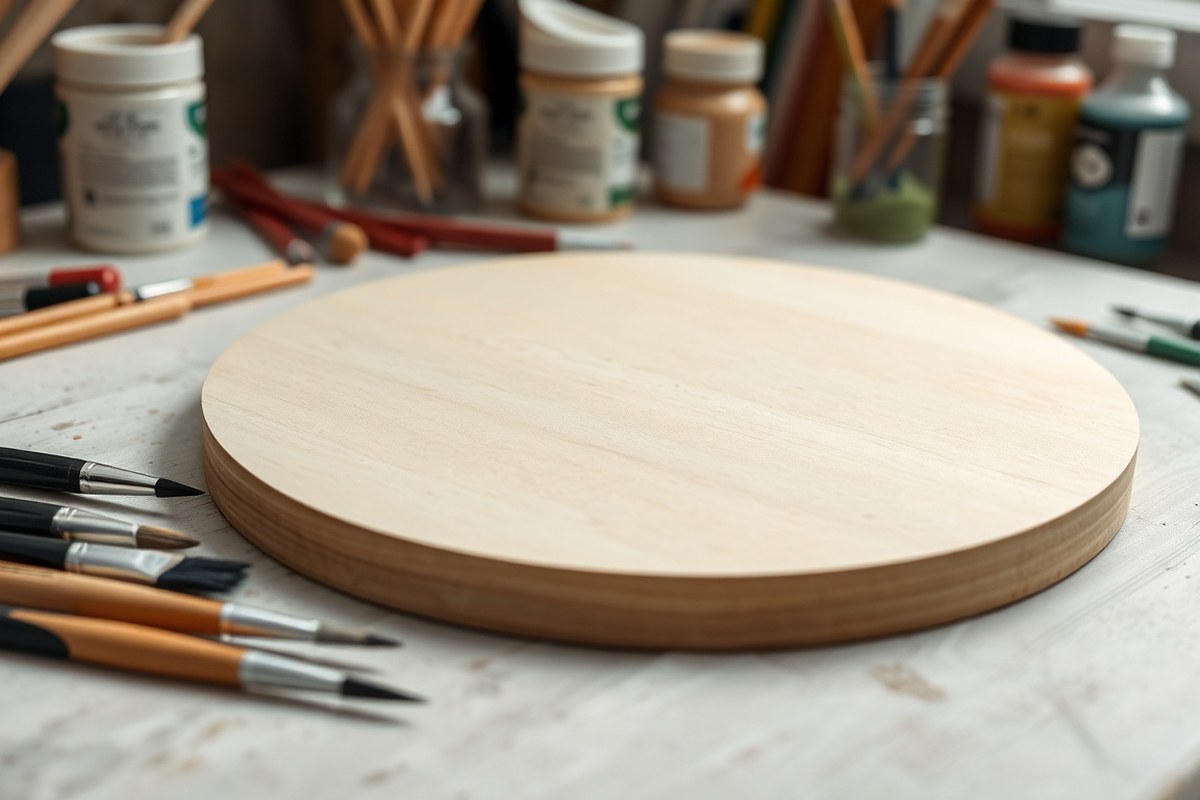
Round wood signs are decorative pieces made from circular wood blanks, often crafted to showcase designs, messages, or seasonal greetings. Their distinct round shape sets them apart from the more common rectangular signs, offering a softer, more inviting look. This shape works well for home decor because it echoes natural forms and fits nicely in spaces where rectangular signs might feel too rigid or out of place.
The appeal of round wood signs lies in their versatility and eye-catching design. A round shape naturally draws attention with its smooth, continuous edge, making text and images centered on the sign more balanced and aesthetically pleasing. Unlike rectangular signs, which tend to emphasize straight lines and corners, round signs create a modern farmhouse or rustic vibe that feels welcoming. This makes them great for front doors, entryways, kitchens, or living rooms.
Common uses for round wood signs include welcome greetings, family monograms, wreath-inspired designs, and special holiday messages. They often serve as statement pieces on front doors, giving visitors a warm introduction, or as accents on interior walls that can be swapped out with the seasons. Because round signs lack corners, they tend to be safer for households with children and pets, reducing the chance of bumping into sharp edges. They also pair well with vinyl decals, paint, or wood burning, allowing you to personalize the signs with intricate fonts or images.
Working with a round shape involves some specific considerations. For example, centering your design is important since the eye naturally follows circular lines, so the text or imagery should be well-balanced around the center point. Most round wood blanks come in sizes ranging from 8 to 18 inches in diameter, with around 12 inches being a popular choice for door signs. Depending on your desired look, thinner wood (about ½ inch thick) works well for indoor signs, while thicker and sealed pieces withstand outdoor weather better.
Choosing a round wood blank is a straightforward start, many craft stores or online suppliers offer pre-cut round wood pieces, often made from pine or birch. Prices vary depending on size and wood type but generally range between $5 and $20. Once you have the base, applying designs is easy with vinyl-cutting machines or stencils paired with paint. For example, using a Cricut to cut out a “Welcome” phrase in a bold font and applying it to a 12-inch round wood sign creates a modern farmhouse look that fits most entryways.
Round wood signs tend to avoid some common pitfalls of rectangular ones, such as awkward placement of corner decorations or uneven space distribution. However, the round shape can limit the amount of text or complex images you can fit, so keep designs simple and centered. Also, prepping the wood surface by sanding and sealing is important to avoid paint peeling or wood warping, especially for signs placed outdoors.
Creative Round Wood Sign Design Ideas for Every Style
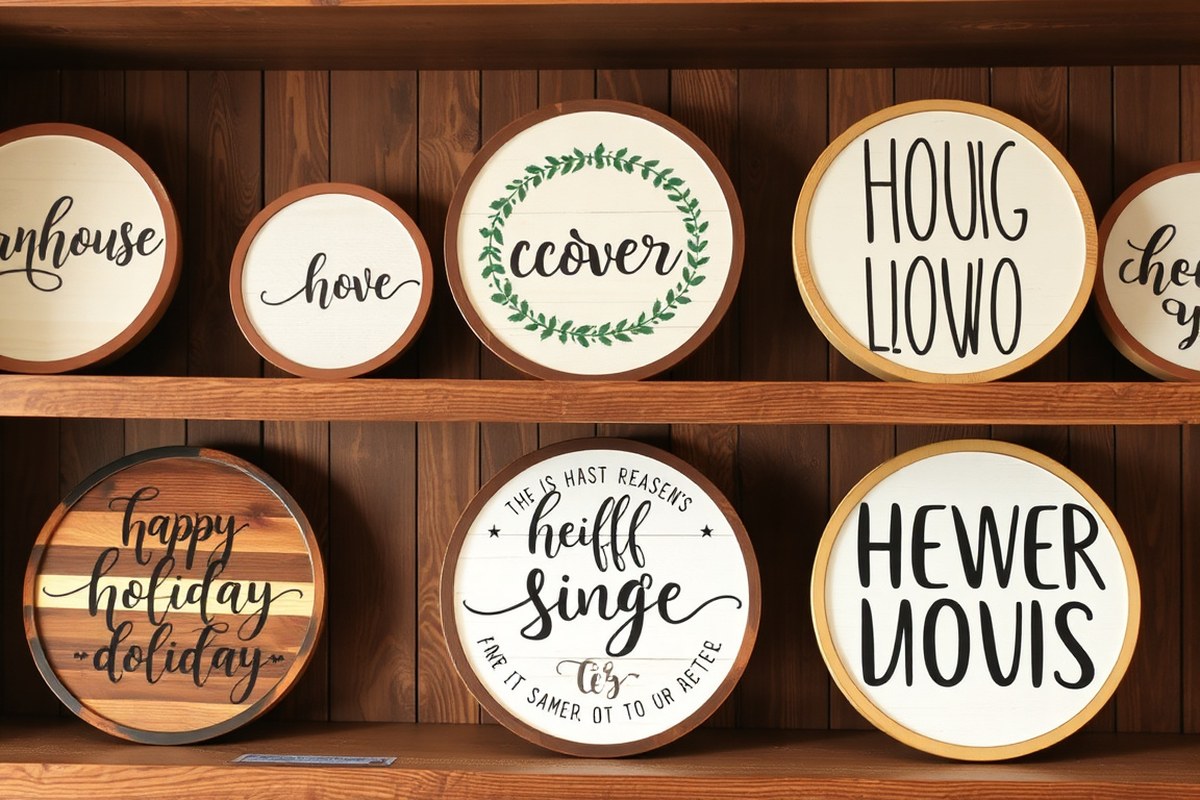
Round wood signs offer versatile design options that suit many styles, from cozy farmhouse to festive holiday displays. You can easily switch up your sign to match seasons, events, or personal tastes by changing colors, fonts, or adding accessories. Personalized signs add a special touch that makes your space uniquely yours.
Farmhouse and Rustic Styles
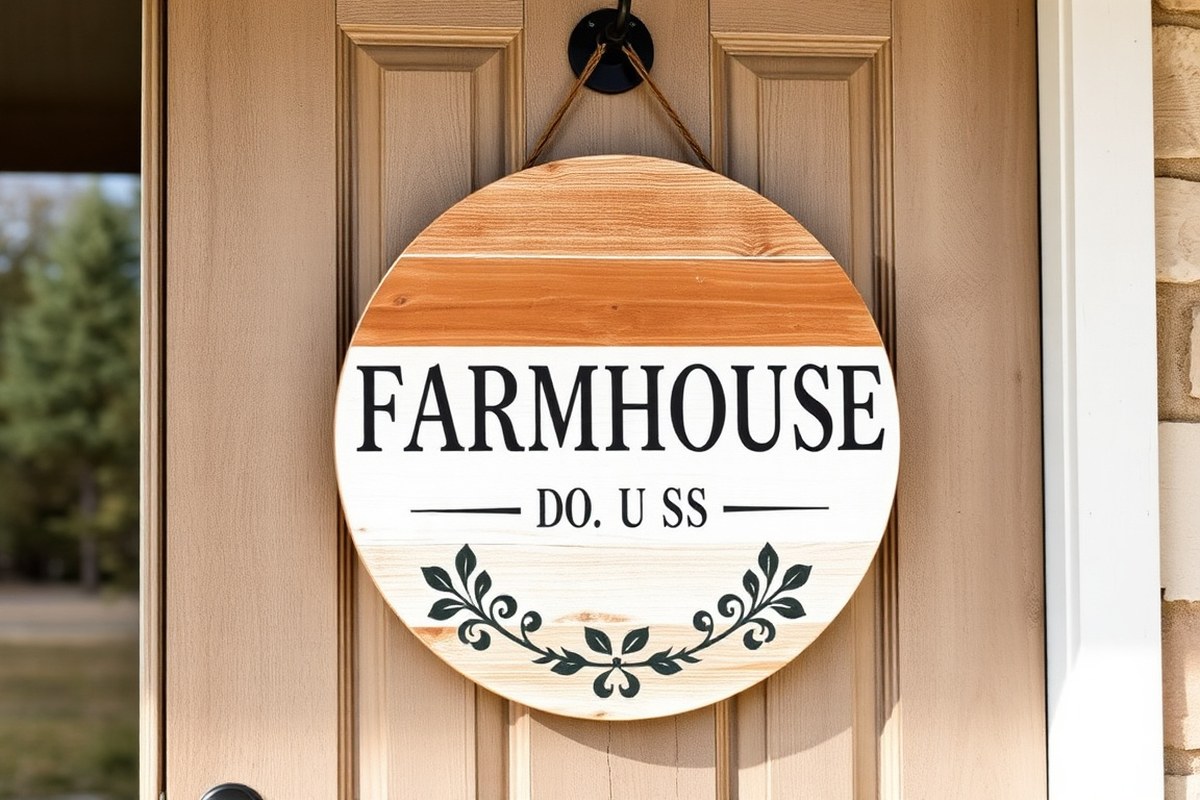
Farmhouse and rustic designs are popular themes for round wood signs because they add warmth and charm to any room. Grey stains or distressed paint finishes improve the wood’s natural grain, creating a modern farmhouse look that feels both trendy and homey. Using simple, bold fonts for phrases like “Welcome” or “Gather Here” complements these styles well.
To create this style, start by sanding your wood circle and applying a grey or whitewash stain. Use paint or adhesive vinyl to add your chosen text or design in black or dark brown for contrast. The rustic effect comes from visible brush strokes or slight imperfections, so avoid over-sanding after staining to keep texture. Pair your sign with burlap or greenery wreaths on the edges for added farmhouse charm.
Holiday and Seasonal Themes
Switching your round wood sign design with the seasons or holidays keeps your decor fresh and festive throughout the year. Paint colors, vinyl decals, and detachable decorations let you adapt your sign easily. For instance, a spring theme might use pastel flowers and “Hello Spring,” while winter features pinecones, snowflakes, or holiday greetings.
Use removable adhesive vinyl for holiday words or images to swap out designs without permanently altering the wood. You can also attach small seasonal wreaths or ribbons to the sign’s perimeter using removable hooks or ties. This method protects the wood and cuts down on repainting or re-staining costs and labor.
- Attach a wreath for added texture and seasonal flair
- Choose weather-resistant paint for outdoor signs
- Use heat transfer vinyl on sealed wood for durability
- Try thematic fonts that match the holiday mood
- Switch vinyl decals seasonally for easy updates
- Display holiday-specific messages or graphics
Use gentle removers or warm water for careful decal removal to avoid damaging your wood surface.
Rotating your sign design with seasonal themes makes it a shining focal point without needing multiple signs cluttering your space.
Personalized Family and Name Signs
Personalized signs featuring family names, initials, or custom messages add a meaningful element to your decor. These signs work great in entryways, kids’ rooms, or family rooms to celebrate your household. You can customize fonts, sizes, and colors to match your interior or the personality of the room.
To make one, select a font and size for vinyl lettering, or use stencils and paint for a hand-crafted look. For example, applying adhesive vinyl requires cleaning and drying the wood thoroughly, then carefully positioning and pressing on the decal to avoid air bubbles. Flip the vinyl design backing off slowly to ensure clean transfer. Adding a phrase like “The Johnson Family, Est. 2020” creates a warm personal statement.
Personalized signs don’t have to be limited to names. Try adding favorite quotes, greetings, or house numbers for a functional and decorative touch. Prices for custom vinyl decals range from $5 to $25 depending on size and detail, making personalization affordable and simple.
Choosing the Right Wood and Size for Your Round Sign
Choosing the best wood for your round sign depends on where you plan to display it and the look you want. For outdoor signs, select durable hardwoods like cedar or redwood that resist moisture and decay. These woods hold up well in weather but can cost $15 to $30 for a 16-inch round blank at craft stores. For indoor signs, softer woods like pine or poplar are easier to paint or stain and generally cost less, around $8 to $15 for a similar size. Thickness matters too; aim for ¾ inch to 1 inch thick to prevent warping and provide enough surface for decoration without adding excessive weight.
Size is a key factor for both visibility and fitting your intended space. Outdoor signs usually need to be at least 16 inches in diameter to ensure readability from a distance. Indoor signs can be smaller, around 8 to 12 inches, perfect for entryways or shelves. You should also measure the vinyl or painted design you want to apply, making sure it fits well within your wood circle with some blank space for aesthetics. The direction of the wood grain affects both the look and how paint or stain absorbs. Horizontal grain is popular because it allows for easier reading of text and creates a balanced design.
| Wood Type | Recommended Size | Use Case | Thickness | Typical Cost (16-inch round) |
|---|---|---|---|---|
| Cedar, Redwood | 16 inches or larger | Outdoor signs | ¾ – 1 inch | $15 – $30 |
| Pine, Poplar | 8 – 12 inches | Indoor signs | ¾ – 1 inch | $8 – $15 |
Follow a simple rule to decide size and wood combination: use larger, weather-resistant wood for outdoor, smaller and softer wood for indoor. Check for knots or debris on the wood’s surface before you start your project to ensure a smooth finish. Also, think about grain direction based on your design layout, horizontal for signs with text, radial or natural for rustic looks. Preparing your wood the right way will help the paint or stain last longer and make your sign more striking.
Step-by-Step Guide to Preparing and Decorating Round Wood Signs
Start by sanding and cleaning the wood to create a smooth, dust-free surface. Next, apply stain or paint and allow it to dry completely before adding any vinyl or iron-on decals. Finish by sealing the sign to protect your work and let everything cure for at least 24 hours to ensure durability.
Preparing the Wood Surface
Begin with sanding the round wood surface using 120-grit sandpaper to remove rough spots and ensure a smooth base. Follow with fine 220-grit sandpaper for a polished finish. Wipe the dust away with a tack cloth or a slightly damp rag, letting the wood dry fully before moving on. Proper sanding prevents uneven paint or stain absorption and helps vinyl or decals stick better.
A clean, smooth surface also reduces peeling risks for vinyl. Avoid using water-soaked rags that leave the wood too damp. When your wood has rough edges or bark, sanding those parts makes the sign look better and helps paint or stain stick well.
Painting and Staining Techniques
Choose between staining or painting depending on your desired look. Staining highlights wood grain and adds warmth; paint provides solid color coverage and more design options. Apply stain with a brush or clean cloth in smooth, even strokes, wiping off excess after one to two minutes for a lighter tone. For paint, use a foam brush or small roller to avoid brush marks.
Allow each coat to dry completely, typically 2 hours minimum for stain and 24 hours if using paint. Multiple coats can deepen color but require drying time between layers. Applying a light sanding between paint coats with 220-grit sandpaper removes bumps and keeps the surface even.
Applying Vinyl and Iron-On Designs
Before applying decals, position your vinyl design on transfer paper to simplify handling. Preheat the wood round for about 5 seconds using an iron or heat press. This step pulls moisture from the surface, helping iron-on vinyl adhere properly. Carefully place the vinyl design onto the wood and press firmly with an iron set to low heat or a heat press according to your vinyl’s instructions.
Peel off the transfer paper slowly after the vinyl has cooled down. For adhesive craft vinyl, simply stick the design onto the dry wood, smoothing air bubbles with a scraper or credit card. Repeat with additional vinyl images if your design requires layering.
Sealing and Drying Timeframes
Finish your sign by applying a clear sealant to protect against weather, UV rays, and wear. Use a water-based polyurethane or clear acrylic spray for wood signs intended for outdoor use. Apply two to three even coats with a brush or spray, letting each coat dry at least 2 hours. Avoid thick coats to prevent drips.
After the final sealant coat, allow the sign to cure for at least 24 hours at room temperature. Proper drying and curing increase longevity and keep colors vibrant. Handle the sign gently during this time to avoid smudges or damage.
- Sand the wood surface first with 120-grit, then 220-grit sandpaper.
- Clean the wood of dust using a tack cloth or damp rag; dry fully.
- Apply stain or paint evenly; let stain dry 2 hours or paint 24 hours minimum per coat.
- When painting, sand gently between coats using 220-grit sandpaper.
- Preheat the wood for 5 seconds before applying vinyl or iron-on decals.
- Position and apply vinyl or iron-on design carefully using a heat source as directed.
- Peel transfer paper slowly once vinyl is set and cooled.
- Seal the finished sign with 2-3 thin coats of clear sealant; dry 2 hours between coats and cure 24 hours.
Best Tools and Machines for Creating Round Wood Sign Designs
Cutting machines like Cricut and Silhouette work great for applying vinyl to round wood signs. These machines precisely cut your vinyl designs, allowing you to create clear, detailed patterns that fit the curved surface of the sign. Cricut offers models like the Cricut Explore Air 2, which costs around $200 to $250, suitable for beginners and intermediate users. Silhouette Cameo 4 is a bit more expensive, roughly $300 to $350, and offers similar capabilities with slightly different software options. Both machines support a variety of vinyl sheets, including heat-transfer vinyl (HTV) that can be applied to wood with heat presses or iron tools. For starters, Cricut’s software tends to be more user-friendly, which helps when learning to create and size your designs properly. The Silhouette machine is better for users who want more control over the cutting process and design customization.
Heat presses, particularly the Cricut EasyPress 2, make applying HTV to wood smooth and professional-looking. For example, pressing at 315°F for 30 seconds with medium pressure generally works well for wood signs. Use a protective sheet like parchment or a Teflon sheet between the EasyPress and the design to prevent scorching or damage to the wood. Heat presses cost between $150 and $200, making them a worthwhile investment if you plan to make many signs or want consistent results. Without heat pressing, ironing can still work but may lead to uneven adhesion and less professional outcomes. Remember that wood heat transfer requires careful temperature control since too much heat can burn or warp the wood.
Paintbrushes and hand-painting remain essential tools, especially for beginners or those who want a rustic touch. A few quality synthetic brushes in fine and medium sizes give you control over detail and coverage. Paint costs can vary, but acrylic craft paints start around $3 to $5 per color. Hand-painting takes more practice and time, but it allows customization without needing machines. Beginners can start with stencils combined with paintbrushes to get clean lettering or shapes, then gradually work up to freehand techniques.
For beginners, a combination of Cricut with heat transfer vinyl and a heat press or EasyPress is often the best way to achieve professional-looking signs with minimum frustration. It simplifies the cutting and transferring process while delivering clean edges and sharp designs. Those on a budget or with more available time may start with paint and brushes, upgrading to cutting machines after gaining some confidence. Both options work well for small to medium signs of about 10 to 15 inches in diameter. Larger signs might require multiple vinyl pieces or more extensive painting.
Always test your heat press settings on a scrap wood piece before the final project to avoid burning or peeling of your vinyl design.
How to Hang and Display Round Wood Signs Securely
Hanging round wood signs securely ensures they stay in place and look great for a long time. You can use several safe hanging methods depending on where and how you want to display the sign. Ribbons or twine add a decorative touch and work well indoors, but for heavier signs or outdoor use, hooks and hardware provide more stability. Choosing the right method depends on your sign’s weight, size, and location.
For indoor hanging, attach a sturdy ribbon or leather strip around the back edge of the sign. Use a strong adhesive or small screws to secure the ribbon ends. Then loop the ribbon over a wall hook or nail. This method lets you swap signs easily for seasonal decor and doesn’t leave large holes in the sign or wall.
- Use D-ring hangers on the backside, attached with screws for a secure grip.
- Attach a sawtooth hanger centered on the back for easy hanging on nails.
- Wrap a weather-resistant rope or twine around the sign edge for a rustic look.
- Install keyhole hangers to mount flush against walls for a clean appearance.
- Use strong adhesive hooks on smooth surfaces for temporary displays.
Outdoor signs require stronger hardware and weatherproofing. Switch to stainless steel screws and hooks to prevent rust. Consider sealing the hanging area with outdoor-grade clear varnish to protect wood from moisture and sun damage. Use heavy-duty wire or galvanized chain to hold the sign securely, especially in windy locations. Make sure holes drilled for hangers are clean and slightly larger than screw thickness to allow for wood expansion in heat or humidity.
Reusing hangers can save time, especially if you update your seasonal signs often. Install permanent hooks or hardware on the wall or door frame, then interchange the signs by attaching matching hangers each time. Label your signs or their hangers to keep track of what matches. This method avoids repeatedly poking holes in the wood or walls, preserving both.
Signs hung by ribbons or lightweight twine may last just a few months outdoors before fading or fraying, so swap those for more durable materials for year-round displays. Testing your hanging method by gently pulling on the sign can indicate whether it’s secure without risking damage. A sign that shifts or tilts easily probably needs stronger supports or a better mounting point.
Common Mistakes and How to Fix Round Wood Sign Projects
One common problem when creating round wood signs is vinyl bubbling. Bubbles happen when air gets trapped beneath the vinyl during application or when the surface is uneven or dusty. To fix vinyl bubbles, carefully lift the vinyl in the affected area using a sharp craft knife, then smooth it out with a plastic scraper or credit card before pressing it back down. Prevent bubbling by cleaning the wood surface thoroughly with a tack cloth and ensuring the wood is smooth and dust-free. Applying vinyl at room temperature (around 70°F) also helps it adhere better without trapping air.
Paint running or bleeding is another frequent issue, especially on round wood signs with curves or uneven edges. This usually occurs when paint is applied too thickly or on an unsealed surface. To fix paint runs, wait for the paint to dry fully, then lightly sand the run with fine-grit sandpaper (220 grit). Wipe away dust and apply a thin, even coat of paint again. Seal the wood before painting using a clear wood primer or sealer, and use brushes designed for precision work. Thin your paint with water or appropriate thinner to improve flow without pools forming.
Uneven finishes can result from insufficient drying time between paint or stain coats. This causes your sign to look blotchy or sticky and can lead to longer project times. Avoid this by following recommended drying times, usually 2 to 4 hours for paint and 24 hours for stain at room temperature and low humidity. Use a fan to accelerate drying but avoid direct heat, which may cause cracking or bubbles. Good results show consistent color and a smooth tactile finish, with no sticky or damp spots.
- Always sand the round wood sign twice: before staining and before painting for a smooth surface.
- Use a microfiber cloth or tack cloth to remove dust before applying paint or vinyl.
- Test vinyl adhesion on a small spot first to prevent bubbling.
- Thin paint slightly and apply multiple thin layers instead of one thick coat.
- Keep room temperature between 65°F and 75°F during drying for best results.
- Wait 24 hours before handling or hanging the sign to ensure full cure.
Vinyl bubbles cost only your time and patience to fix but can ruin intricate designs if left untreated. Paint errors may require light sanding tools (around $5 for sandpaper) and quality brushes ($3-$10 each), a reasonable investment for an improved finish. Drying time varies with climate; higher humidity slows drying, so choose a dry day or use a dehumidifier when working indoors. Recognizing these mistakes early helps maintain the beauty and durability of your round wood sign projects.
Seasonal and Holiday Round Wood Sign Ideas and Updates
Seasonal and holiday round wood signs offer a simple way to refresh your space without starting a new project each time. Designs that feature iconic elements of a holiday or season paired with neutral backgrounds work best. Updating signs using reversible designs or interchangeable accents lets you stay creative and save time. Outdoor projects require special finishes to hold up against weather and keep colors bright.
Christmas and Winter Sign Ideas
Popular winter sign designs often include Christmas wreaths, snowflakes, pine trees, or holiday greetings like “Merry & Bright.” Use classic colors such as red, green, white, and metallic gold or silver to evoke the festive spirit. Layering paint or vinyl decals over a distressed wood background can add cozy charm.
Consider making a reversible sign with one side showing a Christmas theme and the other a generic winter scene like snow-covered trees. Switching the sign every year keeps your decor feeling fresh without extra cost.
Spring and Summer Themes
Spring and summer are great times to add light, airy colors and nature-focused images. Think flower blossoms, butterflies, sunshine, or beach motifs. Soft pastels and bright yellows, blues, and greens suit this season well.
To update a sign for these warmer months, focus on removable or paintable embellishments like seasonal floral wreaths or fabric ribbons that clip on rather than permanently glued. This method lets you cycle decorations quickly without sanding or repainting.
- Use floral or garden imagery for spring
- Paint bright yellow sunflowers or beach balls for summer
- Attach simple hooks to swap hanging accents like garlands
- Choose weather-resistant paint for outdoor signs
- Keep phrases generic to allow easy seasonal use, e.g., “Welcome Spring” or “Hello Summer”
Fall and Halloween Designs
Autumn brings rich oranges, deep reds, and rustic browns. Pumpkin silhouettes, fall leaves, and friendly Halloween characters (like black cats or smiling ghosts) are popular motifs. Layering chalkboard paint under design elements offers the chance to rewrite messages or draw fresh decorations each year.
When updating, swap out removable elements such as wreaths or magnetic accents, ensuring your base wood sign remains usable for many seasons. Using sealants designed for outdoor use helps protect your creation from moisture and fading during unpredictable fall weather.
For outdoor holiday signs, apply a clear outdoor polyurethane finish after painting and let it cure for at least 24 hours to ensure the design lasts through rain and chilly weather.
Step-by-Step Action Plan for Your Round Wood Sign Project
Follow this plan to create your round wood sign efficiently and with great results.
- Day 1: Choose your wood and size based on where you’ll hang the sign; check for smoothness and minimal knots for easier decorating.
- Day 2: Gather your supplies and tools, including sandpaper, brushes, paint or stain, stencils, and hanging hardware, ensuring everything is ready before you start.
- Day 3: Sand the wood surface to remove rough edges and prepare it for painting; smooth wood absorbs paint better and lasts longer.
- Day 4: Apply your base coat of paint or stain evenly; wait for it to dry fully, checking that the surface feels dry to the touch before moving on.
- Day 5: Use stencils or freehand techniques to add your design elements; test your design on paper first if you’re unsure.
- Day 6: Apply a clear protective sealer suited for wood signs, like polyurethane, to guard against wear and moisture, and let it dry overnight.
- Day 7: Attach hanging hardware securely, then test the sign’s weight on the mounting setup to confirm it holds firmly before final display.
Frequently Asked Questions
What Are Some Unique Materials to Use Alongside Wood for Round Signs?
Metal accents and fabric ribbons add texture and contrast to wood signs. These materials can improve your design and make your sign stand out.
Can I Create a Round Wood Sign Without Power Tools?
Yes, you can use hand sanding and acrylic paint with brushes to create signs. This approach is slower but safe and accessible for beginners.
How Do I Weatherproof a Round Wood Sign for Outdoor Use?
Apply a clear outdoor sealant or polyurethane for water and sunlight protection. Reapply every year to maintain durability.
What Painting Techniques Make Round Wood Signs More Visually Appealing?
Stenciling and layering paint colors create sharp, clean designs with depth. Try light sanding between layers for a distressed look.
How Can I Personalize a Round Wood Sign for Gifts?
Use vinyl cutouts with names or monograms for a custom touch. Adding dates or special messages makes it memorable.
Are There Eco-Friendly Options for Making Round Wood Signs?
Choose sustainably sourced wood and low-VOC paints to reduce environmental impact. Reusing scrap wood also works well.
The Bottom Line
Creating a round wood sign lets you add a personalized touch to your home or gifts. Starting with the right preparation and tools sets you up for success. Pick a simple design that excites you and begin sanding your wood today to turn your idea into a lasting decoration.