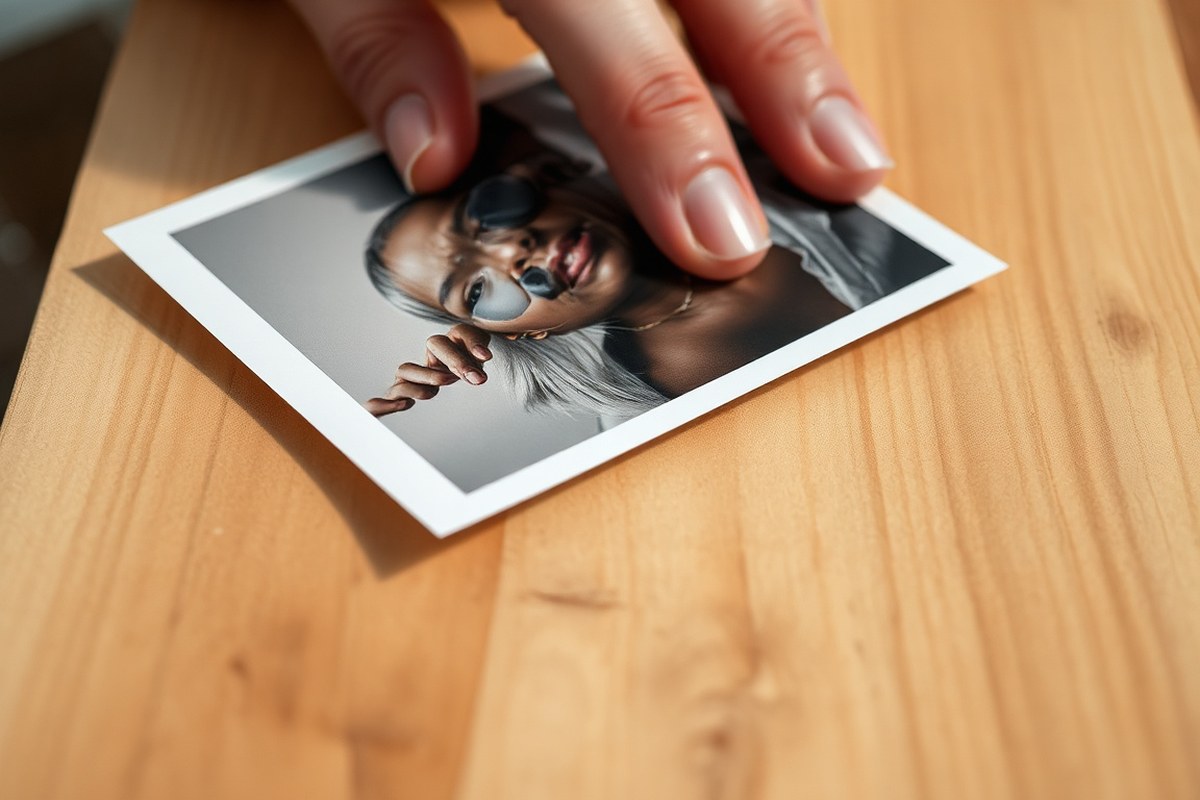
How to Transfer Printer Ink to Wood: 8 Proven Methods with Tips and Tricks
How to transfer printer ink to wood starts with printing your image on the right paper and applying it gently to a clean, smooth wood surface. The ink from laser printers works best, using methods like gel medium or heat transfer to move the image onto wood. Allowing at least 12 hours for drying improves adhesion and image clarity.
Key Takeaways
- Use laser-printed images for sharper, longer-lasting transfers on wood surfaces.
- Choose smooth, clean wood and sand it lightly to create a better bond with the ink.
- Allow 12 to 24 hours for the transfer to dry fully before peeling off the paper.
- Apply even pressure during transfer to avoid uneven ink distribution or missing areas.
- Sealing your transferred image with a light coat of Mod Podge protects it from fading.
- Avoid heavy brush strokes when sealing to prevent smudging the transferred ink.
1. How to Transfer Printer Ink to Wood: Basic Process Explained
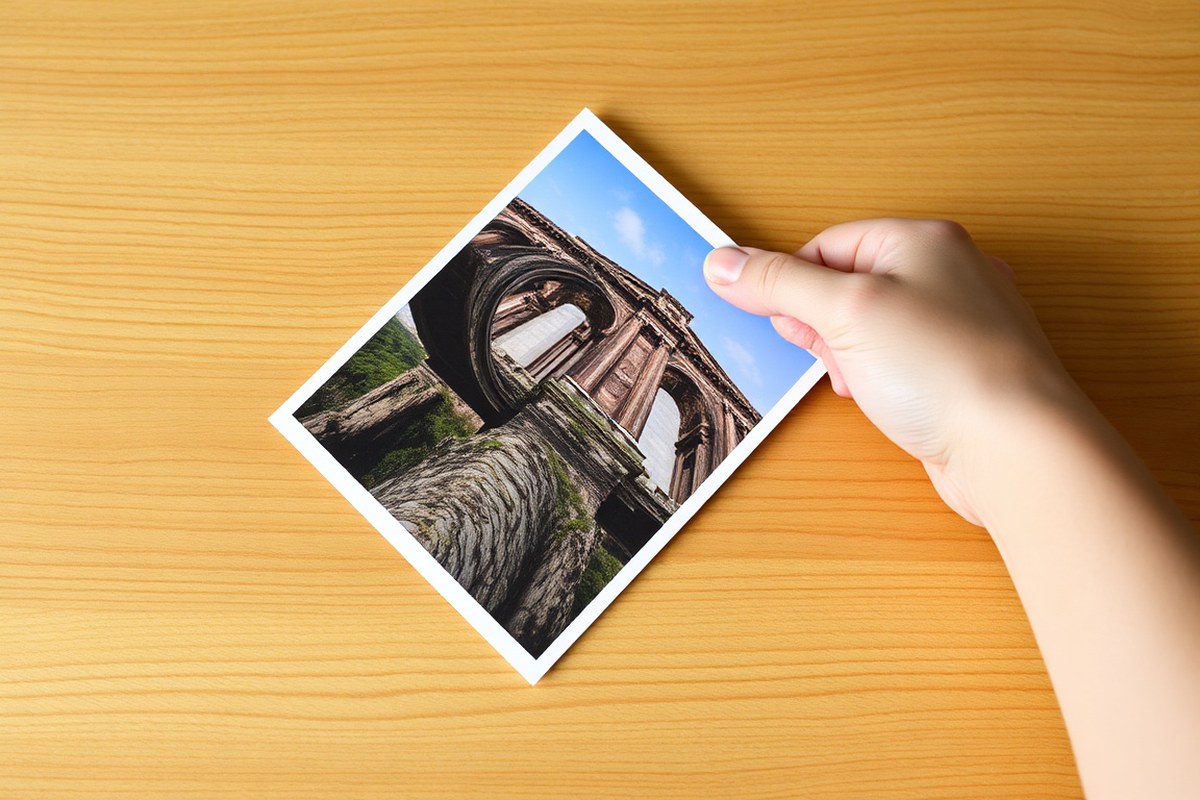
Transferring printer ink to wood involves moving an image printed on paper to a wooden surface, creating a unique and rustic look for crafts and woodworking projects. The core idea is to print your graphic or photo on special paper or directly onto a transfer medium, then press it onto wood so the ink bonds with the wood’s surface instead of staying on the paper. This process lets the ink sink into the grain and fibers of the wood, creating a natural, textured image that feels part of the wood rather than just sitting on top.
The transfer starts by printing a mirrored (flipped) version of your image. Mirroring matters because you place the ink side directly on the wood, so the image reverses again when transferred, showing the correct orientation. After printing, you position the ink side down on the clean, smooth wood surface. You then firmly press the image by rubbing with a flat tool like a brayer, credit card, or spoon. This pressure causes the ink to release from the paper backing and attach to the wood. Some methods use adhesives or gel mediums to help the ink stick, while others rely on heat or water to make the transfer smooth and strong.
For example, one simple process uses a laser or inkjet printer and an adhesive transfer paper. After printing your flipped image onto the paper, lay it ink side down on the wood and rub firmly to push the ink into the wood’s surface. Let it cure as needed, which typically means waiting 12 to 24 hours for full bonding before carefully removing the paper backing. Peeling too early risks pulling off the ink, ruining the transfer. Gel mediums or Mod Podge can act as the adhesive layer for inkjet prints, but the ink must be dry first to prevent smearing. Some transfer papers include a wax or plastic backing, which you press to the wood and then peel away, much like applying a temporary tattoo.
The wood type influences how well the ink bonds. Softwoods absorb ink more easily, helping the image sink into the grain, while hardwoods can be more resistant, requiring sanding or specialized adhesives. The surface needs to be clean and free of finishes because sealants block ink absorption and may cause patchy transfers. The cost of supplies varies: clear transfer papers or gel mediums can range from $5 to $15 per pack, depending on size and quantity, while printers capable of producing sharp images start around $50. The best results come from good-quality prints with high contrast and smooth color transitions, as faint or blurry images won’t show well once transferred.
Simple transfer workflow:
1. Flip (mirror) and print your image on transfer paper using an inkjet or laser printer.
2. Place the printed, ink side down on clean, smooth wood.
3. Press firmly with a brayer or flat tool to transfer the ink.
4. Allow to dry or cure 12, 24 hours for strong adhesion.
5. Gently peel off the paper backing to reveal your transferred image.
At each step, pressure, cleanliness, and patience affect the outcome. Rushing the drying time or using wood with paint or sealant often causes incomplete transfers. The bonding happens as the ink settles into the wood grain and sticks via adhesives or controlled moisture, depending on your chosen method. This natural bonding gives transferred printer ink on wood its distinctive, durable look prized by crafters and woodworkers alike.
2. Choosing Materials and Preparing Your Wood for Best Results
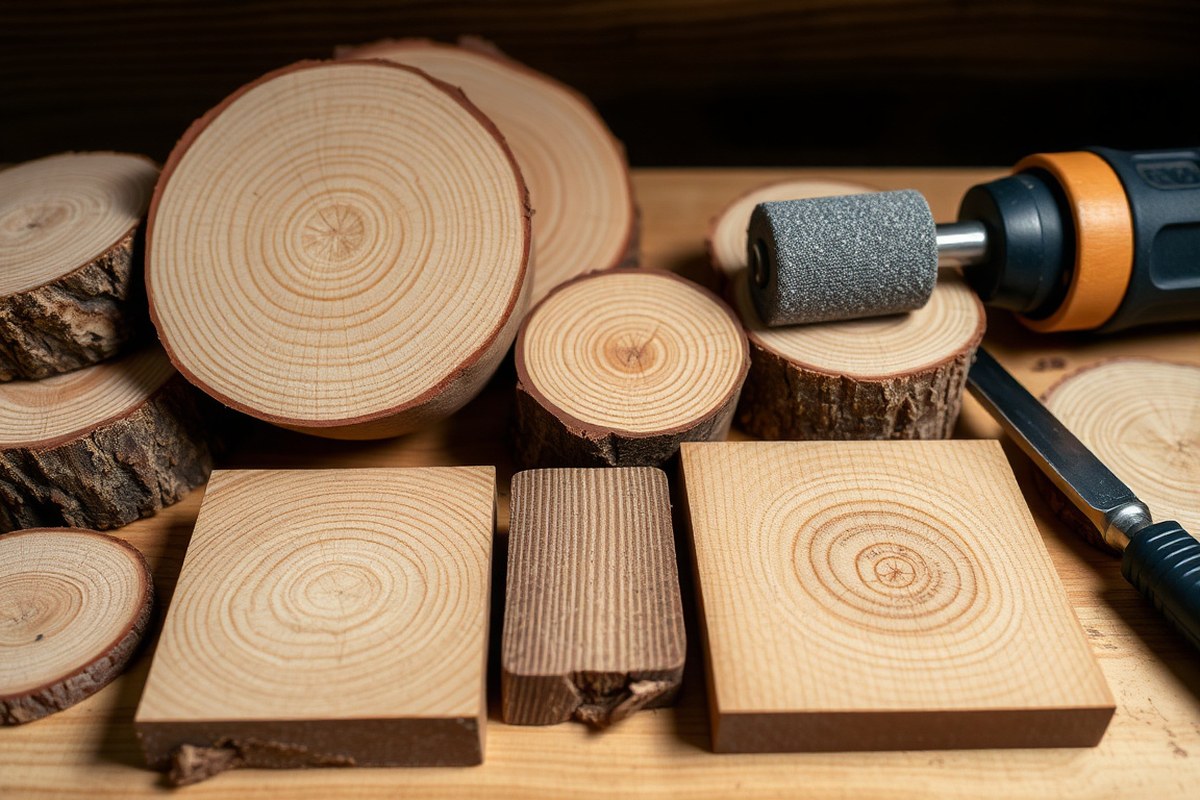
Choosing the right wood and preparing its surface properly are key to getting a clear and lasting printer ink transfer. Soft, flat-grained woods like basswood, birch, or maple work best because they offer a smooth finish that prevents gaps or fuzziness in the transferred image. Avoid rough or porous woods, as heavy grain patterns can interrupt the ink and reduce image sharpness.
Wood surface texture affects how well the ink transfers. The surface should be smooth but not glossy. Sanding the wood smooth with fine-grit sandpaper, typically 220-grit, removes rough patches and creates an even base. You’ll want to sand just enough to eliminate splinters and texture, taking care not to over-smooth or round edges where the image will go. Light sanding on previously painted wood also helps the image adhere better, but do a small test spot first to make sure the paint won’t peel.
After sanding, clean the wood surface thoroughly to remove all dust and debris. Use a dry microfiber cloth or tack cloth for best results. Any leftover dust will cause gaps or bubbles, which will show as flaws in the final image. Avoid using water or wet cloths that might raise the wood grain or cause warping before the transfer.
- Choose soft, flat-grained wood like basswood, birch, or maple
- Smooth the surface with 220-grit sandpaper to remove roughness
- Lightly sand painted surfaces and test first
- Clean dust with a dry microfiber or tack cloth thoroughly
- Avoid glossy, sealed, or finished wood unless sanding to bare wood
- Work quickly once the image is placed to avoid drying issues
A wood finish can block ink transfer, so do not use sealed or varnished wood. The transfer works by the ink bonding directly to the bare wood fibers. If you use finished wood, the image will not stick properly and may peel off easily. You can remove existing finishes by sanding down to raw wood, but do this carefully, sanding after the transfer will damage the image.
Do not sand or clean the wood surface with water just before transferring, as moisture can raise the grain and affect image adhesion.
Following this preparation routine will help your transferred images retain sharpness and stand up to handling. The entire process requires only basic tools, sandpaper, cleaning cloths, and low-cost wood pieces, often under $5 per board foot in craft stores. Taking the time to prepare your wood right avoids most common transfer flaws like patchy ink or blurred lines, resulting in a smooth, vibrant photo transfer.
3. Preparing and Printing Your Image for Transfer
Preparing your image properly before printing is essential for a clear and accurate transfer onto wood. You need to reverse or mirror the image if it contains text or directional details and optimize your printer settings to ensure the ink saturates the paper well. Using the right paper type for your chosen transfer method also affects the final quality.
Mirroring and Resizing Your Image Correctly
Reversing your image horizontally is important when your design includes any text or directional elements. This step ensures that when the image transfers to the wood, it appears the right way around. You can mirror your image in common photo editing software such as Photoshop, GIMP, or even free online editors. Besides mirroring, resize your image to fit the wood surface where you want to place it. Measure the wood’s area carefully to avoid distortion or unexpected cropping during the transfer. Follow these steps for precise image preparation:
- Open your image in an editing program.
- Use the horizontal flip or mirror function to reverse the image.
- Adjust the image size to fit your wood surface dimensions.
- Check resolution, keep it at least 300 dpi for sharp details.
- Save the mirrored and resized image as a high-quality PDF or JPEG.
- Print a test version on regular paper to verify orientation and size.
Choosing Printer Settings for Best Ink Saturation
Printer settings significantly impact ink transfer quality. Set your printer to use “Best” or highest quality print mode to maximize ink saturation and detail sharpness. Paper type settings should match the paper you’re using, such as “Plain Paper” for laser printer transfer or “Transparency” for wax paper with inkjet printers. These selections help the printer lay down ink correctly without oversaturating or wasting ink. For color images, enabling color correction or using sRGB profiles in your print settings can improve accuracy.
Printing immediately after preparation helps prevent ink drying issues, especially with inkjet ink on wax paper, as it can smear easily. Handle the printed sheet gently to avoid smudging.
Selecting Compatible Paper for Each Method
Paper choice varies depending on your transfer technique. For laser printer toner transfers, use lightweight white 20 lb copy paper, which peels off cleanly after the transfer. Inkjet printers work best when printing on wax paper for specific transfer methods; print on the waxy side to get proper ink adherence. Special transfer papers are often used when applying heat or adhesives for permanent transfers, which cost around $10 to $20 per 20-sheet pack.
Plain copy paper works well for methods involving acetone or heat because it releases the toner better. Avoid glossy or thick paper as it hinders ink transfer. Testing a few paper options on a small scrap piece of wood can help you identify the best paper for your chosen method without waste.
4. Eight Reliable Methods to Transfer Printer Ink to Wood
There are several reliable ways to transfer printer ink to wood, each with different materials, difficulty levels, costs, and results. Some methods work only with laser printers due to the dry toner, while others accommodate inkjet prints. Color vibrancy, detail sharpness, durability, and ease of use vary widely, so choosing the right method depends on your printer, the look you want, and how much time you want to spend.
Mod Podge and Gel Medium Transfers
Mod Podge and acrylic gel medium are popular for transferring images printed with laser printers. The process involves brushing a generous, even coat of gel medium or Mod Podge onto the printed side of your image, then placing it face down on the wood. Once dried fully, you dampen the paper to peel it away, leaving the toner or ink bonded to the wood.
The gel medium method uses acrylic gel applied to the wood surface and tends to provide sharper, more detailed images than the traditional Mod Podge transfer, which usually applies to the paper. Both produce durable, high-quality transfers with a slightly vintage look, especially effective for black-and-white or textured images.
- Use laser printer images only; inkjet inks will smear or fail.
- Allow Mod Podge or gel medium to dry completely before peeling; otherwise, the transfer can break or blur.
- Gel medium is more expensive but produces excellent color retention and crispness.
- Typical dry time is 24 hours before peeling.
Laser Toner Transfer with Acetone or Solvent
This method works exclusively with laser printer toner due to its solid, dry form. You place your printed image toner side down on the wood, then apply acetone or a specialized solvent to dissolve and transfer the toner onto the surface. This produces sharp images with vivid contrast and solid color presence.
The process is less beginner-friendly because acetone fumes require ventilation and careful handling, and it is easy to smear the image if applied unevenly. It also takes about 10 to 15 minutes of careful solvent application and blotting. Despite the difficulty, the result is excellent durability and detail quality.
- Only laser toner works; inkjet ink dissolves and runs.
- Requires gloves and a well-ventilated workspace for safety.
- Typical materials: acetone, cotton balls, gloves, and a plastic scraper or credit card.
- Strong detail retention makes this method best for designs needing sharp edges.
Wax Paper, Tattoo Paper, and Label Backing Methods
The wax paper method suits inkjet prints but muting of colors is common, making it better for vintage or soft-toned images. You print your design on regular paper, then transfer the ink to wax paper by pressing with a warm iron. The wax paper is then placed ink side down on wood and rubbed firmly to transfer the image.
Tattoo paper and label backing methods act like temporary tattoos for wood and work with inkjet prints. Tattoo paper requires that you print a mirror image and use a water-dampening step to release the image onto wood. Label backing works similarly but is simpler, with less prep.
- Suitable for inkjet printers, unlike solvent or gel methods.
- Wax paper mutes colors noticeably, creating a faded look.
- Tattoo paper holds colors better but costs about $5 to $10 per sheet.
- Label backing is low cost but less consistent in durability and detail.
- Dry time varies; tattoo paper transfers complete within minutes.
Direct Inkjet Press with Adhesive Label Backing
This method involves printing directly on adhesive label backing with an inkjet printer, then pressing the label onto the wood surface. After applying heat or moisture as recommended, you peel the paper backing, leaving the ink on the wood. It is quick and straightforward for brightly colored, large images.
The downside is that inkjet inks remain somewhat transparent, so colors appear softer compared to laser toner transfers. Adhesive label backing ranges in price but is generally affordable, about $10 to $20 per pack. It is less durable than gel medium or acetone methods and better for projects with shorter display times.
- Works only with inkjet; laser toner will not adhere properly.
- Do not expect sharp details, works best for bold colors and simple designs.
- Peeling should be done gently after a short drying or heating period.
- Avoid water exposure if you want the image to last.
Other Creative or Hybrid Techniques
Some DIY crafters combine methods or invent custom techniques like layering multiple transfers or using matte gel for texture. These tend to be experimental and less predictable but can yield unique effects. For example, combining gel medium with transfer paper and lightly sanding the wood can create a distressed vintage look.
Using the backing paper of printer labels as a transfer tool is a lesser-known variation that yields interesting results but is appropriate mostly for smaller or test projects. These hybrid methods usually require more time and several materials, so they are better for crafters with patience and a willingness to experiment.
- Most hybrids require laser toner to ensure durability.
- Better for art pieces than functional wood surfaces exposed to wear.
- Materials often include combinations of gel medium, label backing, and acrylic sealers.
- Trial and error are part of the process; expect 2 to 3 attempts for good results.
| Method | Difficulty | Cost | Durability | Best For |
|---|---|---|---|---|
| Transfer Paper | Easy | Low | Good | Beginners, inkjet prints |
| Gel Medium | Medium | Medium | Excellent | Vintage looks, laser toner |
| Direct Transfer (acetone) | Hard | Low | Poor to Good (depends on skill) | Experiments, sharp details, laser toner only |
| Wax Paper | Easy | Low | Moderate | Vintage style, inkjet prints |
| Tattoo Paper | Medium | Medium | Good | Inkjet, softer colors, smaller images |
| Label Backing | Easy | Low | Moderate to Low | Inkjet prints, quick crafts |
| Direct Inkjet Adhesive Transfer | Easy | Medium | Moderate | Bold color, inkjet only |
| Hybrid/Creative | Variable | Variable | Variable | Advanced projects, unique effects |
Selecting a transfer method hinges on your printer type and your goal for the finished wood piece. Laser printers pair best with gel medium or solvent transfers for sharpness and longevity. Inkjet prints require options like wax paper or tattoo paper, with color and detail tradeoffs. Budget, time, and desired image style also influence the best approach.
5. Drying, Peeling, and Sealing Your Transferred Image on Wood
After completing the printer ink transfer onto wood, wait about 30 to 60 minutes for the transfer to dry partially before peeling the paper away. This drying period allows the ink to set slightly but remains flexible enough to avoid cracking. Peel the paper very slowly and gently from one corner or edge at a shallow angle to minimize the risk of tearing or lifting the ink. Rushing this step can cause smudges or incomplete image transfers.
The ink sits mostly on the surface of the wood, making protection essential. Once the paper is fully removed and the image is dry to the touch, apply a clear sealer to preserve the colors and shield the design from moisture, dust, and UV light. Use a product like polyurethane, acrylic spray, or Mod Podge. Polyurethane offers tough, long-lasting protection but might darken the wood slightly. Acrylic spray dries quickly with less yellowing and works well for delicate images. Mod Podge is a cost-effective option that requires a drying time of 24 hours and should be applied with the lightest brushstrokes to avoid disturbing the ink.
Applying two to three thin coats of sealer typically provides adequate protection. Let each coat dry for two to four hours at room temperature before applying the next. This creates a smooth, durable surface that helps prevent fading and damage. A properly sealed image can last several years indoors with normal care, but outdoor exposure will reduce its lifespan without weatherproof sealers and maintenance.
To avoid smudging during sealing, never apply heavy pressure or overly wet brushes. Use a soft, dried brush or spray nozzle, and maintain good ventilation to speed drying. High humidity and low temperatures can prolong drying and increase smudge risk. At temperatures above 70°F, drying goes faster and sealant cures better. Avoid sealing too soon, make sure the transfer ink is fully dry to the touch before any coating.
Peel your paper slowly at a shallow angle to keep edges clean and prevent ink lifting or tearing on the wood surface.
6. Common Problems When Transferring Ink to Wood and How to Fix Them
Incomplete images usually result from uneven application of the acrylic gel medium or trapped air beneath the transferred image. To avoid missing parts of your image, spread a smooth, even coat of gel across the entire wood surface. When placing the laser-printed image face down, press firmly and start smoothing from the center outwards to push out any air bubbles. Leaving bubbles can cause blank spots once the paper is peeled away, so use a flat tool like a credit card or a brayer to apply firm, even pressure.
Blurring or smudging often happens if the ink hasn’t dried properly before the transfer or if you use the wrong type of printer. Laser printer ink works best because it stays on the paper surface and transfers cleanly. Inkjet prints tend to smear since the ink absorbs into the paper. To fix smudging, always use a fresh laser print and allow the image to dry thoroughly after printing before starting. Also, avoid pressing too hard or moving the paper once it’s on the gel to prevent the ink from shifting.
Air bubbles form when the paper isn’t pressed down evenly or when the gel medium is too thick. These bubbles keep the image from fully contacting the wood, causing parts of the design to be lost. To prevent bubbles, apply a thin, consistent layer of acrylic gel. Then place the image face-down and immediately press out bubbles using slow, steady strokes from the center outward. If bubbles appear after drying, you might carefully reapply a thin gel coat and press again before sealing.
Premature fading happens when the wood surface wasn’t sealed properly or when the piece is exposed to excessive sunlight or moisture. After peeling the paper and drying, seal the transfer with a clear, water-based polyurethane or polycrylic. This not only protects the transferred ink but also improve color vibrancy. Avoid sealing with oil-based products as they may yellow over time. Store or display the finished project indoors away from direct sunlight for longer-lasting results.
- Incomplete image: apply even acrylic gel, press from the center outward
- Blurring: use laser prints, dry ink completely before transfer
- Air bubbles: use thin gel layer, smooth out firmly with a flat tool
- Smudges: avoid moving paper once placed on gel, press gently but firmly
- Fading: seal with water-based polyurethane or polycrylic, avoid sunlight exposure
Most issues trace back to uneven gel application or insufficient pressure during transfer. Taking time to prepare your wood and applying consistent, firm pressure until fully dry will minimize transfer problems. Sealing the final piece properly safeguards your design against everyday wear and fading factors like light and humidity.
7. How Environmental Factors Affect Printer Ink Transfers to Wood
Maintaining an ideal room temperature between 65 and 75 degrees Fahrenheit is key to successful printer ink transfers to wood. At these moderate temperatures, the ink adheres efficiently to the wood surface and cures properly. Temperatures below 65 degrees can slow the drying process, causing smudging or incomplete transfers. Above 75 degrees, the ink may dry too quickly, leading to uneven adhesion or cracking. To control this, use a thermostat or space heater in cooler months, or a fan and air conditioning during warmer seasons.
Humidity also plays a significant role in how well the ink transfers and dries. High humidity, generally above 60 percent relative humidity, can prolong drying times and cause the ink to run or blur. On the other hand, very low humidity (below 30 percent) might make the wood too dry, which can reduce ink absorption and result in patchy images. Aim for a humidity level between 40 and 55 percent for the best balance. Using a dehumidifier or humidifier can help you maintain this range in your workspace.
Workspace conditions beyond temperature and humidity affect transfers as well. Avoid working near open windows or vents that create drafts. Sudden airflow can cause uneven drying or introduce dust and debris onto the wet transfer, ruining the image. A clean, stable environment without fluctuations in temperature or humidity gives the most consistent outcomes. Monitoring tools such as a digital thermometer and hygrometer are affordable options, often costing less than $30, to keep these factors in check.
Seasonal changes demand extra attention because temperature and moisture levels can vary widely. Winter months typically bring drier air indoors, which might require humidifiers to boost moisture. Summer can bring both higher temperatures and humidity, so air conditioning and dehumidifiers become necessary to keep conditions constant. Scheduling your transfer projects during milder parts of the year can reduce variables and improve reliability.
Results look their best when the transferred image is sharp with no blurring, smudging, or uneven patchiness. Proper curing means the ink is fully dry and bonded to the wood, often taking between 24 and 48 hours depending on conditions. Transfer failures commonly occur when the room is too cold or humid, causing ink to lift or run during peeling. Avoid placing your project in direct sunlight or overly warm spots, as this can cause premature drying that damages the transfer.
To summarize the concrete steps: keep your room temperature steady between 65 and 75 degrees, maintain humidity near 40-55 percent, avoid drafts and dust, and consider seasonal factors in your planning. Using common climate control devices and monitoring tools allows you to create an ideal environment for printer ink transfers onto wood, raising the chances of a sharp, enduring finished piece.
8. Tips for Long-Lasting and Professional-Looking Wood Ink Transfers
Achieving durable, vivid printer ink transfers on wood depends on careful preparation, choosing the right ink, applying even pressure, and using a proper finish. These factors influence how well the ink bonds to the wood surface and how long the image endures daily use.
Applying Consistent Pressure
Uniform pressure ensures the image transfers without patchy spots or blurred areas. A baren or a rolling pin provides smooth, steady pressure across the entire print. Pressing too lightly leaves areas under-transferred, while excess force can cause ink smudging or damage the wood.
To get even pressure: place the printed side down on the wood, cover it with parchment or wax paper, then apply firm pressure by rubbing in small circular motions. Use about 5 to 10 pounds of force spread evenly, covering the whole image systematically for at least 2 to 3 minutes. For larger images, pressing in sections with a brayer roller helps maintain consistency.
Uneven pressure leads to incomplete or streaky transfers; focus on steady, repetitive strokes rather than a single heavy press.
Selecting Pigment Versus Dye-Based Inks
Laser printers use pigment-based toner that sits on the surface and resists fading, making them ideal for transferring sharp, vivid images to wood. Inkjet printers use dye-based or pigment-based ink, but dye inks tend to soak in and blur on porous wood. Pigment inks last longer and maintain color intensity better. To maximize color saturation and detail:
- Use a laser printer for the sharpest edges and best durability
- If using inkjet, opt for pigment ink cartridges over dye-based ones
- Print on smooth, glossy transfer paper designed for your printer type
- Set the printer to the highest quality image setting
- Test a small sample on scrap wood to check for bleeding or fading
Cost varies with printer type and consumables; toner cartridges can cost $50 to $100 but last longer per page than inkjet cartridges, which average $30 to $50 and may require pigmented inks for longevity.
Sealing Options: Matte, Satin, and Glossy
Sealing protects your transferred image from moisture, UV exposure, and wear while affecting the final appearance. Polyurethane is popular, available in matte, satin, and glossy finishes. Matte reduces shine for a subtle look, satin adds a soft sheen, and glossy produces vibrant colors with a reflective surface.
Best results come from applying at least two thin coats of sealant, allowing 2 to 4 hours drying time between coats at room temperature. Use a high-quality synthetic brush or spray-on polyurethane to avoid brush marks. Avoid oil-based sealants on indoor decorative pieces, as they can yellow over time. To maintain transferred images:
- Keep items away from prolonged direct sunlight to prevent fading
- Clean gently with a damp cloth rather than abrasive cleaners
- Consider reapplying a sealant coat every 1 to 2 years for high-use items
- Store in stable humidity conditions to avoid wood swelling or cracking
Step-by-Step Action Plan for Transferring Printer Ink to Wood
Follow these steps to create a clear and lasting image transfer on wood using printer ink. This plan helps you manage timing and technique for best results.
- Before you start: Select smooth, clean wood and prepare it by sanding lightly. The surface should feel even and free of dust or oils.
- Day 1: Print your image using a laser printer on regular or transfer paper, flipping the image as needed. Check that the ink is fully dry and sharp.
- Day 2: Apply your transfer medium or method (like gel medium or heat transfer) carefully according to instructions. Test on scrap wood first to confirm compatibility.
- After application: Let the transfer dry completely, typically 8 to 24 hours, in a stable indoor environment. The image should feel set before moving on.
- Day 3: Slowly remove the paper backing with water and gentle rubbing or peeling. The ink should appear embedded in the wood grain.
- Day 4: Seal the image with a clear coat such as polyurethane or wax to protect it and improve appearance. The finish should dry without cloudiness.
- Within 1 week: Monitor the piece for any peeling or fading. Apply additional sealant or touch-ups if needed to maintain the image’s clarity.
Frequently Asked Questions
Can I Transfer Printer Ink to Wood Without a Laser Printer?
Yes, you can use an inkjet printer along with adhesive label sheets to quickly transfer printer ink to wood, avoiding the need for a laser printer and lengthy processes.
What Type of Wood Surface Works Best for Ink Transfers?
Softwoods absorb ink better than hardwoods, making image transfers clearer and easier on softer woods.
How Can I Avoid Smudging When Using Inkjet Prints on Wood?
It’s best to avoid wet adhesives with inkjet prints because liquid inkjet ink smears on moisture and won’t bond well to wood.
Is It Necessary to Reverse the Image Before Printing for Transfer?
Yes, mirror the image in your printer settings; this ensures the final transfer appears correctly on the wood.
How Does Pressing the Image Onto Wood Affect the Transfer?
Firm, even pressure is essential to transfer all parts of the image from the paper to the wood surface properly.
Do I Need to Seal the Wood After Transferring the Image?
Applying a clear sealer protects the transferred image and ensures durability against wear and environment.
Key Points to Remember
Transferring printer ink to wood can create unique and personal decorations or gifts with just a few tools and steps. Start by choosing the right wood and method that fits your project’s style, then focus on careful drying and sealing to preserve your image over time. Try a small test project today to see how various transfer methods respond to your materials and environment.