How to Transfer Letters Onto Wood: 8 Proven Methods with Easy Steps and Tips
How to transfer letters onto wood starts with choosing the right method to get clear, precise lettering. Using pencil shading or transfer paper lets you trace letters accurately, while stencils and acrylic medium add creative options. Preparing the wood surface first ensures the letters adhere well and look sharp.
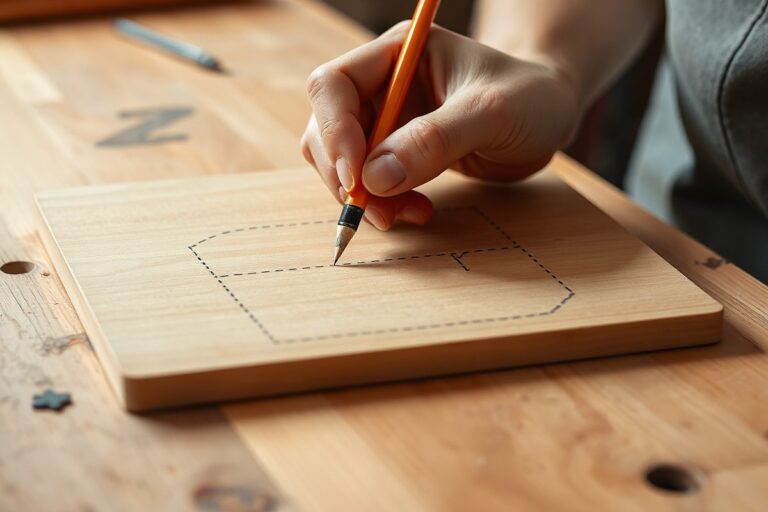
Begin by selecting a smooth piece of wood and printing your design on regular paper. Pencil shading on the back of the printed letters creates a simple, mess-free way to transfer outlines onto the wood for easy painting or coloring.
Key Takeaways
- Shade the back of printed letters with pencil to create a transferable outline onto wood.
- Press text-side-down paper firmly on wood but avoid tearing the paper for clear transfers.
- Use transfer paper to speed up precise lettering transfers without freehand tracing.
- Apply a wood primer or sand the surface to improve paint or marker adhesion.
- Paint pens provide a cleaner alternative to brushes for filling transferred letters.
- For sharper, reusable designs, use stencils cut from cardstock or plastic.
1. Step-By-Step Pencil Shading Method to Transfer Letters Onto Wood
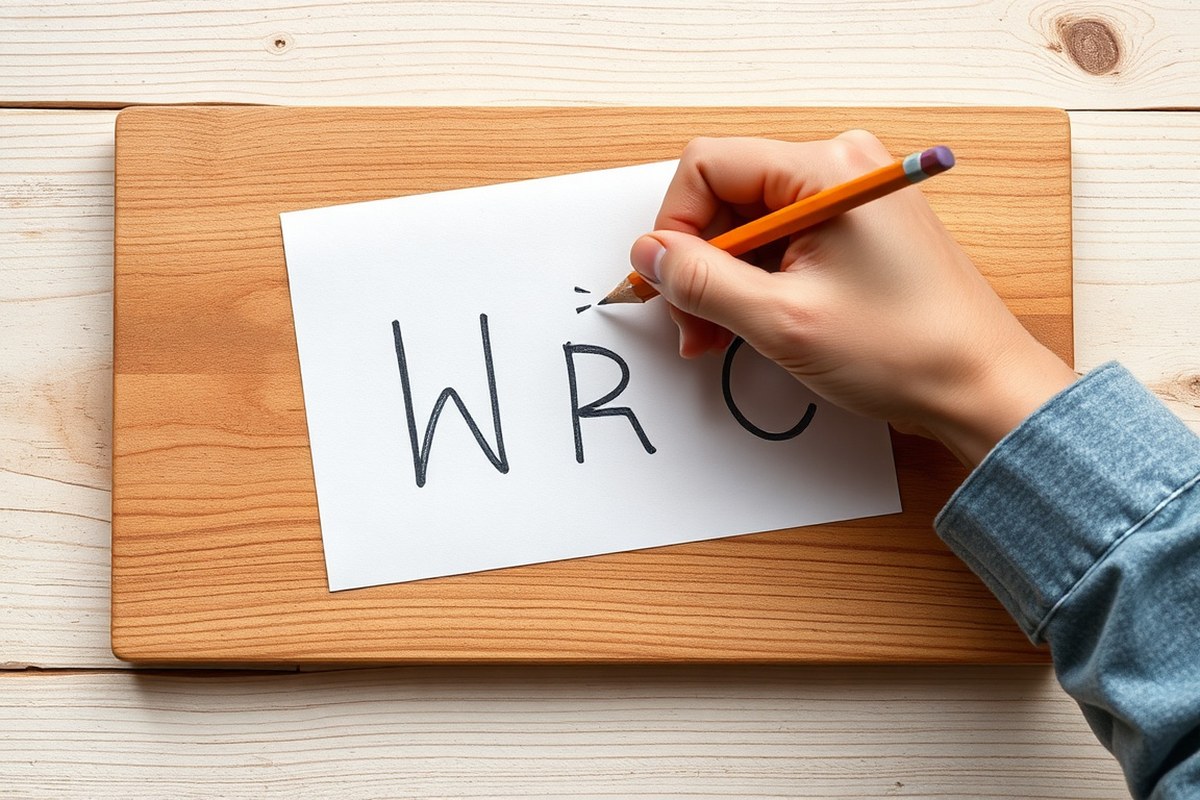
The classic pencil shading and tracing method offers a straightforward way to transfer letters onto wood with accuracy and control. It uses common tools like a pencil and tape, making it accessible for beginners. This method lets you create a neat outline on the wood that you can then paint or burn. The key is preparing your design correctly, applying enough pressure to transfer the graphite, and finalizing the outline so it stays clear during your project.
Start by printing your design at the size you want it on the wood. Print it in normal orientation since you’re shading the back, unlike ink transfers which need mirrored images. Use a regular sheet of printer paper and a soft pencil, ideally a 2B or softer to get enough graphite on the back.
- Shade the back of the printed design. Use the side of your pencil tip to cover the entire area behind the letters with a thick, even layer of graphite. This shaded backing acts as a carbon paper substitute, transferring the design lines onto the wood.
- Secure the paper on the wood. Place your design face up on the wood surface, then tape the edges firmly with painter’s tape. This stops the paper from shifting while you trace, ensuring the letters stay aligned.
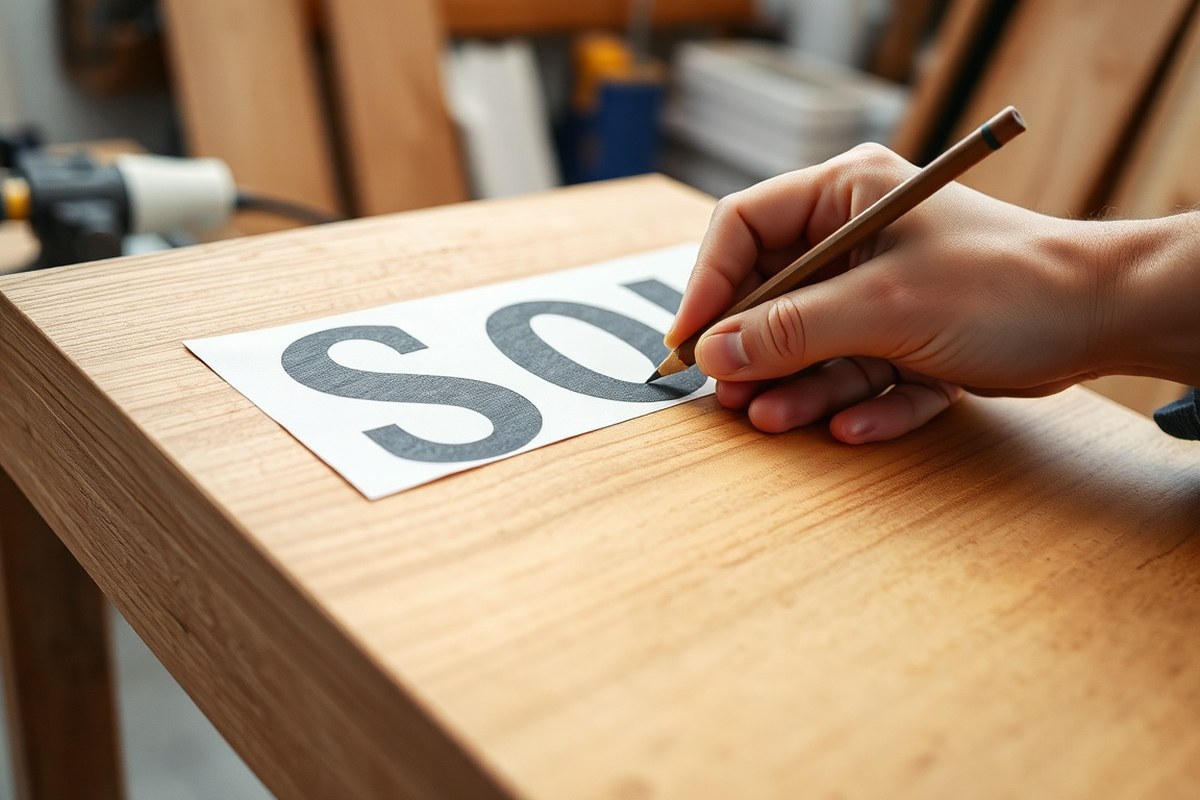
- Trace the letters carefully. Using a sharp pencil or a ballpoint pen with moderate pressure, trace over each letter’s outline. You want firm, steady pressure so the graphite shading transfers onto the wood, but avoid pressing so hard that the paper tears.
- Check the transfer lines. Gently lift a corner of the paper to see if the graphite outline is clear and complete. If some areas are light or missing, retape and retrace those spots with firm pressure.
- Remove the paper and tidy up. Peel off the taped paper carefully. Use a fine pencil tip to darken any faint lines directly on the wood. This helps your letters stay visible through paint or stain.
- Prepare the surface for painting or finishing. Lightly sand around the letters if needed to smooth the wood. Avoid sanding over the transferred graphite lines to keep your design sharp.
This method costs little beyond printer paper, tape, and a pencil, making it a budget-friendly choice. It usually takes under 15 minutes for designs up to 12 inches wide. When done properly, you get crisp outlines ready for paint. Transfer can get light if the pencil shading isn’t thick enough or if you don’t apply enough pressure tracing. A steady hand and patience help prevent smudging or misalignment.
2. Using Transfer Paper for Faster and Precise Letter Transfers
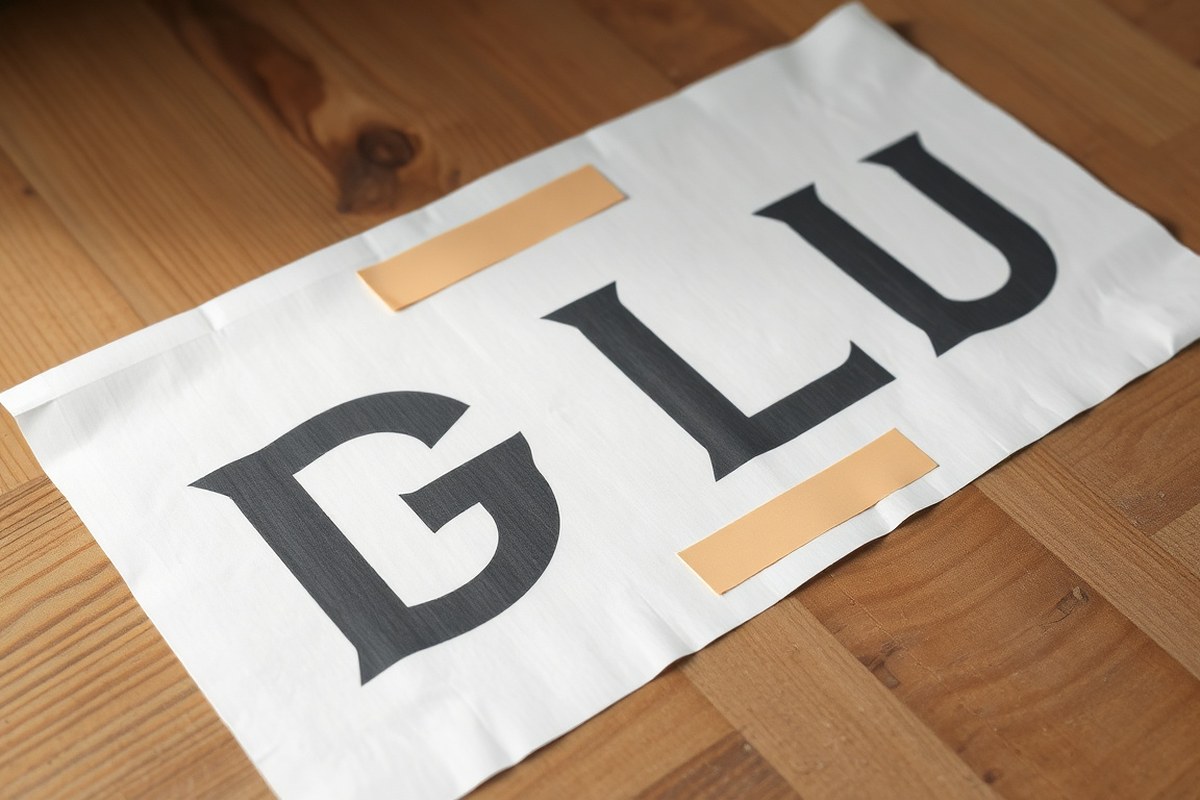
Using carbon or graphite transfer paper makes transferring letters onto wood quick and precise, requiring little physical effort. This method works best on smooth or lightly textured wood and ensures clean, readable letters without freehand drawing. You need the right paper, steady positioning, firm but controlled pressure, and careful removal to get neat results.
Choosing the Right Transfer Paper
Carbon and graphite transfer papers are best for letter transfers on wood. Carbon paper tends to produce darker, bolder lines that show up clearly on lighter wood surfaces, while graphite paper offers a softer, more subtle line suitable for darker woods or delicate designs. When buying transfer paper, look for artist-grade or professional versions designed for smooth surfaces. Prices run roughly $5 to $15 per sheet or pad, which is cost-effective for multiple projects.
For textured or rough woods, graphite transfer paper may transfer less evenly but still work if you press carefully. Avoid wax- or oil-based papers for porous woods, since they can smear or cause unwanted stains. Make sure the paper size slightly exceeds your lettering design so you can tape or hold it down securely without cutting the letters off.
Preparing and Layering the Paper and Design
Setting up the transfer involves layering your materials correctly to avoid smudges or misalignment. Cut a piece of transfer paper about ½ inch larger than your printed letters on every side. Place the transfer paper coated side down on the wood where you want the lettering. Lay your printed design face up on top of the transfer paper, with the letters fully covering the area below.
Secure the printed sheet to the transfer paper and wood with masking tape at the corners. It keeps everything from shifting as you trace the letters. Holding the wood steady on a flat, firm surface prevents movement that causes gaps or fuzzy edges.
- Cut the transfer paper slightly larger than your printed letter sheet.
- Set the transfer paper coat side down on the wood surface.
- Position the printed letters face up on the transfer paper.
- Tape the corners of the printed sheet to hold the papers in place.
- Double-check letter placement before tracing.
Double tape the corners of both papers to keep everything stable and aligned while tracing.
Tools and Pressure for Effective Transfer
Using a sharp pencil or ballpoint pen to trace over the printed letters works best. The pressure from the pen or pencil pushes the graphite or carbon from the paper into the wood’s surface. Firm, evenly distributed pressure yields clear lines, but excessive force can tear the paper or indent the wood too deeply.
Apply strong, slow tracing strokes covering the entire letter shapes, not just outlines. A credit card or burnishing tool helps create uniform pressure over larger areas. Some crafters also use a spoon for pressing but it delivers a lighter impression than pressing directly with a pen or pencil tip. Test on scrap wood to find the right pressure.
Peeling Back and Inspecting the Result
After tracing, gently peel back the printed design paper but leave the transfer paper in place to check the progress. Lift one corner slowly while observing if the graphite outline is clear on the wood. If parts look faint, set the paper back down and retrace those areas with stronger strokes.
Once the letters appear well transferred, remove both papers completely. Some fine rubbing with your fingers or a flat edge removes loose paper fibers and helps embed the graphite lines further. Avoid rubbing too hard or using a wet cloth that might smear the transfer.
- Carefully lift the printed design paper at a corner.
- Inspect the wood for complete, dark letter impressions.
- Retrace faint areas with firm, consistent pressure.
- Remove all paper layers when transfer is satisfactory.
- Rub gently with fingers to clean loose fibers from the wood.
Check the transfer while the papers are still taped down to fix faint spots before full removal.
3. Stencil Method for Transferring Letters Onto Wood Surfaces
Using vinyl or plastic stencils is an effective way to transfer letter shapes onto wood for clean, professional-looking painted designs. Stencils provide sharp edges, reduce guesswork, and help maintain consistent letter shapes without freehand drawing skills. Key steps include selecting or making stencils suited to your project, securing them firmly on the wood, applying the paint carefully to avoid bleeding, and then removing and cleaning the stencil properly to preserve its shape for reuse.
Selecting or Making Letter Stencils
Choose vinyl or plastic stencils designed specifically for craft use, which you can find at most craft stores or online for about $5 to $15 depending on size and letter style. You can also create your own stencils by printing letters on cardstock or thin plastic sheets, then cutting them out with a craft knife for custom fonts and sizes. Make sure the letters are the size you want on your wood surface and that the stencil material is sturdy enough to hold shape during painting.
Printed paper stencils can work for one-time use but vinyl and plastic stencils last longer and give cleaner edges. Use a stencil with a slightly larger border around letters to reduce the chance of paint bleeding under the edges. For beginners, buying ready-made letter stencils may save time and yield more consistent results.
Positioning and Securing Stencils
Accurate positioning of the stencil ensures your letters appear exactly where you want on the wood. Tape the stencil down using painter’s tape or low-tack masking tape to prevent movement. Cover all edges, especially corners, with tape for a secure hold. Use small pieces of tape and press firmly to seal the stencil edges to the wood surface.
This helps prevent paint from leaking underneath and blurring the letters. Working on a rough wood surface means lightly sanding the area first to help the stencil stick better. Double-check alignment before taping fully, since adjustments are difficult once paint is applied.
For larger stencil sheets, secure all sides or use one hand to hold the stencil flat while painting extremely detailed sections. Avoid pulling or stretching the stencil as this can distort the letters.
Painting Techniques for Sharp Lettering
Using the right brush and paint for stenciling makes a big difference in clean edges. Choose a stencil brush with short, stiff bristles or a small flat-tipped brush to apply paint. Dab or stipple the paint lightly rather than brushing back and forth, which can push paint under the stencil edges.
Acrylic craft paint is a common choice because it dries quickly and adheres well to wood. Use just enough paint to cover the brush, too much paint increases bleeding risk. When brushes feel tricky, using paint pens with fine tips gives you more control and cuts down on mess, especially for tiny letters or detailed fonts.
Apply multiple thin coats rather than one thick coat, letting the paint dry briefly between layers. This layered approach reduces paint pooling and keeps letter edges crisp.
Cleaning and Reusing Stencils
Remove the stencil carefully right after painting but before the paint fully dries to avoid peeling off paint or damaging edges. Pull the stencil straight up to prevent smudging. Paint that bled under the stencil should be fully dry before you clean edges with a small craft knife or a Q-tip dipped in paint thinner.
Clean vinyl or plastic stencils with warm soapy water soon after use to remove paint residue, preventing buildup that blurs your next project. Pat dry with a soft cloth and store flat or hanging to avoid bending. Proper cleaning and storage can extend stencil life for dozens of uses.
- Choose or create letter stencils sized and styled for your wood project, using vinyl or plastic for repeat use.
- Position the stencil on your wood and securely tape all edges down with painter’s tape.
- Load a stiff-bristle stencil brush or paint pen with a small amount of acrylic paint or suitable craft paint.
- Apply paint using a dabbing or stippling motion to avoid pushing paint under stencil edges.
- Allow light coats to dry between applications for crisp, even lettering.
- Carefully lift the stencil straight up before paint fully dries to prevent smudging.
- Clean the stencil with warm, soapy water promptly and dry thoroughly.
- Store your stencil flat or hanging to keep its shape for next use.
4. Acrylic Medium Image Transfer for Lettering on Wood
Using acrylic medium to transfer printed letters onto wood offers a smooth, professional finish with crisp details. This method works well on both light and dark wood surfaces, allowing you to create lasting text without specialized equipment. The process involves printing your letters on regular or wax paper, applying acrylic medium to both wood and print, then carefully revealing the transferred image after drying.
Selecting and Preparing Your Printed Letters
Choose a laser or inkjet printer to create your letter design on regular or wax paper. For best results, print the letters in reverse (mirrored) if your design includes specific directions or fonts that need to face a certain way after transfer. Regular printer paper works fine, but wax paper can offer a clearer transfer for detailed lettering.
Trim the paper closely around the letters to minimize wrinkles and excess areas in the transfer. Ensure the wood surface is clean and free from dust or oils so the acrylic medium adheres well. When your wood has a very smooth finish, gently sanding it improves how well the medium sticks to the surface.
Applying Acrylic Medium Onto Wood and Paper
Use a clear acrylic gel medium or matte acrylic medium, which is widely available at craft stores and costs around $5 to $10 for a 4-ounce jar. This medium serves as a glue between your printed letters and the wood. Follow these steps to apply the medium smoothly:
- Brush a generous, even layer of acrylic medium onto the wood surface where the letters will go.
- Apply another thin, even layer on the printed side of your paper with the letters.
- Press the paper firmly onto the painted wood, smoothing out any air bubbles or wrinkles with your fingers or a plastic card, starting from the center outward.
- Allow the assembly to dry completely, which typically takes 8 to 12 hours at room temperature (70°F).
Drying, Soaking, and Peeling Techniques
Once the medium is fully dry, immerse the wood piece in warm water for 10 to 15 minutes. This softens the paper fibers, making it easier to remove the paper without damaging the transfer.
After soaking, gently rub the paper off with your fingertips or a soft cloth, revealing the transferred letters underneath. Avoid using abrasive tools that could scrape or lift the acrylic medium. Let the wood dry a bit when some paper pieces stay after rubbing, then soak and rub again as needed.
Sealing and Finishing Image Transfers
Protect your transferred letters by applying a clear acrylic sealer in a finish that suits your project, matte, satin, or glossy. This layer shields the design from wear and moisture while maintaining the professional look.
Brush or spray on the sealer evenly, following the manufacturer’s instructions on drying times and additional coats. This finish typically costs between $6 and $15 per can or bottle and greatly extends the life of your lettering on wood.
5. Heat Transfer Methods: Iron and Heat Pens for Wood Lettering
Heat transfer methods using irons or heat transfer pens allow you to apply detailed lettering directly onto wood surfaces. These techniques work by applying heat to a special transfer film or using a heated pen to melt the ink, which then adheres to the wood. The process captures fine lines and curves well and is suited for smooth to slightly textured woods, such as pine, birch, or maple. Avoid very rough or oily woods, as they prevent the transfer from sticking cleanly.
You’ll need iron-on transfer sheets designed for inkjet printers and a computer to print your design in mirror image. Using a heat transfer pen lets you draw your lettering backward on standard printer paper by hand. An iron with adjustable temperature and a piece of parchment or Teflon sheet protect your wood and transfer during heating. A clean cloth helps press evenly and avoids burns.
The iron-on method relies on firm, even pressure and the right temperature, typically around 350°F (177°C). Holding the iron steady allows the ink from the transfer sheet to fuse into the wood’s surface fibers. Heat transfer pens work differently by melting ink directly onto the wood as you draw. They require practice for even lines but avoid printing and cutting steps.
- You can mirror your lettering by printing it in reverse on an iron-on transfer sheet with an inkjet printer or by drawing the flipped design on paper using a heat transfer pen.
- Trim the design close to the letters to reduce excess transfer material.
- Place the wooden surface on a hard, heat-resistant work area and wipe it clean of dust or oils.
- Position the transfer, ink side down, on the wood where you want your lettering.
- Cover with parchment paper or a Teflon sheet to protect the wood and iron from direct contact.
- Set your iron to a dry cotton setting (about 350°F or 177°C), then press firmly without steam for 30 to 60 seconds.
- Let the transfer cool for a minute, then carefully peel off the backing sheet to reveal the design on the wood.
- For heat transfer pens, heat the pen tip according to manufacturer instructions and slowly trace the reversed design on the wood, applying even pressure.
Test the iron temperature on a scrap piece of your wood first to prevent scorching or poor transfer.
6. Preparing and Finishing Your Wood Surface for Best Transfer Results
Start by sanding your wood surface smoothly with a fine-grit sandpaper, around 220 grit. This clears away rough spots and opens the wood grain just enough for a clean transfer. Wipe the wood down thoroughly with a tack cloth or a damp rag to remove all dust. Dust left on the surface can cause gaps and smudging when transferring letters.
Priming or painting the wood before transferring letters depends on the final look you want. Leave wood bare if you want a natural finish or rustic feel. A light coat of white primer or paint helps letters stand out on darker wood, making transfers clearer and colors more vibrant. Use a thin layer of latex or acrylic primer and let it dry fully, at least 24 hours. Avoid heavy paint coats, which can cause bleed or warping under transfer efforts.
To protect your transferred letters and prevent wood from warping or bleeding, keep your workspace dry and well ventilated. Wood absorbs moisture easily, which can distort transfers. After transferring, seal the wood with a clear polyurethane or acrylic sealer. Water-based polyurethanes are popular for DIY since they dry faster (2 to 4 hours) and have less odor. Apply two thin coats with a foam brush, lightly sanding with 320 grit between coats for best adhesion and smoothness.
Choose your paint or markers with care after the transfer process. Acrylic paint is a solid choice due to its durability and color retention over time. Paint pens with acrylic ink can help you fill fine lettering details quickly and cleanly. Avoid oil-based paints unless you’re experienced since they take longer to dry and may affect wood moisture content, increasing warp risks.
- Sand wood surface with 220-grit sandpaper for smoothness
- Wipe dust with a tack cloth or damp rag before transfer
- Use white primer for darker woods to improve letter visibility
- Work in a dry, ventilated space to avoid wood warping
- Seal with two thin coats of water-based polyurethane
- Use acrylic paint or markers for coloring transferred letters
For very dark wood, rub white chalk on the back of your design printout before taping it down. This helps the letters stand out better. Always check that the transfer appears crisp and even before removing your template. Faint or uneven lines may mean you need to prep the surface more or use a primer first. Avoid heavy moisture during transfer steps, as damp wood will swell, blending lines and causing blurred results. Taking these steps ensures your lettering will look sharp and last longer.
7. Common Mistakes and How to Fix Them During Letter Transfer
Light or incomplete transfers often happen when the tracing pressure is too weak or the transfer material shifts during the process. To fix this, place the paper back on the wood exactly where it was, then retrace the letters with firmer, consistent pressure using a pencil or stylus. Using a clean sheet of transfer paper can improve clarity if the original gets too wearied. Avoid pressing so hard that you damage the wood surface or tear the paper.
Paper tears or smudges usually occur because the tracing paper is thin or the ink is wet. If the paper tears, carefully align the torn section and tape it on the backside with masking tape to keep it steady before continuing. For smudges, reduce hand movement over the wet area; if smudges appear on the wood, wait for it to dry before cleaning gently with a damp cloth or lightly sanding with very fine grit (320 or higher) sandpaper to avoid removing the design.
Crooked or misaligned letters matter because they affect the overall look and professional finish of the project. To correct misalignment, lightly erase or sand the edges of the misplaced letters before reapplying the transfer. Use a ruler or straight edge aligned with the wood grain to double-check placement before retracing. Marking a faint guideline in pencil can help keep letters straight on future attempts.
Paint mistakes are common after transferring letters and can include bleeding or uneven edges. Small errors can be fixed by dipping a fine brush in plain water or paint thinner (according to the paint used) to carefully wipe away spills while the paint is still wet. For dried paint, use fine sandpaper or a craft knife to remove the mistake, then repaint carefully with a precise brush or paint marker designed for wood. Waiting for each layer to dry reduces rework.
- Apply steady pressure during tracing to avoid light transfers
- Secure transfer paper with tape to prevent shifting
- Use thicker transfer papers for less tearing risk
- Always allow ink to dry on printed designs before use
- Draw faint alignment guides with pencil before tracing
- Choose fine-tipped brushes or markers for correcting paint edges
Preventing errors largely depends on preparation. Clean wood surfaces free of dust improve ink adhesion and transfer quality. Using high-quality pencils or stylus tools helps produce consistent pressure that avoids patchy outlines. Working slowly and pausing to check your progress minimizes big mistakes early on. Each correction step takes minutes but avoids wasting the whole piece.
8. Choosing the Right Letter Transfer Method for Your Wood Project
Choosing the right letter transfer method depends on your project’s wood surface, the lettering complexity, cost, and tools available. For beginners or quick projects, using transfer paper or stencils is often best because they’re simple and fast. Transfer paper works well on smooth, finished wood and gives precise results with minimal tools, usually just a printer and pencil. Stencils accommodate rough or textured surfaces better, allowing painting or shading over the cut-out design without relying on perfect surface contact.
When your design includes multiple colors or fine details, acrylic medium image transfer provides precise control by transferring printed ink straight onto wood. This method takes more time and materials, including gel medium and careful drying steps, but produces vibrant, detailed lettering. Heat transfer options like iron-on letters require specific tools and work best on flat, sealed wood. These are less flexible with intricate or multicolor designs.
Outdoor durability mainly depends on sealing the wood surface after transfer. Acrylic medium transfers tend to hold up better outdoors if sealed properly, while pencil shading or stencils may fade faster without protective coatings. Consider how long you want your project to last and plan sealing accordingly.
| Method | Best Wood Surface | Complexity | Estimated Cost | Tools Required | Durability Outdoors |
|---|---|---|---|---|---|
| Pencil Shading | Sanded, smooth wood | Simple letters | Under $5 (pencil only) | Pencil, printed letter template | Low without sealant |
| Transfer Paper | Finished, smooth surfaces | Moderate, precise letters | $5-$10 per sheet | Printer, transfer paper, stylus or pencil | Medium, sealant needed |
| Stencil | Rough or textured wood | Simple to moderate | $5-$15 (stencil material) | Stencil cutter or pre-made stencils, paint | Medium, with sealant |
| Acrylic Medium Transfer | Sand & sealed wood | Complex, multicolor | $10-$20 (gel medium, prints) | Gel medium, brush, laser print | High when sealed |
| Heat Transfer (Iron, Pens) | Flat, sealed wood | Simple to moderate | $10-$25 (tools + materials) | Iron or heat pen, transfer sheets | Medium to high with sealant |
Look closely at your wood surface before deciding which method to use. Rough, unfinished wood tends to snag thin paper transfers, making stencils a better pick. Smooth, sanded surfaces allow detailed print transfers for sharper letters. When cost matters, pencil shading and stencils use fewer materials and tools. Acrylic medium transfers demand more time and supplies, but the payoff is higher detail and weather resistance.
To get started for a beginner-friendly, quick project with good results on most wood signs, print your letters, place transfer paper over the wood, and trace carefully using a pencil or stylus. Alternatively, cut or buy a reusable stencil for your lettering, paint inside it, and seal afterward. Sealing your work with a water-based polyurethane or outdoor sealer after transferring will protect your letters, keeping them clear and bright for years.
Always test your transfer method on a scrap piece of the same wood before applying it to your main project to avoid wasted effort and materials.
Step-by-Step Action Plan for Transferring Letters Onto Wood
Follow these steps to transfer letters onto wood successfully, from preparation to finishing touches.
- Day 1: Prepare Your Wood Surface, Sand the wood smoothly and remove any dust. Your surface should feel smooth and clean to the touch.
- Day 1: Choose Your Transfer Method, Decide on pencil shading, transfer paper, stencil, acrylic medium, or heat transfer based on your project style and speed needs.
- Day 1: Create or Print Your Lettering, Make sure your letters are the size and style you want. Print them on regular paper or prepare your stencil.
- Day 2: Transfer the Letters, Use your chosen method carefully, following the proper technique to avoid smudging or errors. Check that the letters appear clearly and fully on the wood.
- Day 2: Fix Mistakes or Gaps, Use a fine-tip pencil or paintbrush to fill in or correct any blurry or incomplete letters immediately after transfer.
- Day 3: Seal and Finish, Apply a clear sealant or topcoat after the transfer dries completely to protect your work and improve the wood’s appearance.
- Day 5: Evaluate Your Results, After everything is dry, check for any touch-ups needed and make adjustments with paint or sandpaper if necessary.
Frequently Asked Questions
What Is the Easiest Way to Transfer Letters Onto Wood for Beginners?
Using the pencil shading method is often easiest for beginners. You shade the back of your printed letters and trace over them to create a clear outline on wood. This technique requires minimal materials and gives neat results.
Can I Use Regular Printer Paper for Letter Transfers on Wood?
Regular printer paper works well for printing your letters before transfer. Just remember to shade the back carefully with pencil if you’re using the pencil method. The quality of the print affects clarity, so use bold fonts for best results.
How Do I Prevent Smudging When Transferring Letters Onto Wood?
Avoid touching the transfer surface directly after tracing. Let the pencil or transfer medium dry completely before handling. Using fixative spray over pencil outlines can also protect from smearing during painting or finishing.
Does Wood Type Affect How Letters Transfer?
Yes, smooth woods like pine or birch transfer letters more clearly than rough or porous types like cedar. The smoother the surface, the less chance of gaps or uneven lines. Sanding before transfer improves clarity and adhesion.
Can I Transfer Curved or Fancy Fonts Onto Wood Easily?
Fancy fonts can be transferred using the stencil or transfer paper methods for precision. Pencil tracing works but requires a steady hand. For complex scripts, consider printing the letters larger to trace details more easily.
Is Sealing the Wood Necessary After Transferring Letters?
Sealing after lettering preserves your design and protects it from wear. Use clear varnish or polyurethane after paint or marker application. Sealing prevents fading and moisture damage but wait until inks or paints dry fully.
Key Points to Remember
Transferring letters onto wood takes care and the right method for your project. Start by preparing your wood surface well and choosing a transfer technique that fits your skill and tools. Begin with simple designs and improve your precision as you practice. Your next step is to pick a small project to apply these techniques and gain confidence with the process.