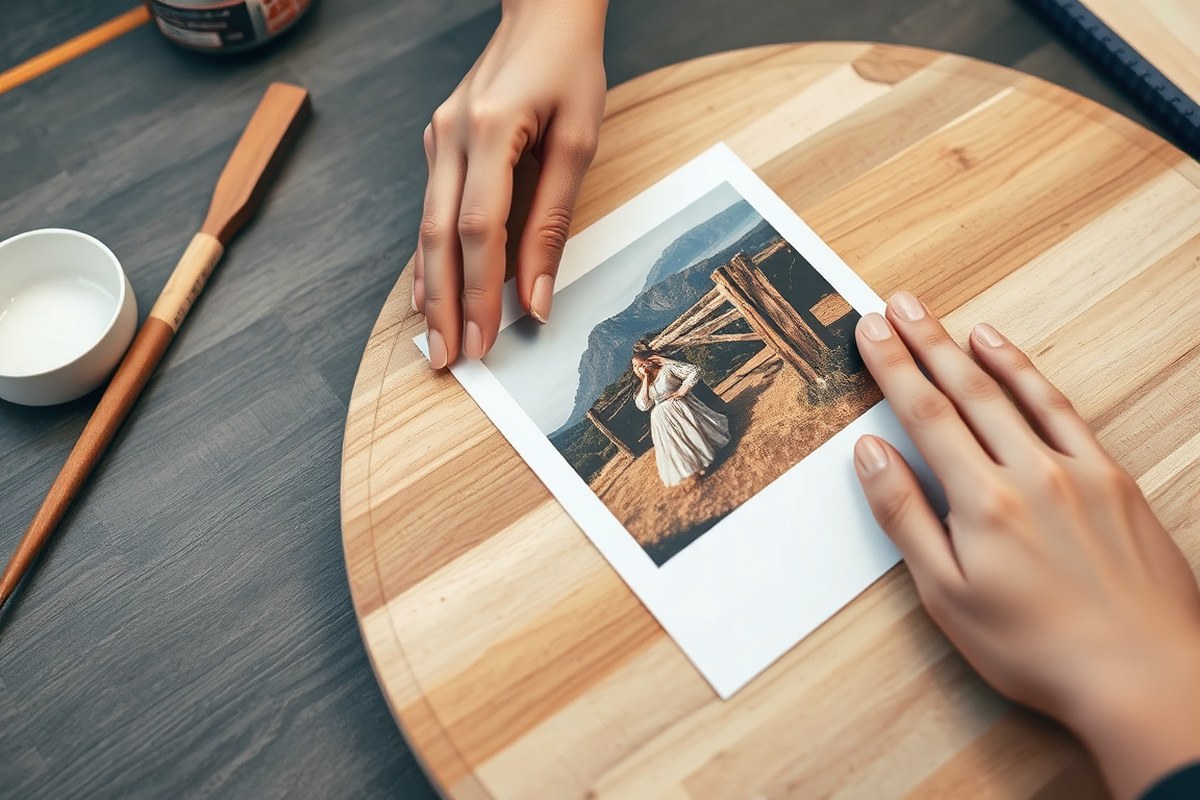
How to Transfer an Image to Wood: 8 Proven Methods with Expert Tips
How to transfer an image to wood involves applying a design from paper or digital print onto a wooden surface using adhesives or heat. The process works because ink or toner bonds with the wood’s porous texture, creating a lasting image. Starting with a smooth, prepared wood surface improves ink adhesion and detail clarity.
Key Takeaways
- Choose smooth, light-colored wood for clearer image transfer and better ink visibility.
- Trim your image to fit your wood piece, like sizing a 4-inch photo circle for a 4-inch wood slice.
- Use Mod Podge as both an adhesive and transfer medium to help ink bind to wood surfaces.
- Work quickly after printing on wax paper, as ink dries in about 5 minutes and will no longer transfer.
- Press the image firmly and leave it undisturbed for 12 to 24 hours to ensure strong toner-wood bonding.
- Peel off paper slowly and only after the full drying period to avoid damaging the image transfer.
1. What Is Image Transfer to Wood and How Does It Work?
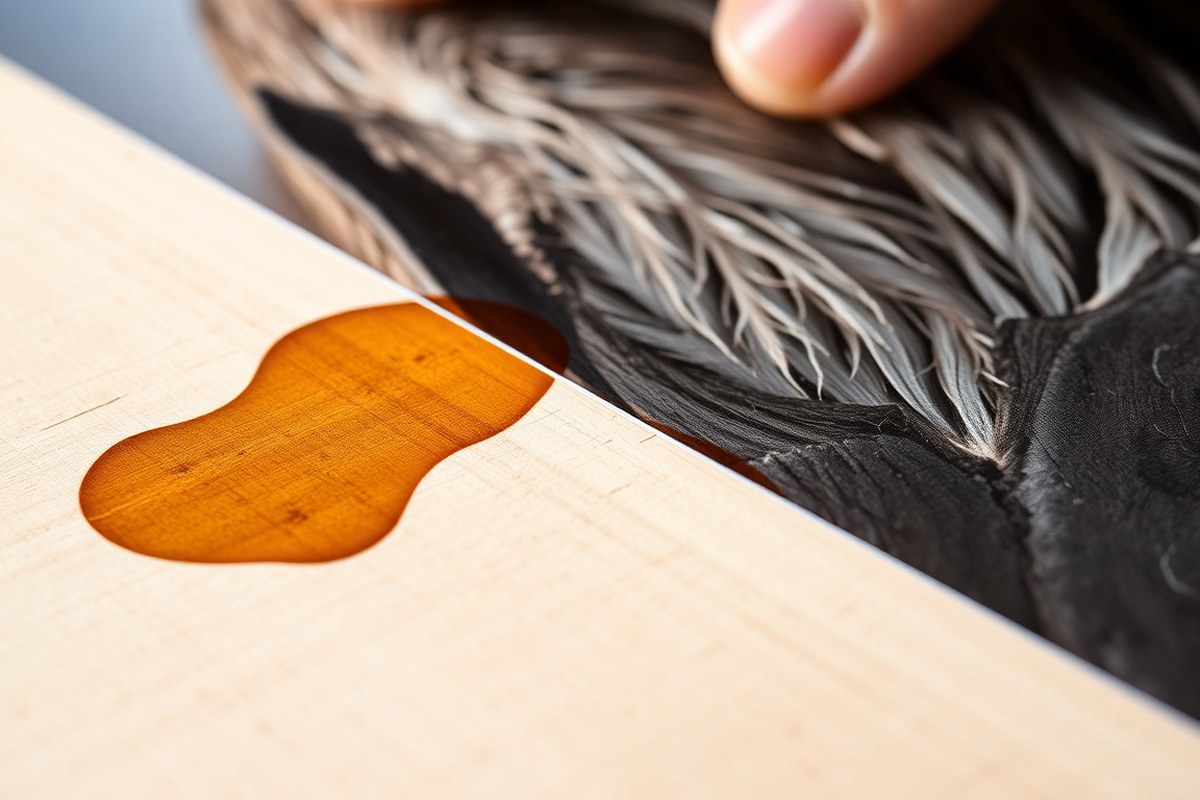
Image transfer to wood is a crafting technique that moves a printed image from paper onto a wooden surface, creating a personalized decoration or gift. The process involves using an adhesive or transfer medium that lifts ink or toner off the printed paper and deposits it onto the wood. This bonding happens because the transfer medium interacts with the ink, loosening it from the paper fibers and allowing it to adhere to the wood’s surface, which is typically porous enough to hold the transferred image.
The basic principle behind how ink or toner bonds to wood relies on several factors. Wood fibers absorb some moisture from the transfer medium, which helps open tiny pores on the surface. When you press the printed image onto the wood while the medium is still wet, the ink or toner softens or loosens from the paper. Rubbing or applying heat then encourages the ink particles to embed into the wood’s grain or settle on its surface. The transferred image sticks because the toner or ink particles become physically anchored in the wood’s texture and chemically bonded by the medium as it cures.
This process works best when the printed image is fresh, especially with methods using wax paper where ink sits on the waxy surface only briefly, about five minutes before drying and losing transfer quality. After applying the image onto wood, pressing firmly and evenly with a brayer or similar tool ensures the highest amount of ink transfers. Certain transfer mediums, like Mod Podge Photo Transfer Medium or acrylic gel mediums, require a drying time of 12 to 24 hours to fully bond the image to the wood before removing the backing paper. Peeling the paper too early risks lifting the ink off as well.
Heat-based transfers, such as those using a household iron or t-shirt transfer paper, work by melting the toner and helping it soak into the wood’s surface. However, hardwood surfaces often present more difficulty because they absorb less moisture, meaning less ink penetrates deeply compared to softwoods. That’s why selecting wood with a smoother, softer surface improves results.
Costs for supplies vary, but a printout from your home inkjet or laser printer, a jar of Mod Podge Photo Transfer Medium or gel medium (around $5 to $15), wax paper, and basic household items like an iron or brayer are commonly sufficient. Good results look like crisp, vibrant images that appear embedded into the wood without smudges or missing areas. Common issues at this stage include incomplete transfers from uneven pressure or ink drying before pressing, which lead to faded or patchy images. Understanding these principles will help you achieve consistent and clear image transfers onto wood surfaces.
2. Choosing and Preparing Wood for the Best Image Transfer
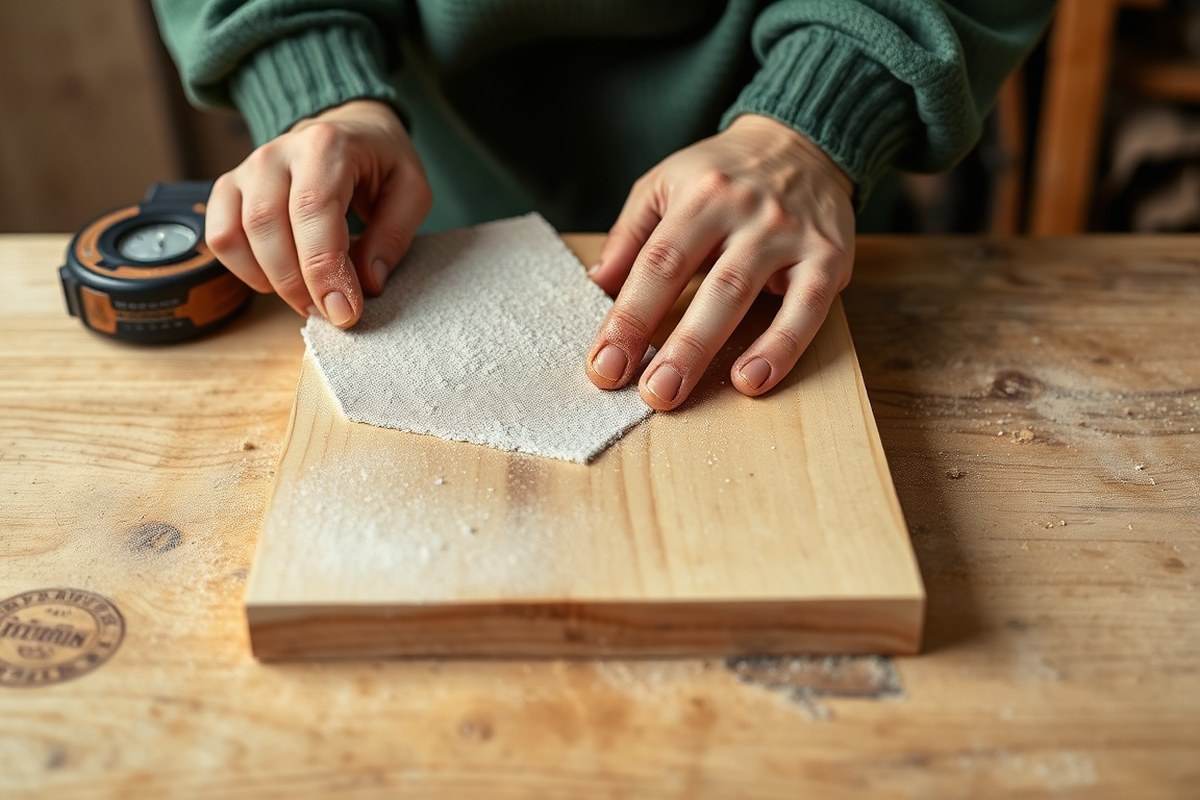
Choosing the right wood and preparing it properly will make a big difference in the quality of your image transfer. Soft woods like pine, basswood, or birch are ideal because they have a relatively smooth grain and absorb adhesives well. Avoid woods with heavy textures or oily finishes, such as cedar or teak, since these can block the image transfer or cause uneven adhesion.
Stick with unfinished wood rather than stained or sealed surfaces. Any finish or sealant creates a barrier that prevents the transfer medium, like Mod Podge or gel medium, from bonding to the wood. If using a previously finished piece, sand it down thoroughly to remove all paint, varnish, or stain before beginning your transfer.
Start preparing your wood by sanding it with fine-grit sandpaper (around 220 grit). Sand the entire surface evenly to smooth out imperfections and slightly roughen the wood. This roughened surface allows the transfer medium to adhere better and the image to show clearly. Wipe away dust and debris with a tack cloth or damp rag after sanding to ensure the surface is clean and free from particles that can cause patchy transfers. Here’s a quick checklist to get your wood ready:
- Choose soft, light-colored wood like pine, basswood, or birch
- Keep the wood unfinished or sand off existing finishes completely
- Sand with fine-grit (220) sandpaper for a smooth, slightly roughened surface
- Clean the surface thoroughly to remove all dust and debris
- Test a small area if working with painted or sealed wood by sanding lightly and applying Mod Podge
- Apply a thin, even coat of your transfer medium to the sanded wood before placing your image
Never skip cleaning the wood after sanding, dust can ruin your image transfer by preventing proper adhesion.
Once you prepare the wood as described, the transfer medium will stick firmly and evenly. This leads to sharper, clearer images with fewer spots of missing ink. Patience during the preparation helps avoid uneven patches or ghosting in the final product. Since each wood surface is unique, always do a small test transfer before committing your whole project.
3. Selecting and Preparing Images for Transfer
Choosing the right image and preparing it properly are key to a successful transfer onto wood. Use high-resolution, clear images that fit the wood surface size, mirror any text or logos, and print with a laser printer for the best results. Color photos work well with laser prints when the original image has strong contrast.
Selecting High-Resolution Images
Choose images with a resolution of at least 300 dots per inch (dpi) to ensure sharp details after transfer. Low-resolution or blurry images will result in a faded, unclear transfer. Photos with good contrast and simple backgrounds come through best on textured wood surfaces. Avoid overly complex or noisy images, especially if your wood has a lot of grain, which can interfere with fine details.
Use high-quality JPEG or PNG files, as these formats preserve image clarity. When scanning a physical photo, set your scanner to at least 300 dpi for clear detail. Test your image on plain paper first by printing it at the size you want to transfer to check for clarity and detail.
Mirroring and Sizing Images Correctly
Mirroring images is essential when transferring onto wood because the image will be applied face down. Any text, numbers, or directional logos must be flipped horizontally to appear correctly on the wood. Neglecting this step causes backward or unreadable results.
Match the printed image size to your wood piece. Printing an image too large or too small will distort the final transfer or leave unwanted blank spaces. Use your editing software or printer settings to size the image to the exact width and height of the wood area you’re decorating. Before printing, prepare your image by:
- Open your image in a photo editing software or PDF editor.
- Flip or mirror the image horizontally, especially if it contains text or logos.
- Resize the image to fit the wood piece’s dimensions.
- Export the properly flipped and sized image as a PDF or an image file suitable for your printer.
- Print a test copy on plain paper to verify size and mirroring before using special transfer paper.
Printing on Laser vs. Inkjet Printers
Laser printers work best for photo transfers onto wood, especially for color photos. The toner melts into the wood fibers during the transfer, creating clearer, more durable images. Inkjet prints tend to bleed or fade unless you use specific transfer mediums designed for them. Using laser prints also reduces smudging and ink running.
Only having an inkjet printer? Print your image on wax paper or photo paper first, then scan or copy it using a laser printer to achieve the best transfer quality. Some crafters print on tattoo paper with inkjet printers, but this works better on smooth wood surfaces and the results aren’t as precise.
For color transfers, use a high-quality color laser printer or get color copies at a local print shop or copy service. A good color laser print on photo paper copied on a laser machine often produces the best color vibrancy on wood.
4. Four Reliable Methods to Transfer Images Onto Wood
Four popular ways to transfer images onto wood are using Mod Podge, acrylic gel medium, wax paper, and tattoo paper. Each method fits different needs depending on your print type, desired finish, and how quickly you want the project done. Mod Podge and gel medium work best for sharper images and are sealers themselves, while wax paper gives a muted, vintage tone. Tattoo paper is fast and works well for color photos that need a quick transfer.
With the Mod Podge method, apply a layer of Mod Podge on the wood, set the inkjet-printed photo face down, then seal again. It takes longer but gives detailed results. The gel medium process is similar but uses acrylic gel medium on wood first, often producing even sharper detail, especially with laser-printed images. Both avoid needing extra sealants.
Wax paper transfers rely on the wax backing to lift the toner from a laser print. It’s an easy and affordable way but tends to dull colors, so it’s suited for vintage looks. Tattoo paper transfers use special printable stickers or decals and iron the image onto wood, giving vibrant color quickly, but it’s less durable without extra sealing.
| Method | Ideal Print Type | Ease | Image Quality | Durability | Color Appearance | Sealing Needed |
|---|---|---|---|---|---|---|
| Mod Podge | Inkjet prints | Moderate (longer drying) | Detailed | Good, self-sealing | True to original | No |
| Acrylic Gel Medium | Laser prints | Moderate | Sharper, detailed | Very good, self-sealing | True to original | No |
| Wax Paper | Laser prints | Easy | Muted, vintage look | Average, may fade | Muted | Yes (recommended) |
| Tattoo Paper | Inkjet & laser | Easy and fast | Bright, colorful | Average, needs sealing | Bright | Yes |
For sharper, more detailed transfers, use the acrylic gel medium method, especially with laser prints. Mod Podge does well for inkjet photos but takes longer because of drying times. Wax paper suits projects with a vintage style but expect color dulling. Tattoo paper shines for bright, fast transfers, particularly with color photos, but plan to apply a sealer afterward for durability.
5. Step-By-Step Guide to Transferring Your Image to Wood
To transfer an image to wood using acrylic gel medium, follow a clear step-by-step sequence that covers preparing materials, applying the medium, drying, and carefully revealing your image. Proper timing and gentle handling during paper removal are essential to preserve the transferred photo.
Preparing the Wood and Image
Start with a smooth, sanded wood surface free of dust and debris to ensure good adhesion. Use laser-printed images on regular printer paper, as inkjet prints tend to smear or fail on gel medium transfers. Trim your image to the desired size, allowing it to fit your wood piece perfectly.
Sometimes lightly sanding your wood with 120-220 grit sandpaper helps create a flat, clean surface. Wipe with a damp cloth and let it dry completely before beginning your transfer.
Applying Transfer Medium and Placing Image
Apply a thin, even coat of acrylic gel medium over the entire wood surface where you want the image. Avoid puddles or thick spots to keep the transfer clear and uniform. Set the gel medium brand and type according to instructions, usually an acrylic gel gloss or matte medium works well and costs around $5 to $10 per 8-ounce bottle.
Quickly place your laser-printed picture with the printed side against the gel-coated wood. Firmly press the paper down using a burnishing tool such as a bone folder or the smooth side of a spoon. Begin pressing at the center and glide outward to eliminate air pockets and ensure the paper sticks well to the wood.
Drying Times and Removing Paper Backing
Allow the gel medium to dry fully before attempting to remove the paper. Depending on your room temperature and humidity, this can take at least 2 to 4 hours, or preferably overnight for best results. The surface should feel dry and no longer tacky to the touch.
Once dry, moisten the paper with a damp cloth to soften the backing and gently rub it away, revealing the transferred image underneath. Work slowly and carefully to avoid rubbing off the image itself. Should you notice sections where the image looks faint or the paper won’t come off easily, apply more water and gently rub the area again. Stop rubbing as soon as the paper is mostly gone.
Using excessive force or dry rubbing on the paper backing can remove parts of your transferred image, so work gradually and keep the paper damp.
Sealing and Finishing the Transferred Image
After the paper backing is completely removed and the image is dry, it’s important to seal the surface to protect against moisture, UV light, and dust. Apply a clear acrylic spray or brush-on sealer compatible with your wood and the gel medium. Spray sealers dry quickly within 15 to 30 minutes per coat.
Applying two thin coats with drying time between each ensures durability and preserves the warmth and texture of your transferred photo. Avoid thick layers that can cloud the image or cause peeling later.
- Sand and clean your wood surface thoroughly.
- Print and trim your desired image on laser printer paper.
- Spread a thin, even coat of acrylic gel medium over the wood.
- Place the image face down immediately and burnish firmly from center outward.
- Allow the project to dry completely for 2 to 4 hours or overnight.
- Moisten the paper and carefully rub to remove backing without damaging the image.
- Let the image dry fully once paper is removed.
- Seal with a clear acrylic spray or brush-on finish to protect your work.
6. How Long the Full Image Transfer Process Takes
The full image transfer process to wood generally takes about 24 hours from start to finish, with the active working time totaling around 30 to 45 minutes. Most of that time is hands-off, allowing layers to dry or set properly. For example, after applying your image to the wood surface, it’s best to leave the photo attached and undisturbed for a full 24 hours before removing the paper or adding any sealers. This waiting period is important to ensure the ink fully adheres to the wood fibers for a clear, lasting image.
During the active work phase, you’ll spend time preparing your materials, aligning and pressing the image onto the wood, and smoothing out air bubbles, which usually takes less than an hour. Removing the backing paper is a careful, patient step that can take an additional 10 to 15 minutes, depending on your method and wood texture. This step requires gentle rubbing with a damp cloth to reveal the image without damaging it.
Drying and setting times can vary depending on the transfer method and environment. For transfers using gel or Mod Podge, drying may take slightly longer, about 4 to 6 hours before the paper peeling step, and longer for sealers, typically overnight or up to 24 hours before a second coat. Room temperature and humidity affect drying: in cooler or more humid spaces, drying times can increase by several hours.
If you use acetone-based transfers, ensure good ventilation since acetone evaporates quickly, which can speed up drying but requires safety precautions. These transfers still recommend leaving the image attached for about 24 hours before peeling. For petroleum jelly methods, also count on a day-long wait before the image fully sets. Pushing the timeline shorter risks smudging or incomplete transfers, which means compromising the quality of your finished piece.
Sealers should be applied only after the transfer is fully dry and the paper is removed. Applying sealer too soon can trap moisture or cause the image to blur. Typically, waiting 24 hours after peeling paper guarantees that all surface moisture has evaporated, ensuring the sealer bonds well and protects your artwork. Most acrylic sealers reach a hard, protective finish within 24 hours but recommend a second coat after this period for durability.
In practice, the timeline looks like this: spend 30 to 45 minutes on preparation and pressing the image; wait 24 hours without disturbance; spend another 10 to 15 minutes peeling the paper; then wait another 24 hours before sealing. Adjust these times based on the product instructions, your room’s temperature, and humidity. Rushing any step can cause uneven transfers, smearing, or peeling later. Patience during the drying phases is the key to a clean, crisp image transfer that lasts.
7. Common Mistakes and How to Avoid or Fix Them
Peeling the paper backing too soon is one of the most common mistakes when transferring an image to wood. Removing it before the transfer fully dries can cause the ink to smudge or lift off, resulting in a faded or incomplete design. To avoid this, make sure the paper and wood have dried for at least 24 hours after applying the image before you peel. Slow, gentle peeling is key to preserving the transferred ink.
Poor adhesion happens most often when the wood surface isn’t properly prepared or when finished wood is used. Sand the wood smooth and avoid sealed or glossy finishes, as these prevent the ink from bonding. Using plain, regular printer paper rather than glossy or photo paper helps the ink stick better and the paper backing peel away more cleanly. Your transfer may look patchy or faded after peeling; lightly sanding the wood before starting again often improves the outcome.
Smudging usually results from pressing too hard when applying the image or touching the transfer before it dries completely. Use a soft cloth or burnishing tool to press evenly without excessive force. Let the transfer rest in a dry, dust-free area during drying to minimize smears.
- Peel backing paper slowly and at a low angle
- Use plain paper, not glossy or photo paper
- Sand raw wood for better adhesion; avoid finished wood
- Allow at least 24 hours drying before peeling paper
- Press evenly with a soft cloth or burnishing tool
- Do not touch the transfer while drying
- When the transfer appears faded, gently sanding and then retrying can help achieve a better result.
For fixing incomplete transfers, lightly dampen the area, let it dry a bit, and carefully repeat the image application on that spot. Some fading can improve by sealing the wood with a clear matte finish after the transfer fully dries, protecting the image and boosting contrast. Avoid printing on large paper sizes that exceed your printer’s capacity to prevent image misalignment that may ruin the transfer.
8. How to Seal and Protect Your Transferred Image on Wood
Sealing your transferred image on wood helps protect it from scratches, moisture, and fading. Using the right sealant and applying it at the proper time ensures your artwork stays vibrant and durable. Techniques that create an even protective layer avoid altering the image’s colors or texture.
Choosing the Right Sealer (Mod Podge, Polycrylic, Etc.)
Mod Podge is popular for sealing image transfers because it acts as both an adhesive and a protective finish. It dries clear and gives a slight sheen, preserving color intensity without yellowing. Polycrylic, a water-based protective finish, offers a more durable, scratch-resistant coating suitable for heavy-use surfaces.
Mod Podge typically costs around $7 to $10 for an 8-ounce bottle, suitable for multiple small projects. Polycrylic ranges from $10 to $15 for a pint and provides longer-lasting protection, especially on outdoor or frequently handled items. Choose gloss finish for shine, satin for a soft sheen, or matte to avoid glare.
You can combine both: use Mod Podge for the initial seal, then add polycrylic over it for extra durability. Avoid oil-based polyurethane on image transfers as it can yellow and alter the image colors.
Timing the Sealing After Drying
Wait until the transferred image is completely dry before sealing. Typically, allow 24 hours at room temperature (65°F to 75°F) to ensure the image and any adhesives fully cure. Touching or sealing too soon can cause smudging or peeling.
Ensure the wood itself is dry and at room humidity to prevent moisture from trapping underneath the sealant. If you applied paint or stain before transferring the image, that layer should also be fully dry.
Waiting the full drying time preserves your image’s detail, color, and adhesion over time. Handle the piece gently during this period to avoid damage. Longer cure times improve sealant hardness and wear resistance.
Techniques for Smooth, Even Application
Applying the sealant properly keeps your image looking crisp without adding texture or bubbles. Use a foam brush or a fresh synthetic bristle brush to spread a thin, even coat. A spray-on polycrylic can also work well for very smooth finishes.
Start with light pressure to avoid lifting or shifting the image. Overlap strokes slightly, moving in one direction to reduce streaks. Apply sealant beyond just the image area onto surrounding wood to blend the finish and protect the whole piece.
Let the first coat dry for at least two hours or follow the sealant label instructions, then sand lightly with fine-grit sandpaper (320-grit) to remove any raised fibers or bumps. Wipe away dust before applying a second coat if extra protection is needed.
- Ensure the transferred image and wood are completely dry for 24 hours.
- Choose a foam or synthetic brush for an even sealant application.
- Pour a small amount of Mod Podge or polycrylic into a container to avoid contaminating the main can.
- Apply a thin, uniform coat, starting from the center of the image outward.
- Extend the sealant slightly beyond the edges of the image onto the surrounding wood.
- Allow the first layer to dry fully (at least two hours for Mod Podge or as directed on polycrylic).
- Sand gently with 320-grit sandpaper if you want a smoother finish.
- Apply a second coat for added durability, and let it cure completely before using.
Applying sealant too thickly can cause runs or bubbles that distort the image; thin coats dry better and protect more effectively.
Step-by-Step Action Plan for Transferring Your Image to Wood
Follow these clear steps to complete an image transfer onto wood with durable, quality results.
- Before you start: Choose smooth, unfinished wood and prepare your image as a mirror print if needed. Confirm the image size fits your wood surface.
- Day 1: Apply your chosen transfer method (gel medium, heat, or wax) evenly over the image and place it face down on the wood. Press firmly and smooth out bubbles to ensure full contact.
- After application: Let the transfer dry completely, usually 8 to 24 hours depending on the method. Check that the paper no longer feels wet or tacky.
- Day 2: Dampen the paper gently with water and rub carefully with your fingertip or a soft cloth to remove the paper layers without lifting the transferred image. Pause if the image fades.
- Day 3: Once the paper residue is completely removed and the image looks clear, allow the wood to air dry thoroughly.
- After drying: Apply a clear sealer designed for wood, such as polyurethane or epoxy, in thin coats. Let each coat dry before adding another for good protection.
- Within one week: Avoid heavy handling or exposure to moisture to let the sealer cure fully and preserve your transferred image.
Frequently Asked Questions
Can I Transfer a Transparent or Colored Background Image to Wood?
Transferring an image with a transparent or colored background can be tricky because wood grain and color will show through. For best results, use images with solid backgrounds or add a white base coat to your wood before transferring the image.
Is It Necessary to Mirror or Reverse the Image Before Transferring?
Some transfer methods require you to reverse the image so it appears correctly on the wood. However, with glossy wax paper transfers, you don’t need to invert the image unless you want a mirror effect.
Can I Use a Regular Printer for Image Transfers?
You can use an inkjet or laser printer, but laser prints tend to transfer better due to the toner’s ability to bond with wood. Inkjet prints may require extra steps or special papers for a clear transfer.
Will the Wood’s Texture Affect the Clarity of My Transferred Image?
Yes, rough or uneven wood surfaces create a textured image with less detail, while smooth surfaces produce clearer transfers. Sanding the wood for a smooth finish improves image quality.
How Do I Fix a Transfer with Missing or Faded Areas?
Lightly dampen the wood and gently rub the faded spot with your finger or a soft cloth to remove residual paper. For severe fades, you might need to reapply the medium and transfer that section again.
Can I Transfer Images Onto Painted or Stained Wood?
Avoid transferring onto finished, painted, or heavily stained wood as these surfaces can prevent proper adhesion. If you must, sand the area down to bare wood first and then proceed with your transfer.
Key Points to Remember
Successfully transferring an image to wood mainly depends on proper preparation, patience during drying, and careful removal of paper. Start with a simple design and method to build your confidence. Test your process on scrap wood to refine your technique before your main project.


