How to Make Canvas Signs with 8 Simple Methods and Pro Tips
How to make canvas signs starts by choosing the right type of canvas and simple tools that allow quick, beautiful results. Using standard 16″ x 20″ canvases and basic acrylic paint lets you create charming, custom signs in under 30 minutes. Begin by selecting affordable canvases from craft stores like Michael’s to keep your project budget-friendly.
Key Takeaways
- Select 16″ x 20″ canvases for an ideal size that fits most DIY sign templates.
- Use inexpensive white acrylic paint to prime your canvas, improving your sign’s design.
- Buy canvases in bulk sets to save money while stocking up for multiple projects.
- Prepare your canvas by priming it with paint to provide a smooth, even surface.
- Transfer designs easily using stencils, tracing, or vinyl methods, depending on your skill level.
- Use 3M Command Strips for damage-free wall mounting of your finished canvas signs.
1. What Are Canvas Signs and Why Use Canvas?
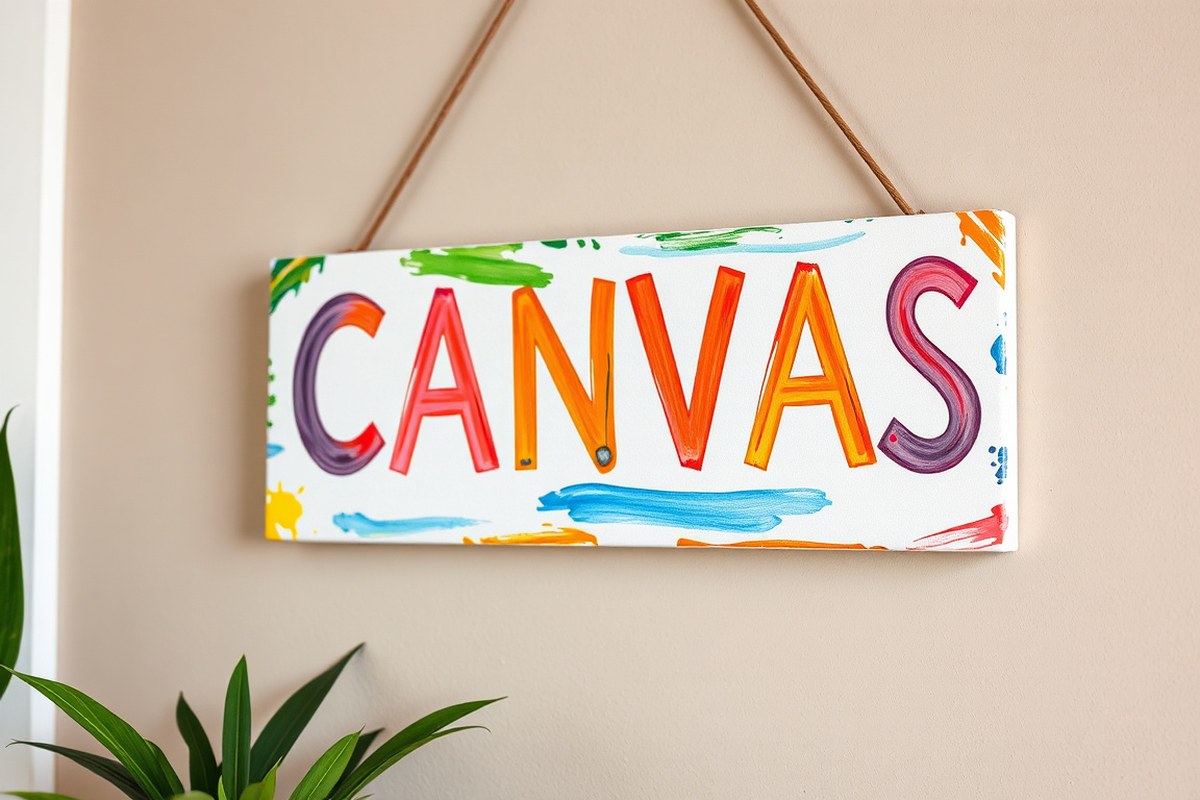
Canvas signs are decorative pieces featuring text, images, or both, created on stretched fabric made from cotton or linen. The canvas fabric provides a textured yet smooth surface ideal for painting or applying vinyl lettering. Unlike wood or metal signs, canvas signs are lightweight and flexible, making them easier to handle and hang. They typically come stretched over a wooden frame, often measuring around 16 inches by 20 inches, which fits standard craft store canvases and sign templates.
You might choose canvas over wood or metal for several reasons. Canvas signs require less setup and tools; you don’t need power tools like saws or drills to prepare the base. The fabric surface allows for easy paint application and clean lines, especially when using stencils or tracing methods. Because canvas absorbs paint differently than wood, your letters and designs tend to have a softer edge, which works well with rustic, farmhouse, or vintage decorating styles. Canvas signs also avoid the weight and fragility issues of wood or metal, making them ideal for indoor use or temporary outdoor decor on covered patios.
Creating a canvas sign generally involves securing a blank canvas to a simple wood frame. Many DIYers use 1-inch by 2-inch trim boards or yard sign stakes to build the frame, which is affordable and available at most hardware stores. You stretch the canvas fabric tightly over this frame and staple it in place. Using carbon paper and a stylus, you can easily transfer your design or sign template onto the canvas for painting or vinyl application. Painting with acrylic paint is common and cost-effective, with small bottles often priced under a dollar at craft stores. Applying paint takes about 15 minutes for a standard 16-by-20-inch canvas sign, and drying times vary with paint thickness, usually an hour or two.
Canvas signs are suited for many decorating styles. The absorbent fabric lends itself well to farmhouse, shabby chic, and rustic looks where softer edges and some texture add charm. They also accommodate modern or minimalist designs when painted with crisp lines or vinyl lettering because the smooth surface makes letters stand out clearly. Using foil iron-on designs with an EasyPress at 290 degrees Fahrenheit for 30 seconds is an option to get metallic or shiny accents on canvas. Canvas signs do show wear faster than wood if exposed to harsh outdoor conditions, so keep them indoors or under shelter for best longevity.
Compared to wood signs, canvas signs avoid splitting, warping, or the need for sanding and sealing. However, unlike metal signs, they are not waterproof and require some care to prevent staining or damage. Good results mean a taut canvas surface free of wrinkles and paint applied evenly without bleeding under stencils. If the canvas is too loose or paint too thick, the design can distort or crack when drying. Generally, canvas signs offer an easy, cost-effective way to create personalized home décor or gifts that suit a range of styles with minimal tools and mess.
2. Essential Supplies for Making Canvas Signs
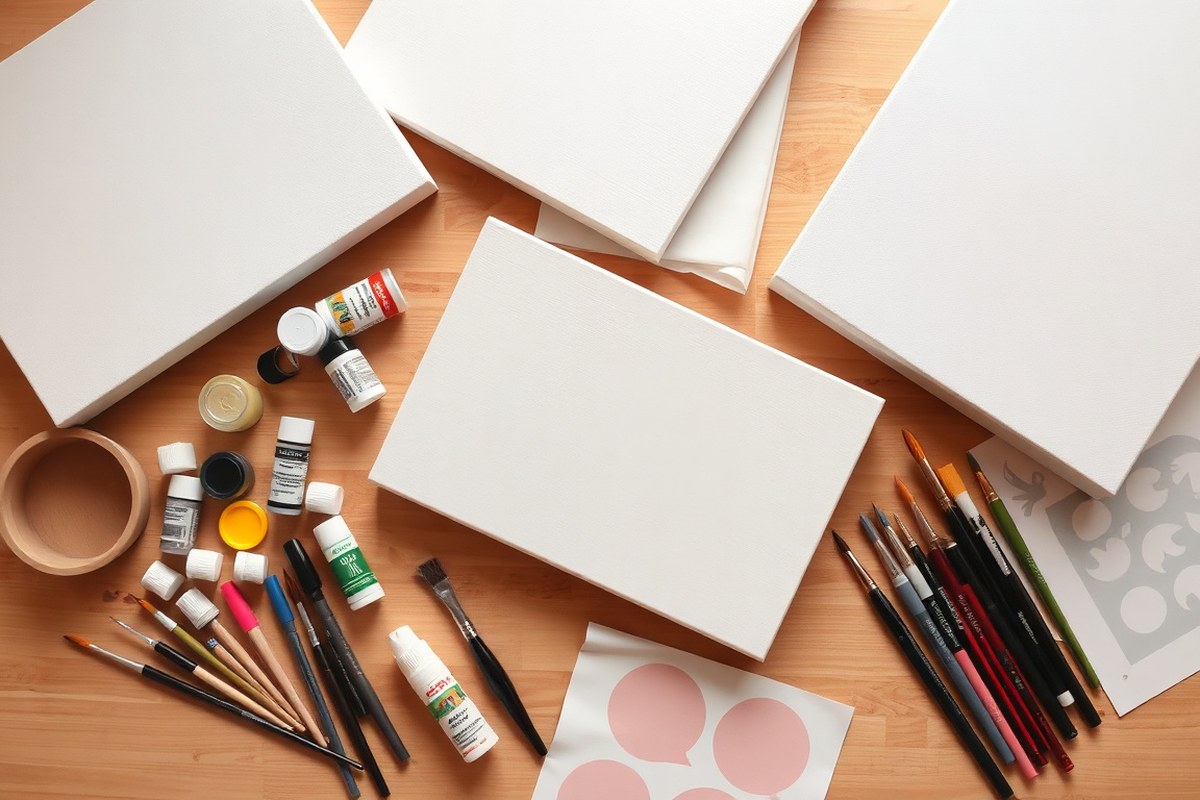
Choosing the right canvas size depends on where you want to display your sign. Popular options include 10×20 inches for wall signs, which are large enough to be noticeable but still easy to work with. Budget-friendly canvases, like those from Michael’s, often come in packs of five for around $12, making them ideal if you plan to create multiple signs. The canvas should be white or light-colored to make your design stand out clearly.
Acrylic paints are best for painting on canvas because they dry quickly and offer vibrant colors. Permanent markers are excellent for hand lettering or adding details; Dollar Tree’s permanent markers tend to outperform more expensive brands like Sharpie on canvas and last longer. Avoid using vinyl for direct application since it doesn’t stick well; if you’re using vinyl stencils, be ready to press firmly and peel transfer paper off slowly for a clean transfer.
Transferring your design onto the canvas can be done using tracing paper with carbon paper underneath or placing your template directly on the canvas and tracing each letter. Carbon paper leaves a light pencil outline for precise painting or lettering. For heat transfer stencils, an EasyPress or household iron set between 300°F and 350°F can be used to warm the stencil and adhere it briefly, just make sure to follow the stencil manufacturer’s directions carefully.
- Canvas: 10×20″ white canvas for wall signs, about $12 for 5 at craft stores
- Paints: Acrylic paints for bold colors; fast drying and affordable
- Markers: Dollar Tree permanent markers for durable and smooth writing
- Transfer tools: Carbon transfer paper, tracing paper, or stencil sheets
- Heat transfer: EasyPress or iron for applying heat-activated stencils
- Additional tools: Pencil for tracing, paintbrushes of various sizes, and a ruler for straight edges
Always test markers and paints on a scrap piece of canvas before starting your main project to avoid unwanted bleeding or fading.
For safety, keep your workspace well ventilated when using acrylic paints, and avoid inhaling any dust from transfer papers. No power tools are necessary, keeping the project safe and simple. Work on a flat, stable surface with enough light to see your outlines clearly. Use painter’s tape to hold stencils if needed, and clean brushes promptly after each use to maintain their shape and avoid color mixing.
3. Preparing Your Canvas for a Flawless Sign
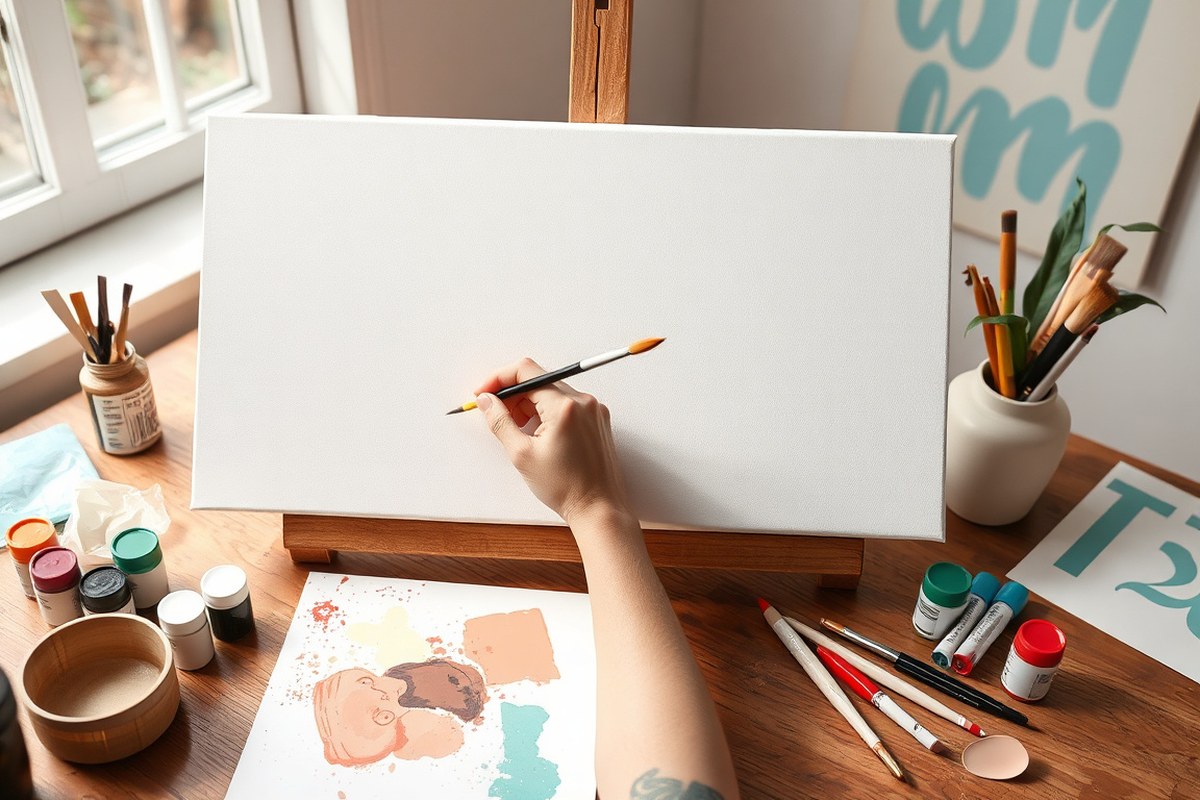
Preparing your canvas properly sets the foundation for a smooth and attractive finished sign. Priming seals the fabric, making your paint go on evenly and last longer. Adding a base color can improve the sign’s look, while distressing or texturing the canvas gives it character. These steps make your project look more professional and unique.
Priming and Base Coating the Canvas
Priming is essential to prevent paint from soaking into the raw canvas fibers unevenly. This results in a more vibrant, uniform color and a better surface for lettering. Use a clear gesso or white acrylic gesso primer, both available at craft stores like Hobby Lobby or Target. If you want a color background, paint a solid base layer over the primed surface. White is common, but feel free to choose a color that suits your design or room decor. A solid base also helps your sign’s letters stand out clearly. Follow these steps to prime and base coat your canvas:
- Place your canvas on a protected surface and secure it with clamps if needed to keep it flat.
- Apply a thin layer of gesso primer over the entire front of your canvas using a wide, flat brush.
- Wait 20 to 30 minutes for the gesso to dry; if the surface still feels rough or uneven, apply a second coat.
- Choose your background paint color, acrylic craft paint works well and is affordable at $3 to $5 per bottle.
- Use a clean brush to paint a solid color on the primed canvas; vary your brush strokes with some thicker and thinner patches for a handmade look.
- Allow the base coat to dry completely, usually 1 to 2 hours at room temperature before adding details or lettering.
Techniques for Distressing and Texture
Distressing or texturing the canvas adds depth and a vintage or rustic vibe to your sign. You can distress by lightly sanding the painted surface with fine-grit sandpaper (around 220 grit). Focus on the edges or random spots to create natural-looking wear. To add texture, vary your brush strokes while applying your base coat. Leaving some paint thicker in places creates a tactile effect and visual interest.
Another option is to use a sponge or crumpled paper to dab wet paint for a subtle textured pattern, which you can lightly sand once dry if desired. Keep in mind that distressing shouldn’t be overdone; too much sanding can damage the canvas fabric and ruin your base coat. Test your distressing techniques on a scrap piece first to get the right look.
Drying and Curing Times to Know
Drying time for primer and paint depends on temperature and humidity, but usually ranges from 20 minutes to 2 hours per layer. Acrylic gesso generally dries faster, within 30 minutes, while acrylic paint base layers can take 1 to 2 hours to be touch dry. To make sure the surface is fully cured and ready for further work like stenciling or lettering, wait at least 24 hours after the final paint layer. This prevents smudging or paint peeling later.
Work in a well-ventilated, room-temperature environment (around 70°F) and avoid stacking or moving the canvas until fully dry. Speed up drying by using a fan, but avoid direct heat sources like hair dryers that can cause cracking. Properly drying your canvas layers results in a more durable and professional sign.
4. Design Transfer Methods: Stencils, Tracing, and Vinyl
Design transfer methods are key to placing your artwork or text accurately on canvas signs. Stencils, tracing, and vinyl each offer unique benefits depending on precision, cleanliness, and material preferences. Understanding these options helps you pick the best fit for your design style and project needs.
| Method | What It Is | Best For | Cost/Tools Needed | Common Issues |
|---|---|---|---|---|
| Stencils | Cut or printed template used to paint or spray paint through | Sharp, clean lettering or shapes | Stencil material ($2, $10), craft knife, paint | Paint bleed under stencil edges |
| Tracing with Transfer Paper | Carbon or graphite paper used to copy design by hand | Simple or custom hand-lettering designs | Transfer paper ($5, $10), pen or stylus | Smudged lines, uneven pressure |
| Heat Transfer Vinyl (HTV) | Cut vinyl letters or shapes heat-pressed onto canvas | Durable, easy-to-clean designs, small text | Vinyl sheets ($5, $15), cutting machine, heat press | Incorrect temperature or pressure can damage canvas |
Using Stencils for Precise Lettering
Stencils help you create clean, repeatable designs or lettering on canvas. They prevent painting outside the lines but require steady application to avoid paint bleed.
- Choose or create a stencil with the exact design you want on your canvas. You can buy pre-made stencils or print and cut your own on stencil plastic or cardstock.
- Place the stencil carefully on your prepared canvas, securing edges with painter’s tape to avoid movement.
- Apply paint lightly using a stencil brush or sponge. Tap paint on rather than brush to reduce bleed.
- Let the paint dry partially, then carefully lift the stencil to avoid smudging.
- If needed, touch up edges or fill any gaps with a fine-tip brush once dry.
Good results show crisp, even lines following the stencil edges. Paint can bleed if too much is applied or the stencil shifts during application.
Tracing Designs with Graphite or Transfer Paper
Tracing uses carbon or graphite transfer paper to copy a design outline onto the canvas for painting or detailing by hand. This method suits unique layouts or hand-lettered signs.
- Print your design on regular paper in the desired size to match your canvas.
- Place carbon transfer paper shiny side down on your canvas, then set the printed design on top.
- Hold both papers in place and trace over the design lines with a stylus or ballpoint pen, applying firm, even pressure.
- Remove papers to reveal the faint design outline transferred onto the canvas.
- Use a fine paintbrush or marker to fill in or paint over the traced lines.
Lines may smudge if pressure varies or if the carbon paper shifts. Tracing works best on light-colored canvases to see transfer lines clearly.
Applying Heat Transfer Vinyl on Canvas
Heat transfer vinyl (HTV) offers a neat, durable design option especially in kids’ rooms or play areas where cleanability matters. The vinyl is cut with a machine and applied with heat.
- Create your design in vinyl cut software using fonts like Sketchbook or Felix for clear text.
- Cut your design on everyday iron-on vinyl using a cutting machine like the Cricut Explore Air 2.
- Weed away excess vinyl, leaving only your lettering or shapes on the clear backing.
- Preheat the canvas with a heat press or EasyPress to around 305°F for 10 seconds to remove moisture and wrinkles.
- Place your vinyl design on the preheated canvas with the clear side facing up.
- Press again with the heat press for 15 seconds at 305°F, applying medium pressure.
- Slowly peel the clear liner away to reveal your clean vinyl lettering adhered to the canvas.
Using correct temperature and pressure is essential to avoid damaging the canvas or poor adhesion. HTV ensures washable, smooth lettering that resists wear on canvas surfaces.
5. Painting and Lettering Techniques for Canvas Signs
Painting and lettering on canvas signs requires careful control to make letters clear and colors vibrant. You can achieve crisp, clean edges with the right tools and techniques, whether you hand paint with brushes or use paint pens. Applying multiple coats adds opacity and depth, with drying times between layers to avoid smudging.
Hand Painting Letters and Artwork
Hand painting letters on canvas works well if you want a personalized touch or textured finish. Use small craft brushes for details and a larger brush if you cover broader areas. Start by carefully filling in traced letters with the fine brush, applying even pressure for smooth strokes. A mix of black acrylic paint with a textured medium like Sandstone can add a raised effect for dimension, making the letters stand out visually and to the touch.
To create clean edges, hold the brush steady and avoid overloading it with paint. Let the first layer dry for about 15 to 20 minutes at room temperature before applying additional coats. Generally, two to three coats provide full opacity, especially if the paint color contrasts strongly with the canvas background. Avoid thick strokes, which can cause cracking as they dry.
Using Paint Pens and Markers
Paint pens provide an easier way to add fine and consistent lettering without worrying about brush strokes. They work best for small text elements, intricate designs, or when you need quick precision. Acrylic paint pens with medium tips cost about $3 to $6 each and come in various colors, making them handy for multi-colored signs. Hold the pen close to the canvas and write slowly to control letter shape and size.
Brushes often give a more textured, handmade appearance, but paint pens reduce the risk of paint bleeding under the stencil edges. For beginners, pens are simpler for clean lines without wasting too much paint. Use pens on fully dry base coats to prevent smearing. To get a blend or shadow effect, pens alone won’t achieve that, so switch back to brushes for layering.
Layering and Fixing Mistakes
Layering paint in thin coats improve vibrant colors and ensures full coverage without uneven patches. After the first coat dries completely, usually 20 to 30 minutes, apply a second coat in the same way. Keep layers thin to avoid warping or bubbling the canvas. Paint bleeding or fuzzy edges means you should wait for the layer to dry and then carefully outline with a fine brush or pen to sharpen the lines.
Correct minor mistakes by using a small damp brush dipped in rubbing alcohol on coated acrylic paint. This technique lightly lifts paint, allowing you to blend or soften edges without damaging the canvas. For larger fixes, let the paint dry fully, then paint over the mistake with the background color before reapplying your lettering or details.
Test your paint and layering technique on a scrap piece of canvas first to avoid unexpected bleeding or texture issues on your final sign.
6. How to Make a Reverse Canvas Sign
A reverse canvas sign flips the traditional canvas sign inside out, showing the back of the canvas with the staples and frame on the front. This technique highlights the wood frame as part of the design and gives your sign a rustic, three-dimensional look. Instead of painting directly on the canvas surface, you paint on the back side, then reattach the frame to create a framed piece with the canvas stretched over the front.
You’ll need the usual supplies like acrylic paint, brushes, and stencil or vinyl for the design, but also these tools specifically for making a reverse canvas sign: pliers or staple remover to disassemble the canvas, a staple gun or heavy-duty stapler for reassembly, and sandpaper to lightly distress the frame or canvas. The quality of the wood frame matters more here, since it will be fully visible on the front. Expect to spend about $10, $20 on the frame if you buy a blank canvas frame and $5 or less for paint and stencils if you have them on hand.
Disassembling and reassembling the canvas frame requires patience to avoid tearing the canvas or damaging the frame. You carefully remove the staples holding the canvas to the frame, then paint on the exposed underside of the canvas. After the paint dries, slide the frame back over the painted side and staple the canvas back tightly to the frame’s backside. This keeps the painted side visible through the frame’s front, giving that unique reversed look. Follow these exact steps for a solid reverse canvas sign:
- Use pliers or a staple remover to take out all staples securing the canvas to the wood frame. Be careful not to tear the canvas or break the frame corners.
- Remove the canvas carefully from the frame, leaving it stretched as much as possible to avoid new creases or wrinkles.
- Lightly sand the frame to prepare it for staining or painting, which improve the rustic look many reverse canvases have.
- Flip the canvas over so the back (usually plain) side is facing up, then apply your design with paint or use a stencil or vinyl decal. Let the paint dry for several hours.
- Place the frame back over the painted canvas, positioning it so the painted side shows through the frame front.
- Use a staple gun to reattach the canvas securely to the back of the wooden frame. Check for tightness to avoid sagging.
- Touch up edges or frame if needed to cover staples or uneven paint spots for a cleaner finish.
Good results show no canvas slack, no visible staple holes on the front painted surface, and the frame evenly surrounding the painted canvas area. Common issues include canvas wrinkles from uneven stapling and paint peeling from applying paint too thickly or rushing dryness. Allow sufficient dry time and staple carefully to avoid these problems.
7. Adding Decorative Frames and Lighting Options
Simple framing for canvas signs includes buying ready-made wooden frames or assembling your own from lightweight wood strips. Secure the canvas behind the frame using hot glue, which keeps it tight and intact without harming the fabric. This method ensures a crisp look and avoids costly supplies. Wooden frames typically cost between $5 and $15 at craft stores, while custom frames made from molding strips run about $10 to $20.
Canvas signs do not need to be framed to look good. You can display them stretched on a wooden stretcher bar or clipped to a decorative hanger, which adds a casual and modern feel. Using binder clips or bulldog clips at the top edge is another frame-free option, especially good for temporary décor or gifts. To achieve a smooth, frame-free look, prepare the edges of your canvas by cleaning them and adding a black paint border or finishing them carefully to prevent fraying.
Adding battery-operated lights can improve your canvas sign’s visual appeal. The safest way to attach lights without damaging the canvas is by using a string of mini battery-operated LED lights. These can be gently secured with small, removable adhesive hooks or clear tape on the back side of the frame or stretcher bars, avoiding direct contact with the canvas face. Never staple or pin lights directly into the canvas, as this creates permanent holes and weakens the fabric.
- Attach canvas to frame back with hot glue for a secure, neat finish
- Use pre-made wooden frames or DIY wood strips depending on your budget
- Display unframed canvas on stretcher bars or with binder clips for casual style
- Secure battery-operated mini lights with removable adhesive hooks on frame edges
- Avoid staples or pins on canvas to prevent damage
- Use lightweight lights to keep the sign from sagging or warping
- Allow glue or paint to dry fully before adding frames or lights
For a glowing effect behind a canvas print, you can mount a printable backed with vellum inside or behind the framed canvas, then weave the mini lights around the edges. This technique creates even light diffusion through the artwork, but requires careful balancing of light string length and battery placement to avoid overheating. Prices for a string of battery mini lights hover around $10 to $15 online, with battery life commonly lasting up to 8 hours.
8. Troubleshooting and Protecting Finished Canvas Signs
Paint smudging and uneven edges commonly happen when the paint is still wet or if the brush strokes are too thick. Fix paint bleeding by quickly blotting the area with a damp cloth or paper towel to lift excess paint before it dries. For sharper edges, use painter’s tape along stencil lines, pressing the edges firmly to reduce bleeding. Applying thinner layers of paint and allowing each coat to dry fully before adding another helps keep edges clean and crisp. Using a high-quality, fine-tipped brush or a small foam brush also reduces the chance of spreading paint beyond the intended design.
Vinyl peeling happens mostly due to poor adhesion or when the canvas surface is dusty or bumpy. To fix peeling vinyl, gently lift the edge and apply a small amount of strong craft glue or vinyl adhesive underneath, then press the vinyl back in place. Place a heavy book or flat object on top for at least 15 minutes to ensure it bonds well. For future projects, pressing the vinyl with a heat source can improve adhesion; if using heat transfer vinyl, carefully turn the canvas over and press with a household iron at medium heat for 15 seconds, avoiding direct steam or too much pressure that can warp the canvas.
Sealing your canvas sign protects it from fading, moisture, and dirt. Use a clear acrylic sealer designed for canvas, available as spray or brush-on. Spray sealers are easier to apply evenly and dry faster, usually in 15 to 30 minutes, but need a well-ventilated space. Brush-on sealers provide thicker protection and are great for textured or raised paint areas. Apply two thin coats, allowing at least 1 hour of drying time between coats. Expect to spend around $10 to $20 for a standard sealer, which covers multiple signs.
Protecting against sunlight is critical if your canvas sign will be outdoors because UV rays cause paint and vinyl to fade quickly. Look for sealers that specify UV protection on their label. Despite being versatile, many canvas signs are best kept indoors or in covered outdoor spaces due to canvas fabric’s tendency to absorb moisture, which can warp the frame or encourage mildew. If you place a sign outside, keep it under a porch or awning and avoid direct rain exposure to prolong its life.
Cleaning finished canvas signs requires gentle wiping with a soft, dry cloth to avoid smudging or peeling. Avoid water or harsh chemicals, as these can damage the paint and vinyl. For dust buildup, a soft brush, like a small paintbrush, helps remove particles from textured surfaces. Store signs flat or hanging where they won’t bend or crease, preserving their shape and finish.
Press vinyl firmly and evenly, then turn the canvas over and press with a warm iron for 15 seconds to improve sticking and prevent edges from lifting.
Your First Canvas Sign: Step-by-Step Action Plan
Follow these steps to create your first canvas sign with confidence. Each phase builds your skills and shapes your project into a polished piece.
- Before you start: Gather all essential supplies, including your canvas, paints, brushes, and transfer tools. Verify you have everything to avoid interruptions during your project.
- Day 1: Prepare your canvas by cleaning and applying a base coat if needed. The canvas should look smooth and evenly covered, creating a perfect painting surface.
- Day 2: Transfer your design using a stencil or tracing method. Ensure the design is clear and centered exactly where you want the lettering or artwork.
- Day 3: Begin painting your design with chosen colors and techniques. Paint steady, layering colors if required, and let each layer dry before applying the next.
- Day 4: Add detail or lettering with fine brushes or paint pens. Sharp lines and filled letters indicate your sign is shaping up well.
- Day 5: Protect your sign with a clear sealant appropriate for your paint type. The finish should be uniform without smudges or sticky areas.
- Day 6: If desired, add a frame or attach lighting options. Check that everything fits securely and improve your sign’s appearance.
- After 1 week: Display your canvas sign in dry, low-traffic areas to keep it looking fresh. Monitor for any wear and touch up as needed.
Frequently Asked Questions
Can I Make Canvas Signs Without Any Power Tools?
Yes, you can make canvas signs using basic hand tools and supplies like paint, brushes, and stencils, with no power tools required. This approach keeps the process simple and accessible for beginners.
How Do I Create a Template for My Canvas Sign Design?
Use paper or vinyl to print your design, then trace it onto the canvas with carbon paper or a stylus. This ensures accurate and easy design transfer.
What Type of Paint Works Best on Canvas Signs?
Acrylic paint is ideal because it adheres well and dries quickly on canvas. It’s widely available and gives you vibrant, lasting colors.
Can I Reuse Stencils for Multiple Canvas Signs?
Yes, reusable stencils made from plastic or mylar can be cleaned and used for many signs, which saves time and keeps your designs consistent.
How Do I Prevent Smudging While Painting Letters on Canvas?
Use thin layers of paint and allow each to dry before adding more to avoid smudges. Working patiently ensures crisp lettering.
Is It Possible to Add Lighting to Canvas Signs?
Yes, lightweight LED string lights or clip-on lights can be attached around or inside the frame for decorative illumination without damaging the canvas.
The Bottom Line
Your first canvas sign is a chance to create something uniquely yours, blending your style with practical steps. Carrying out these actions will give you a strong foundation for many projects ahead. Try making a simple sign with your favorite quote or design to see how rewarding this craft can be.