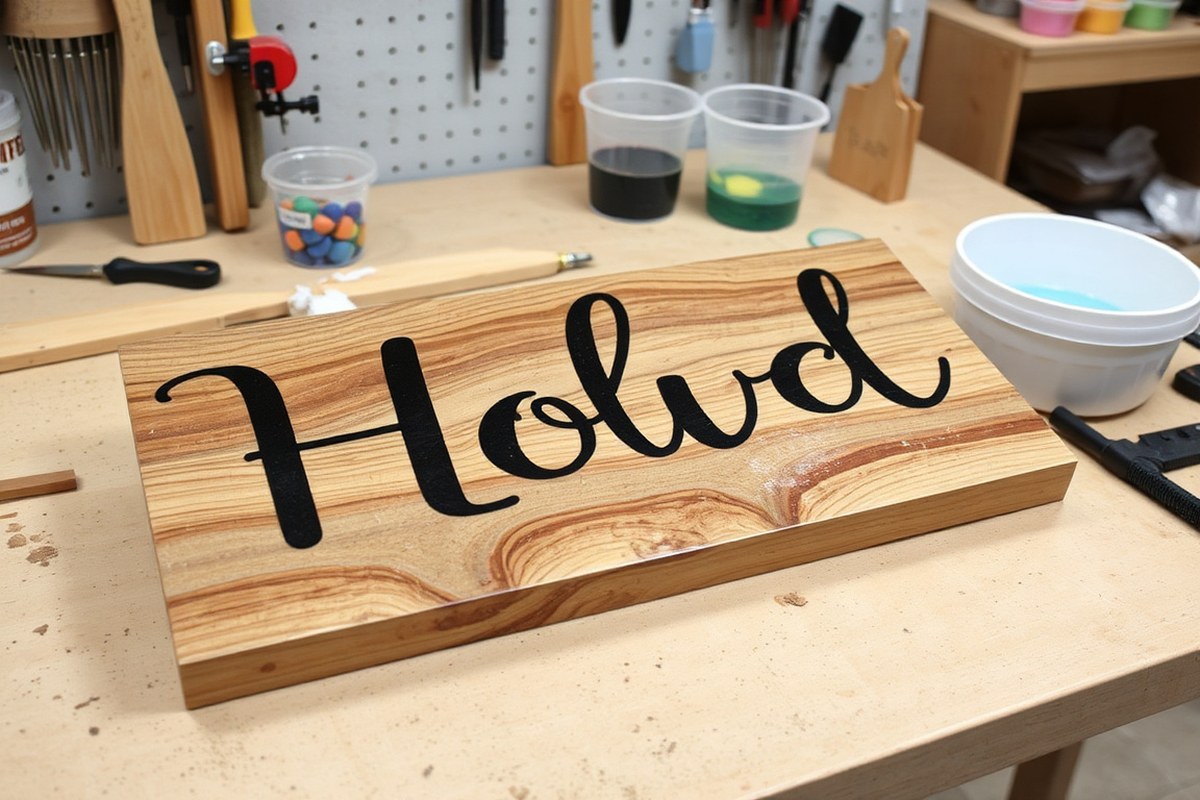
How to Make an Epoxy Sign: A Complete Guide with Pro Tips and Mistake Fixes
You can make an epoxy sign by starting with a smooth wood base, precisely mixing your epoxy resin, and carefully pouring it for a clear, glossy finish. Use vinyl for your lettering or design, then seal it under a well-mixed epoxy layer to protect and highlight the art. Begin by sanding and cleaning your wood thoroughly to ensure the epoxy adheres flawlessly and looks professional.
Key Takeaways
- Choose a hardwood like walnut or maple as your sign base for durability and smooth epoxy application.
- Mix epoxy resin slowly for 3, 5 minutes to avoid bubbles and ensure an even cure.
- Apply vinyl cutouts to your wood before pouring epoxy to create clean, sharp design edges.
- Pour epoxy in thin layers (1/8, 1/4 inch) to prevent overheating and achieve a glassy finish.
- Work within 35 minutes of mixing epoxy resin to maintain ideal pour consistency.
- Check your epoxy sign 30 minutes after pouring for drips or missed spots to fix early flaws.
Essential Materials and Tools for Epoxy Sign Making
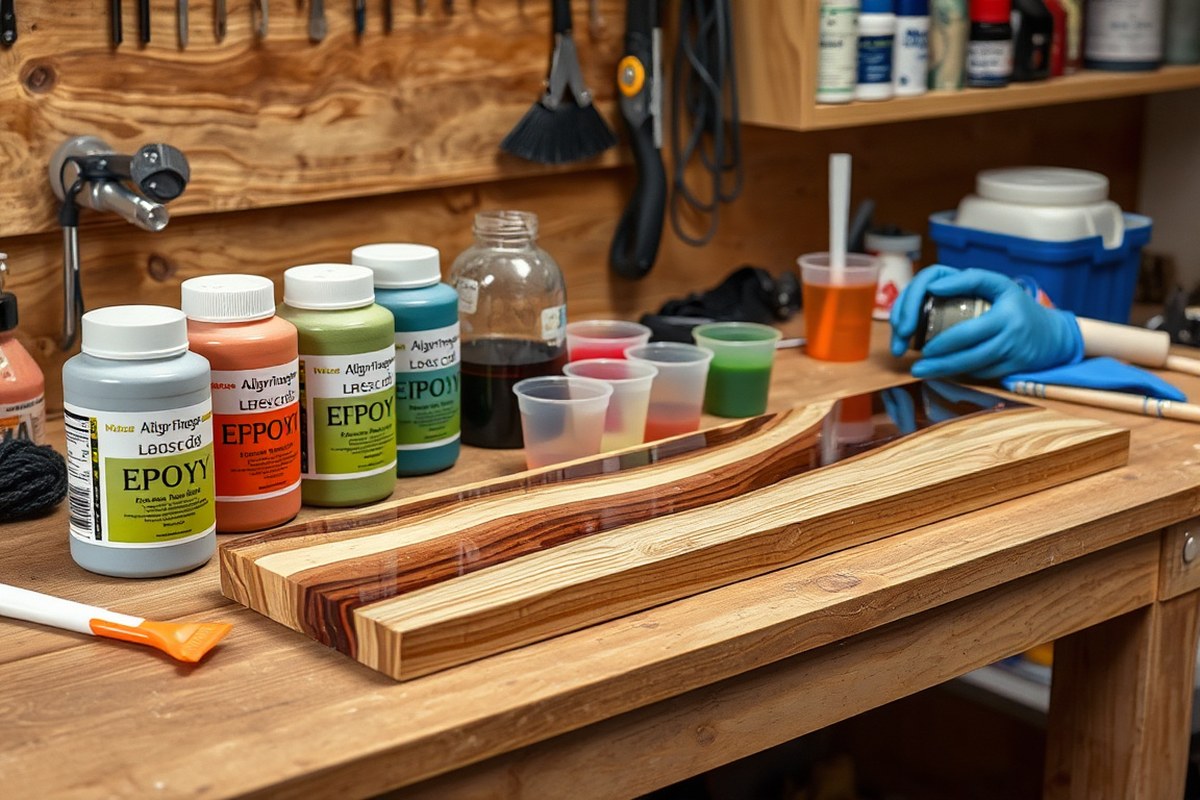
Making an epoxy resin sign requires specific materials and tools to ensure a smooth, clear, and durable finish. The primary material is a two-part epoxy resin kit, which includes the resin and hardener. These components must be mixed precisely to activate the chemical reaction that cures the epoxy. A compatible wood base serves as the foundation, often prepared beforehand for adhesion. You may also use vinyl lettering or stencils to create designs under the epoxy layer.
Essential tools include accurate mixing containers and stir sticks to combine the resin and hardener thoroughly. A measuring cup with clear markings helps maintain the correct resin-to-hardener ratio, typically 1:1 or 2:1 depending on the product. A heat gun or small torch can help remove bubbles after pouring the epoxy. Disposable gloves protect your skin from sticky, hard-to-remove resin, while a respirator mask safeguards your lungs from fumes. An apron or old clothes prevent epoxy stains on your apparel.
- Two-part epoxy resin kit (resin and hardener)
- Wood base prepared for epoxy adhesion
- Vinyl lettering or stencil for design
- Measuring cups and mixing containers with volume markings
- Mixing sticks (wood or plastic)
- Heat gun or small torch to pop bubbles
- Protective gear: nitrile gloves, respirator mask, apron or old clothes
The correct measurement and mixing process is important. Use the measuring cup to get the exact mix ratio recommended by your epoxy brand, then stir slowly and thoroughly for at least three minutes. Stirring too quickly can add air bubbles. After pouring, remain nearby for 10 to 15 minutes to watch for bubbles and use the heat gun gently across the surface to clear them. Keep the workspace warm, around 70 to 75°F, to help epoxy cure properly; colder temperatures slow curing and increase stickiness risk.
Expect to spend $30 to $50 on materials for a typical 24×12 inch sign, which is more affordable than commercial signs costing $200 or more. Protective gear is non-negotiable since uncured epoxy is irritating to skin and respiratory systems. Stick with nitrile gloves as latex can absorb resin. A respirator with organic vapor cartridges offers safer breathing conditions, especially if you work indoors or with larger batches.
Following the right materials and having the proper tools makes crafting your epoxy sign both easier and safer. Resisting shortcuts like skipping gloves or guessing epoxy amounts prevents common problems such as sticky or cloudy finishes. Investing time in preparation improves final results and enjoyment in wrapping up your personalized sign.
Preparing Your Wood Base for a Flawless Epoxy Finish
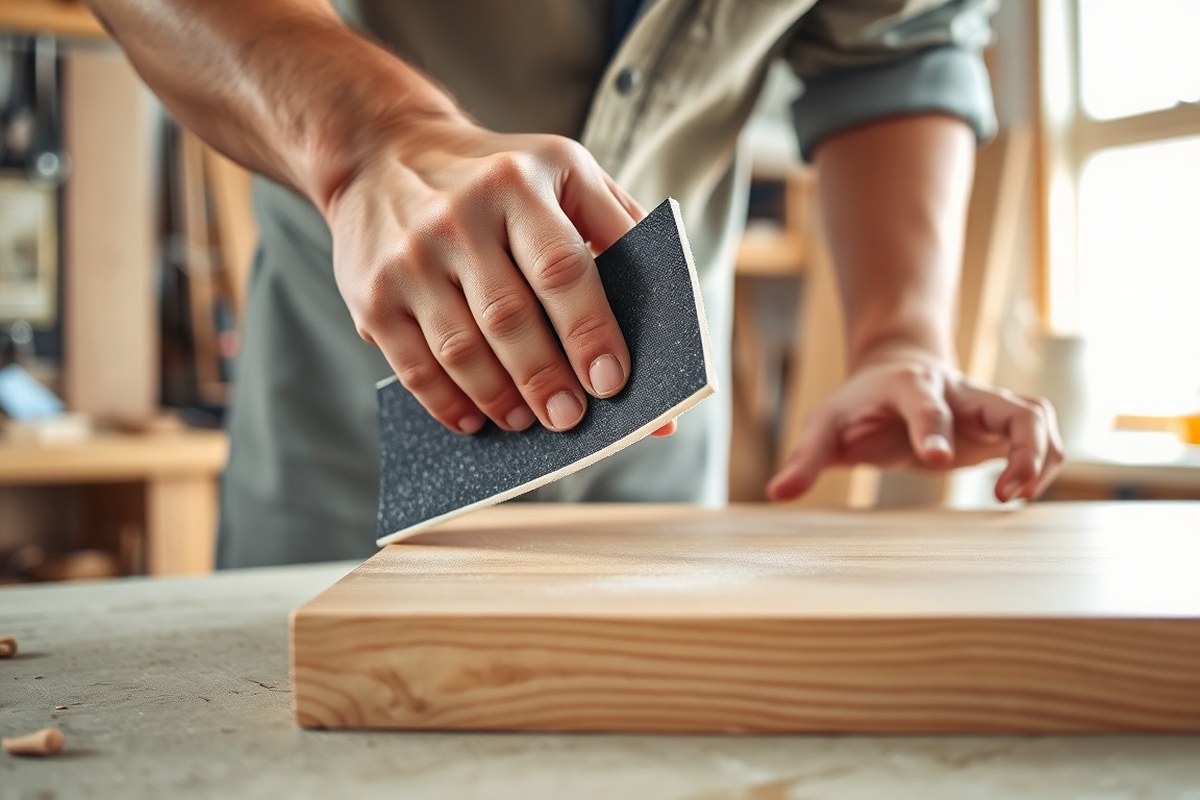
Preparing your wood base properly ensures a smooth, flawless epoxy finish that won’t bubble, crack, or peel over time. Choosing the right wood, sanding it well, acclimating it to your workshop conditions, and sealing its surface are key steps you should follow carefully before applying epoxy.
Selecting the Right Wood Type
Stable, dry wood types work best because epoxy can highlight any warping or moisture issues. Oak and walnut offer durability and a premium look, while pine and maple serve budget and clean styles respectively. Thickness and moisture content also affect how the wood reacts to epoxy and its long-term durability.
| Wood Type | Best For | Thickness Recommendation | Moisture Target | Cost per Board Foot |
|---|---|---|---|---|
| Walnut | Premium indoor signs | 3/4, 1 inch | <8% | $10, 15 |
| Oak | Rustic outdoor signs | 1, 1.5 inches | <10% | $5, 8 |
| Maple | Clean, modern letters | 1/2, 3/4 inch | <6% | $6, 10 |
| Pine | Budget beginner signs | 3/4 inch | <12% | $2, 4 |
Live-edge slabs are appealing for organic looks but require kiln-dried hardwoods to keep moisture down around 5, 10% to avoid cracks or bubbles. Measuring moisture levels with a moisture meter before use helps maintain quality.
Sanding and Cleaning the Surface
A smooth, cleaned surface allows epoxy to spread evenly without trapped debris or dust that cause imperfections. Leaving a bit of texture on the wood helps epoxy grip better and prevents peeling later.
- Sand the wood thoroughly with 120- to 220-grit sandpaper, starting coarser and finishing finer for smoothness.
- Remove all sanding dust with a vacuum or tack cloth to avoid bubbles trapped under epoxy.
- Wipe down the surface with a damp cloth and let it dry completely to remove any remaining debris.
- Check for uneven areas and lightly sand again if needed to ensure a flat surface for epoxy flow.
Lightly sanding instead of over-smoothing keeps the necessary “tooth” for epoxy to bond securely rather than just sitting on the surface.
Sealing and Acclimating Wood
Sealing porous wood before applying epoxy prevents bubbles caused by trapped air and moisture escaping. Acclimating the wood to your shop environment minimizes moisture shifts that cause cracking after epoxy cures.
- Acclimate the wood in your workspace for at least 7 days to reach stable moisture levels, especially if it’s kiln-dried hardwood.
- Use a light layer of acrylic sealer, clear resin, or decoupage medium evenly over the wood surface to seal its pores.
- Let the sealer dry for at least 1 hour or according to product instructions before applying epoxy.
- Inspect for any rough or unsealed areas and apply a second thin coat if necessary to fully seal porous spots.
Sealing is especially important when using softwoods like pine or woods with higher moisture content near 10, 12%. This step helps reduce issues like yellowing, cracking, and bubbles in your epoxy finish.
Always confirm wood moisture is below recommended levels, around 6, 10% depending on wood type, to prevent later epoxy finish problems like cracks or cloudiness.
How to Mix Epoxy Resin Correctly for Perfect Results
To get perfect results when making an epoxy sign, mixing the resin and hardener in the correct ratio and with proper technique is essential. Most epoxies use a 1:1 or 2:1 mix ratio by volume, and thorough mixing for at least 3 to 5 minutes ensures the components fully combine. Mixing too fast or too short causes air bubbles or sticky spots, while mixing too long risks premature curing.
Measuring Resin and Hardener Accurately
Correct measuring is the foundation of a solid epoxy cure. The typical mixing ratio is either 1:1 or 2:1 resin to hardener by volume, depending on your epoxy brand’s instructions. Always check the label before starting, as this varies between products and affects cure times and finish quality.
Use separate, marked measuring cups to avoid guessing. For example, if your epoxy calls for a 1:1 ratio, pour exactly 100 ml of resin and 100 ml of hardener. For 2:1 ratios, measure 200 ml of resin and 100 ml of hardener. Mixing ratios by weight are less common for signs but can be more precise if your brand recommends that.
Accurate ratios prevent soft or tacky finishes. Sticky resin usually results from incorrect ratios or incomplete mixing. If your epoxy is sticky after curing, discard it and start fresh with new, properly measured batches.
Mixing Technique to Avoid Bubbles
Mixing epoxy correctly improves clarity and reduces bubbles, important for clear, attractive signs. Mix slowly and steadily, avoid whipping or shaking. Stirring too fast traps air, forming bubbles that can mar your final product.
Use a flat, wide mixing stick to scrape the sides and bottom of your mixing container thoroughly. The resin and hardener are often unevenly distributed, so scraping prevents unmixed parts that lead to soft spots. To reduce air bubbles:
- Stir gently and continuously for at least 3 to 5 minutes. Timing depends on batch size; larger batches may require a minute or two longer.
- Scrape container sides and bottom about every 30 seconds to ensure even mixing.
- Mix in a warm environment (70, 80°F) to improve flow and reduce viscosity, which limits bubbles.
- Avoid introducing vigorous motions or shaking during mixing or transferring epoxy.
Optional bubble removal includes passing a small torch or heat gun quickly over the epoxy surface after pouring, which helps pop bubbles trapped near the surface. For advanced craftspersons, a vacuum chamber can degas resin before pouring but costs around $150 and may be unnecessary for most sign projects.
Time Limits for Working with Mixed Epoxy
After mixing, epoxy resin has a limited working time before it starts to set. This “pot life” usually ranges from 20 to 45 minutes at room temperature but varies by brand and batch size. Follow the manufacturer’s working time to avoid premature curing that causes uneven finishes.
Be ready to pour and spread your epoxy within this window. Mixing time itself should be about 3 to 5 minutes; longer mixing does not extend your working time but risks advancing the cure.
For example, with a 45-minute pot life, plan to mix, colour, and pour your epoxy quickly but carefully. Stop mixing as soon as the resin is clear and streak-free; overmixing can cause heat buildup and faster hardening.
Adding Color and Effects to Your Epoxy Resin
Adding color to epoxy resin involves tinting it with pigments, powders, or dyes that safely integrate into the mixture. Popular pigments include resin color pastes, mica powders, alcohol inks, and glow powders. Each pigment type offers different effects and requires specific amounts for the right saturation. For example, resin color paste typically calls for about 1% by weight, roughly one teaspoon per quart of epoxy, to add a noticeable but not overwhelming splash of color. Mica powders create shimmer or metallic effects and are usually added sparingly, around half a teaspoon to one teaspoon per quart, to avoid cloudiness.
Different color effects can be achieved by layering epoxy in thin pours. For instance, using blue glow powder combined with a base blue pigment at about 0.5 teaspoon per quart creates a subtle “Ocean River” glow effect. Gold mica paired with amber dye at one teaspoon per quart gives a warm “Whiskey Flow” look, while UV-reactive blacklight pigments require up to two teaspoons per quart for a strong “Galaxy Glow.” When layering, pour thin layers, around one-eighth to one-quarter inch thick, allow each to cure fully before adding the next. This approach prevents mixing layers unintentionally while building depth and bursts of color or glow throughout the sign.
Working example: if you want a deep blue translucent effect with a gentle glow, mix one quart of epoxy resin with 0.25 teaspoon blue resin paste and 0.5 teaspoon blue glow powder. Stir thoroughly but gently to avoid air bubbles, then pour the first thin layer. After this cures, you can add a second layer tinted with a slight amount of iridescent mica powder for shimmer. Layering preserves clarity and improve the multidimensional appearance of your sign.
Glow powders and LED lighting improve epoxy signs by adding light effects. Glow powders must be fully mixed into the resin before curing; they won’t glow if simply dusted on afterward. After your epoxy is completely cured, often after 24 to 72 hours at room temperature, embed LED strips or spotlights behind or beneath your sign for illumination. LED epoxy resin letters and signs using the “transparency method” let light pass through colored resin, creating a bright 3D effect without blocking the glow. For safety, follow the resin and pigment manufacturers’ instructions, use gloves and masks when mixing powders, and work in a well-ventilated area. LED wiring should be handled by someone experienced with electrical installations to avoid hazards.
Best Techniques for Pouring Epoxy on Signs
Pouring epoxy resin evenly and smoothly is key to creating a clear, glossy sign without bubbles or imperfections. Knowing when to use shallow versus deep pours controls curing times and thickness. Removing bubbles with a torch or gentle heat shortly after pouring ensures a flawless finish.
Setting Up and Leveling Your Workspace
A flat, level surface prevents epoxy from pooling unevenly or running off edges. Use a carpenter’s level to check your table or workbench before starting. Improve your sign base on small blocks or shims so air can flow underneath, helping with an even cure.
Keep the area dust-free, since dust lands easily on wet epoxy and can ruin the finish. Cover your work surface with plastic sheeting or a disposable mat to catch drips. Turn off fans or air conditioners that might blow dust or create uneven airflow.
Shallow Pour Techniques for Fast Cures
Shallow pours range from 1/8 to 1/4 inch thick and cure in about 24 hours. This method is ideal for thin signs or coating delicate color work. Pour the mixed epoxy slowly in the center, then spread the resin toward edges with a silicone spreader, gloved finger, or stir stick to keep layers even.
Bubbles usually rise within the first 10 to 15 minutes after pouring. Pass a small butane torch or heat gun held about 6 inches above the surface in a slow, circular motion to pop bubbles. Avoid overworking the resin as it may cause streaks or surface patterns.
- Check that your workspace is level and dust-free.
- Mix epoxy exactly as instructed, avoiding air bubbles during stirring.
- Pour epoxy slowly into the center of your sign base.
- Spread resin evenly outward with a silicone spreader or finger.
- Use a small torch to gently pass over the resin surface to remove bubbles.
- Maintain a dust-free environment as epoxy cures for 24 hours.
Tip: Pouring slowly and spreading without excessive force helps keep bubbles low and the surface smooth.
Deep Pour Methods with Layering
Deep pours measure from 1 to 4 inches and need longer curing, typically around 72 hours. Use clear casting epoxy specifically labeled for deep pours to avoid heat and yellowing issues. Pour in layers no thicker than 1/4 inch at a time, allowing each layer to cure partially before adding the next to prevent cracking.
For thick signs aiming for around 3/4 inch, pour the first layer and wait 4 to 6 hours until it’s tacky but not fully cured, then continue pouring subsequent layers. Use a torch between layers to remove bubbles that rise to the surface. Avoid rushing; deep pours need patience to stay clear and smooth.
| Pour Type | Recommended Thickness | Estimated Cure Time | When to Use |
|---|---|---|---|
| Shallow Pour | 1/8 to 1/4 inch | 24 hours | Thin signs or surface coating |
| Deep Pour | 1 to 4 inches (layered) | 72 hours | Thicker signs or dimensional casting |
Warning: Avoid pouring layers thicker than 1/4 inch at once to reduce heat buildup and bubbling inside the resin.
Curing Times and How to Know When Your Sign Is Ready
Epoxy resin undergoes several curing phases that affect how soon you can handle or finish your sign. Initially, the mixture remains liquid and fluid for about 20 to 45 minutes, depending on the specific product and conditions. During this “working time,” you can pour and manipulate the epoxy. Afterward, the resin enters the gel phase, where it thickens and becomes tacky, usually within 8 to 12 hours. Full curing generally takes between 24 and 72 hours at room temperature (around 70°F). The exact time depends on factors like the epoxy formula, layer thickness, and environmental conditions.
The curing process matters because applying finishes or moving the sign too soon can cause imperfections such as fingerprints, dust spots, or uneven hardening. Conversely, waiting too long could make sanding or adding additional layers more difficult. Using a deep-pour formula designed for thick pours, up to 2 inches thick, will also affect cure times, sometimes requiring more than 72 hours for complete hardness in the middle of the pour.
Room temperature plays a big role in curing speed. Epoxy cures slower in cooler environments, especially below 65°F, which may extend full cure times to 4 days or longer. Higher humidity around or above 70% can cause cloudiness or surface bloom, resulting in a dull finish. To avoid problems when working in cold or humid spaces, try curing your sign indoors where temperature and humidity are stable or use a space heater and dehumidifier to maintain optimal conditions.
Knowing when your epoxy sign is ready to move on to the finishing stage involves checking for a few clear signs. The surface should be hard and no longer tacky to the touch. You can lightly press a fingernail or thumb against a small corner of the sign; it should not leave an indentation or feel sticky. The resin will also feel solid throughout, without any wet or soft spots under the surface. Your epoxy should have a smooth glossy appearance with no milky or cloudy areas.
Before adding hardware like ribbons, stands, or adhesive bumpers, confirming full cure is key. Partial curing can weaken attachment points or trap moisture. For best results, allow 72 hours at room temperature for a thick epoxy layer to ensure strength and clarity. Keep your sign away from dust or debris during this time by covering it with a clean, breathable material such as a cardboard box or plastic tent that allows airflow without trapping humidity.
Patience during curing costs nothing but saves frustration. Fast-dry formulas can speed the process but may reduce working time and increase bubbles. Standard craft epoxy often balances ease of use and curing speed well for beginners making decorative signs. Follow the label’s recommended cure times, adjusting as needed for your workshop’s temperature and humidity, to achieve a smooth, durable, and visually attractive epoxy sign ready for finishing touches.
Finishing Your Epoxy Sign to a Professional Shine
Sanding your epoxy sign carefully ensures a smooth surface free from scratches. Start with a lower grit to remove any uneven spots, then move to finer grits for a glass-like finish. Many crafters wet sand up to 1000 grit or higher to achieve a flawless shine. Polishing comes next, restoring the epoxy’s natural gloss and making colors pop. Finally, applying a protective coat can add durability, especially if your sign will be outdoors or handled frequently. This layer guards the surface against UV rays, scratches, and moisture. Follow these steps to finish your epoxy sign like a pro:
- Dry sand or wet sand starting at 220 grit. Use a sanding block or pad to level harsh spots or bumps on the epoxy surface. Switch to wet sanding with water and a soft sponge to reduce dust and avoid overheating the resin, which can cause haze.
- Progress through finer grits: 400, 600, 800, then 1000 grit. Focus on smooth, even passes. Wet sanding at grits above 400 helps minimize scratches and keeps the surface cool. Check frequently under good light to spot imperfections.
- Polish the surface using a fine polishing compound. Use a microfiber cloth or a foam polishing pad attached to a drill at low speed. Polish in a circular motion until the epoxy shines clear and glassy. Avoid over-polishing which can cause swirling marks.
- Wipe away residue with a damp cloth and dry thoroughly. Removing all polishing compound residue prevents a dull film from forming under the final coat.
- Decide on a protective topcoat. Choose a UV-resistant polyurethane or a water-based clear coat if the sign will be outdoors. Indoor signs may only need a thin layer of epoxy or a spray lacquer for extra sheen and protection.
- Apply the protective coat evenly in a dust-free environment. Use a high-quality brush or a spray can, applying thin layers to prevent runs or bubbles. Allow 24 hours drying time between coats if multiple layers are applied.
- Remove any tape or masking after full curing. Attach hanging hardware once the protective finish is set to avoid fingerprints or smudges on the epoxy.
| Finish Type | Best Use | Protection Level | Cost Estimate | Application Tips |
|---|---|---|---|---|
| Epoxy Recoat | Indoor or outdoor, for a deep glossy finish | High (UV resistant if resin is UV-rated) | $15-$25 per 8 oz kit | Apply thinly, avoid bubbles, cure 24-48 hrs |
| Polyurethane (water or oil-based) | Outdoor signs, wear resistant | Medium to high | $10-$20 per quart | Apply with brush; multiple thin coats; dry 24 hrs |
| Spray Lacquer | Quick indoor finishing | Low to medium | $8-$15 per can | Spray light coats; ventilate well; cure time varies |
| Polishing Compound Alone | Restore gloss after minor scratches | None (no seal protection) | $6-$12 per tube | Use microfiber cloth; buff gently |
Keeping your workspace free from dust and debris during finishing makes a noticeable difference. Work in a clean, well-ventilated area with minimal air movement. Wipe your sanding block and cloths frequently or replace them if clogged with residue. Use a tack cloth before applying any protective coats. Staying patient with each sanding and polishing step helps avoid costly mistakes like swirl marks or cloudy finishes. If any scratches appear after sanding, polish again or add a very thin clear coat to restore perfect shine.
Common Epoxy Sign Mistakes and How to Fix Them
Cloudy or tacky epoxy often results from mixing errors or environmental conditions. Your epoxy likely looks hazy after curing because the resin-to-hardener ratio was off or it was poured in a room cooler than 70°F. To fix this, mix your epoxy slowly and thoroughly, scraping the sides and bottom of the container for at least 3 minutes. When the problem keeps happening, gently warm the project in a warmer space or carefully use a heat gun to help it cure. Tackiness usually stems from applying epoxy too thickly or not allowing enough curing time. Thin layers between 1/8 and 1/4 inch reduce the risk of incomplete curing, and curing should happen in a dust-free spot within the temperature range the product recommends, often 72°F to 78°F for 24 to 48 hours.
Bubbles trapped in cured epoxy can spoil your sign’s smooth surface, but you can remove some post-cure by sanding and applying a thin finish coat. In the future, mix epoxy slowly to reduce air introduction and pour in a warm, dust-free space. Sweep a small butane torch or heat gun across the surface 10 to 15 seconds after pouring, hovering 2 to 3 inches above, to pop bubbles quickly. Avoid rushing this step, as bubbles form quickly when epoxy is poured, especially with pigmented or thick mixes.
Uncured or partially cured epoxy usually means the mix ratio was off or the product is expired. To troubleshoot, first check the ratio on the package and measure precisely with a digital scale or syringes. When your epoxy stays sticky after 72 hours at room temperature, scrape off the soft layer, sand the surface, and then apply a new properly mixed layer. For future projects, buy epoxy in smaller quantities if you don’t use it regularly, and store resins and hardeners in a cool, dry place to prolong shelf life. Remember that cheaper, hardware-store epoxies risk yellowing and weaker cures over time, costing more in rework.
Use this troubleshooting flow: Start by checking cure time and temperature. Tacky epoxy signals a mix ratio or temperature problem; bubbles mean mixing or torching needs improvement next time. Cloudiness often points to poor mixing or cold temperatures. Proper workspace preparation includes temperature control and clean dust-free surfaces to reduce common problems. Remaining issues can be sanded and recoated, but prevention through patience and precision costs only time and care, not extra money.
Always measure your epoxy and hardener by weight, not volume, to avoid curing problems and save your sign from tackiness and cloudiness.
Step-by-Step Action Plan for Your Epoxy Sign
This quick plan will guide you through making your epoxy sign, helping you avoid common mistakes and achieve a smooth, shiny finish.
- Before you start: Gather all your materials and tools, including wood base, epoxy resin, measuring cups, stir sticks, and color additives. Confirm everything is ready to ensure a smooth process.
- Day 1: Prepare your wood by sanding it smooth and cleaning off dust. Test smoothness by running your hand over the surface, it should feel even and free of debris.
- Day 2: Mix the epoxy resin and hardener following the exact ratios on the instructions, stirring slowly for 3 to 5 minutes. Proper mixing means no cloudiness or unmixed streaks in your batch.
- Day 2, next step: Add color or effects to your mixed epoxy as desired, blending thoroughly. Check that color is consistent without clumps or separation.
- Day 2, pouring: Pour the epoxy evenly over your wood, starting from the center and working outwards. A good pour leaves no dry spots or bubbles on the surface.
- Day 2-3: Let the epoxy cure undisturbed in a dust-free, level space. Check after 24 hours for tackiness; a slightly firm surface means it’s curing correctly.
- Day 4 or later: Lightly sand edges or bubbles if needed, then apply a final epoxy layer for a professional shine. The surface should now be smooth and glossy.
Frequently Asked Questions
What Type of Vinyl Is Best for Epoxy Signs?
Any vinyl works since epoxy covers it; 651 vinyl is a popular choice for its durability.
How Can I Prevent Air Bubbles When Pouring Epoxy on a Sign?
Use a heat gun or torch lightly over the surface right after pouring to pop bubbles.
Can I Use Plywood as a Base for My Epoxy Sign?
Plywood can warp; choose stable woods like maple or oak to avoid distortion under epoxy.
What Thickness of Epoxy Resin Should I Pour on My Sign?
A thin flood coat around 1/8 to 1/4 inch is best for most signs to cure well without issues.
How Do I Fix Yellowing Epoxy on Old Signs?
Yellowing often comes from low-quality epoxy; sanding and recoating with UV-resistant epoxy can help.
Is It Necessary to Seal Wood Before Applying Epoxy Resin?
Sealing wood prevents bubbles from sap and moisture; a thin seal coat ensures a smooth finish.
Before You Go
Creating an epoxy sign that looks polished and professional is achievable with careful preparation and patience during curing. Start by gathering your materials and preparing your workspace to make each step go smoothly. Your next action should be sanding your wood base evenly to ensure a flawless epoxy application. Taking this first step now sets you up for success in crafting your custom sign.