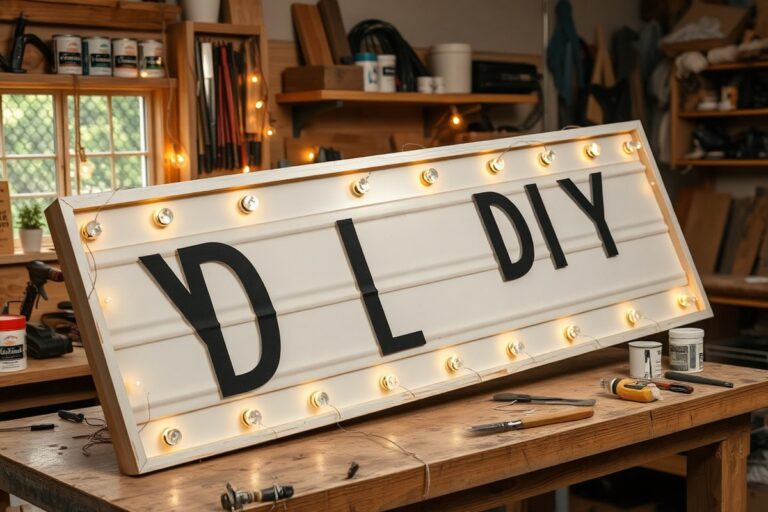
How to Make Acrylic Signs: A Complete Guide with Pro Tips and LED Lighting
How to make acrylic signs starts with choosing the right thickness and type of acrylic, typically between 3mm and 6mm for most projects. Cutting precisely with laser settings around 80% power at 10mm/s helps ensure clean edges. Adding designs and LED lighting improve visibility and appeal, while careful mounting completes the professional look.
Key Takeaways
- Select clear acrylic sheets between 3mm and 6mm thick for a good balance of durability and ease of cutting.
- Test laser or cutting machine settings on scrap acrylic before starting your main project to avoid mistakes.
- Use SCIGRIP 3 acrylic cement for precise, strong bonding when assembling your sign components.
- Resize your design elements to match your acrylic sheet dimensions, such as 8×10 inches or 12×24 inches.
- Engrave acrylic thinner than 3mm if using a Cricut Maker for clean and detailed designs.
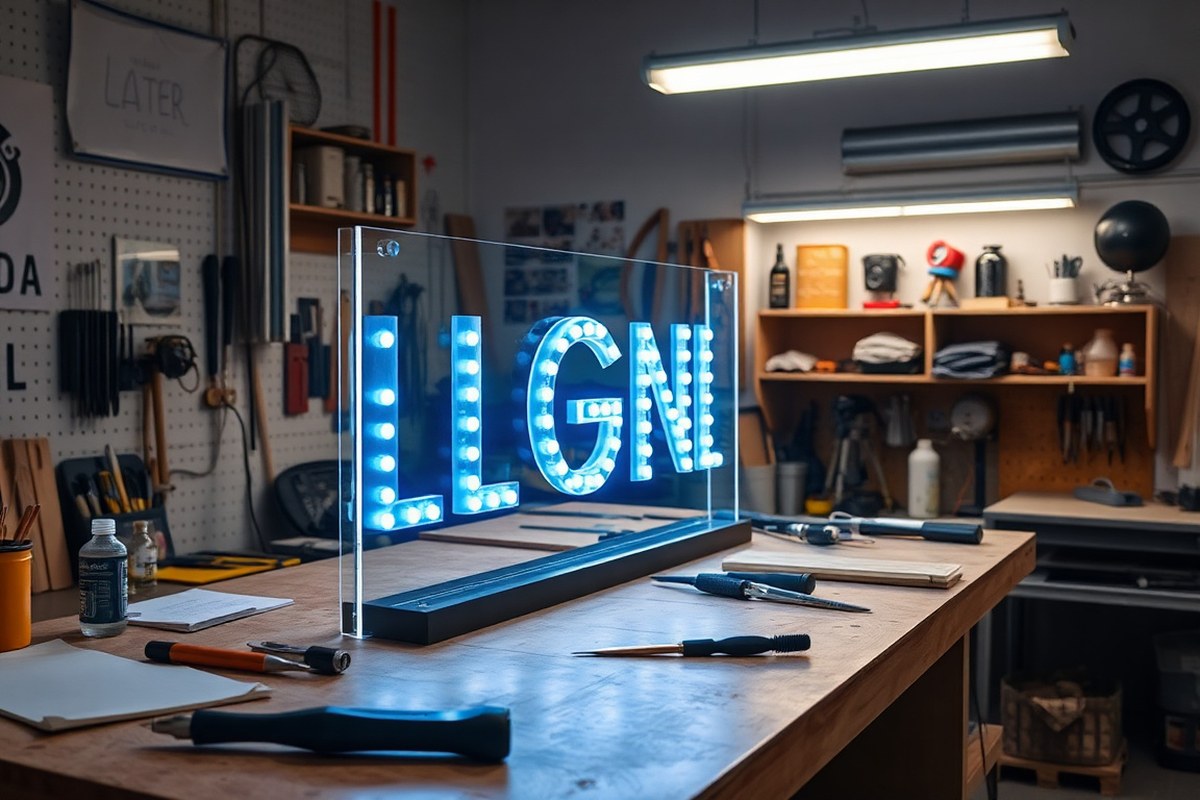
- LED strips or backlighting work well behind acrylic signs to make designs stand out, especially in low light.
What Materials and Tools You Need for Acrylic Signs
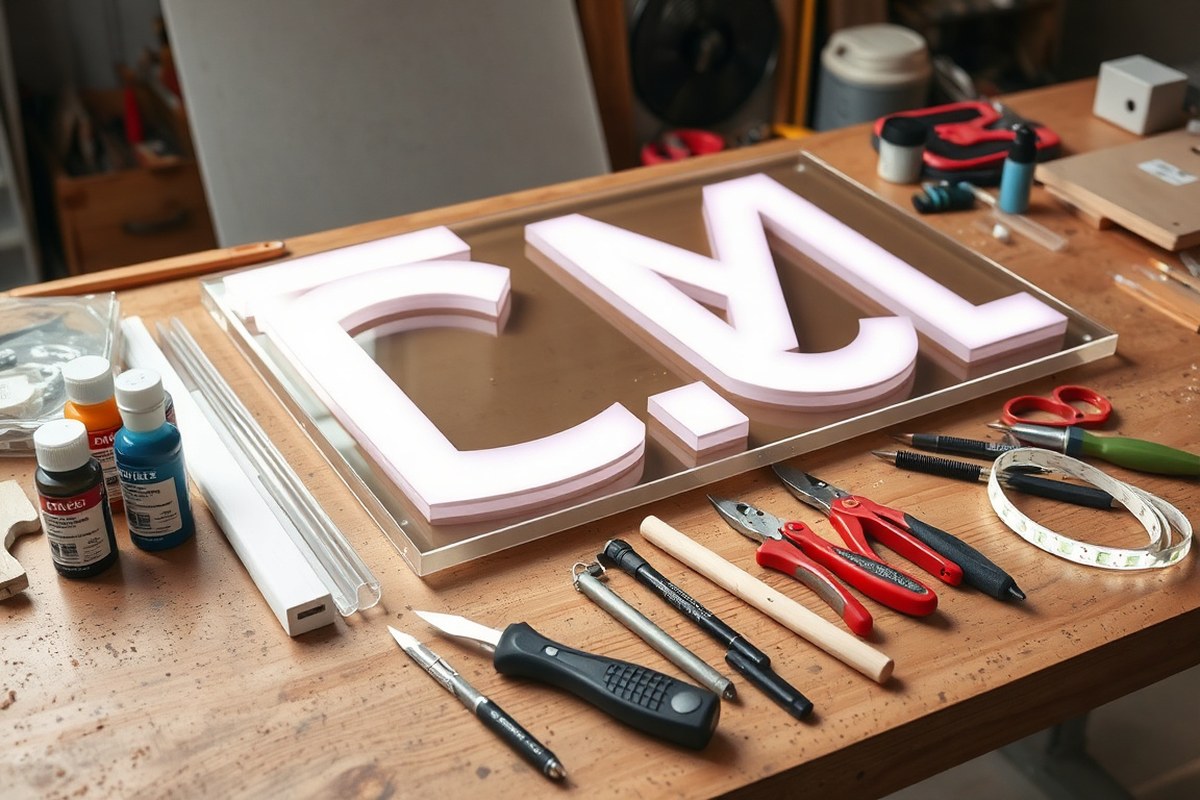
Acrylic sheets for signs typically range from 3mm to 10mm thick, with clear acrylic being the most popular choice. Clear sheets showcase engraving and LED lighting best, while frosted and mirrored varieties offer stylistic options. Purchase your acrylic from hardware stores under brand names like Plexiglass or online retailers specializing in sign materials. For budget-friendly alternatives, consider thinner sheets around 3mm, but thicker sheets above 6mm provide more durability and a premium feel, especially for outdoor signs.
Cutting and engraving require specific tools to achieve precise results. Laser cutters are the standard for high-quality acrylic signmaking, especially for detailed designs or illuminated edges. If a laser cutter is not accessible, a fine-toothed acrylic cutting blade or jigsaw with a plastic-cutting blade can work. For engraving by hand or with a rotary tool, use a Dremel with appropriate bits made for plastic. Cleanup after cutting is important to avoid sharp edges, so sanding with fine-grit sandpaper between 220 to 400 grit is recommended.
Adhesives must be acrylic-safe to maintain clarity and bonding strength. Two-part acrylic cement, such as Weld-On 4, chemically bonds sheets for a clean, durable joint. For less permanent fixes or decorations, clear epoxy or solvent-based glues designed for plastics work well. Paint markers are the best option for decorating signs, you can use brands like Uni POSCA for vibrant, durable, and easy-to-control application. Avoid oil-based paints that may crack or peel over time.
- Acrylic sheets: 3mm to 10mm thick, clear or frosted, brands like Plexiglass
- Cutting tools: laser cutter preferred; acrylic cutting blade or jigsaw as alternatives
- Engraving: rotary tool with plastic bits or laser engraving
- Adhesives: Weld-On 4 acrylic cement or clear epoxy
- Markers and paint: Uni POSCA paint markers recommended
- Safety gear: safety glasses, dust mask, and gloves
- Cleaning: microfiber cloth and mild soap solution to remove residues
Proper safety gear is important. Always wear safety glasses to protect your eyes from flying acrylic particles during cutting or sanding. Use a dust mask or respirator to avoid inhaling acrylic dust, and gloves to prevent chemical irritation when handling adhesives or paints. Work in a well-ventilated area, especially if using chemical cements or solvents. These precautions help you achieve clean, professional acrylic signs while protecting your health.
Choosing the Right Acrylic Sheet Thickness and Type
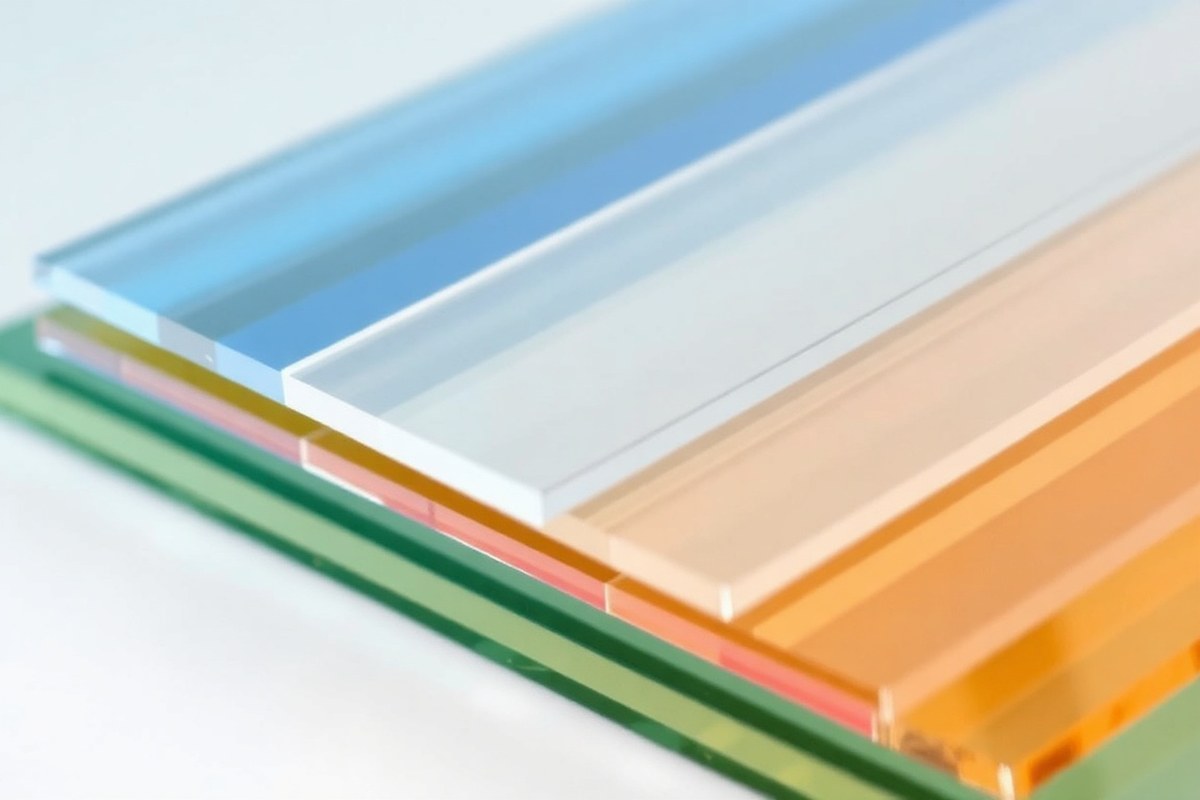
Choosing the right acrylic thickness and type depends mainly on your sign’s size, its installation style, and the cutting method you’ll use. For wall-mounted signs, sheets between 3mm and 6mm thick provide enough stability without excess weight. Freestanding signs require thicker acrylic, generally 6mm or more, to maintain durability and resist bending, especially if the sign is larger than 12 inches square. Clear acrylic is the most versatile for design, lending a clean look that works well with LED lighting, while mirrored and opaque types introduce reflective or solid backgrounds that affect the sign’s visual impact and readability.
When using Cricut or laser cutting machines, thinner acrylics around 3mm work best. These thicknesses are easier for the machines to handle, allowing for detailed cuts without damaging the material. Thicker sheets risk uneven cuts and may require higher power laser settings or stronger CNC router bits. For outdoor use, it’s important to pick acrylic resistant to UV and impact, often thicker than indoor types to withstand weather exposure. Opaque acrylic tends to mask dirt and scratches better than clear sheets in outdoor settings. Below is a comparison table that summarizes acrylic thicknesses and types, ideal sign styles, cutting methods, and practical considerations to help you match your choice with your project’s needs:
| Acrylic Thickness | Recommended Use | Cutting Compatibility | Durability Notes |
|---|---|---|---|
| 3mm (0.12 in) | Small wall-mounted signs, intricate designs | Cricut, laser cutter, scoring knife | Lightweight but less impact resistant, indoor use preferable |
| 4-6mm (0.16-0.24 in) | Standard wall-mounted signs, thin freestanding signs | Laser cutter, CNC router | Good balance of rigidity and ease of cutting; usable indoors or sheltered outdoors |
| 6mm+ (0.24+ in) | Freestanding signs, large formats, outdoor use | CNC router recommended | High rigidity, better outdoor durability, requires stronger cutting tools |
| Clear Acrylic | General purpose, LED illuminated signs | Compatible with all common cutting methods | Shows scratches easily, offers great light transmission |
| Mirrored Acrylic | Decorative signs, luxury look | Laser cutter or CNC router preferred | Reflective finish on one side, less forgiving to surface damage |
| Opaque Acrylic (solid colors) | Sign backgrounds, high contrast designs | All cutting methods | Hides scratches and dirt better, good for outdoor use |
Begin by selecting your sign size and intended use. For indoor wall signs under 12×12 inches, 3 to 4mm thick clear acrylic fits well and cuts cleanly with a Cricut using pen adapters or a laser cutter. For freestanding signs or outdoor projects, lean toward 6mm or thicker acrylic. Always confirm your cutting machine’s specifications; some laser cutters can handle up to 6mm acrylic at specific power settings while Cricut machines perform best with 3mm sheets.
Use protective film on acrylic sheets during cutting to prevent scratches and clean edges after cutting to maintain a smooth surface.
Mirrored or opaque acrylic expands your design options but requires more careful handling because surface damage shows more distinctly. When installing LED lighting, matching the groove size to your acrylic’s thickness ensures a secure fit for an illuminated sign. Choosing the wrong thickness or type can result in warped, cracked, or scratched signs, so take accurate measurements and test cut a small piece if uncertain. Outdoor signs benefit significantly from thicker, UV-resistant opaque acrylic to keep your design looking fresh longer.
How to Cut and Shape Acrylic Safely and Precisely
Acrylic signs can be cut by hand or with machines like the Cricut Maker and laser cutters, each offering options for different thicknesses and precision levels. Hand scoring works well up to 3mm thick sheets, while laser and Cricut machines handle thinner or intricate cuts more cleanly. Following correct steps and safety practices will help you achieve smooth edges and avoid cracks.
Hand Cutting and Scoring Techniques
For acrylic sheets up to 3mm thick, scoring and snapping is a reliable and affordable method. Use a sharp scoring knife to cut straight lines on the acrylic’s protective film. Multiple passes deepen the score line, making it easier to snap the sheet cleanly. Clamp the acrylic firmly to prevent shifting and ensure a straight break line. Here’s a step-by-step for scoring and snapping your acrylic:
- Secure the acrylic sheet flat on a stable surface using clamps or heavy weights.
- Place a straightedge guide along where you want to cut to keep the knife straight.
- Use a sharp scoring knife to score the acrylic along the straightedge, applying firm, even pressure.
- Repeat the scoring pass 5, 10 times to deepen the groove without cutting through.
- Lift the sheet gently and snap the acrylic downward away from the scored line.
- Smooth edges with fine sandpaper or a plastic file to remove roughness.
This method works best on thinner sheets. Thicker acrylic will require more specialized cutting tools for safety and precision.
Using Cricut and Laser Cutters
The Cricut Maker can cut thin acrylic sheets roughly .020 inches (about 0.5mm) thick using the knife blade on the basswood setting. It allows for intricate designs but is limited to very thin sheets. Load your acrylic onto a strong grip mat, select the right blade and pressure settings, and send your design digitally to the machine. Scoring and engraving with the Cricut is also possible, but stay under 3mm thickness to protect the tool.
Laser cutters offer a clean, glossy edge and are suitable for thicker acrylic up to several millimeters. A laser cutter uses focused heat to vaporize the acrylic precisely, producing smooth bevelled edges that improve light distribution in illuminated signs. When using a laser cutter:
- Confirm the acrylic is compatible with laser cutting and ideally cast acrylic.
- Set the laser power and speed according to manufacturer guidelines and sheet thickness.
- Use proper ventilation or extraction to handle fumes created during cutting.
- Send your design file and monitor the cut to ensure precision and prevent overheating.
Laser cutting services typically add $20-$40 per project if you don’t own the machine. This method is best for high-quality edges and complex shapes.
Safety Precautions and Equipment
Always wear safety goggles and gloves when cutting acrylic to protect eyes and hands from shards and debris. Use a dust mask if sanding edges to avoid inhaling plastic particles. When working with power tools or machines, keep fingers clear of blades and use push sticks if needed.
For laser cutting, ensure your workspace has an exhaust system to remove fumes that can contain hazardous chemicals. Never operate machines without proper training, and read the user manual thoroughly before starting. If you’re unsure about thickness compatibility or settings, check with the machine manufacturer or a professional familiar with acrylic cutting. Clamping or securing acrylic firmly before cutting helps prevent slips and uneven breaks, reducing injury risk and waste.
Preventing Cracks and Edge Damage
Stress cracks and uneven edges are common problems when cutting acrylic. Avoid cracking by scoring lightly with multiple passes, not trying to cut through in one pass. During snapping, support the acrylic evenly and apply pressure slowly for a clean break.
After cutting, polish edges with wet/dry sandpaper ranging from 320 grit to 600 grit to smooth roughness. For a glossy finish, finish with polishing compounds or a flame polisher if you have experience. Avoid sanding too aggressively or heating too much, which can cause warping or discoloration. When laser cutting, clean cuts reduce the need for post-processing but watch for signs of burning or melting from excessive laser power, which can weaken edges.
Effective Ways to Add Designs to Your Acrylic Sign
You can apply designs to acrylic signs using painting, engraving, vinyl decals, or acrylic markers. Each method offers distinct looks and requires specific preparation steps to ensure the design is clear and durable. Proper surface cleaning and knowing when to reverse text for backside decoration also make a difference in your finished sign’s quality and longevity.
Comparing Painting, Engraving, Vinyl Decals, and Acrylic Markers
Painting the back of the acrylic lets your design pop through the clear surface, creating a bright, glossy effect. Using acrylic paint here protects the design from wear and dirt while offering vibrant colors. Engraving cuts the design into the acrylic surface, typically with a laser, producing precise, lasting marks that look professional but require specialized equipment.
Vinyl decals stick to the acrylic surface and deliver clean, sharp lines and a polished appearance. They suit signs needing detailed logos or text and are relatively quick to apply. Acrylic markers give a softer, handmade look while maintaining precision, ideal for casual or personalized signs such as wedding table numbers or baby announcements.
Painting and engraving usually demand more setup time and tools; vinyl decals need careful application and possibly transfer tape to avoid misalignment. Acrylic markers are the most accessible but may not offer the same durability outdoors or in heavy-use settings. Choosing between these methods depends on your budget, equipment access, and the desired style.
Preparing the Acrylic Surface for Design Application
Begin by thoroughly cleaning the acrylic sheet to remove dust, oils, and fingerprints using isopropyl alcohol on a lint-free cloth. Avoid household glass cleaners that may leave residues or damage acrylic. Dry the surface completely before starting any decoration.
If painting the back or engraving, remove any protective film from the acrylic but keep it on the unworked areas to prevent scratches. Lightly sanding the backside surface with fine-grit (400 to 600) sandpaper can help acrylic paint adhere better, especially on smooth acrylic.
For vinyl decals, the acrylic surface must be smooth and clean since any dirt or unevenness can cause bubbles or poor adhesive contact. Use application tape to position decals precisely. When using acrylic markers, clean and dry the surface well to ensure smooth ink flow and prevent smudging.
Applying and Finishing Painted and Engraved Designs
Paint your design on the back of the acrylic to preserve it from scratches and weathering. Use acrylic paint designed for plastic and apply with fine brushes or stencils for precision. Let each layer dry fully, often 15 to 30 minutes, before adding more paint or clear coats.
Engraving requires design files prepared with the engraving tool’s software. Ensure your design lines are at least 0.02 to 0.05 inches thick to avoid shallow or indistinct cuts. Center your design carefully on the acrylic since engraved lines cannot be repositioned. For back engraving, mirror your text horizontally so it reads correctly from the front.
After engraving, you can improve visibility by painting the engraved grooves, often with contrasting acrylic paint, and wiping excess carefully off flat surfaces. This highlights the depth and detail of the design.
Using Vinyl Decals and Acrylic Markers for Detailed Designs
Vinyl decals offer versatility in colors and finishes like matte, glossy, or metallic. Use transfer tape to move your cut vinyl onto the acrylic cleanly and avoid wrinkles or bubbles. Press the decal firmly, smoothing from the center outward. Avoid touching the sticky side of decals.
Acrylic markers let you hand-draw designs for a personalized touch. Choose markers specifically for plastic surfaces to ensure quick drying and water resistance. Test your marker on a scrap piece first for flow and color opacity. Allow full drying time, about 10 to 20 minutes depending on thickness, before handling or moving the sign. Both vinyl and marker designs benefit from applying a clear acrylic sealer to the surface afterward to protect from scratches and UV fading, especially for outdoor signs.
Design Clarity and Longevity Tips
Simplicity improves legibility; use bold lines and avoid overly intricate details that become hard to see once shrunk to sign size. Contrast between the text or design and the acrylic background helps readability, especially with back-painted or engraved signs.
For back-printed designs, flipping your acrylic over before painting or engraving protects the design while keeping it visually sharp from the front. Mirror all text horizontally before engraving or painting on the back so it appears correct from the sign’s front.
Avoid exposing painted or marker designs to harsh chemicals or direct mechanical abrasion without sealing. Keeping signs out of extreme temperature swings also helps maintain adhesion and prevents cracking or peeling of paint and vinyl.
Adding LED Lighting to Illuminate Acrylic Signs
Adding LED lighting to acrylic signs makes your design stand out with a vibrant, glowing effect. Choosing the right type of LED strips, wiring them correctly, and installing them with care ensures bright, even illumination without flicker or hot spots. You can include dimmers and color controls to customize the light for your needs.
Selecting LED Strips and Power Supplies
LED strip options vary mainly by color, voltage, and LED density, affecting brightness and coverage. For acrylic signs, choose between warm white (2700K, 3000K), cool white (4000K, 5000K), daylight white (5000K, 6500K), or RGB multicolor strips with remote control for changing hues.
| LED Color Type | Color Temperature / Tone | Best For | Mood / Visual Effect |
|---|---|---|---|
| Warm White | 2700K, 3000K | Cozy spaces, cafés | Soft, relaxing glow |
| Cool White | 4000K, 5000K | Modern signs, offices | Clean, professional look |
| Daylight White | 5000K, 6500K | Retail displays, photography | Bright, natural clarity |
| RGB Multicolor | Variable | Custom color effects | Dynamic, colorful lighting |
For power, 5V or 12V LED strips are common in smaller signs, but 24V strips reduce voltage drop in longer runs above 5 feet. Strips with higher LED density (60+ LEDs/meter) create smoother light without bright spots or gaps.
Power supplies should match the strip voltage and provide at least 20% more wattage than the total LED load. For RGB or dimmable strips, use compatible controllers and, if RGB, connect the remote receiver between the power adapter and strip.
Wiring and Installing LED Lighting
Proper wiring and mounting create firm, secure lighting that evenly illuminates your acrylic sign. Using a groove cut along the edge to hold LED strips keeps them hidden and helps light the sign’s edges effectively.
- Measure your acrylic sign and cut LED strips to length at marked intervals.
- Prepare a groove or channel at the sign base using a router or saw to fit the LED strip.
- Attach LED strips with adhesive backing or mounting clips inside the groove.
- Connect all LED strip segments wiring in parallel for consistent voltage and brightness.
- Wire the strips to a compatible power supply, adding a remote receiver if using RGB lighting.
- Test the wiring with the power supply before sealing all connections.
- Install optional dimmers or controllers inline with the power feed.
- Secure any loose wires inside the sign’s frame or backing to prevent damage.
Always disconnect power before cutting or wiring LED strips to avoid shocks or damage.
Ensuring Even Light and Troubleshooting
Even light distribution stops bright spots and flicker, giving a clean and polished appearance. Choose LED strips that have higher LED density per meter for bigger or longer signs. Using opal or translucent acrylic diffusers helps the light spread uniformly over the entire sign.
Common issues include hot spots (too few LEDs close together), flickering (loose wiring or inadequate power), and dim or uneven lighting (incorrect voltage or poor contact). Check wiring continuity and use thicker wires for longer runs to reduce voltage drop. For dimming, prefer LED-compatible dimmers matched to your power supply type to avoid flicker. Color changing LED strips work well with remote controls but require a stable power supply and proper controller to prevent color shifts or flicker during transition.
Mounting and Assembling Your Finished Acrylic Sign
Mounting acrylic signs properly ensures they look professional and last longer, so choosing the right method depends on where and how you want to display your sign. Wall mounting with standoffs creates a sleek floating effect by holding the sign a short distance off the wall, usually 1/2 to 1 inch, which adds depth and protects the acrylic from damage. Standoffs come in metal or plastic and require drilling holes in the sign and wall, making them ideal for indoor or sheltered outdoor use.
Freestanding frames are excellent if you need a portable or repositionable sign. You can build frames from wood, metal, or buy ready-made metal A-frame stands sized to fit 3mm to 5mm acrylic signs. Frames should securely hold the acrylic without applying pressure that could cause cracks. Clamp-style grip frames or slots that the acrylic slides into work well. For larger 1/4-inch thick signs, a sturdier frame is necessary to avoid bending or tipping.
To avoid damaging acrylic when mounting, use hardware specifically designed for clear plastics. Avoid regular screws or nails pressing directly against the acrylic, as they can cause stress fractures. Rubber washers or plastic grommets between the screw and acrylic reduce cracking risk. Double-sided outdoor-grade adhesive pads, like 3M VHB tape, provide damage-free mounting in areas where drilling isn’t an option, but test adhesion on a small piece first to ensure it holds firmly under your environmental conditions.
Multi-layer acrylic signs require careful assembly to keep layers aligned and secure. Use clear acrylic spacers or small standoffs between layers to maintain even separation. Secure layers by drilling through all pieces and fastening with socket head cap screws and plastic washers to avoid scratching. Use an acrylic-safe adhesive, such as a solvent cement formulated for acrylic, applied sparingly to edges when a permanent bond is desired. Clamp and allow full curing time, typically 24 hours.
Outdoor mounting must account for weather exposure. Stainless steel standoffs resist rust and provide stability. Frames for outdoor use should be weatherproof, like powder-coated metal. Adhesives and tapes must be rated for outdoor conditions, including temperature swings and moisture. Sealing edges of multi-layer signs prevents water ingress, extending their lifespan.
- Wall standoffs: drill holes, space sign ½” to 1” from the wall, use rubber washers to prevent cracking
- Freestanding frames: buy or build sturdy metal or wood frames sized to acrylic thickness (3mm, 5mm for small, 5mm+ for large)
- Hardware to avoid: direct screws without washers or grommets that risk cracking
- Multi-layer signs: use clear spacers, plastic washers, and acrylic-safe adhesive or fasteners
- Outdoor mounting: stainless steel hardware, weatherproof frames, and outdoor-grade adhesives
- No-drill zones: strong double-sided adhesive pads tested first on scrap acrylic
When assembling your sign, always confirm measurements before drilling or gluing. Test-fit all components without permanent fastening to check alignment. Cost for mounting hardware like standoffs or screws ranges from a few dollars per piece to about $20 for a full kit, depending on size and finish. Frames vary more widely, starting around $30 for simple A-frames up to $100 or more for custom-built options. Taking these factors into account helps your acrylic sign look clean and professional while standing up to use. Avoiding rushed assembly reduces the chance of cracks or misaligned layers, giving better results you’ll be proud to display.
Common Problems When Making Acrylic Signs and How to Fix Them
Cracks, chips, uneven lighting, and paint problems are common challenges you may face when making acrylic signs. Each issue has specific causes and practical fixes to keep your sign looking professional and durable. Handling acrylic carefully and following maintenance tips extends your sign’s lifespan.
Cracks and chips usually happen from dropping the acrylic or using the wrong cutting tools. To fix small cracks, apply a clear acrylic adhesive or solvent cement that melts the edges together. For chips, gently sand the edges smooth with fine-grit sandpaper, then polish with a plastic polish or a soft cloth. Avoid excessive force when cutting or drilling to prevent these damages.
Uneven LED lighting often results from misaligned acrylic pieces or thicker sections that block light flow. Proper alignment is key since LEDs shine through the acrylic edges, highlighting any designs etched or engraved. Ensure your acrylic edge and LED strip placement are flush and consistent. Using thinner acrylic or sanding edges carefully can also improve light diffusion.
Paint bleeding or scratches usually occur when paint seeps under stencils or from rough handling after painting. To prevent bleeding, apply a layer of Mod Podge or a similar clear sealant over your vinyl stencil before painting. This seals edges and creates a barrier. For long-lasting signs exposed to moisture, use Artista Pro markers instead of paint, as they resist water and wear better. Once painted, allow enough drying time and avoid touching the surface until fully cured.
Misaligned or peeling designs mostly happen during application or because of poor surface preparation. Clean acrylic surfaces with isopropyl alcohol before applying decals or stencils to remove oils and dust. Press decals firmly and smooth out bubbles with a plastic squeegee. If designs start peeling, reattach them with clear acrylic adhesive or replace the decal with a fresh one.
Maintaining your acrylic signs is straightforward. Clean regularly with a soft damp cloth and mild soap; never use abrasive cleaners or rough sponges that can scratch. Store signs flat or mounted securely to avoid warping or accidental drops. Cover or bring signs indoors if you expect harsh weather to protect paint and adhesives.
| Problem | Cause | Solution |
|---|---|---|
| Cracking and Chipping | Dropping, wrong cutting tools, excessive force | Use acrylic solvent cement for cracks; sand and polish chips; handle carefully |
| Uneven LED Lighting | Misaligned edges, thick acrylic sections | Align acrylic edges flush with LED strips; use thinner sheets or sand edges |
| Paint Bleeding | Paint seeping under vinyl stencil edges | Apply Mod Podge over stencil before painting |
| Paint Scratches or Wear | Poor drying time, rough handling, exposure to moisture | Use Artista Pro markers for outdoor signs; allow paint to dry fully; handle gently |
| Design Peel-off or Misalignment | Dirty surface, weak adhesion, poor application | Clean with isopropyl alcohol; press decals firmly; use clear acrylic adhesive if needed |
Taking care during each step of the process reduces defects in your acrylic sign. Proper cutting, design application, and sealing boost your sign’s appearance and durability. Maintenance only requires gentle cleaning and protection from damage. Following these steps ensures your sign stays clear, bright, and intact for as long as you want it displayed.
How Long Does Making an Acrylic Sign Typically Take?
Making an acrylic sign usually takes between 4 and 12 hours from start to finish, depending on the project’s complexity and your experience. The main stages include design, cutting and shaping, painting or applying the design, and assembly. Simple signs with pre-cut templates can be done in as little as 4 hours, while intricate or multi-layer signs, especially with LED lighting, may need two or three days to complete due to drying and curing times.
Designing your sign generally takes 1 to 2 hours if you’re using basic software or stencil templates. More detailed or custom designs add time, especially if you need to make revisions. Cutting acrylic sheets can take 30 minutes to 1 hour for straightforward shapes but might take up to 3 hours for detailed cuts or multiple layers, especially if you use a laser cutter or hand tools carefully.
Adding your design with paint, vinyl, or engraving requires patience since drying and curing are important for durability. Most paints need at least 2 to 4 hours to dry before handling. Adhesives to mount elements or add LED components usually require 24 hours to fully cure, so plan accordingly. LED installation typically adds 1 to 2 hours for wiring, testing, and securing the lights, but this step is important for a clean glow effect and should not be rushed.
Several factors influence how fast your acrylic sign project progresses. Having the right tools, like scoring knives, clamps, or a laser cutter, speeds up cutting and assembly. Working in a dust-free, well-lit space prevents mistakes and saves cleanup time. Rushing drying or adhesive curing stages often results in smudges, weak bonds, or uneven finishes, which cause rework and delay your project.
- Use templates to reduce design time and ensure precision
- Choose spray paints with quick-dry formulas or airbrushes
- Set up a dedicated workstation with all materials close at hand
- Prepare your cuts in advance during drying or curing waits
- Test LED circuits separately before installation to avoid troubleshooting later
Allow full curing times for adhesives and paint even if the sign looks dry; skipping this causes adhesion failures later.
For efficiency without compromising quality, organize each step to overlap waiting times. For instance, while paint dries, you can prepare mounting hardware or cut additional pieces. Prioritize good lighting and a sturdy base throughout the process, especially for LED signs, to maintain symmetry and a clean final look. This approach helps you manage your workflow and minimize wasted time or costly mistakes, making your acrylic sign project both rewarding and timely.
Step-by-Step Action Plan for Your First Acrylic Sign
Follow these steps to create your first acrylic sign with confidence and clear results.
- Before you start: Gather your materials and tools, including acrylic sheets, cutting tools, design supplies, and safety gear. Check that everything is ready to avoid interruptions.
- Day 1: Choose your acrylic sheet type and thickness based on your sign’s size and use. Confirm the thickness suits your mounting method and lighting plan.
- Day 2: Design your sign layout using design software or hand sketches. Print or transfer your design onto the acrylic to guide your cutting and decoration.
- Day 3: Cut and shape the acrylic carefully with your chosen tools, wearing safety glasses and gloves. Verify cuts are clean and the shape matches your plan precisely.
- Day 4: Apply your design techniques such as vinyl decals, paint, or engraving. Let each layer dry fully and check for smooth, sharp details.
- Day 5: Install LED lighting if desired, securing strips or modules behind or below the sign. Test the lighting to ensure even illumination without hotspots or flickering.
- Day 6: Mount your sign onto the chosen surface with proper hardware. Confirm the sign is level, stable, and securely attached.
- After 1 week: Inspect your sign for any issues like scratches, lifting vinyl, or fading. Perform minor fixes promptly to keep it looking professional.
Frequently Asked Questions
What Is the Best Paint Marker for Acrylic Signs?
The Uni POSCA brand is a top choice for acrylic signs due to its smooth application and no bleeding. It works well on the slick surface of acrylic without the need for special primers or treatments.
Can I Reuse Scrap Acrylic from Other Projects for New Signs?
Yes, leftover acrylic pieces can be repurposed if they are clean and undamaged. Cut them down to size or reshape them, saving material and costs without sacrificing quality.
Is Laser Cutting the Only Way to Cut Acrylic for Signs?
Laser cutting is popular and precise for acrylic, but you can also use scoring knives and saws for thinner sheets. Choose based on your design complexity and equipment availability.
How Do I Prevent Scratches on My Acrylic Sign During Assembly?
Handle your acrylic sign with clean hands and soft materials to avoid surface scratches. Use microfibre cloths for cleaning to keep the finish smooth and clear.
What Kind of Mounting Hardware Suits Acrylic Signs Best?
Standoff mounts are highly recommended as they create a modern floating look and securely hold the sign. They also work well in reception or office environments.
Are Thicker Acrylic Sheets Always Better for Signs?
Thicker acrylic offers more durability and depth but isn’t always necessary. Think about sign size and where it will be displayed to determine the ideal thickness.
Before You Go
Making acrylic signs takes patience and precision but lets you produce eye-catching displays suited to your needs. Testing each step as you go helps avoid common mistakes and ensures your sign lasts. Start by selecting your acrylic sheet and tools today to bring your design ideas to life.